FABRIC
- 4 yards of 60″ fabric (5 yards for larger sizes)
While you’re obviously free to use whatever fabric(s) you want to make your suit, if you’re wanting to specifically make a 10th Doctor replica suit, you’ll want to use lightweight cotton.
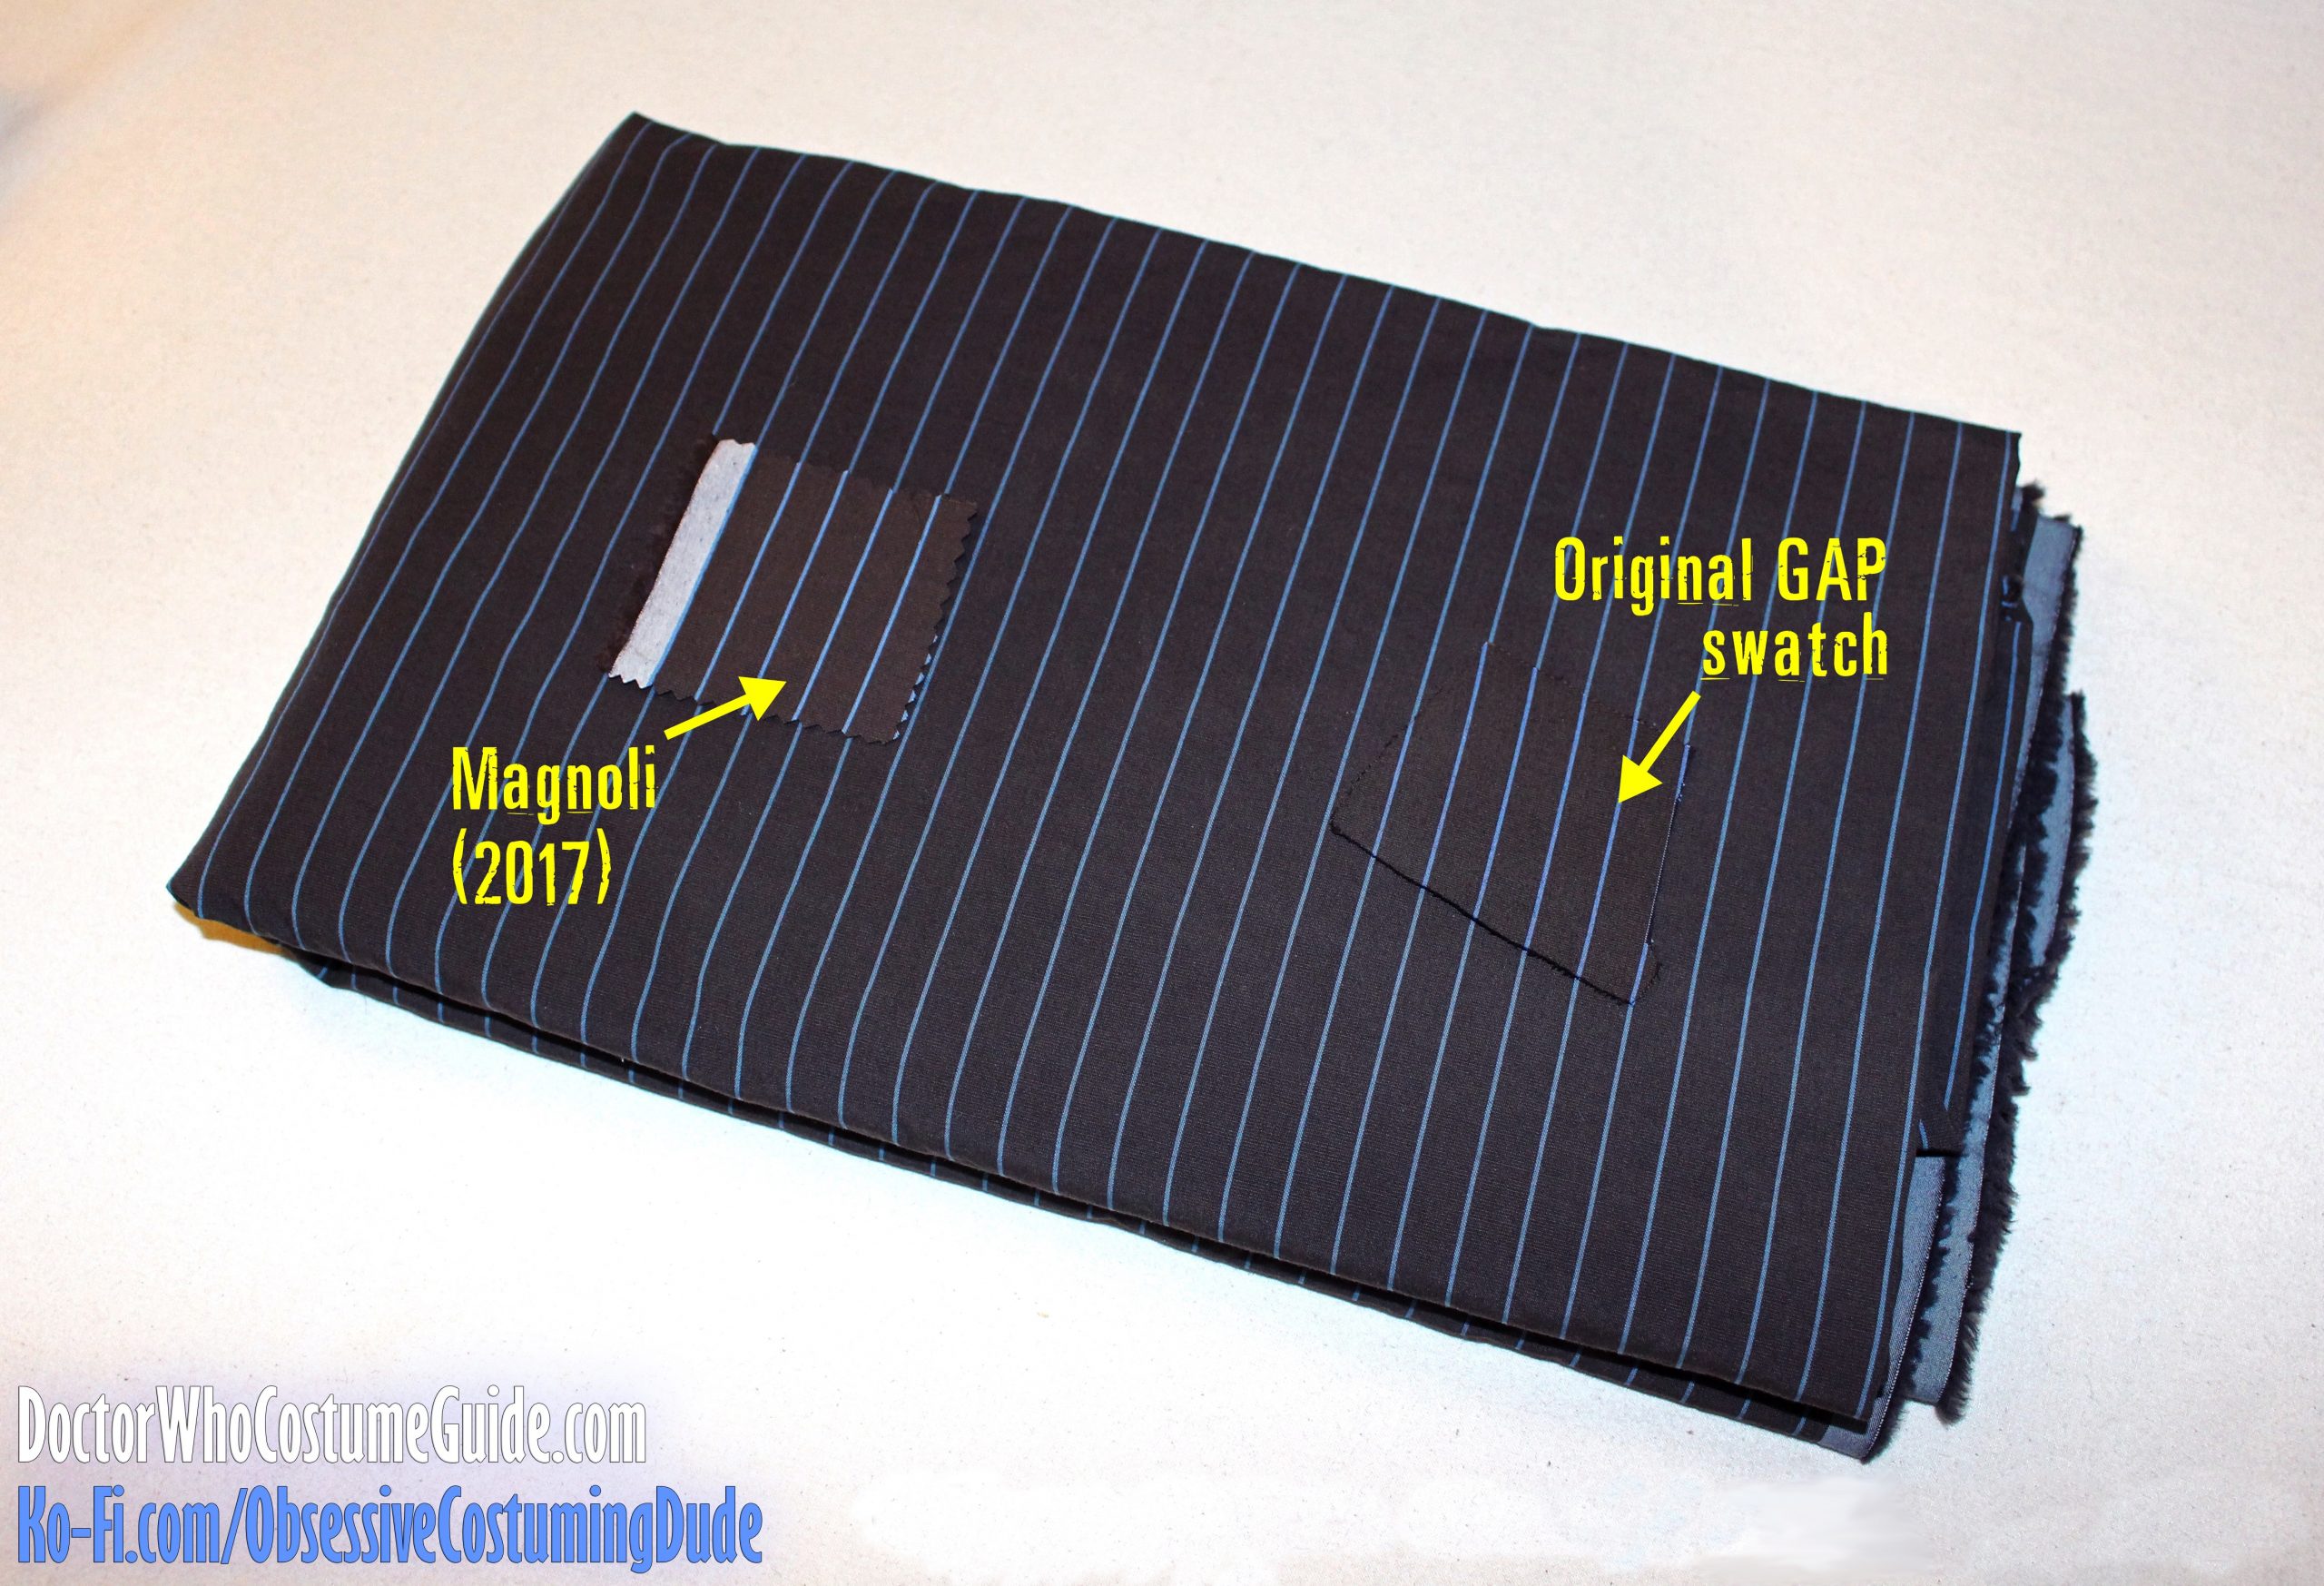
For the brown suit in this tutorial, I used Magnoli Clothiers’ replica fabric.
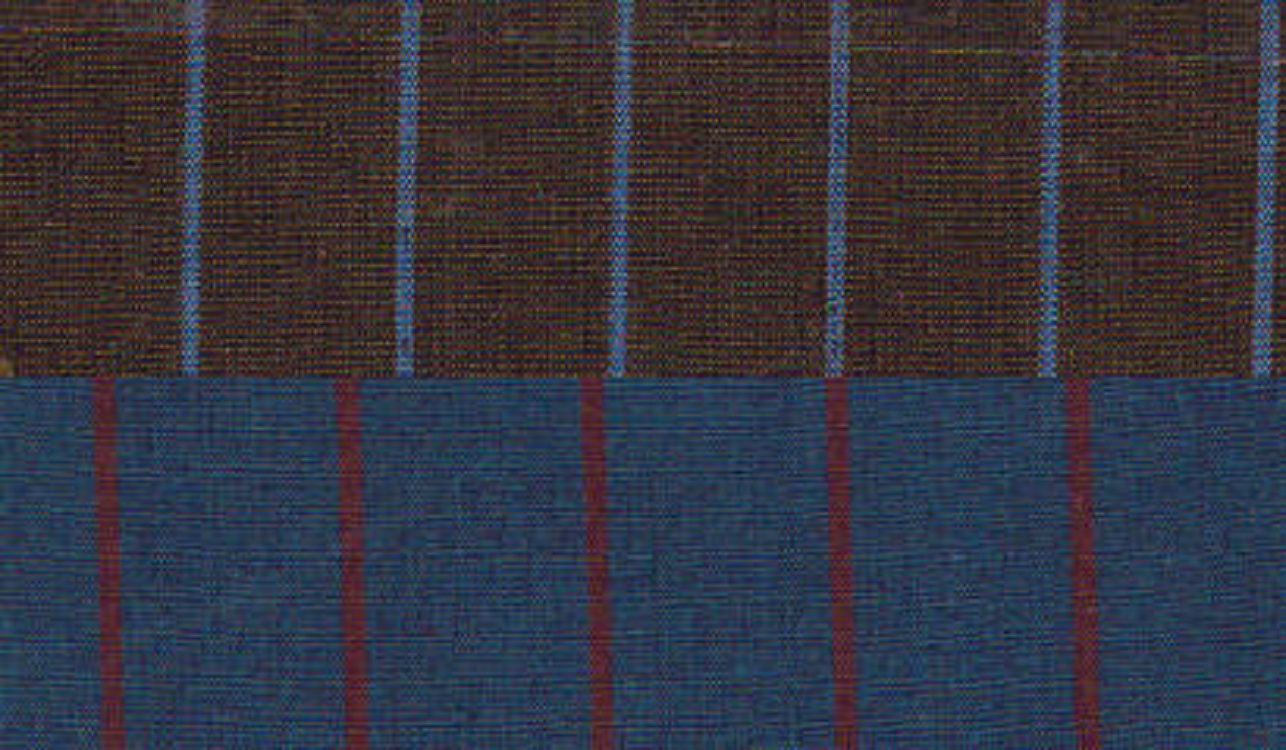
While their cotton fabric is, to my knowledge, the best option available – and a superior weave than their older version, in terms of stripe spacing – the colors (circa 2017) weren’t quite close enough to the original GAP colors for my liking, so I nudged everything a bit closer to the original with a custom dye job.
Unfortunately, the 2017 dye formula I used is now obsolete due to subsequent fabric runs, a component dye color that was discontinued and subsequently replaced, etc. I haven’t sampled, compared, or experimented with any of Magnoli’s current fabric supply, so I don’t want to steer you wrong by sharing a dye recipe that’s no longer relevant.
- 1 yard of lightweight or medium weight fusible hair canvas (optional)
For the suit in this tutorial, I used “Light Weight Deluxe Fusible Hymo 72” (T15-U)” from B. Black and Sons to interface the jacket fronts and upper collar, since the cotton fabric is so very lightweight.
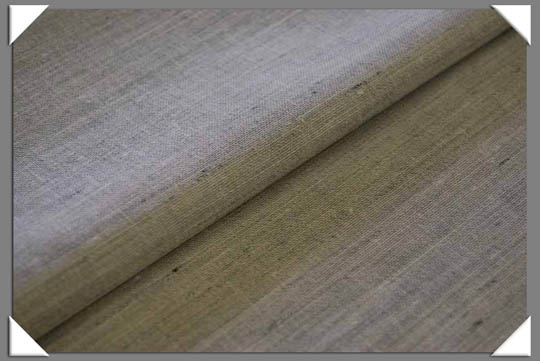
- 1 yard of lightweight or medium weight fusible hair canvas (optional)
For the suit in this tutorial, I used the same fusible hair canvas previously mentioned to interface the jacket front/lapel facings.

- 1 yard of lightweight fusible hair canvas (optional)
For the suit in this tutorial, I used “Light Weight Stretch Fusible Hymo” (T15-UU) from B. Black and Sons to interface the jacket sides, backs, and sleeves – again, because the cotton fabric is so very lightweight.
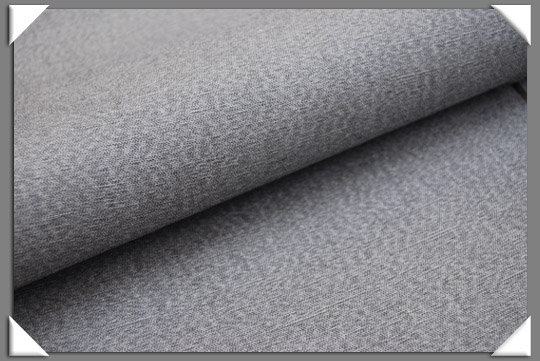
- 2 yards of 60″ brown lining (3 yards of 44″ lining)
Rayon linings are my personal preference, both as a maker and a wearer, so that’s what I used for the suit in this tutorial.
Obviously you can line your jacket with whatever you like. 🙂
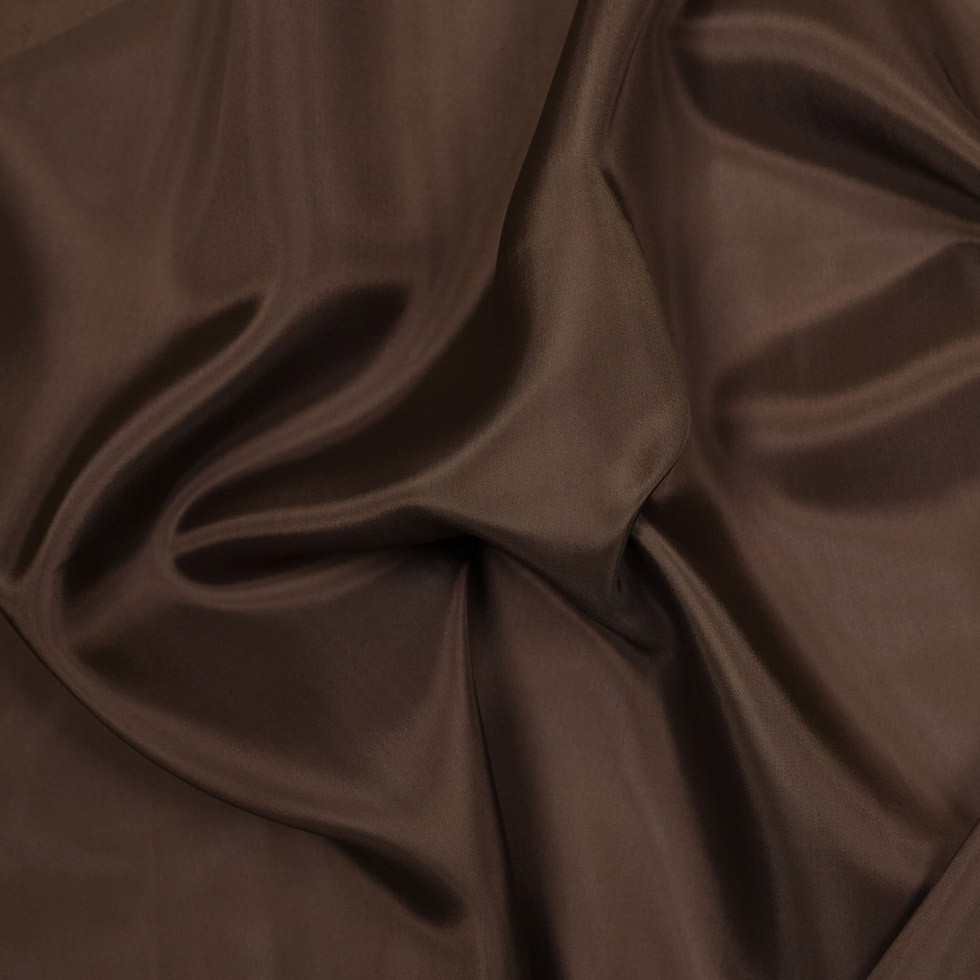
- ¼ yard of dark brown undercollar felt/melton
I use and recommend the undercollar felt from B. Black and Sons.
I prefer to order it in full-yard increments (which will be enough for many collars):
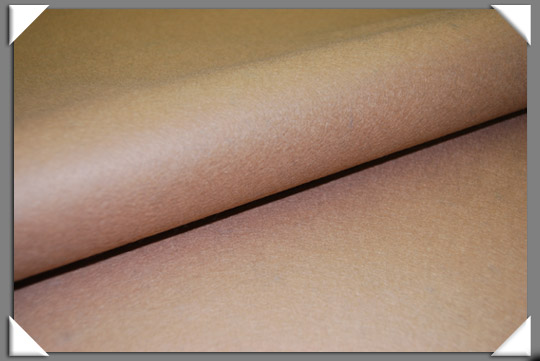
Alternatively, you can order it in 12″ x 12″ squares, but that’s cutting it a bit close (literally)!
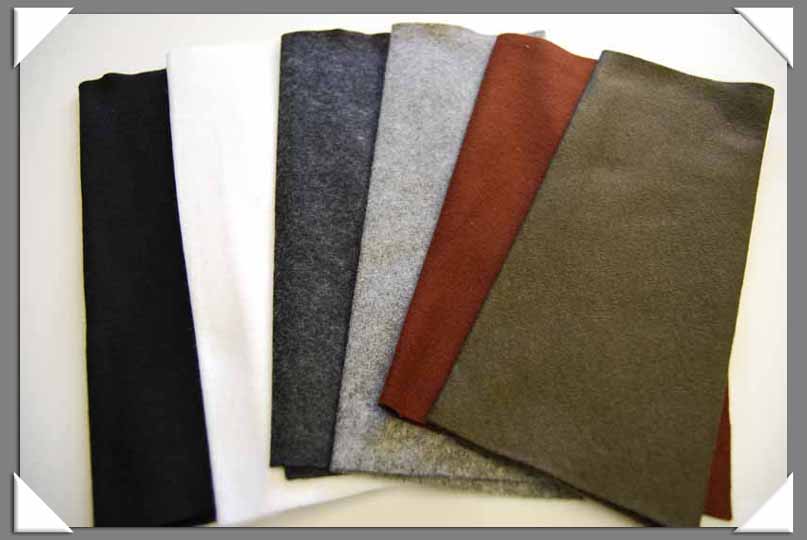
- 1 yard of medium weight hair canvas
For the suit in this tutorial, I used “Medium weight hymo” (T15-CC) from B. Black and Sons to interface the jacket front:
Note that a yard of this 63″ wide hair canvas will be sufficient for this project, but if you’re using a narrower canvas (20-24″ is common), you may need 2 yards.
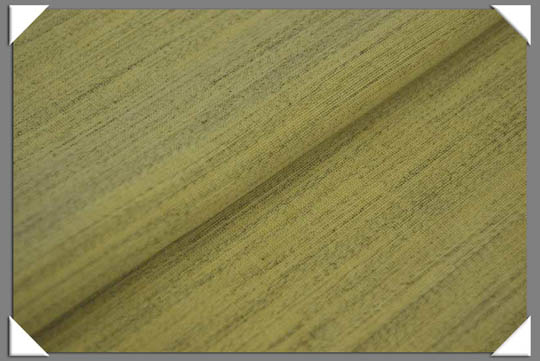
- ½ yard of French canvas
For the suit in this tutorial, I used “French Collar Canvas” (T15-M) from B. Black and Sons to interface the collar and upper chest area:
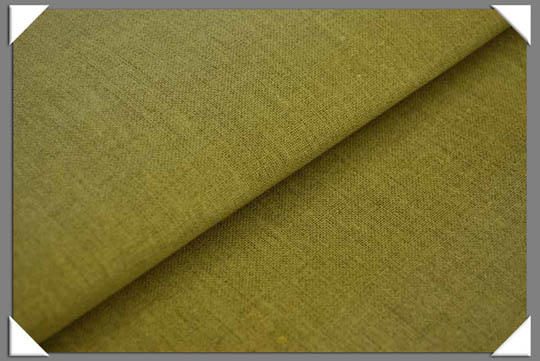
- 1 yard of lightweight fusible interfacing
This will be used to stabilize/reinforce various areas such as the trousers’ waistband and fly, the jacket’s back waistband, and pocket openings on both garments.
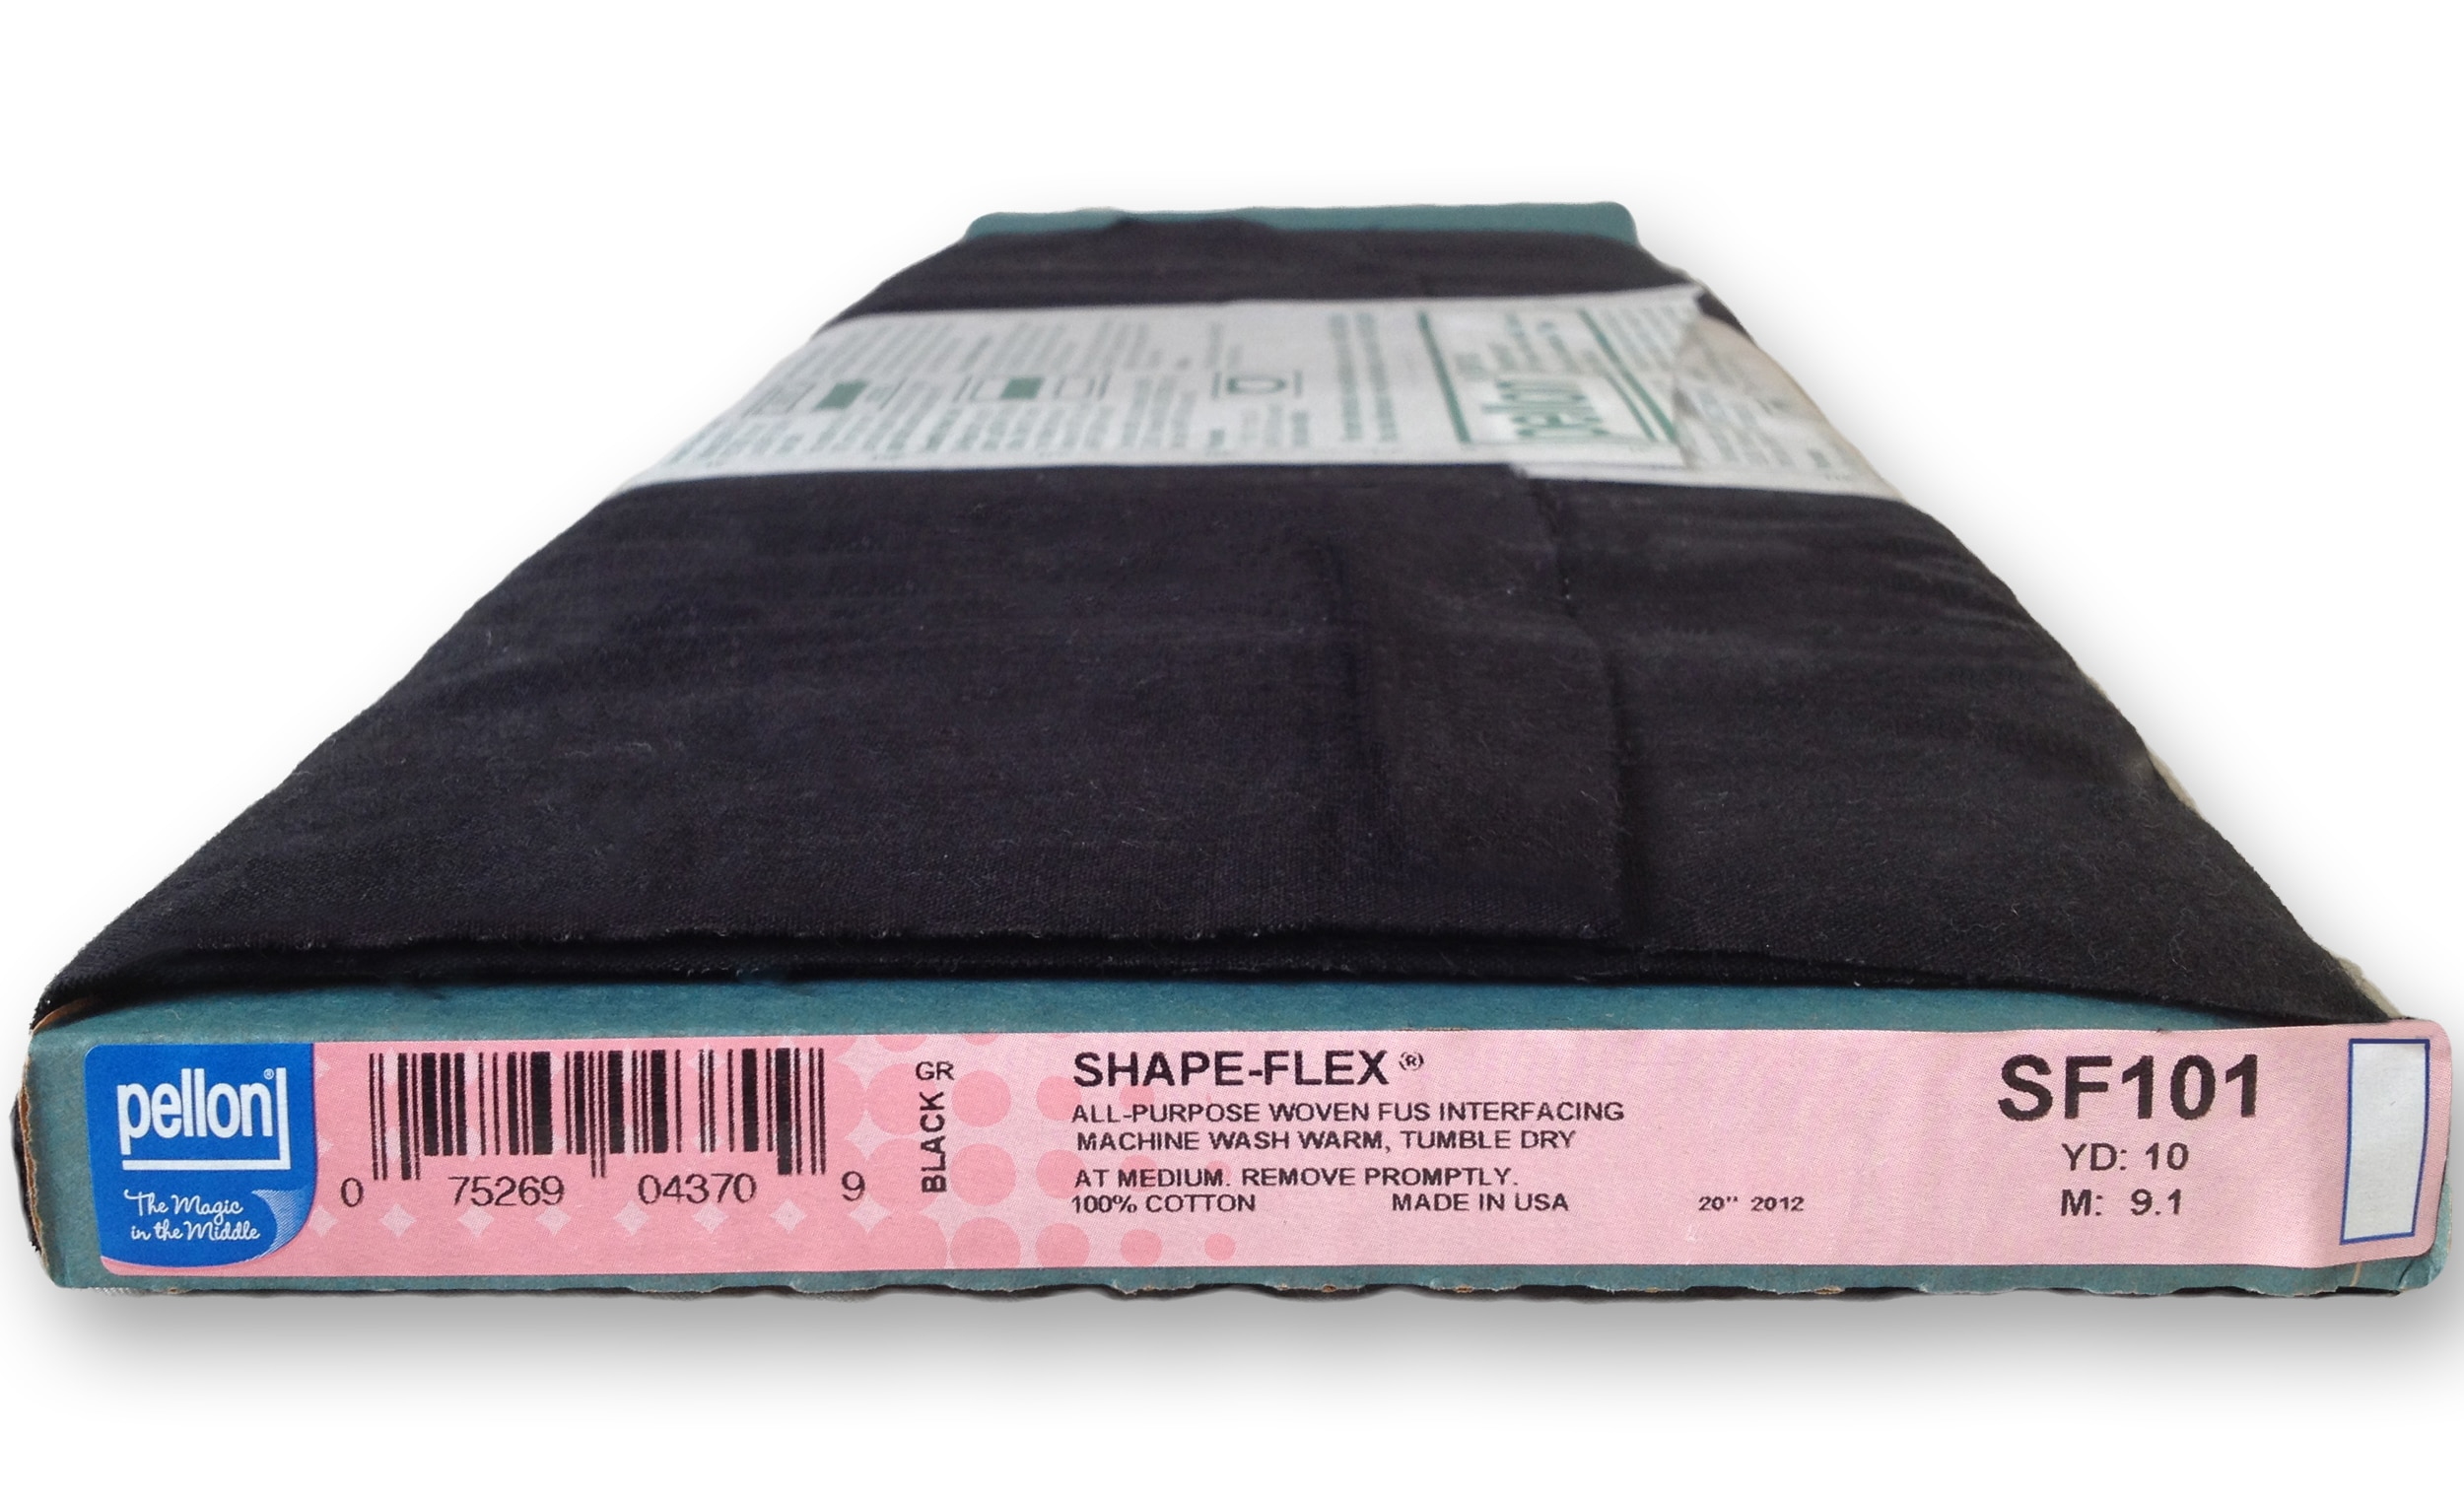
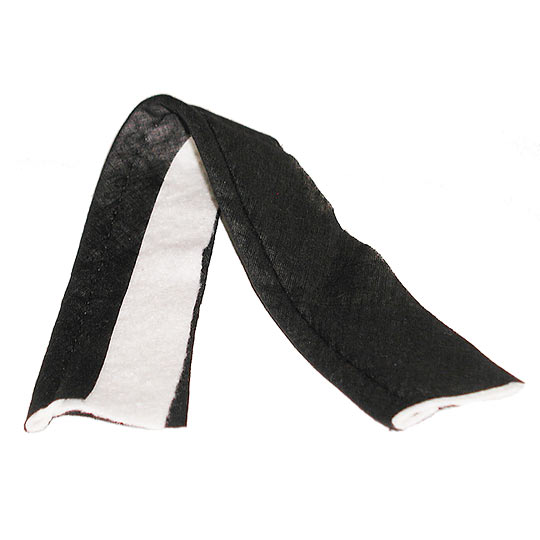
For the suit in this tutorial, I used the black interfacing pictured to the right and recommend it because it’s 100% cotton, inexpensive, and easy to find.
- 1 yard of pocketing
For an accurate replica of the GAP trousers, use lightweight black cotton twill.
However, for more conventional pockets, you can simply use standard pocketing fabric. Either of the options below should work well:
“Deluxe Polyester/Cotton Pocketing” (T401)
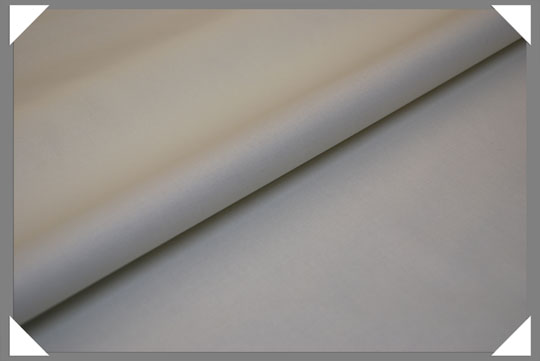
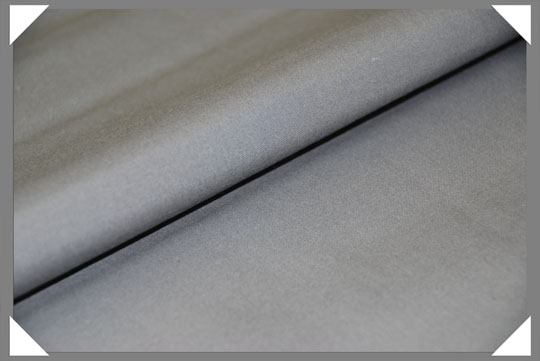
Alternatively, a lightweight black cotton fabric such as muslin or quilting cotton will work fine.
- 1 yard of muslin (optional)
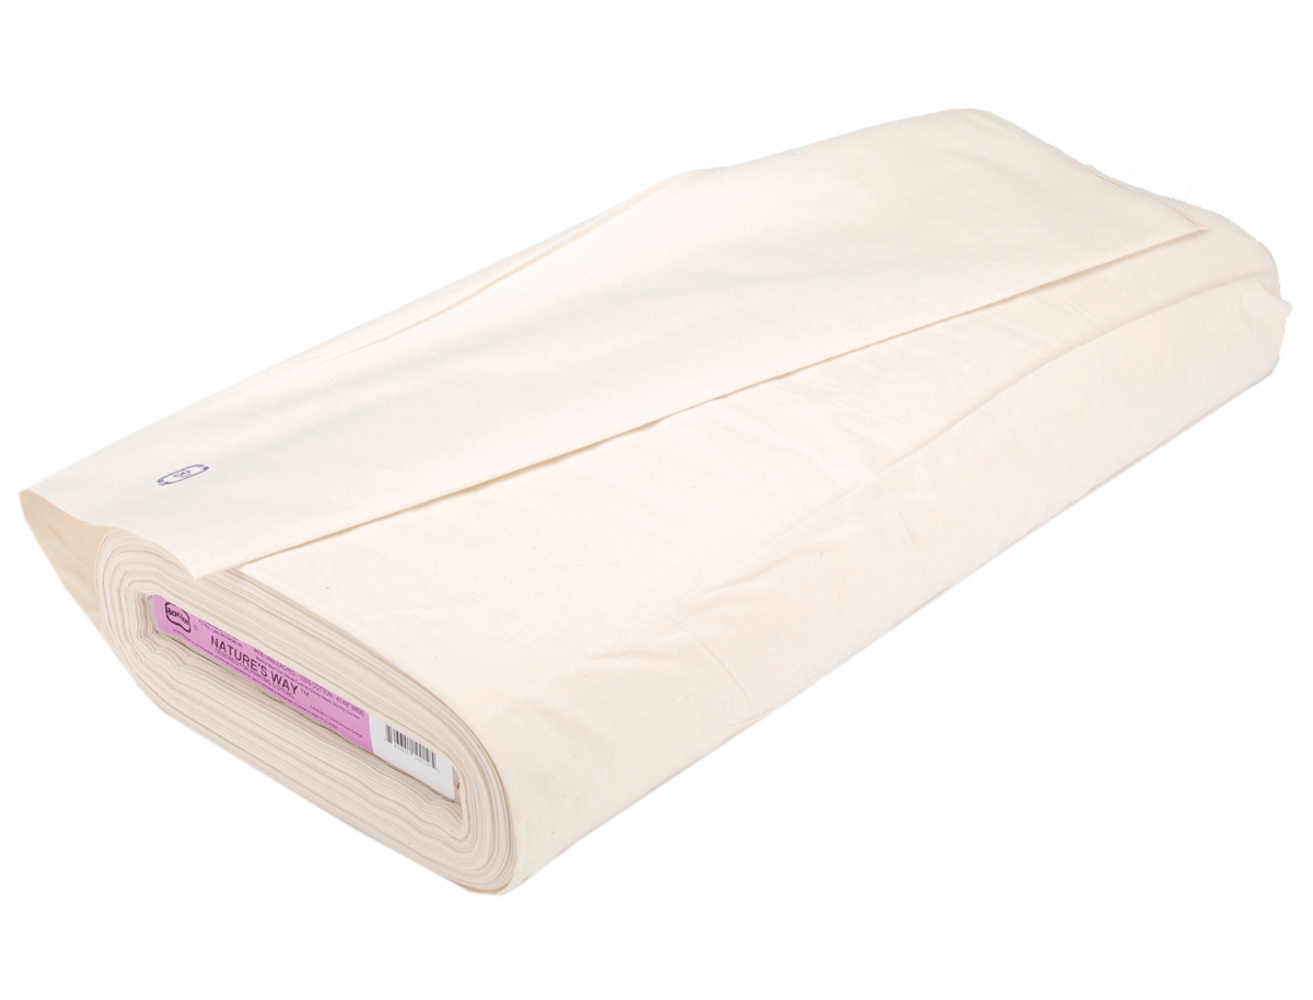
I like to use strips of muslin to anchor the jacket’s lower pockets to the underarms.
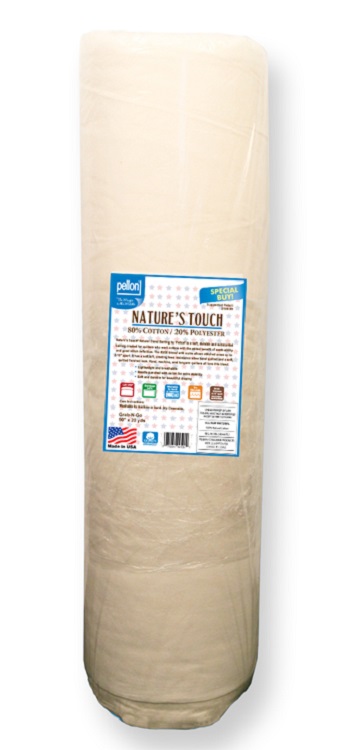
- 1 yard of cotton flannel or batting
This will be used for the upper chest area.
I just used plain black cotton flannel, but you can use whatever color or print you like (and feel free to have some fun with this).
Lightweight cotton batting (such as that pictured to the right) also works fine.
- 1 yard of waistband facing fabric
While you’re free to use whatever fabric you like for your trousers’ waistband, why not go all out with your replica suit?
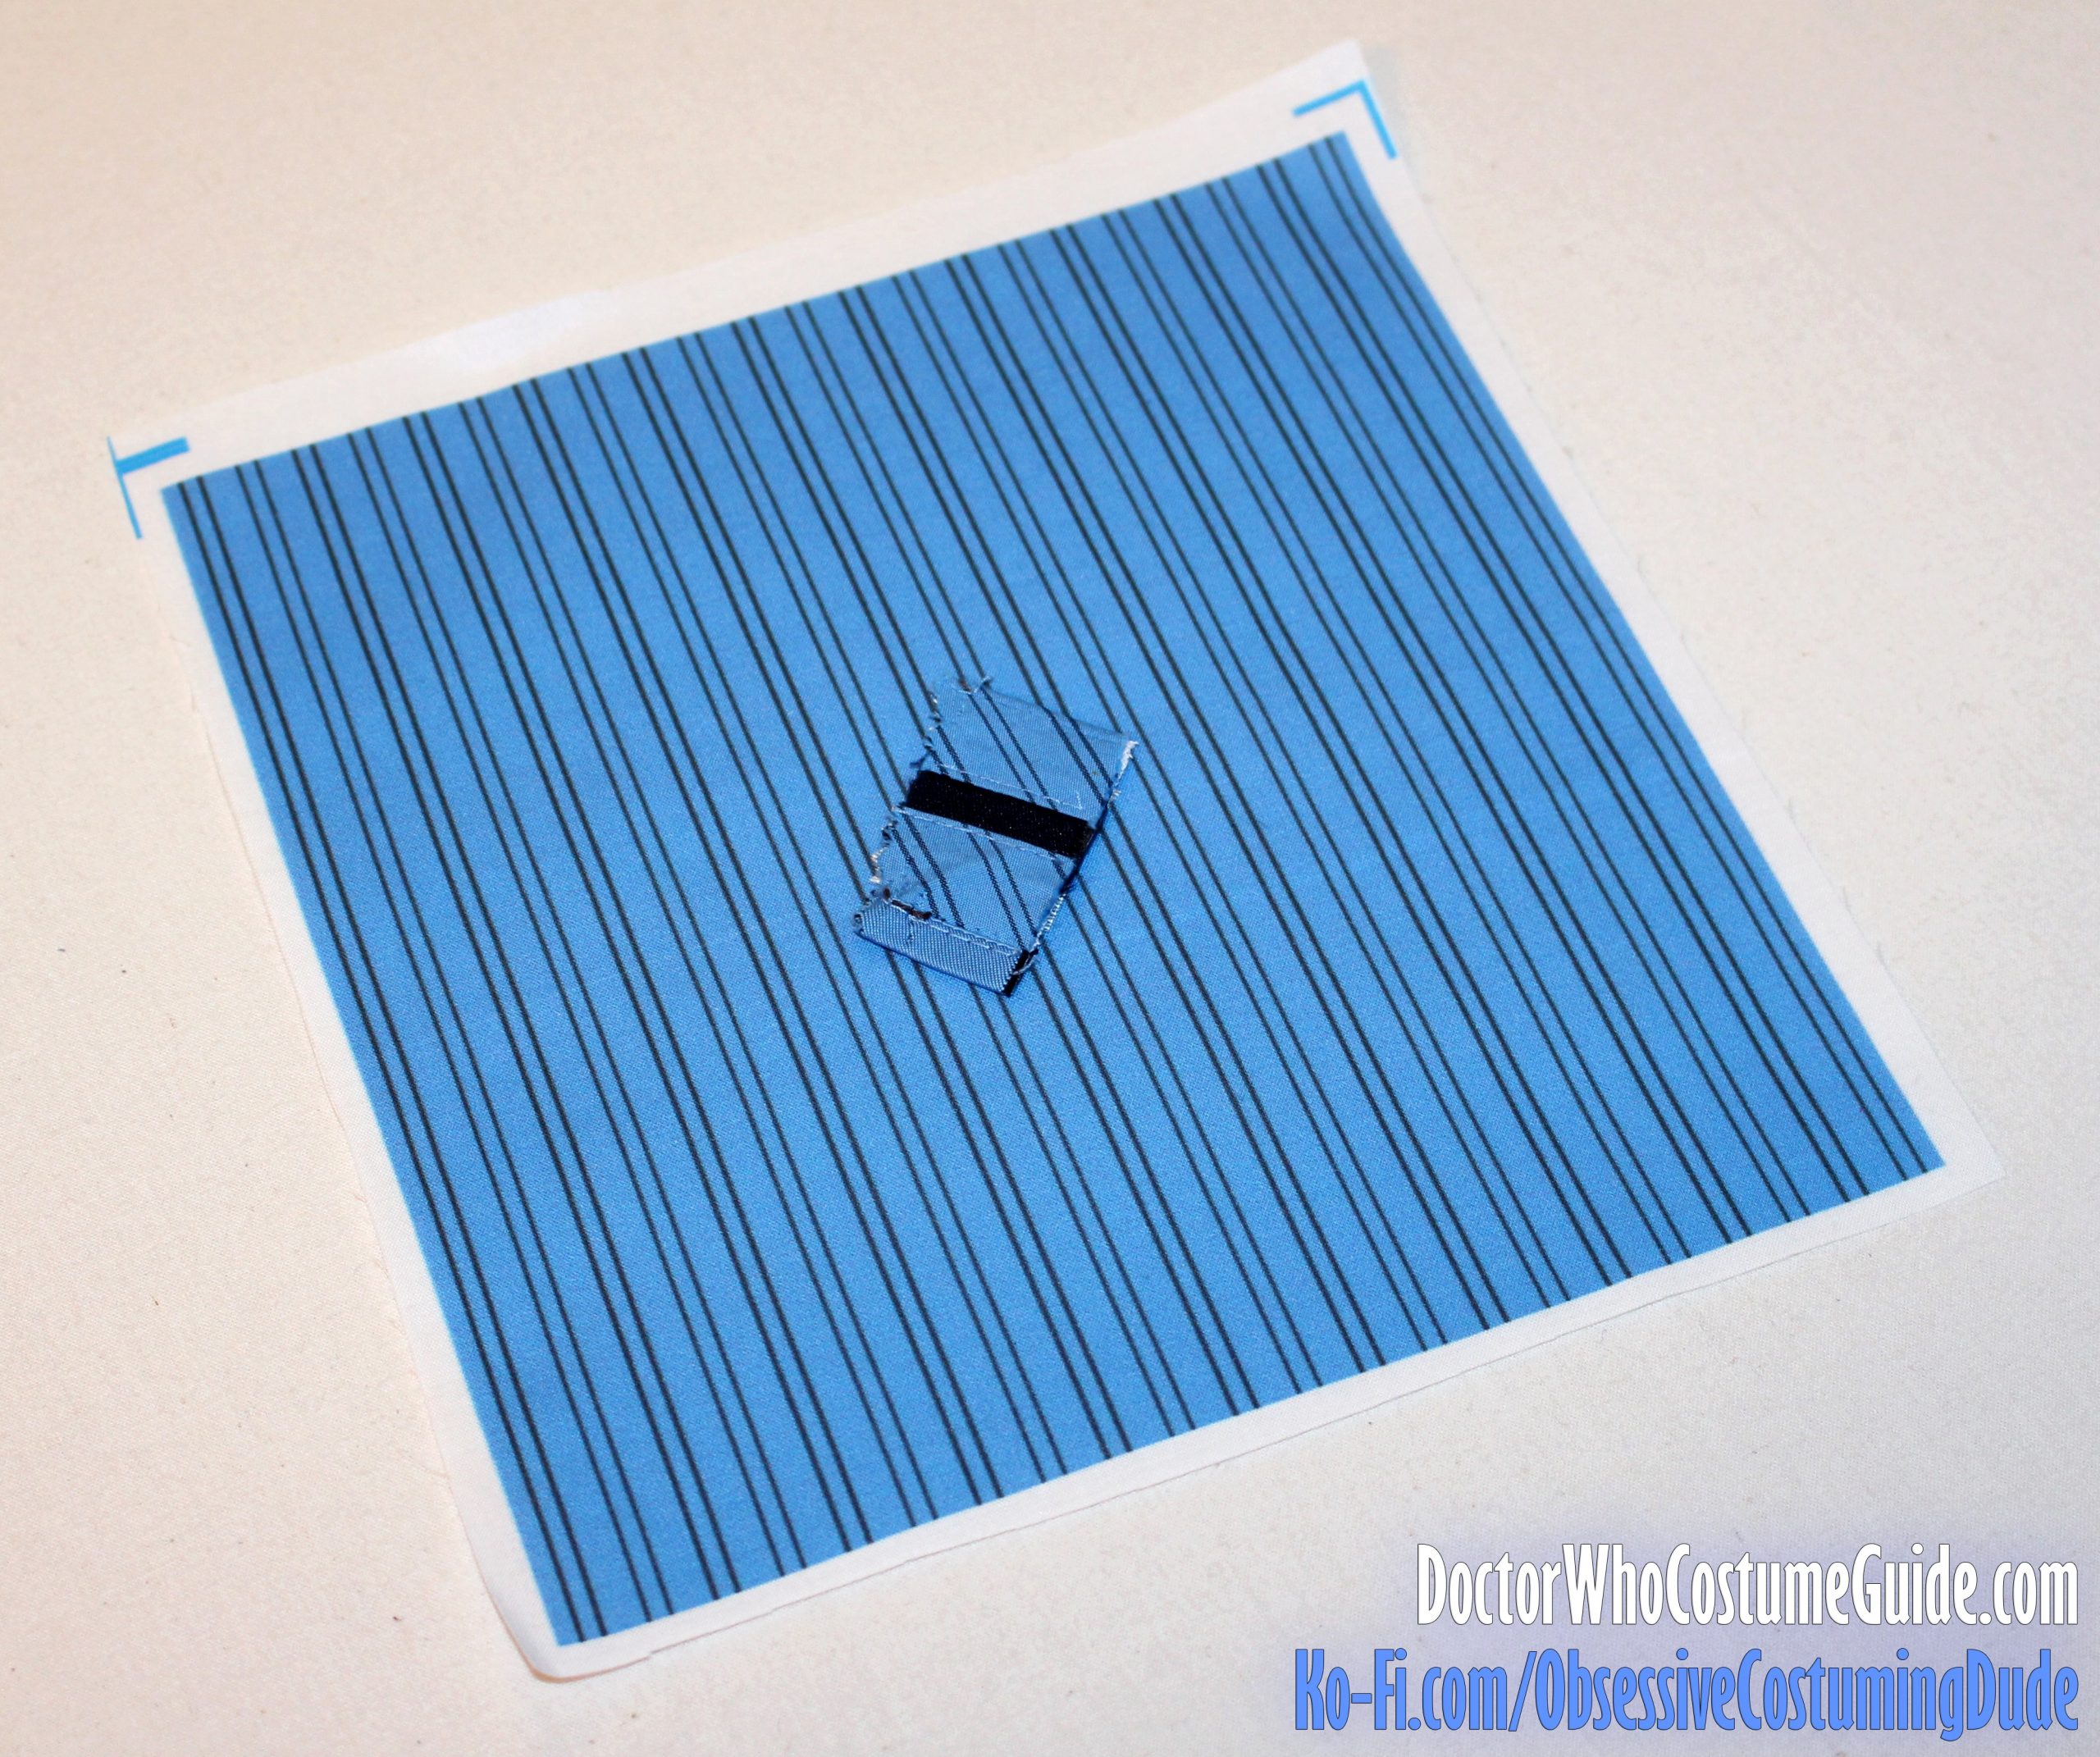
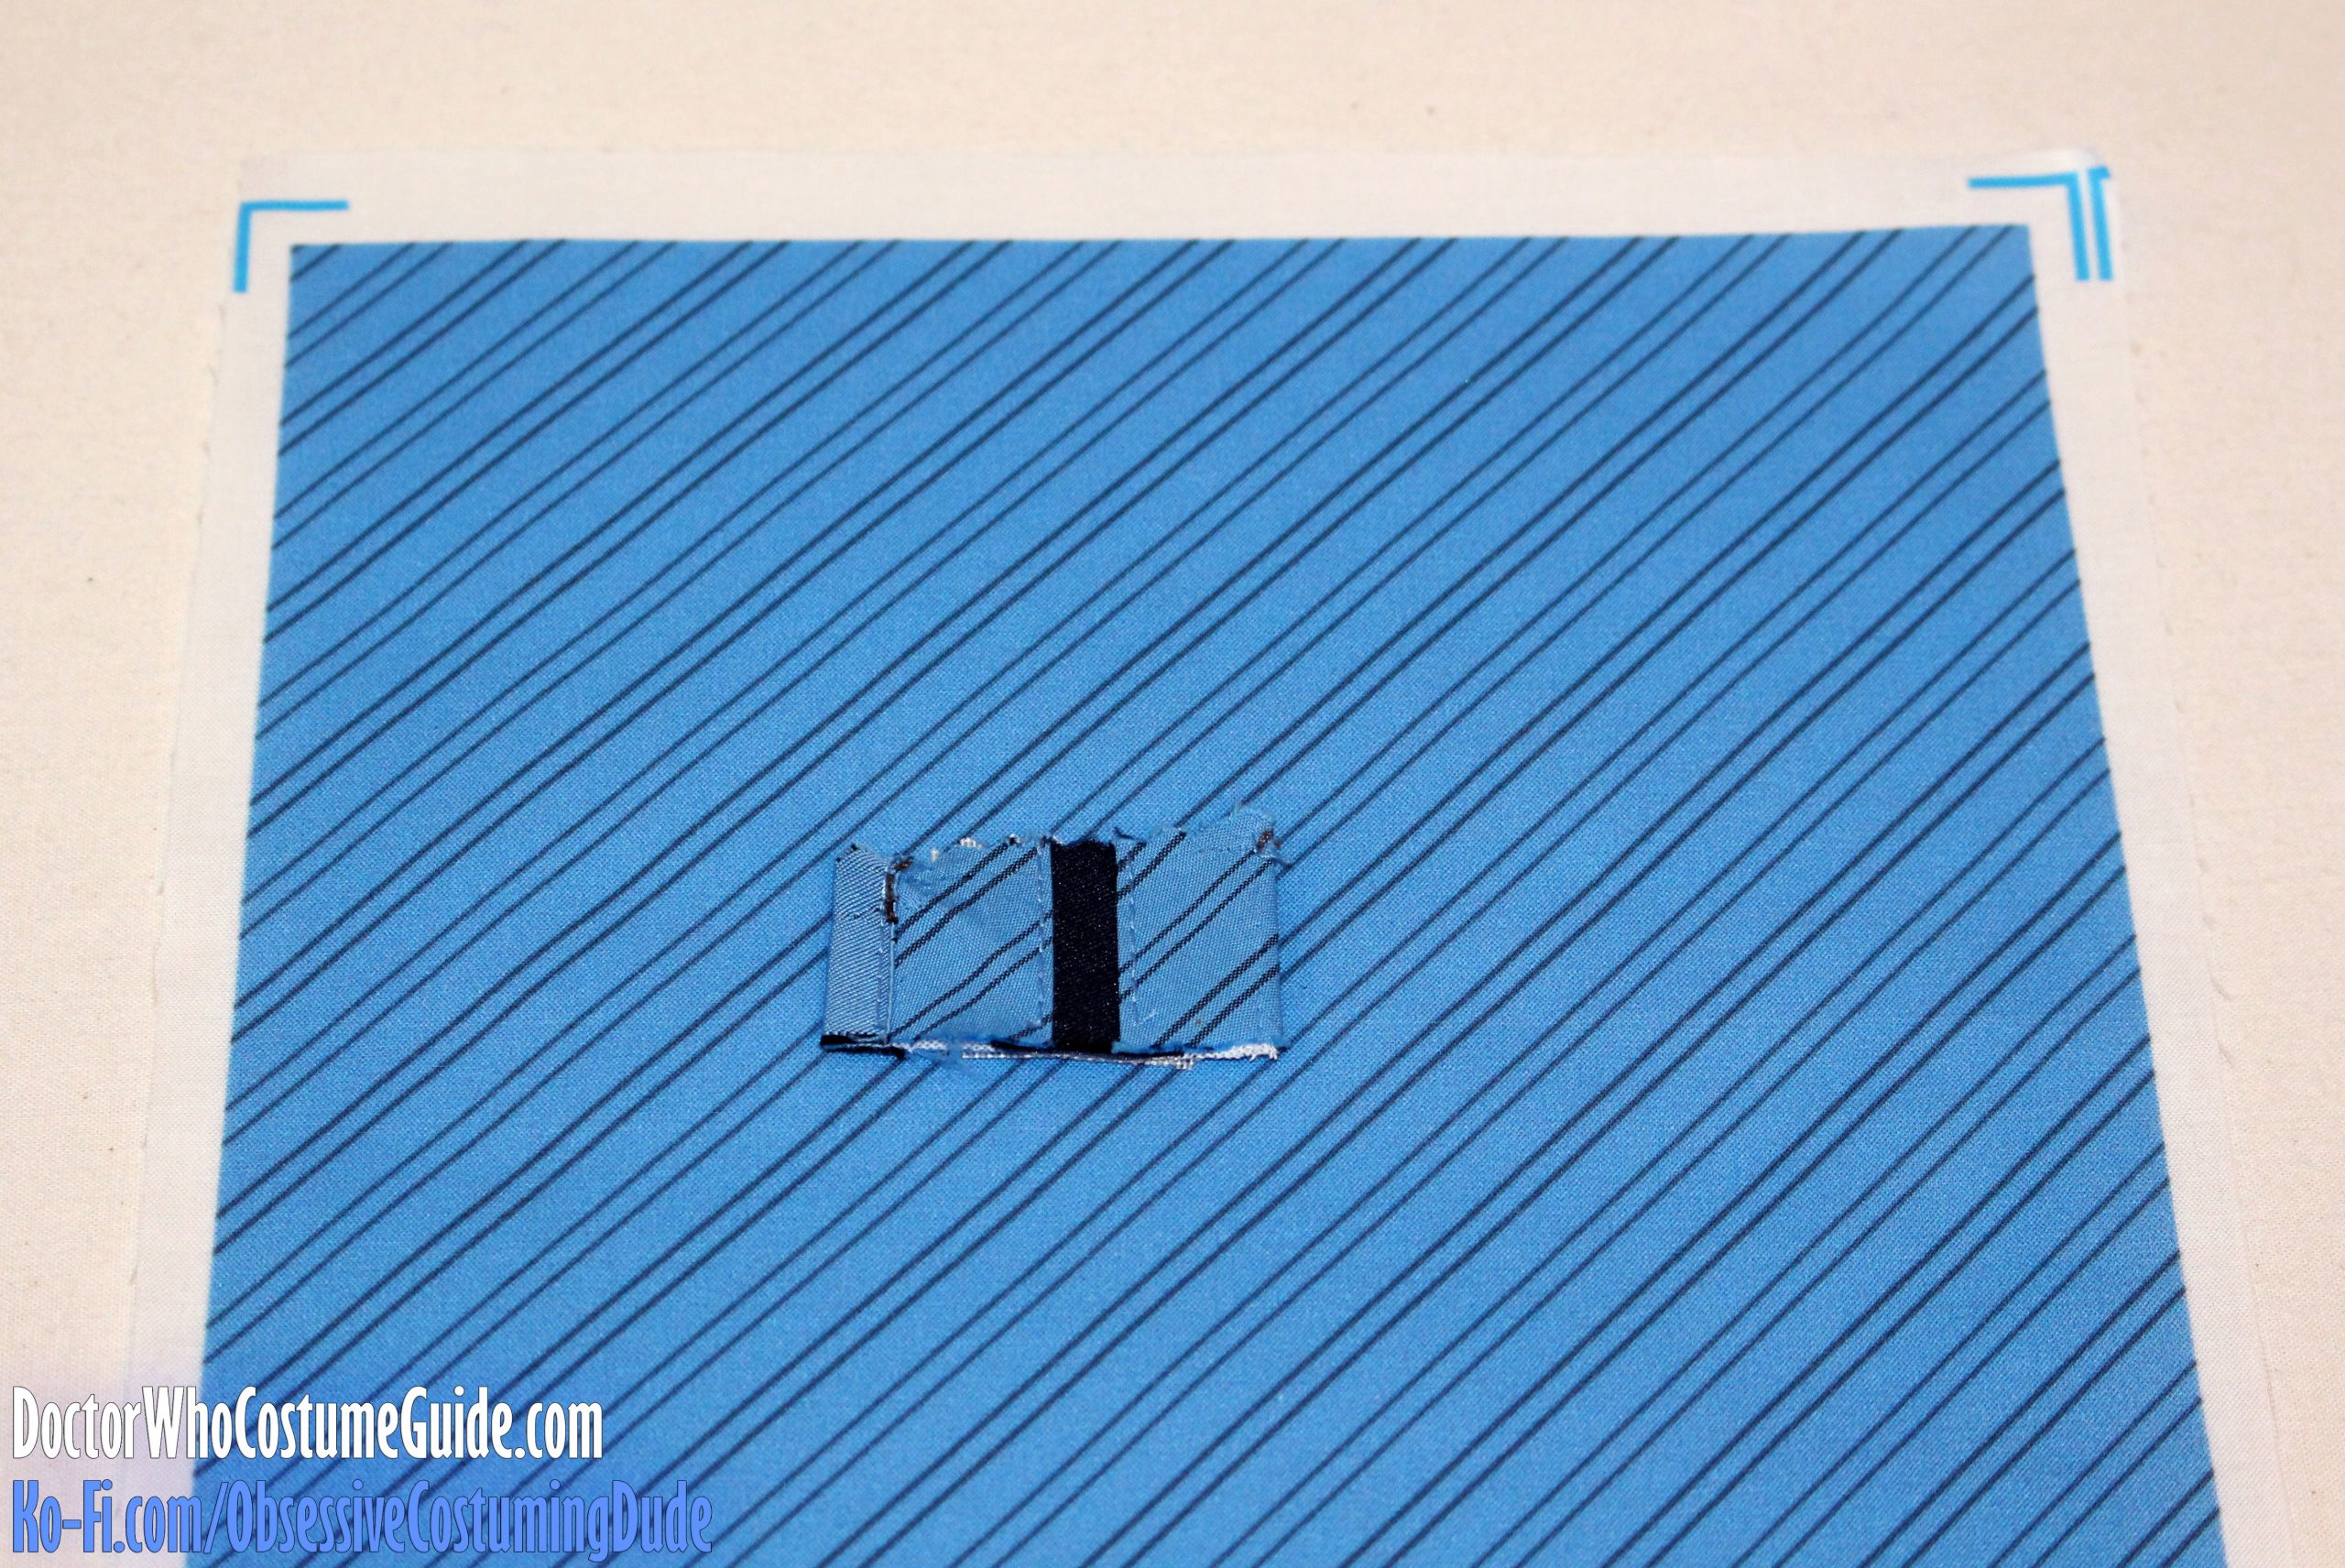
I designed a Spoonflower print specifically for this purpose, which is a very close match to the original GAP trousers’ waistband fabric.
In fact, I made TWO! One has the stripes going vertically (parallel to the selvage), and the other has the stripes already printed on the diagonal for easy cutting.
You’re welcome to use either of them.
Their “basic cotton ultra” looks and works great.
ACCESSORIES, NOTIONS, SUPPLIES, etc.
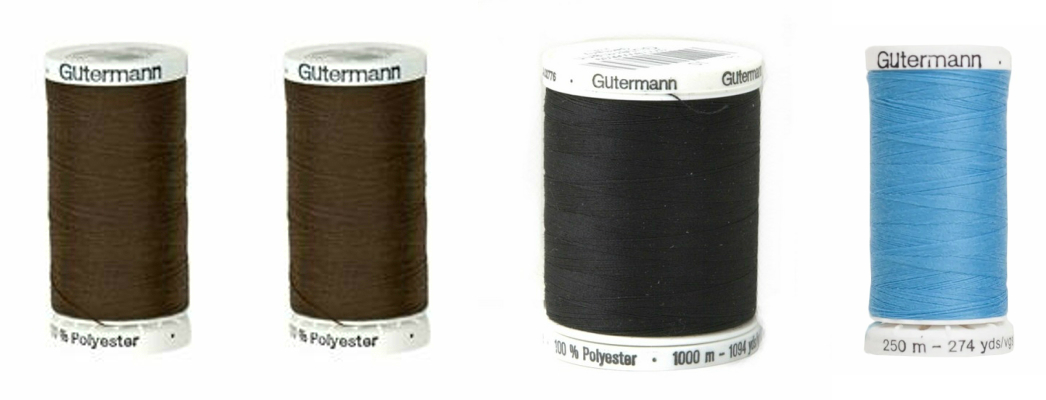
- 2 spools of brown thread
- 1 spool of black thread
- 1 spool of “sky blue” thread
- Brown waxed (ideally silk) thread
You can buy thread and wax it yourself, or you can buy pre-waxed thread.
I use waxed silamide (2-ply nylon) thread from Wawak Sewing Supplies:
While it works wonderfully, it can be annoying to unwind from the cardboard skein.

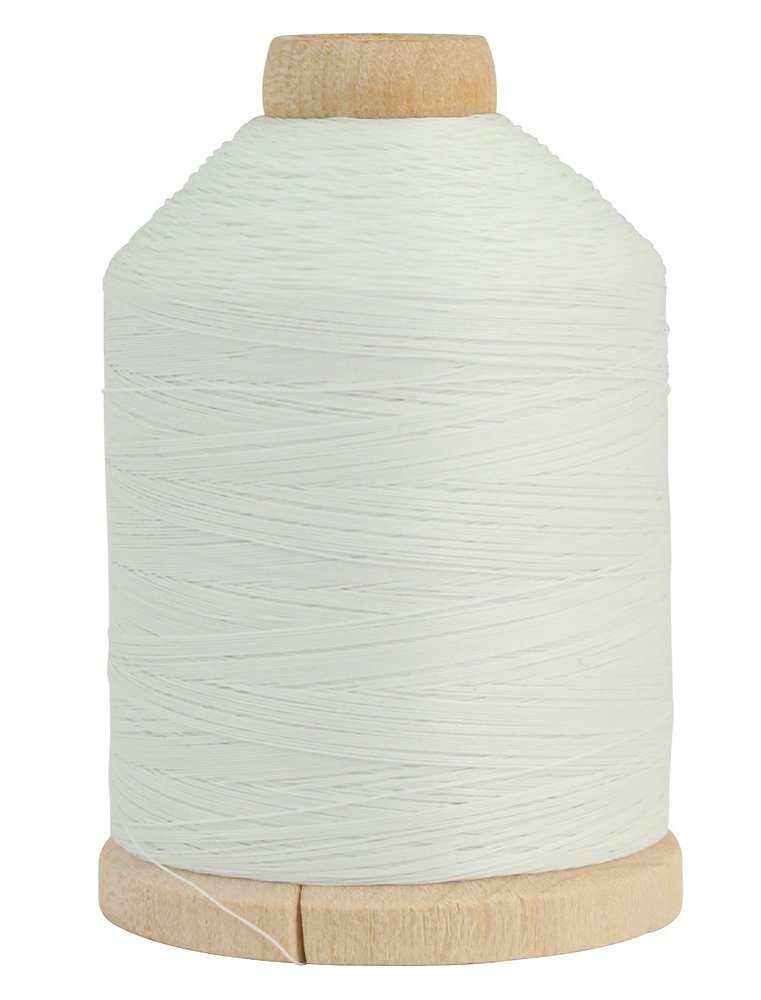
- Cotton basting thread
I use and recommend #40 basting thread, also from Wawak Sewing Supplies:
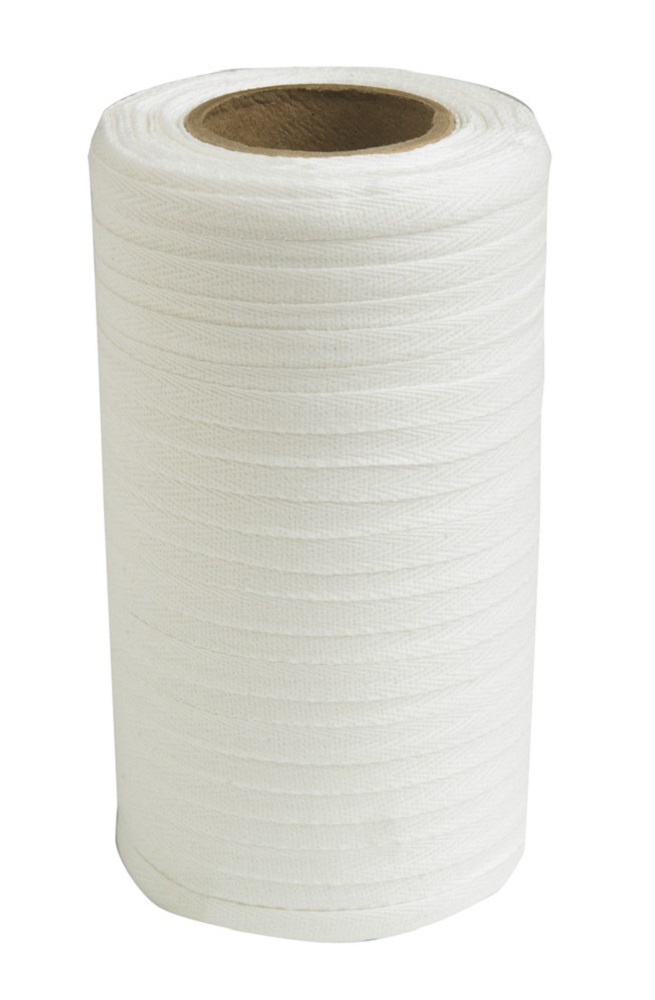
⅜” cotton twill tape
I’ve used and recommend the “Fine Cotton Edge Tape,” again from Wawak Sewing Supplies.
A single spool/roll should last for many, many projects like this!
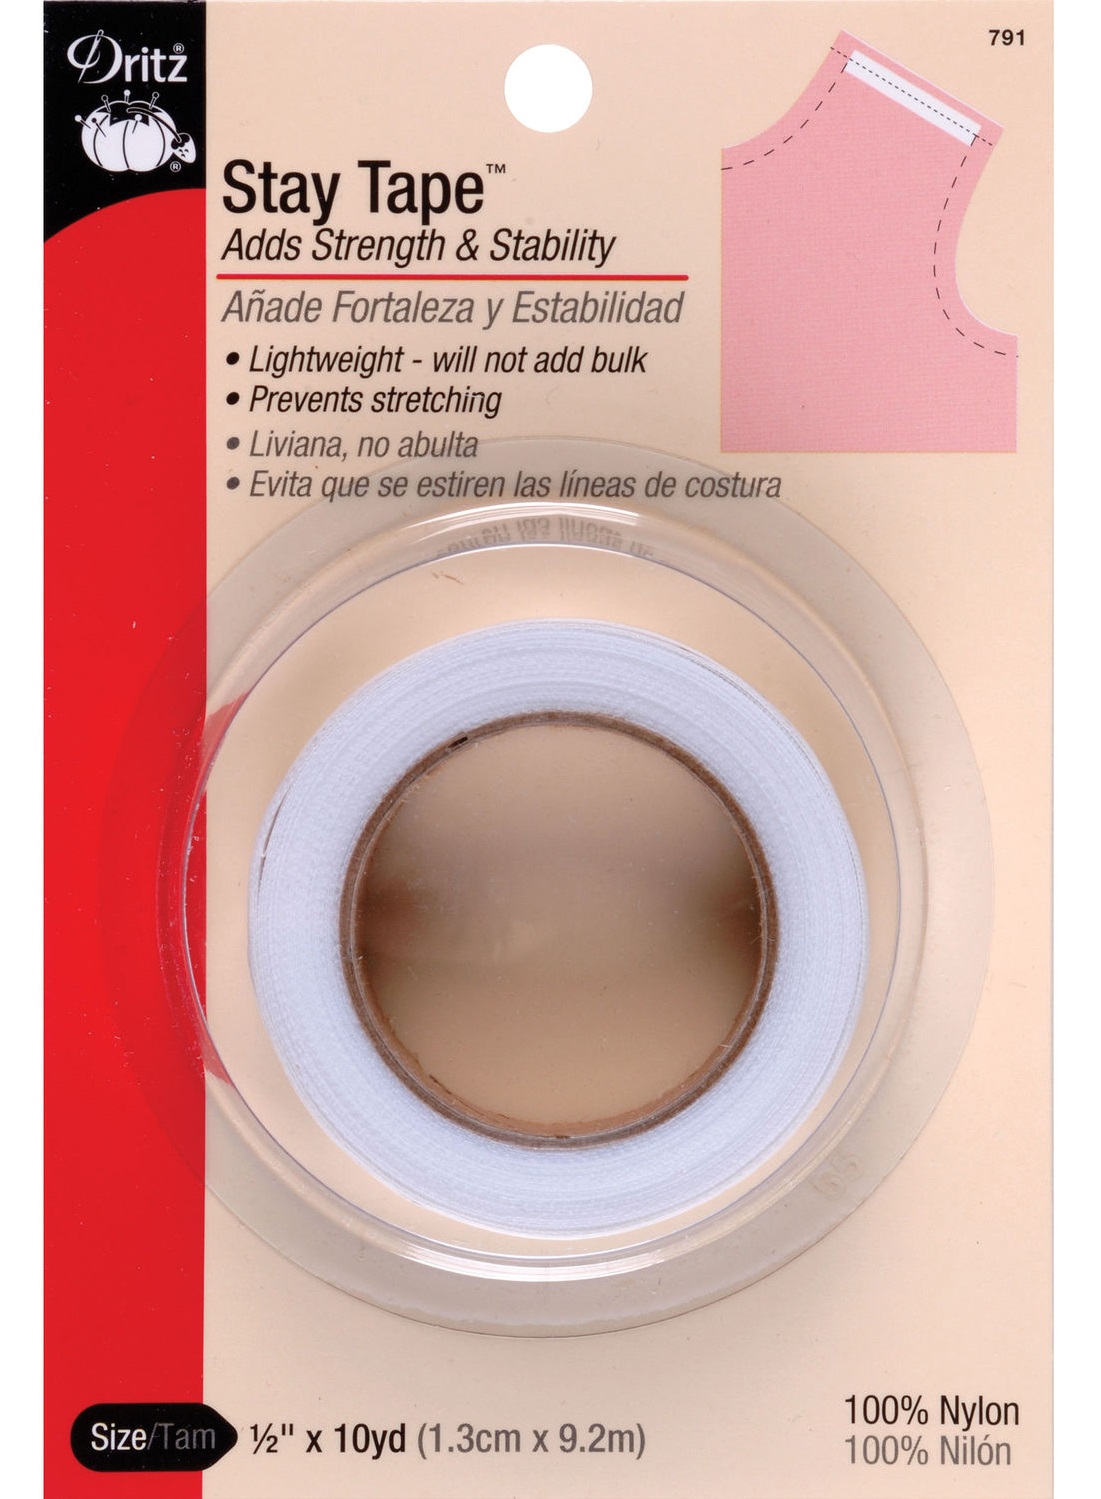
½” nylon stay tape
Although the ⅜” cotton twill stay tape is most commonly used for tailoring, I do like to use the ½” nylon stay tape in certain areas because the bulk it adds is negligible.
To this end, Dritz’ ½” nylon stay tape works great and should be readily available at your local fabric store.
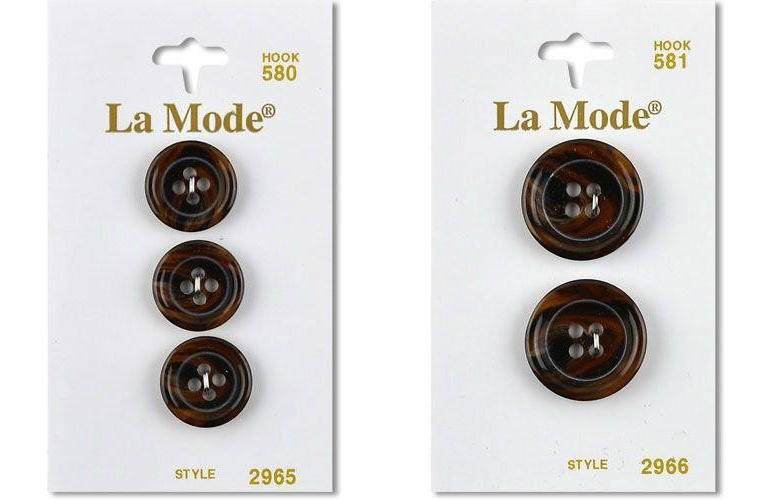
Eight ½” or ⅝” brown buttons
Five ¾” brown buttons
For the suit I made in this tutorial, I used La Mode #580 and #581 (style 2965 and 2966, respectively).
They’re practically the cosplay jackpot in that they’re a reasonable match for the original buttons on the 10th Doctor’s suit while still being readily available and inexpensive!
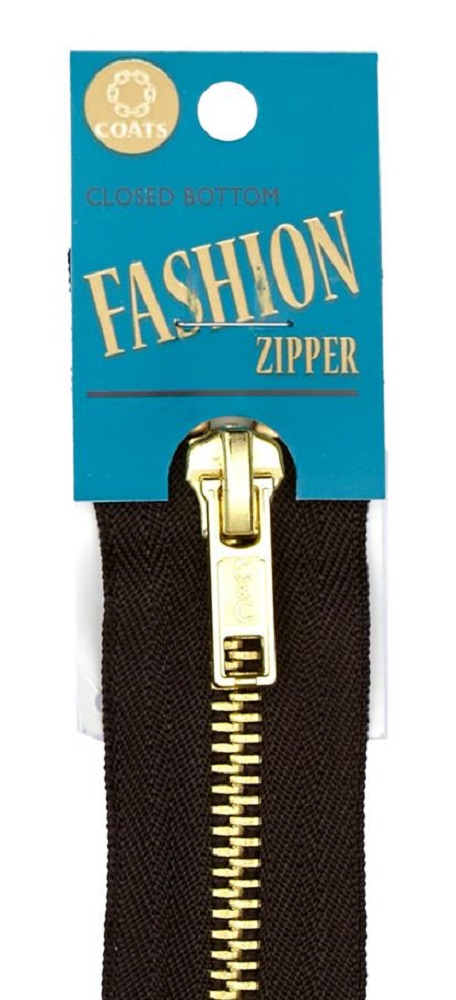
9″ metal zipper (ideally brown with gold teeth)
Two trousers-style hook-and-eye closures
You can use the standard retail trousers-style hook-and-eye closures, which are hand-sewn to the garment.
However, for an authentic GAP trousers replica, use the more professional, prong-type closures!

2 yards of 2” waistband bias canvas
This is to help provide structure for the trousers waistband.
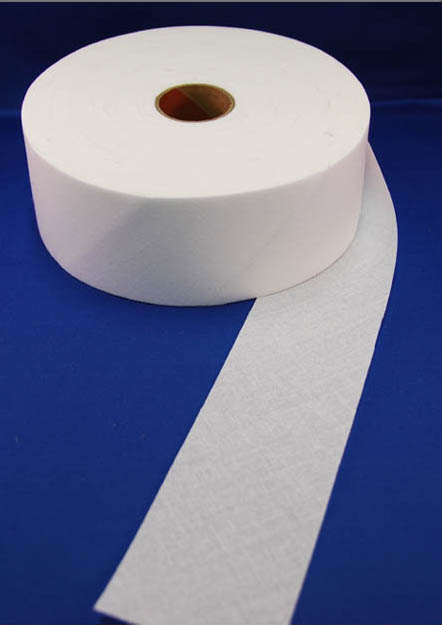
2 yards of 1 ½” Ban Roll
This is to help provide structure for the trousers waistband.
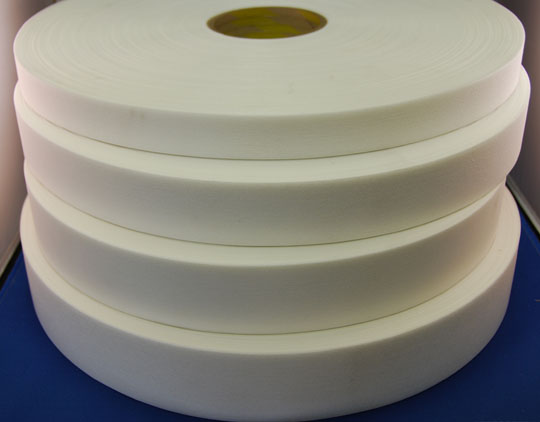
2 yards of ½” or 9/16” seam binding
Wawak’s “medium blue” is a decent color match to the seam binding on the original GAP trousers’ waistband facing (see right).
However, for something slightly closer to the color of the original GAP trousers’ seam binding, I suggest ordering white and dyeing it with Dharma’s “Sky Blue.”
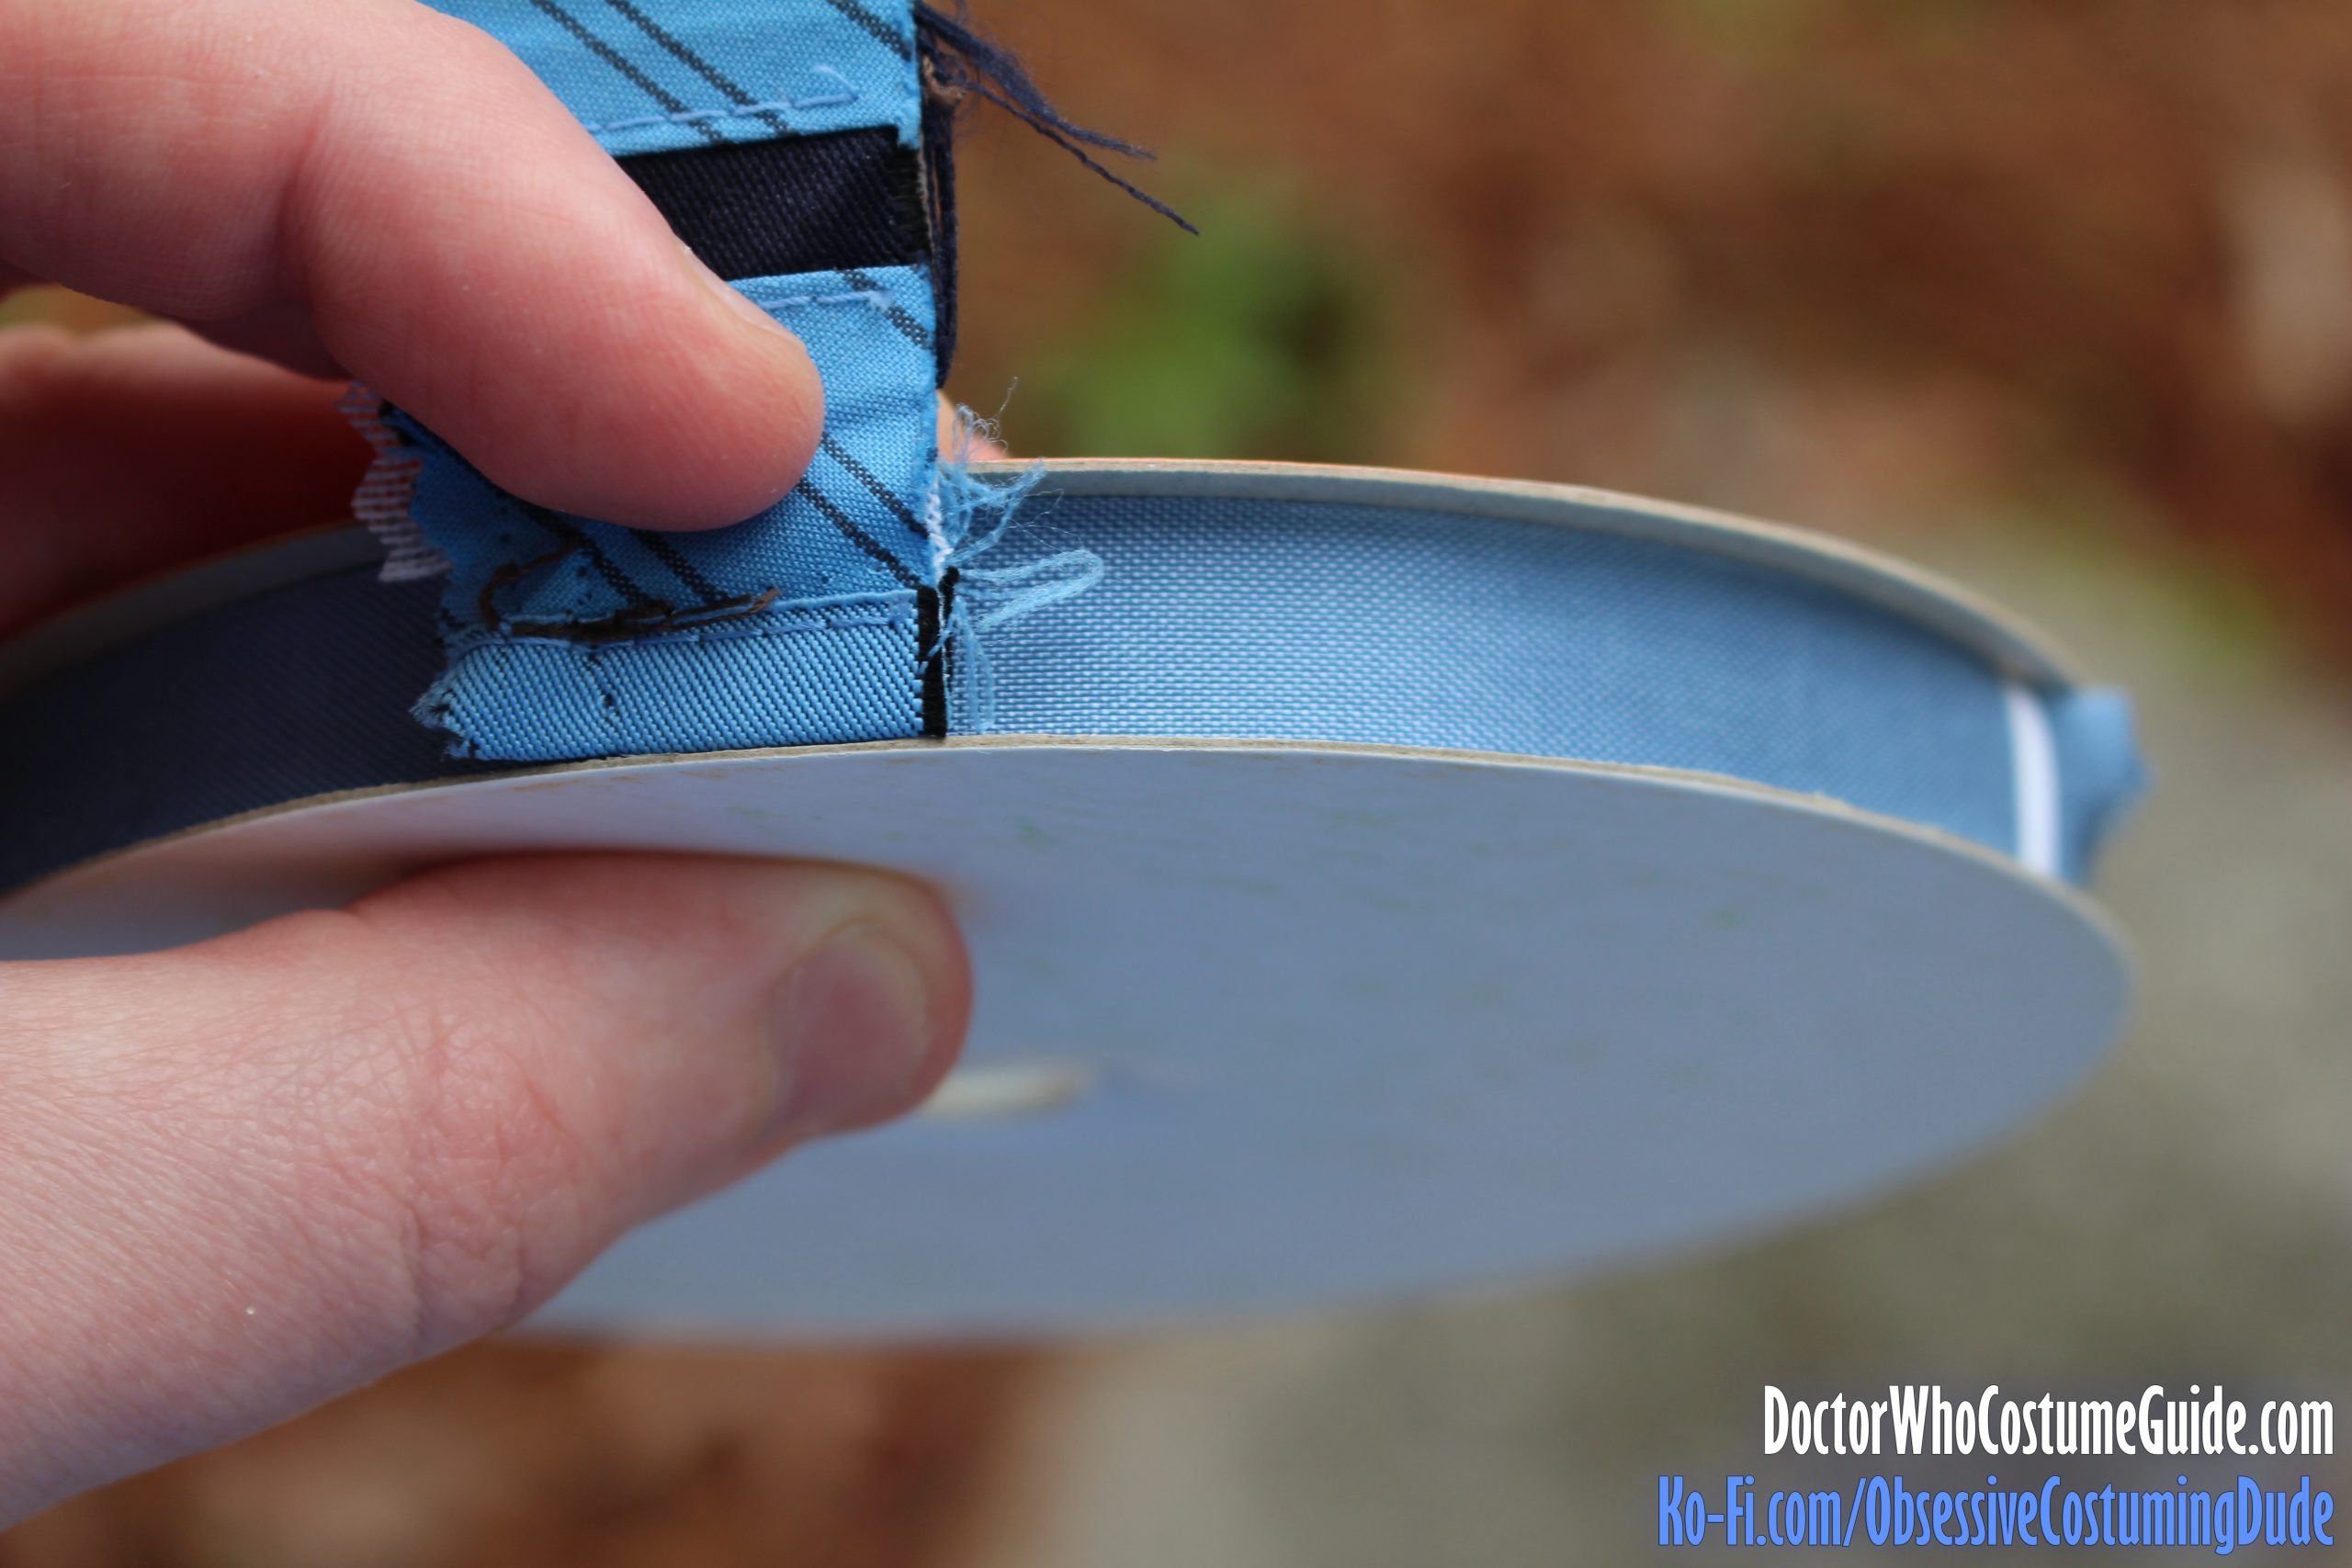
Neither is a perfect match, but both are solid options for this particular element of the trousers.
2 yards of turquoise ¼” bias tape
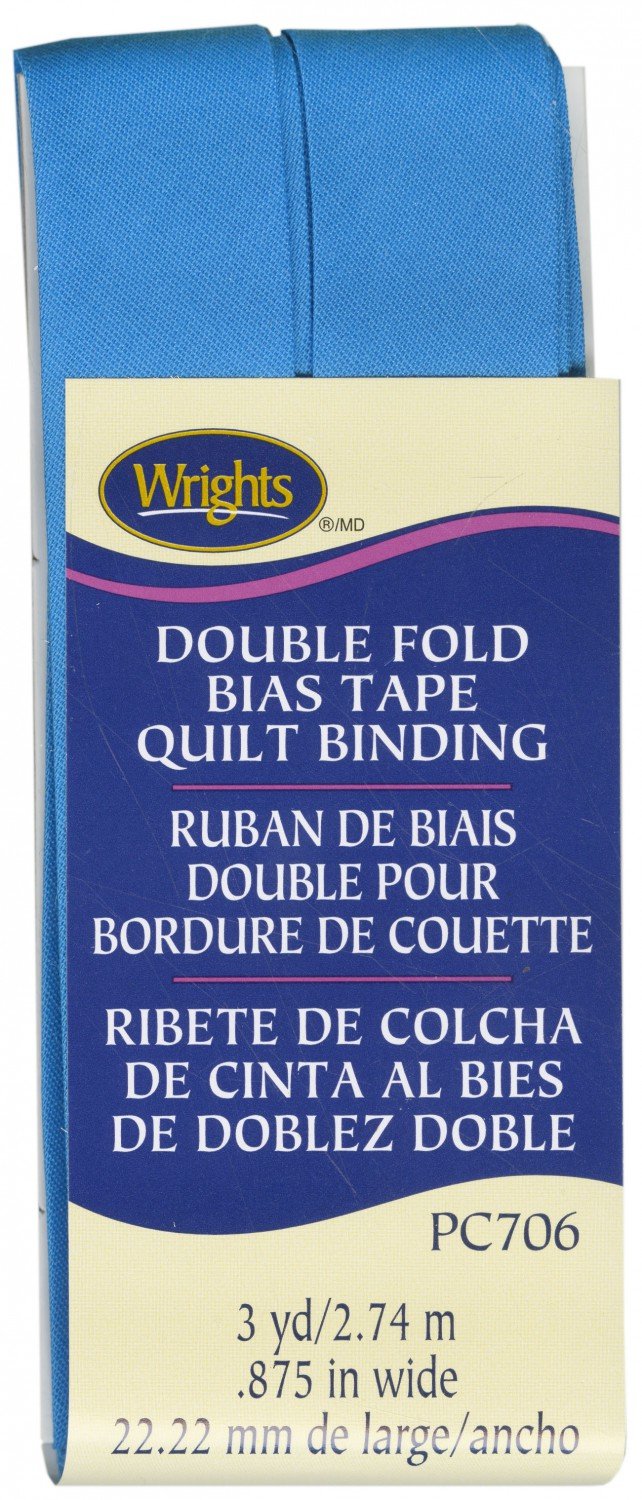
While you can use the same seam binding mentioned above, the original GAP trousers’ center back and fly seam allowances were bound with turquoise bias tape.
At my local fabric store, the specific color I wanted (“Porcelain blue”) was only available in wider quilt binding, so I used that and trimmed it down into narrower strips of custom bias tape.
1 pair of shoulder pads
For the best results, I recommend either making your own custom shoulder pads, or using pre-made pads such as those available from B. Black and Sons:
(For shoulders with average slope, I suggest using the 6-ply pads. Increase or decrease the loft of the shoulder pad accordingly for sloped or square shoulders.)
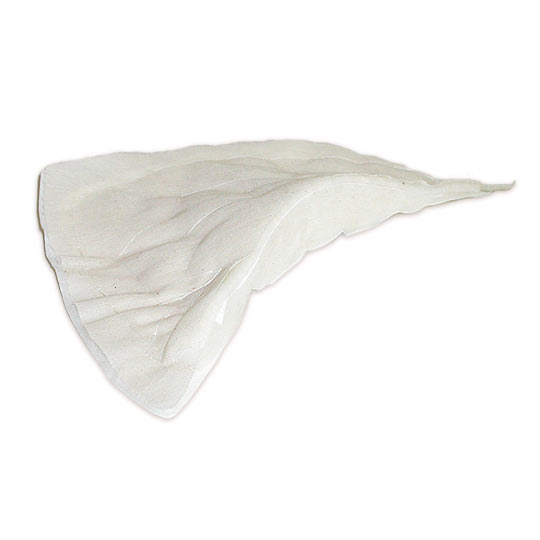
1 pair of sleeve heads
Sleeve heads are easy enough to make on your own, but I find it more convenient to simply use pre-made ones, such as those available from B. Black and Sons:
There are a few other items which, while not strictly necessary, may make your work easier and/or help produce superior results:
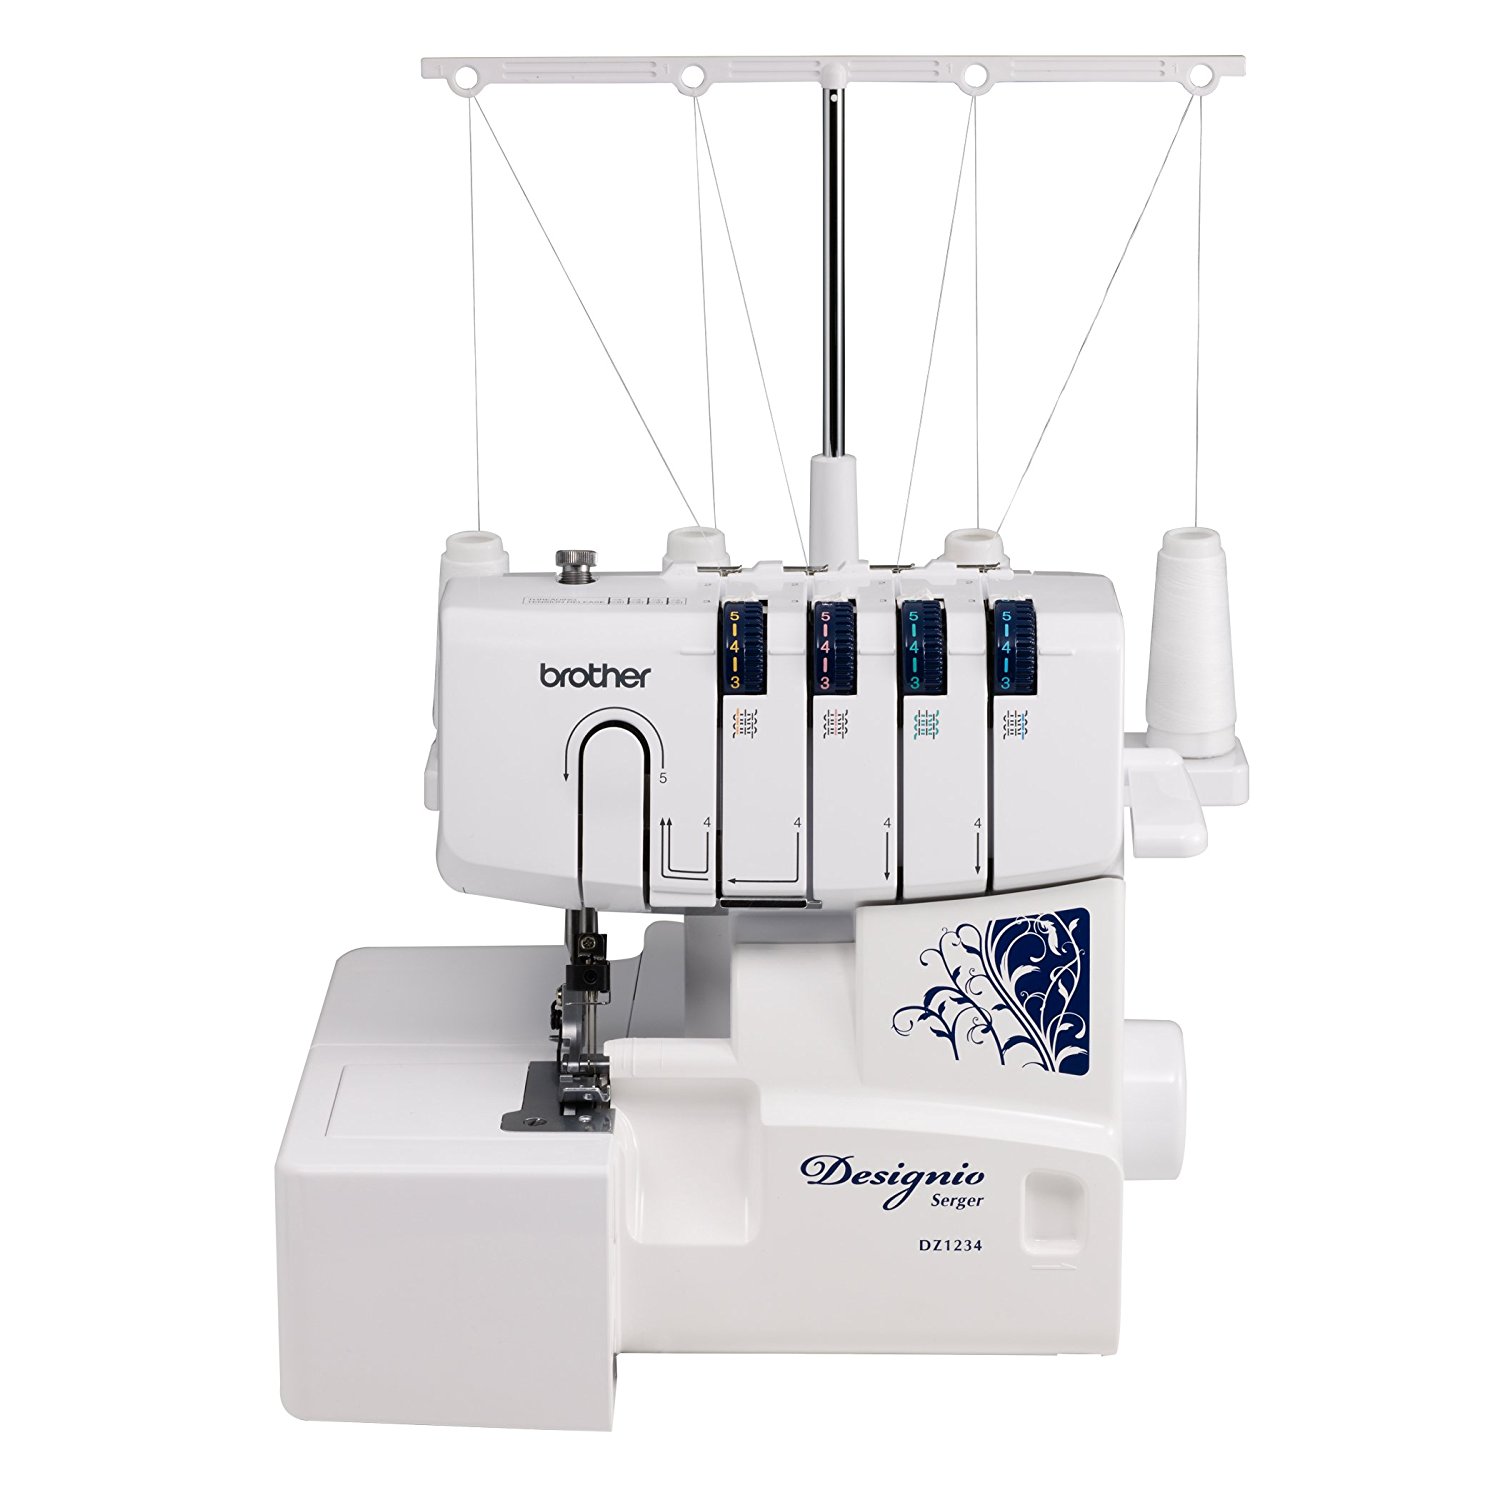
Serger (especially for the trousers)
I use and recommend the Brother Designio Series DZ1234 serger.
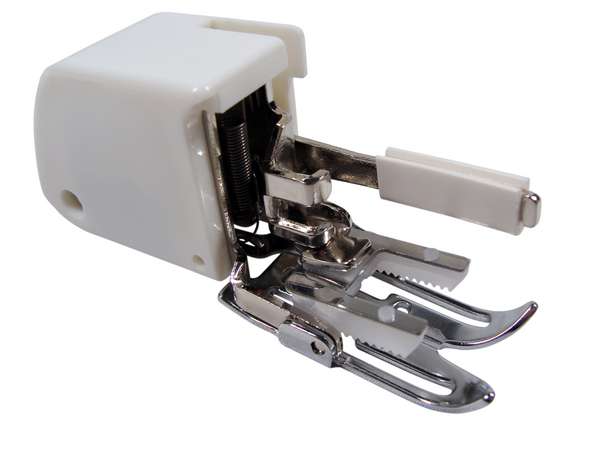
Quilting/walking foot for your sewing machine
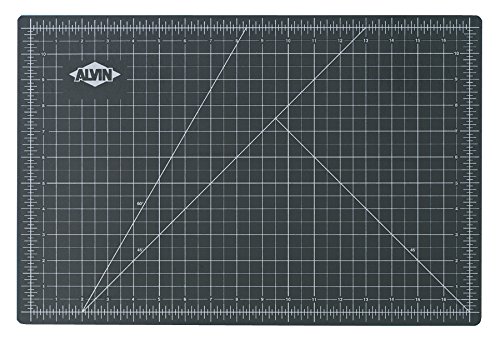
Rotary cutter and cutting mat
Rotary cutters come in a variety of sizes and styles, so just go with what you prefer.
I recommend getting a nice big cutting mat, though, if you have the space for it.
Tailor’s clapper
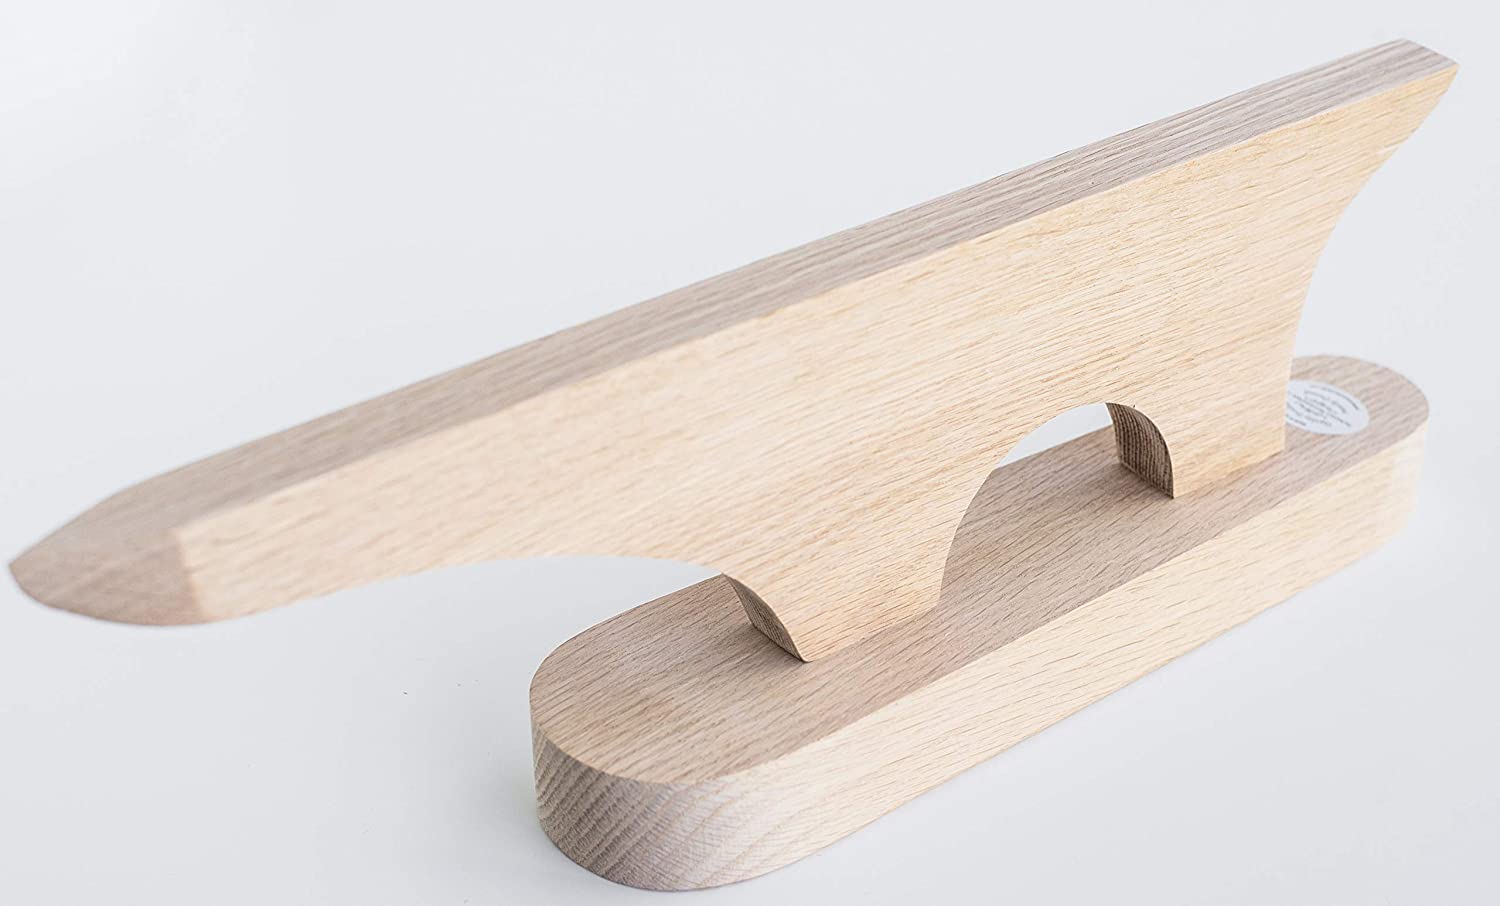
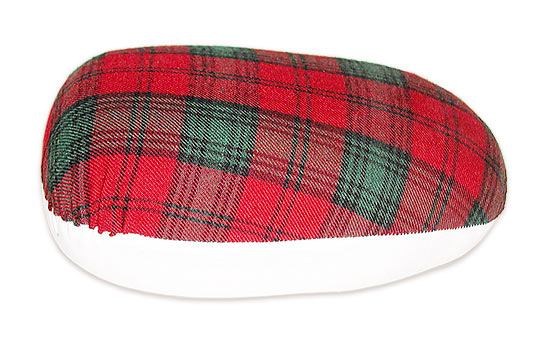
Tailor’s ham
