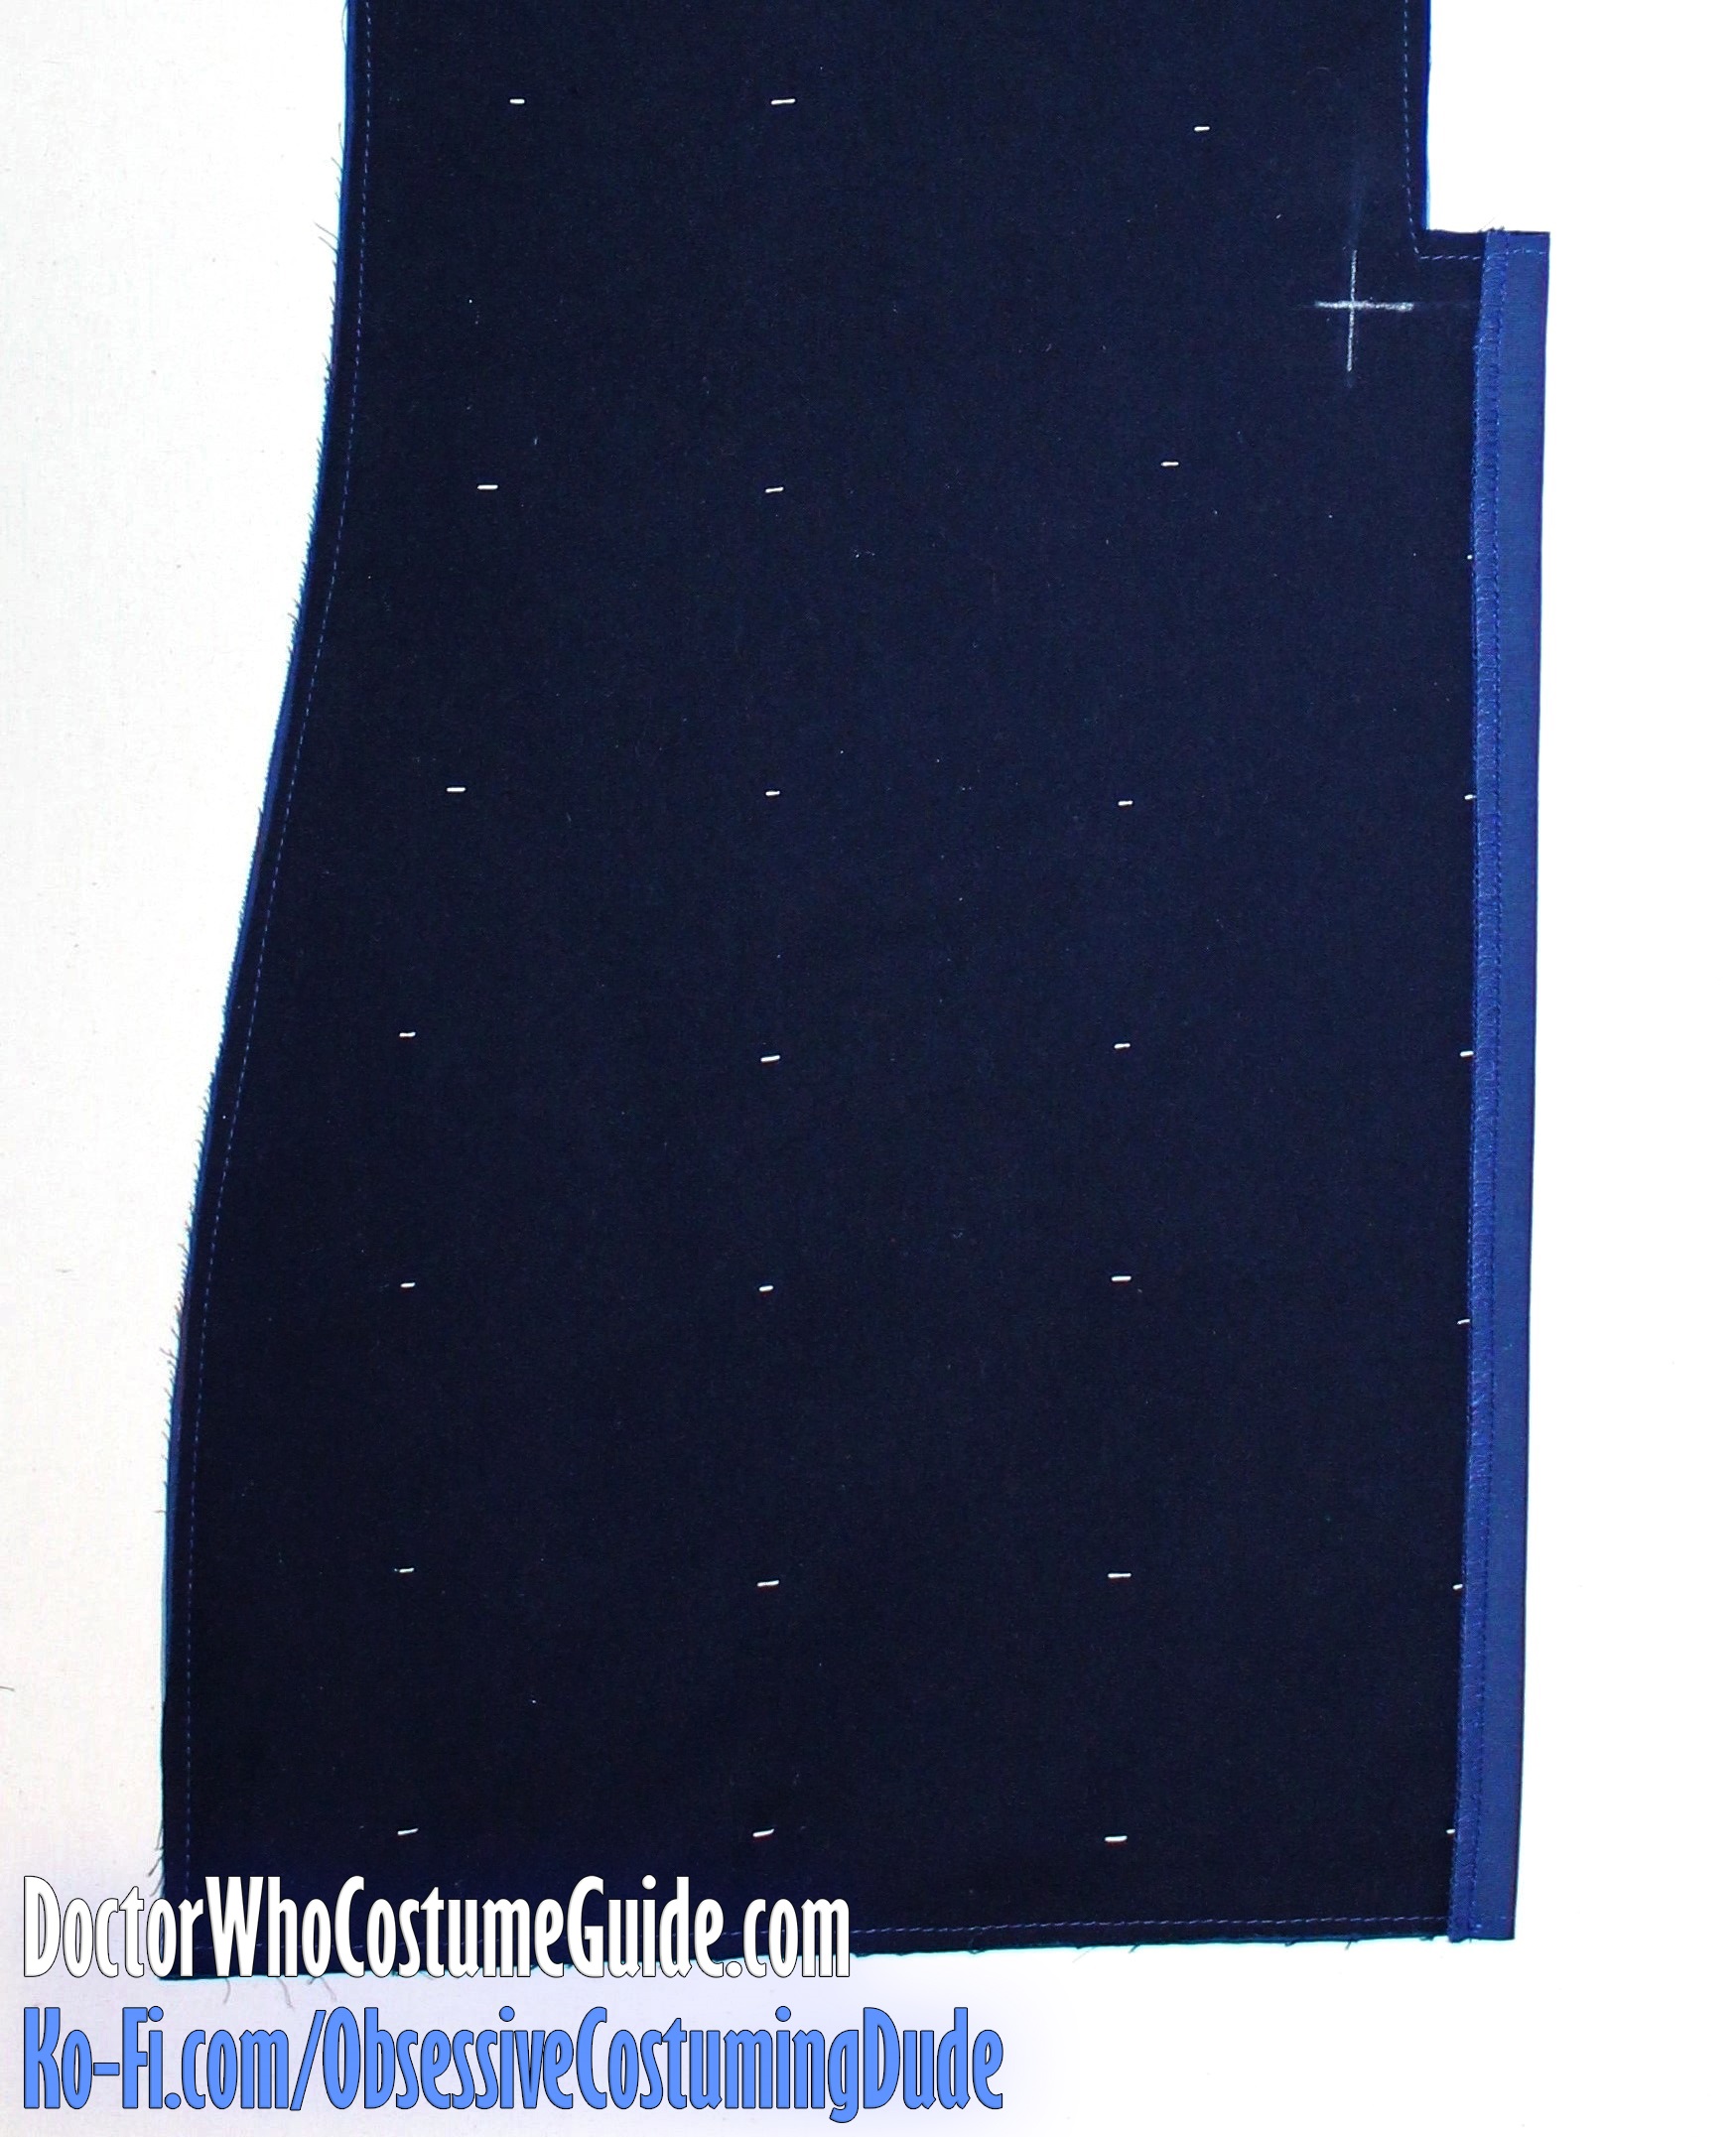
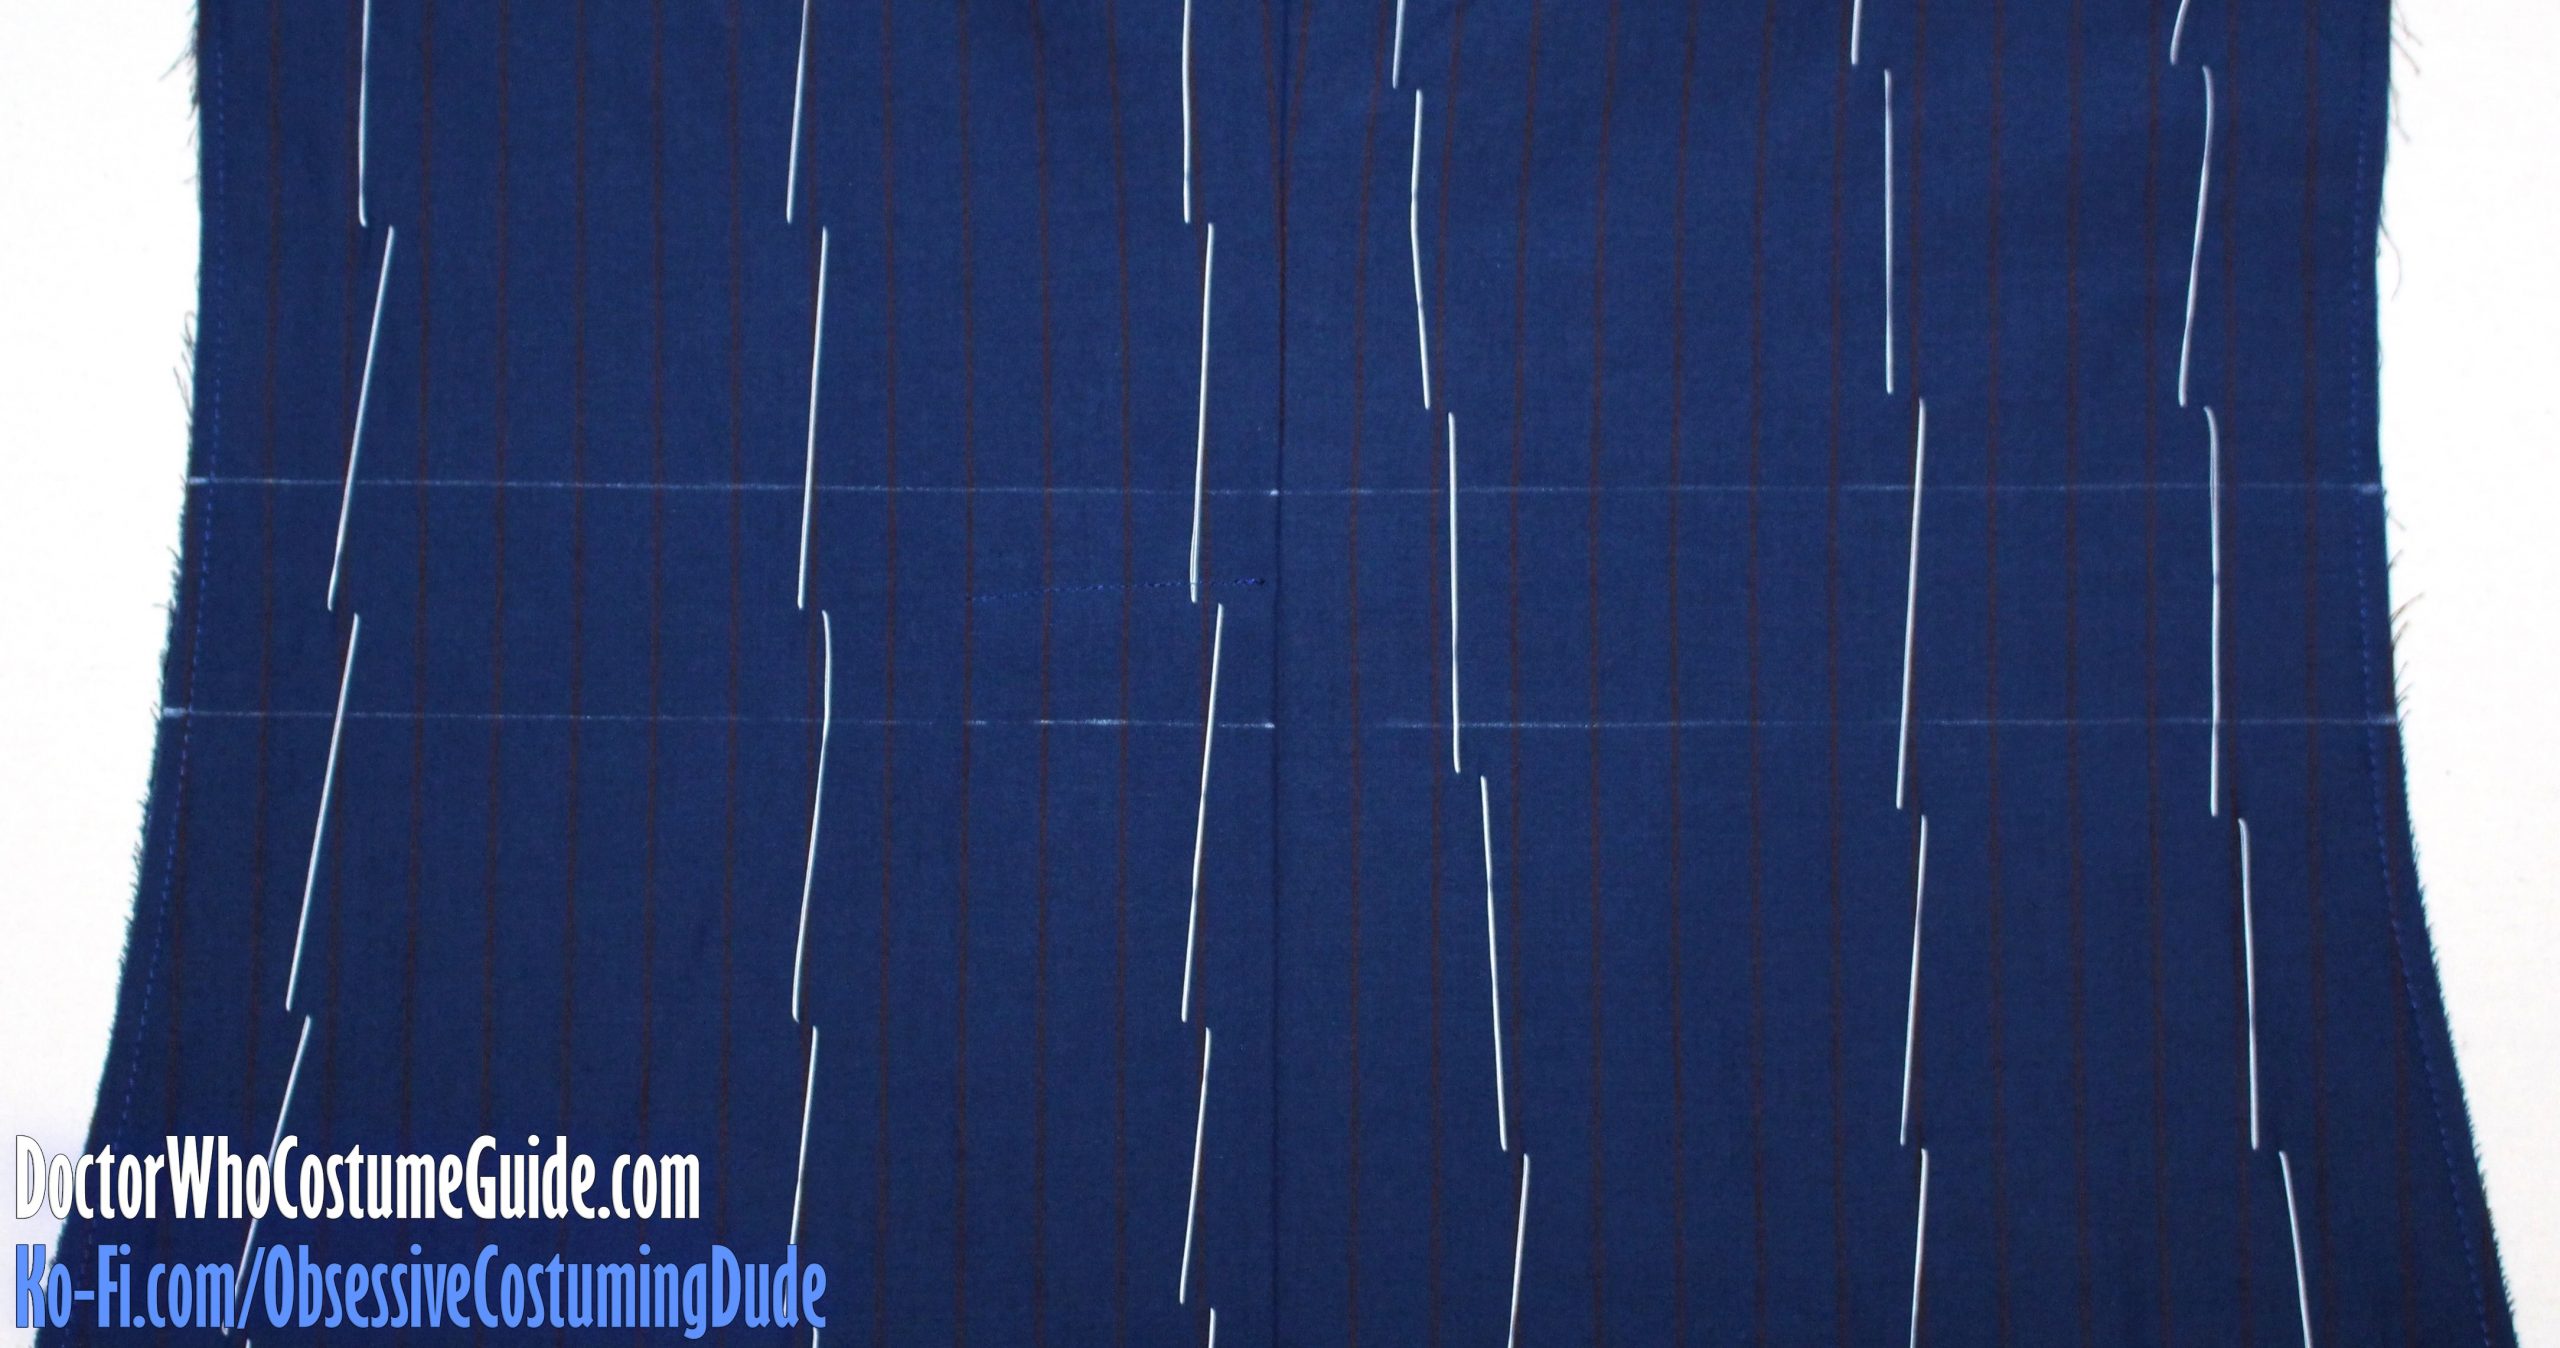
On the underside of the back right, press the outermost vent allowance under.
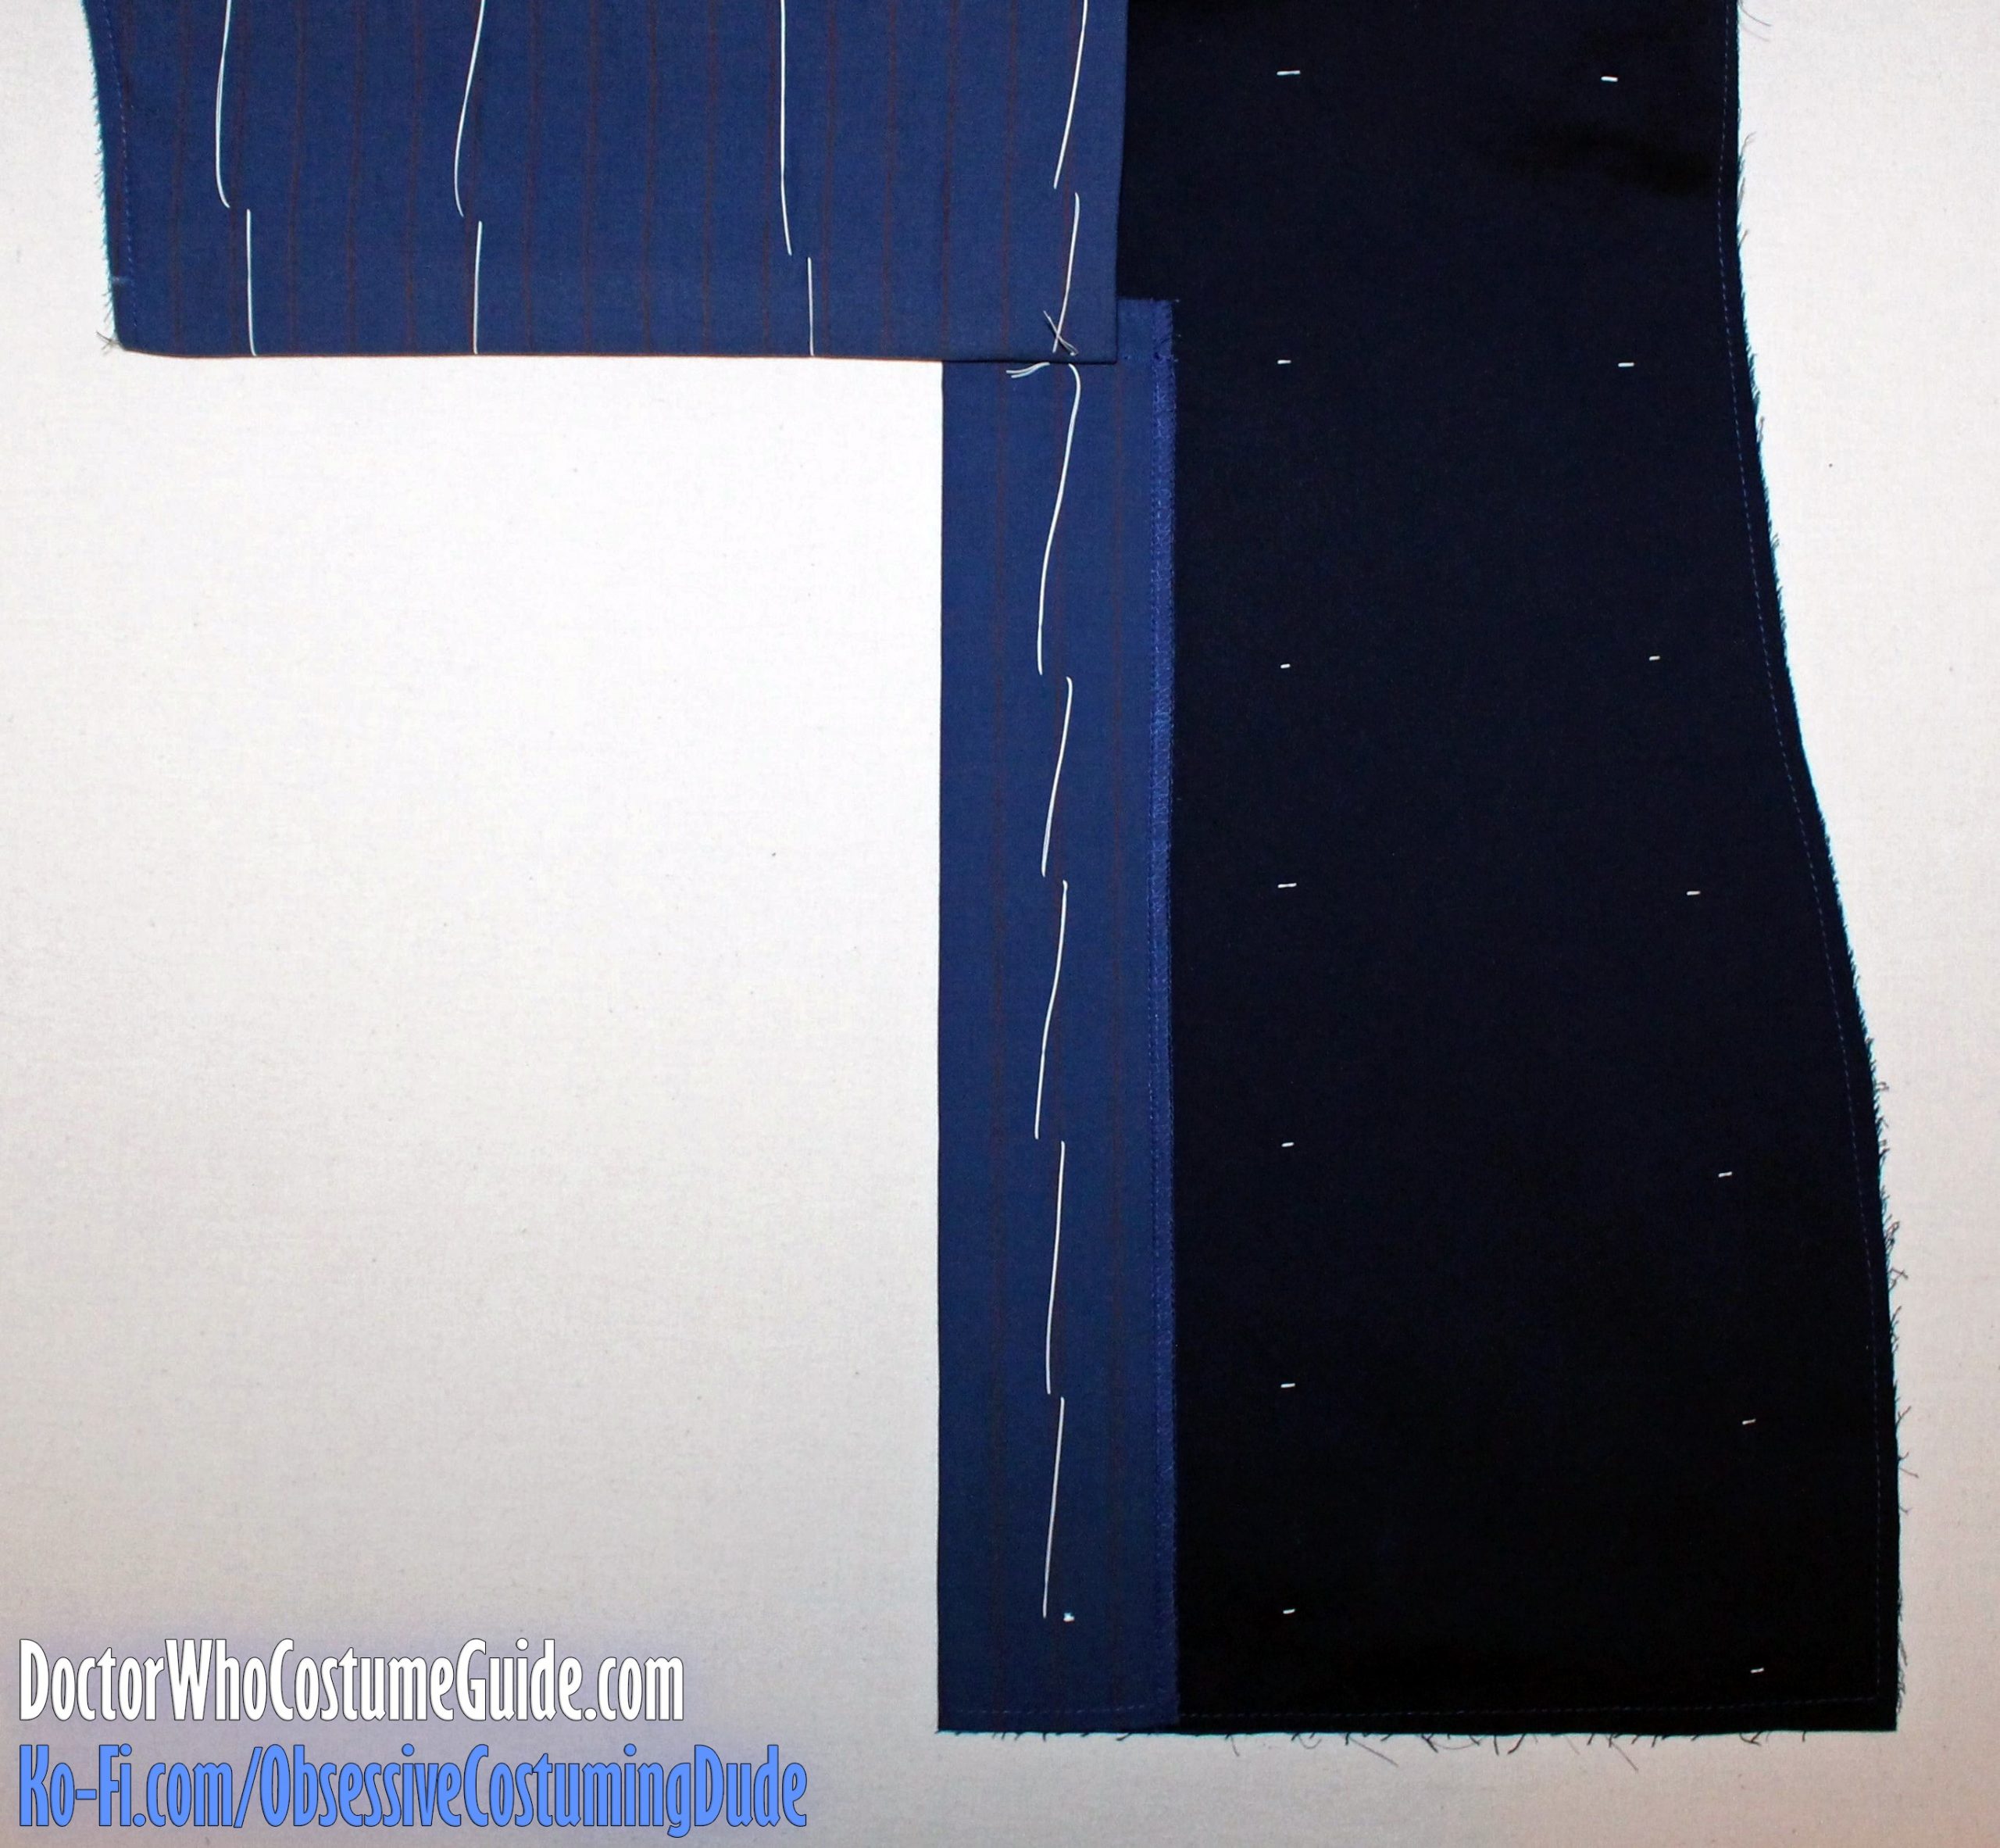
Then, pin your back pieces right sides together, matching edges and pinstripes.
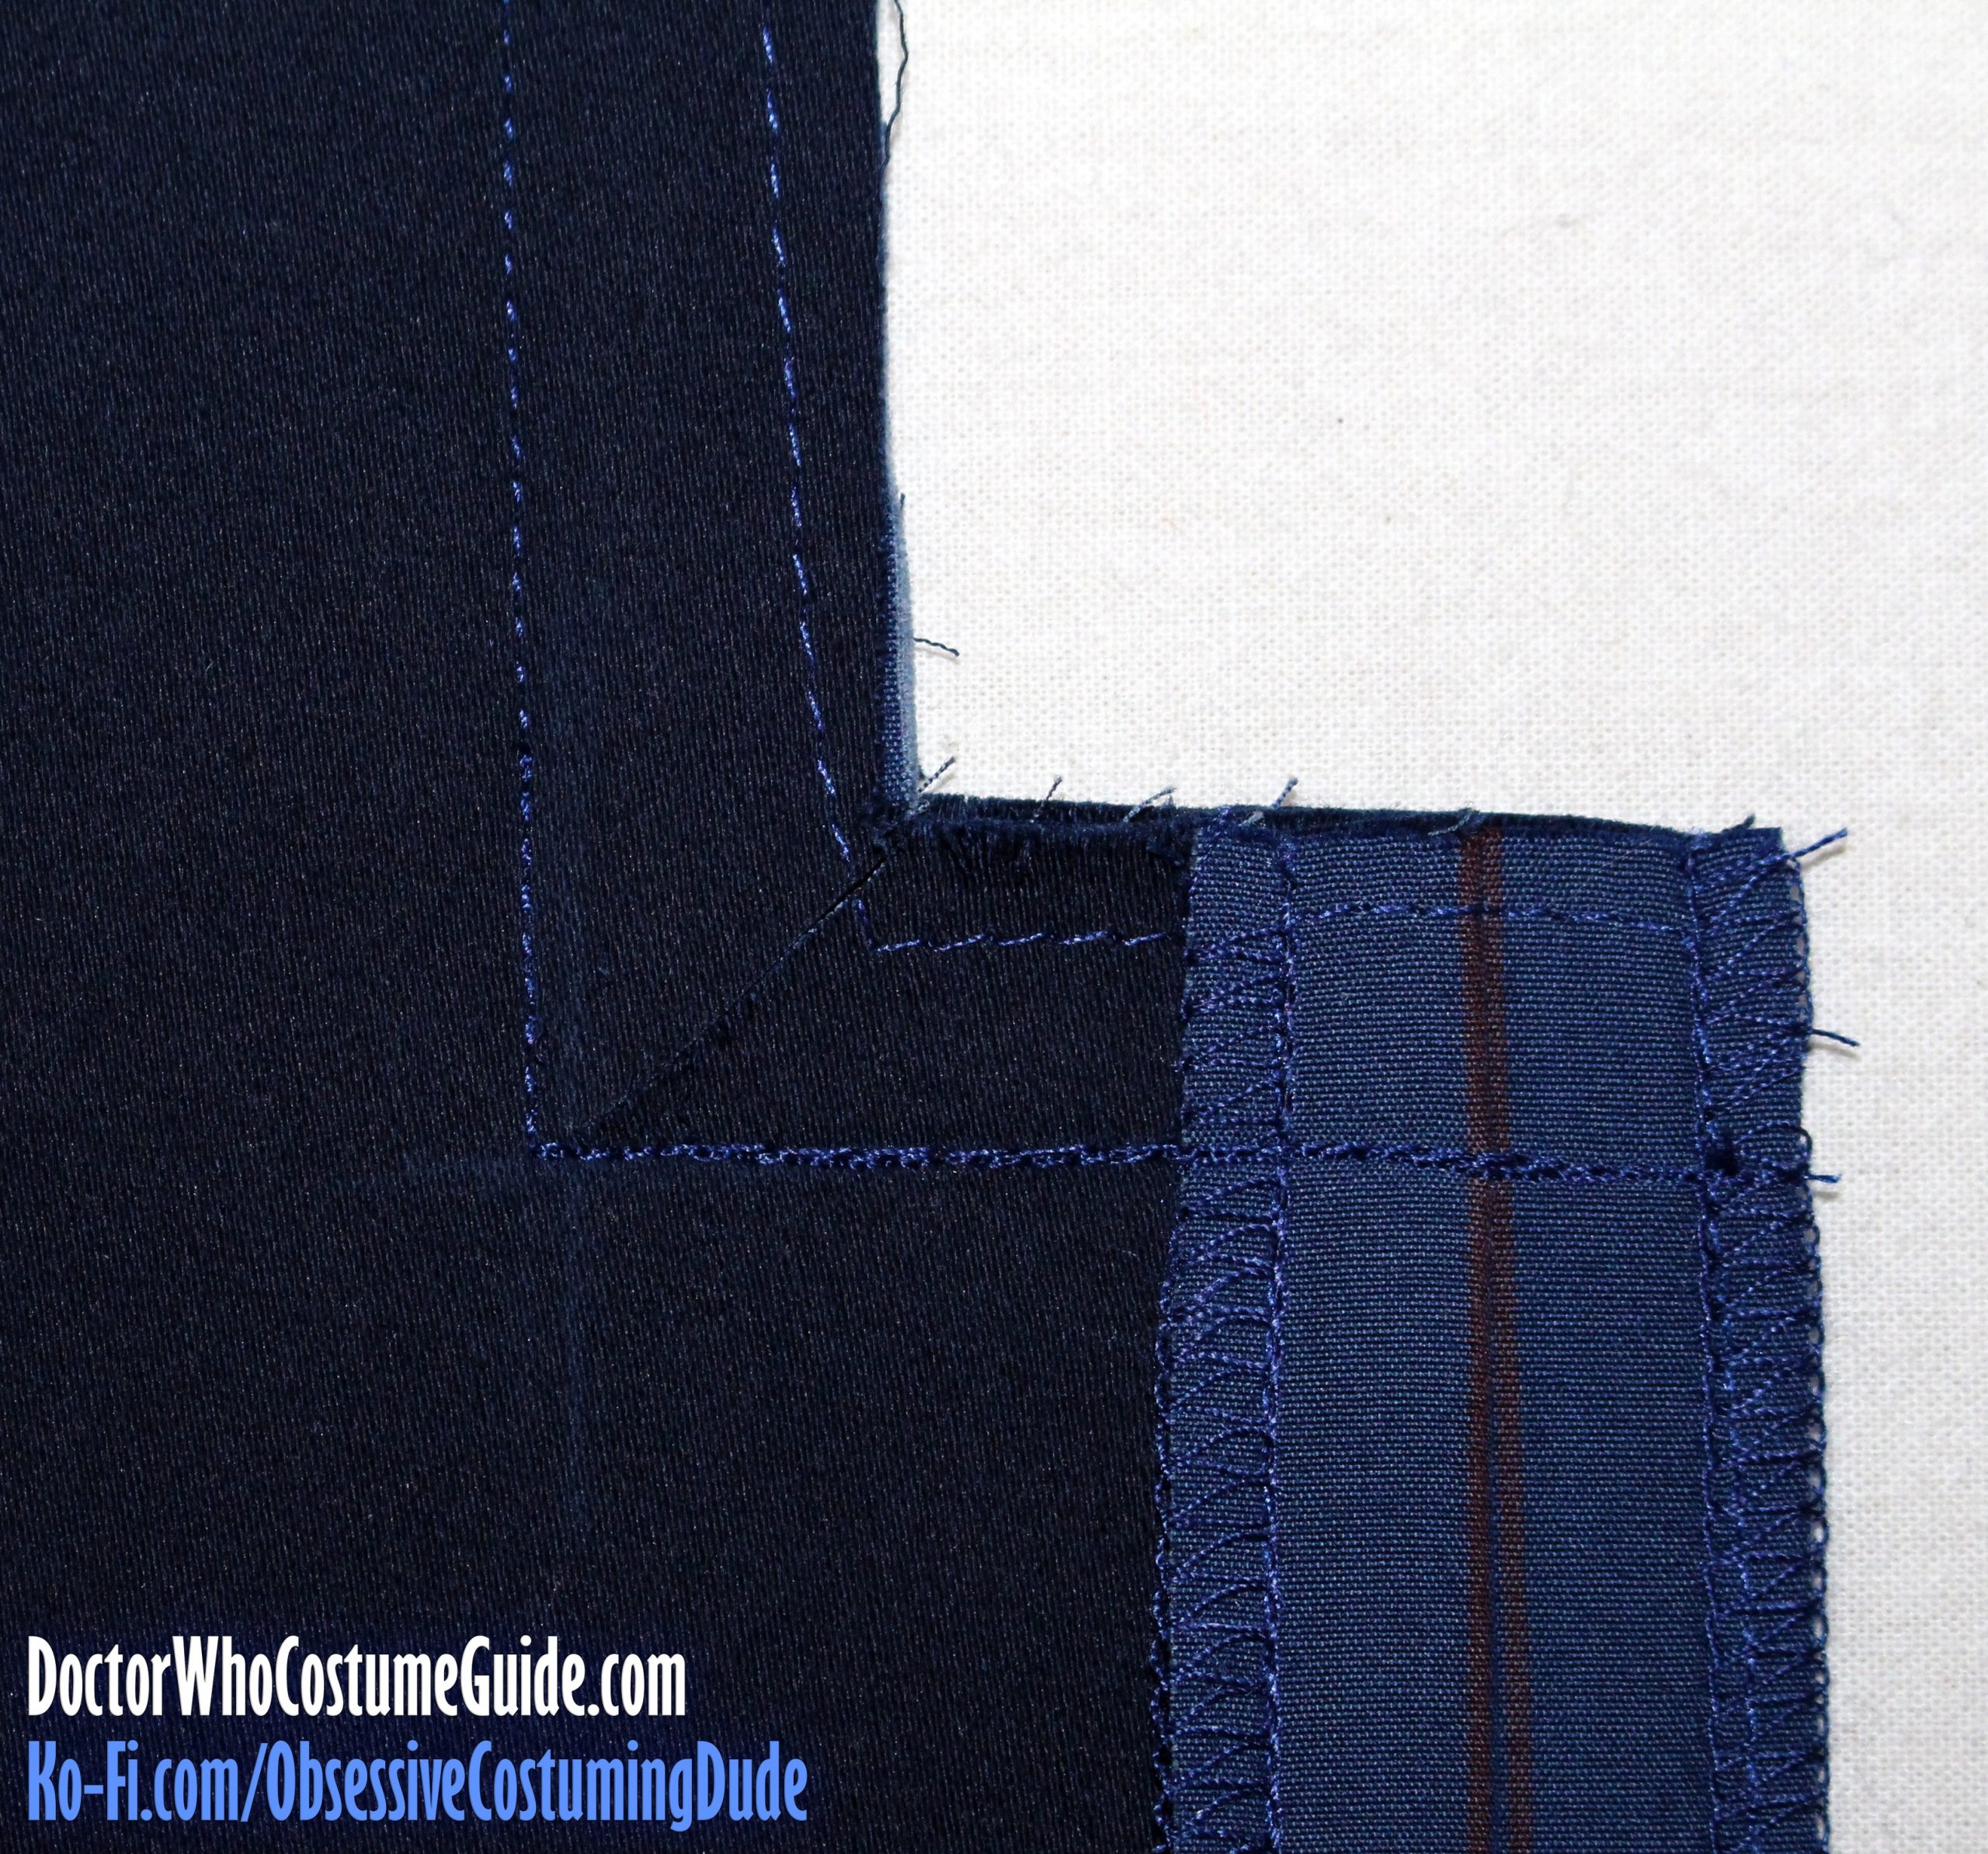
Sew the two backs together along the center back, pivoting your stitching and sewing across the top of the vent
(Note that the folded edge of the right vent will not be flush with the left vent.)
Reinforce your stitching around the corner of the vent, and clip the right seam allowance diagonally to the stitching at the corner.
TIP: If you interfaced your jacket back with the sateen or a fusible interfacing, the pinstripes will probably not be visible on the underside. To aid you in sewing a perfectly aligned center back seam, sew or baste through the relevant pinstripes in an easily-distinguishable thread color.
Press the center back seam allowances open, and the upper vent seam allowance to the underside (the jacket left when viewed from the right side, which is actually on the right when pressing it from the underside).
Also, press the left vent’s allowance under.
Sew or baste the vent into place along its upper edge.
(Because the back waistband will cover the top of the vent, it doesn’t really matter how you fasten it down, so stitch it however you like!)
OPTIONAL: Mark the back waistband guide with tailor’s chalk.
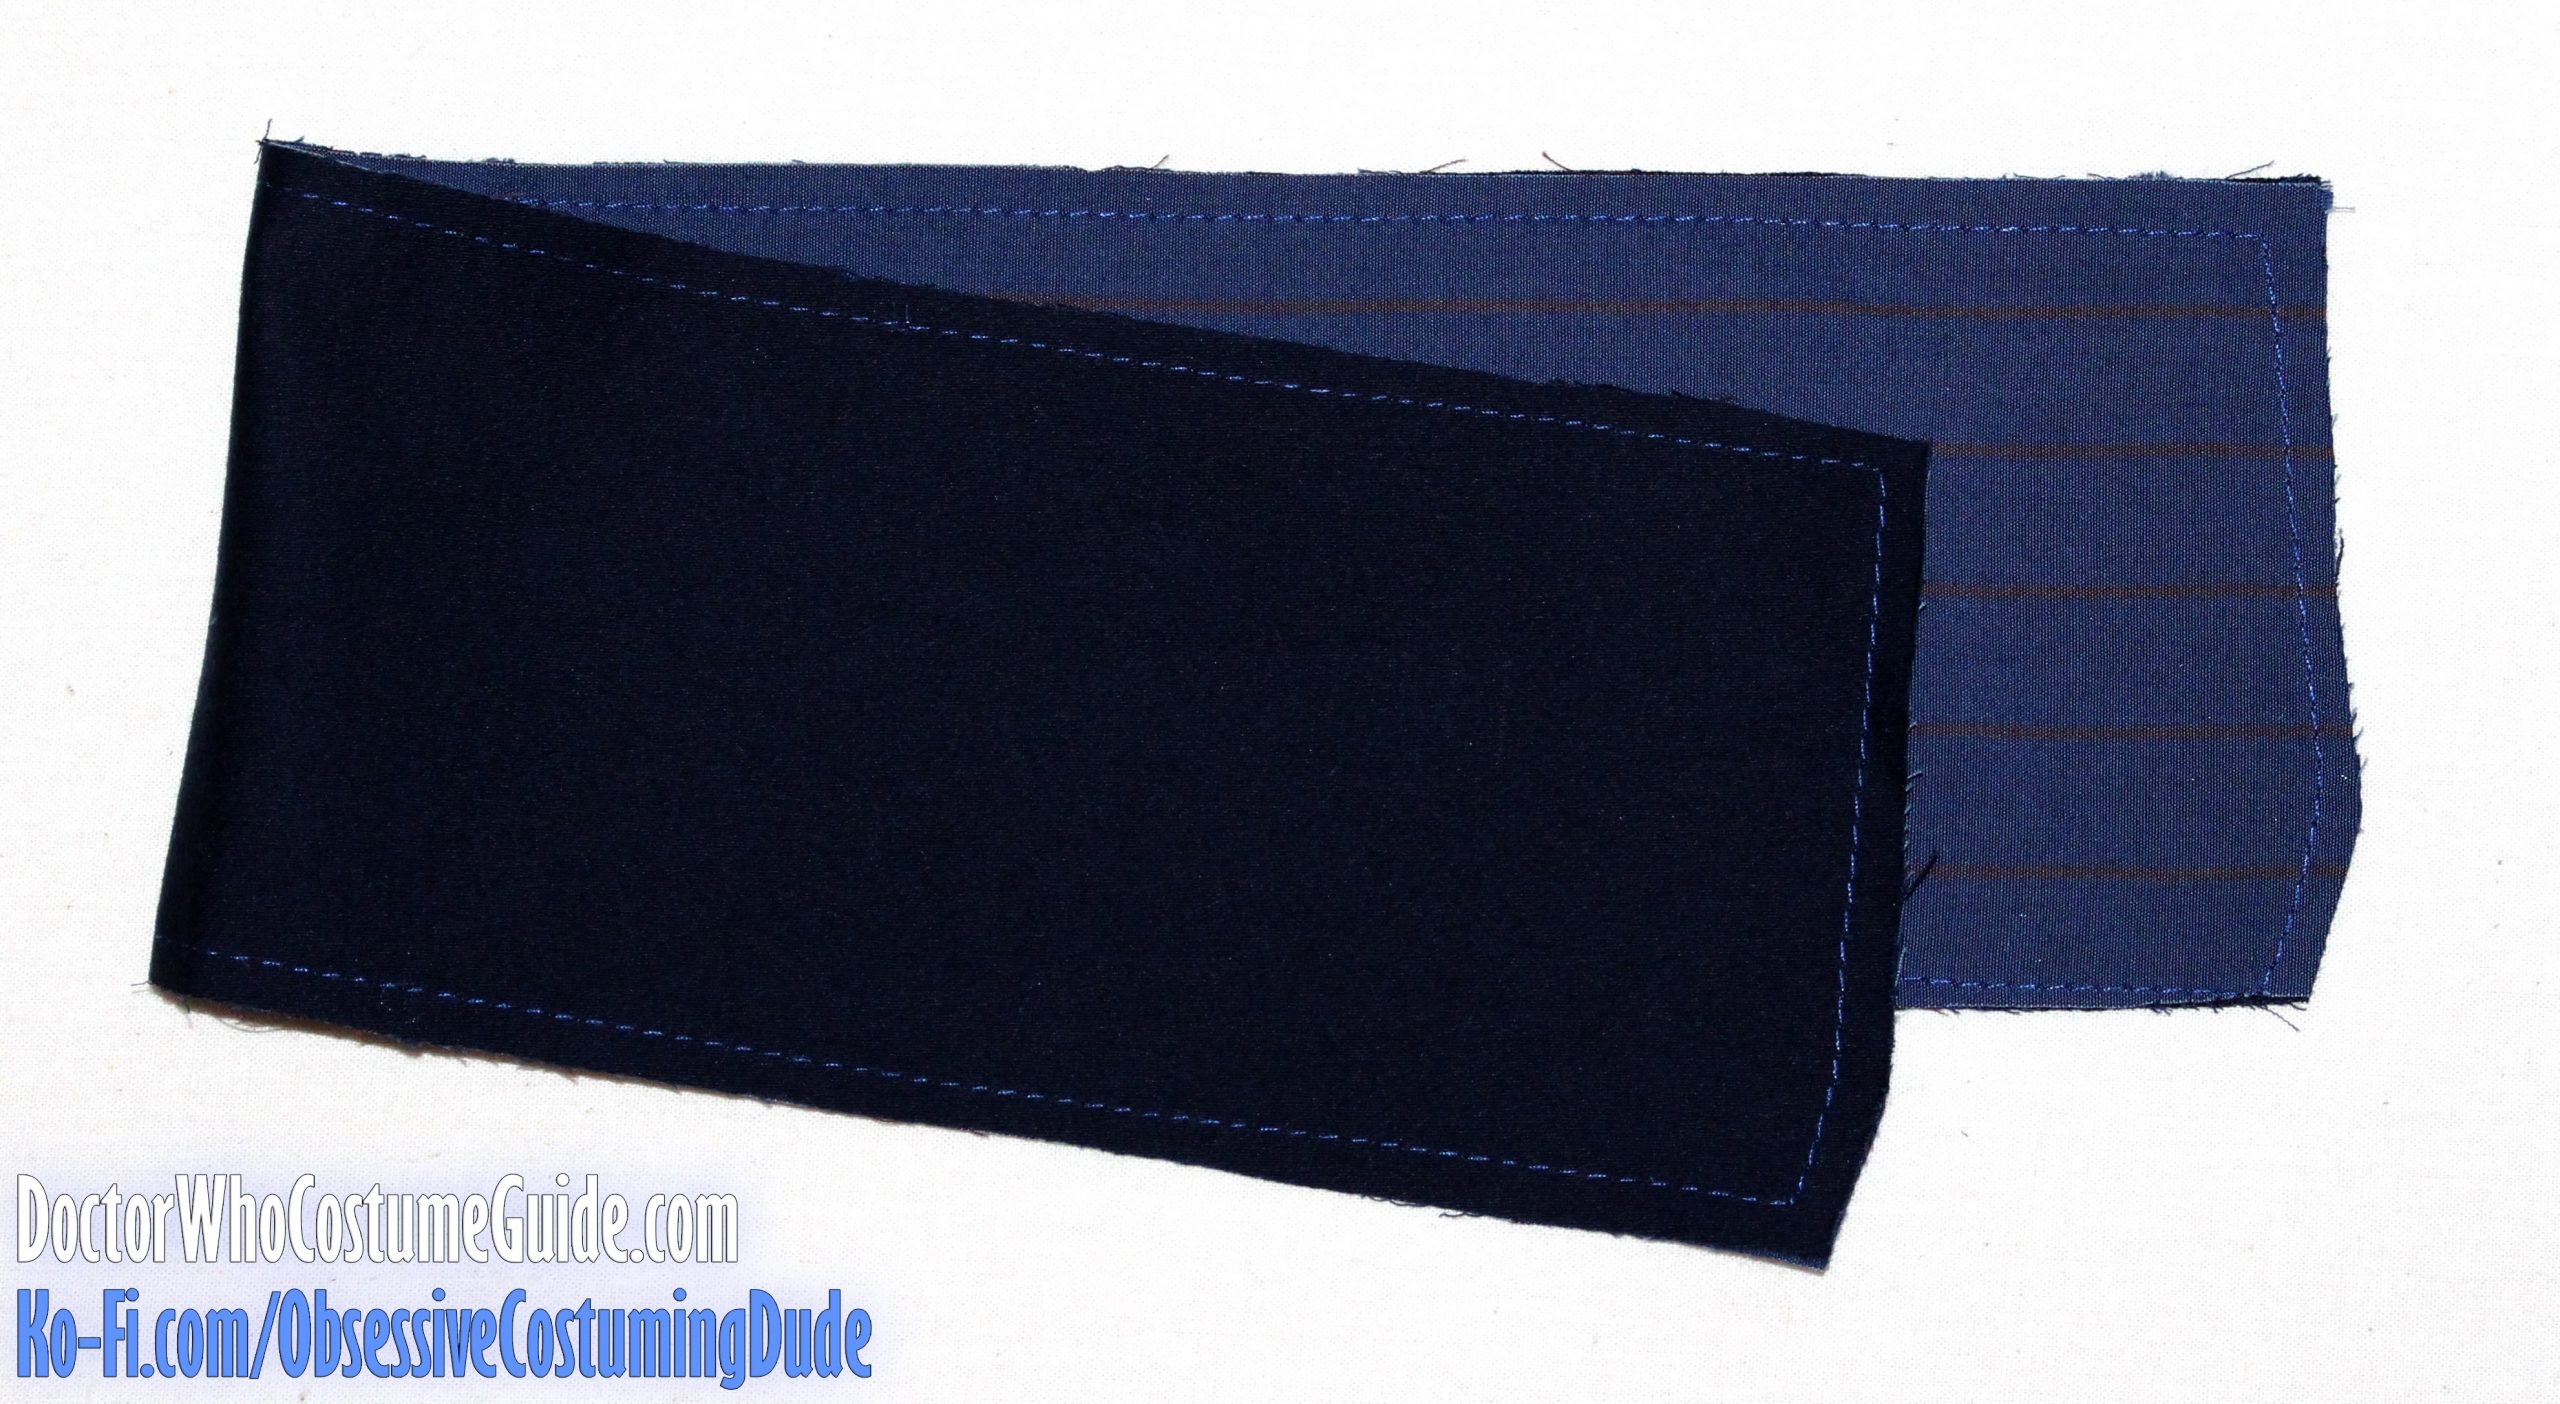
OPTIONAL: Interface your back waistband (piece T) with either sateen or a lightweight fusible interfacing. (I used the sateen, but I believe a fusible interfacing would’ve worked just as well.)
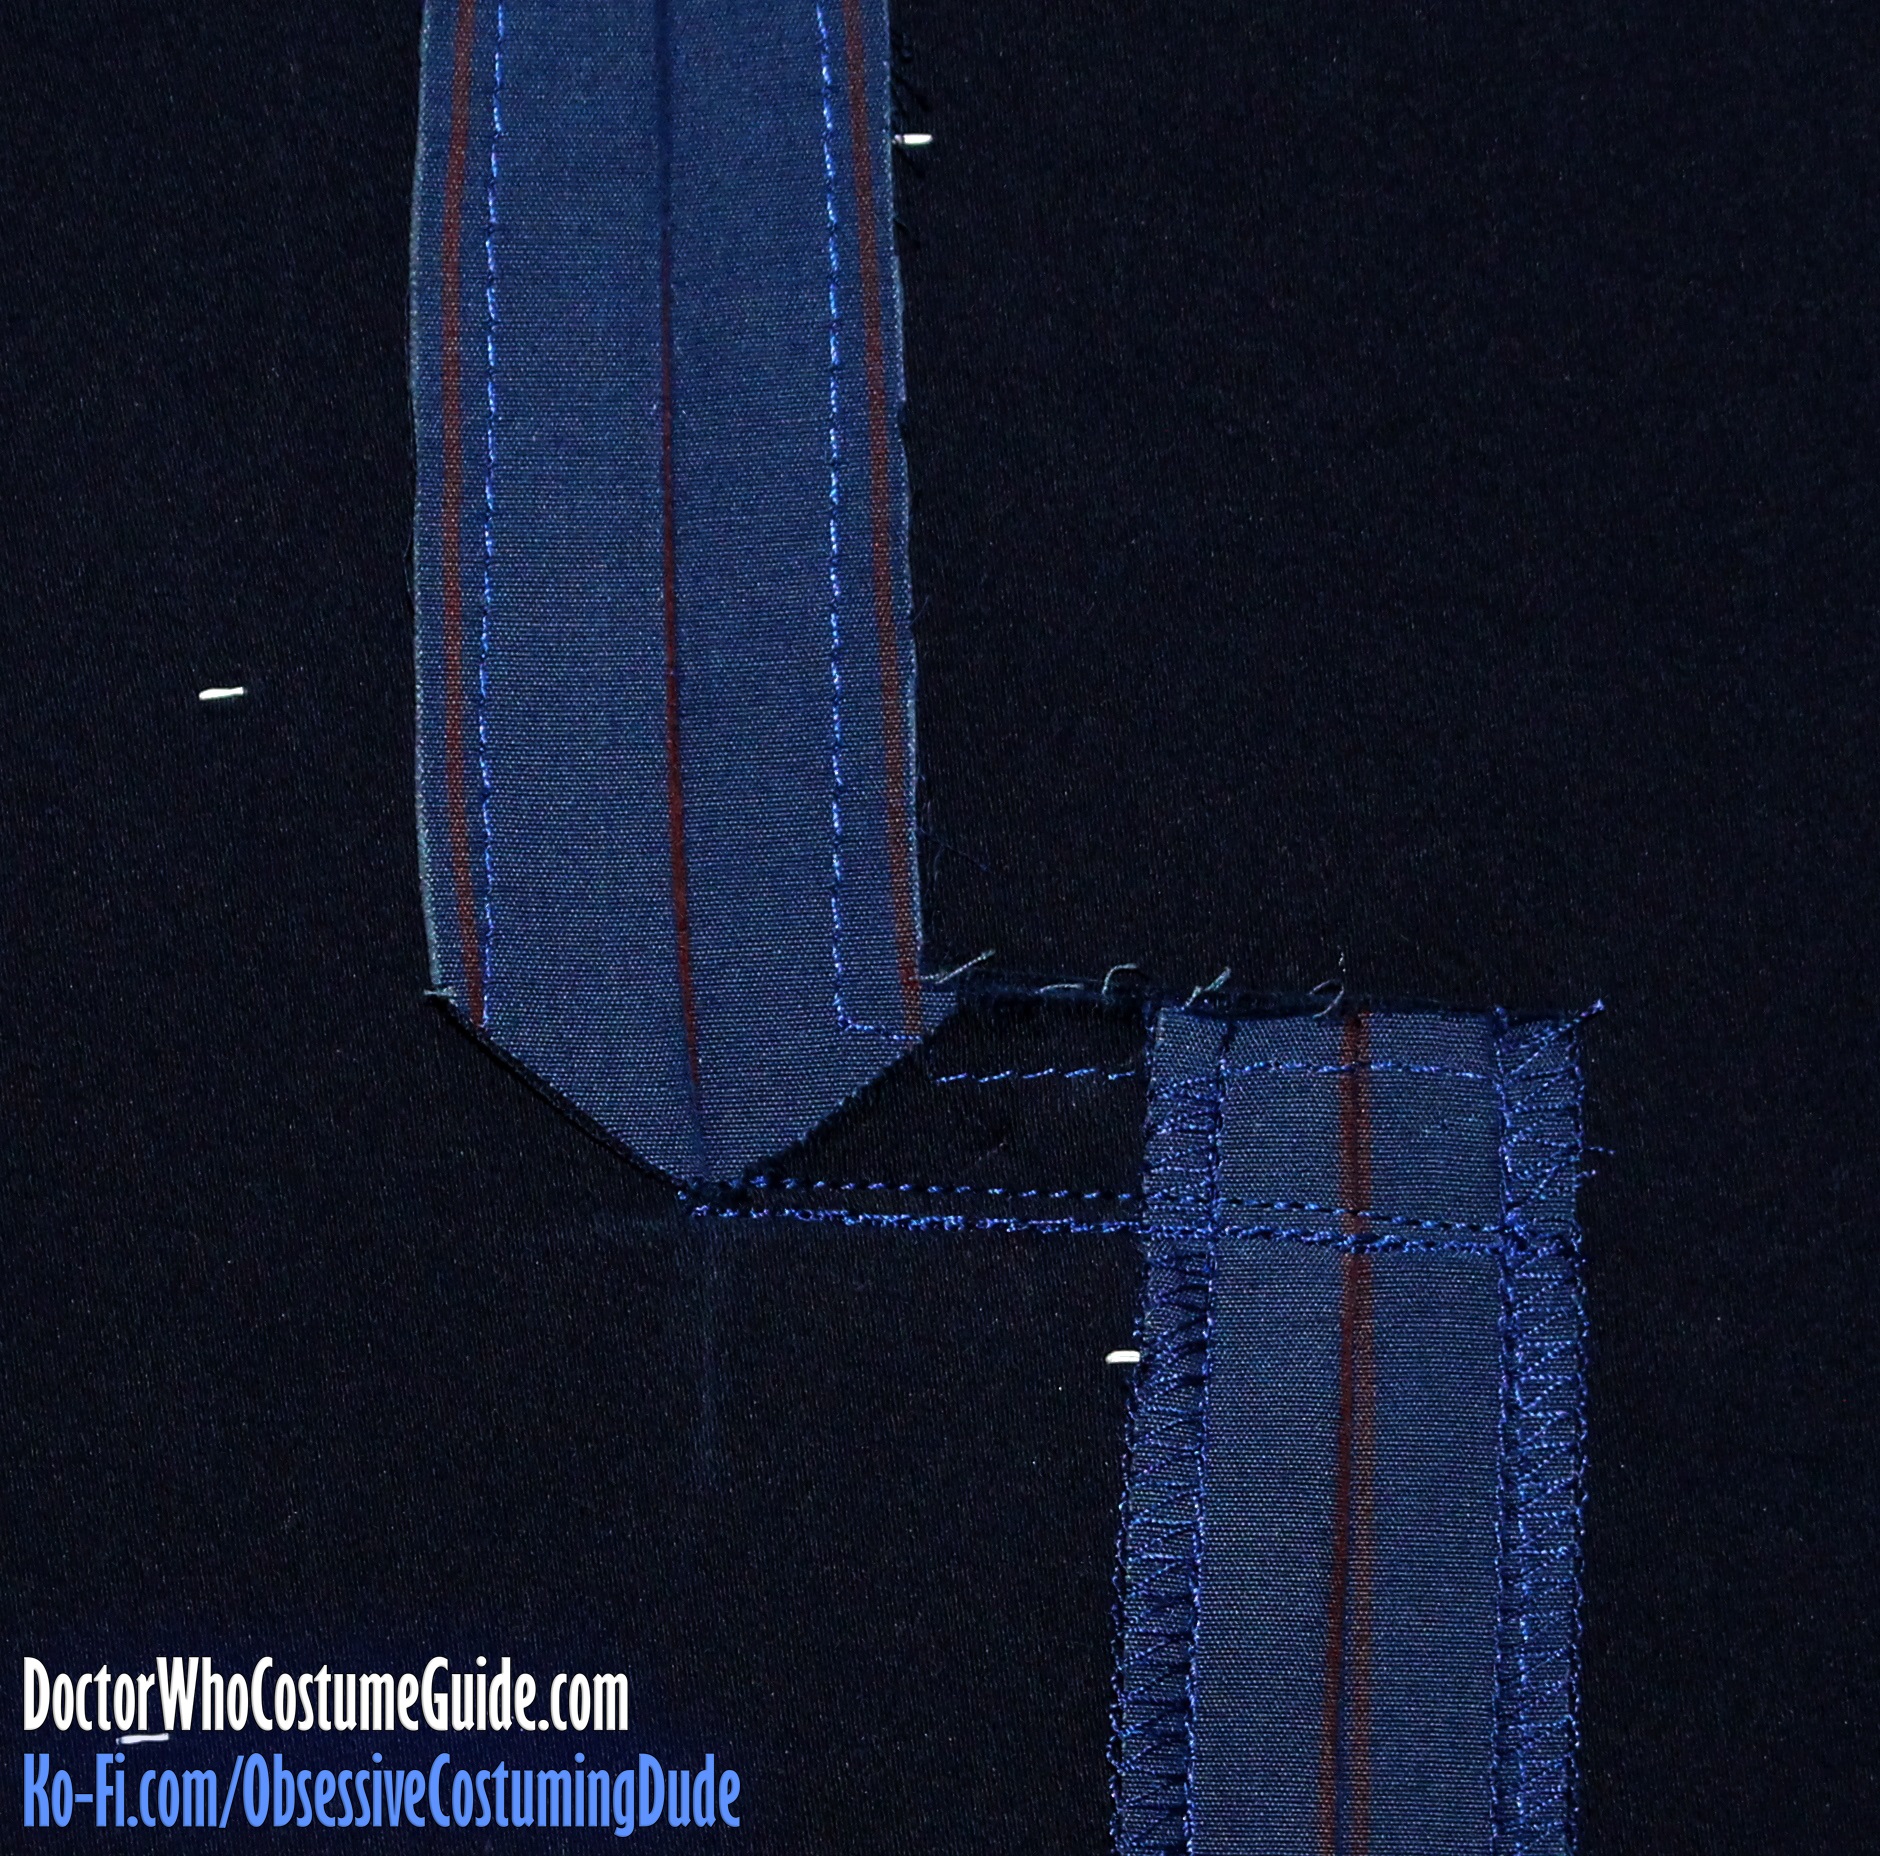
Fold the upper and lower (long) edges of the back waistband (piece T) under ⅞” and press.
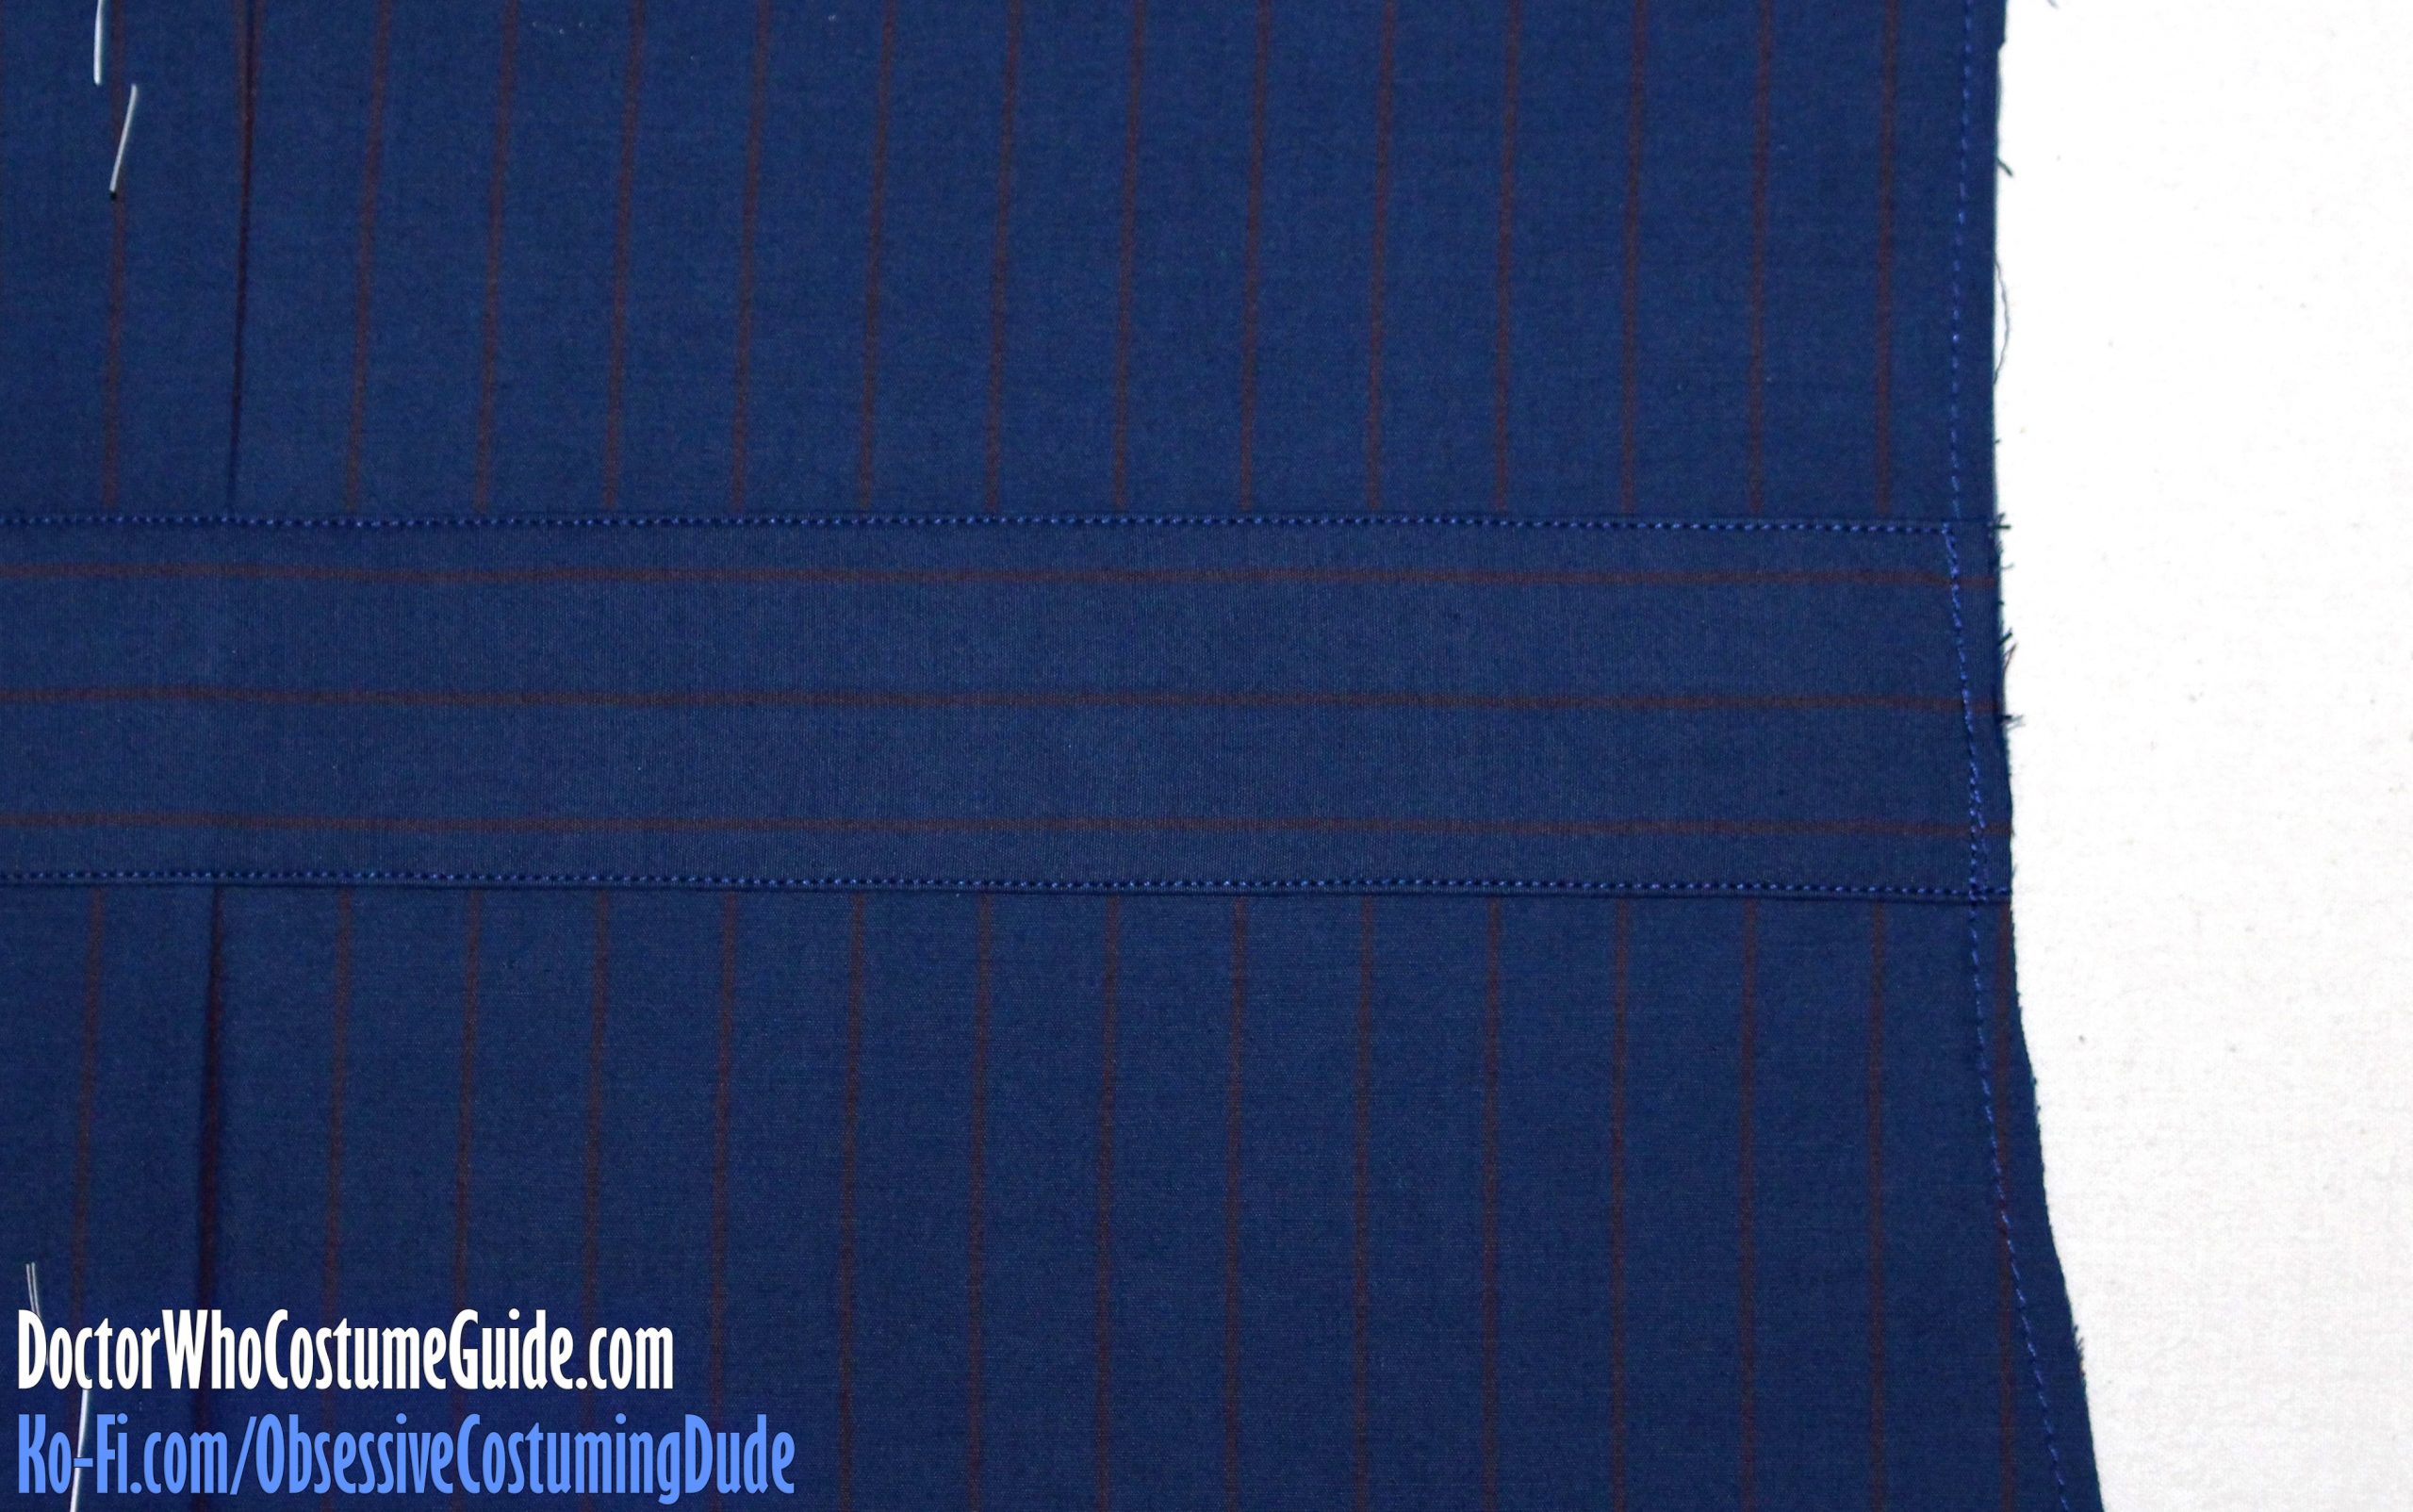
Position the back waistband onto the back assembly along the alignment guides.
Using your quilting/walking foot, edge-stitch the back waistband into place along the upper and lower edges, and baste or sew it into place along the side edges.


