Tenth Doctor Brown Suit Tutorial – Finishing the Jacket
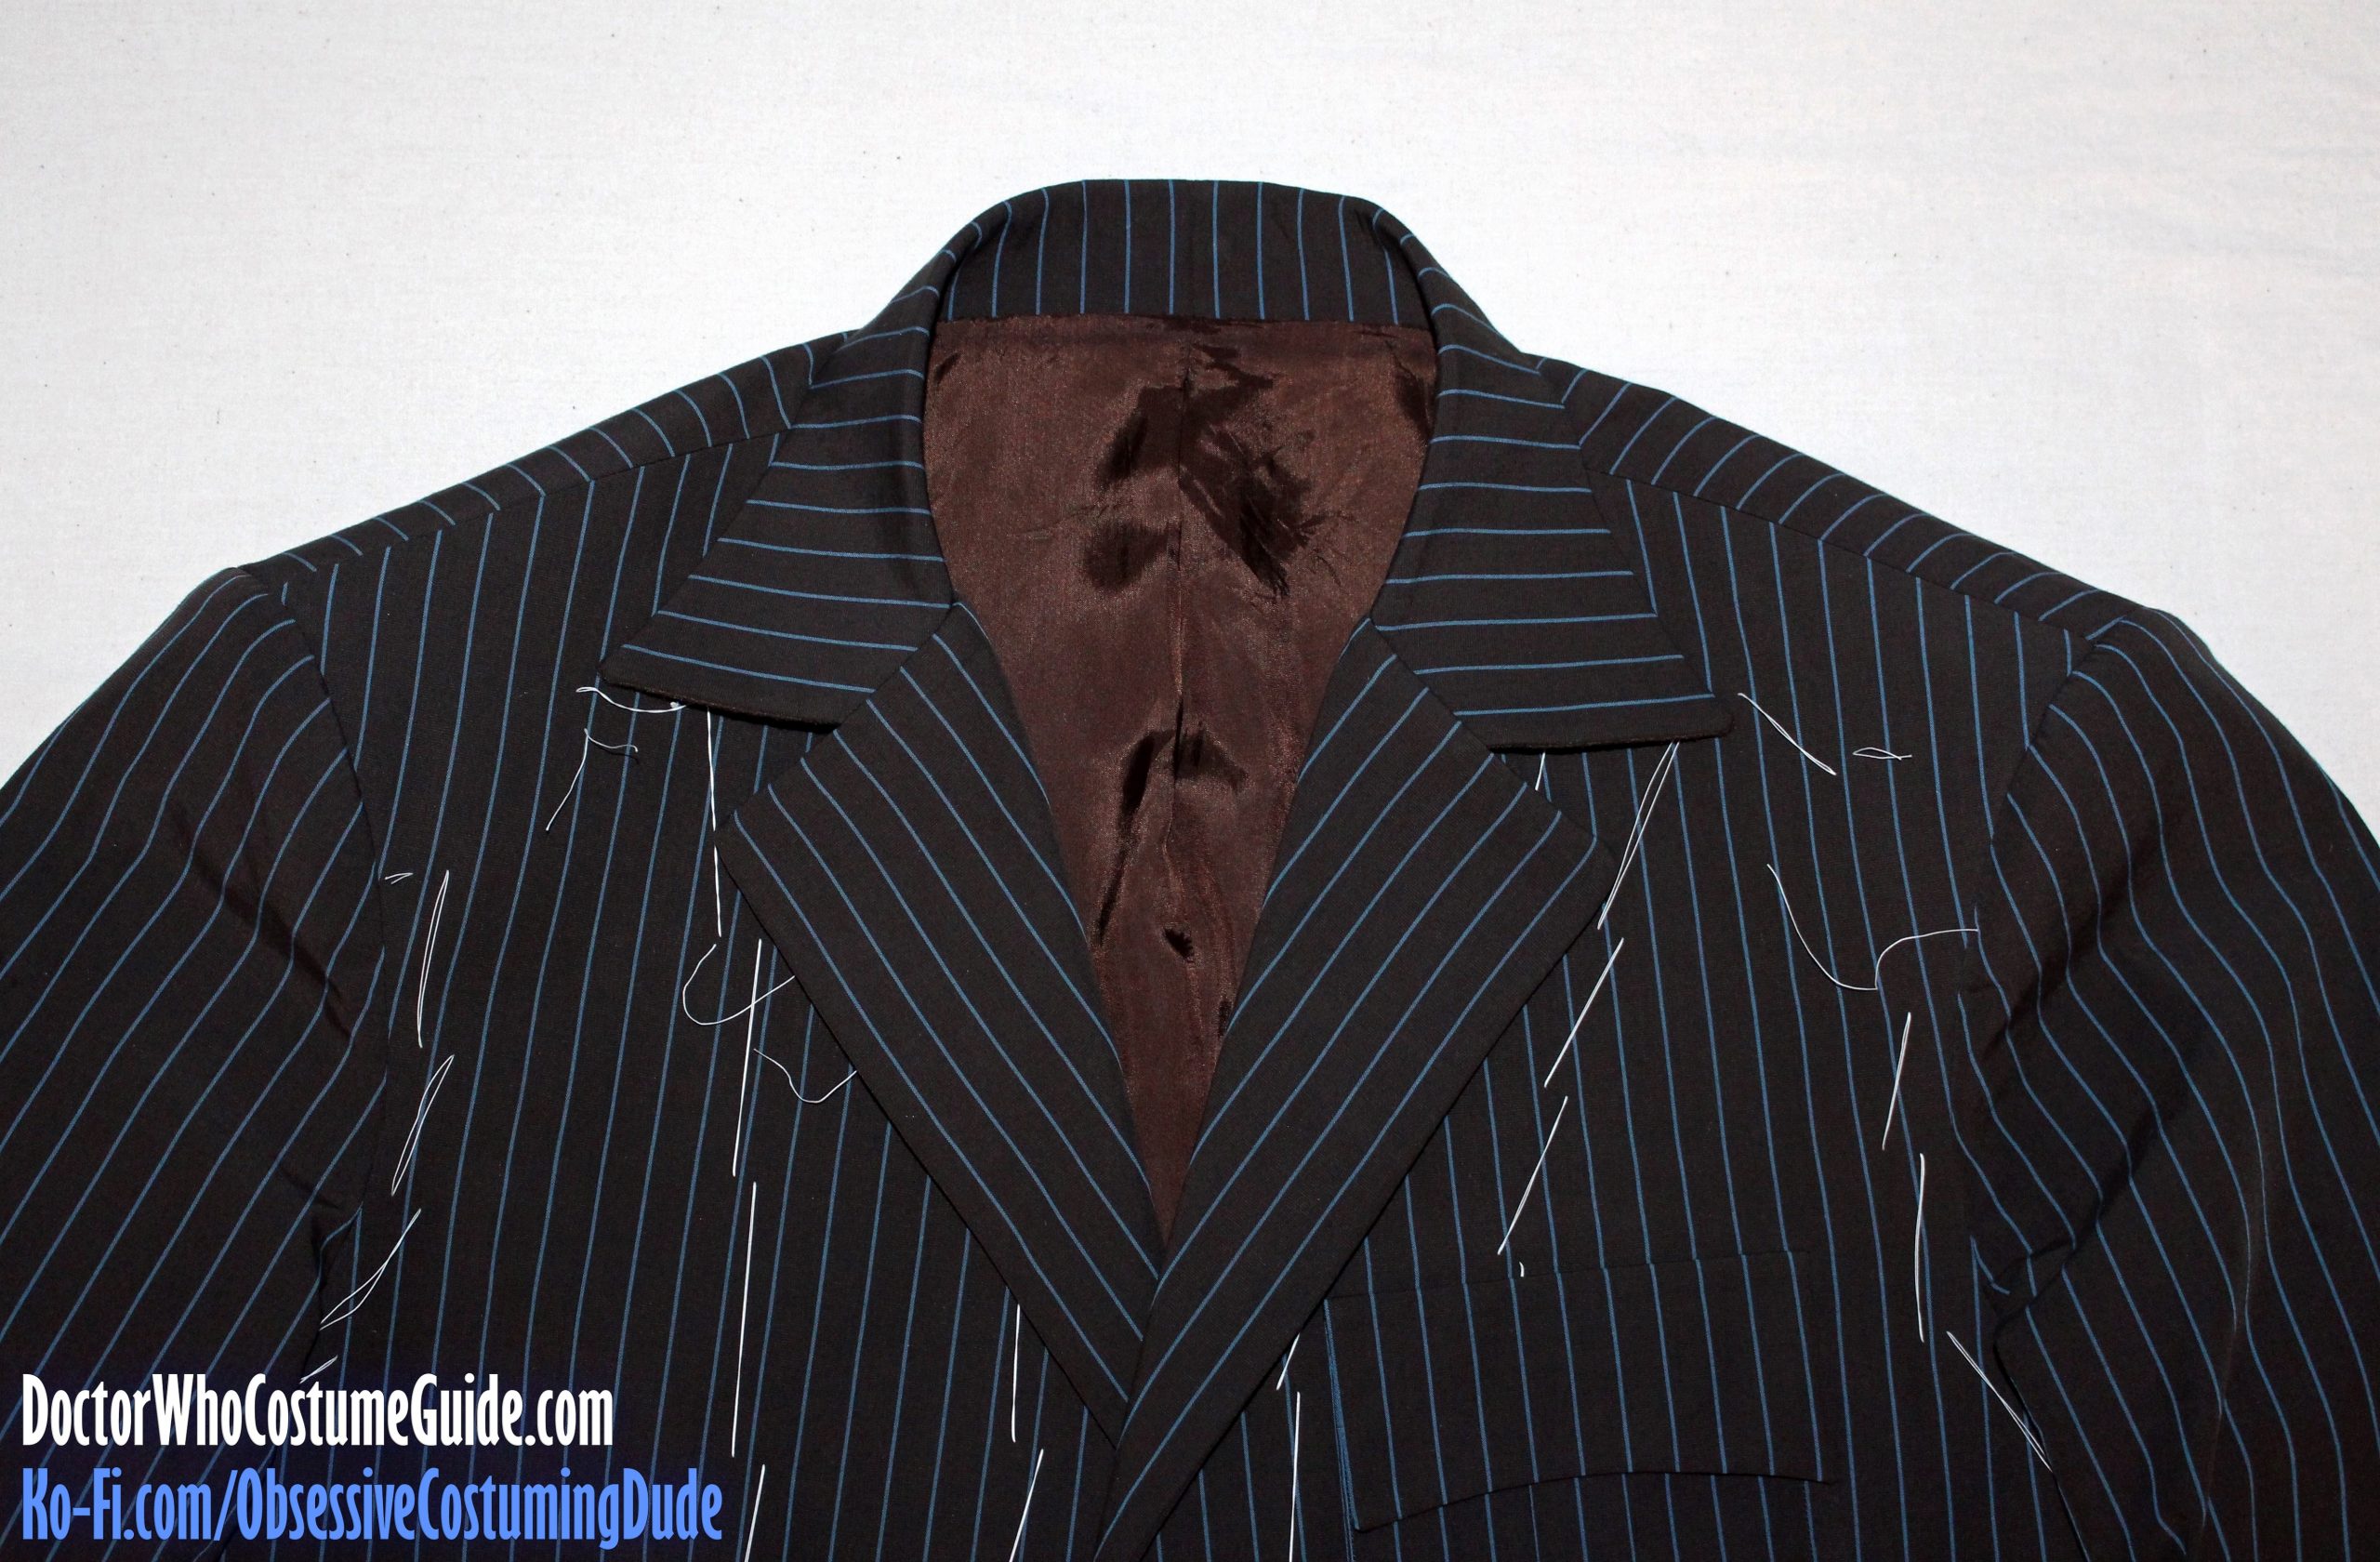
Place the interior assembly over the jacket assembly, right sides together, and pin them together along the neckline, lapels, and front edges, matching all dots and balance points.
Note that the upper front of the facing is ¼” longer than the jacket front; ease in this excess at the roll line.
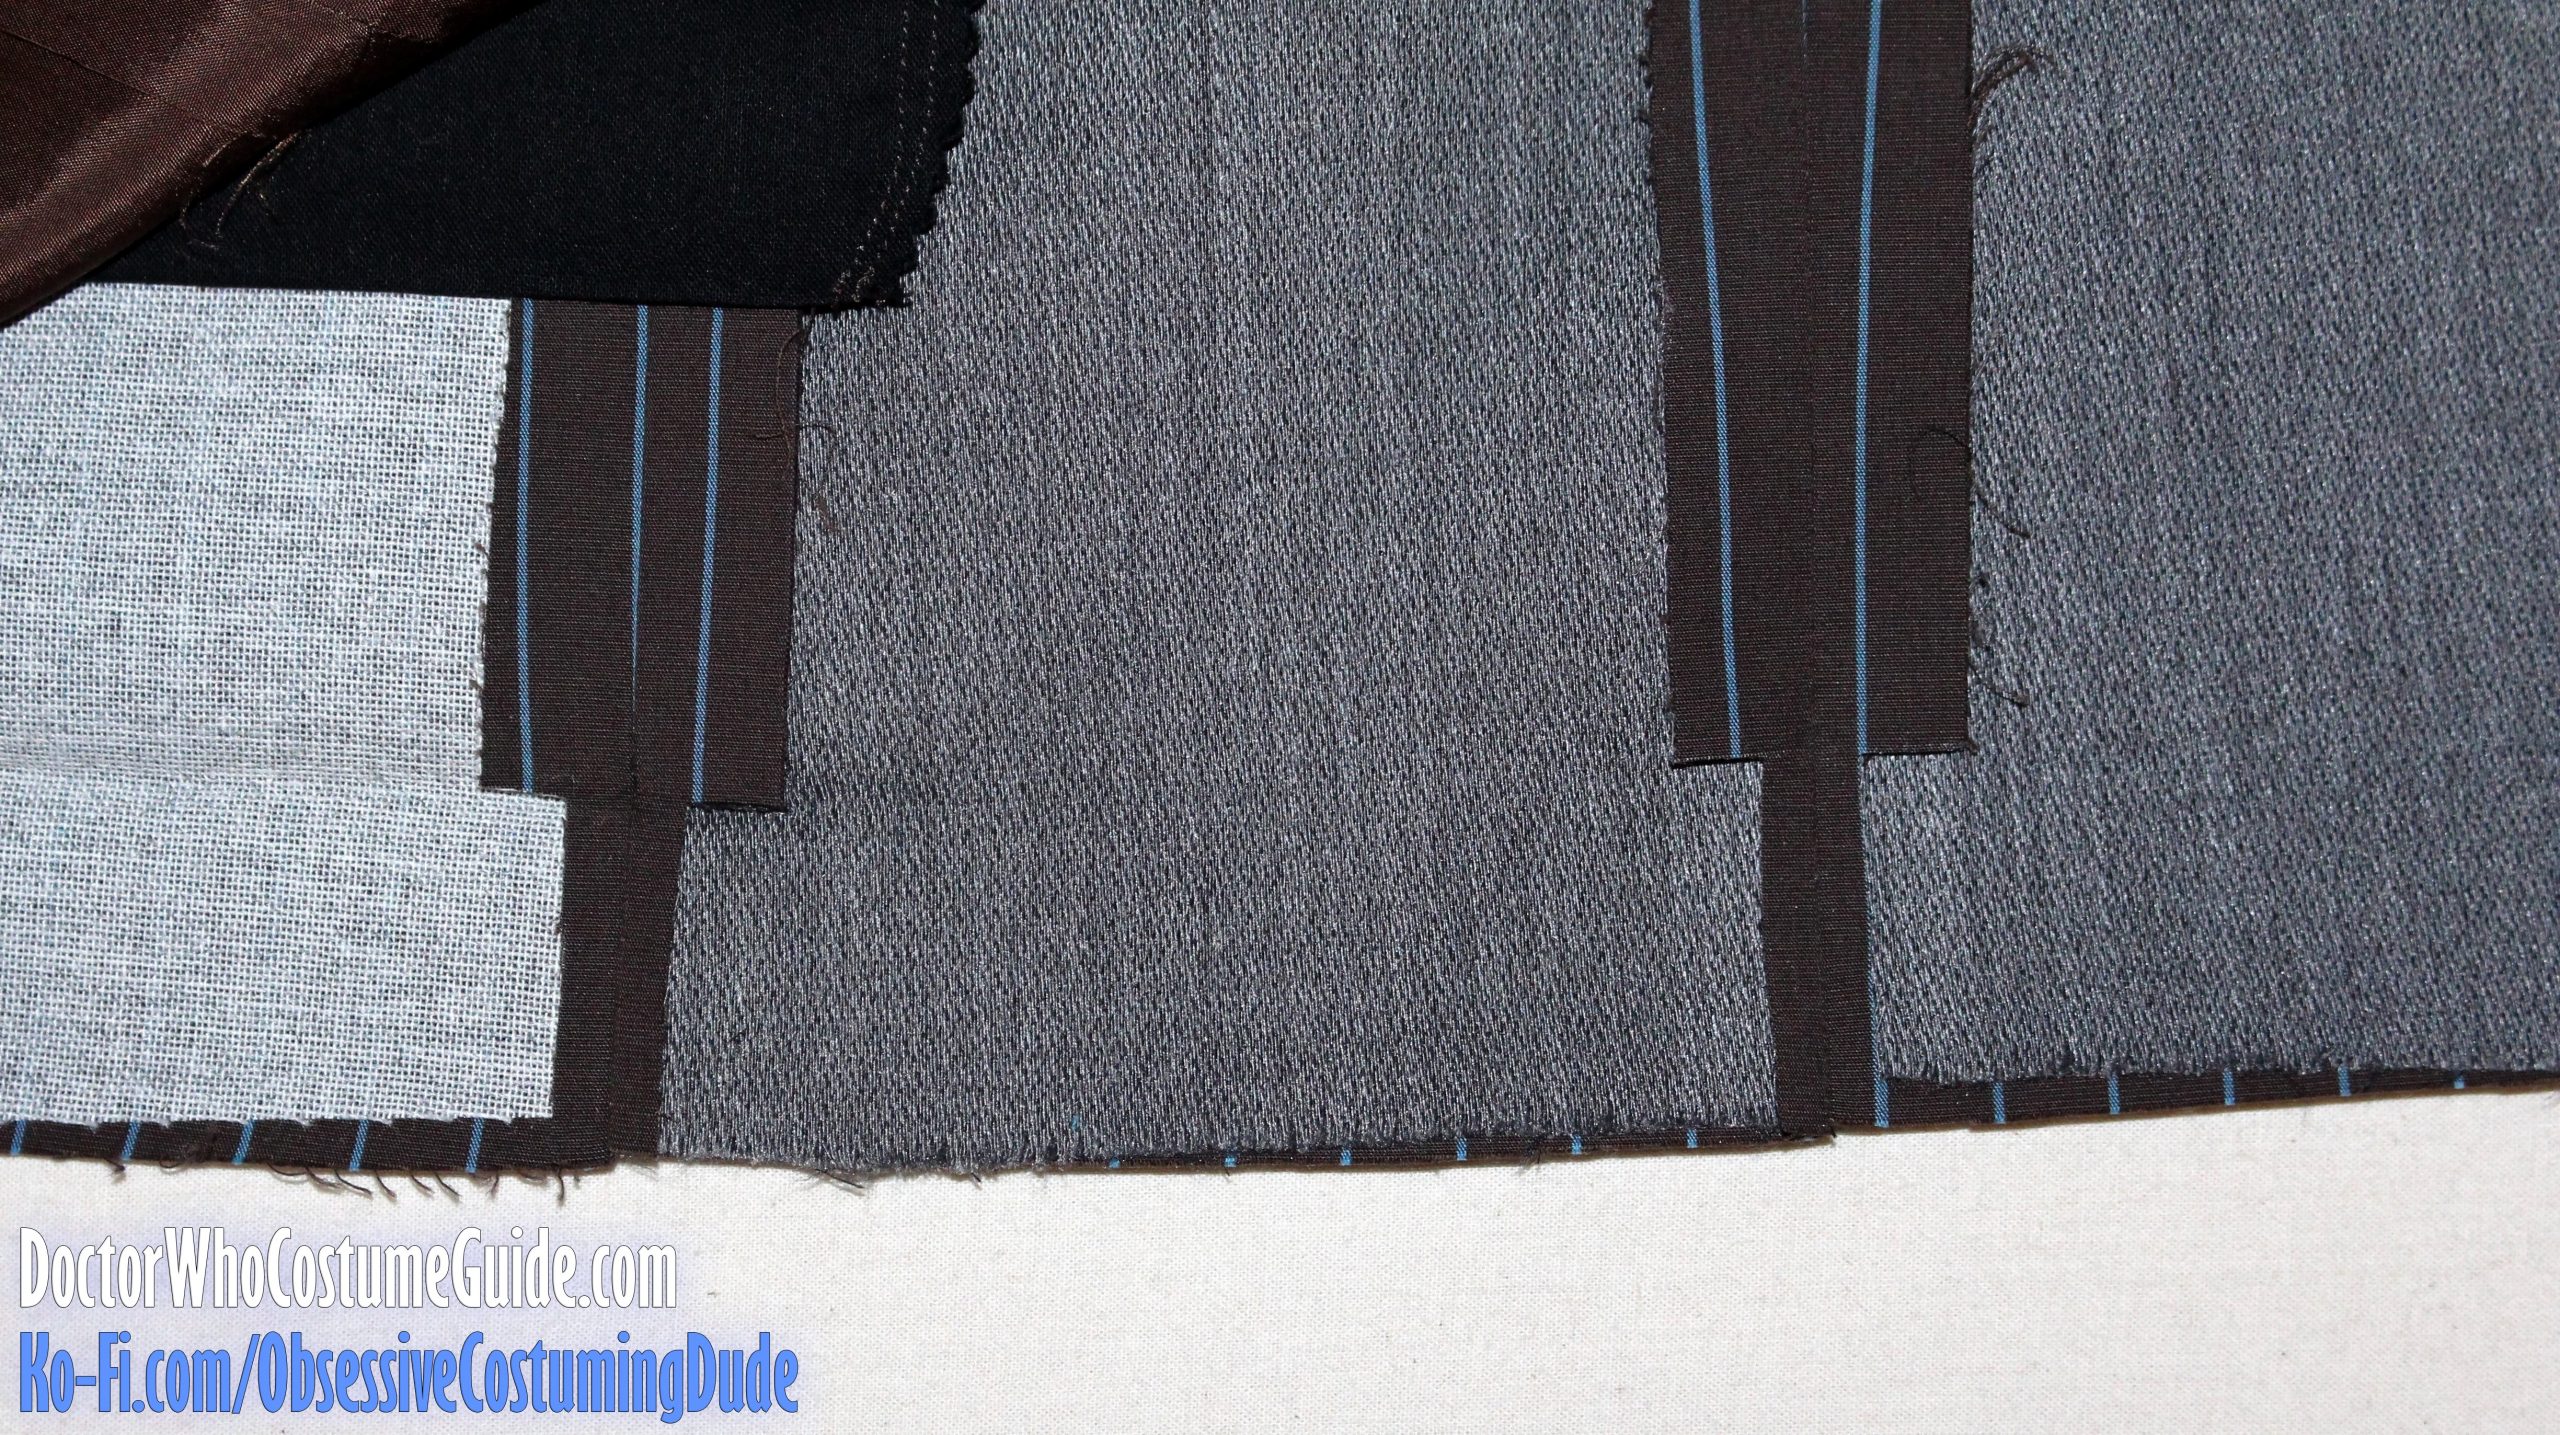
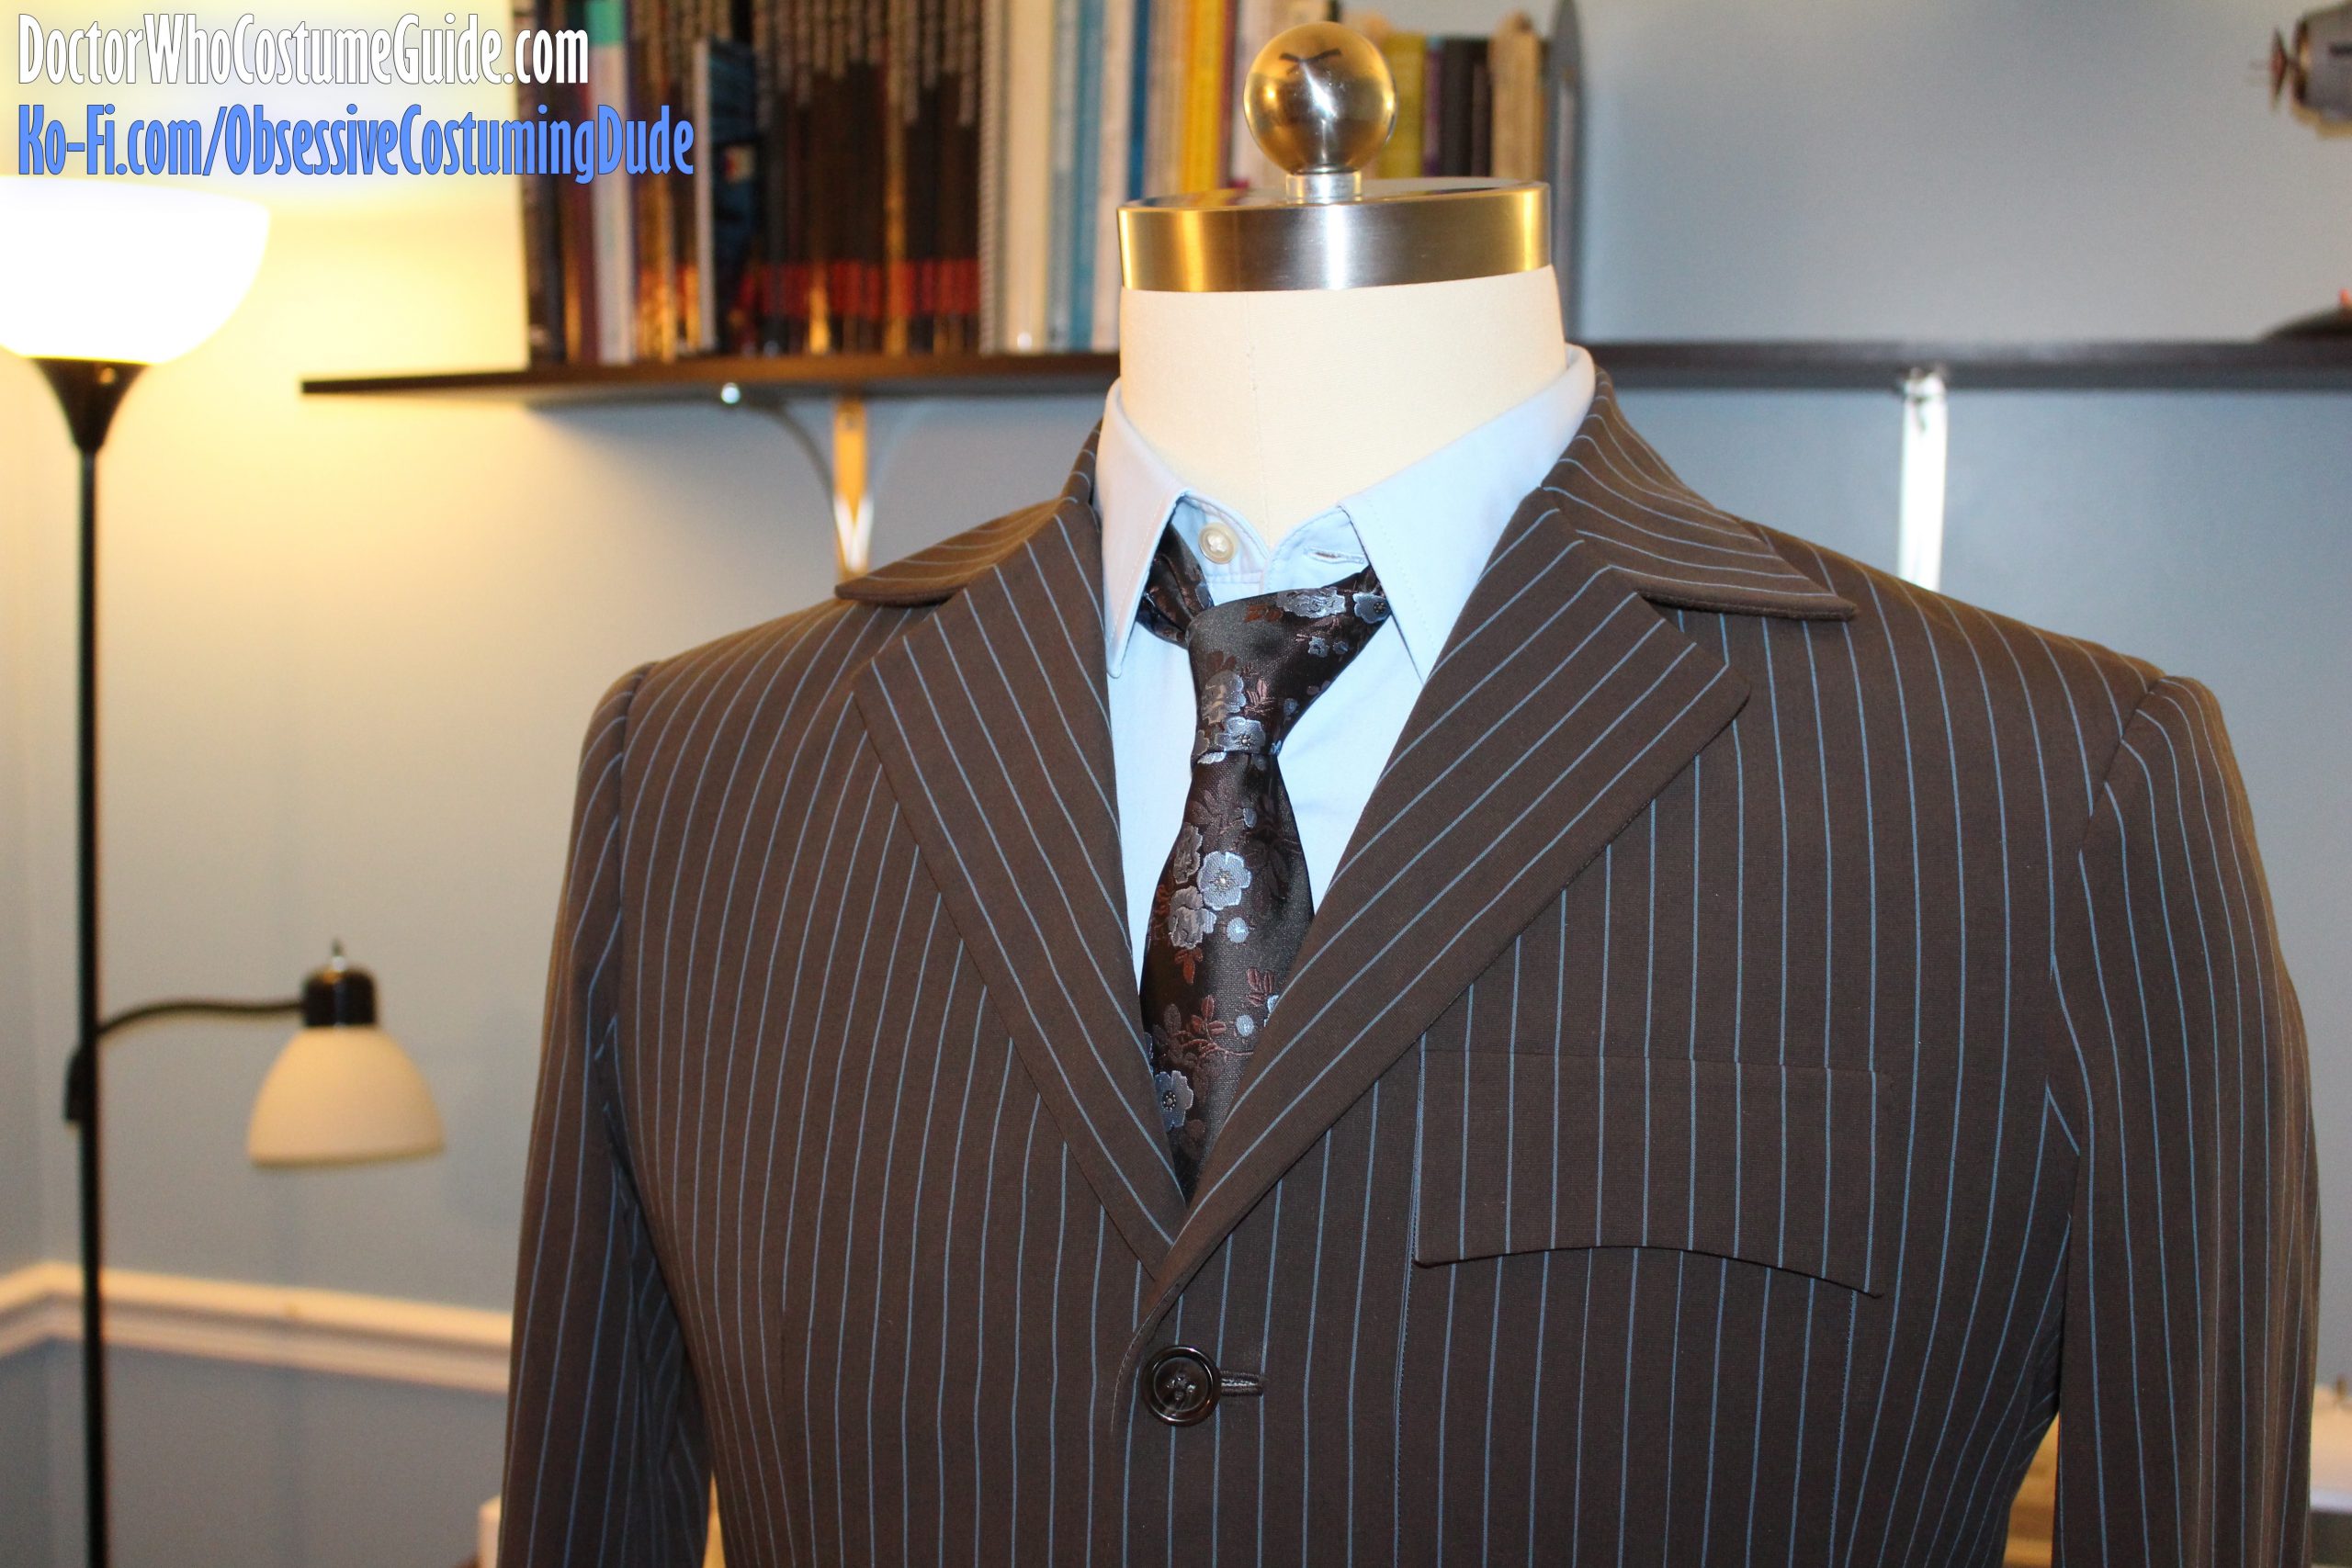
Also note that the pinstripes on the jacket and facing will NOT match at the center front! On the original brown suits, the front edges of the jacket were between pinstripes, but the front edges of the lapels were on pinstripes.
Sew the jacket and interior assemblies together along the front edges and neckline – all the way from the dot at the lower hem up to the lapels, shortening your stitch length and pivoting around the upper corners of the lapel, around the neckline (with the collar “sandwiched” between the two assemblies), and back down the other side.
Stitch exactly at the edge of the stay tape, and remember to ease in the extra ¼” facing fullness at the roll line.
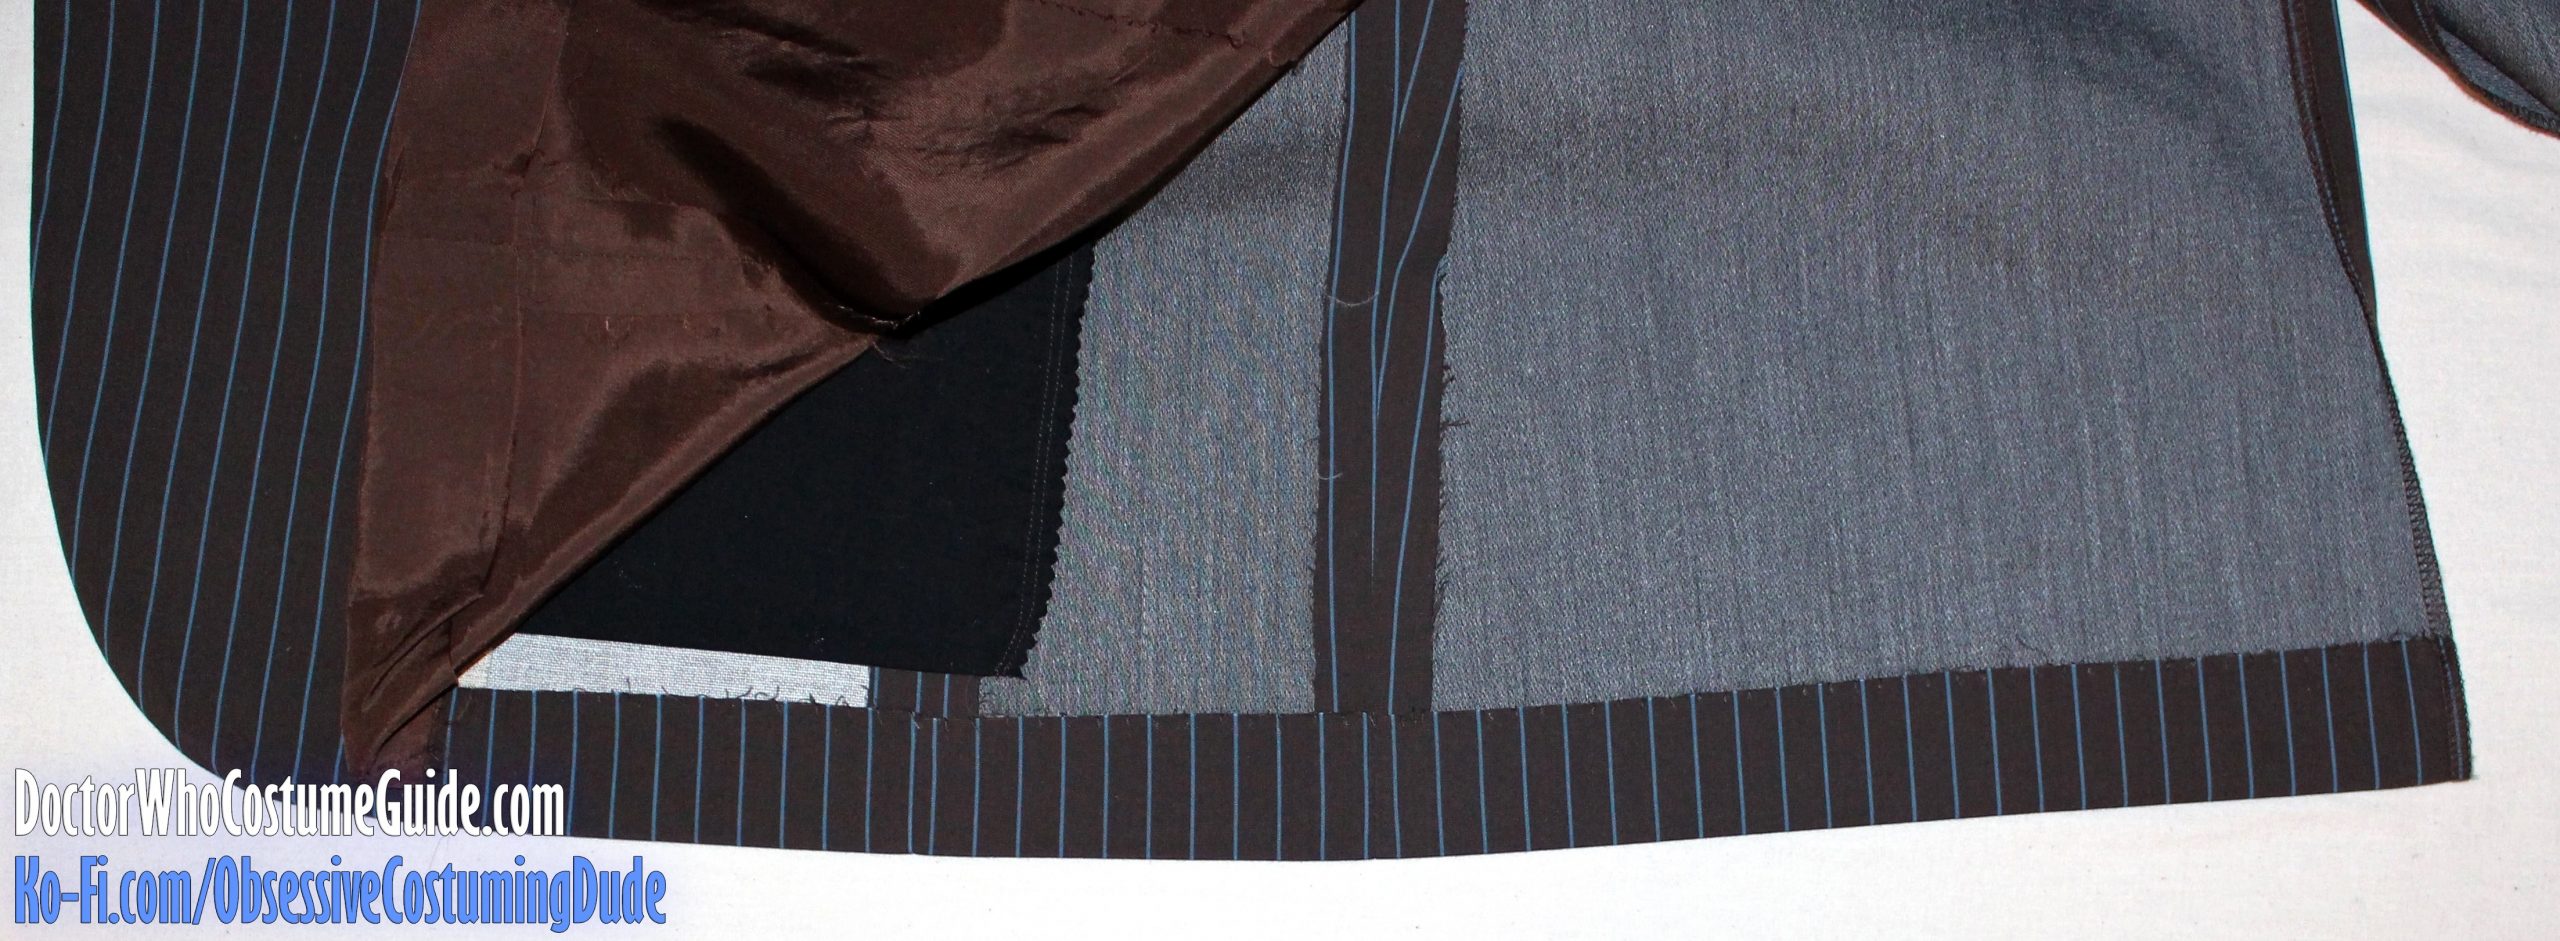
Press the front seam allowances open for now, to firmly establish the seam line.
Trim the jacket front seam allowance down to ¼”.
Trim the facing seam allowance down to ⅜”, and press it back toward the underside.
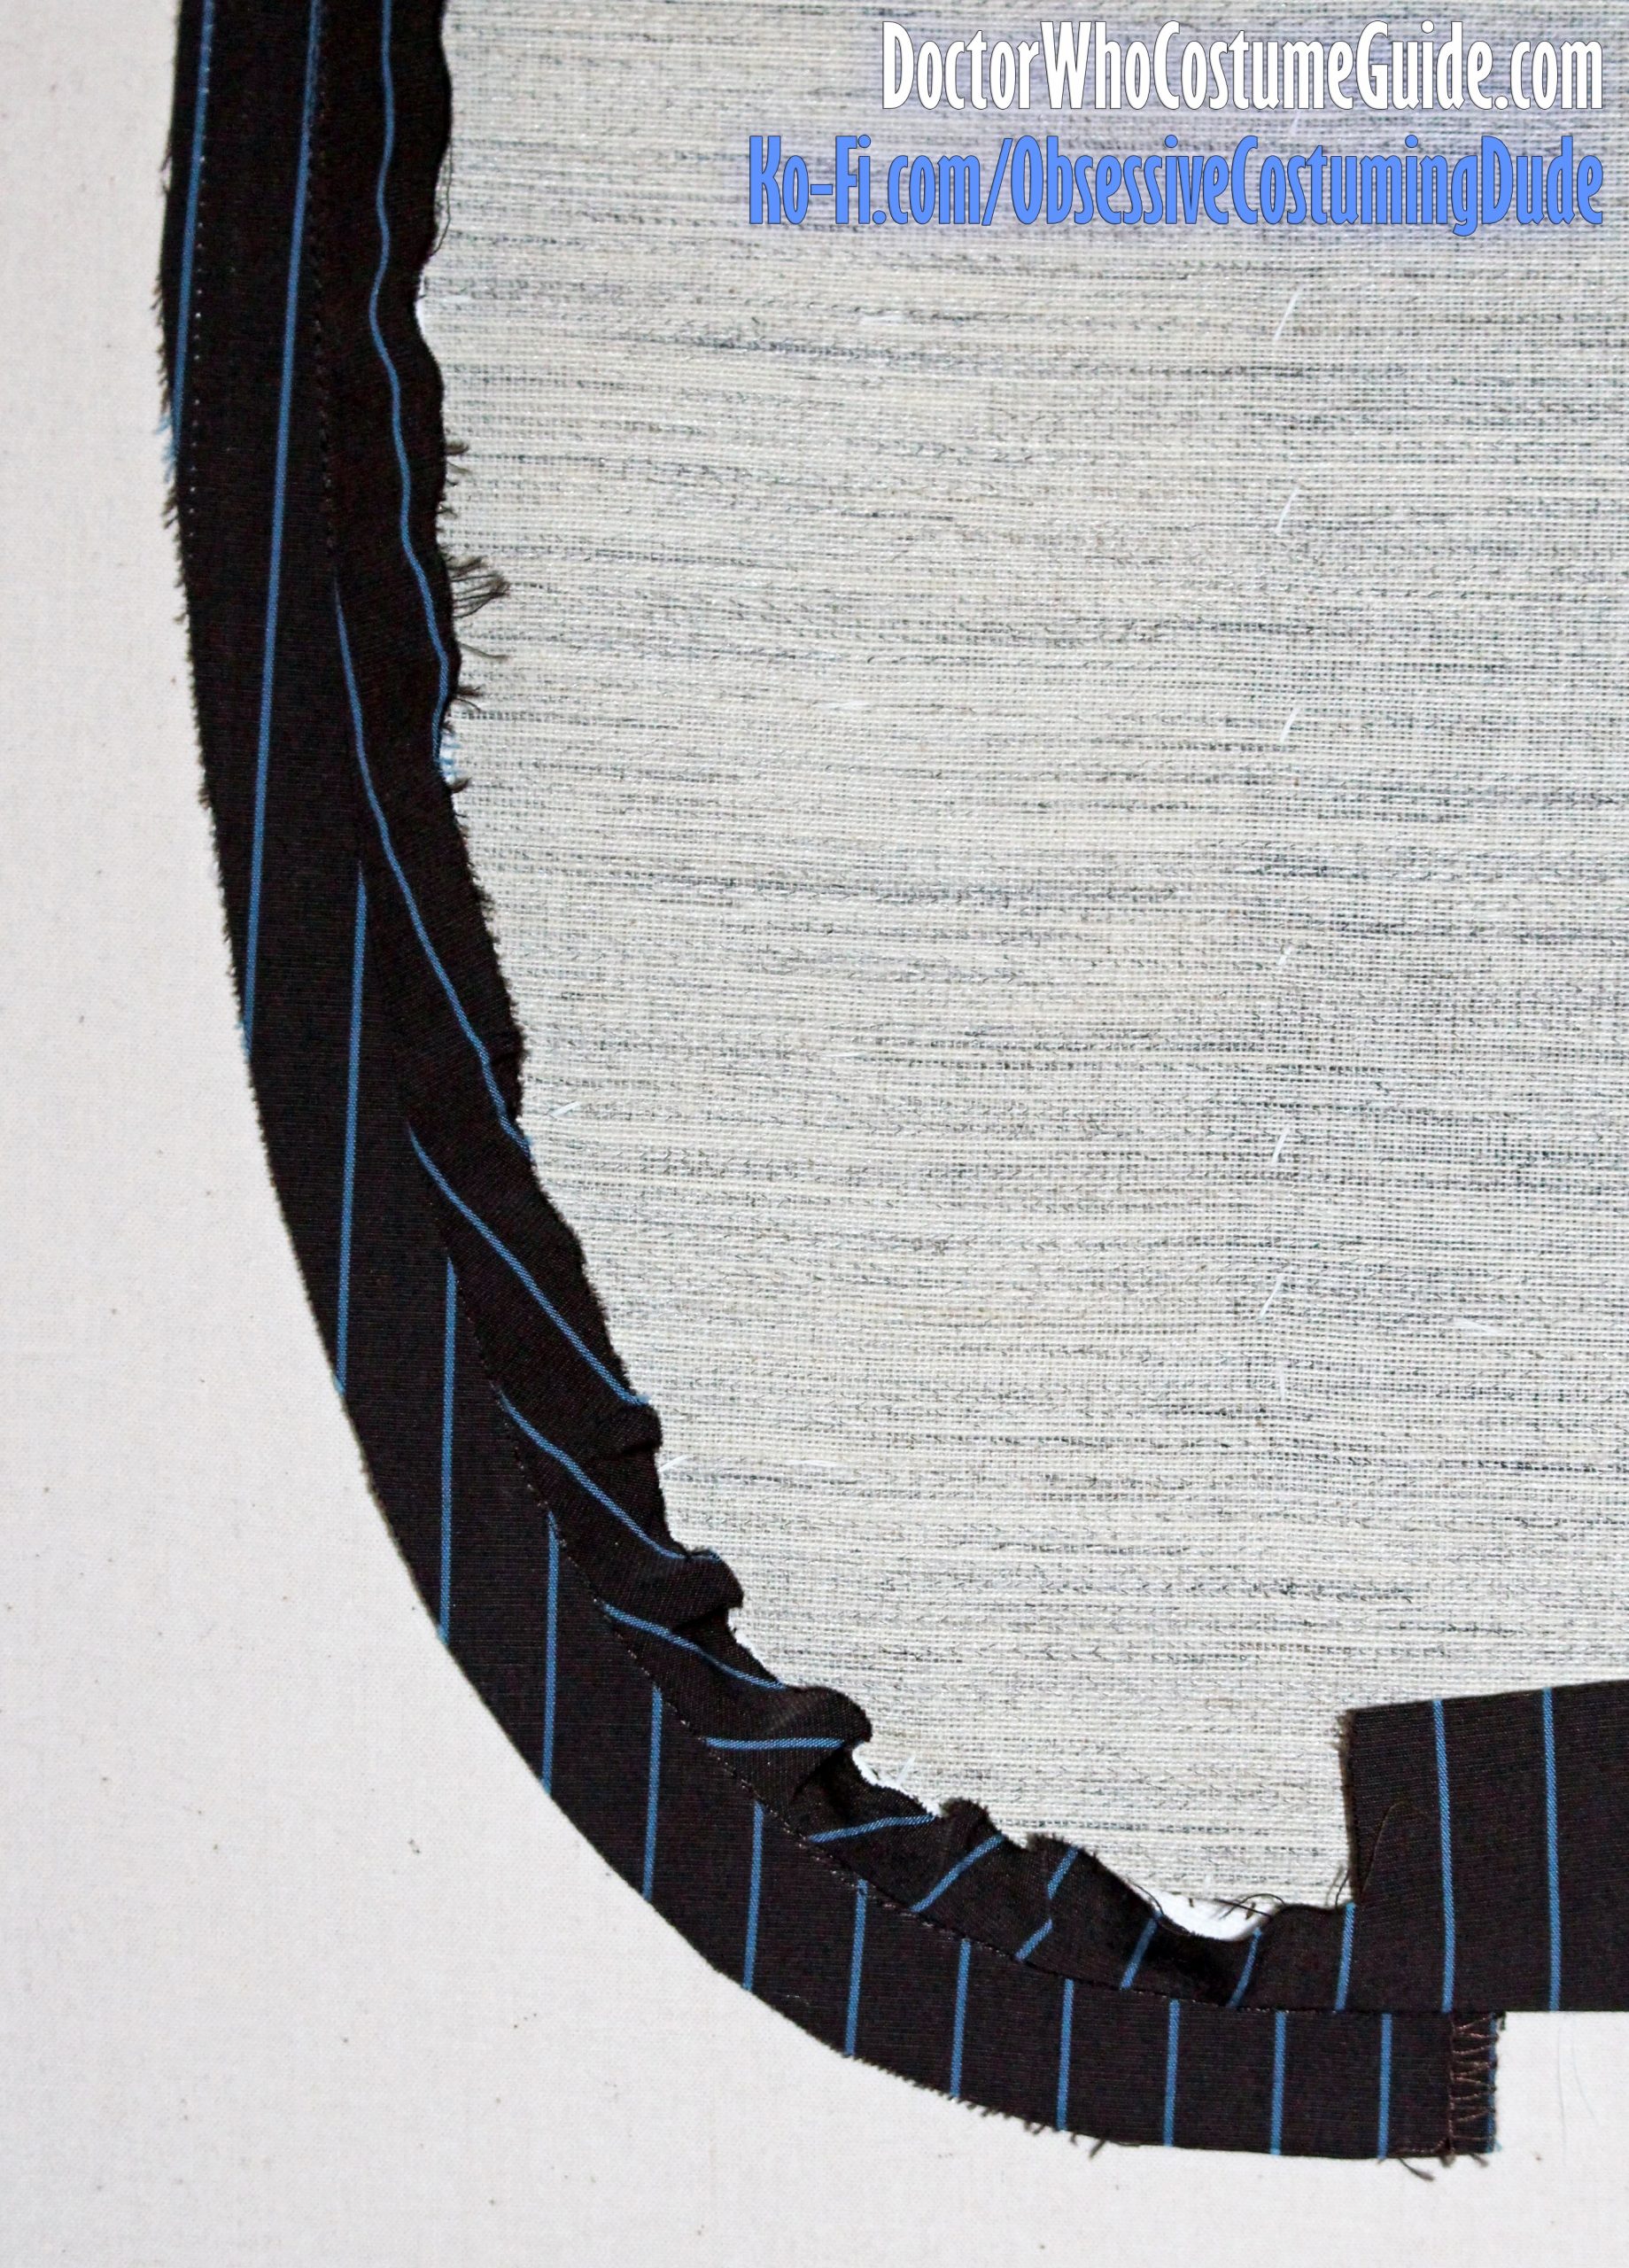
Tack the seam allowance to the stay tape along the lower front curve.
Rather than just trimming the upper lapel corners, poking them out, and hoping for the best, the upper lapel corners will coorporate better when turning if the seam allowances are controlled and anchored into place beforehand.
To this end, tack the allowances onto the stay tape at the upper lapel corners.
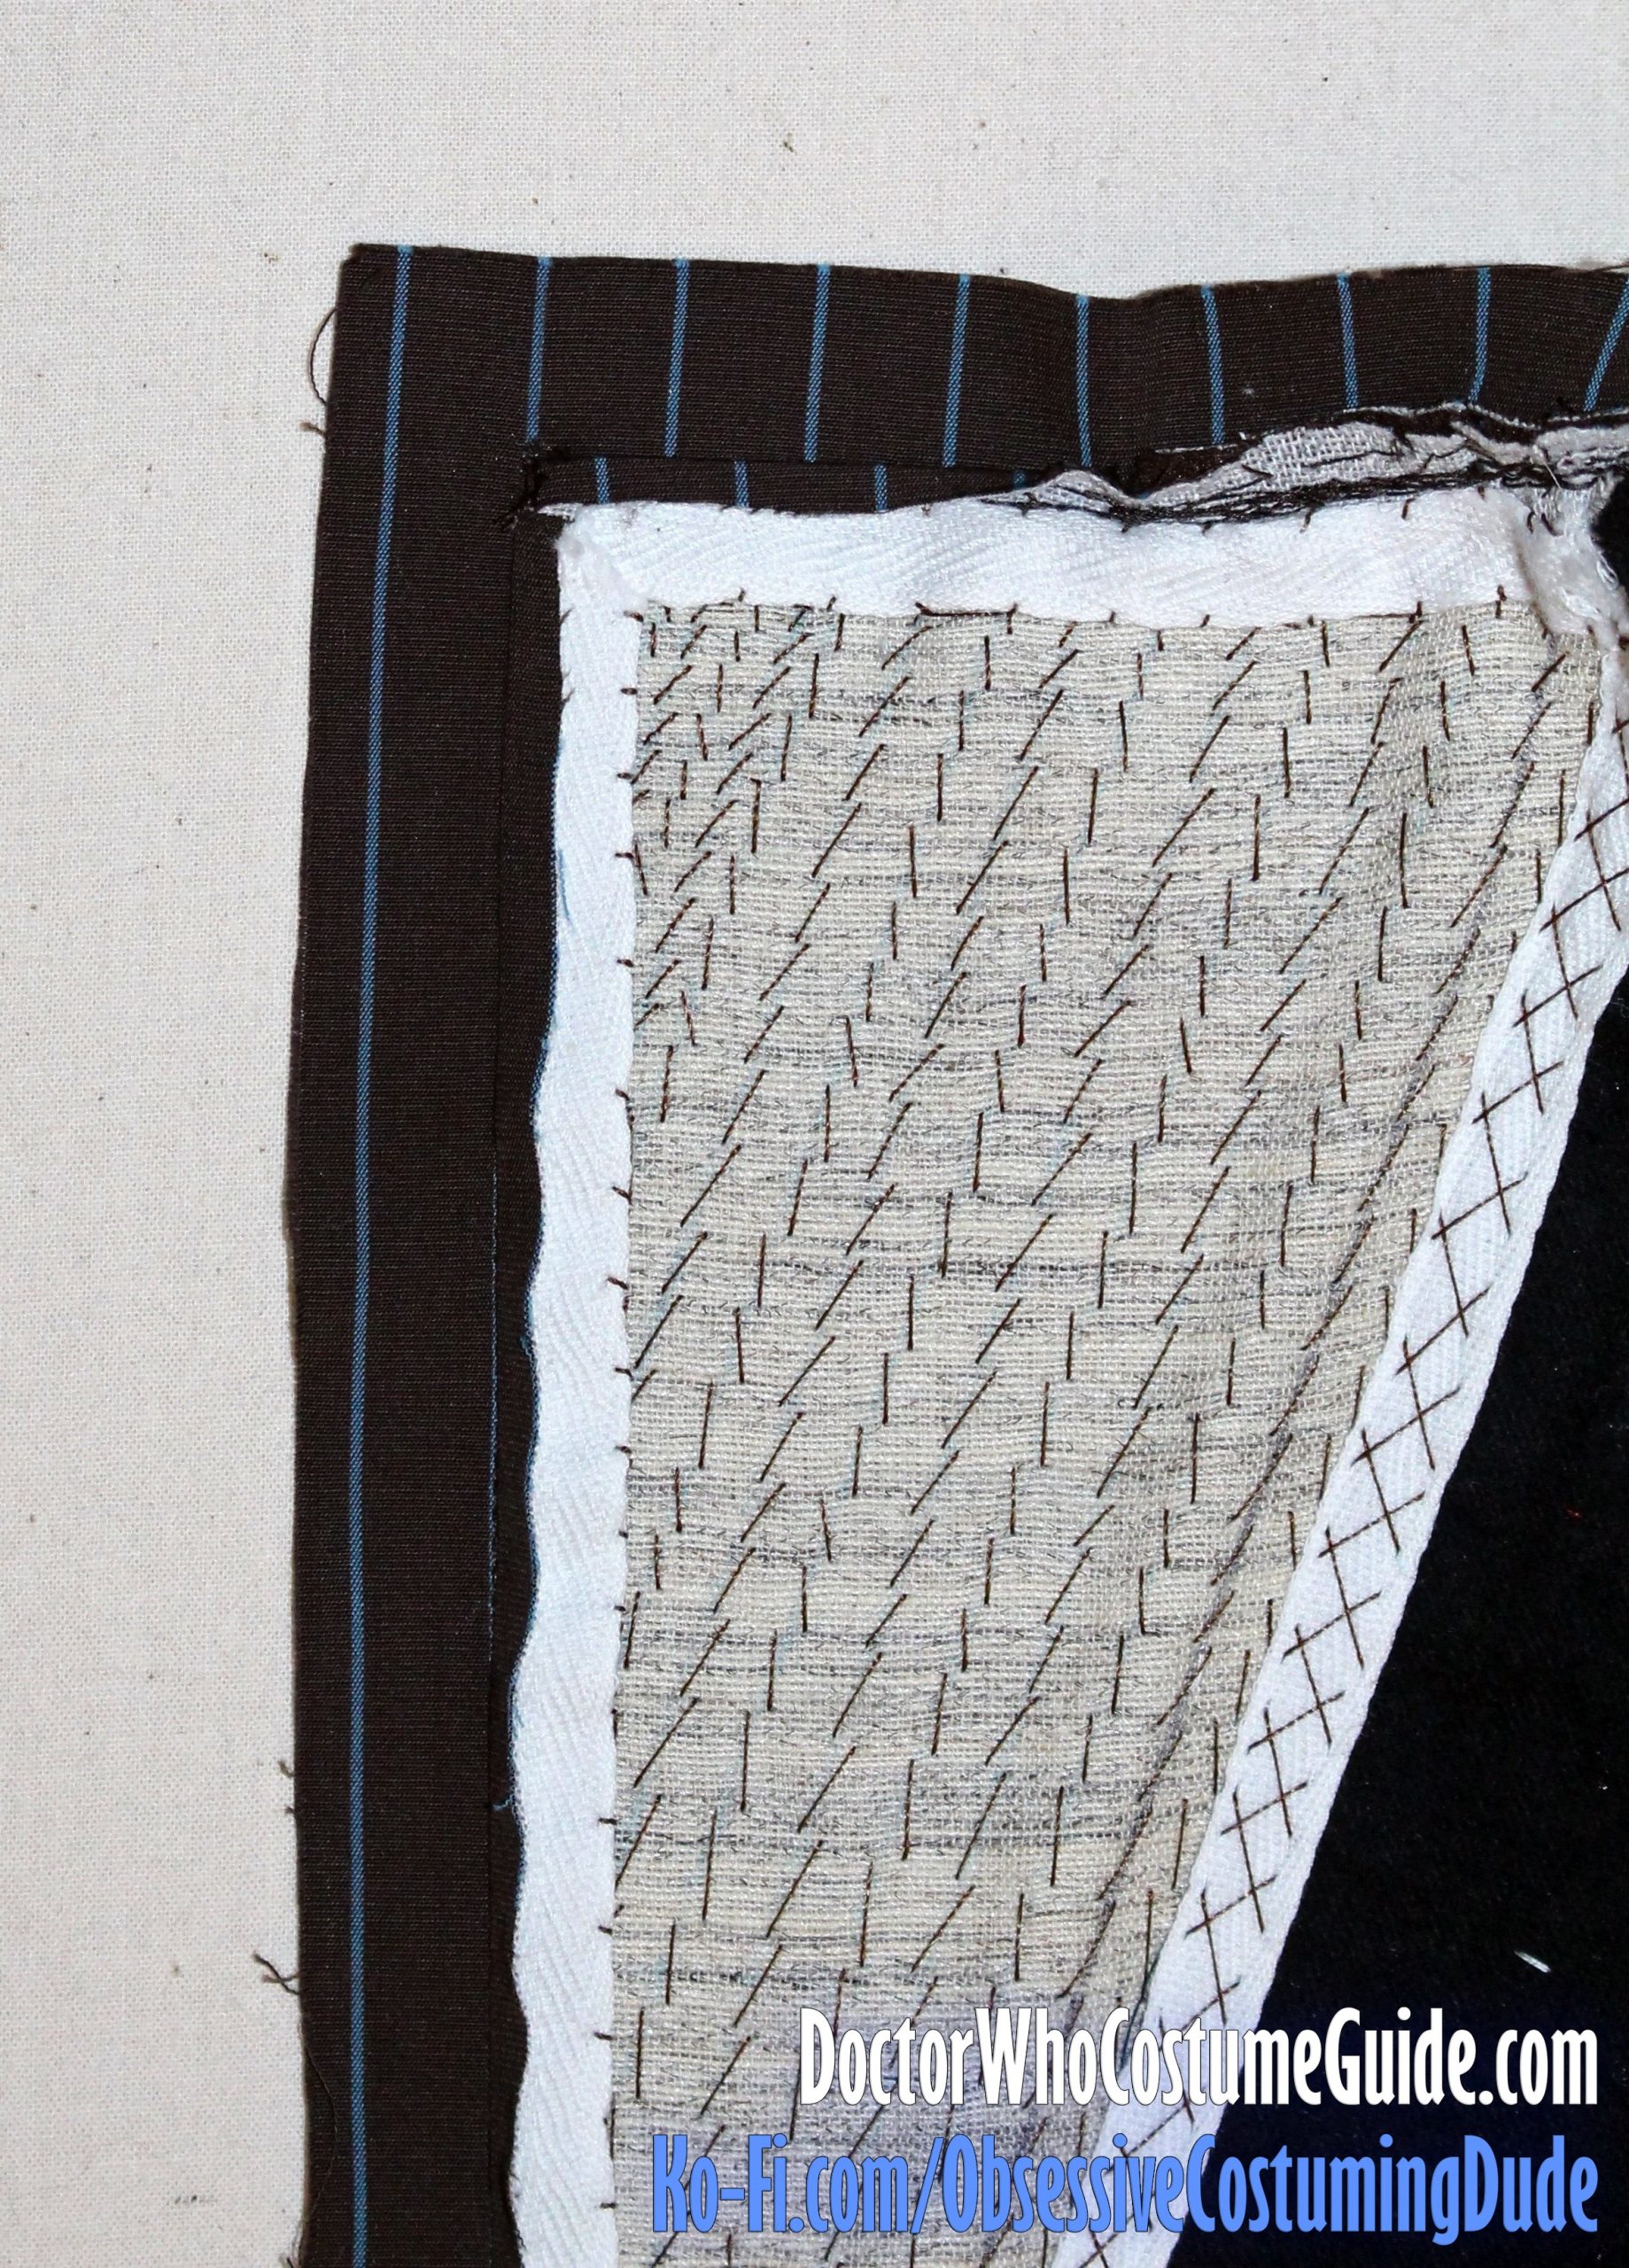
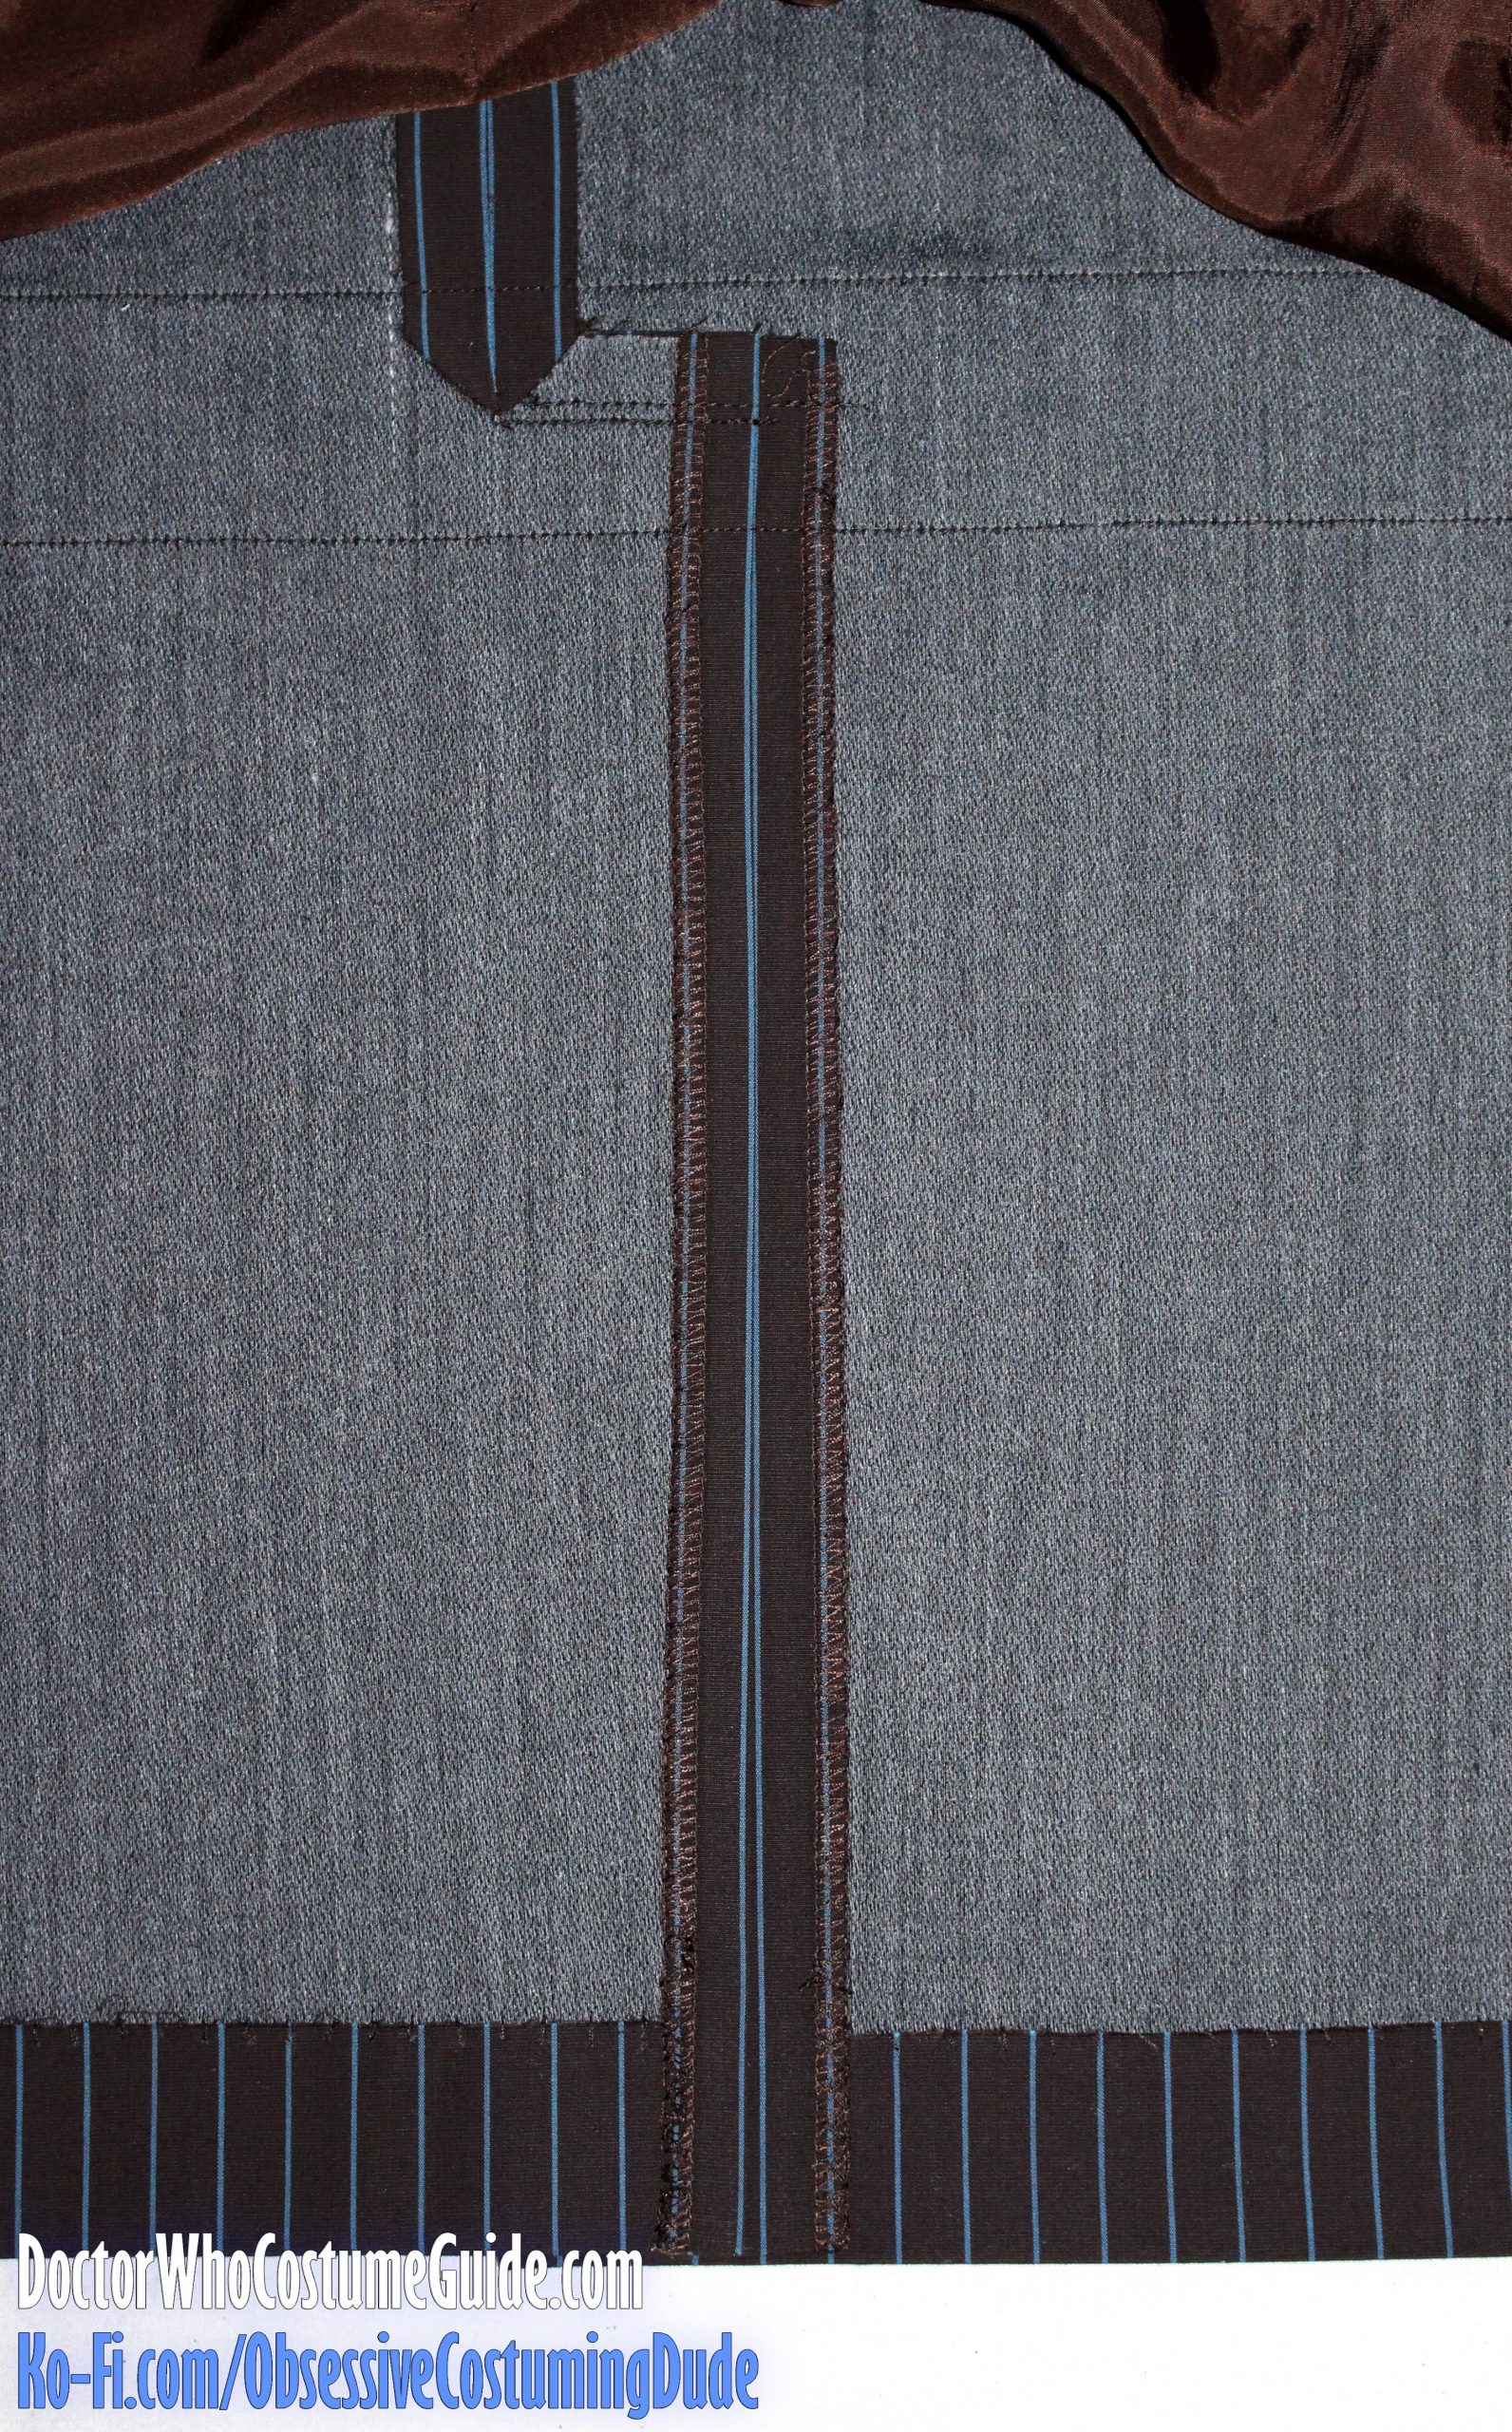
Trim the neckline seam allowances down to ¼” and clip them to the stitching along the neckline curve.
Turn the interior assembly under and press all the corresponding edges.
If you didn’t bolster your fabric up with some fusible interfacing, I suggest applying some to the lower hem area of the jacket, ideally cut with pinking shears.
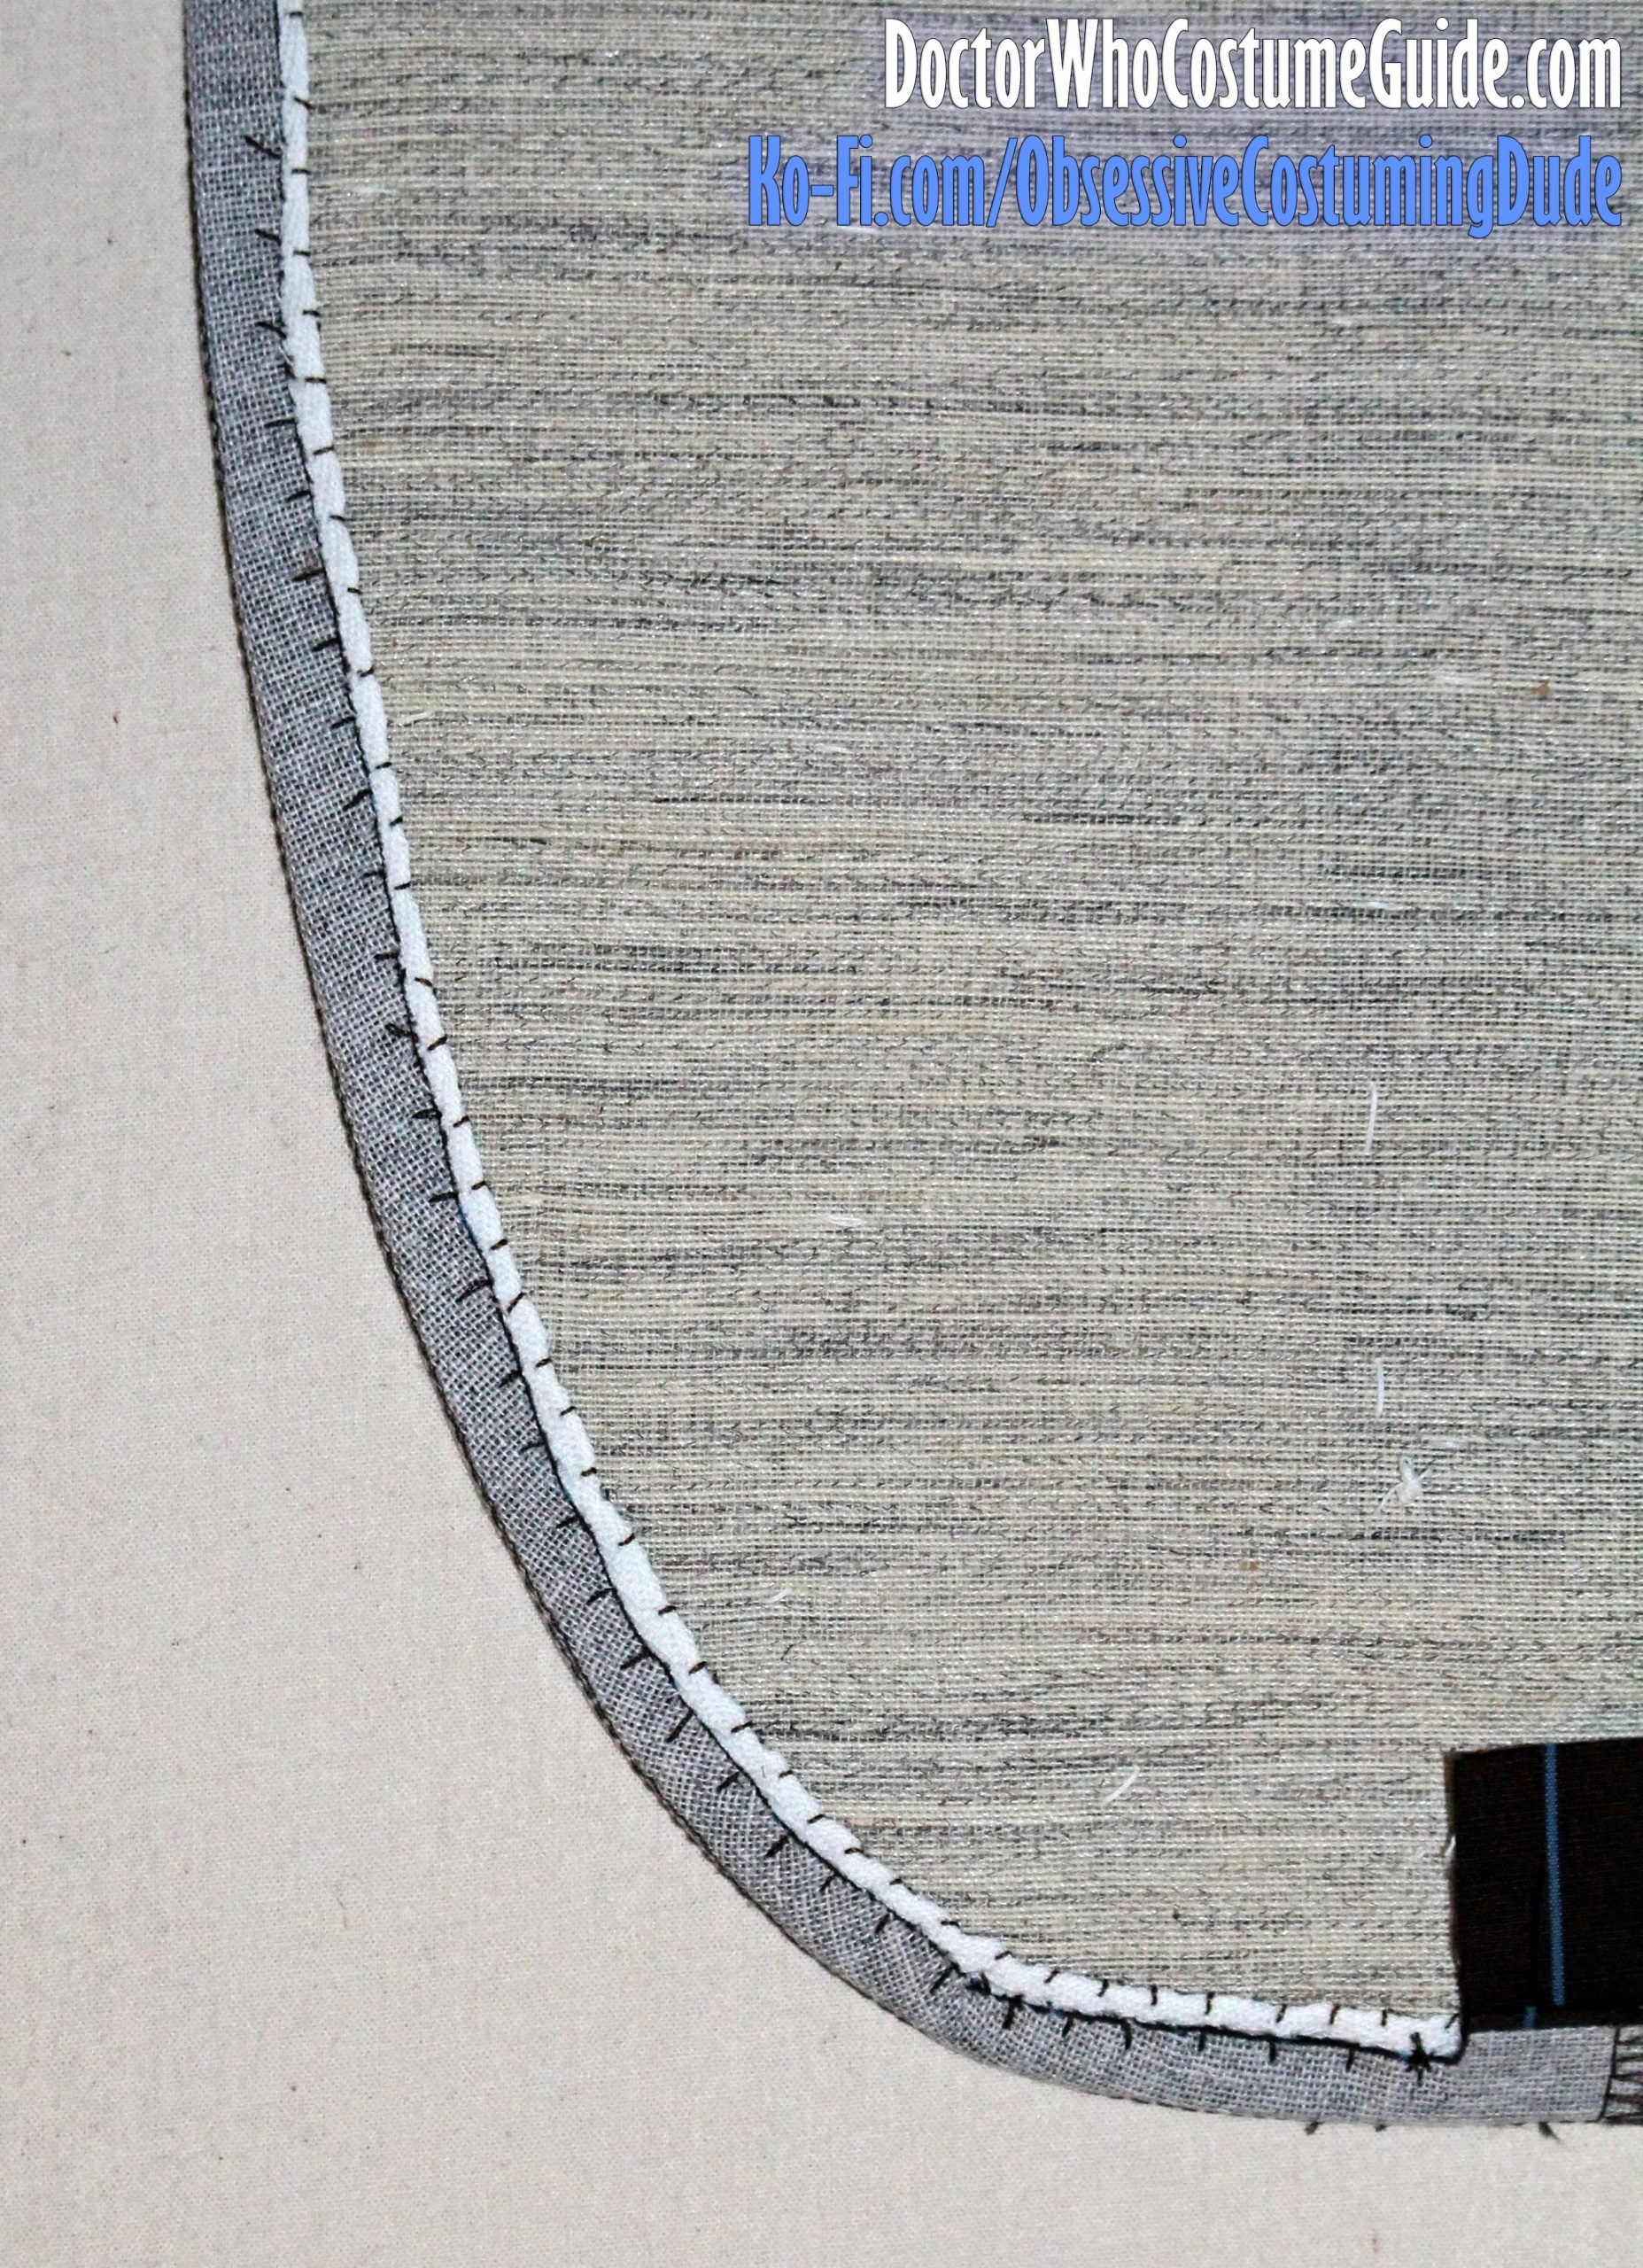
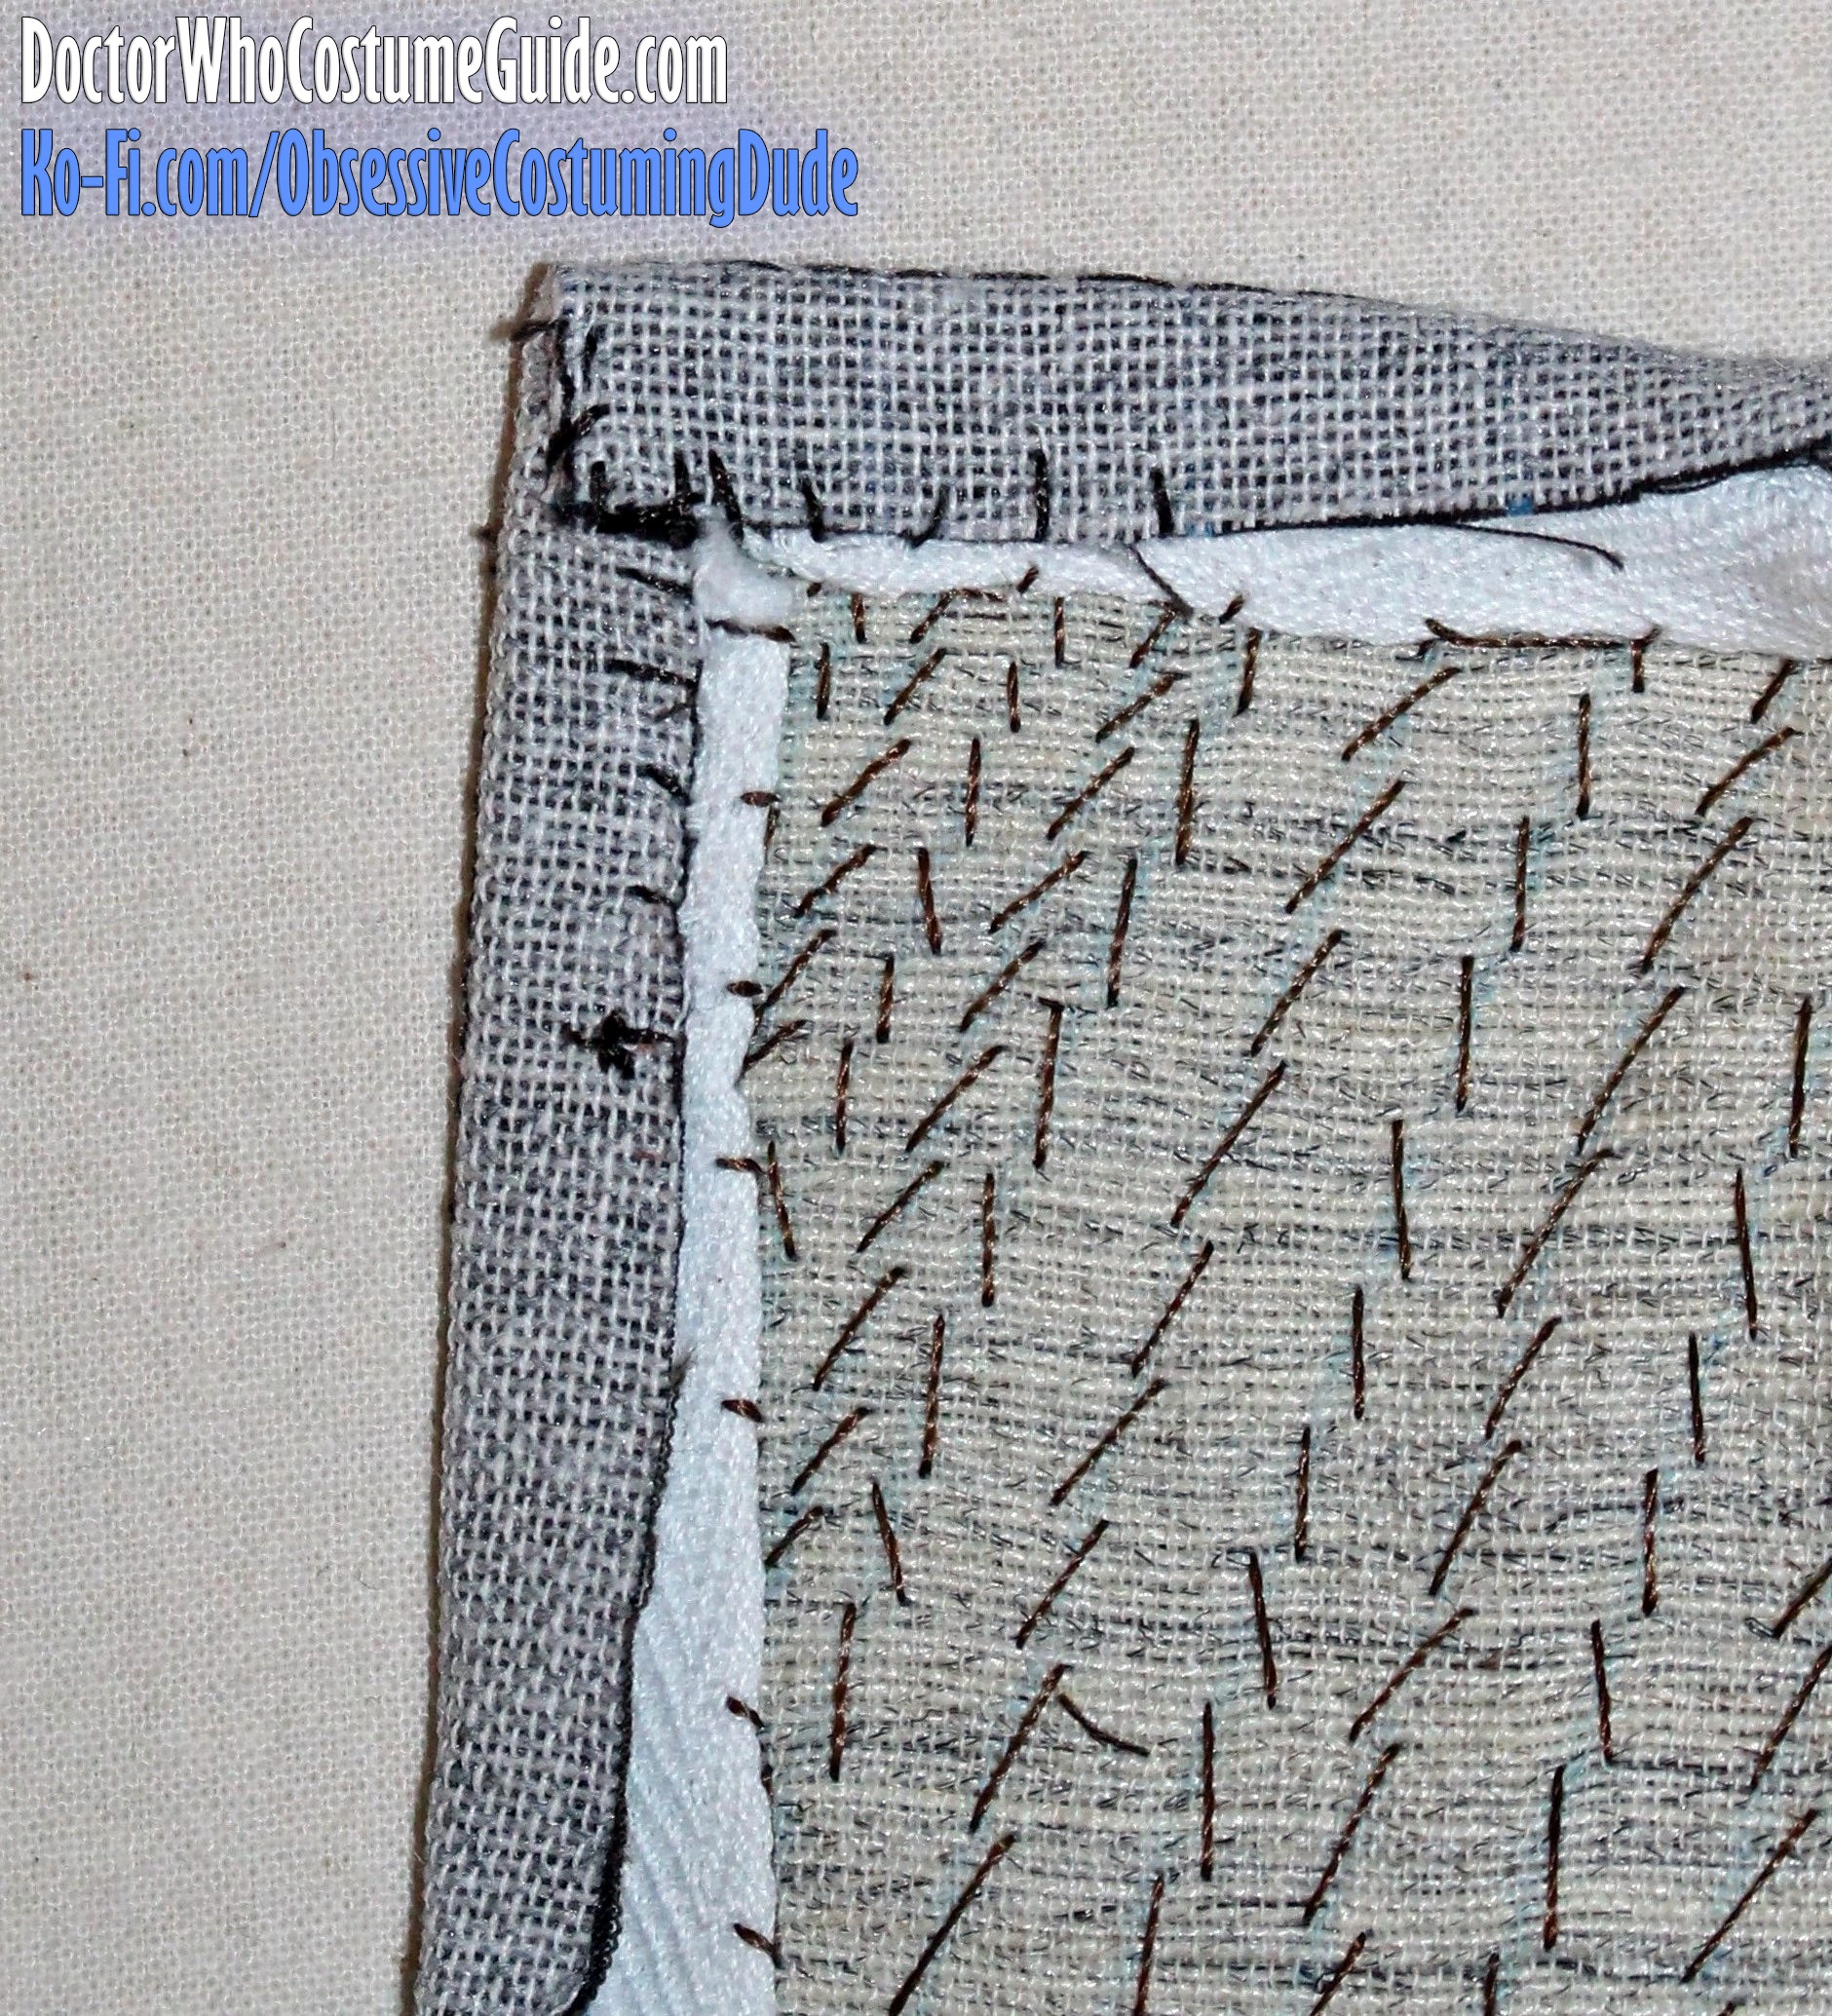
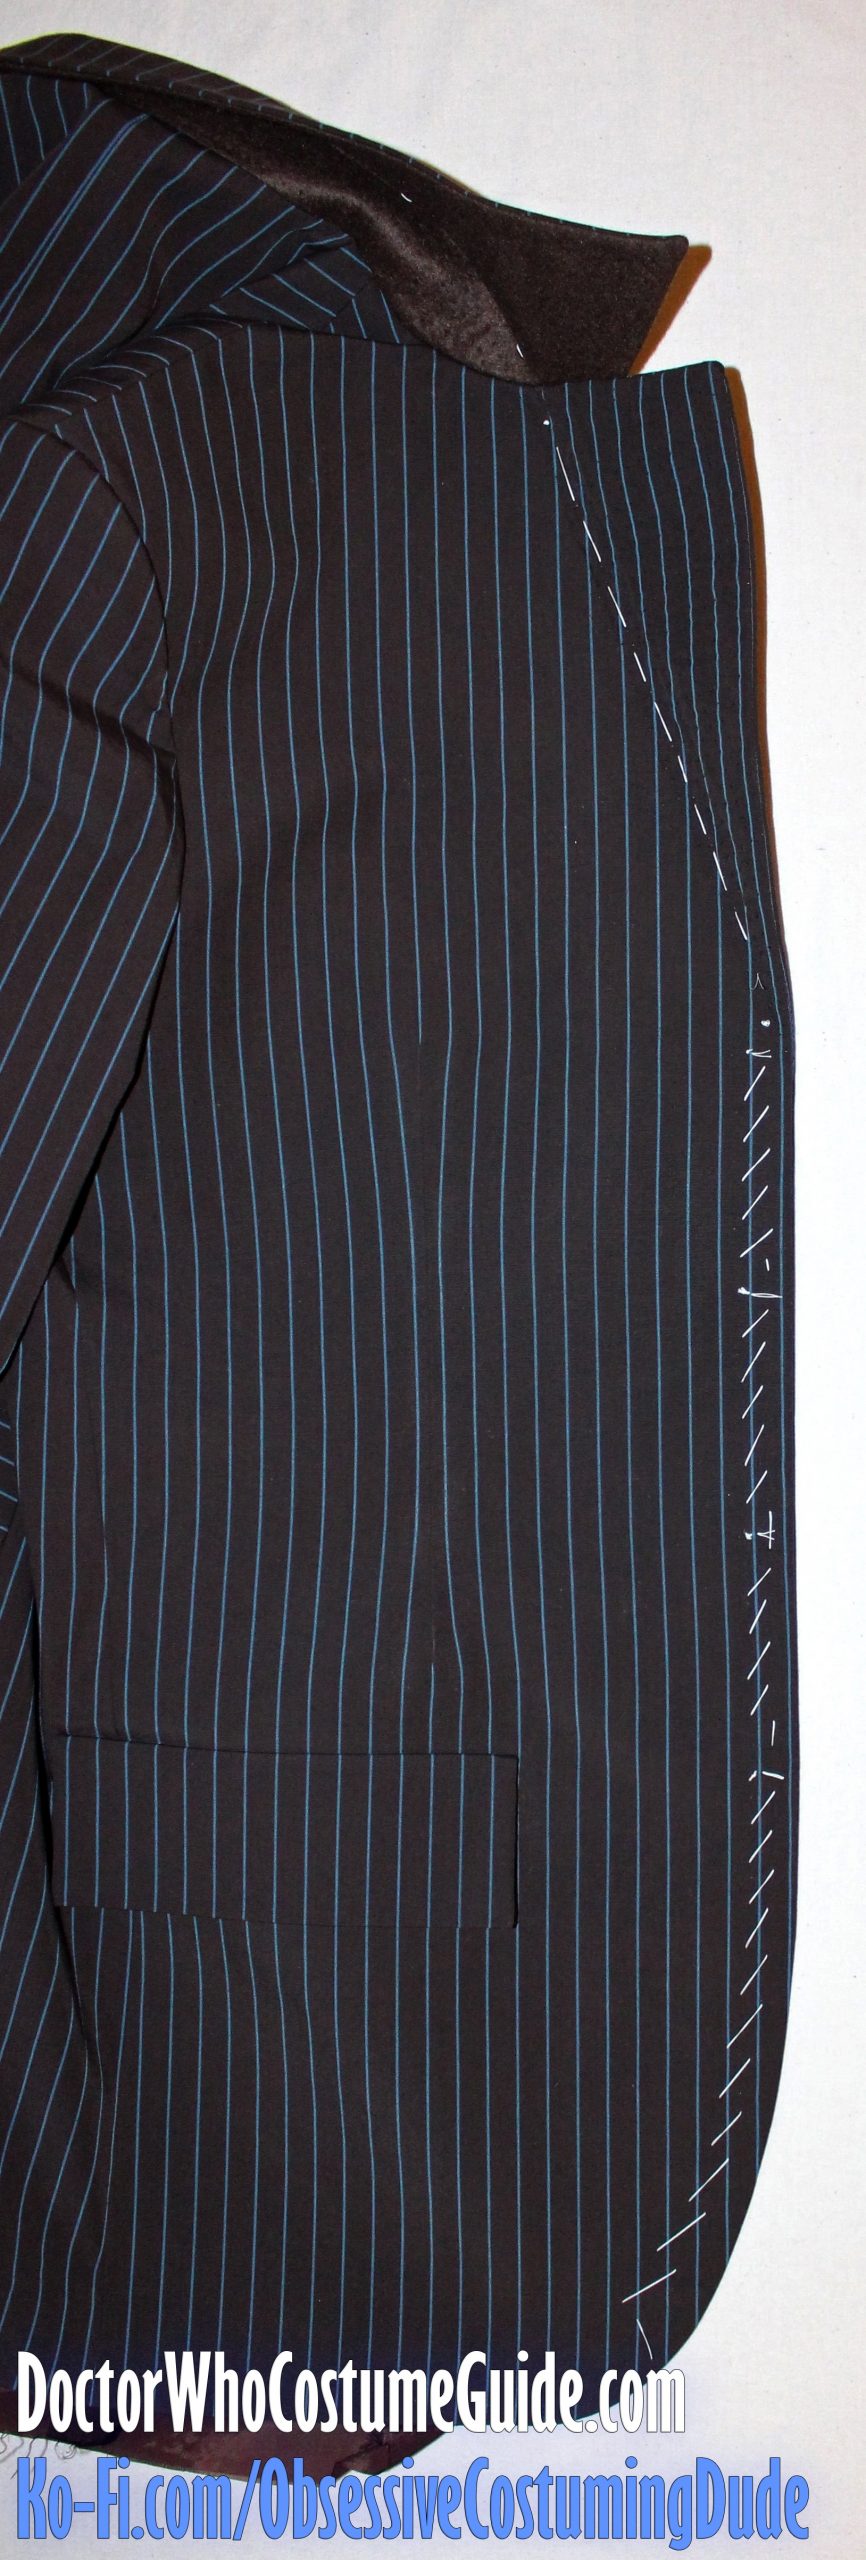
Trim the seam allowances below the jacket hem line to ¼”.
Turn the jacket hem allowance upward and press.
Hand-sew the top edge of the hem allowance to the interfacing, taking care to only stitch through the interfacing (and not onto the outside of the jacket).
Turn the back vent allowances under and hand-sew those into place, as well.
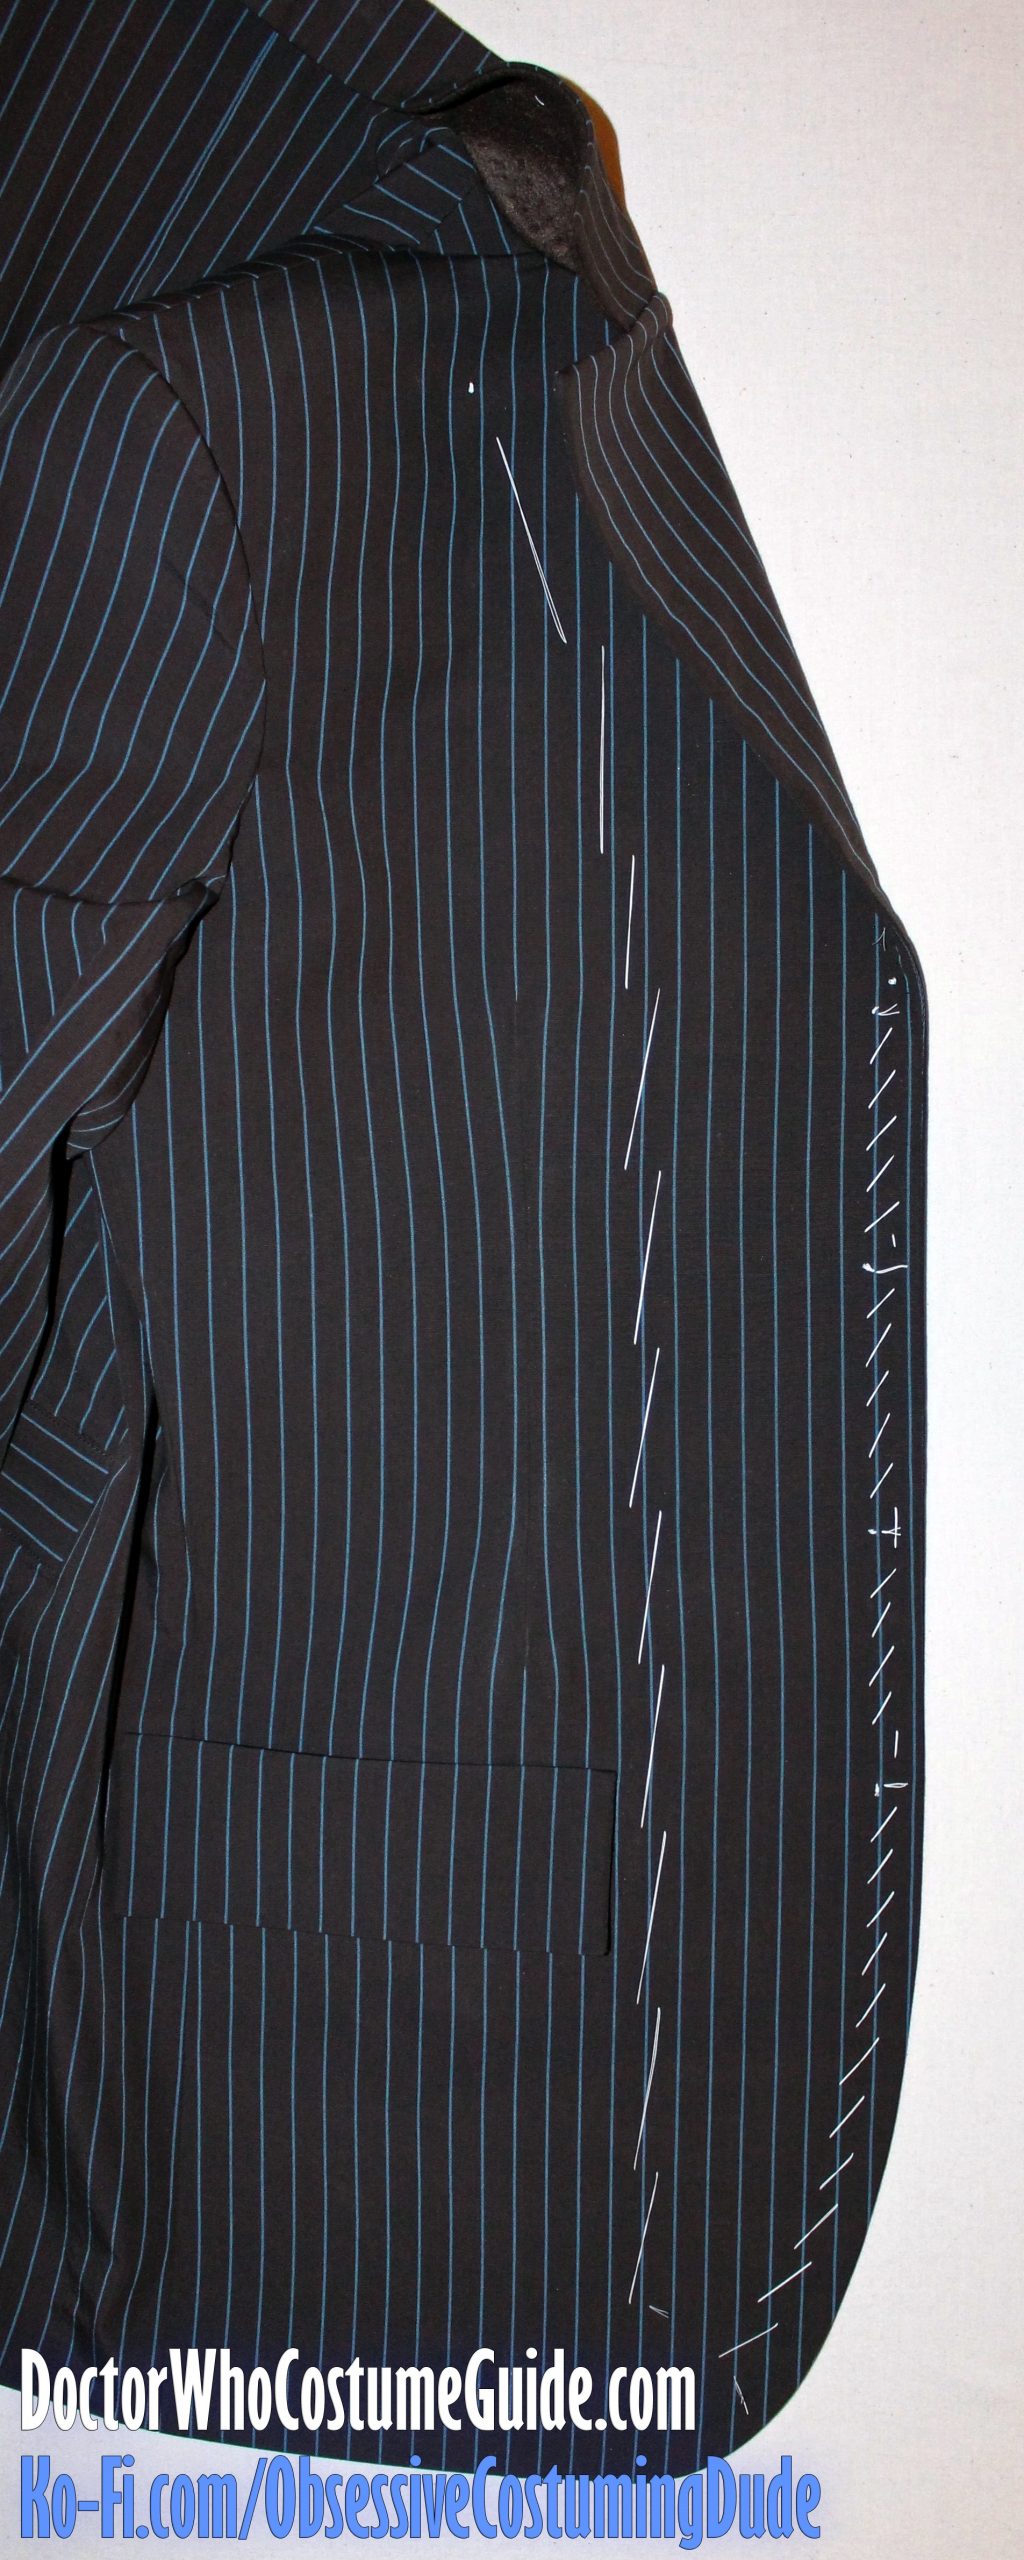
Baste the front/facing layers together along the front edges, with the seam lines slightly rolled toward the “wrong” side, and press them.
Place one side of the jacket on a flat surface and pull the other side out of the way.
With the front of the jacket lying as flat as possible, tailor-baste the facing to the jacket front close to the facing/lining seam line.
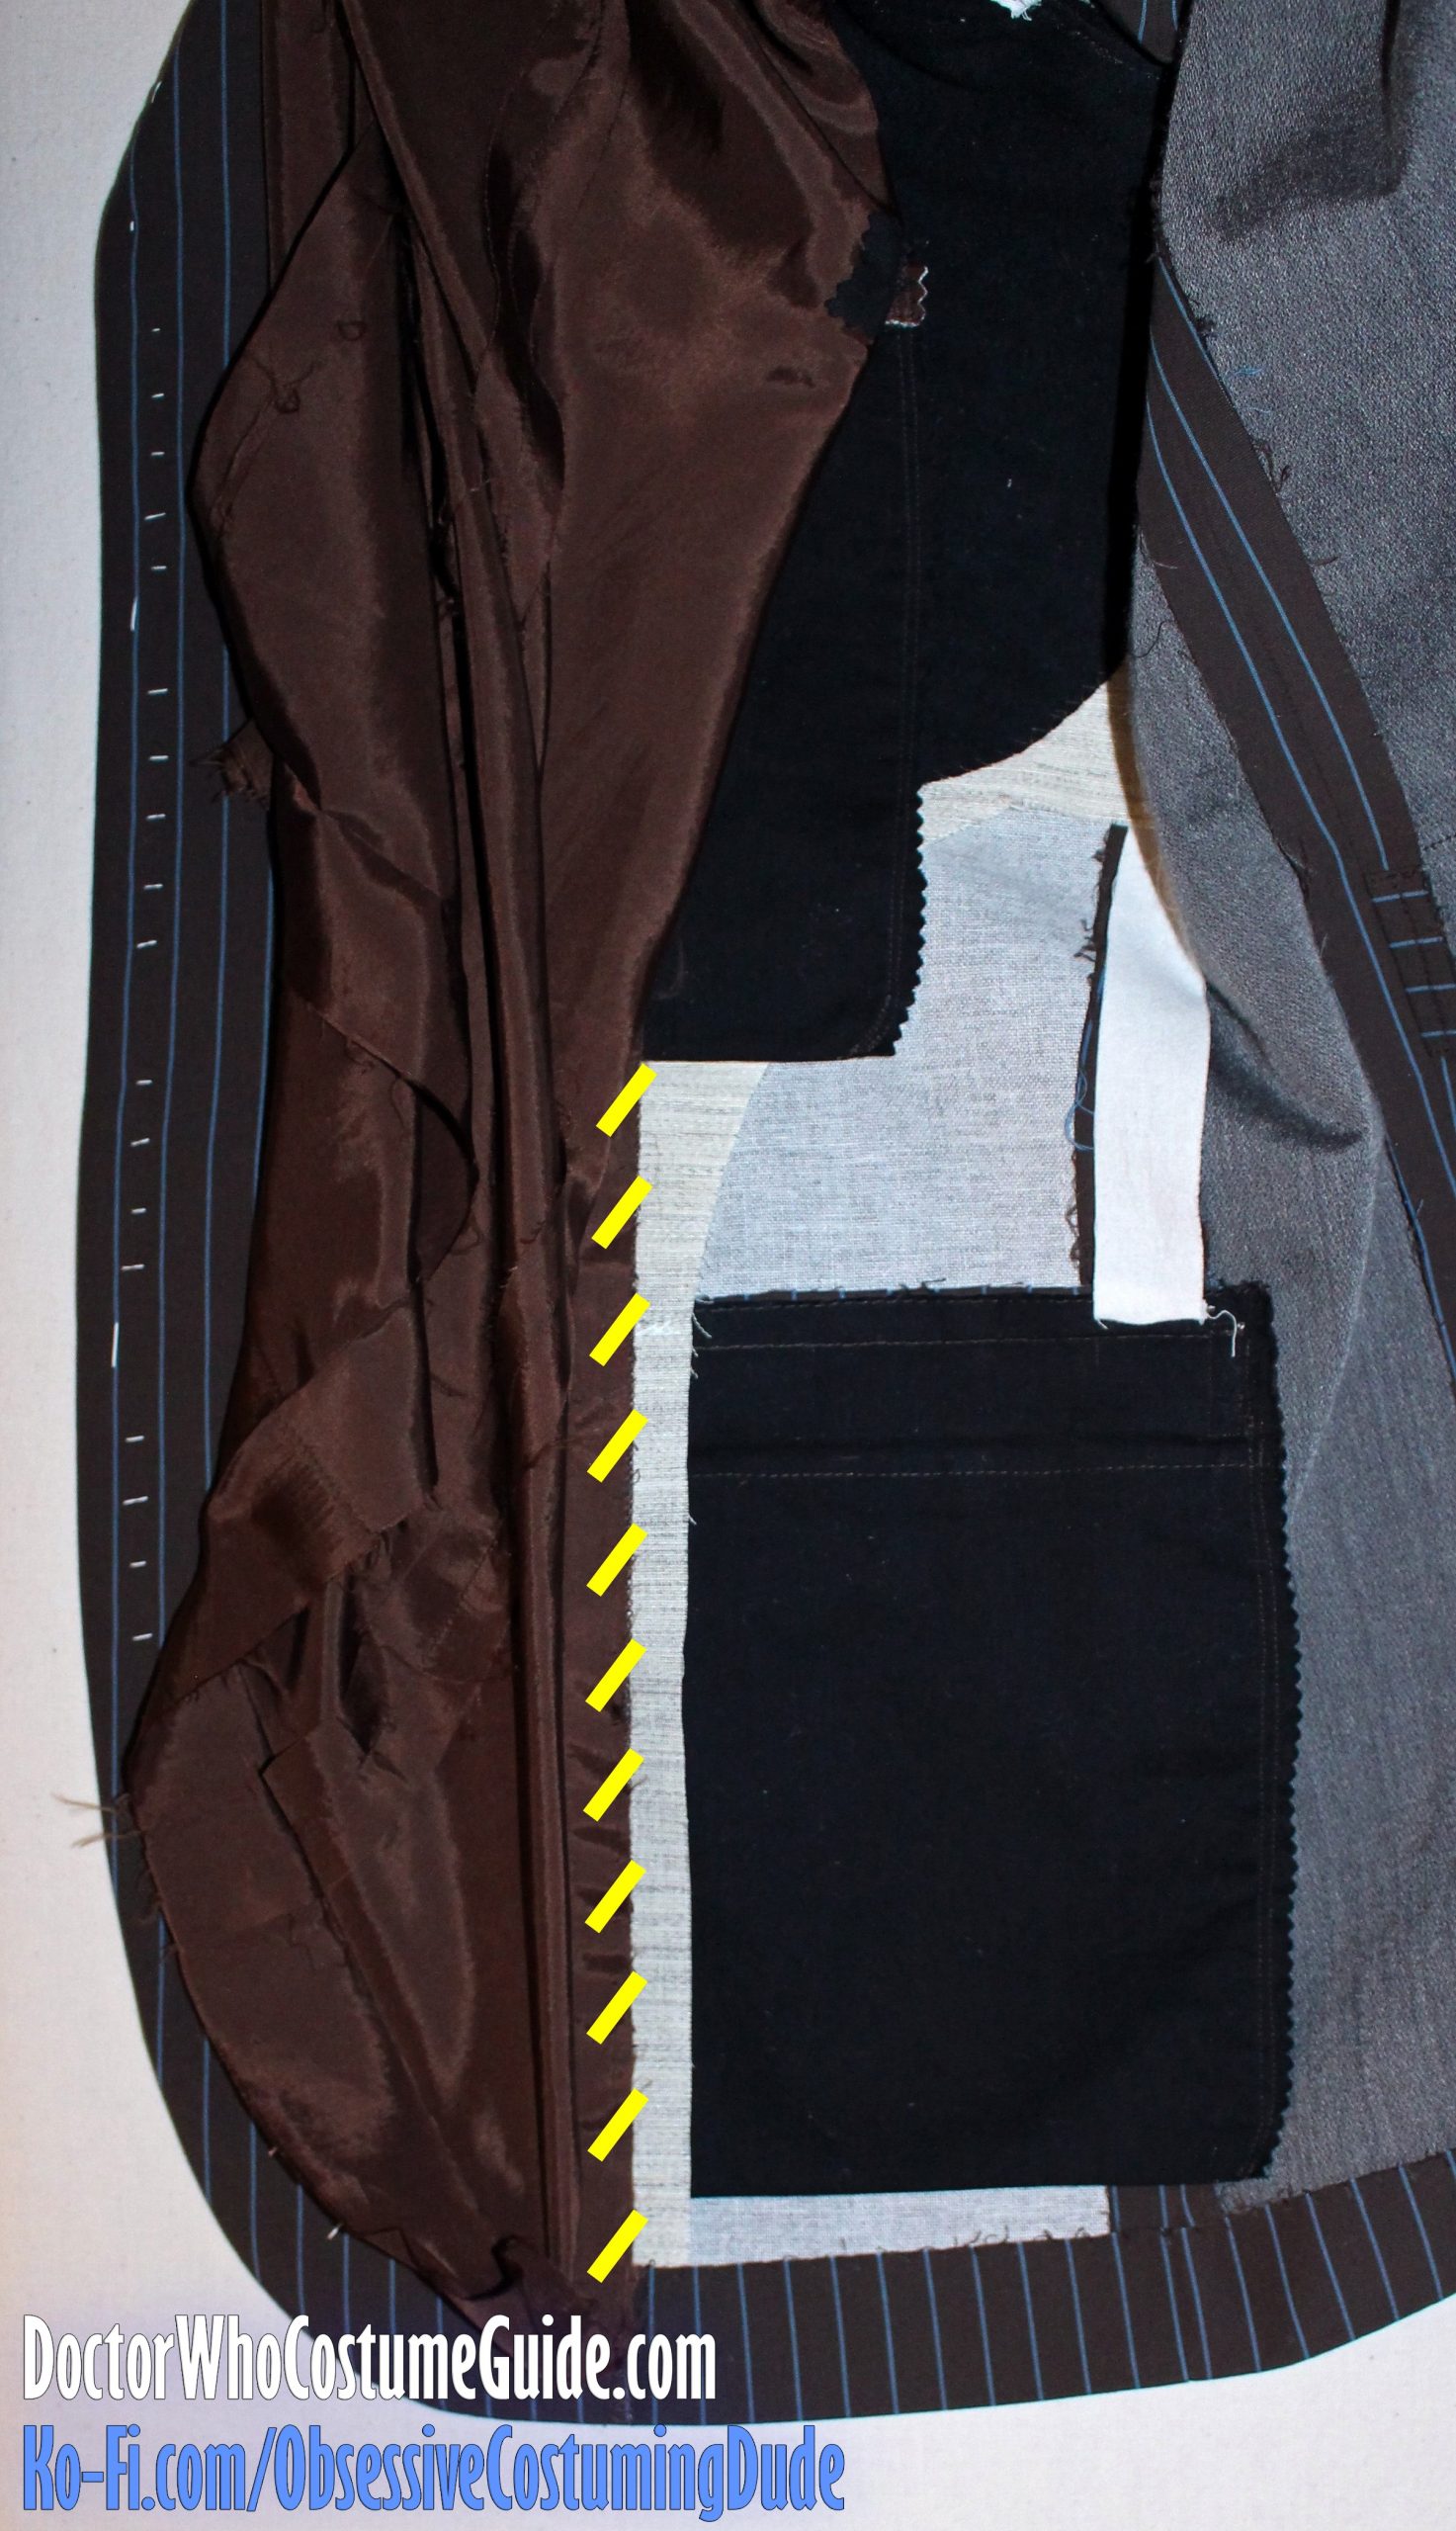
Carefully pull the lining away so the facing/lining seam allowance is visible.
Hand-sew the facing/lining seam allowances to the front canvas as far up as possible (ideally, all the way up to the shoulder seam).
Also, anchor the lining assembly to the jacket assembly where the side seams and shoulder seams meet the armscyes. (Those three points should hold the sleeve lining in place and prevent it from twisting.)
Repeat for the other side.
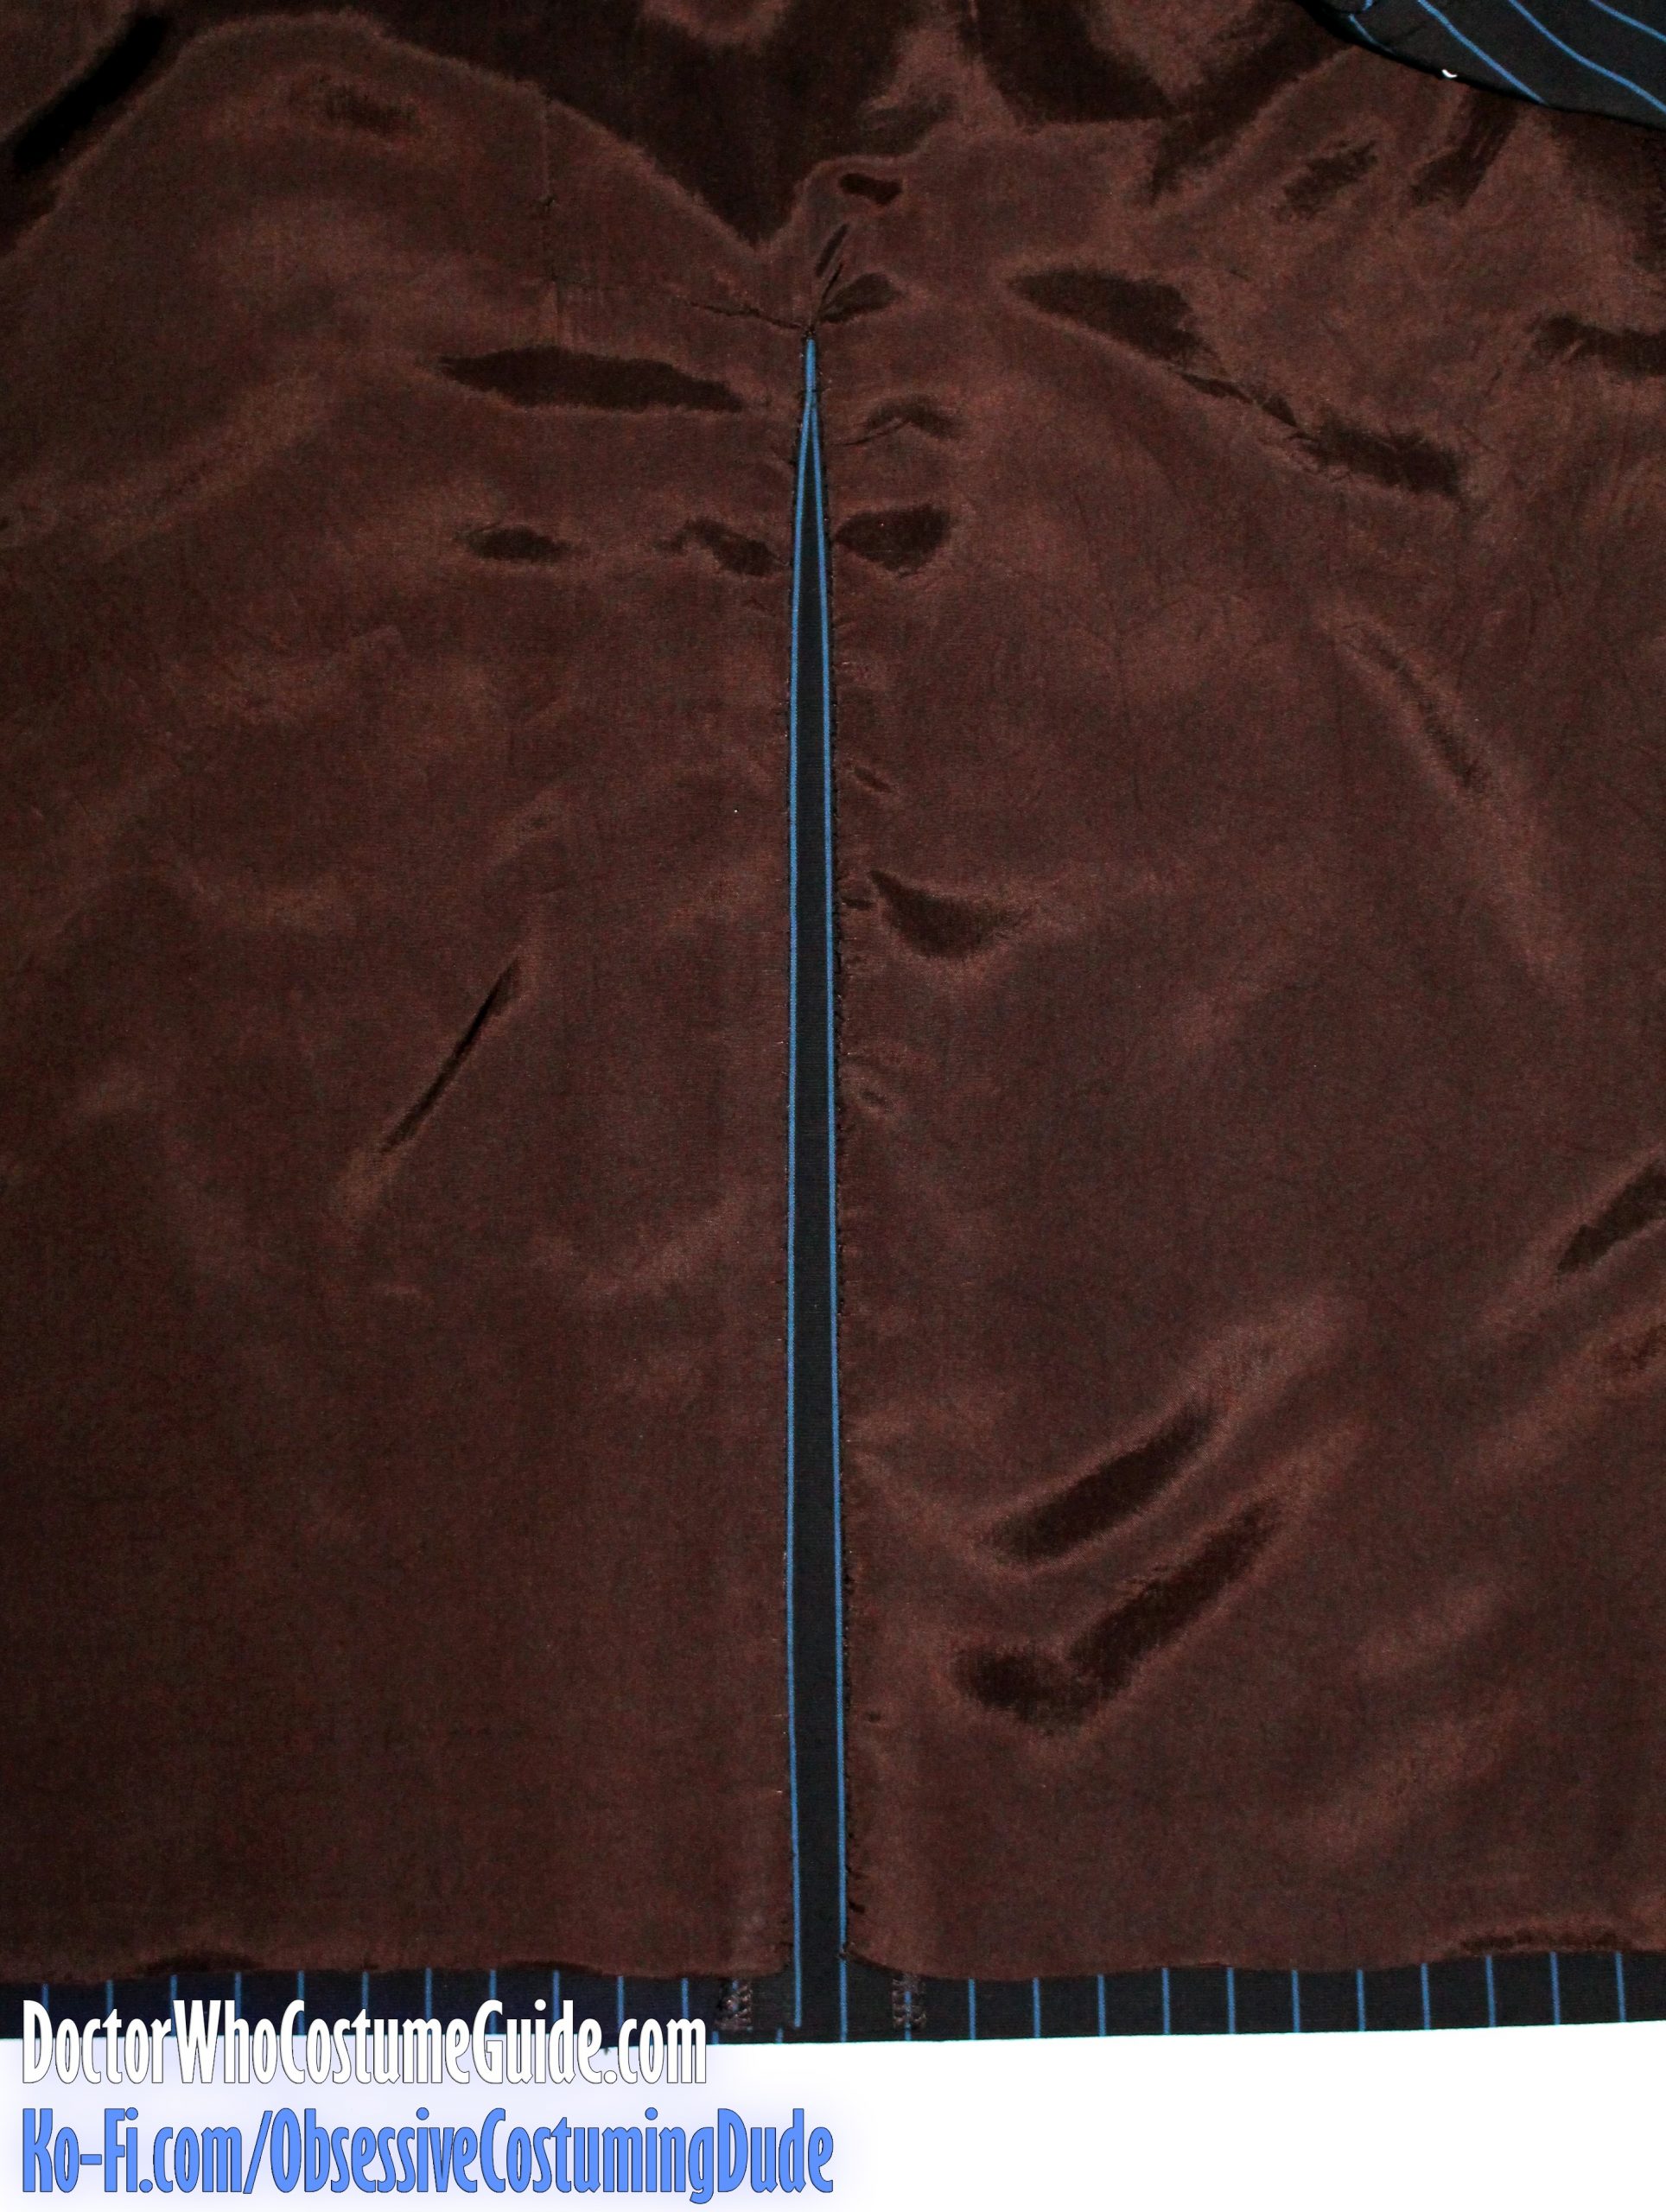
Hand-sew the lining to the bottom of the jacket about ⅜” above the jacket hem line, forming a jump pleat for wearing ease.
Press the bottom of the jacket.
Slip-stitch or fell-stitch the folded edges of the lining to the back vent.
If you haven’t done so already, hem the sleeves as described previously.
Hand-sew the sleeve linings to the lower sleeves, forming a jump pleat at the bottom. (I actually like to trim ½” off the bottom of my sleeve linings, to help prevent them from poking out underneath the sleeve.)
Pull out all your tailor-basting so it won’t get in the way or accidentally get caught in the front buttonholes.
Make and slash the four keyhole buttonholes on the left jacket front.
Apply liquid fray preventer to the buttonholes if desired. (Test on a scrap first, though!)
Hand-sew the buttons to the right jacket front, not catching the front facing in the stiches (so they don’t show on the underside of the jacket).
If you haven’t done so already, hand-sew the sleeve buttons to the sleeves.
Give the jacket a good pressing and steaming, and you’re all finished!