However, while some costumers may find a perfect fit in one of the “default” pattern sizes (and I sincerely hope you do!), it is somewhat unlikely due to variations in height, weight, build, posture, musculature, and general physique.
Basically, people come in all shapes and sizes, and it’s impossible to make a pattern for something that will perfectly fit everyone – hence this portion of the tutorial, in which I’ll provide you with some fitting tips!
You may also find this free sewing lesson helpful, in which I discuss the two most common fitting issues and how to adjust for them. 🙂
Entire books have been written on the subject of pattern altering, fitting issues, and garment alterations, so I’ll only cover some of the most common fitting issues and how to adjust your sewing pattern for them if needed, starting at the top of the body.
Fortunately, sleeves are a non-issue for waistcoats, so we can primarily focus on two areas: the wearer’s chest and waist.
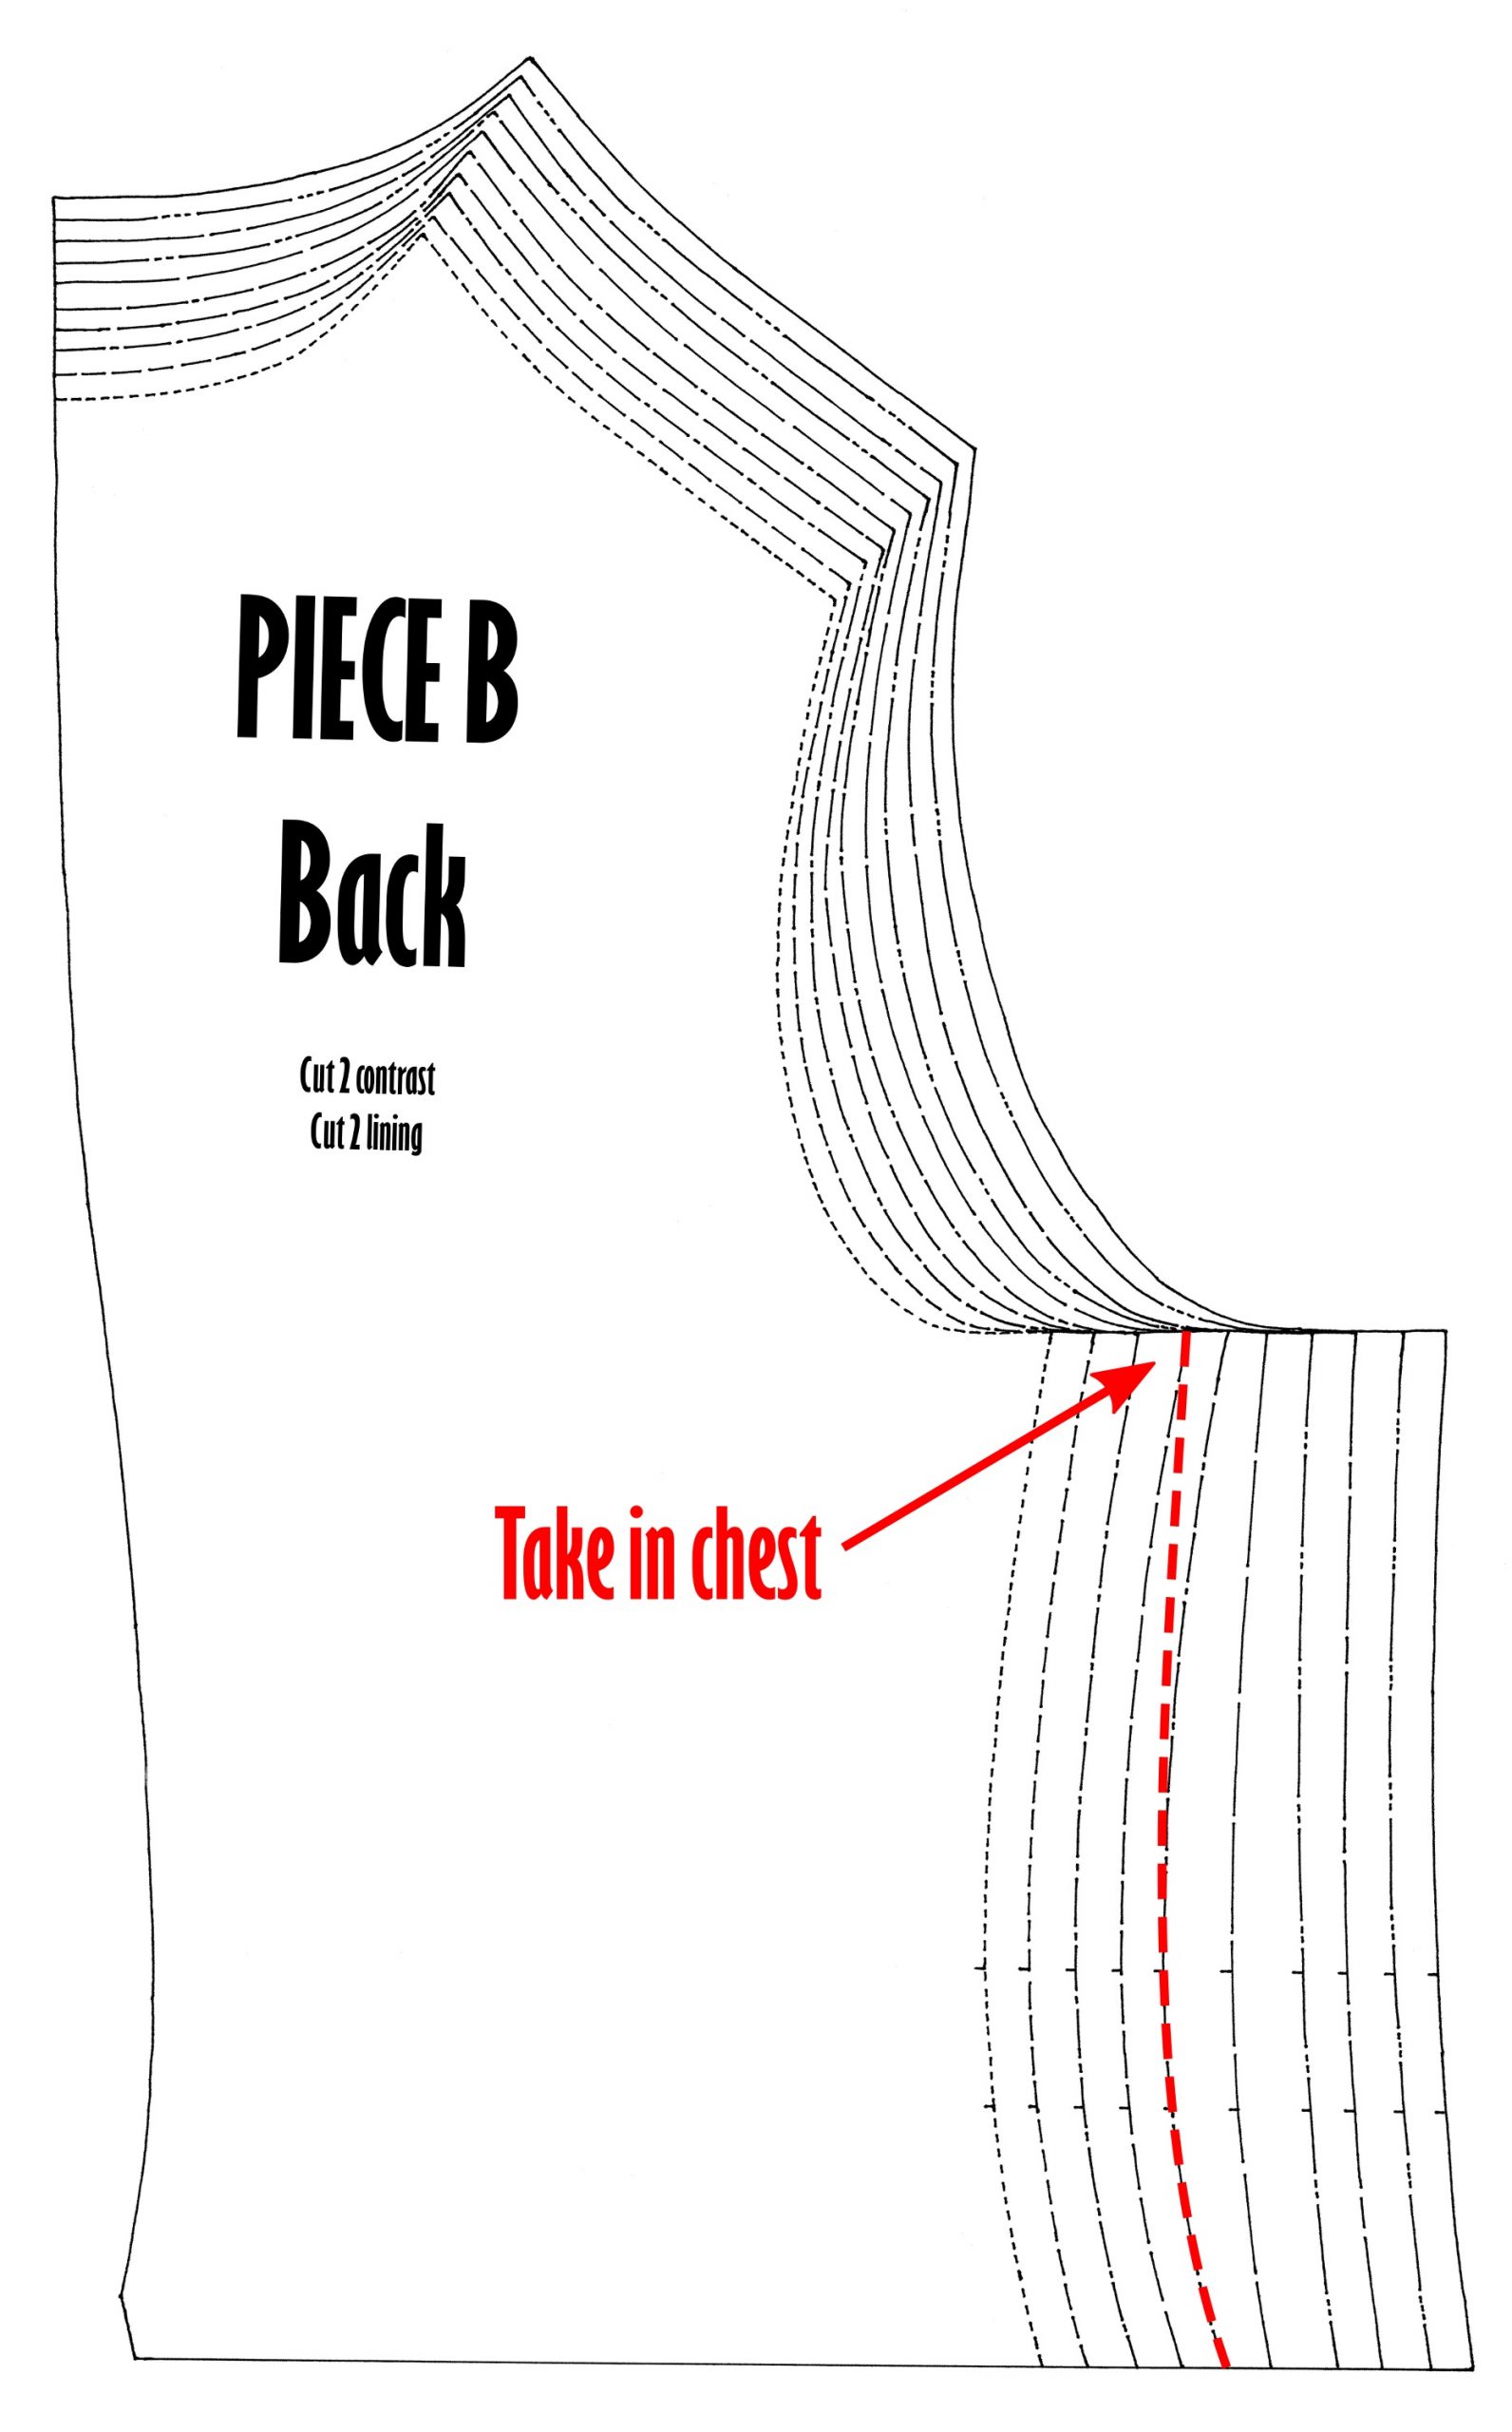
Generally speaking, both of these areas are best altered from the back sides, with the front remaining unaltered (unless considerable alterations are needed).
Take in the chest by starting in the upper corner of the side back, subtract half the distance of the total alteration needed, and taper it into the appropriate waist size.
For instance, if a size 42 is a perfect fit around the waist, but a size 40 is a perfect fit around the chest, simply “segue” from a size 40 at the chest to a size 42 at the waist.
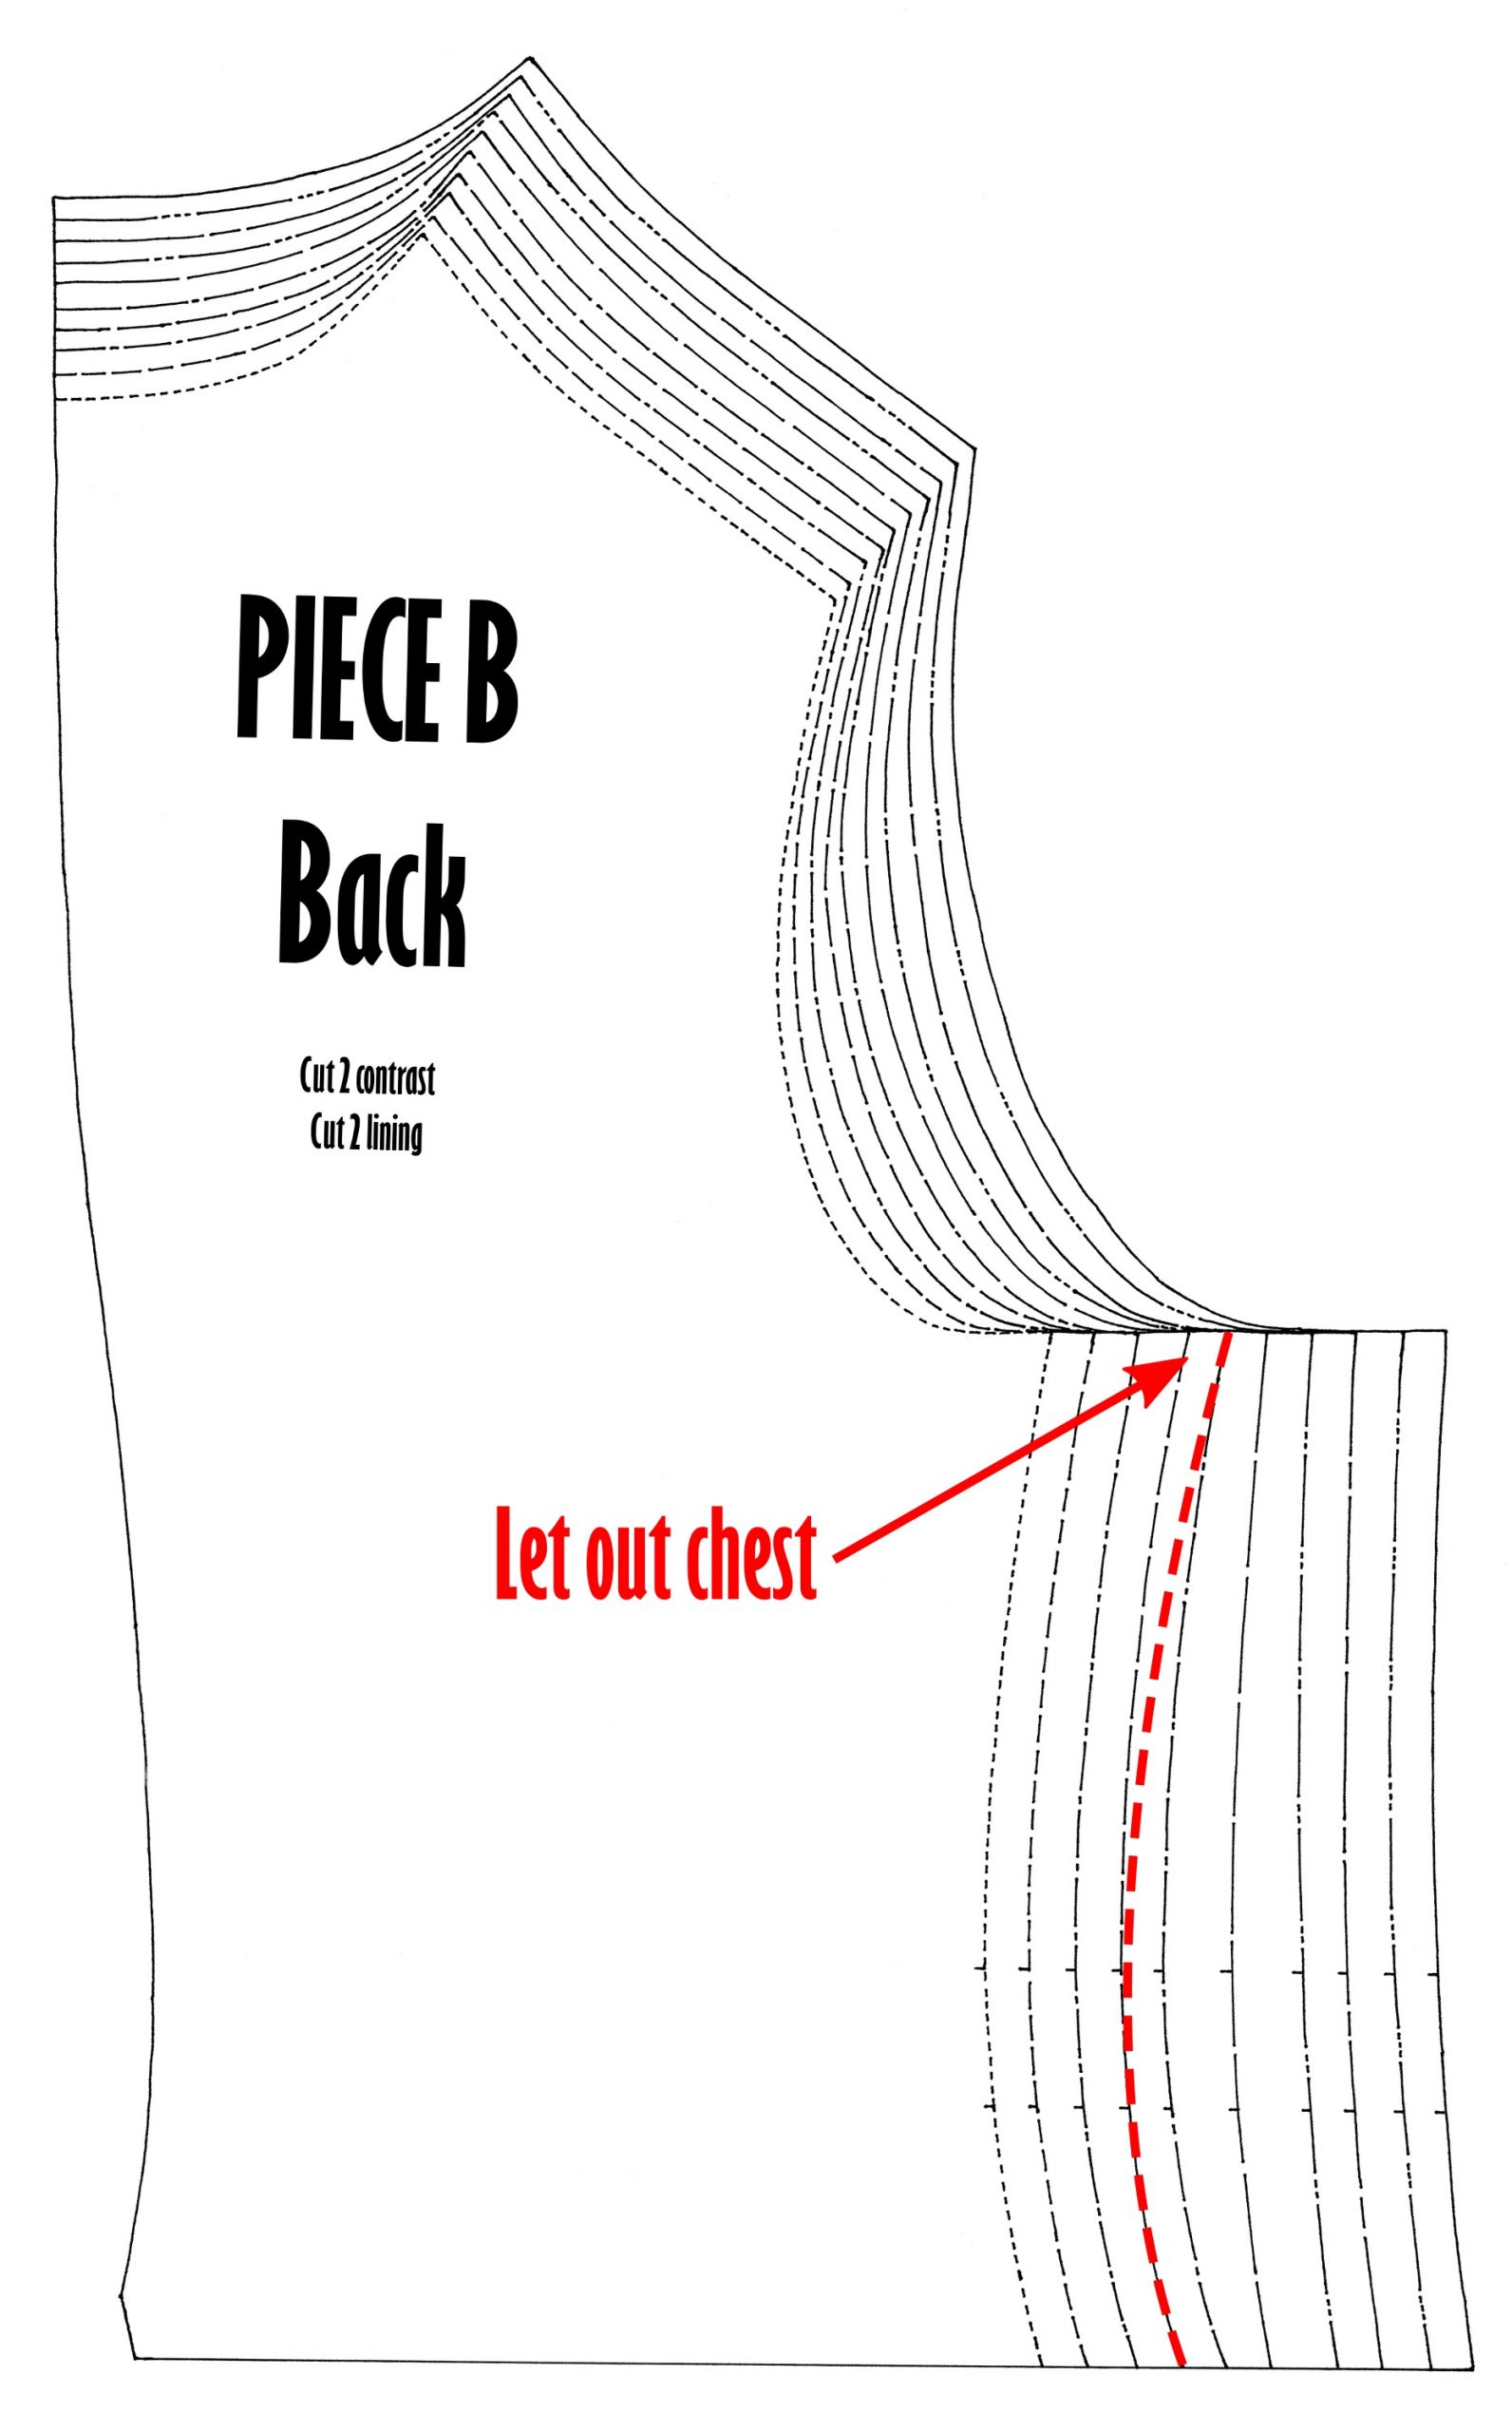
Conversely, to let out the chest, extend the upper corner of the side back outward by half the total alteration needed.
For example, if a size 40 is a perfect fit around the waist, but the waistcoat is too tight across the chest, you could let out the chest to a size 42.
If the chest is a good fit but the waist is too loose, you might try just cinching it a little tighter in the back with the back straps, before performing pattern alterations.
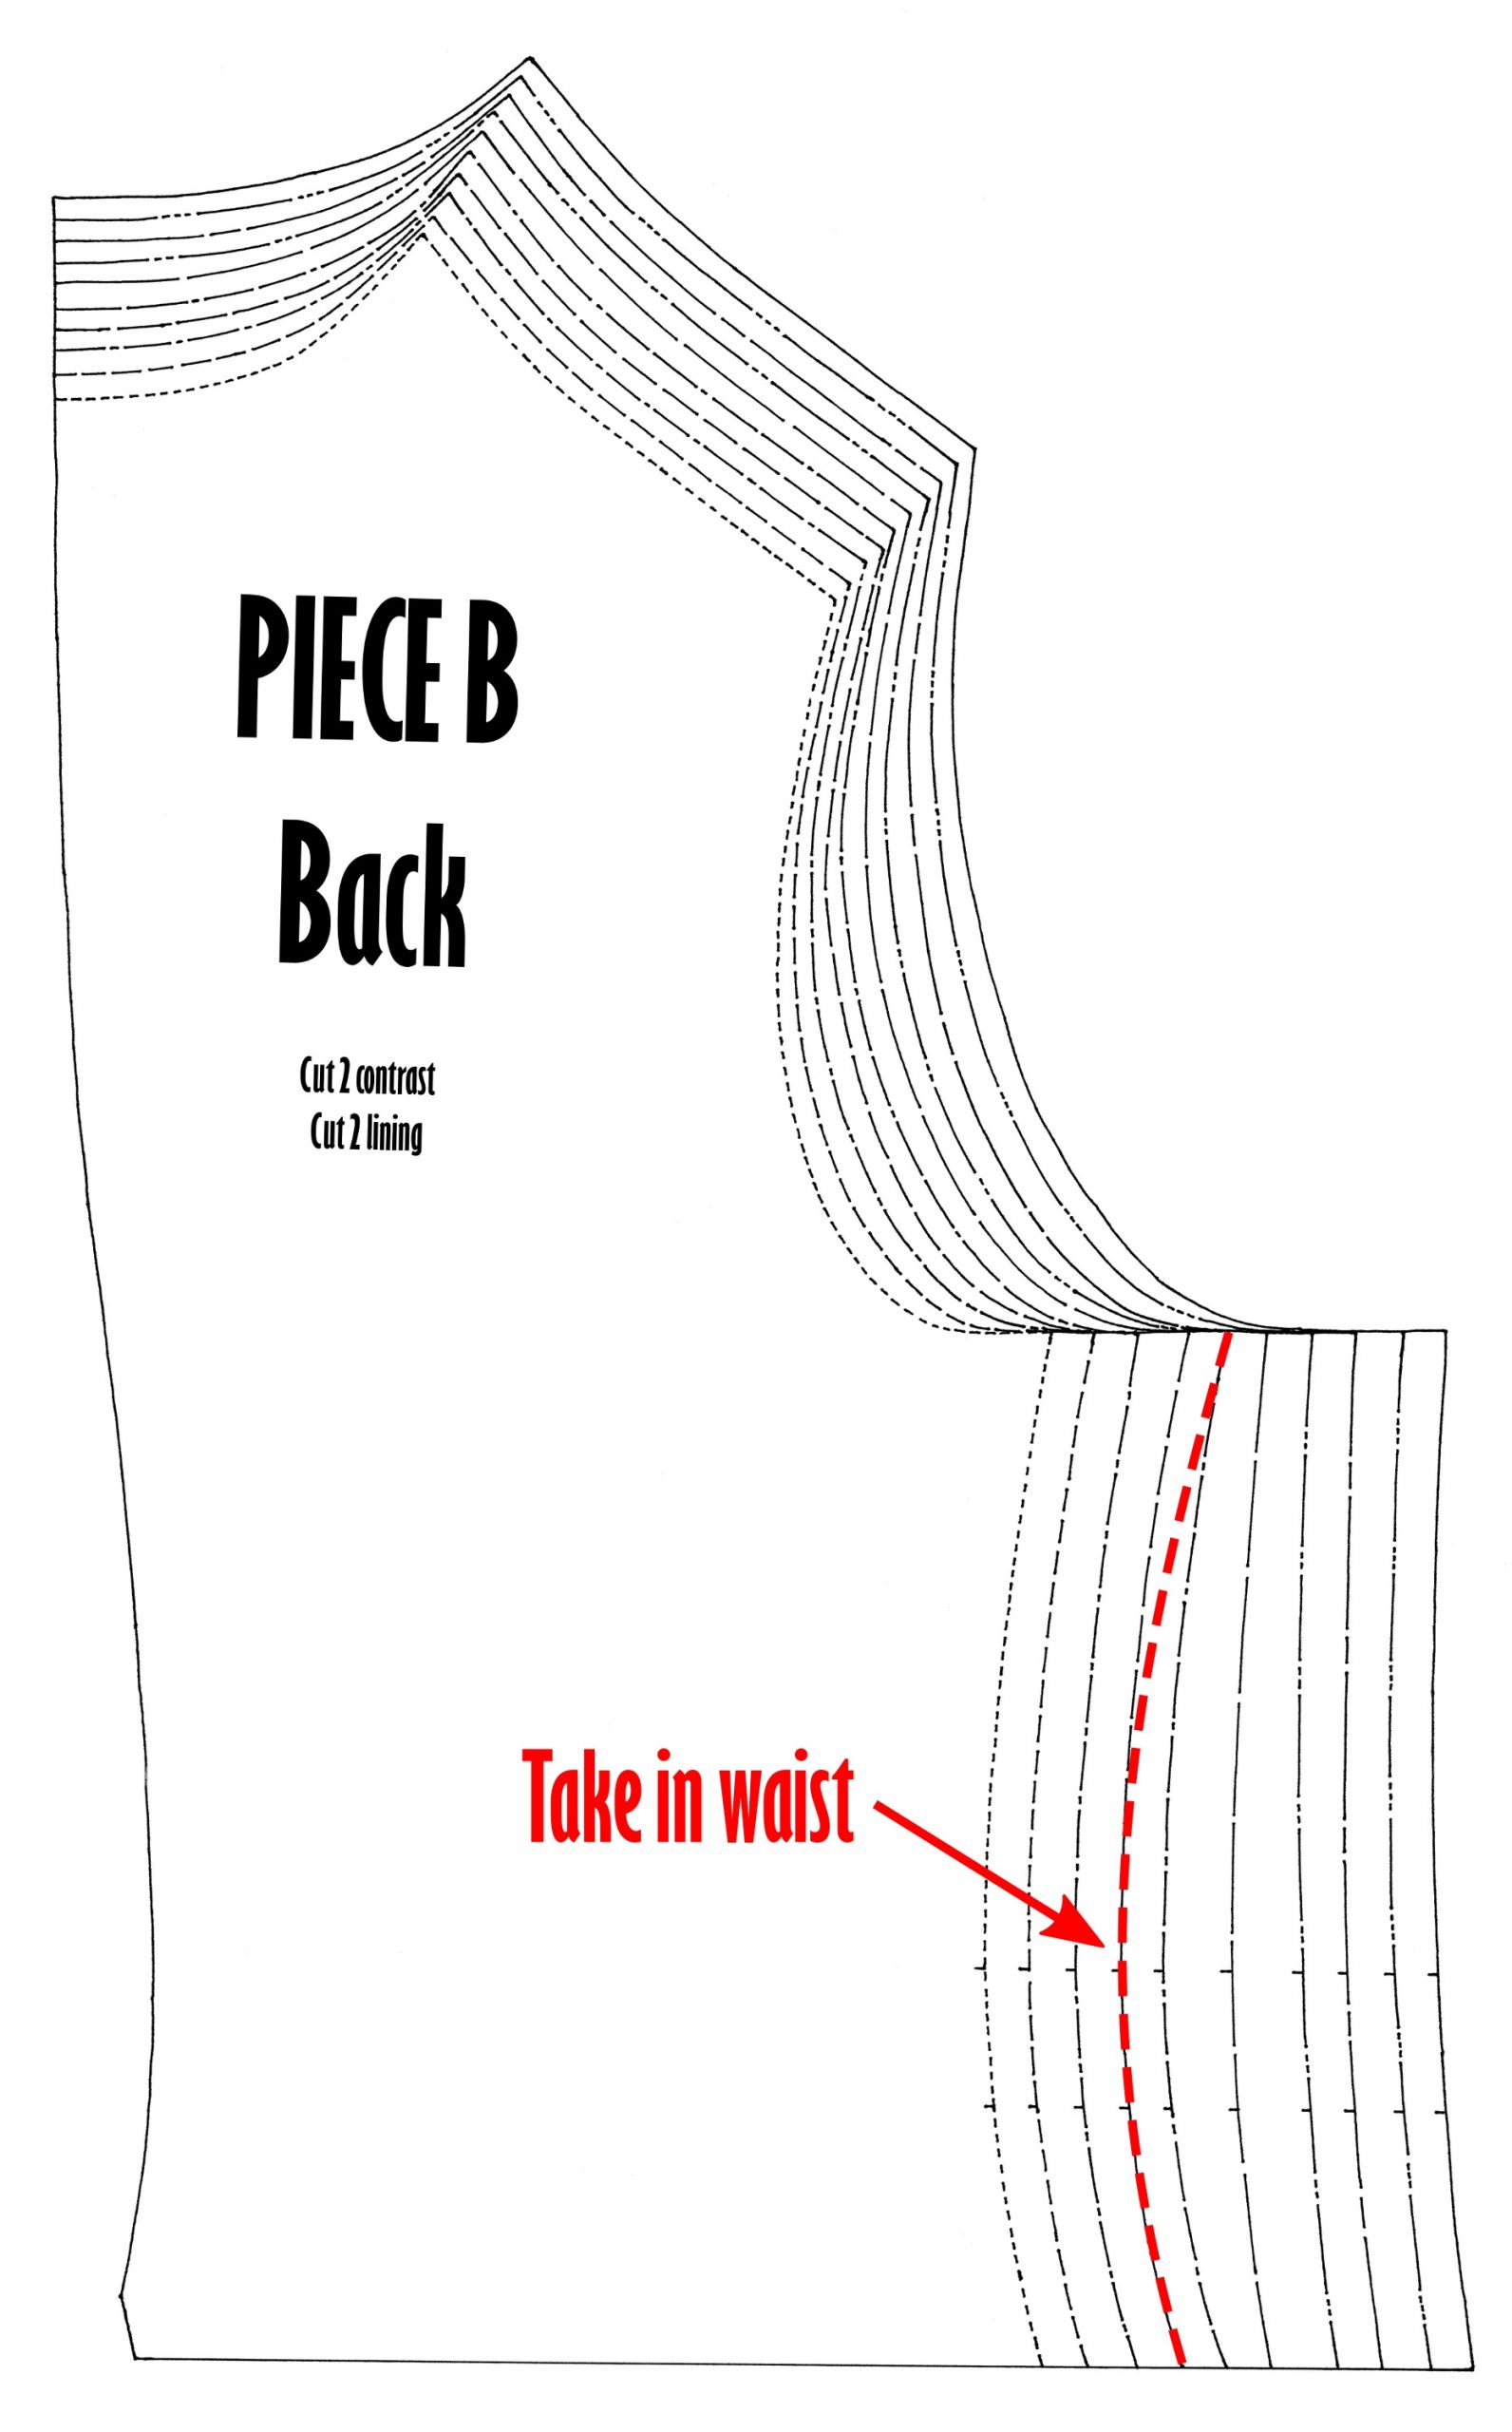
If you determine your waistcoat does need to be taken in at the waist, start with the appropriate chest size in the upper corner of the back side, then taper down to the waist, subtracting half of the total necessary alteration.
For instance, if a size 42 is a good fit in the chest but the waist is too loose (and tightening the back straps didn’t help enough), you could taper down to a size 40 at the waist.
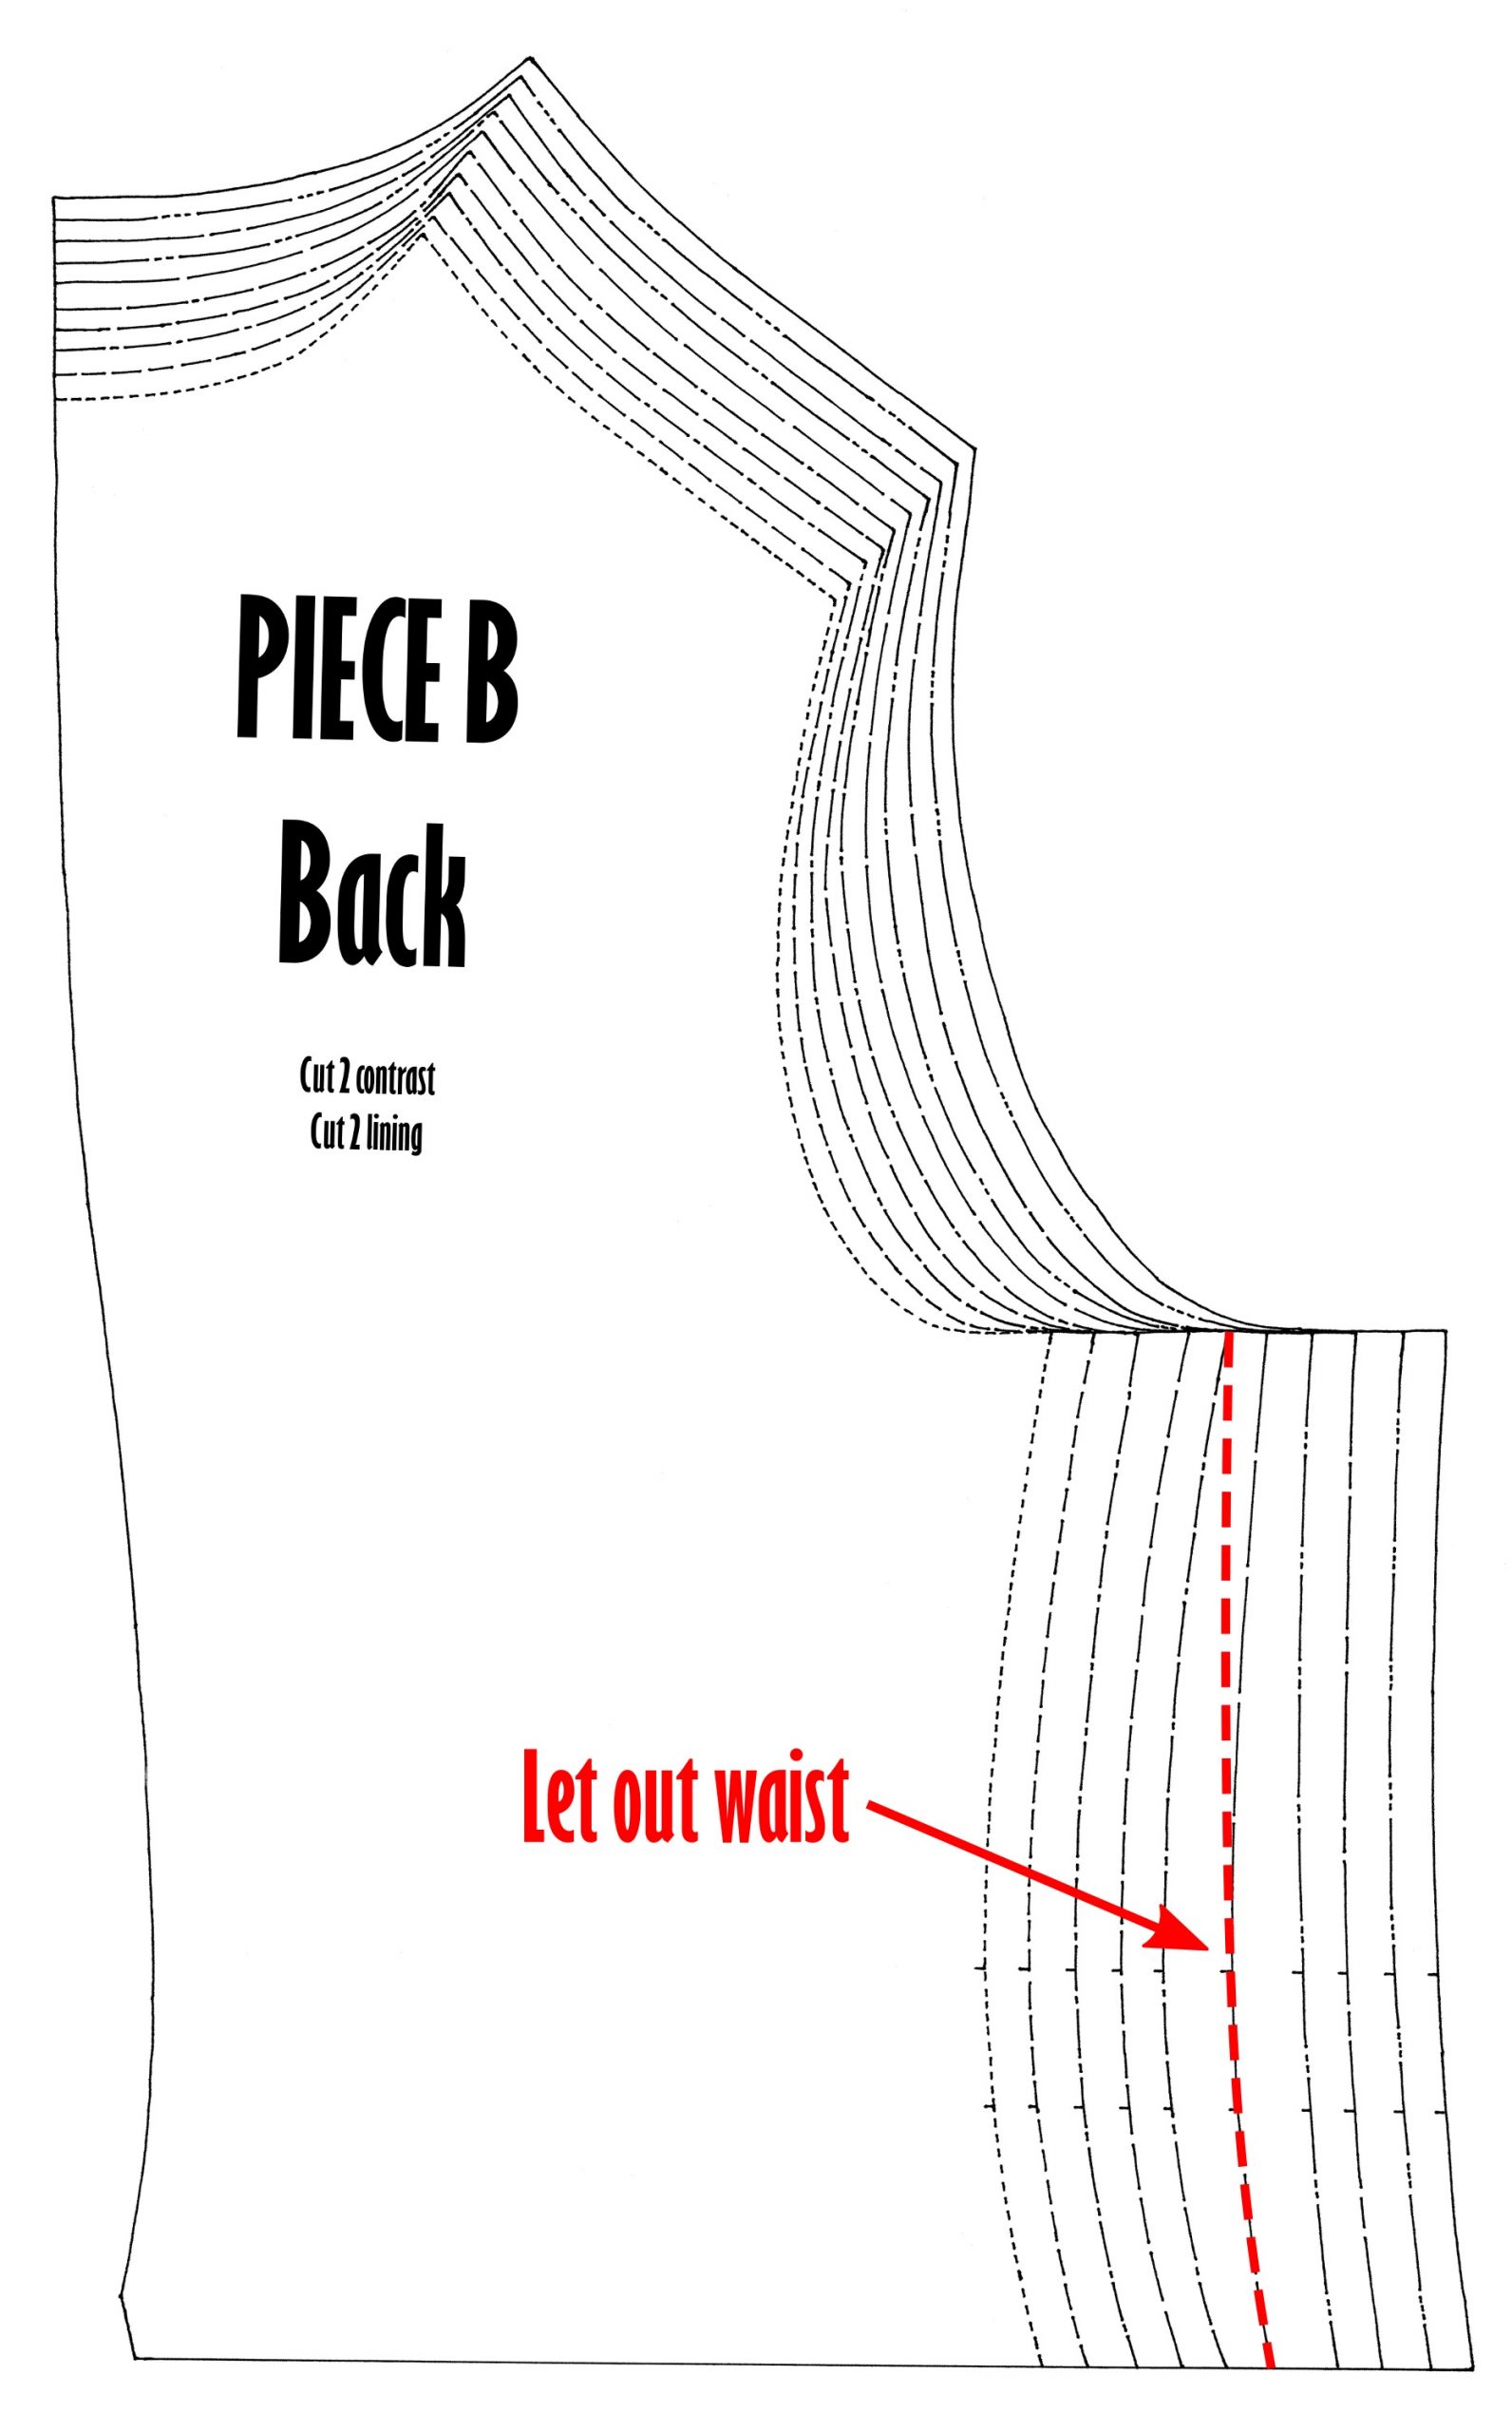
On the other hand, if the waist needs to be let out, simply do the opposite; begin with the appropriate chest size in the upper corner of the side back, then taper down to the waist, adding half the total alteration needed.
For instance, if a size 42 fits well around the chest but the waist is too tight, you could taper to a size 44 waist.
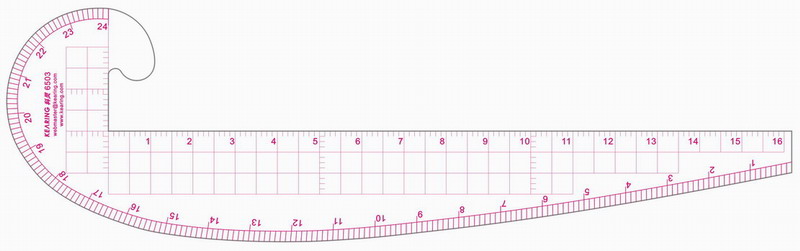
TIP: When redrawing the edges of the pattern, a “hip curve” ruler is extremely helpful!
You can also adjust with the overall waistcoat length if you need to – but if you do, remember to adjust the front, back, front facing, and front lining pieces in the same manner!
You’ll also need to reposition the buttons and/or pockets accordingly.