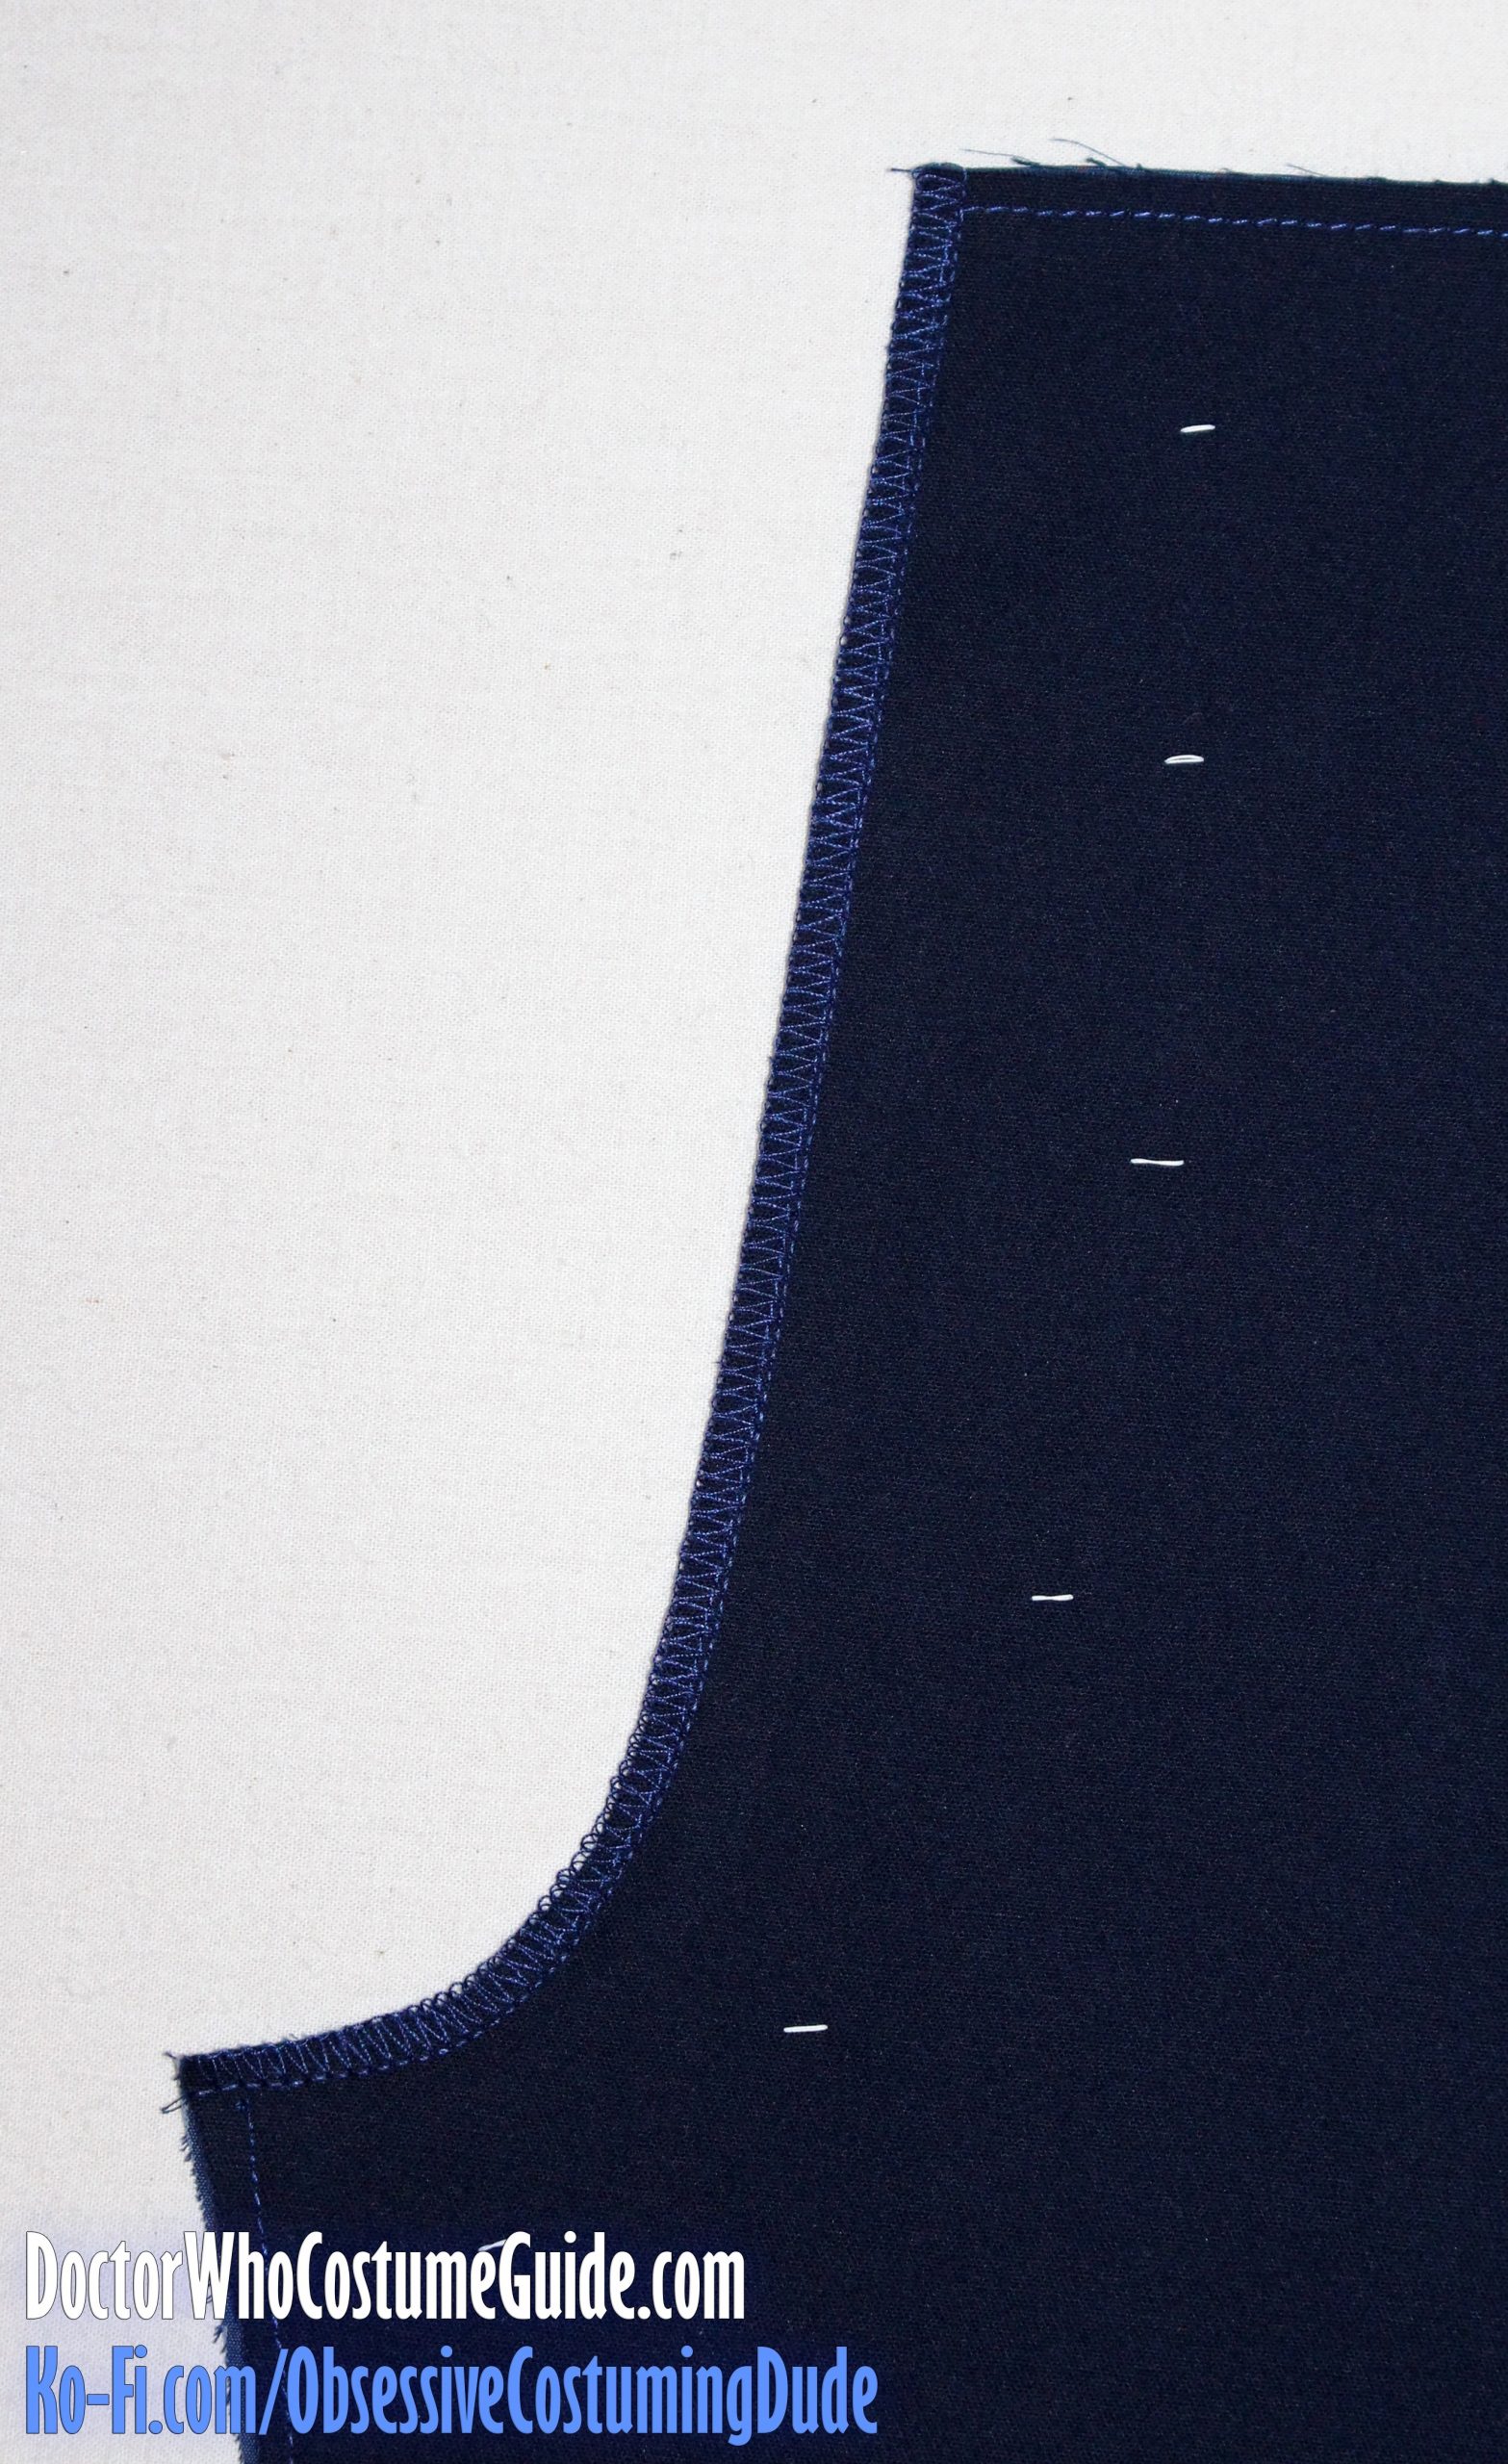
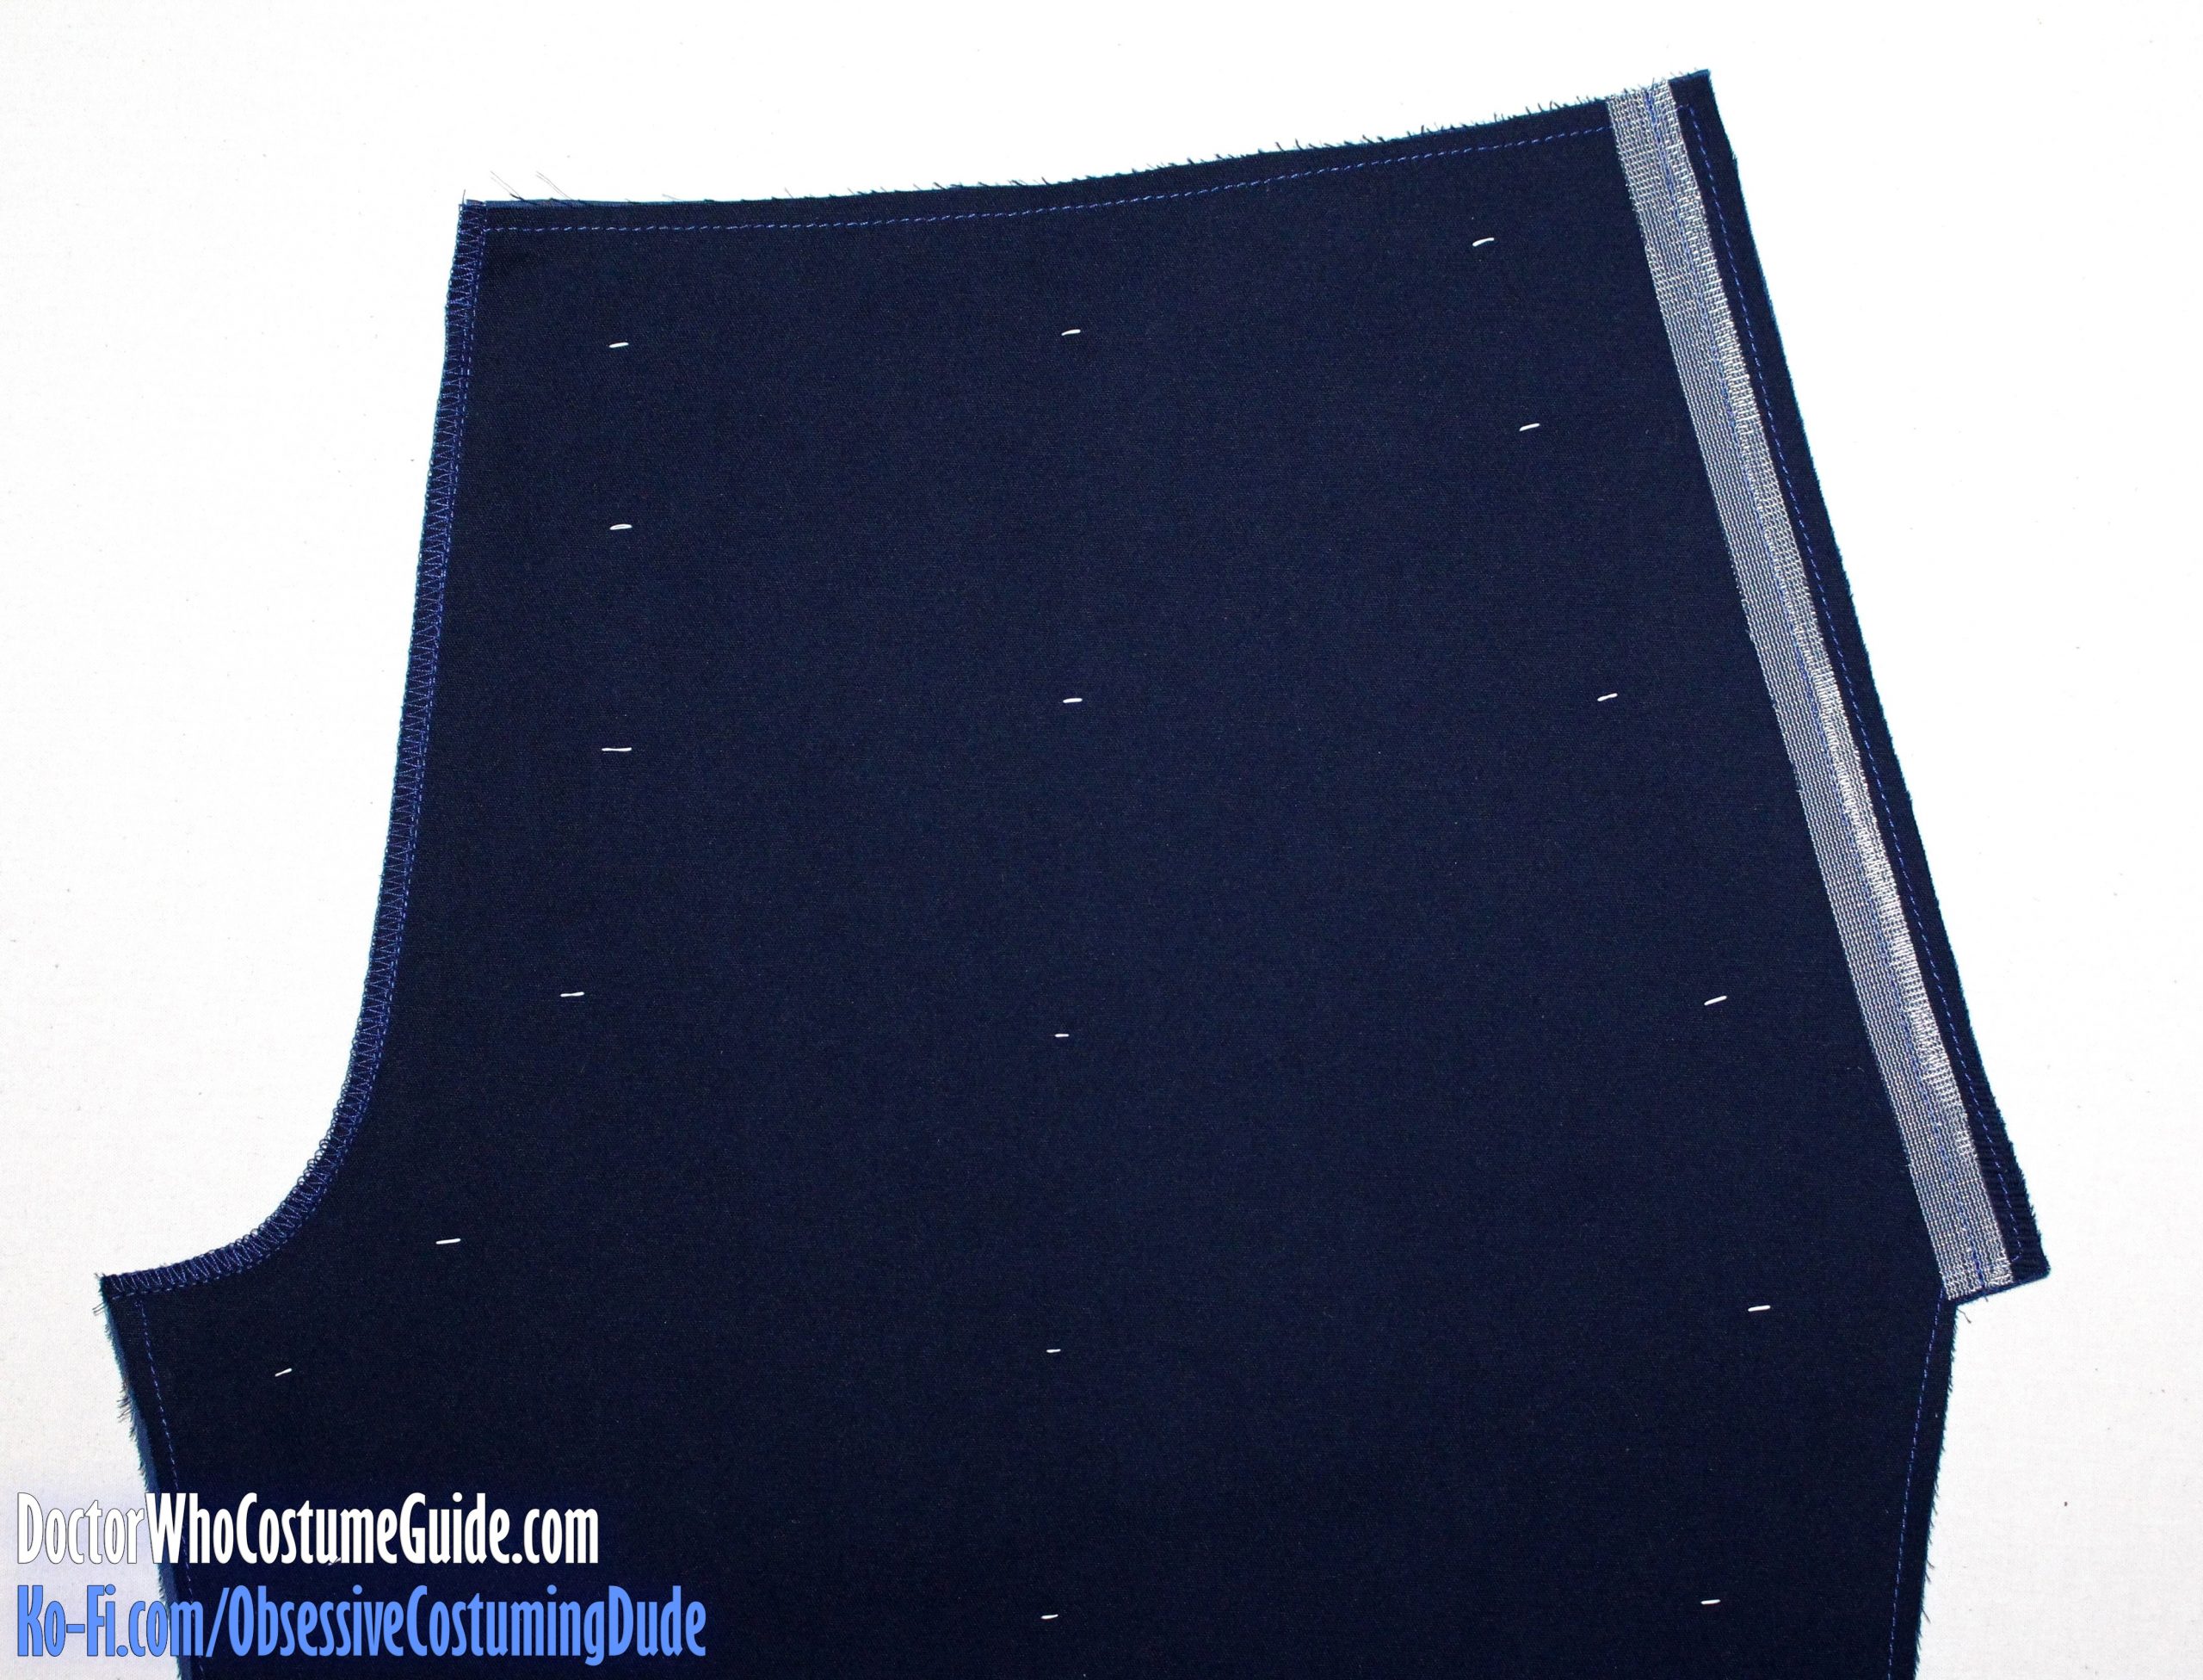
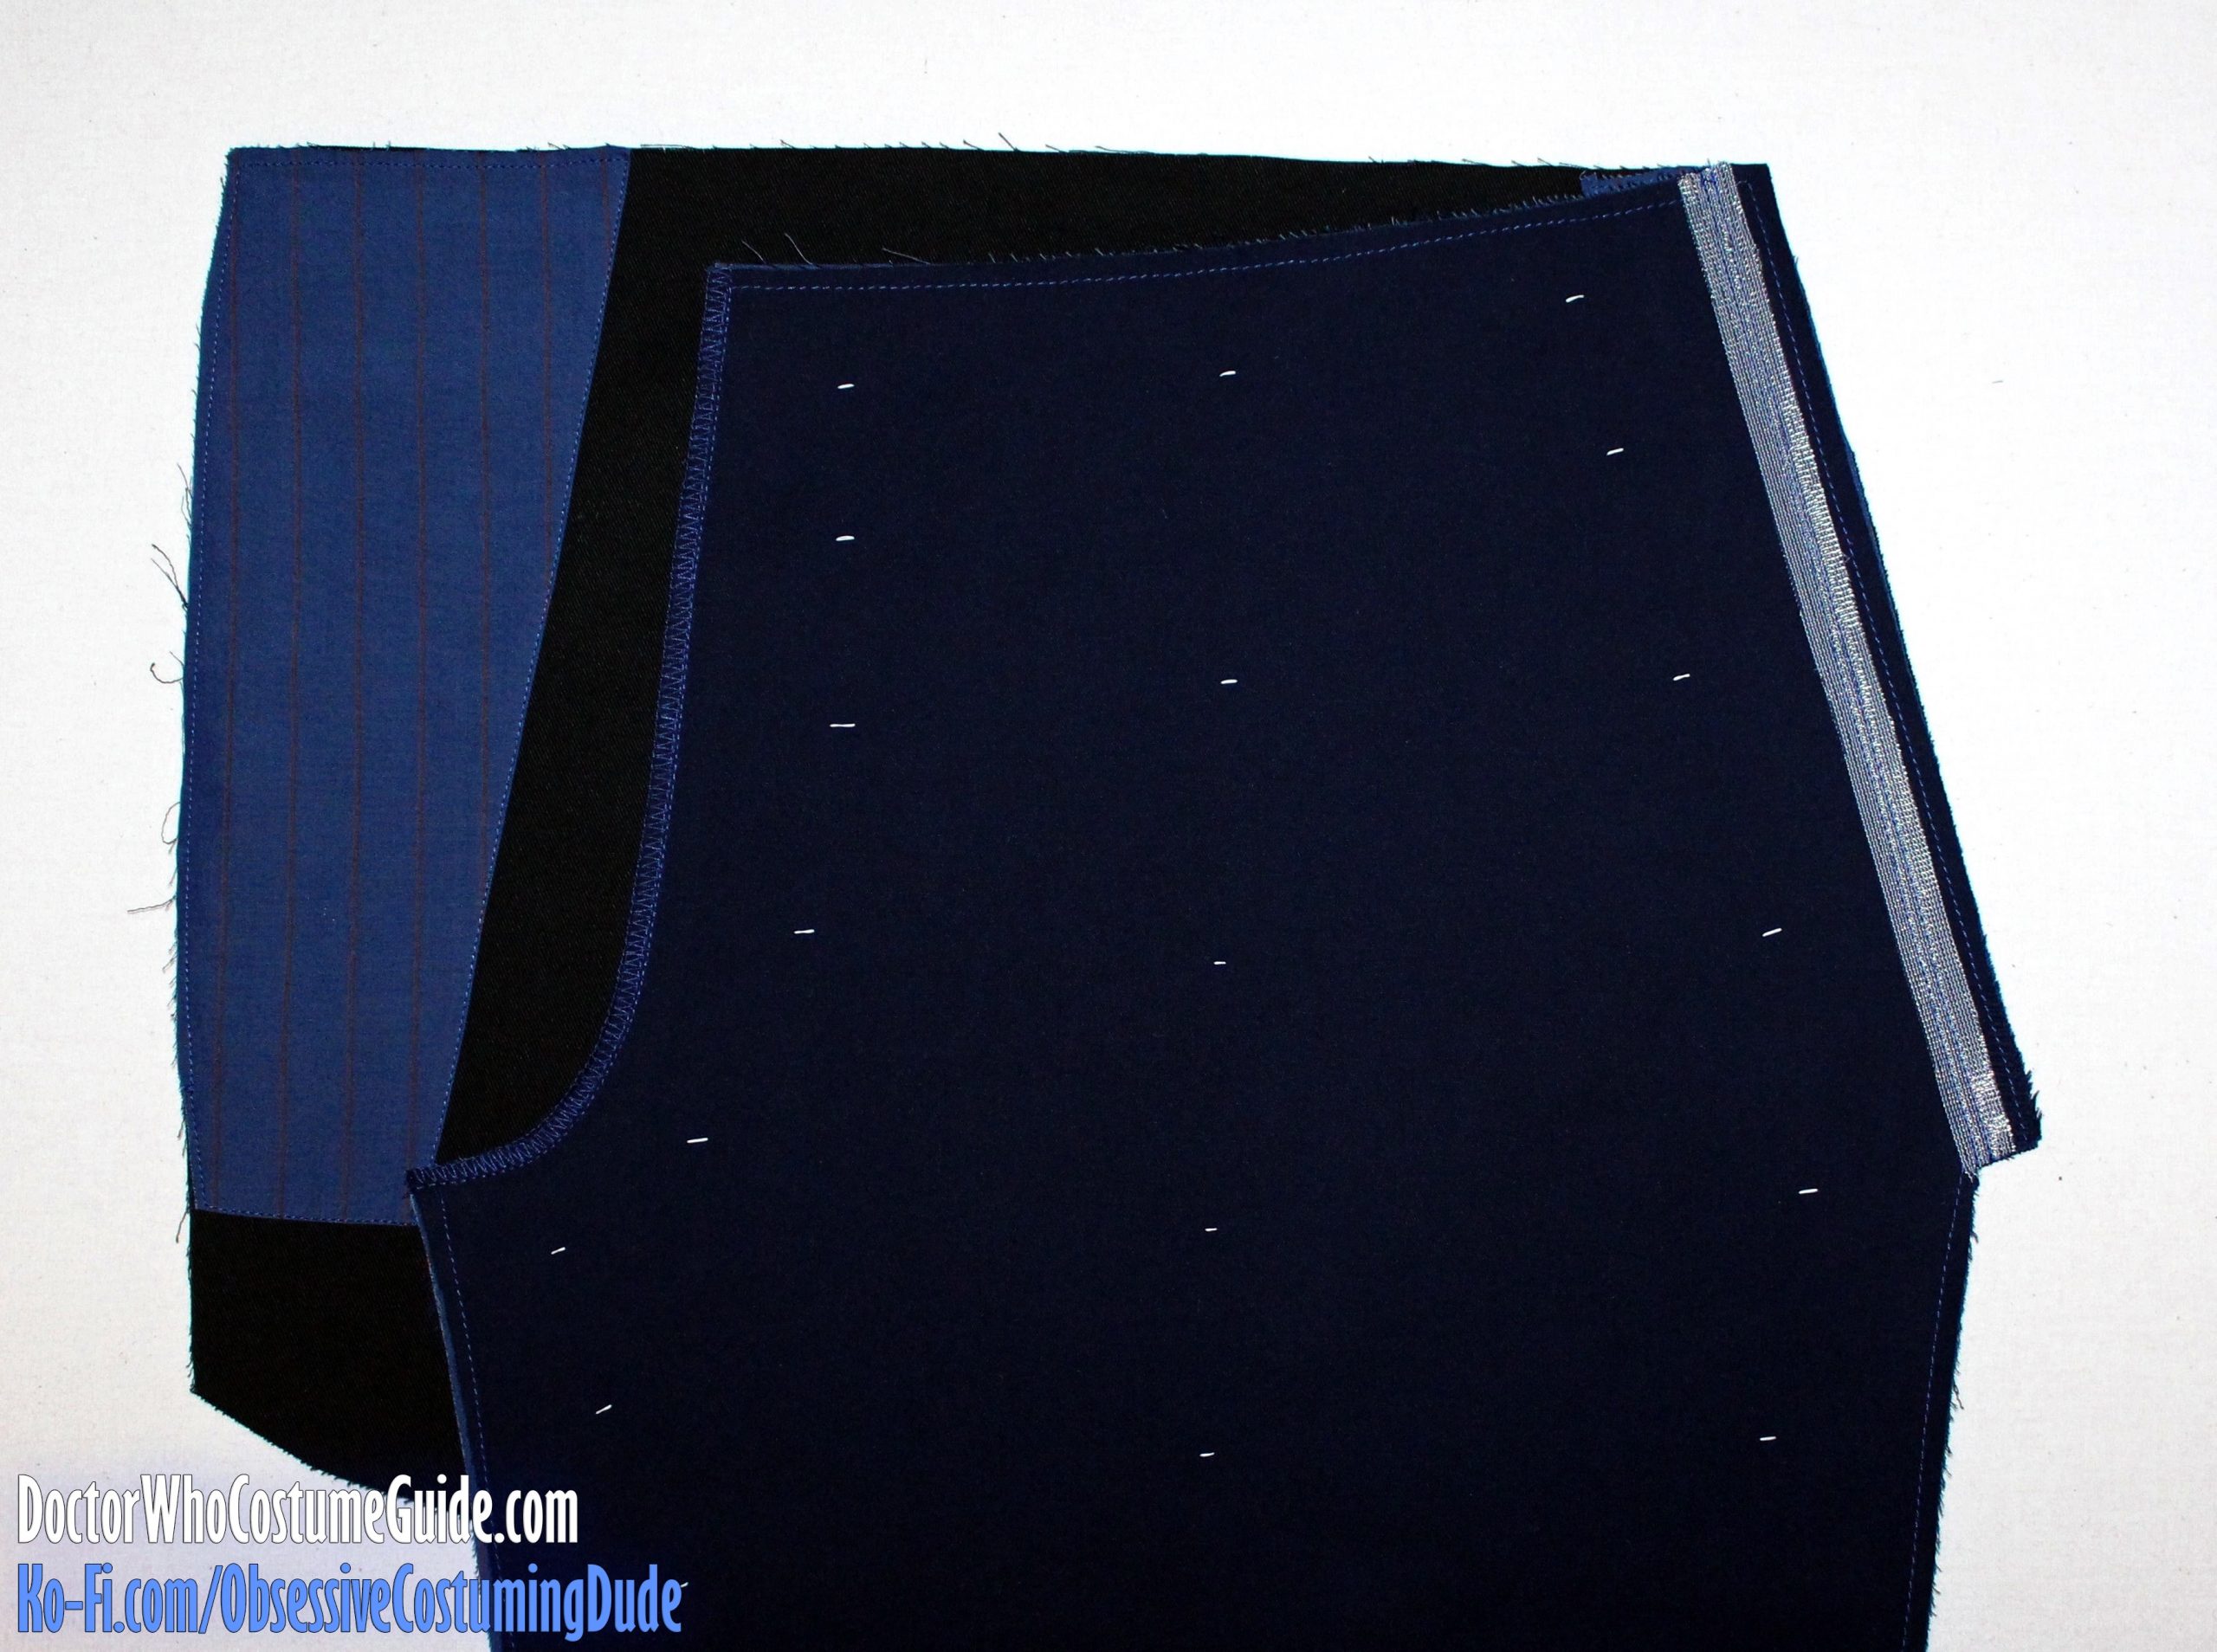
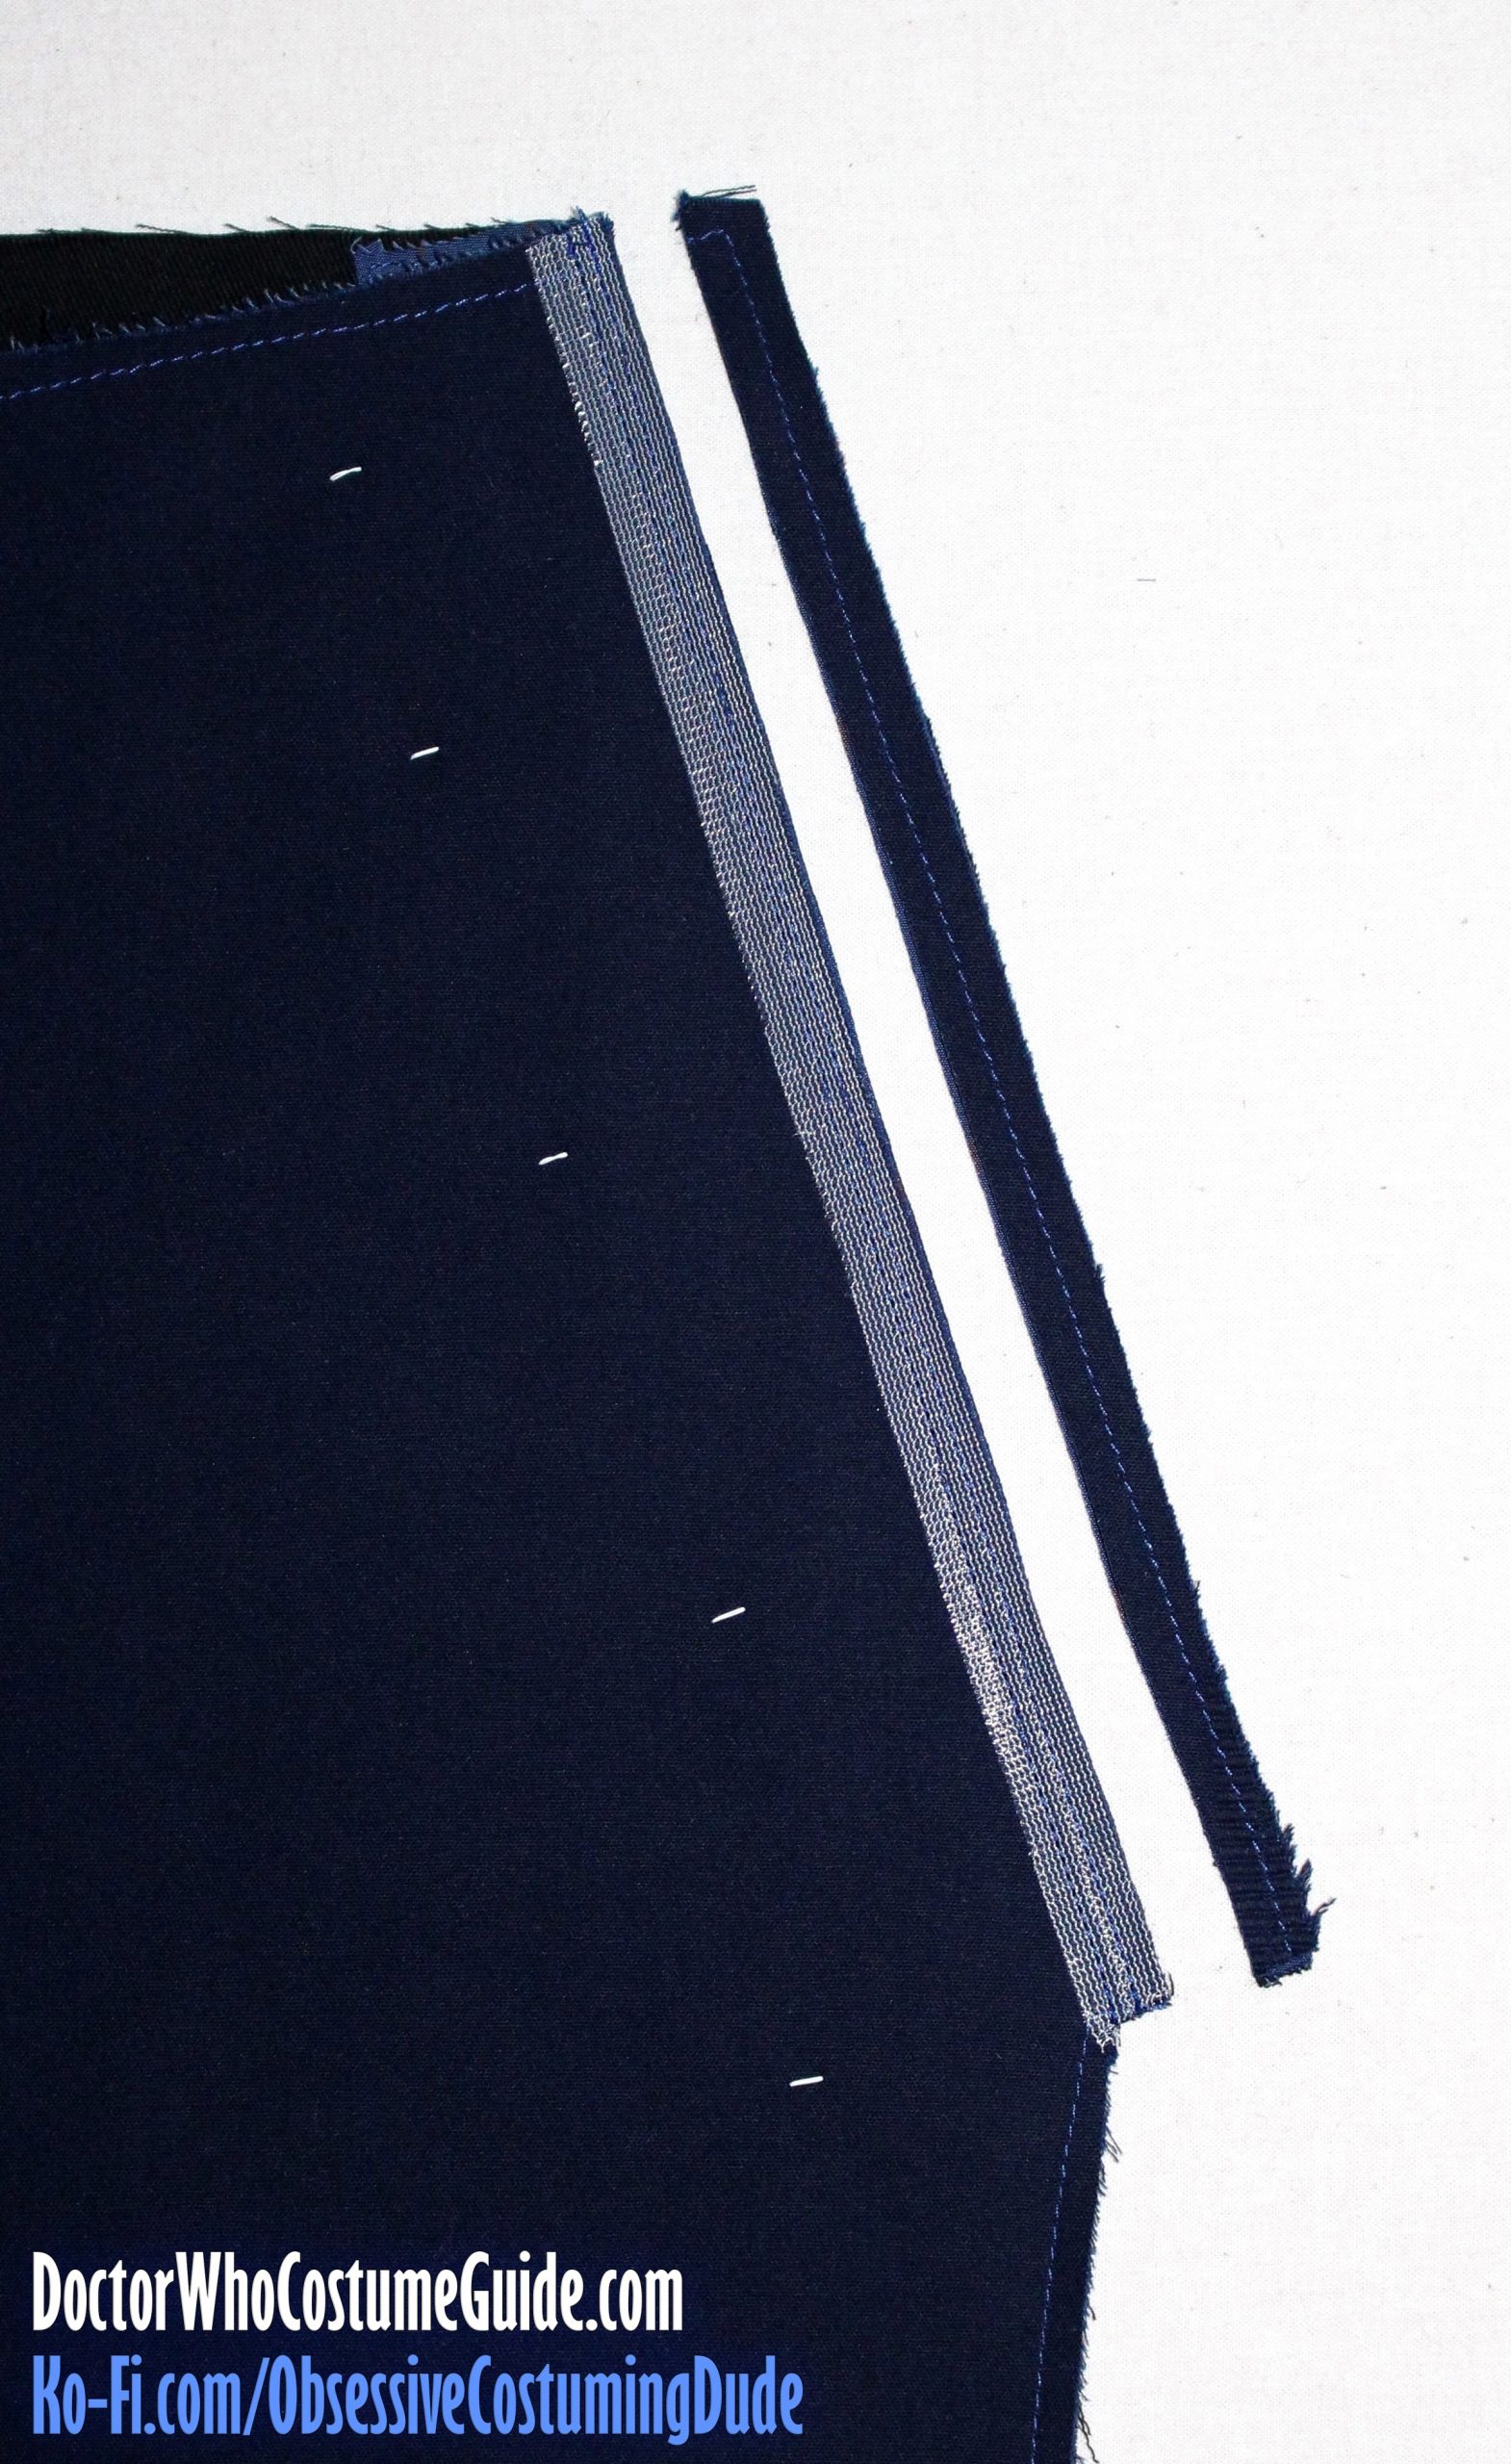
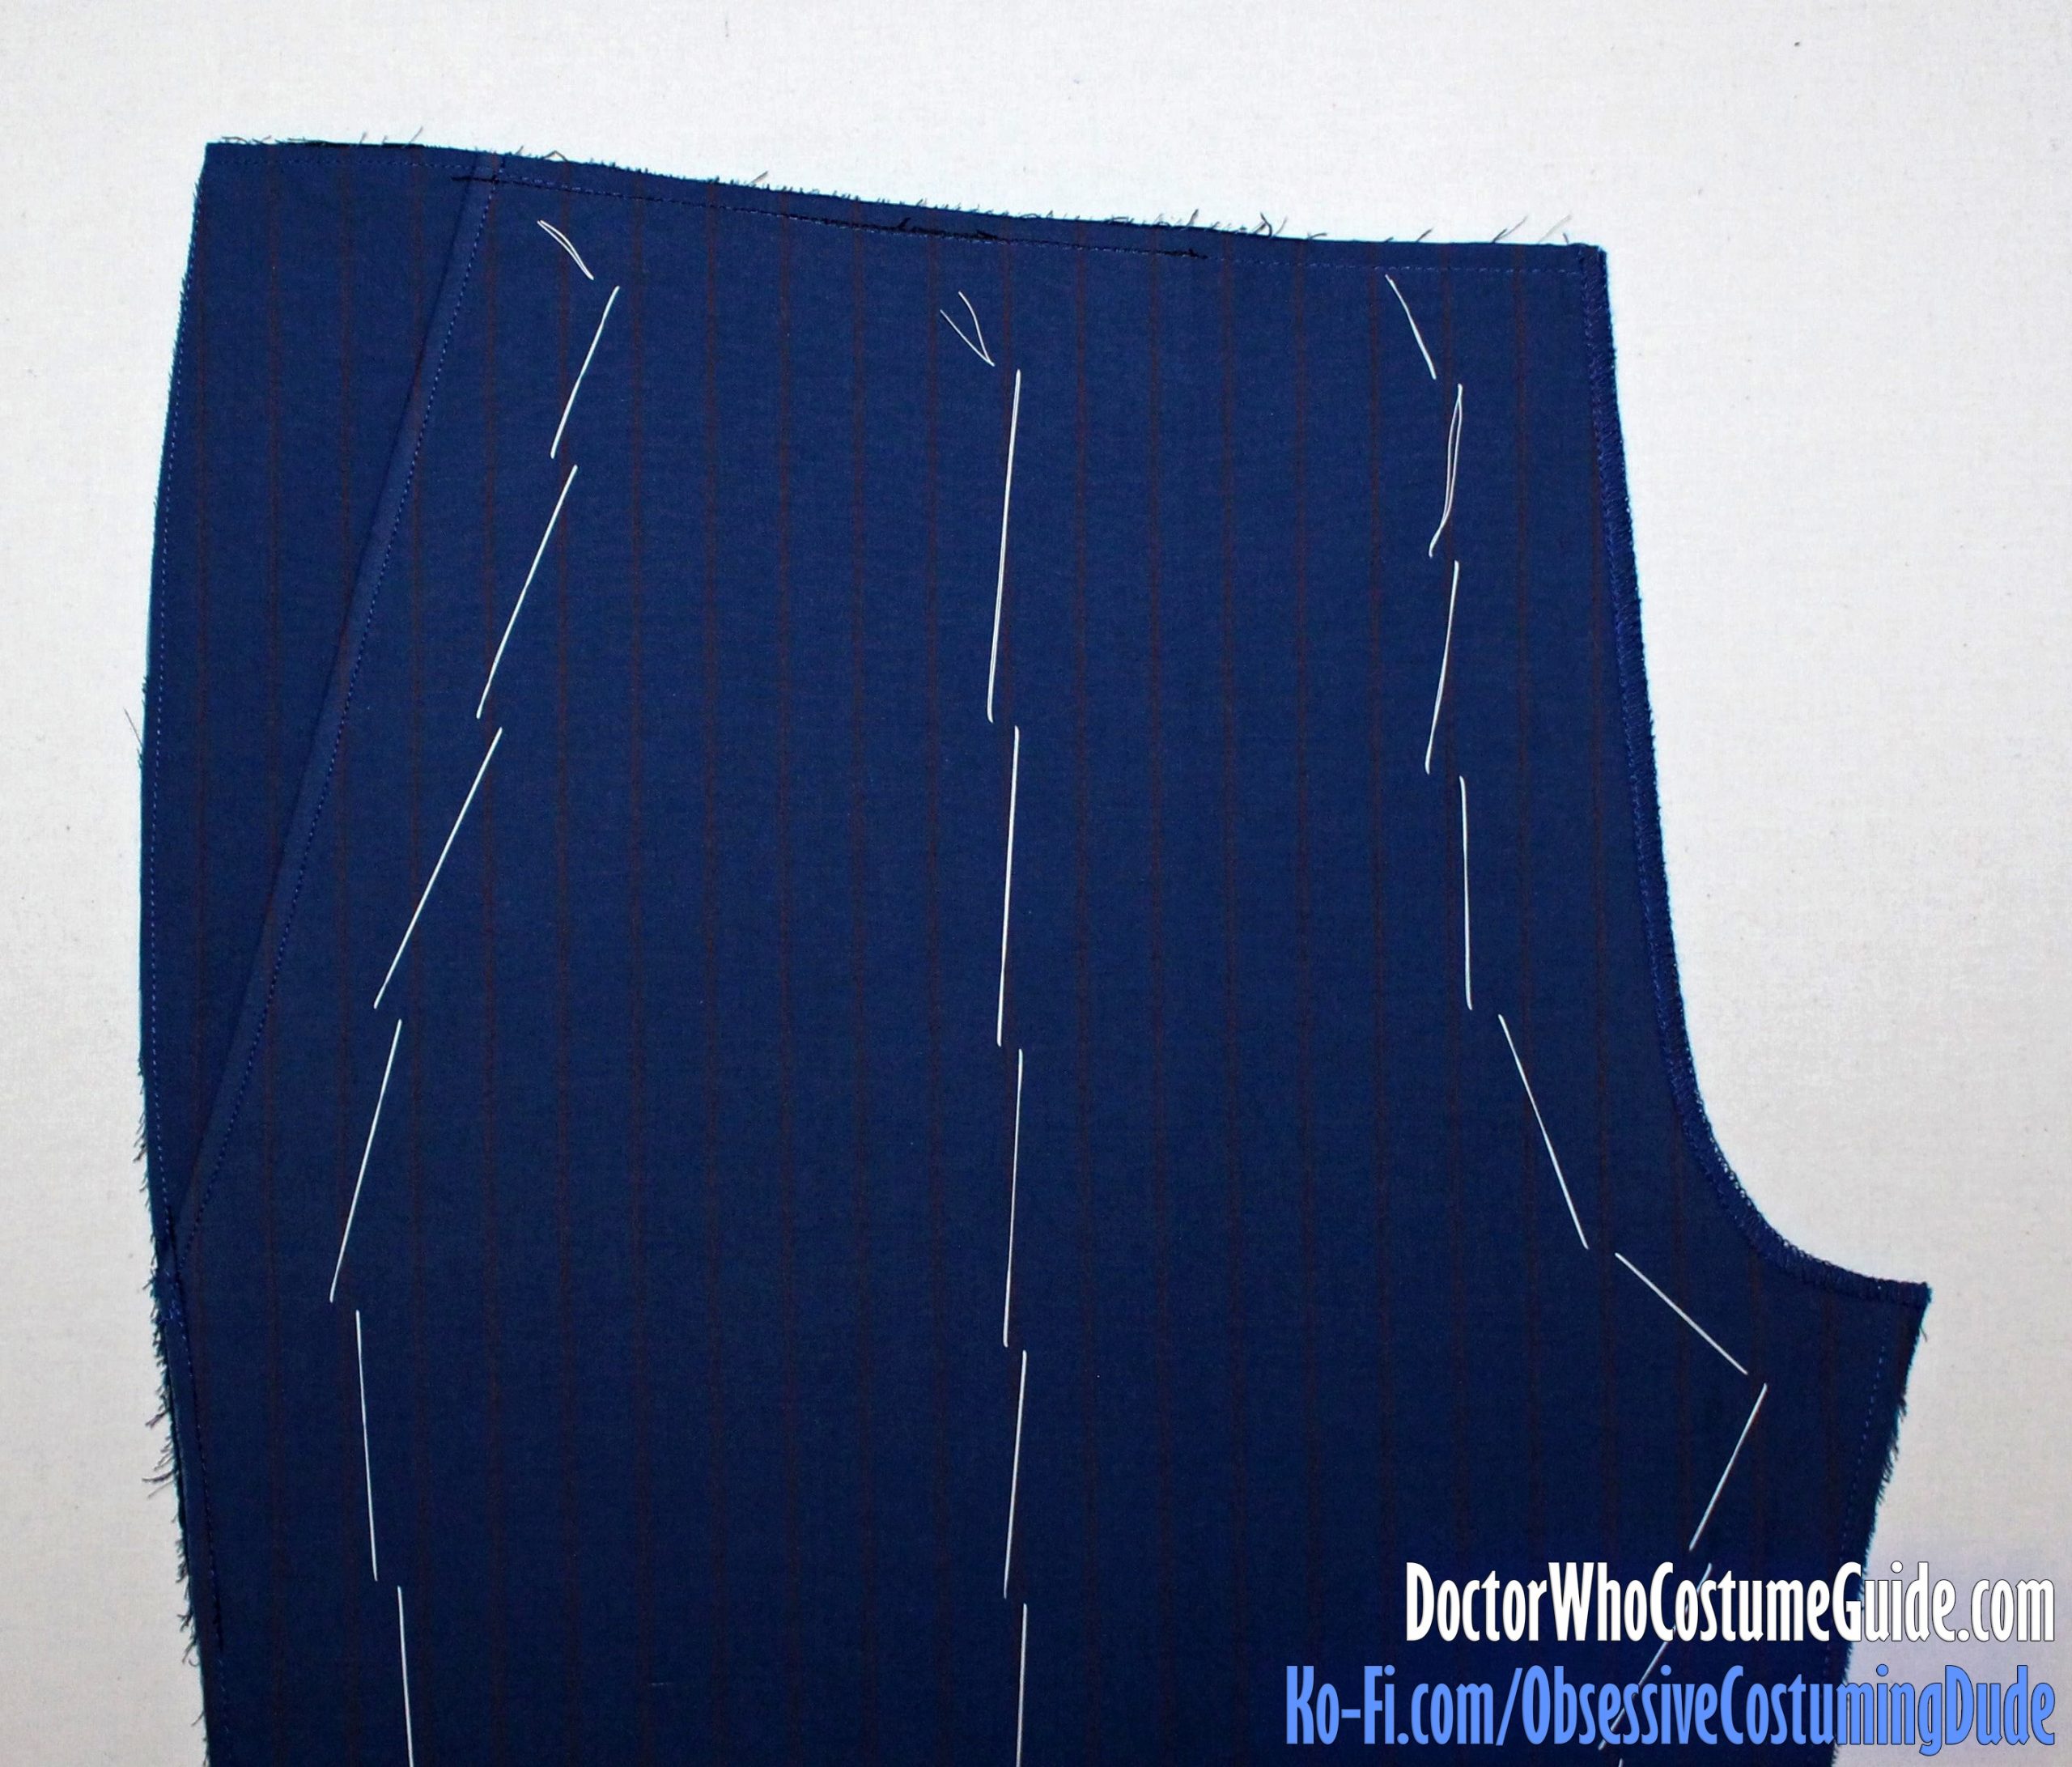
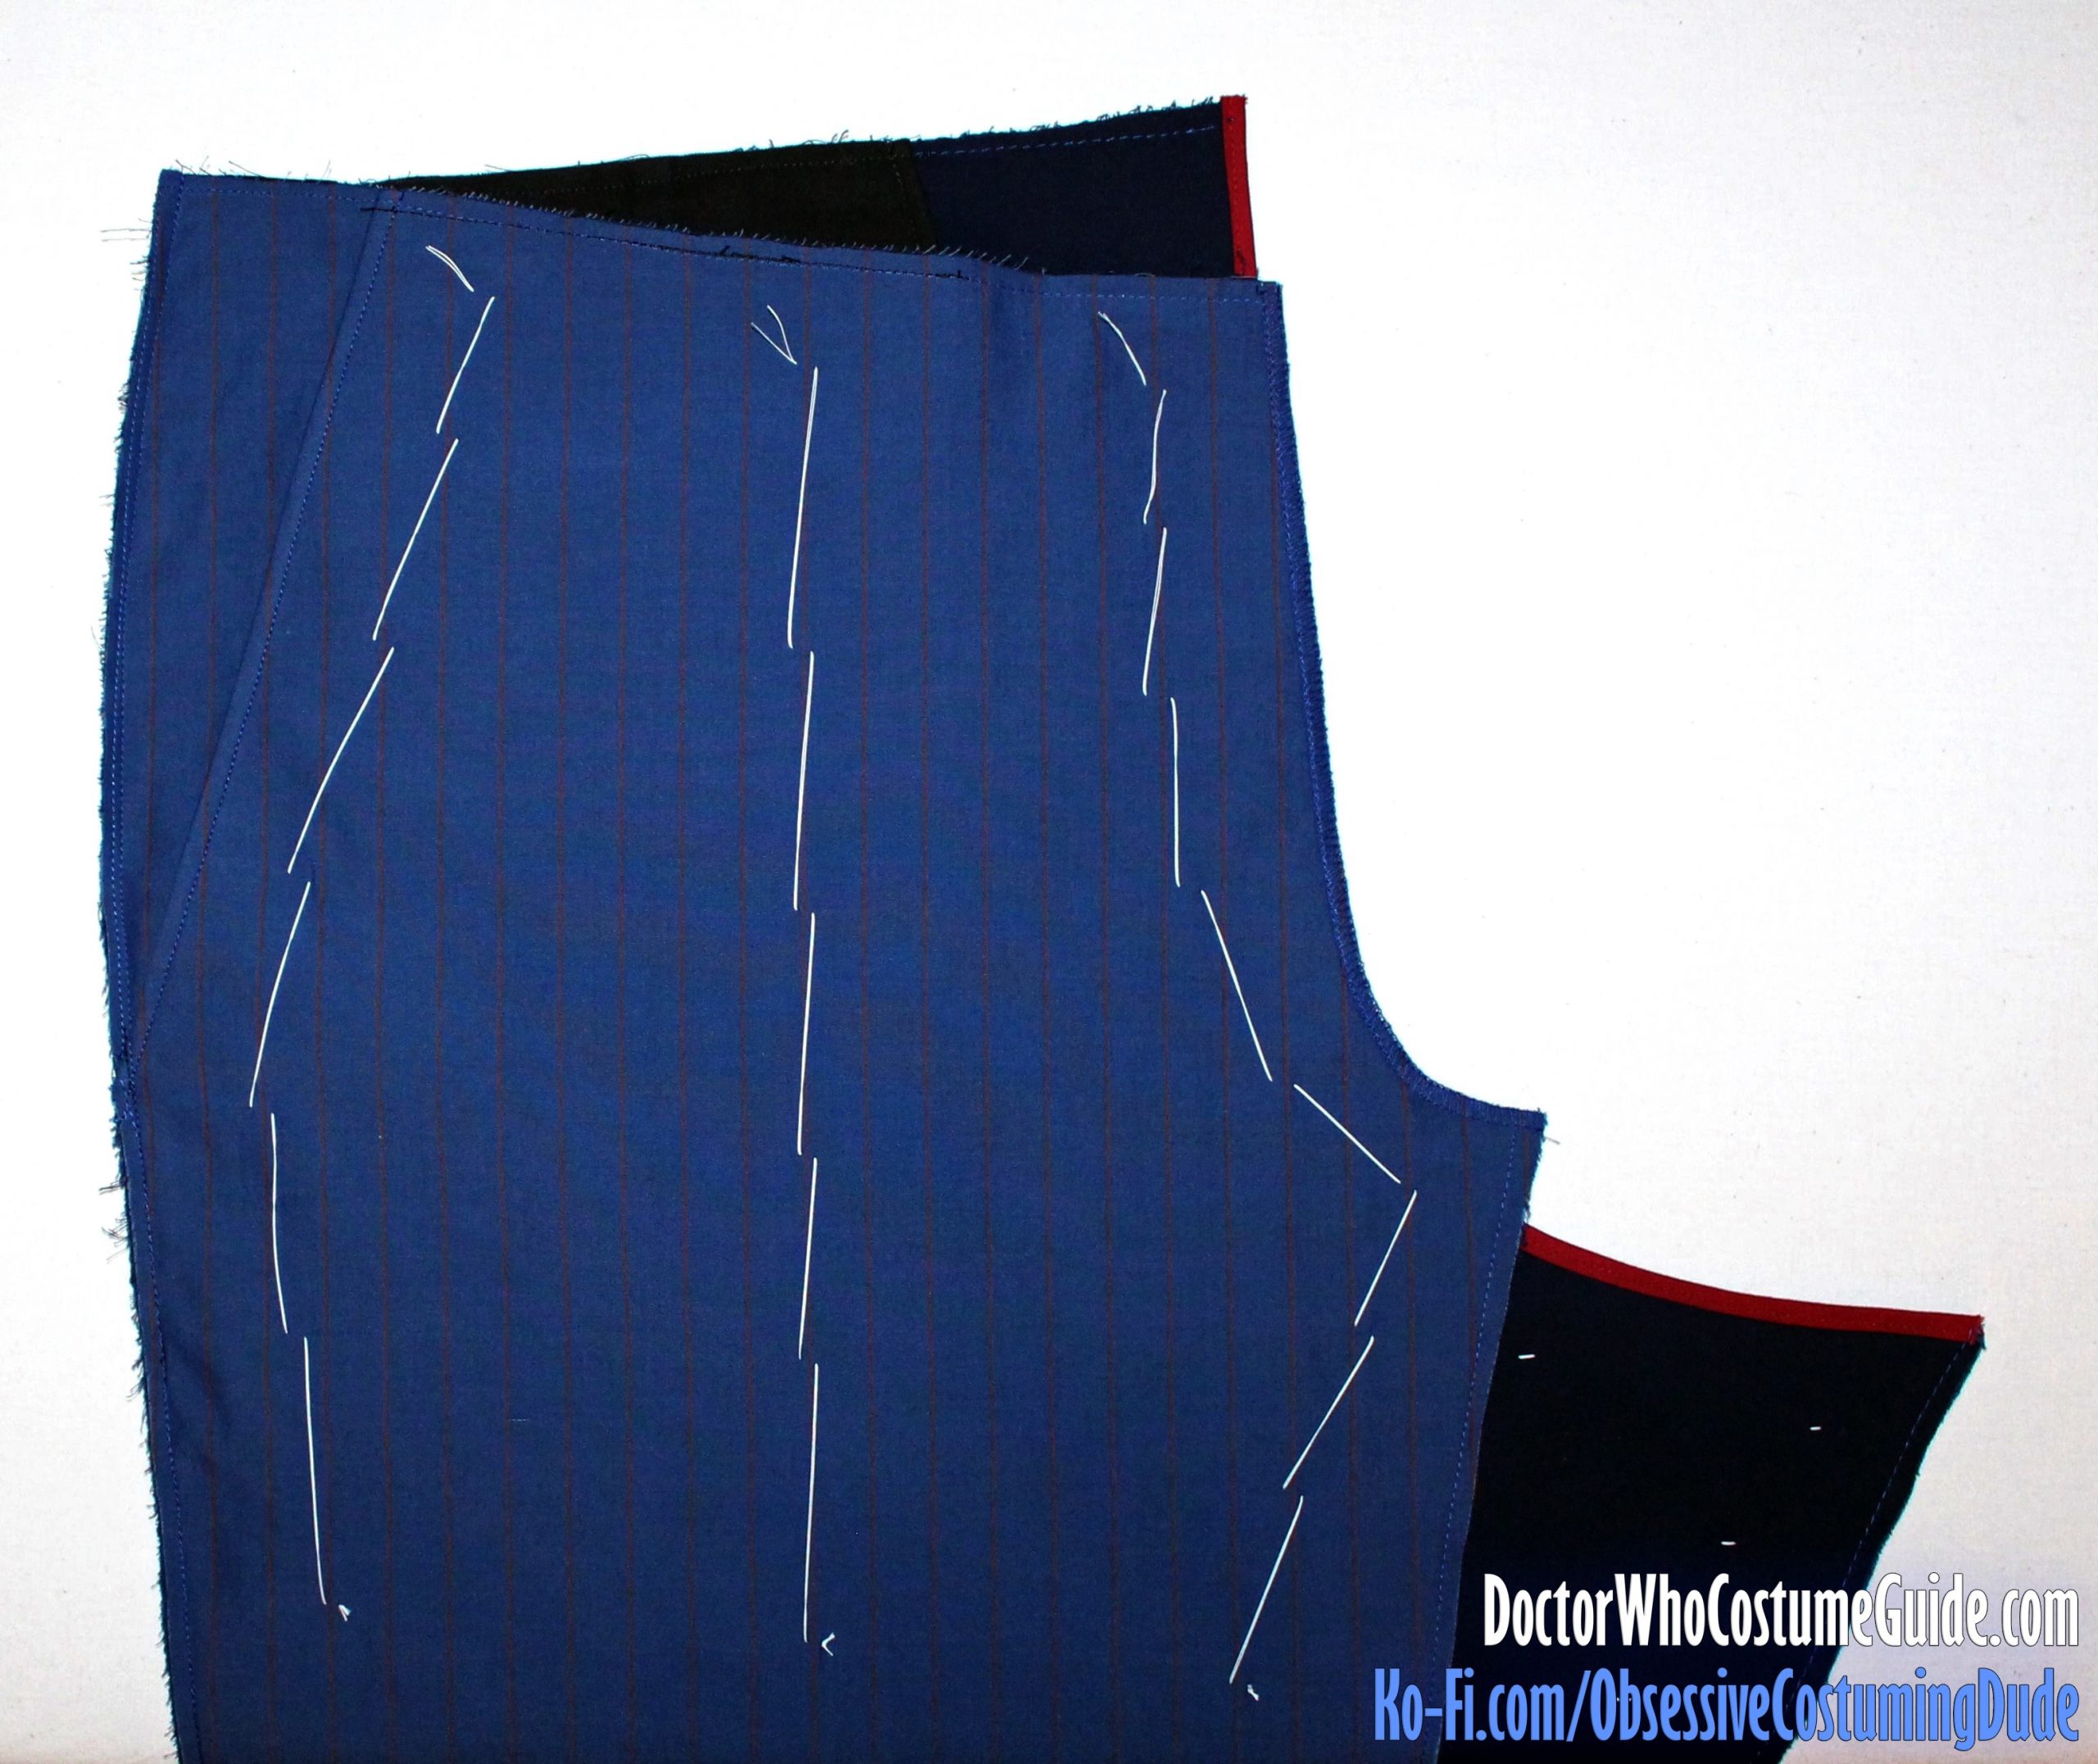
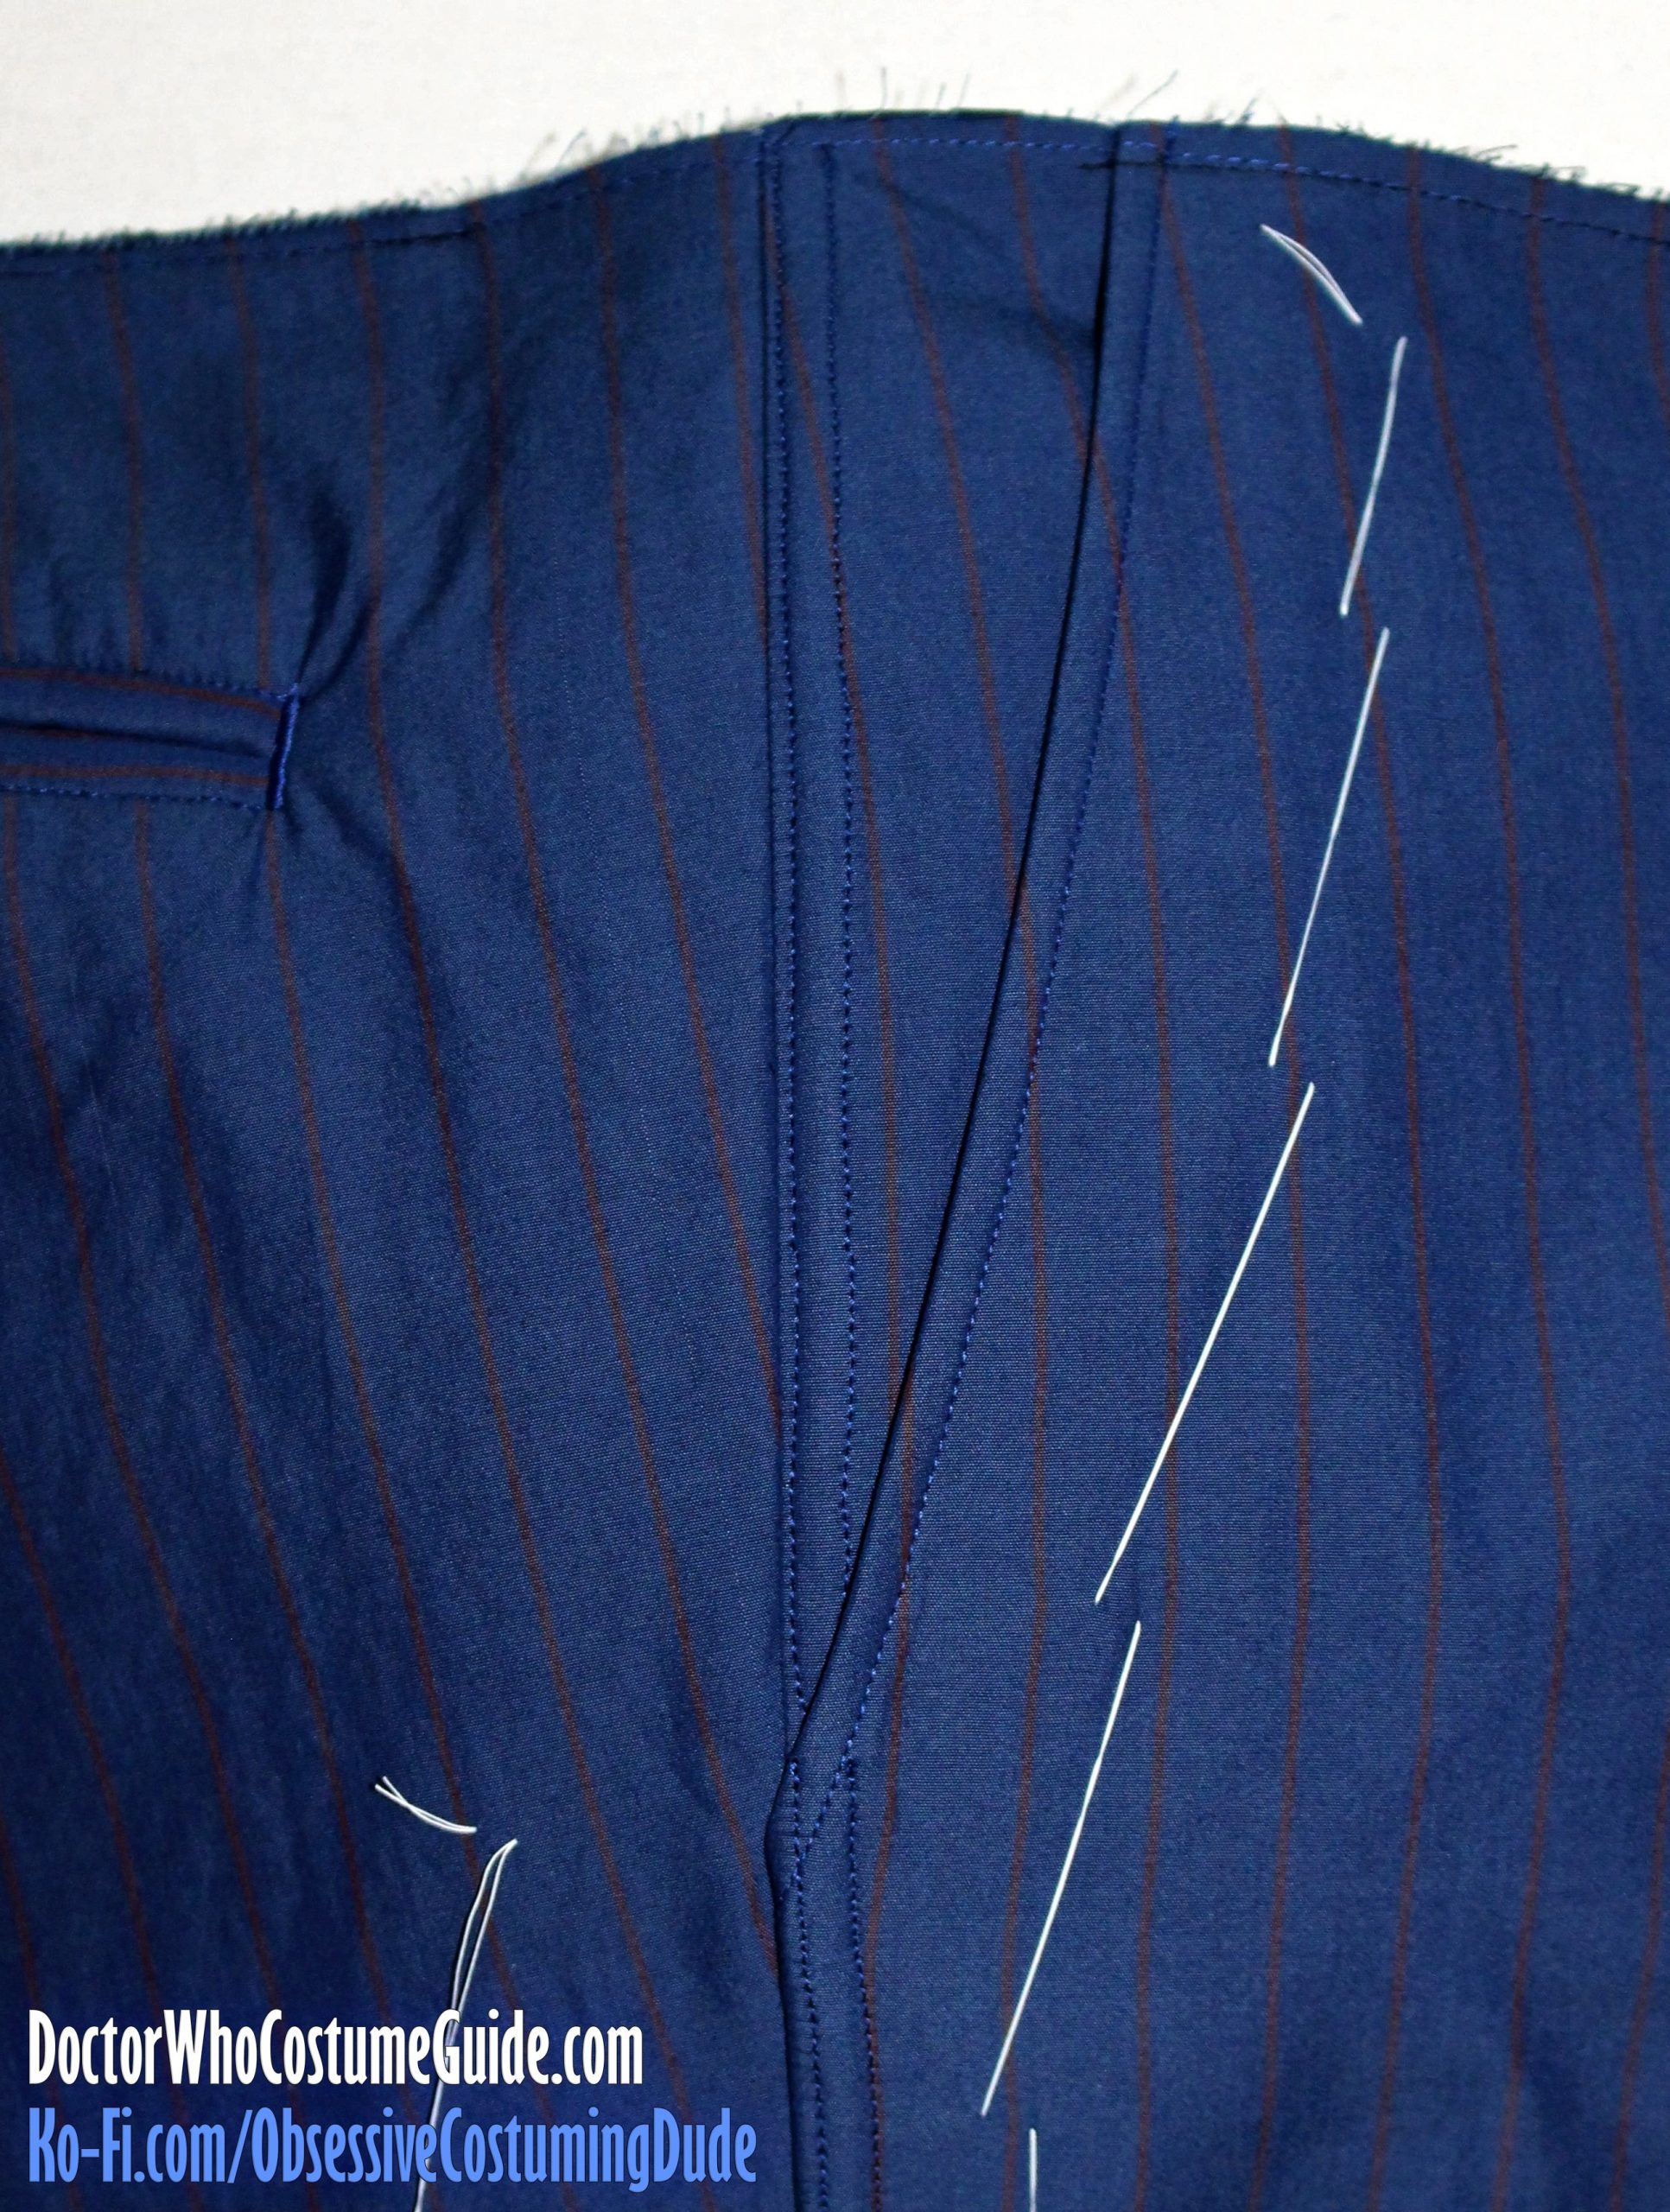
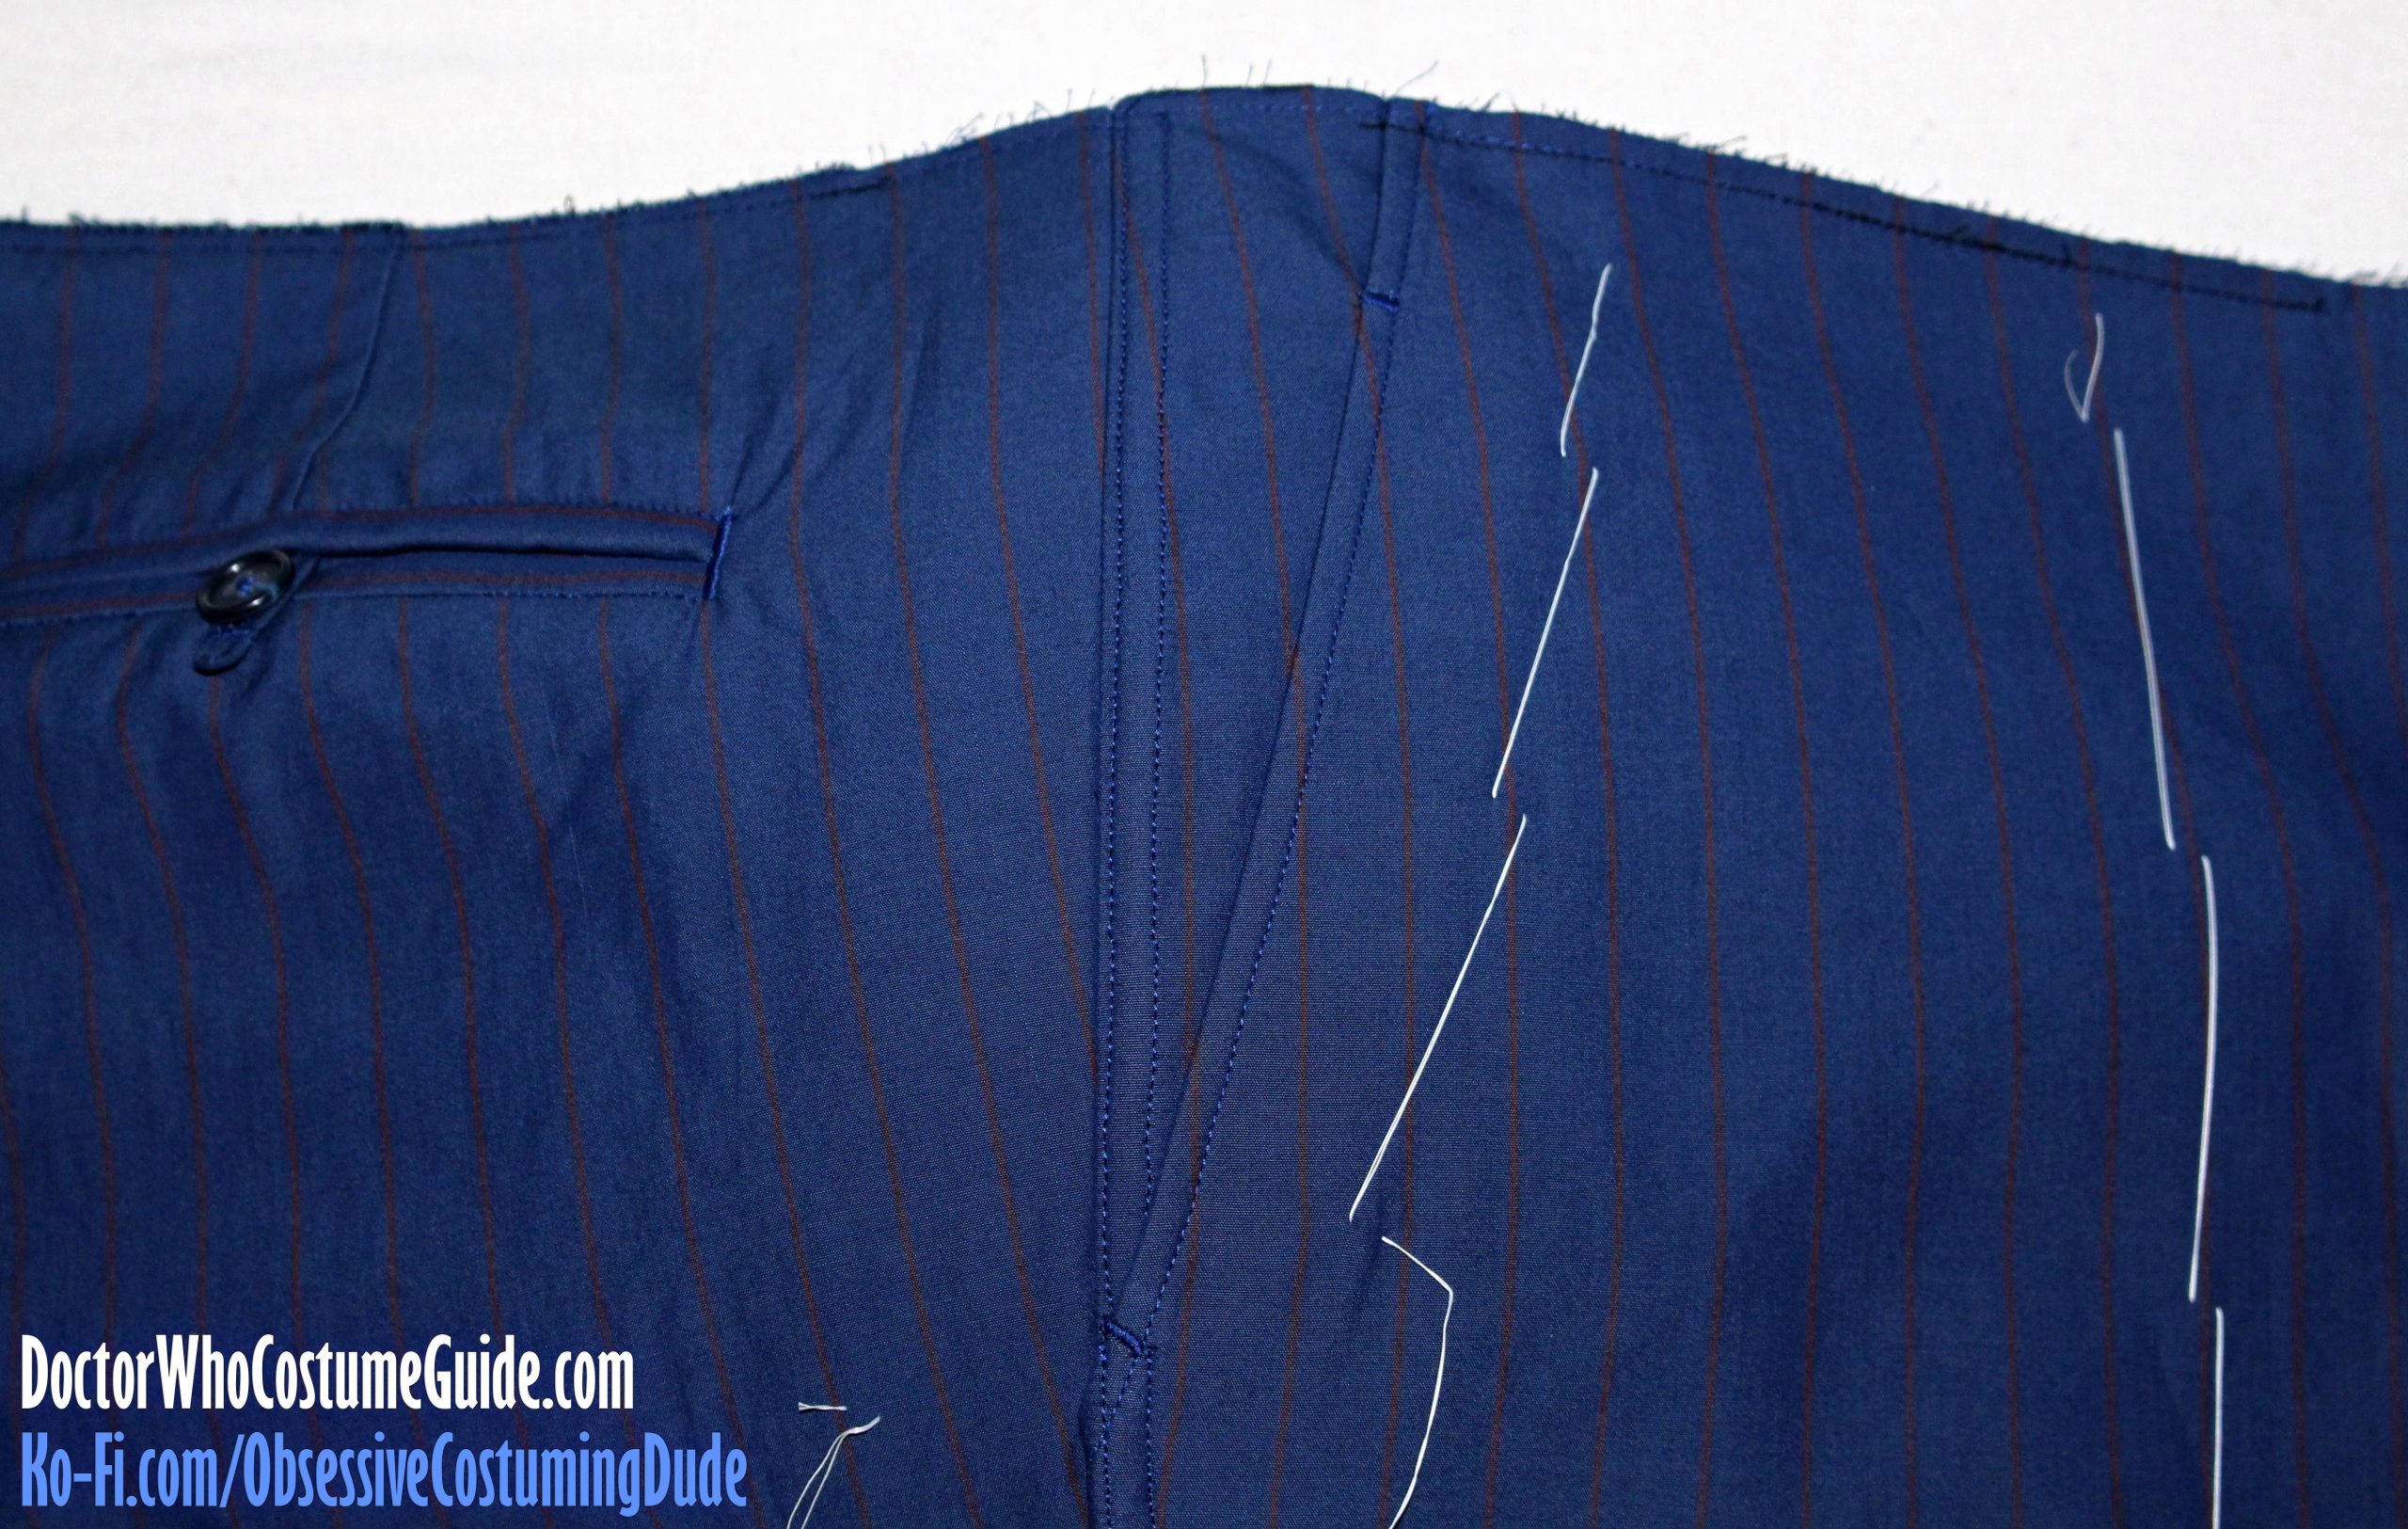
I like to stabilize the diagonal edge of the pocket opening with stay tape, to help prevent the pocket opening from stretching and sagging open over time.
(I don’t know if the original GAP trousers had this reinforcement, but I recommend it, regardless.)
Either kind of stay tape (nylon or cotton twill) will work fine, but I prefer the nylon stay tape because the bulk it adds is negligible.
Position the tape over the seam line on the underside, then baste or sew it to the trousers ½” from the edge.
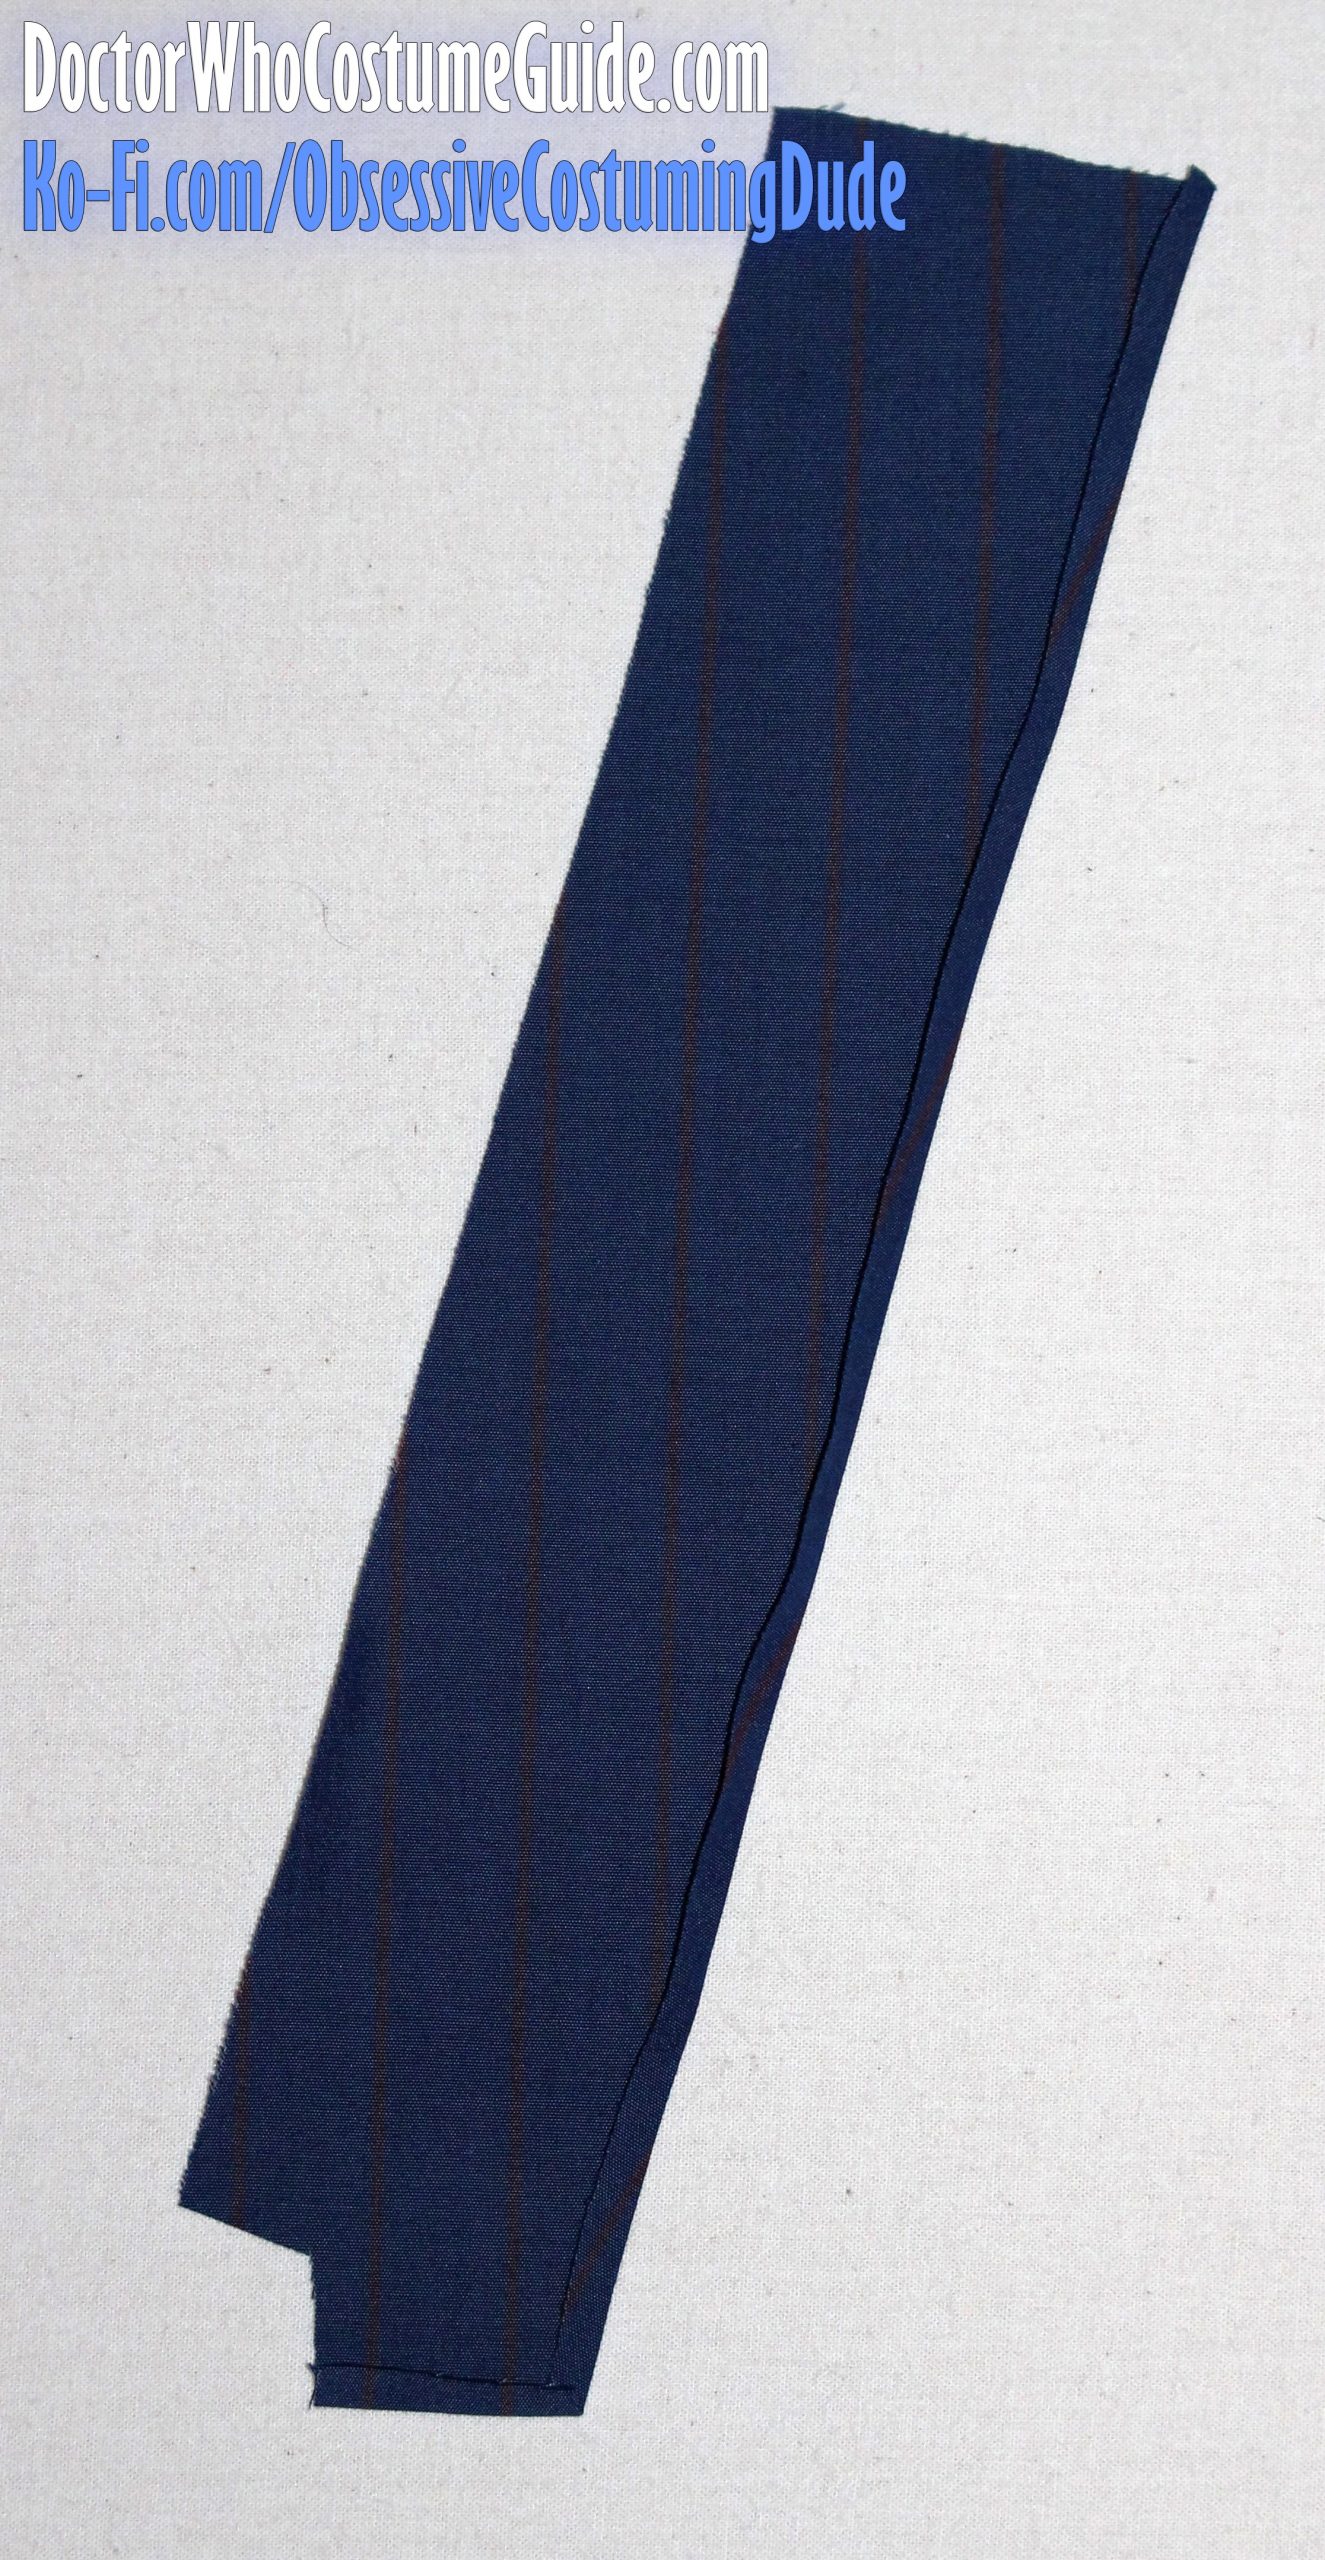
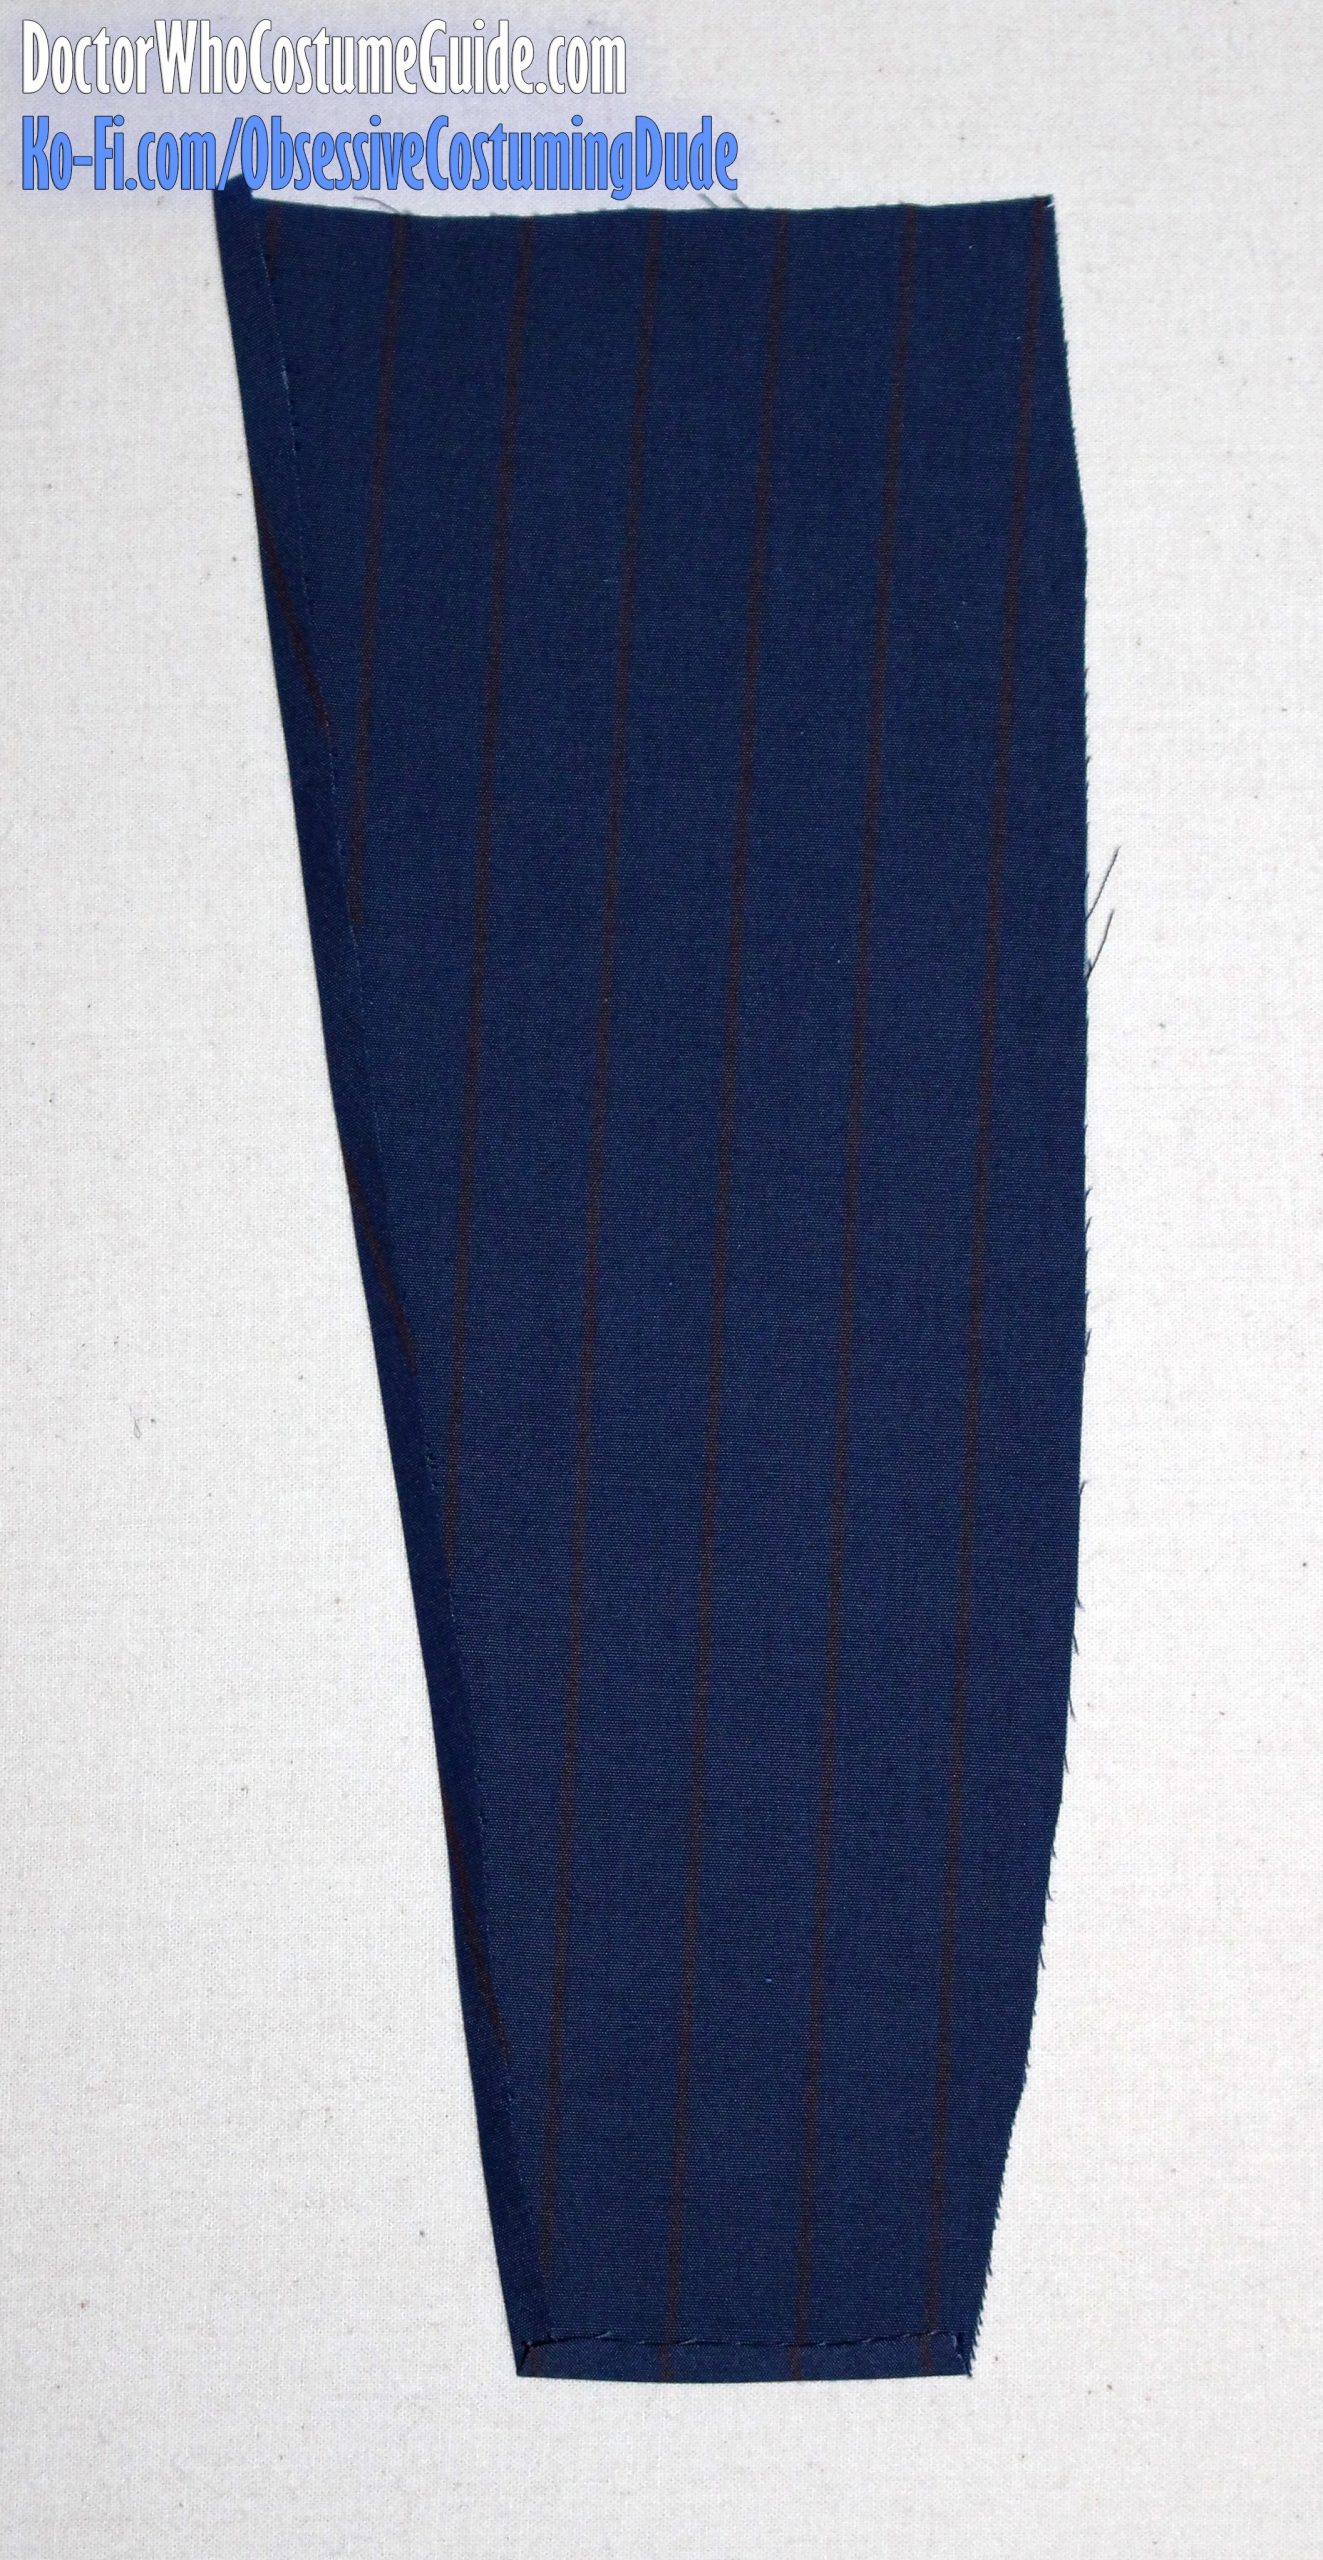
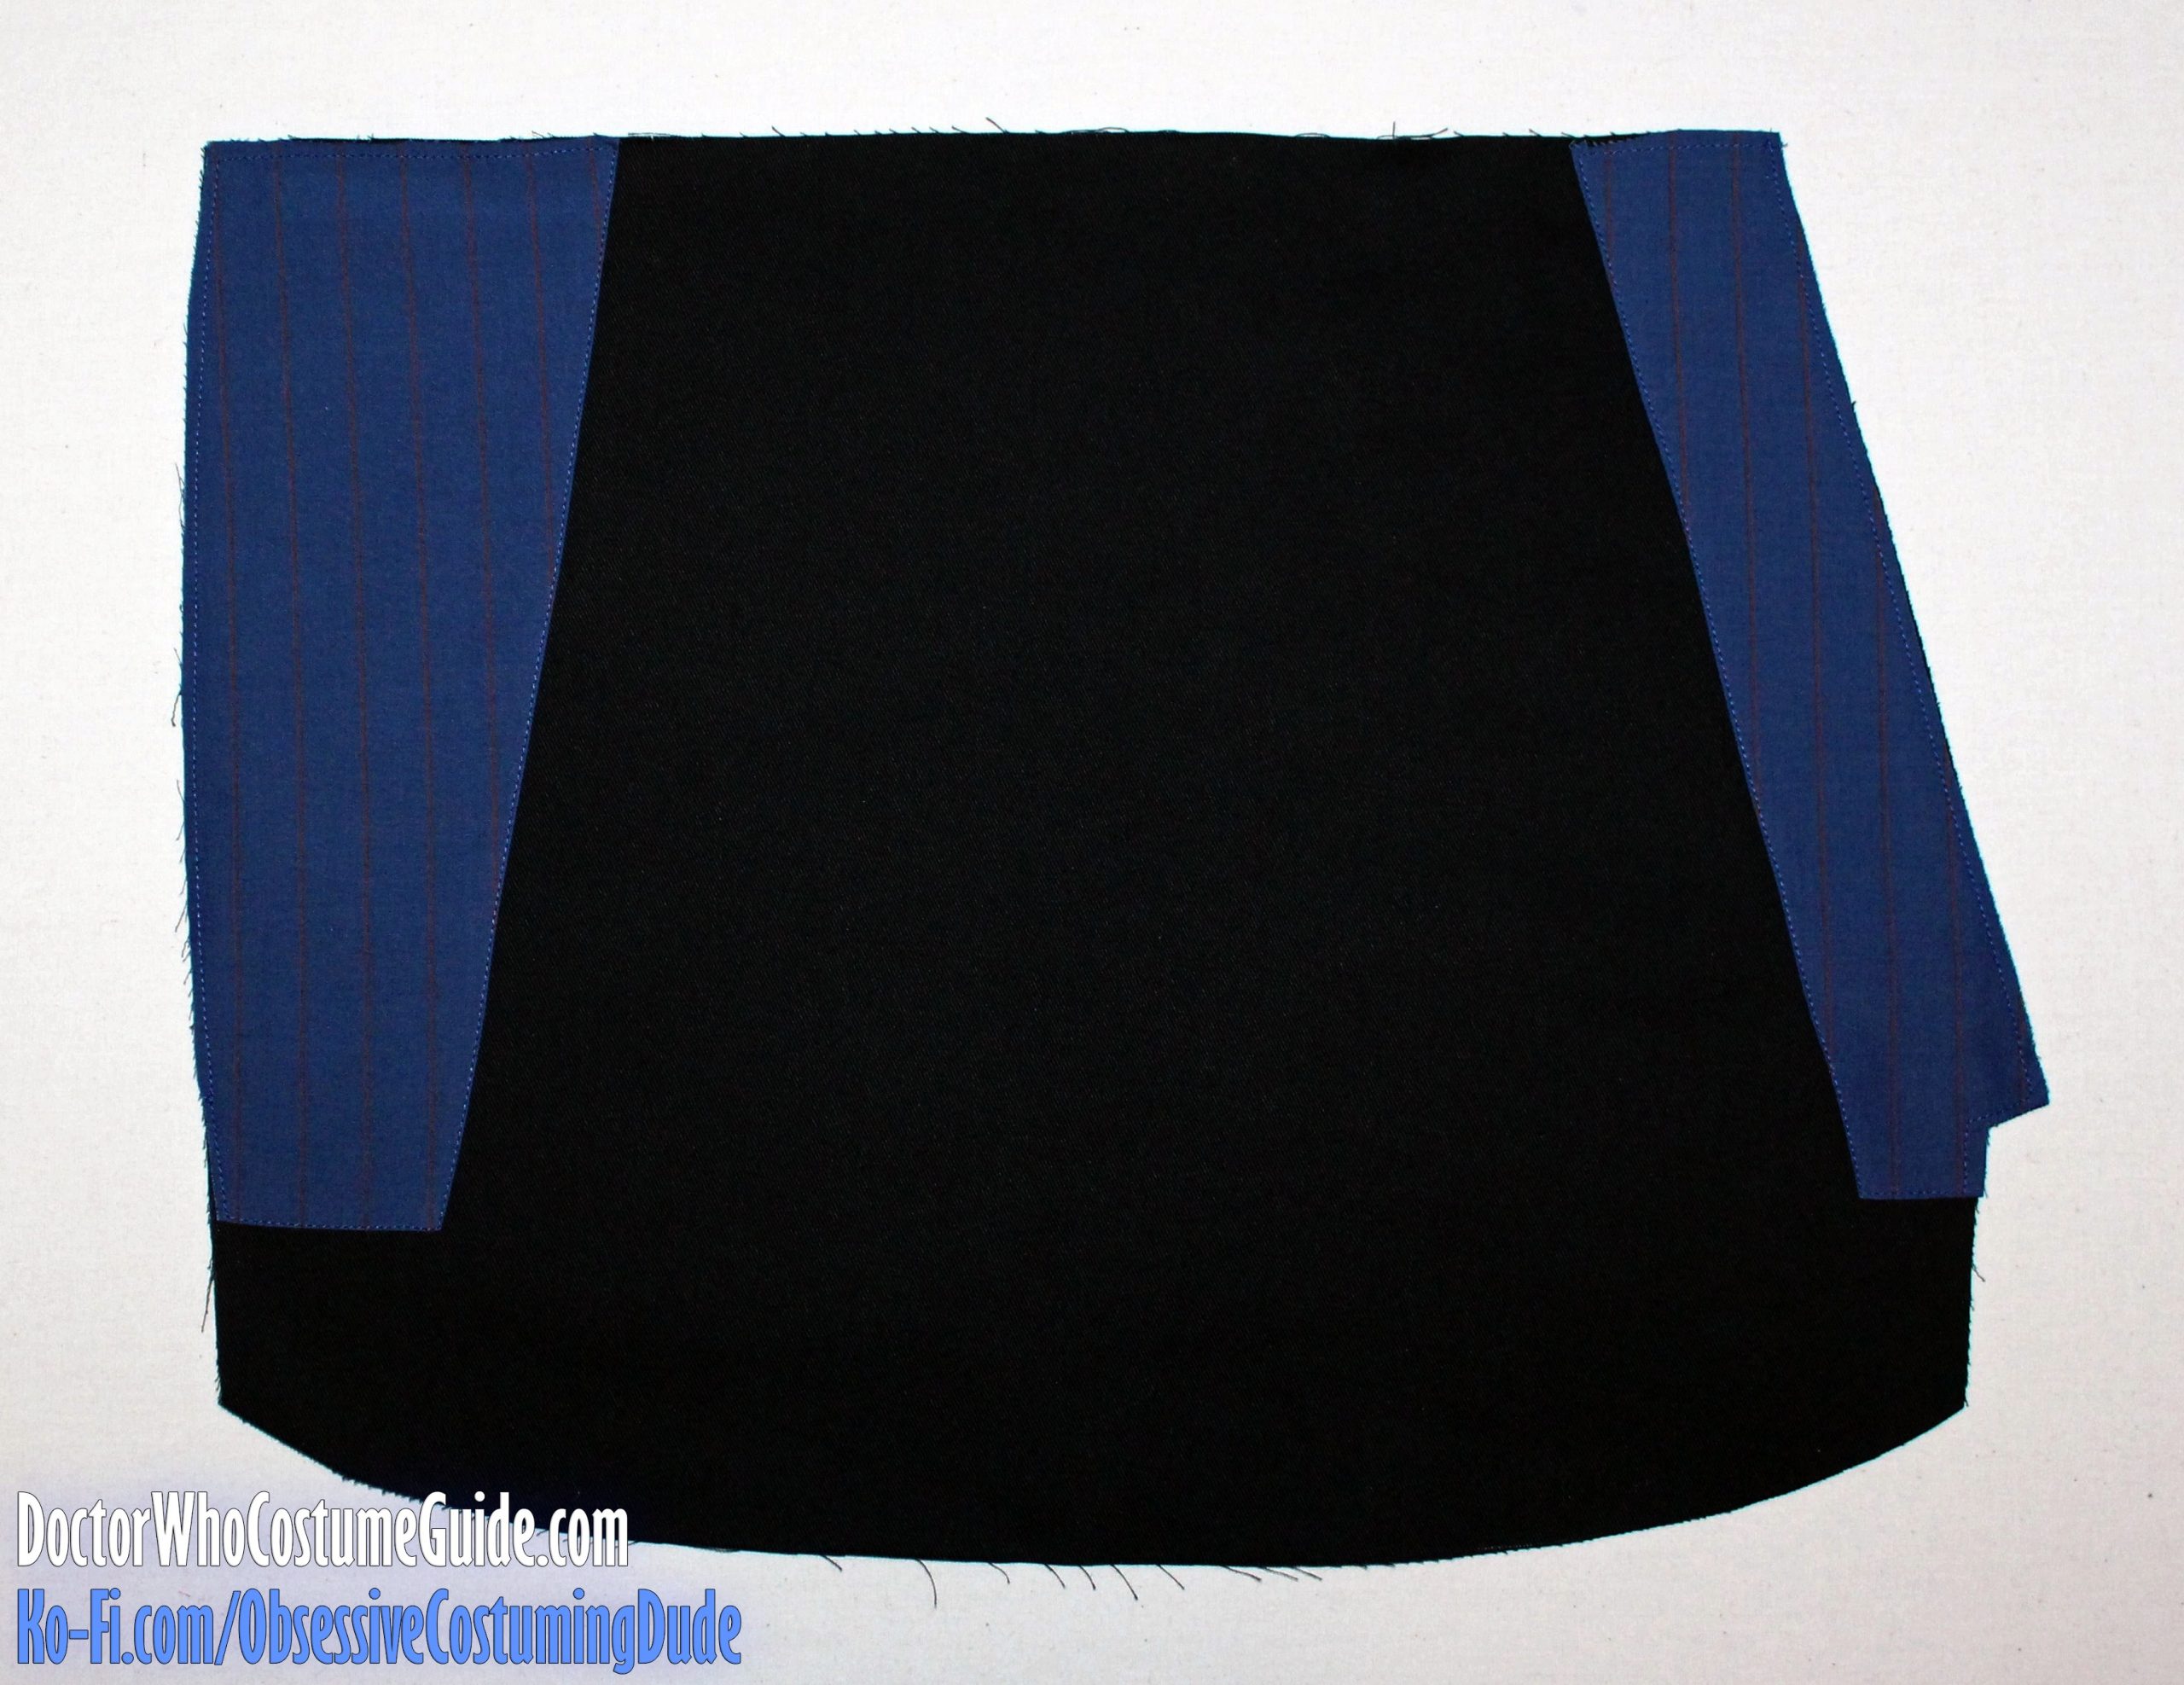
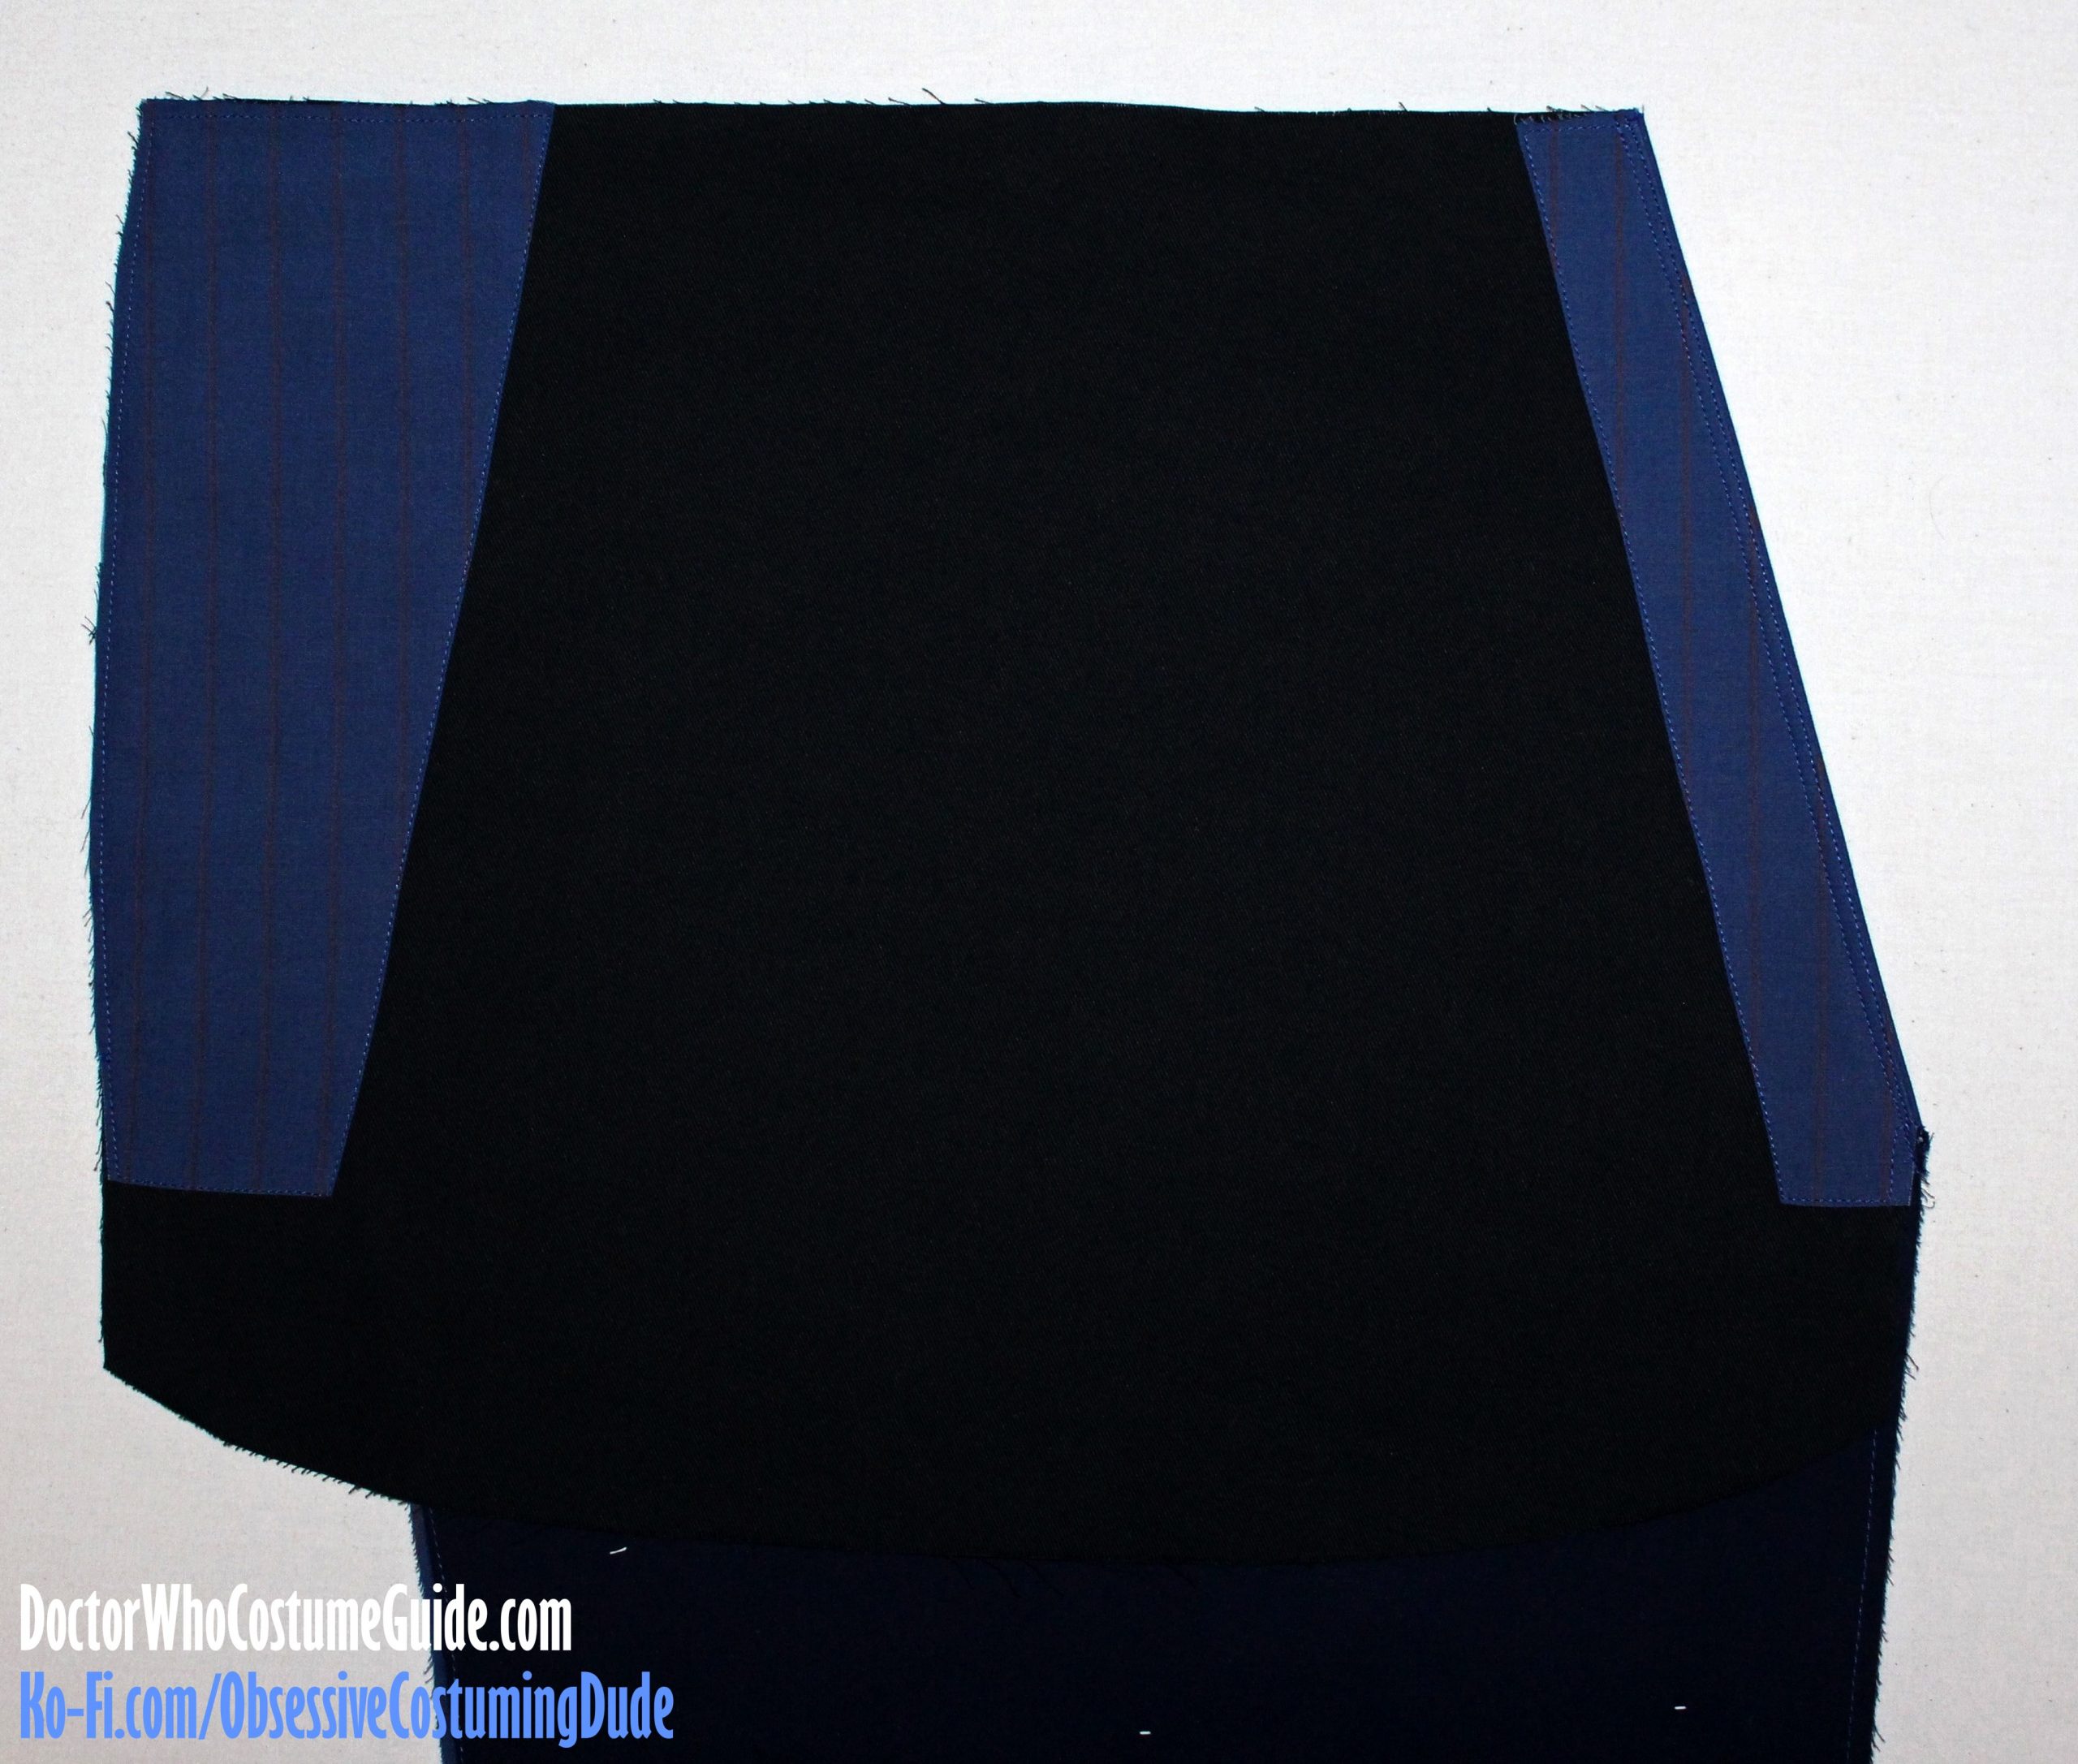
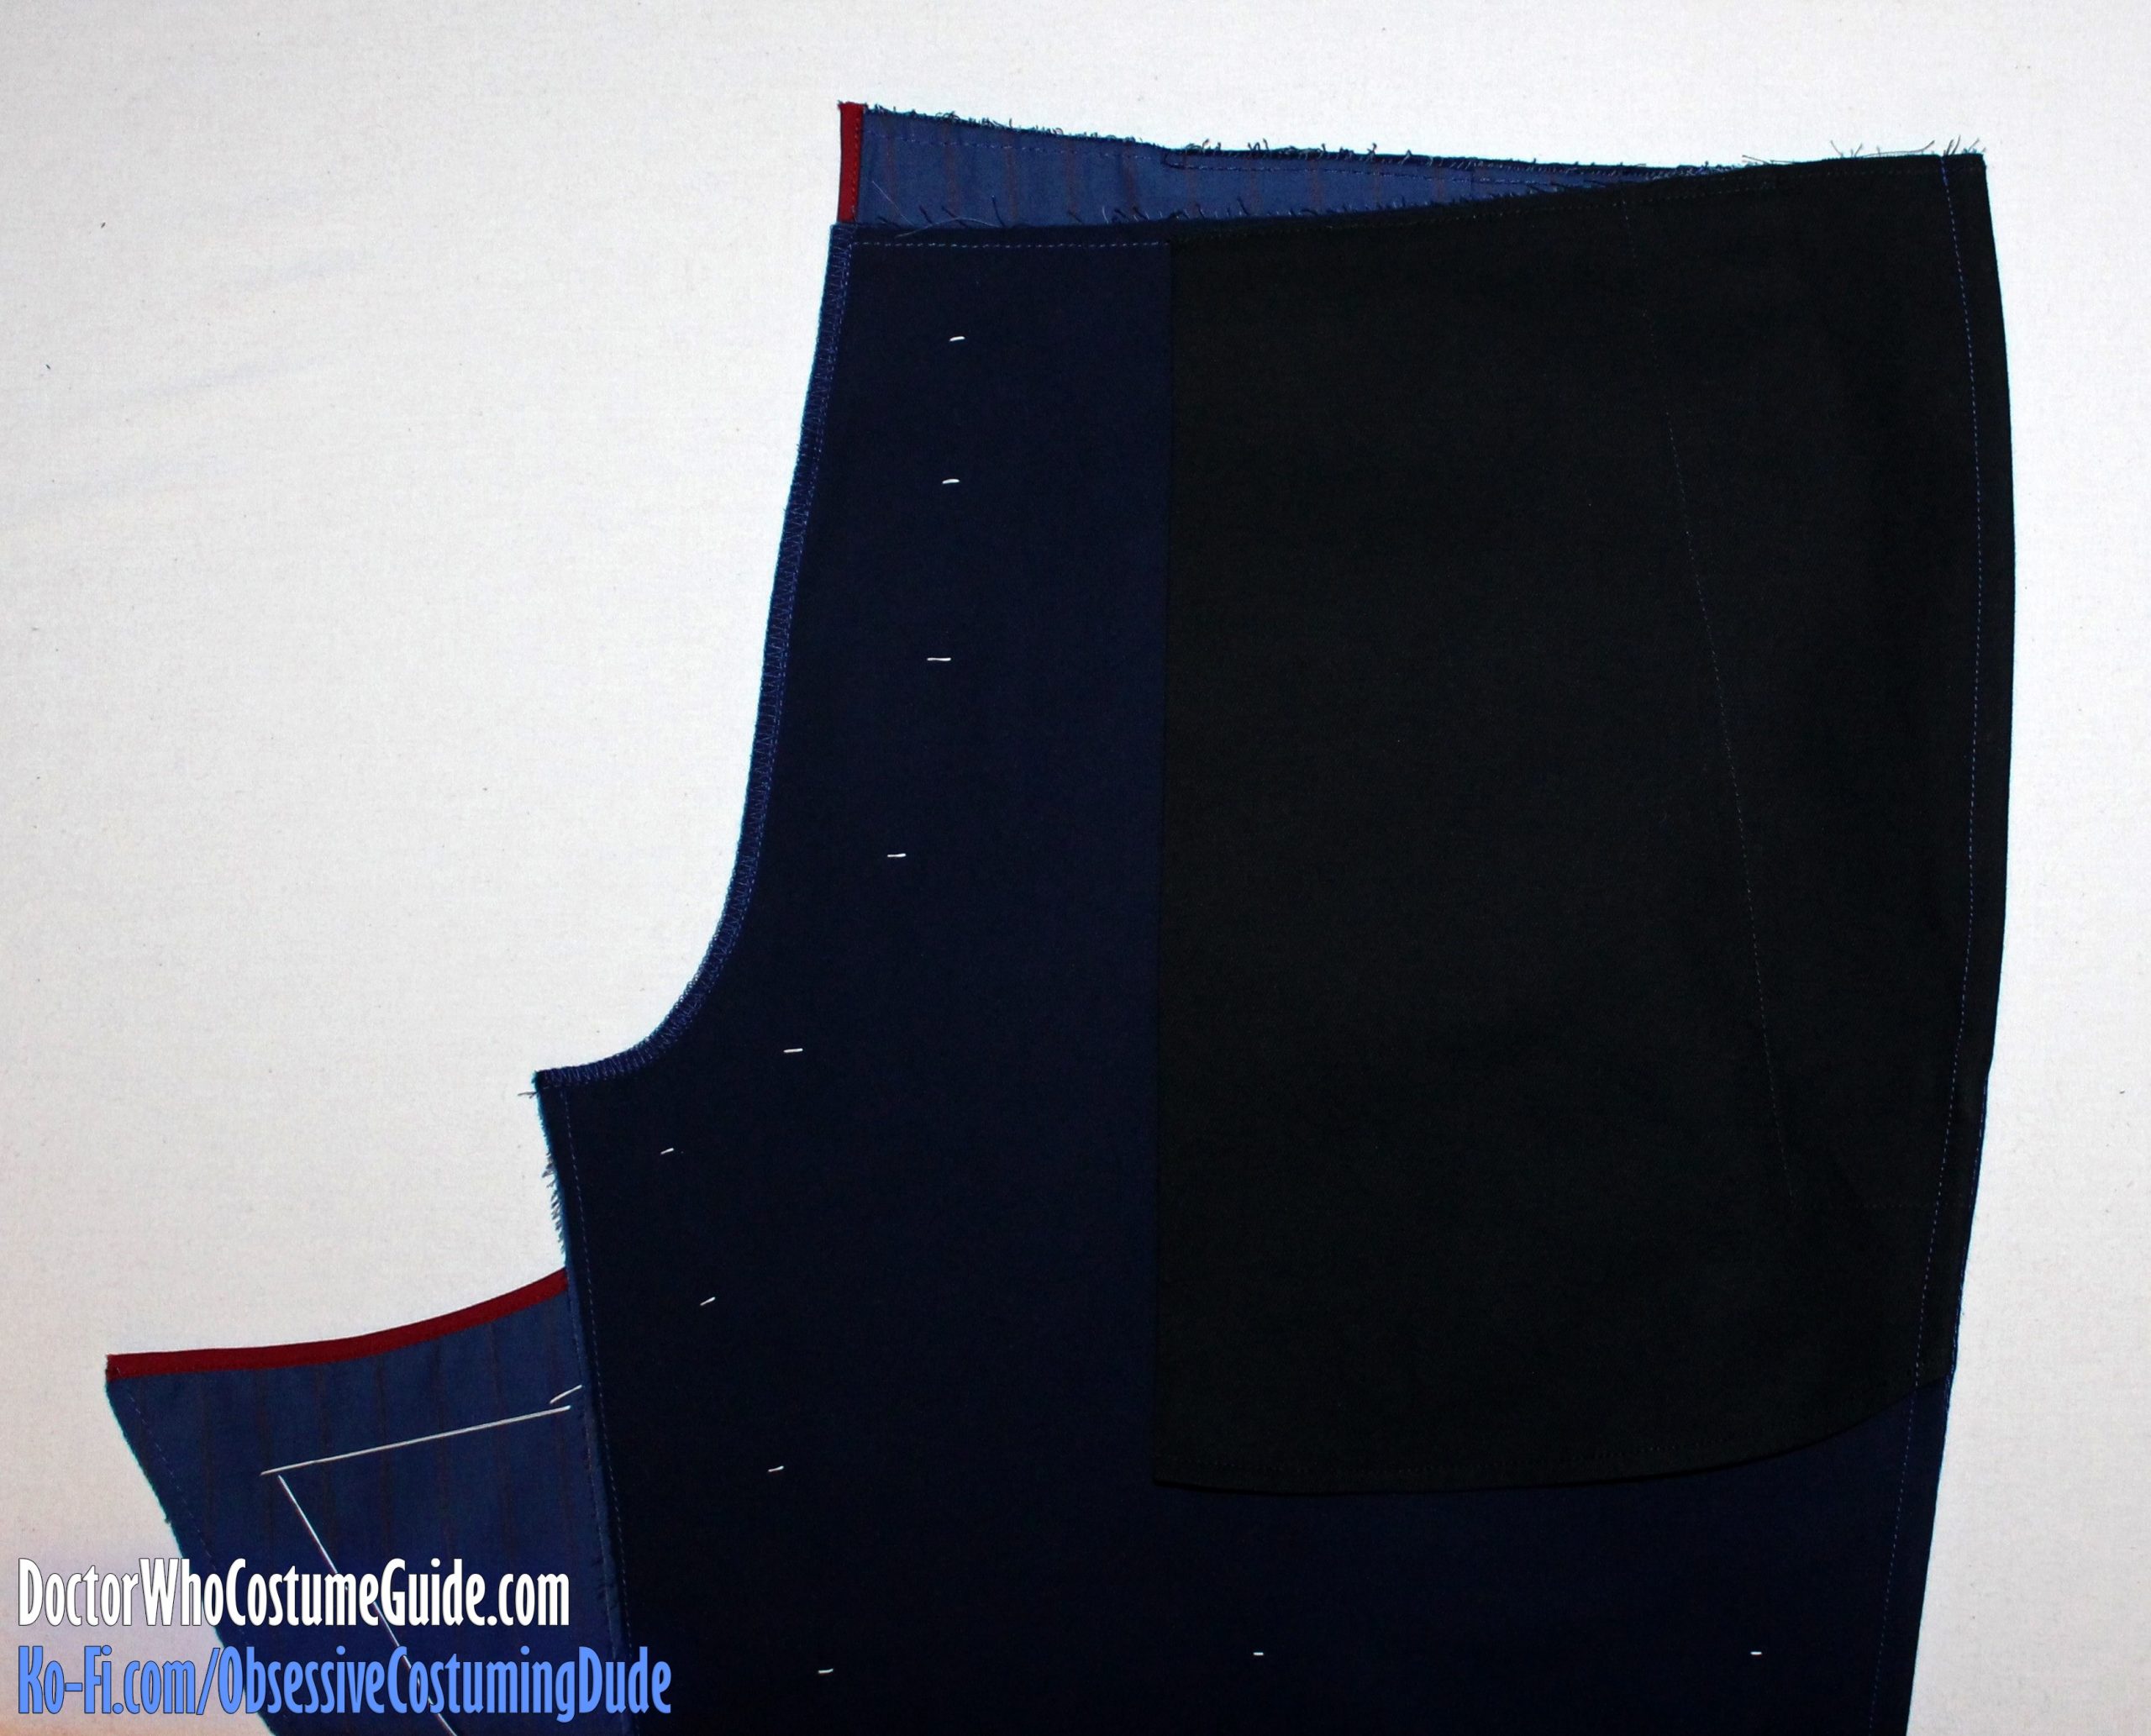
Position the facing and yoke onto the front pocket bag (piece II), folded edges under, so the upper and side edges are flush.
Using blue thread and a black bobbin, edge-stitch the facing and yoke onto the pocket bag.
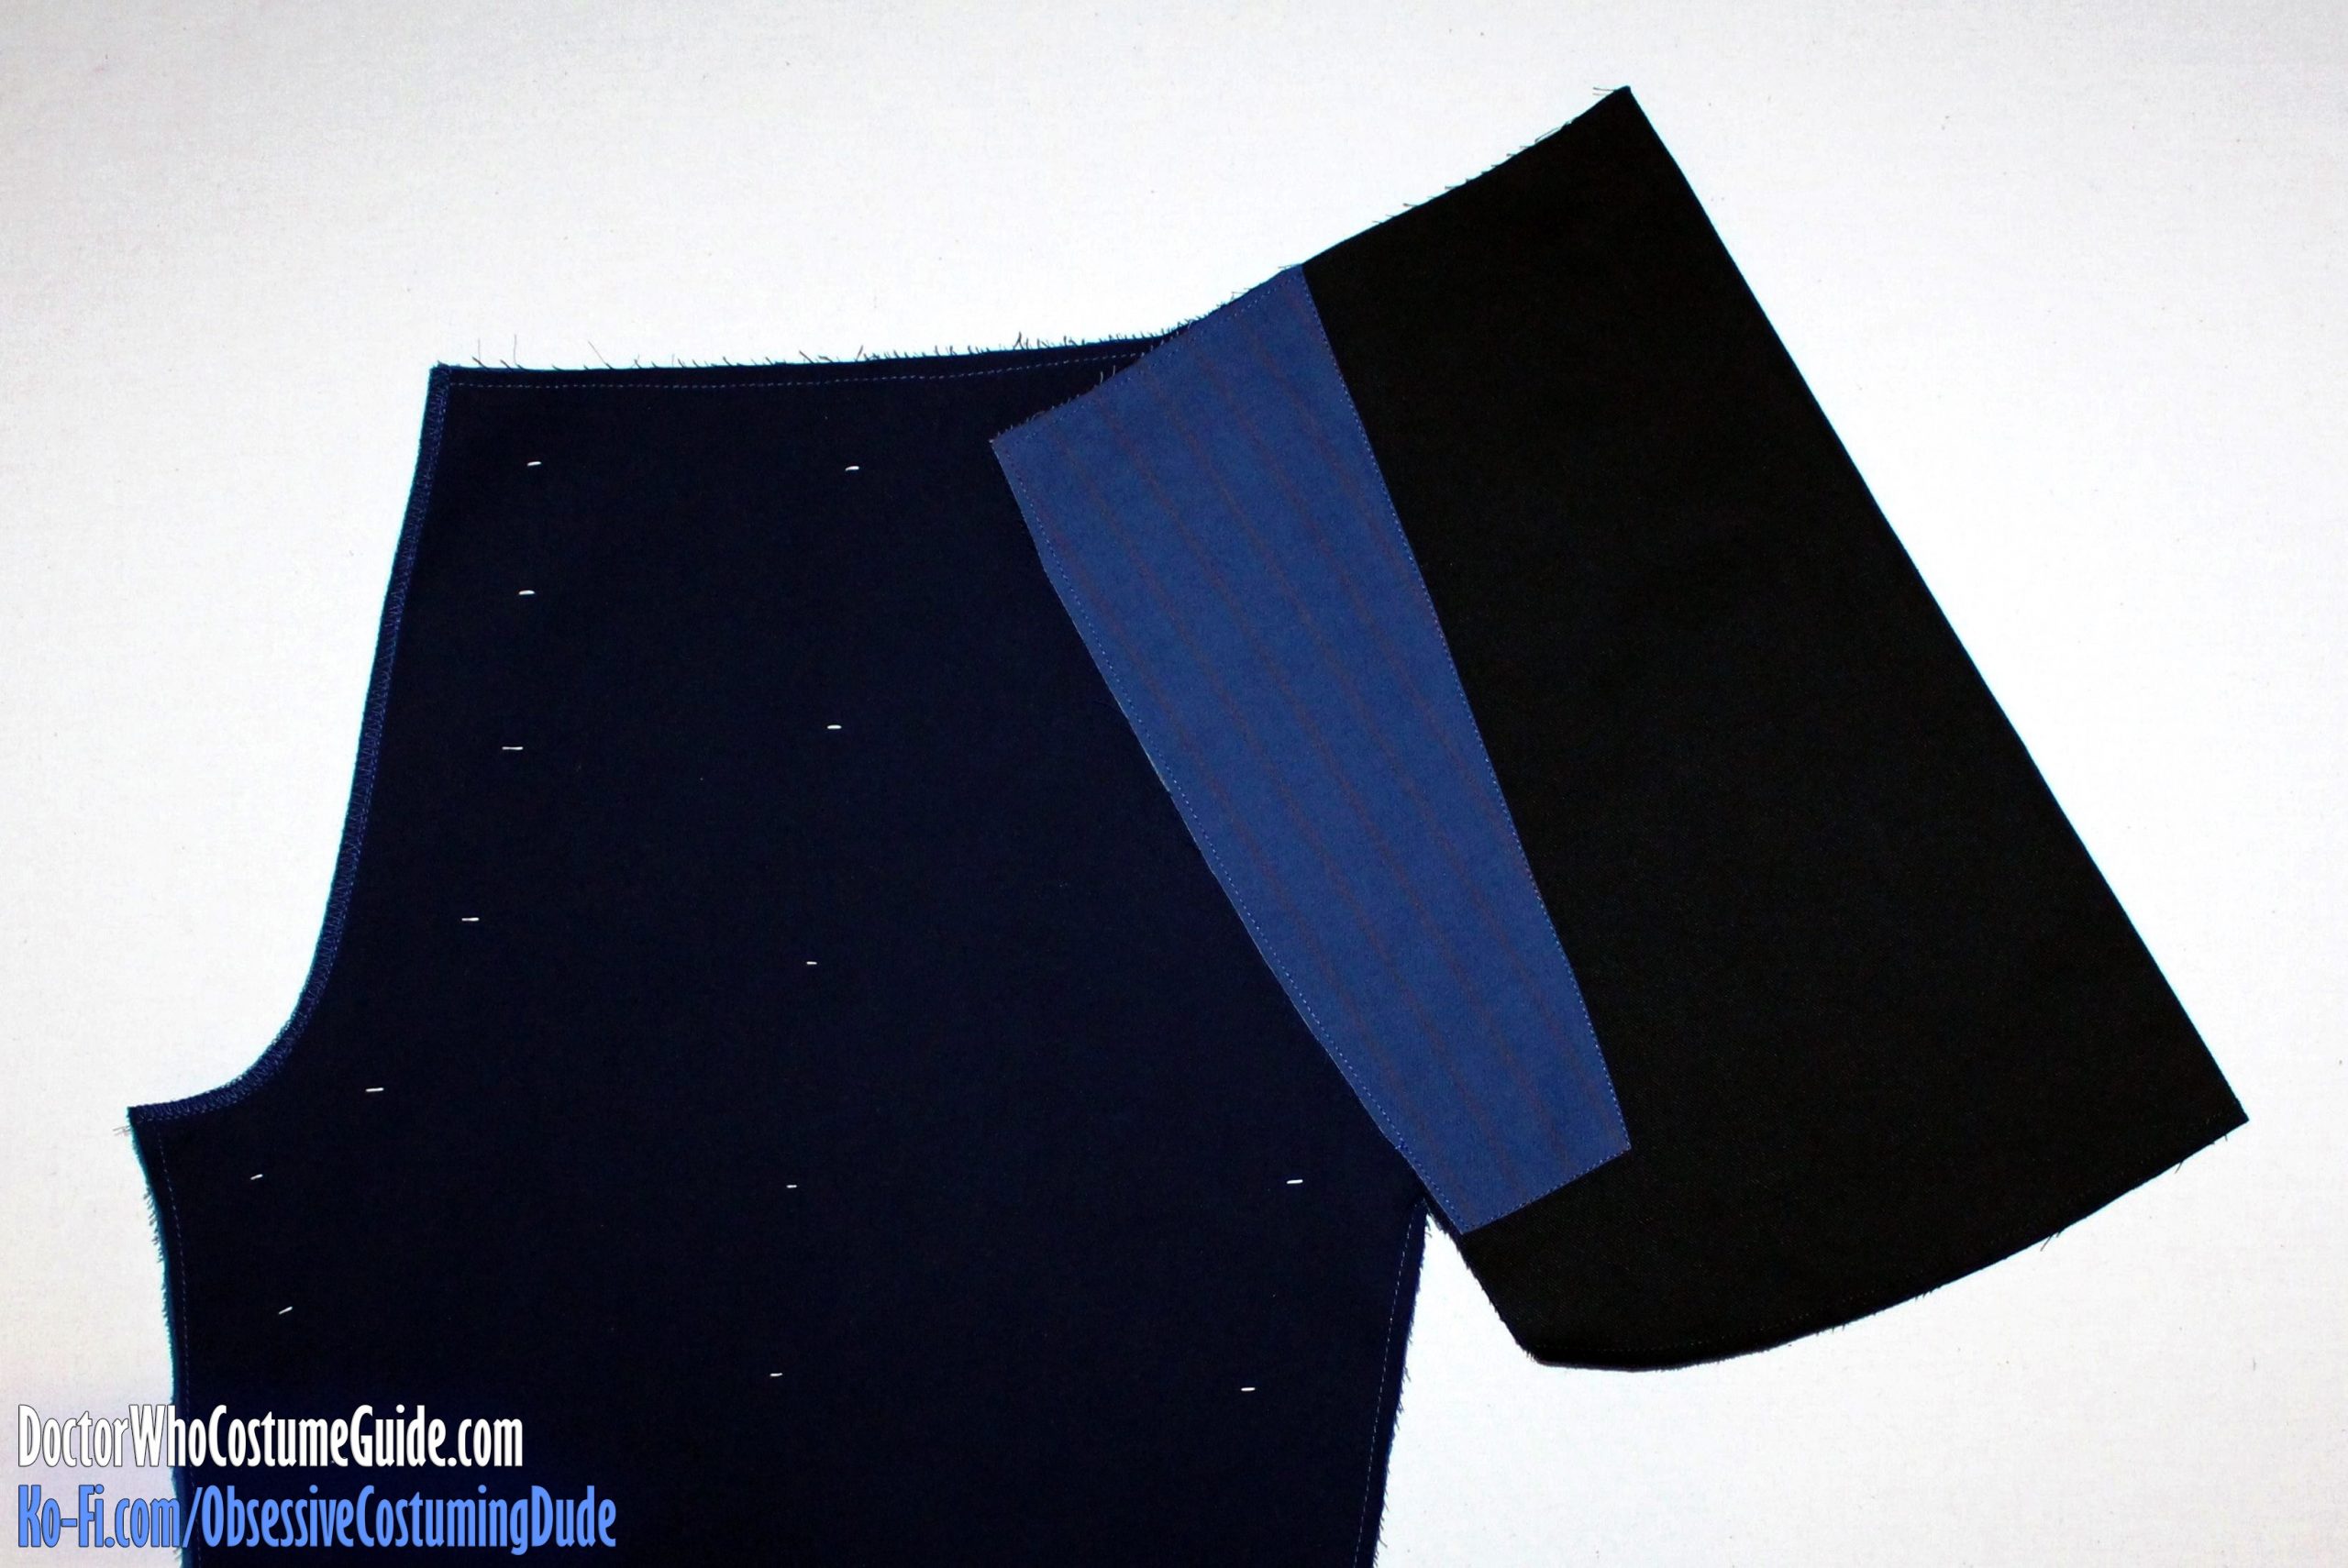
Position the pocket edge of the trousers front and facing edge of the pocket bag right-sides-together.
The front/facing pinstripes should properly align at the seam line, if you used the alignment guide on the printed pattern when cutting your fabric!
Sew the trousers to the pocket bag assembly along the diagonal front edge.
Press the pocket toward the side (away from the trousers).
Understitch the pocket facing to the seam allowances.
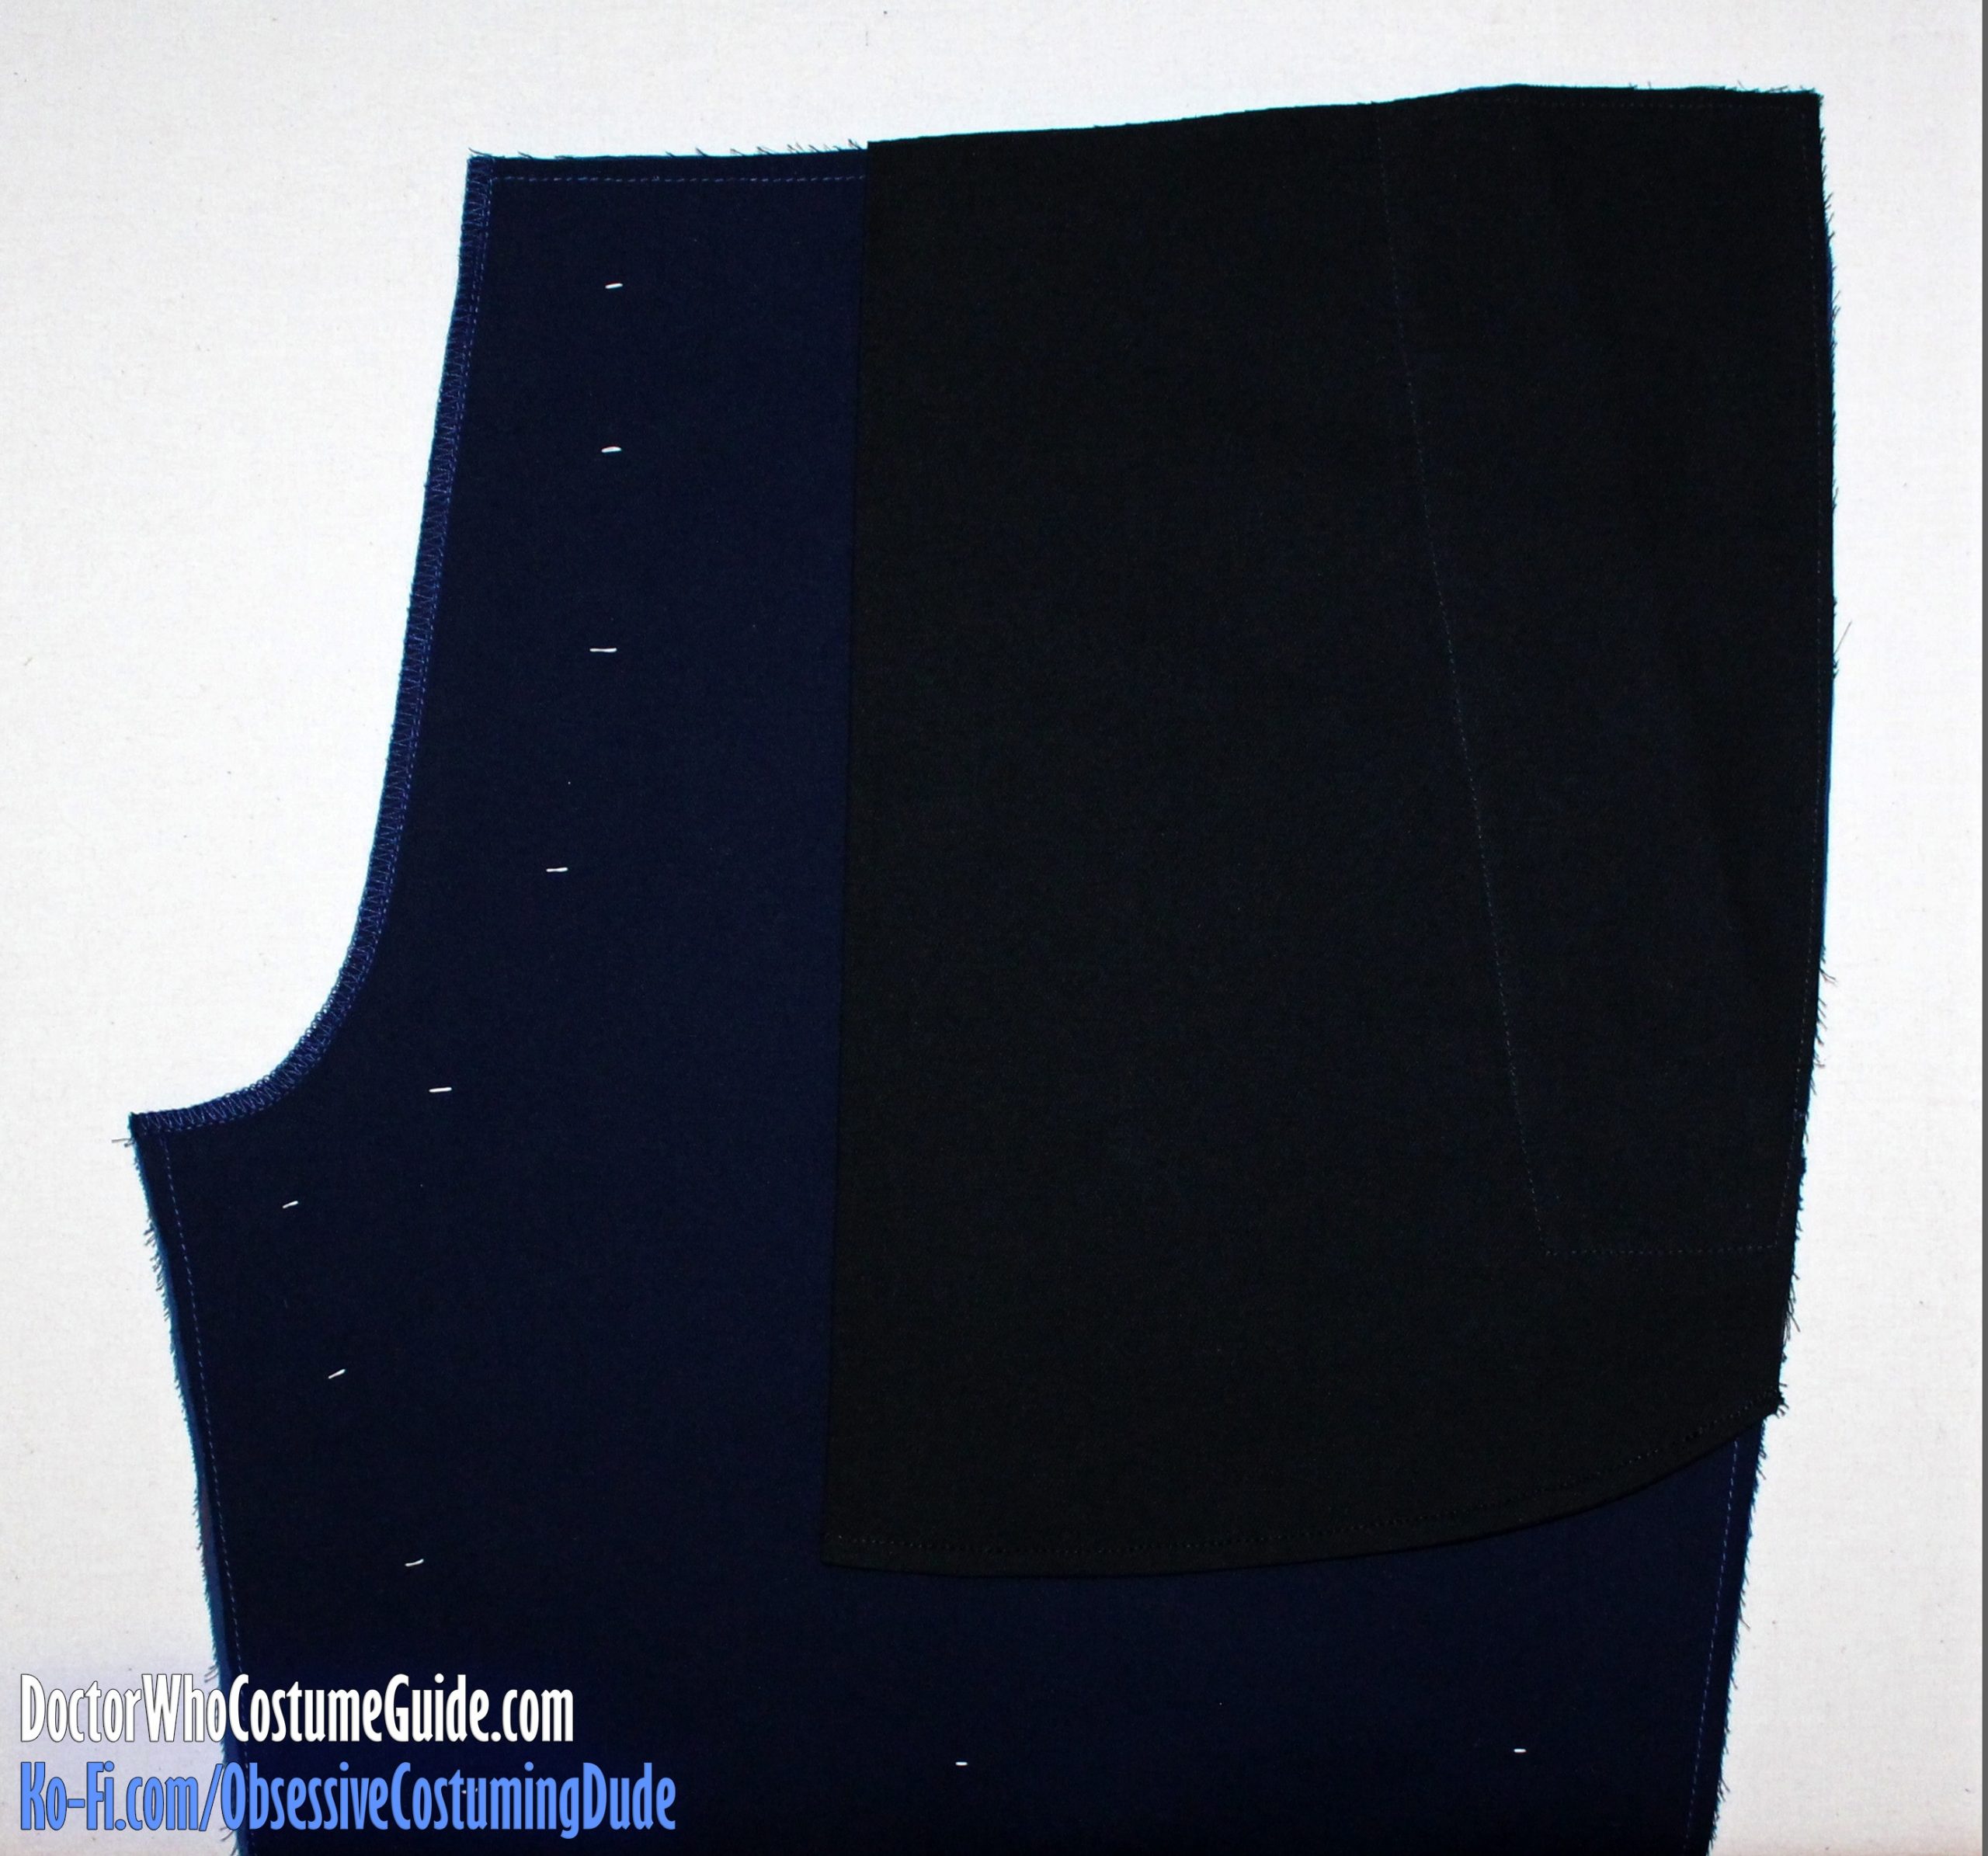
Turn the pocket bag assembly under and press.
Topstitch all the layers together ¼” from the diagonal edge of the pocket opening.
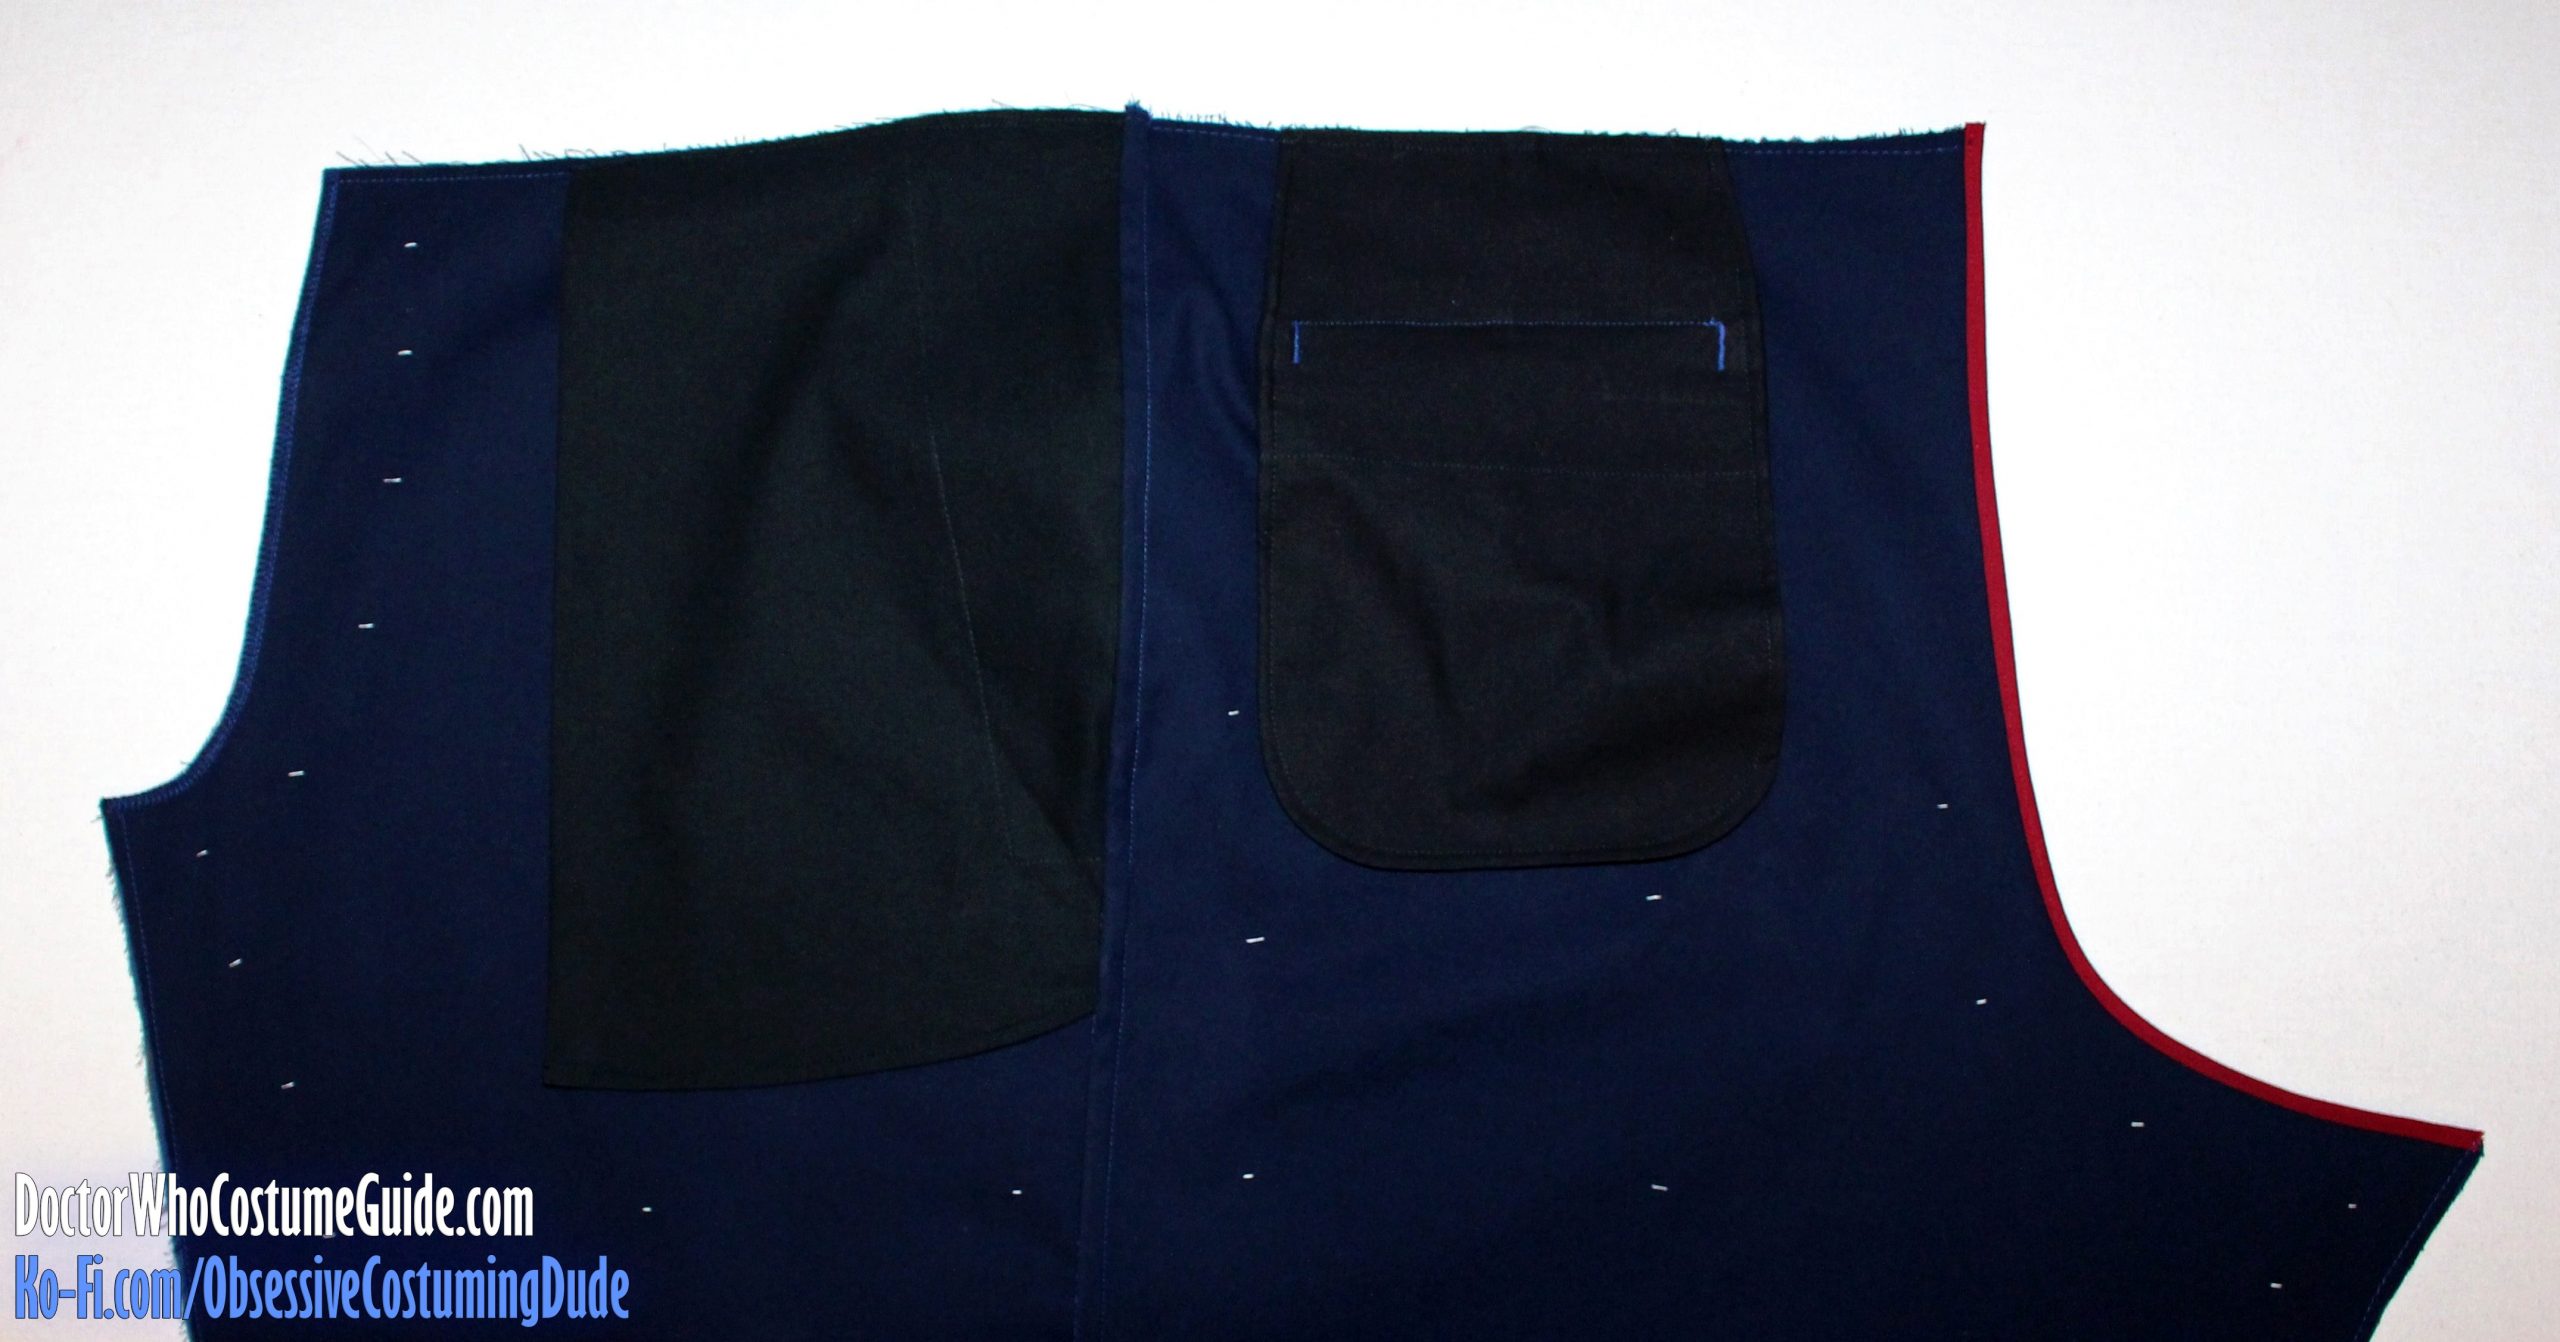
The bottom of the pocket bag is enclosed in a French seam.
From the underside of the trousers, fold the pocket bag outward again (toward the side).
Then, fold the pocket bag back downward toward itself, wrong sides together and lower edge flush.
Sew the pocket bag together ¼” from the lower edges.
Trim the lower pocket bag seam allowances down to ⅛”.
Turn the pocket bag right-sides-out again and press the lower edge.
Using black thread, topstitch the bottom of the pocket bag closed ¼” from the lower edge, completing the French seam.
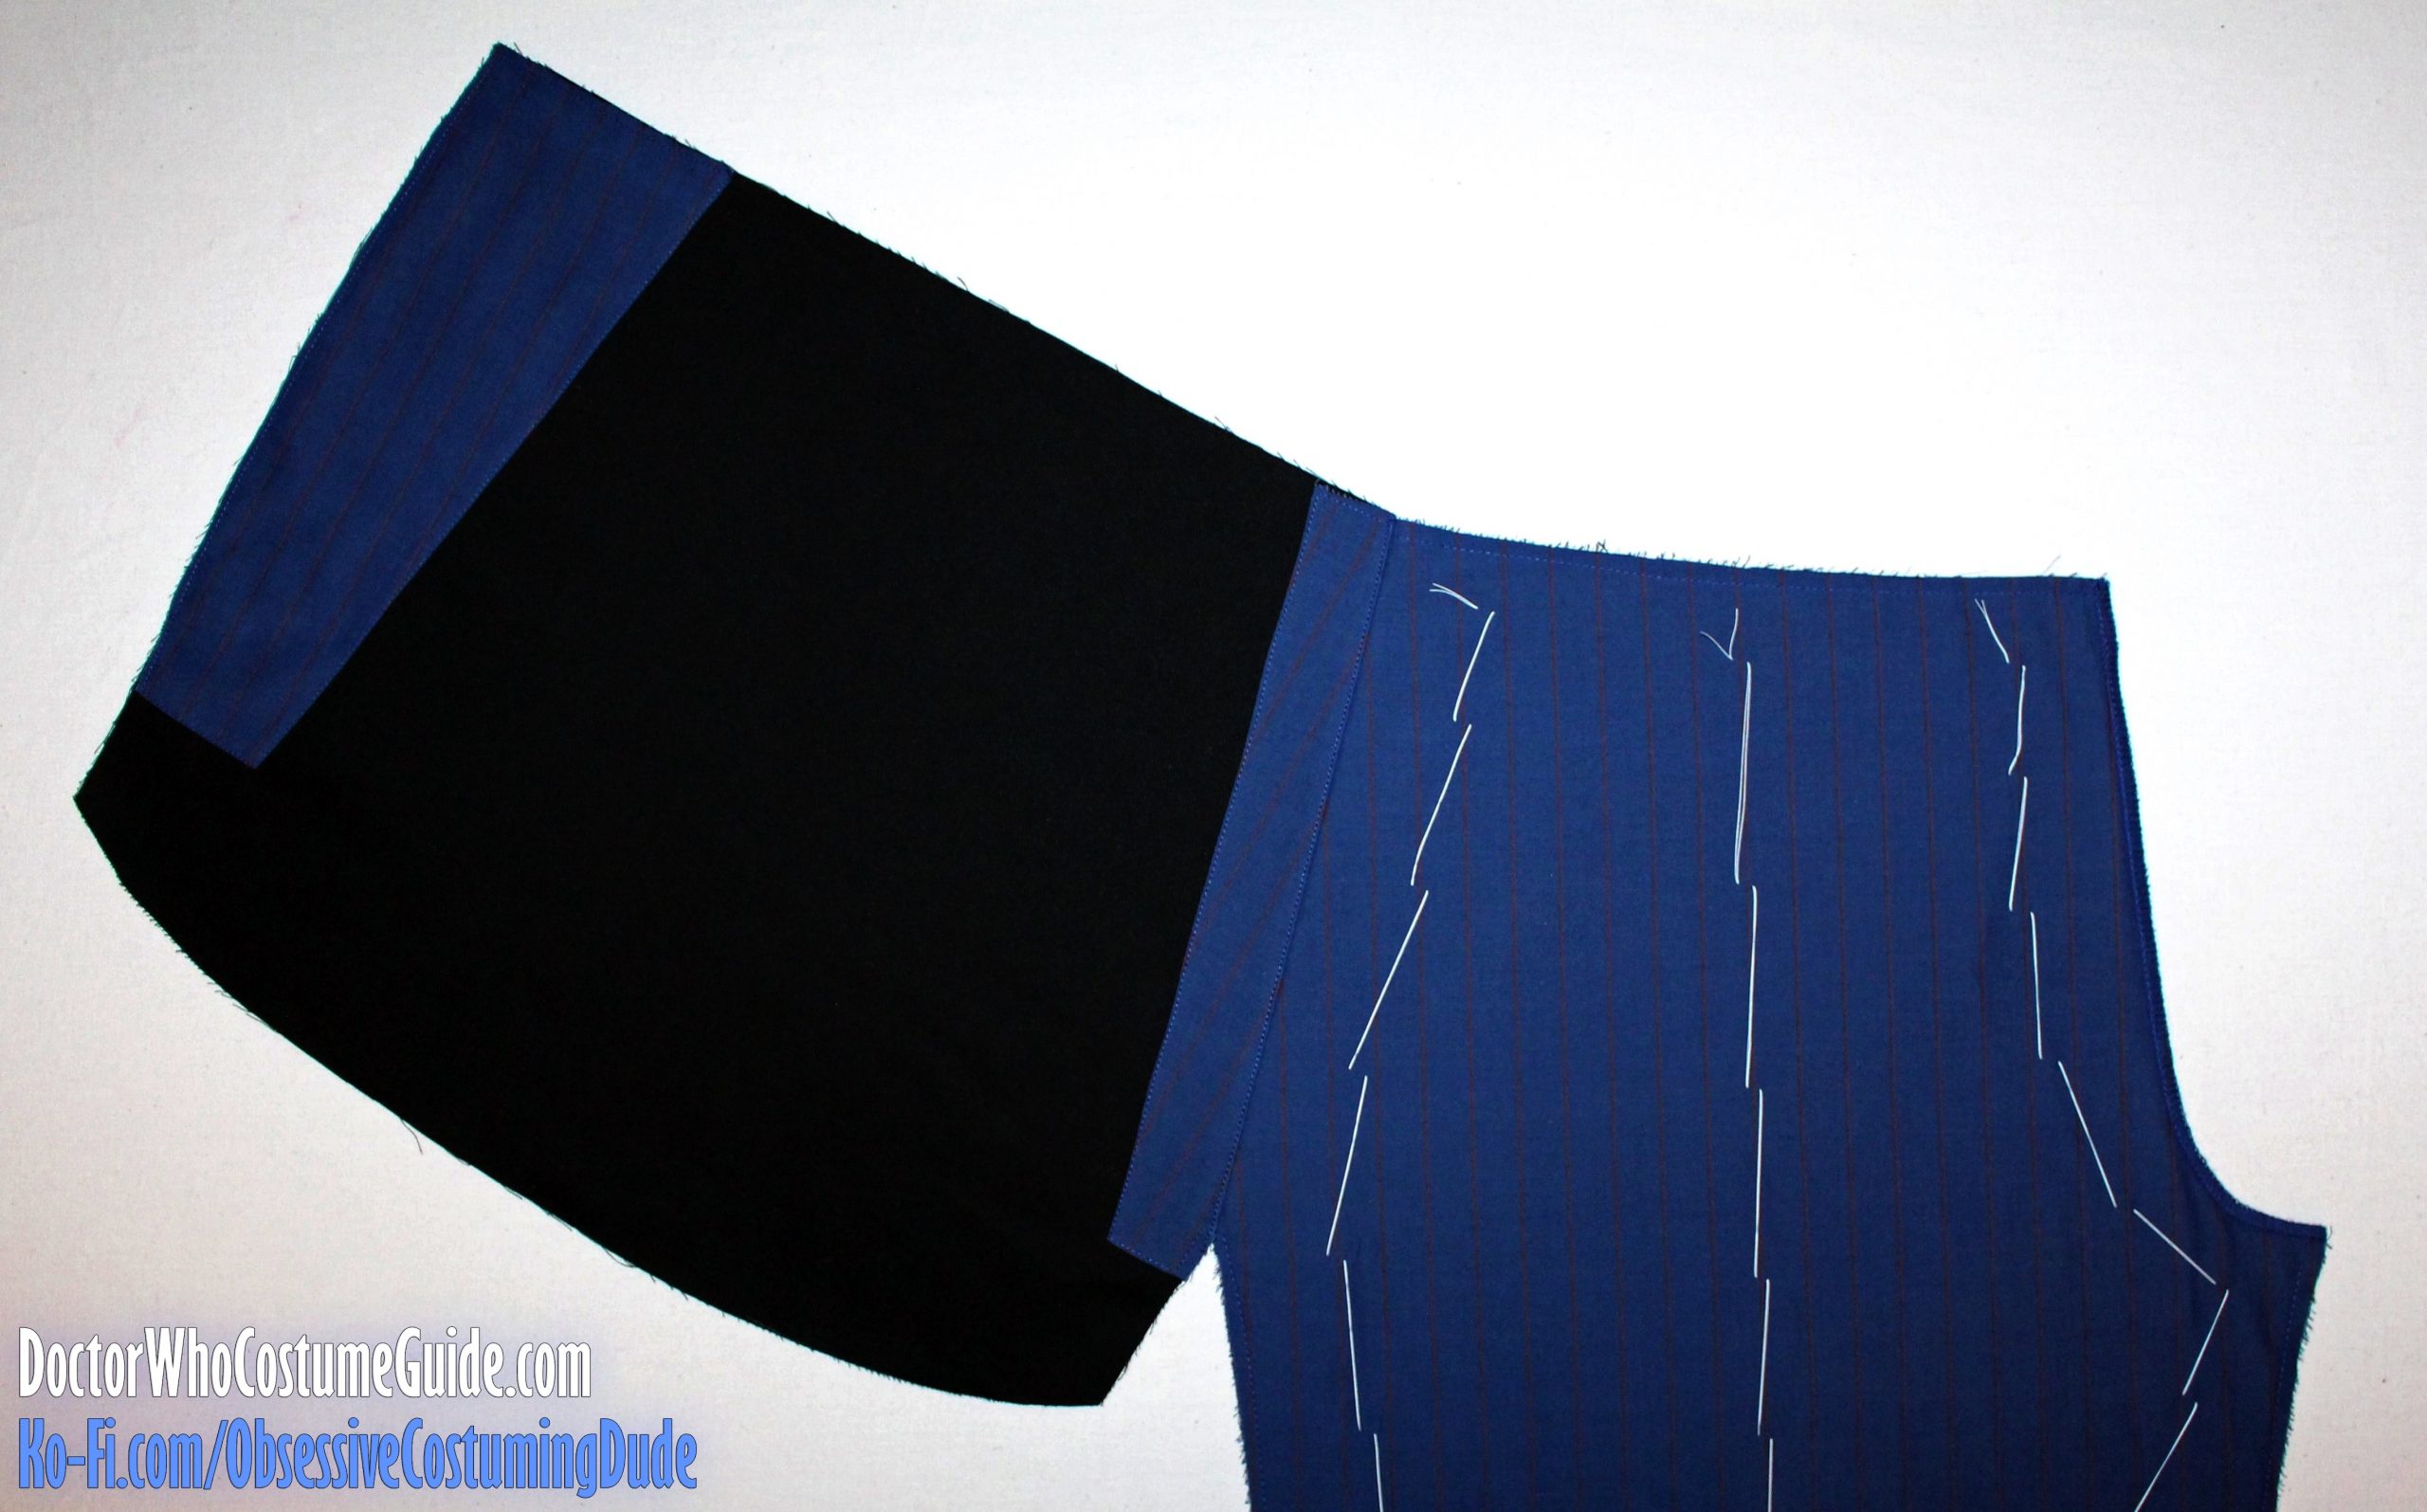
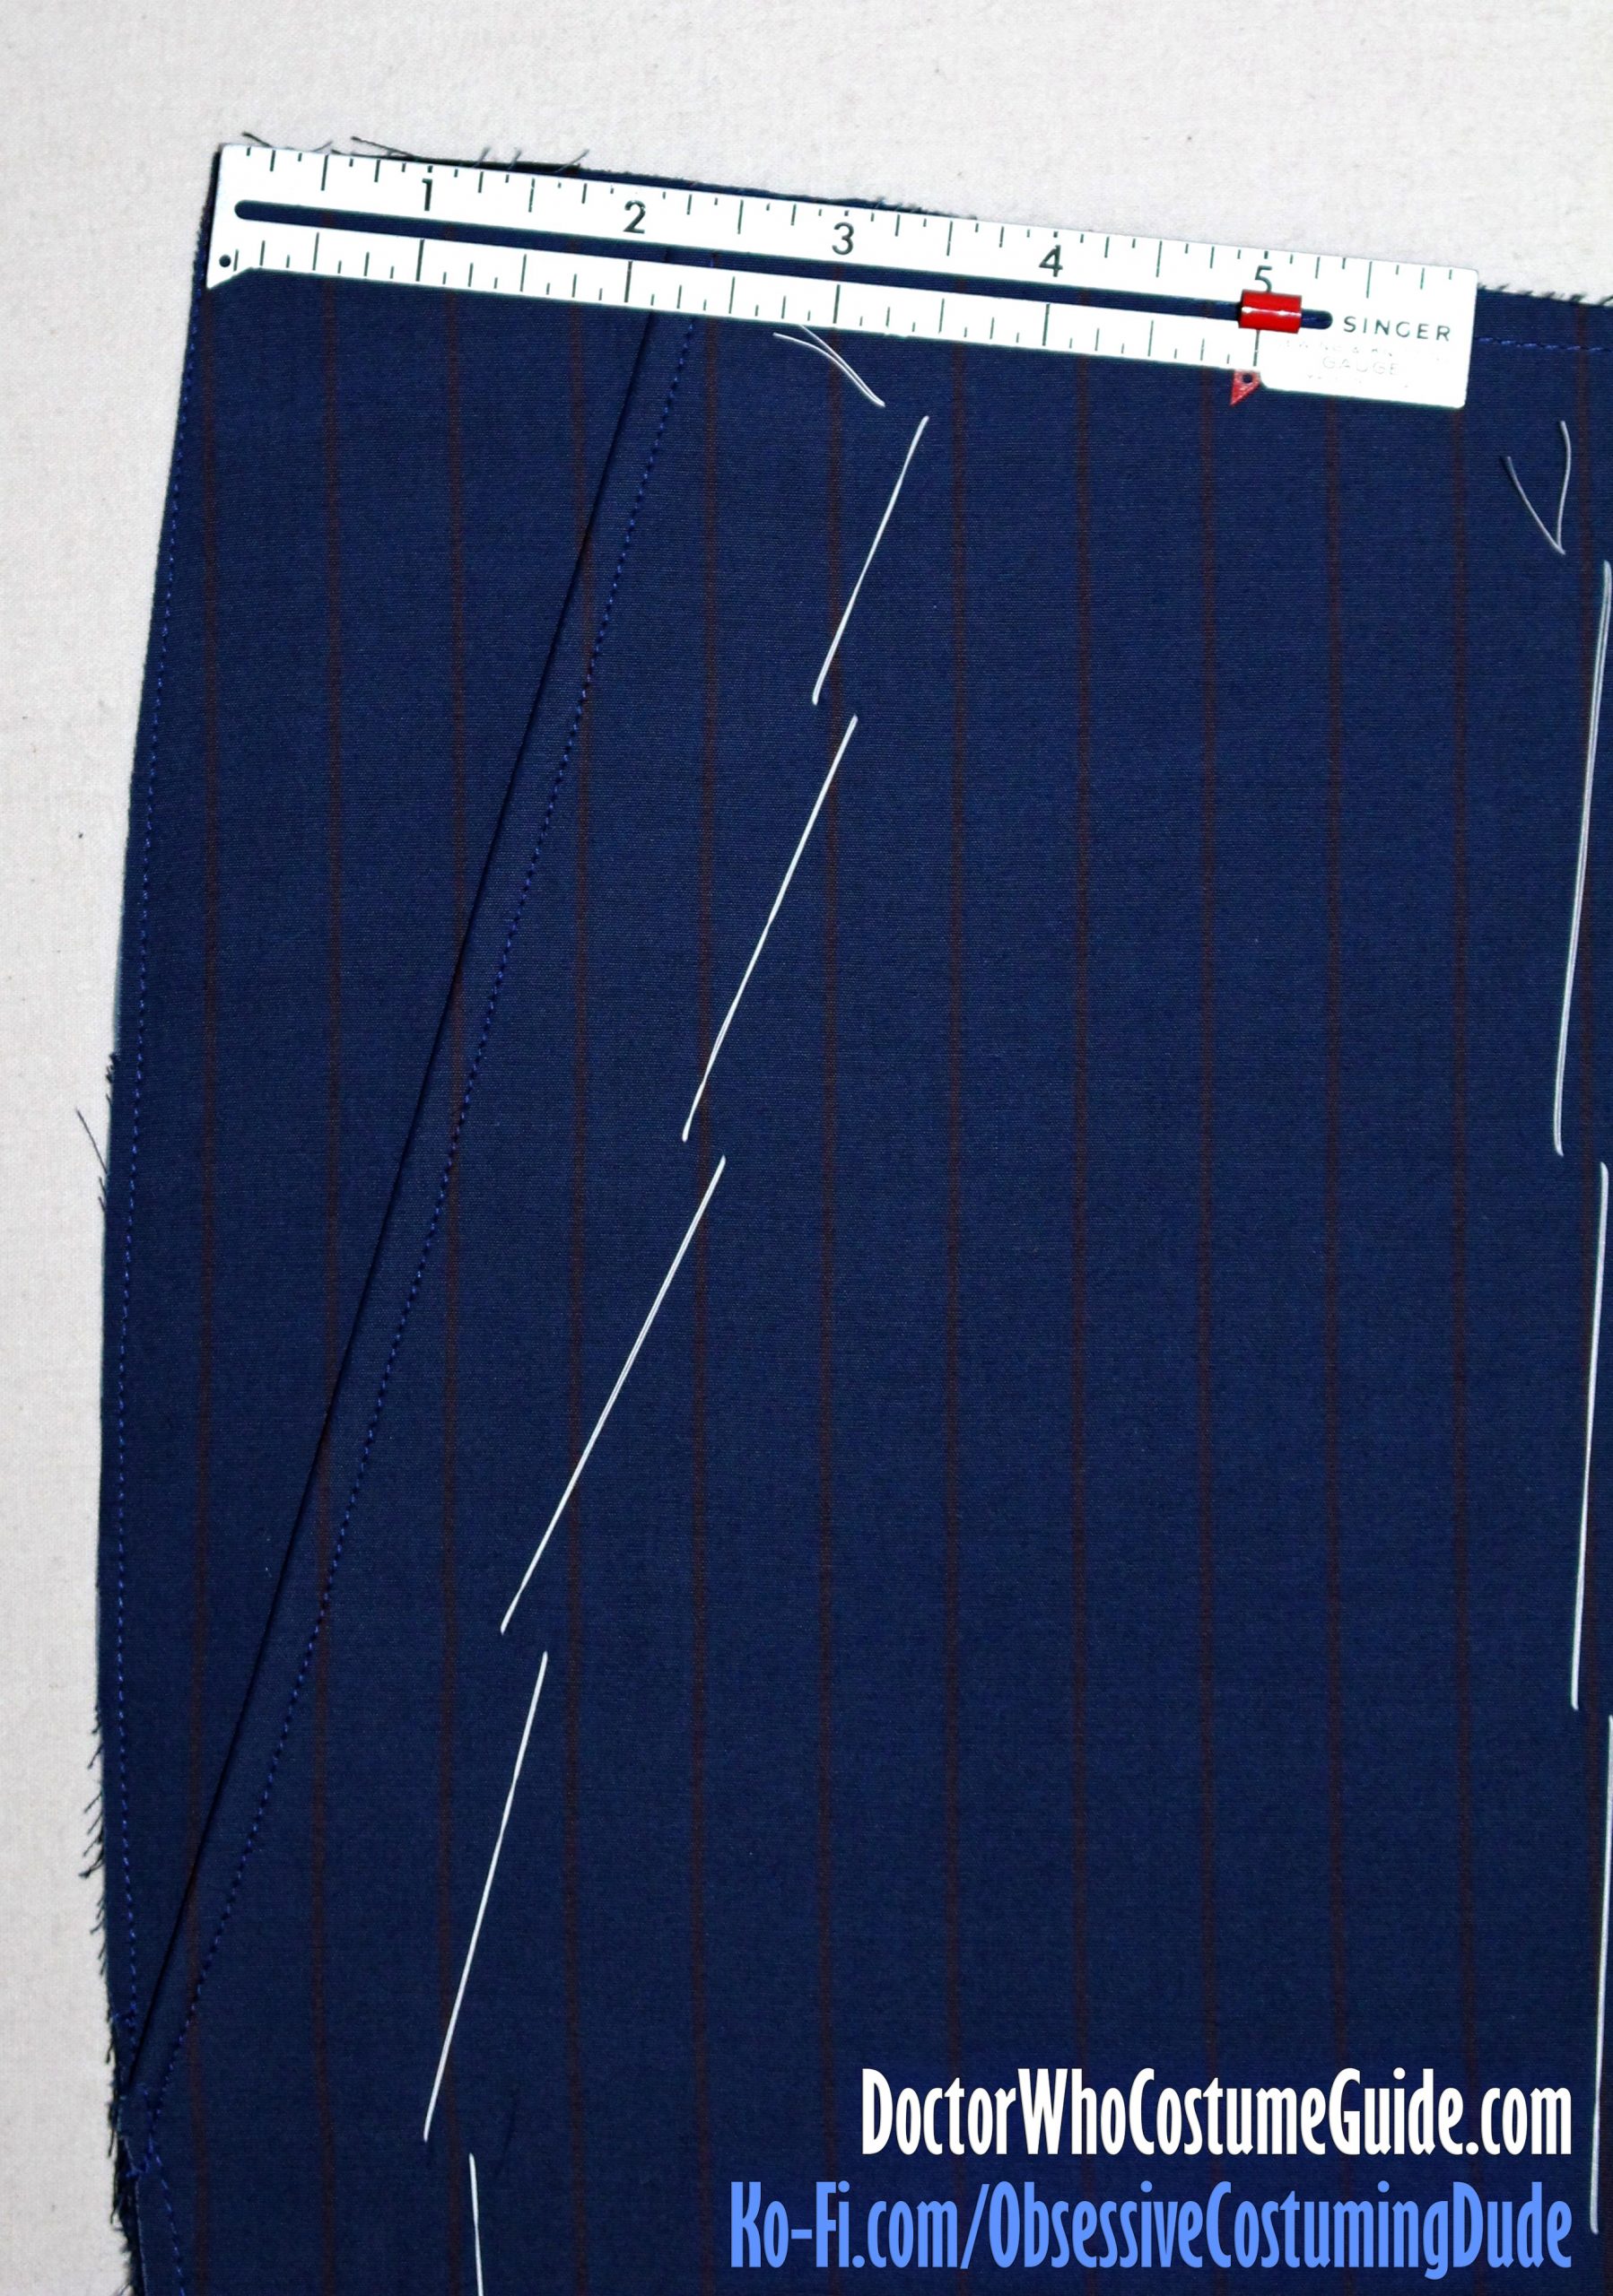
From the right side of the trousers, adjust the pocket yoke until the outer edge is 2 ⅛” from the diagonal edge of the pocket opening at the seam line (⅝” beneath the upper edge of the trousers.)
At this point, the upper edges of the pocket bag may extend upward past the top of the trousers, so don’t panic!
Also note that the pinstripes should properly align over the pocket opening, if you used the alignment guides on the printed pattern while cutting your fabric.
With the pocket yoke/bag properly positioned, sew or baste the pocket bag to the trousers ½” from the upper edges.
Trim the pocket bag down to size across the top of the trousers, so the edges are flush.
Pull the front edge of the trousers away until the front of the pocket bag is visible, then press it into a fold.
As you may recall from my costume analysis, unlike the brown suit (GAP) trousers, there was a double-topstitch down the side seams and inseams of the blue suit trousers.
Should you wish to simply disregard this characteristic (I, for one, don’t like how the topstitching looks on the finished trousers), simply sew the trousers front and back assemblies together along the sides, serge the seam allowances together, and press them toward the back of the trousers.
However, if you wish to replicate the original blue trousers as thoroughly as possible, without any additional evidence as to their original construction, I believe you have four options:
1 – Sew the trousers front and back assemblies together along the sides, serge the seam allowances together, press them toward the front, and topstitch the seam allowances into place. (This is my least favorite option.)
2 – Sew the trousers front and back assemblies together with a flat-fell seam.
3 – Sew the trousers front and back assemblies together with a “faux flat-fell seam.”
4 – Sew the trousers front and back assemblies together with a French seam.
The fourth option is my preference, so that’s the method I’ll demonstrate here.
Place the trousers front and back assemblies wrong-sides-together, matching side edges. (The lengthen/shorten lines on the pattern also serve as balance points.)
Sew the front and back assemblies together ¼” from the edge.
Trim the seam allowances down to ⅛”.
Turn the trousers right-sides-together along stitch line.
Sew the sides of the pant leg closed again, stitching ⅜” from the edge through all layers.
Open the pant leg and press the seam allowances toward the front.
Topstitch the seam allowances into place.
I like to do this from the right side, using a twin needle.
However, this will need to be done in two separate stitches: one from the bottom of the trousers up to the pocket opening, and the other from the top of the trousers as far down the pocket opening as you can get.
Using blue thread and a black bobbin, make two bar tacks to lock everything into place.
Both bar tacks should begin at the diagonal edge of the pocket opening, and extend to the ¼” topstitching.
The upper bar tack should be 1 ⅝” from the upper edge of the trousers at the topstitching.
The lower back tack should be where the diagonal edge of the pocket opening is sewn into the side seam.
NOTE: For smaller trousers sizes, you may wish to reduce the overall width of the pocket bag so it doesn’t extend as far forward toward the fly opening. This can be determined during your muslin test.
NOTE: The original GAP trousers also had a small coin pocket at the lower front corner of the pocket bag. Feel free to add this if you like! (I didn’t, because I seldom carry coins or anything small enough to fit in it – but it is a novelty!)

