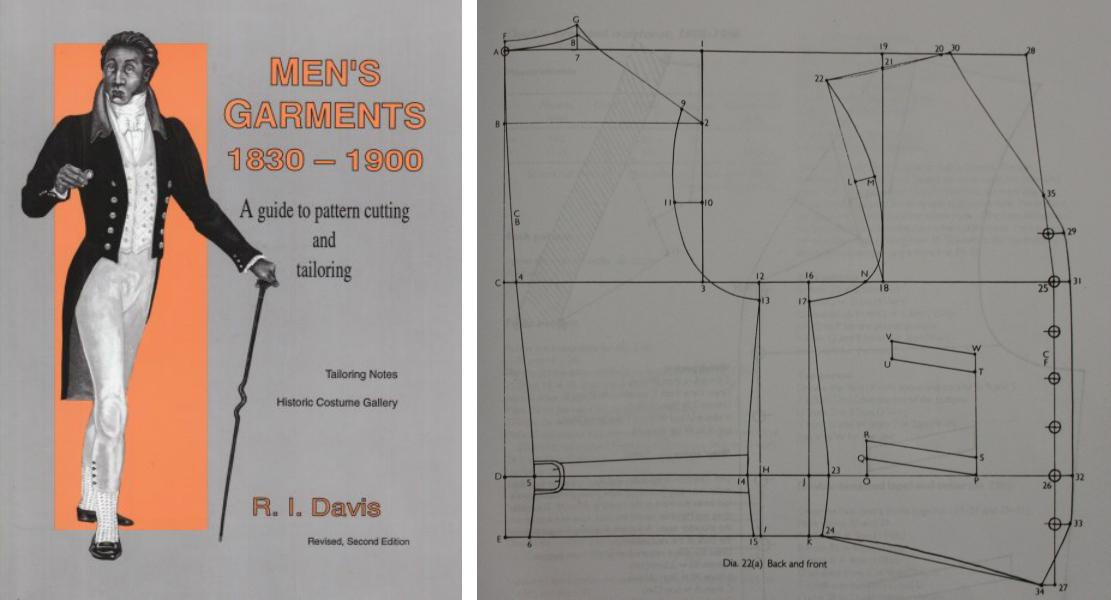
Or, you could go the “theatrical” pattern route like I did, starting with R.I. Davis’ waistcoat pattern block from his book, Men’s Garments: 1830-1900.
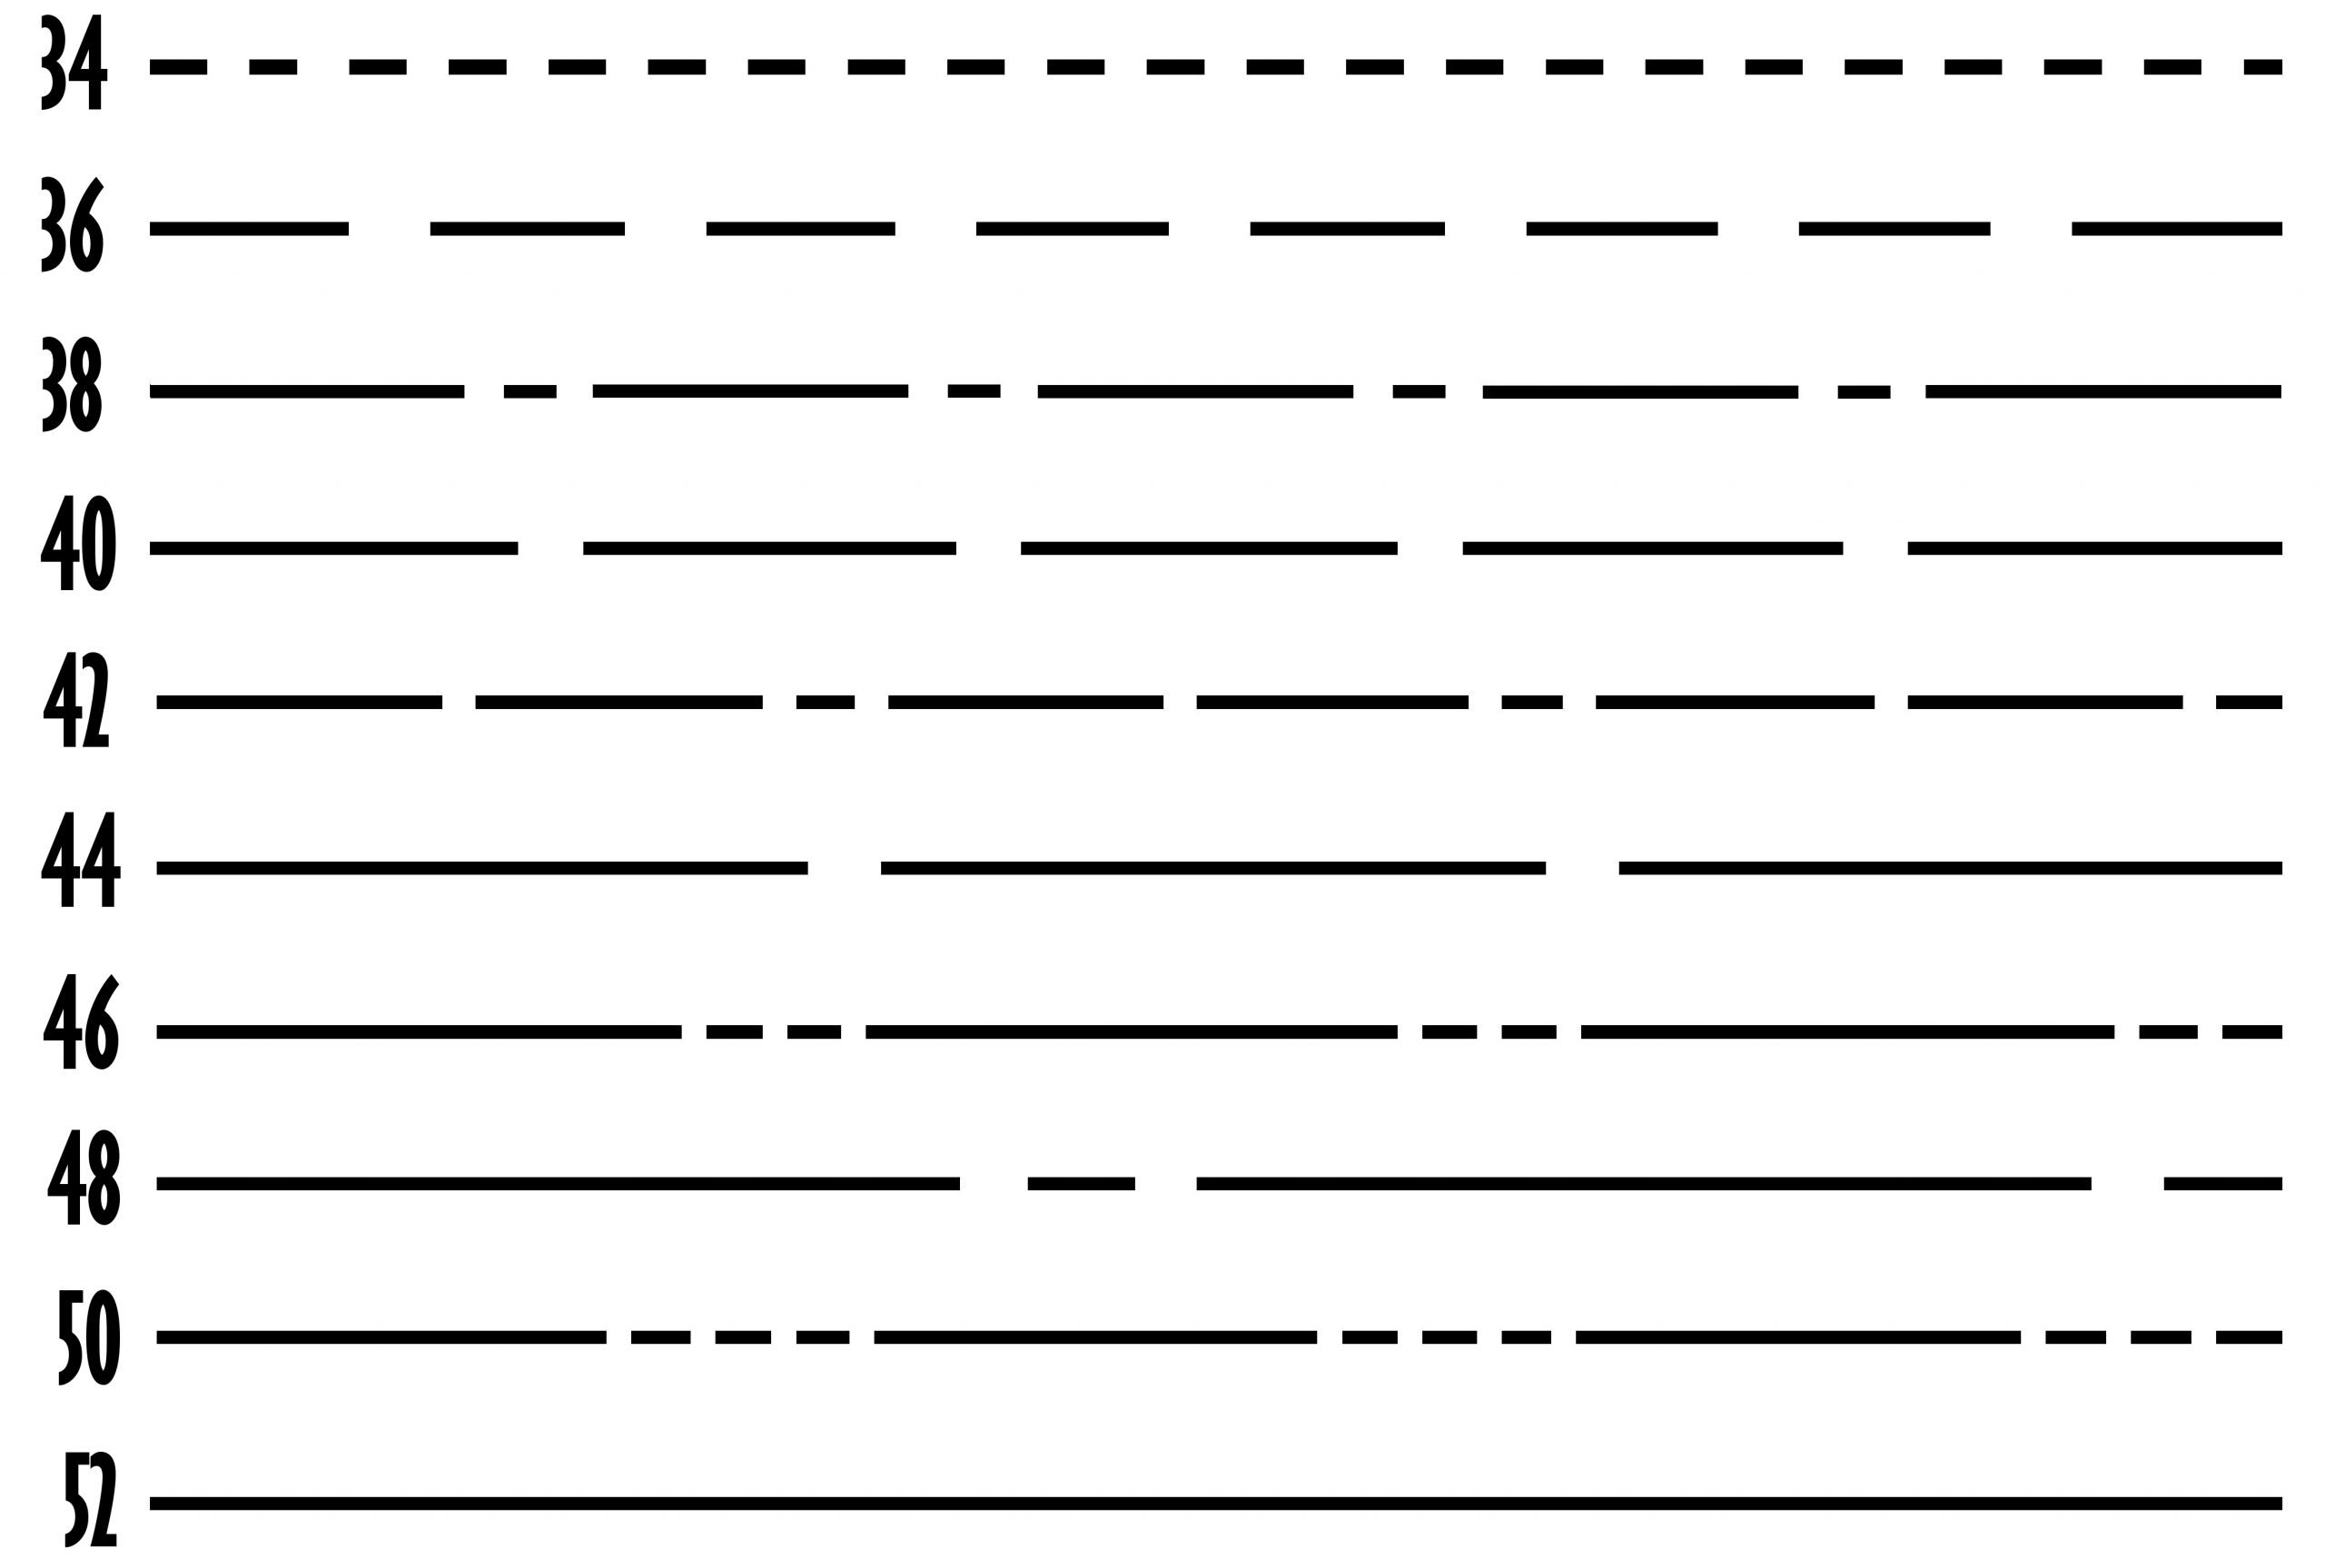
On the printed pattern, the sizes above correspond to the following cutting lines:
If you’d like some help interpreting all the pattern information and learn some different methods for cutting out your fabric, you may find this free sewing lesson helpful. 🙂
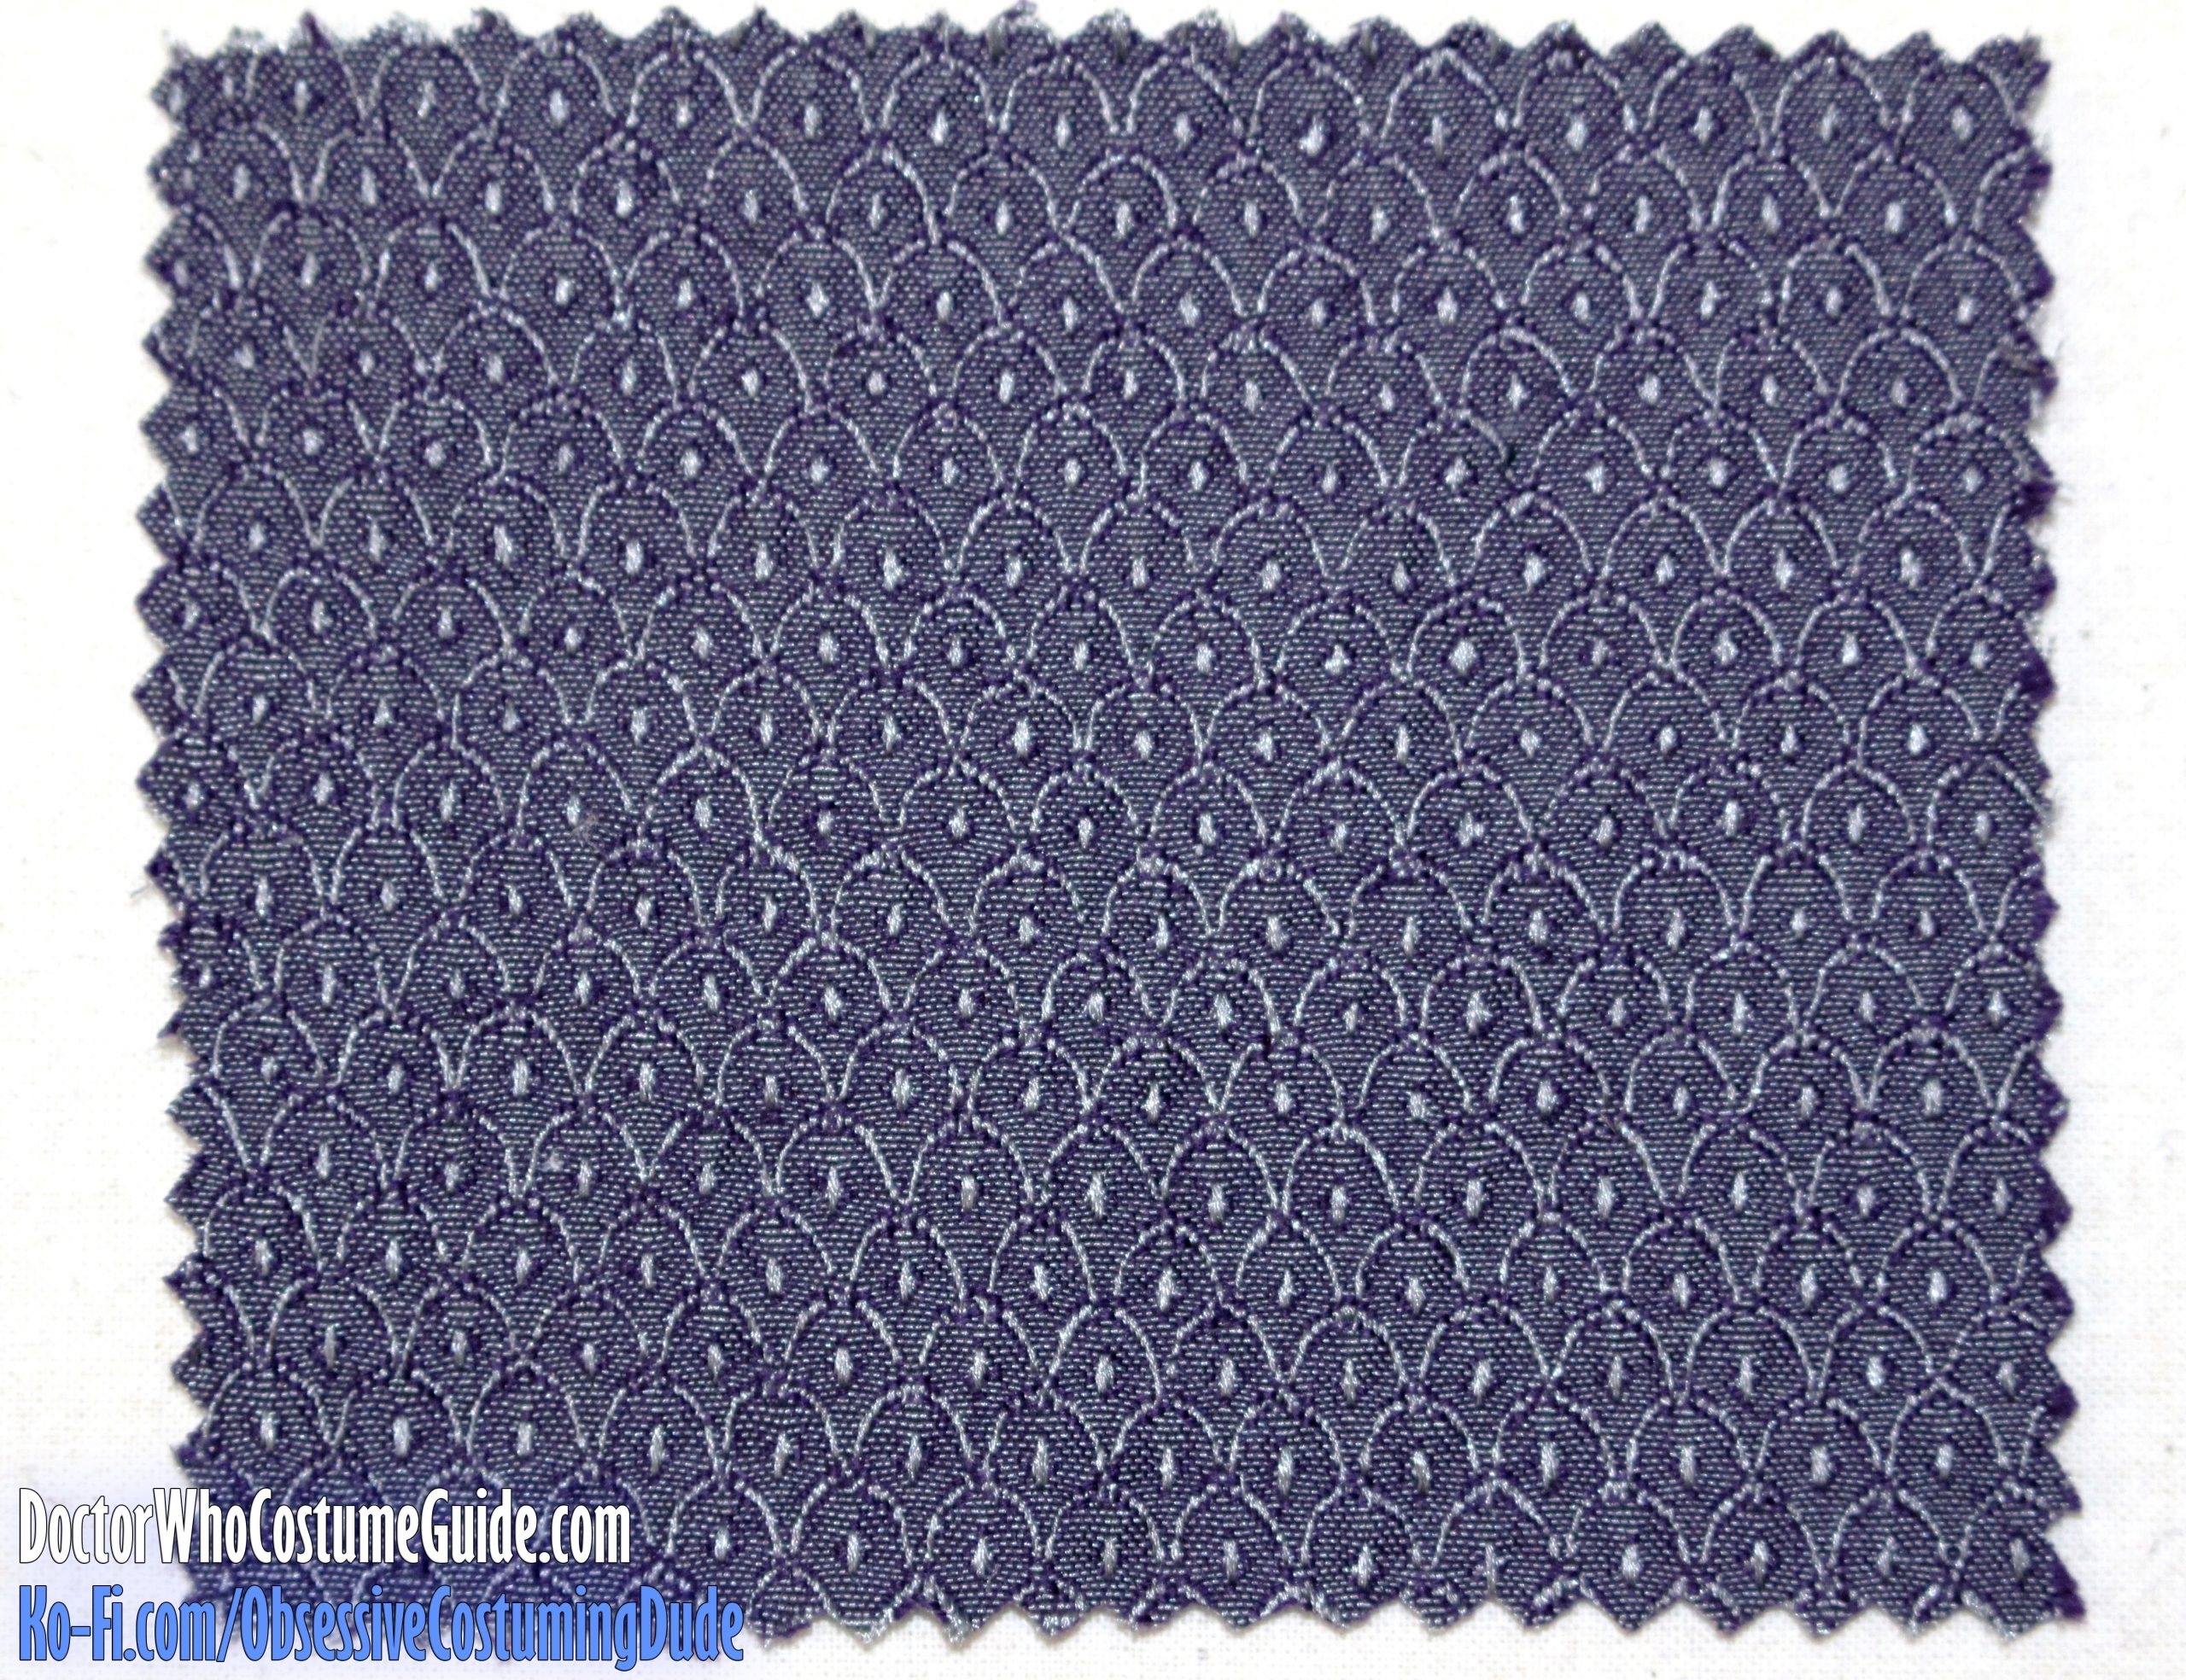
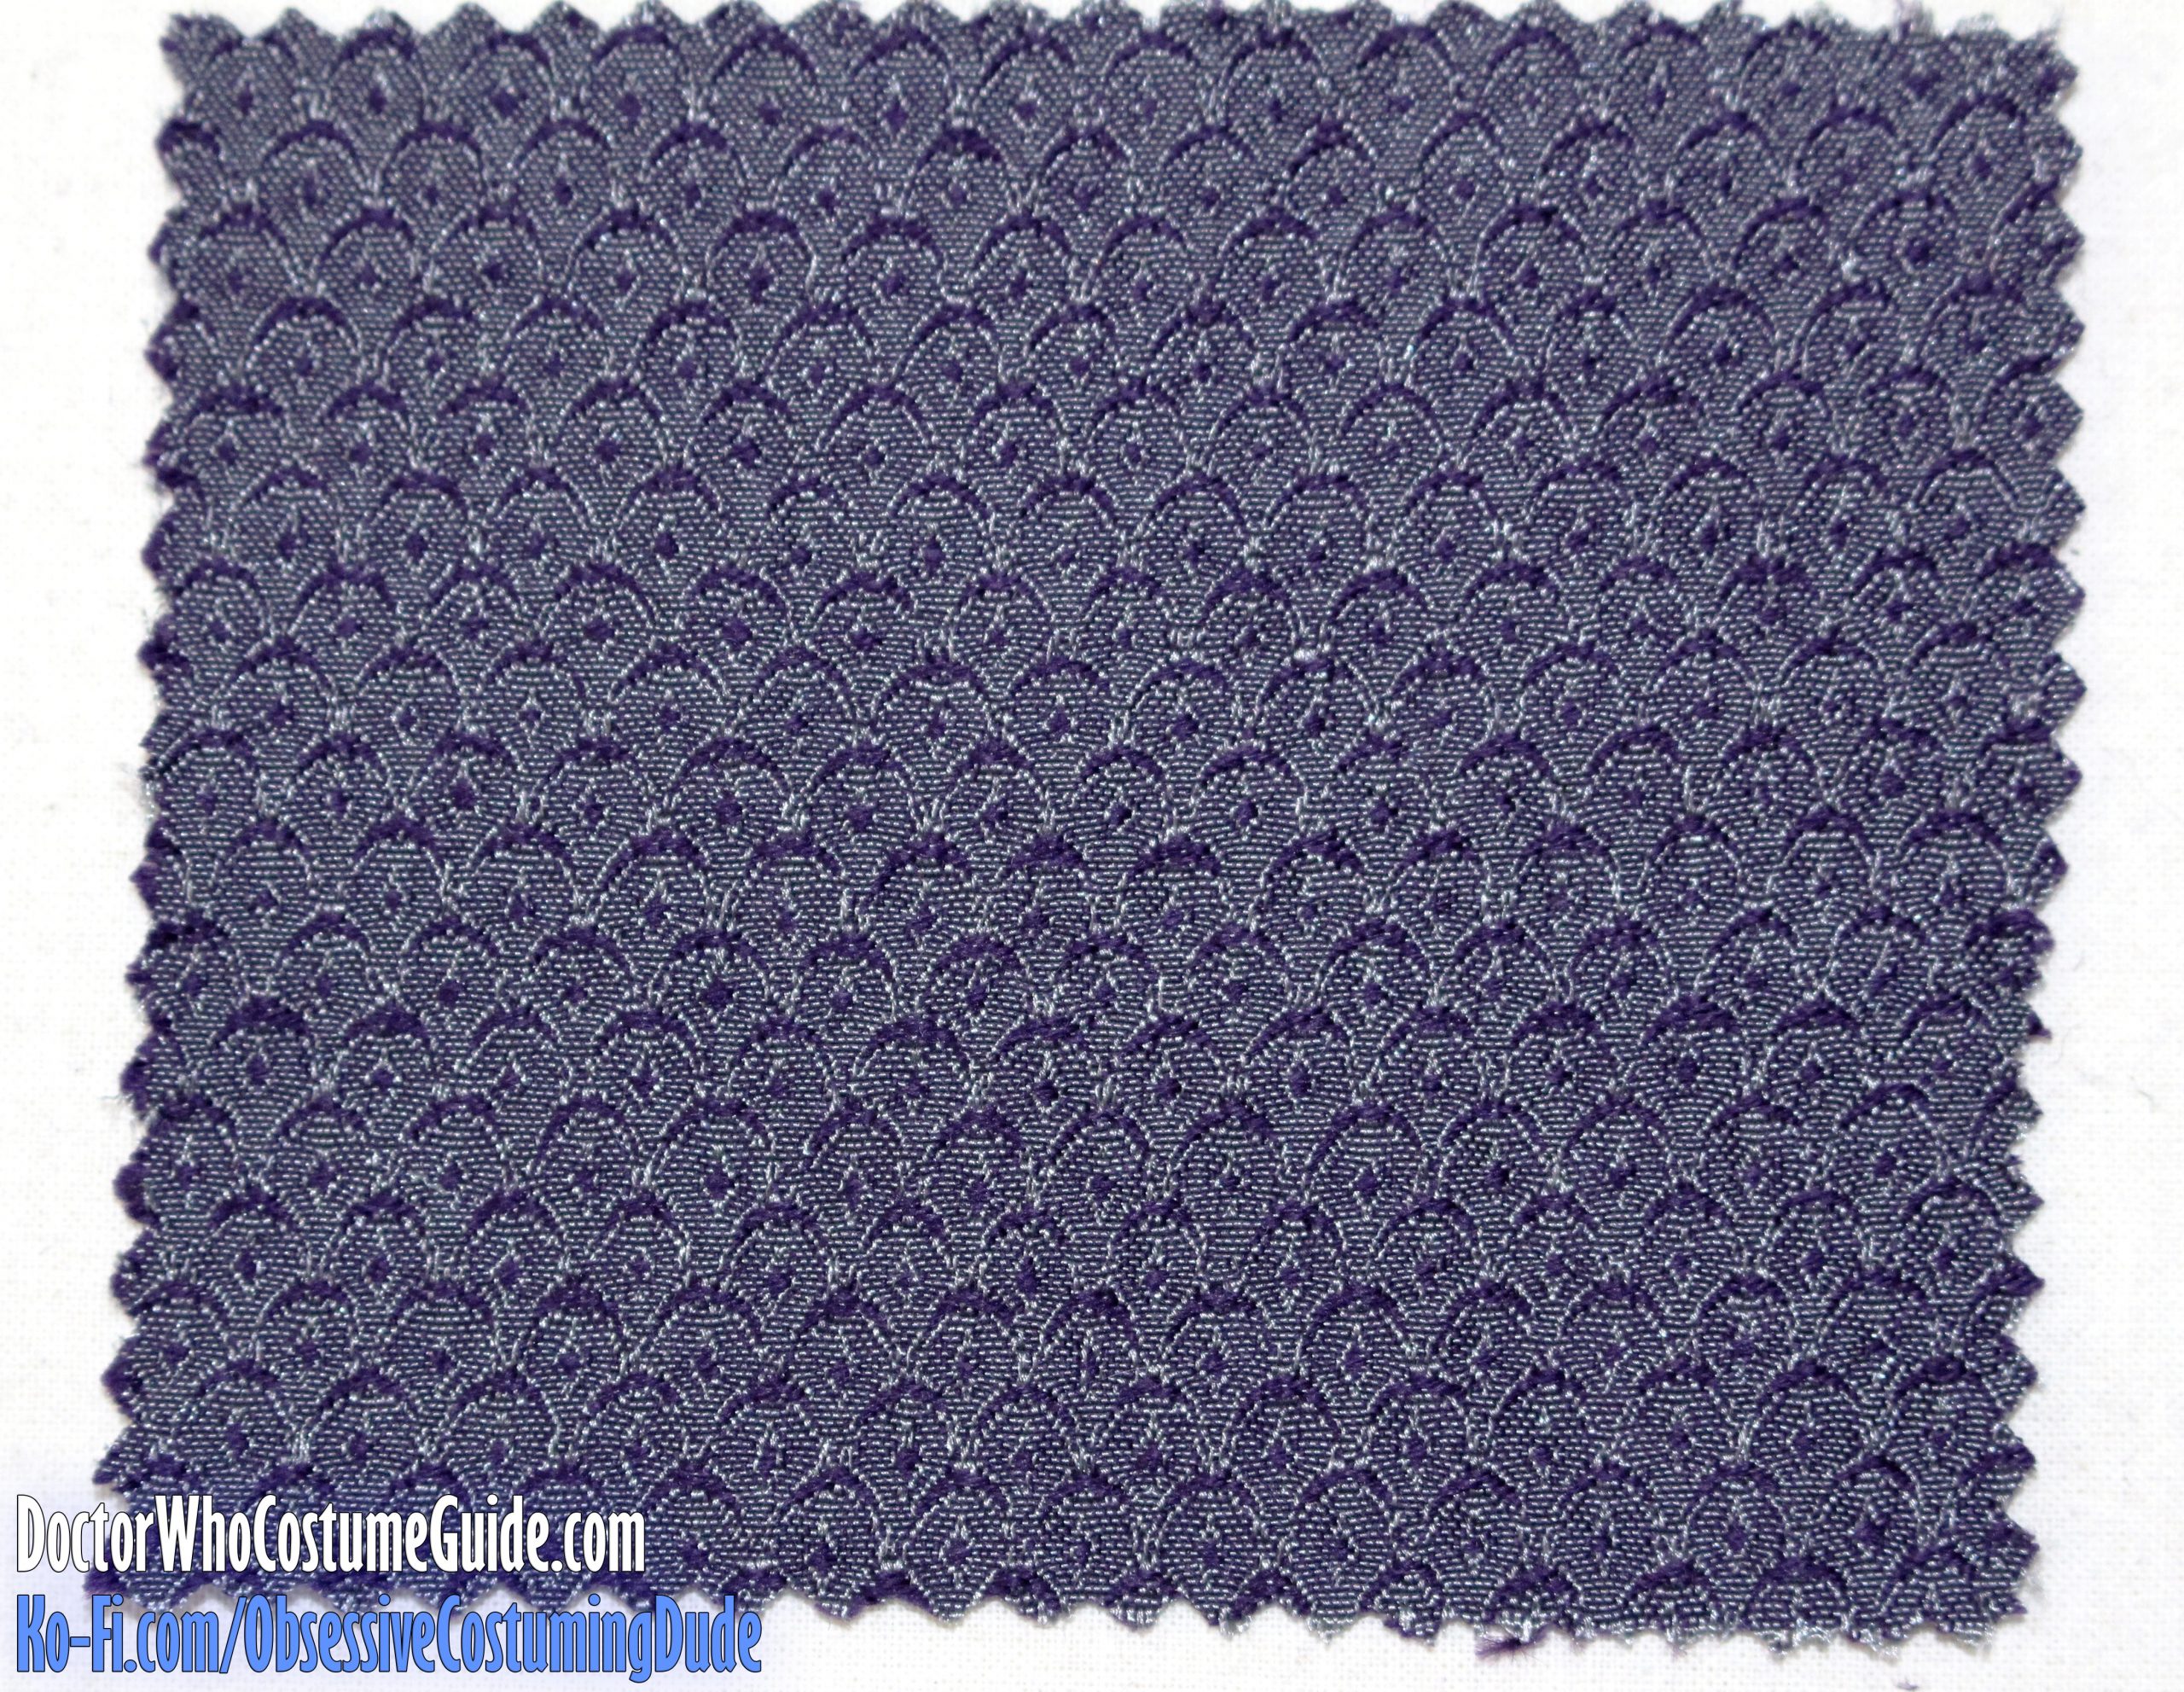
The “scales” fabric is two-sided, because the texture and dimension are woven into the fabric itself (not printed).
With our purposes being an 11th Doctor waistcoat replica, I’ll be referring to the side with silver crests and dots as the “right” side of the fabric, and the side with purple crests and dots as the “wrong” side.
"Right" side
"Wrong" side
Be sure to cut your front pattern pieces with the fabric “scales” pointed upward, as pictured above!
Mark the button and pocket positioning in the manner of your preference; I prefer to make small “tailor’s tacks” using white thread.
If you’re using a sew-in hair canvas on the waistcoat front, also cut a layer for each front panel.
If you’re using a fusible hair canvas, I suggest applying it to a large area of the “scales” fabric before cutting out the waistcoat front (rather than applying it afterward).
Obviously, the purple linen (and presumably the white/off-white cotton “lining”) can be cut from either side and direction.
TIP: Use the pocket alignment guides on the printed pattern, in combination with the “scales” on the fabric, to cut the welts so the “scales” pattern flows uninterrupted from the waistcoat front onto the pocket welt.
TUTORIAL NOTE
There’s no “one” single way to make a waistcoat; there are several different waistcoat-making techniques.