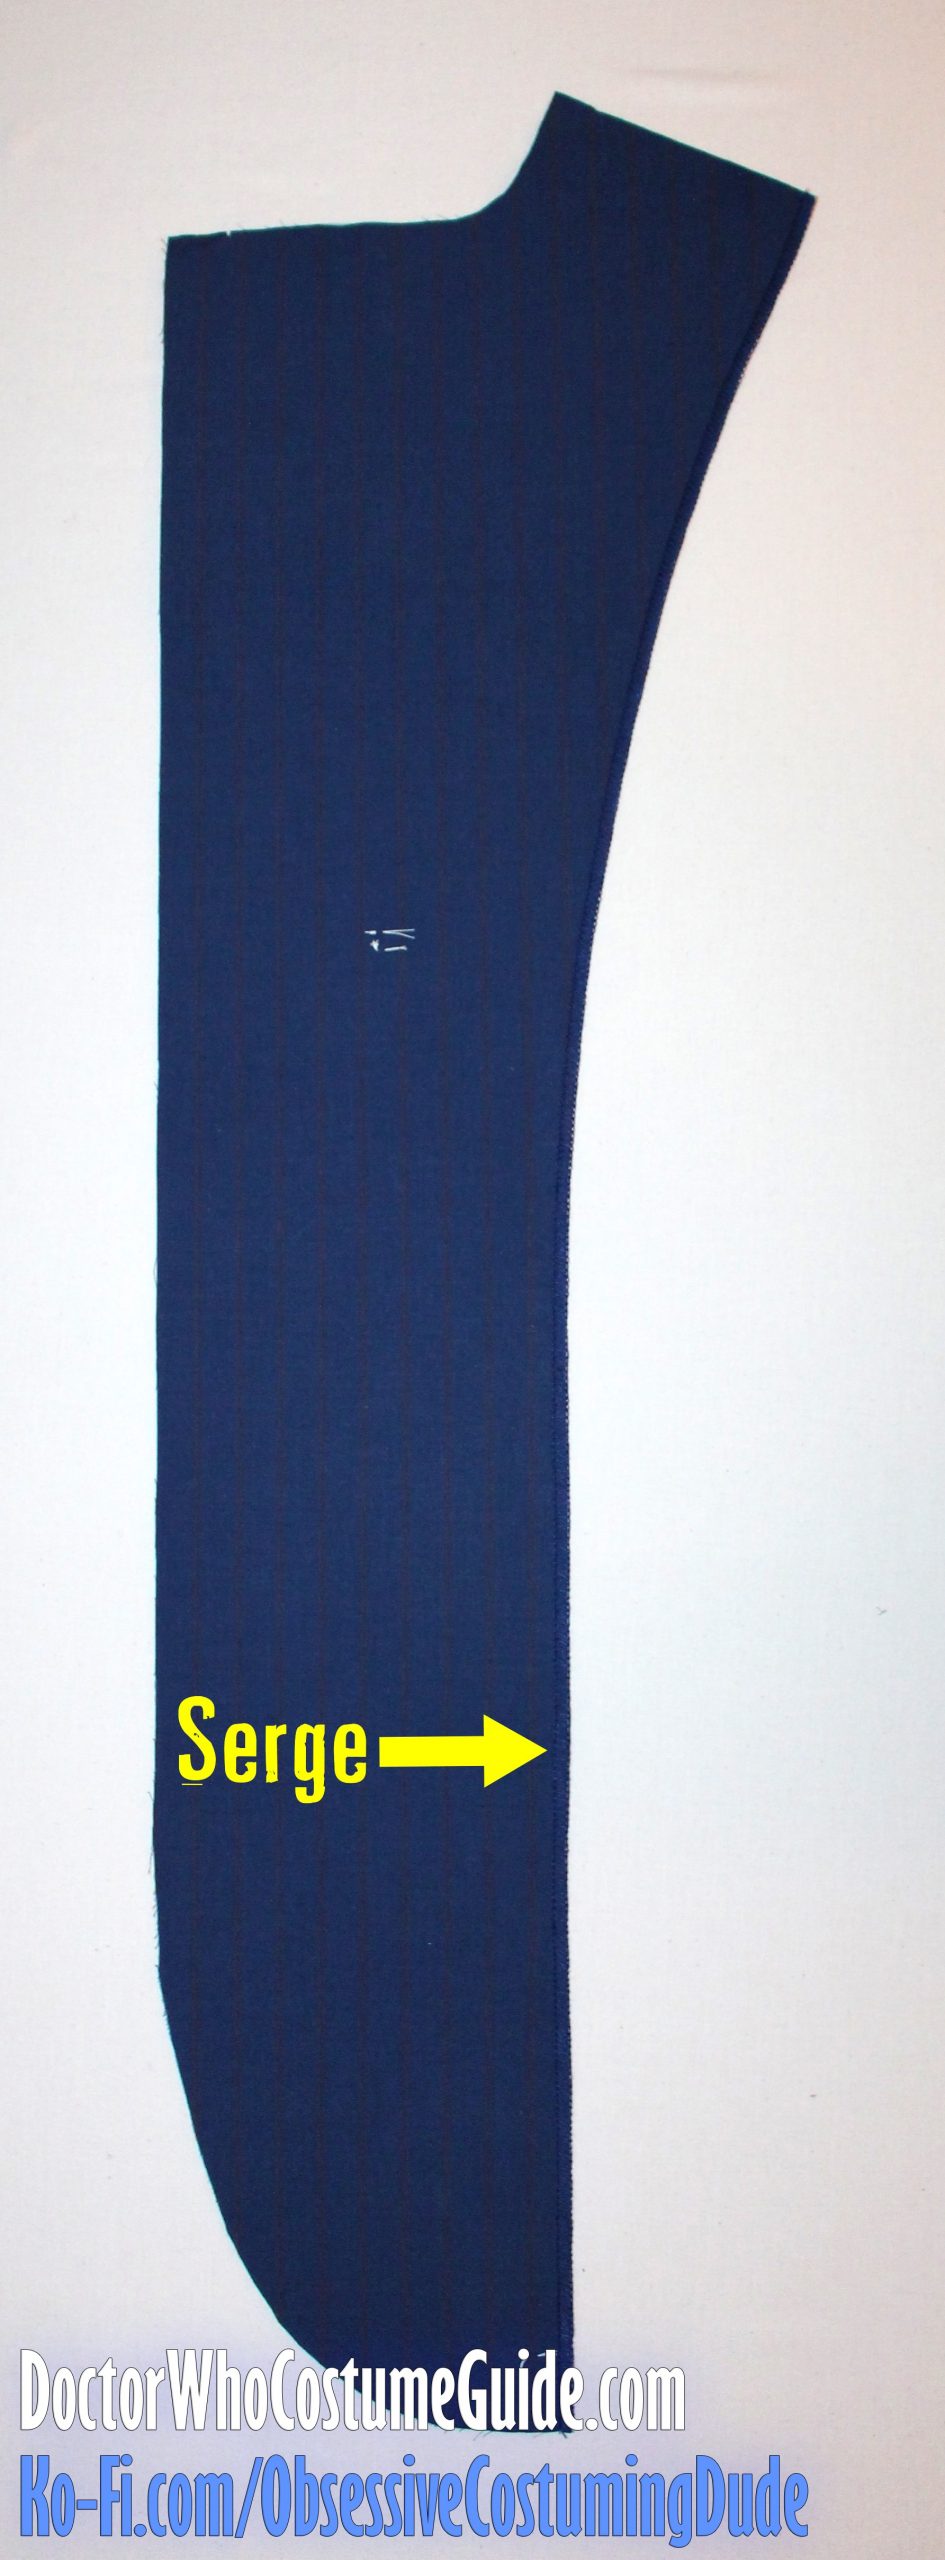
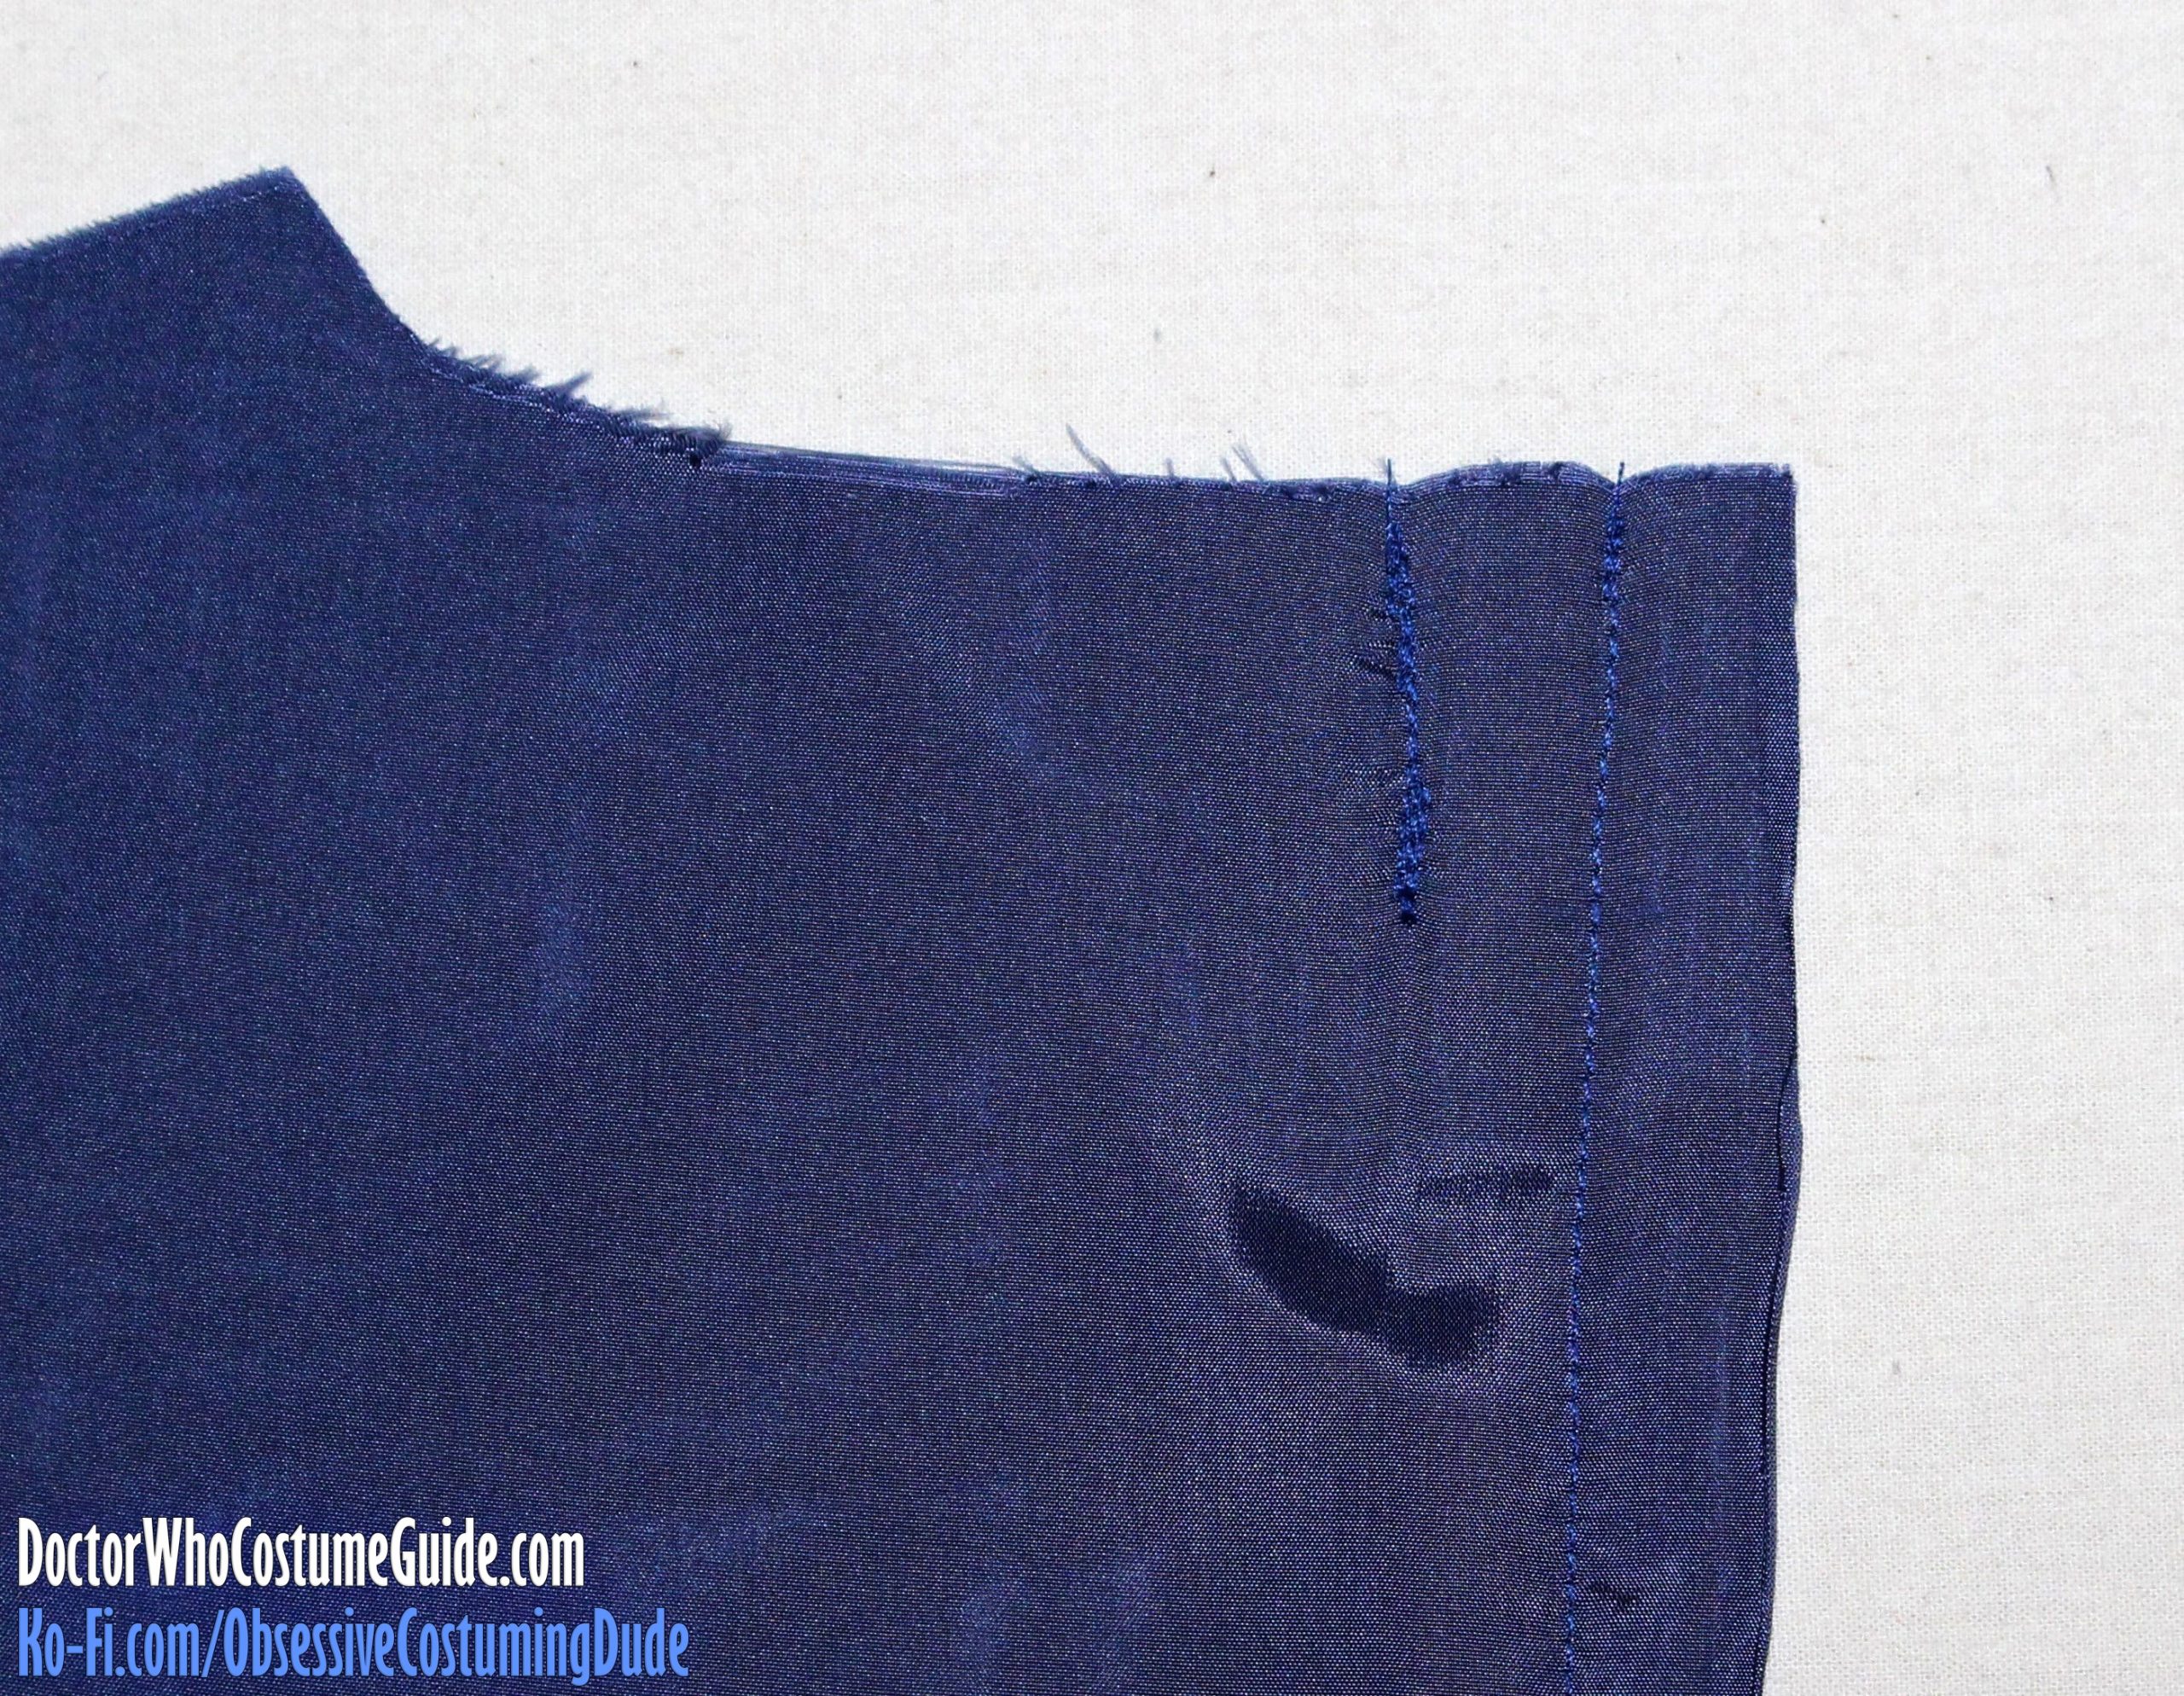
Serge the outer edge of the front facing (piece I).
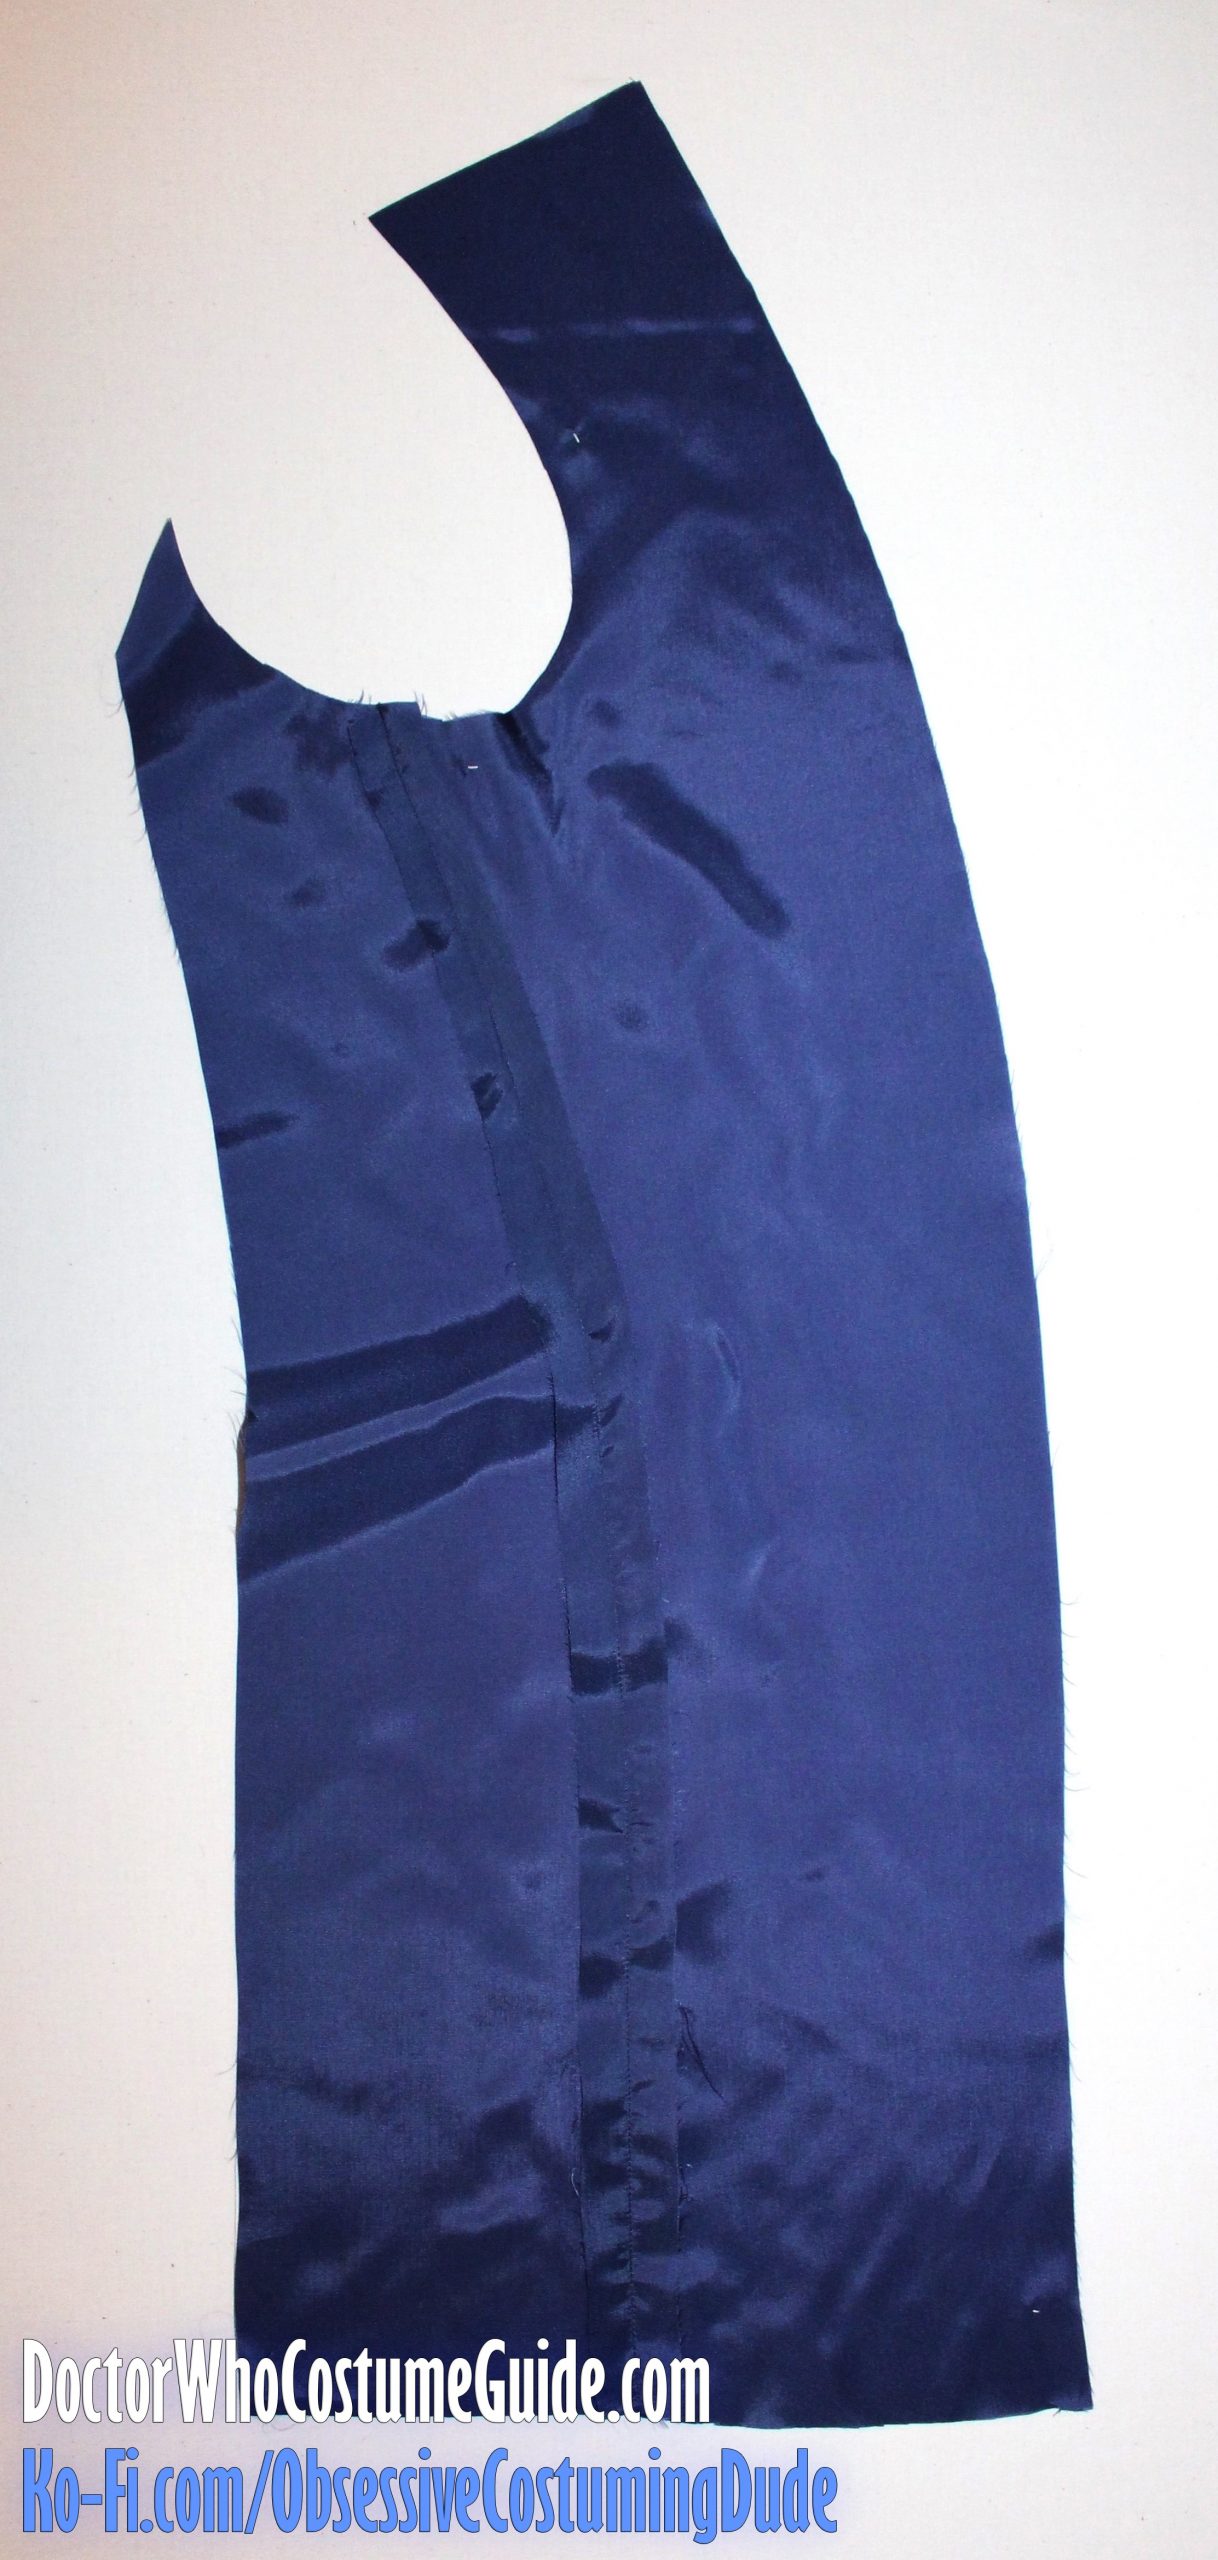
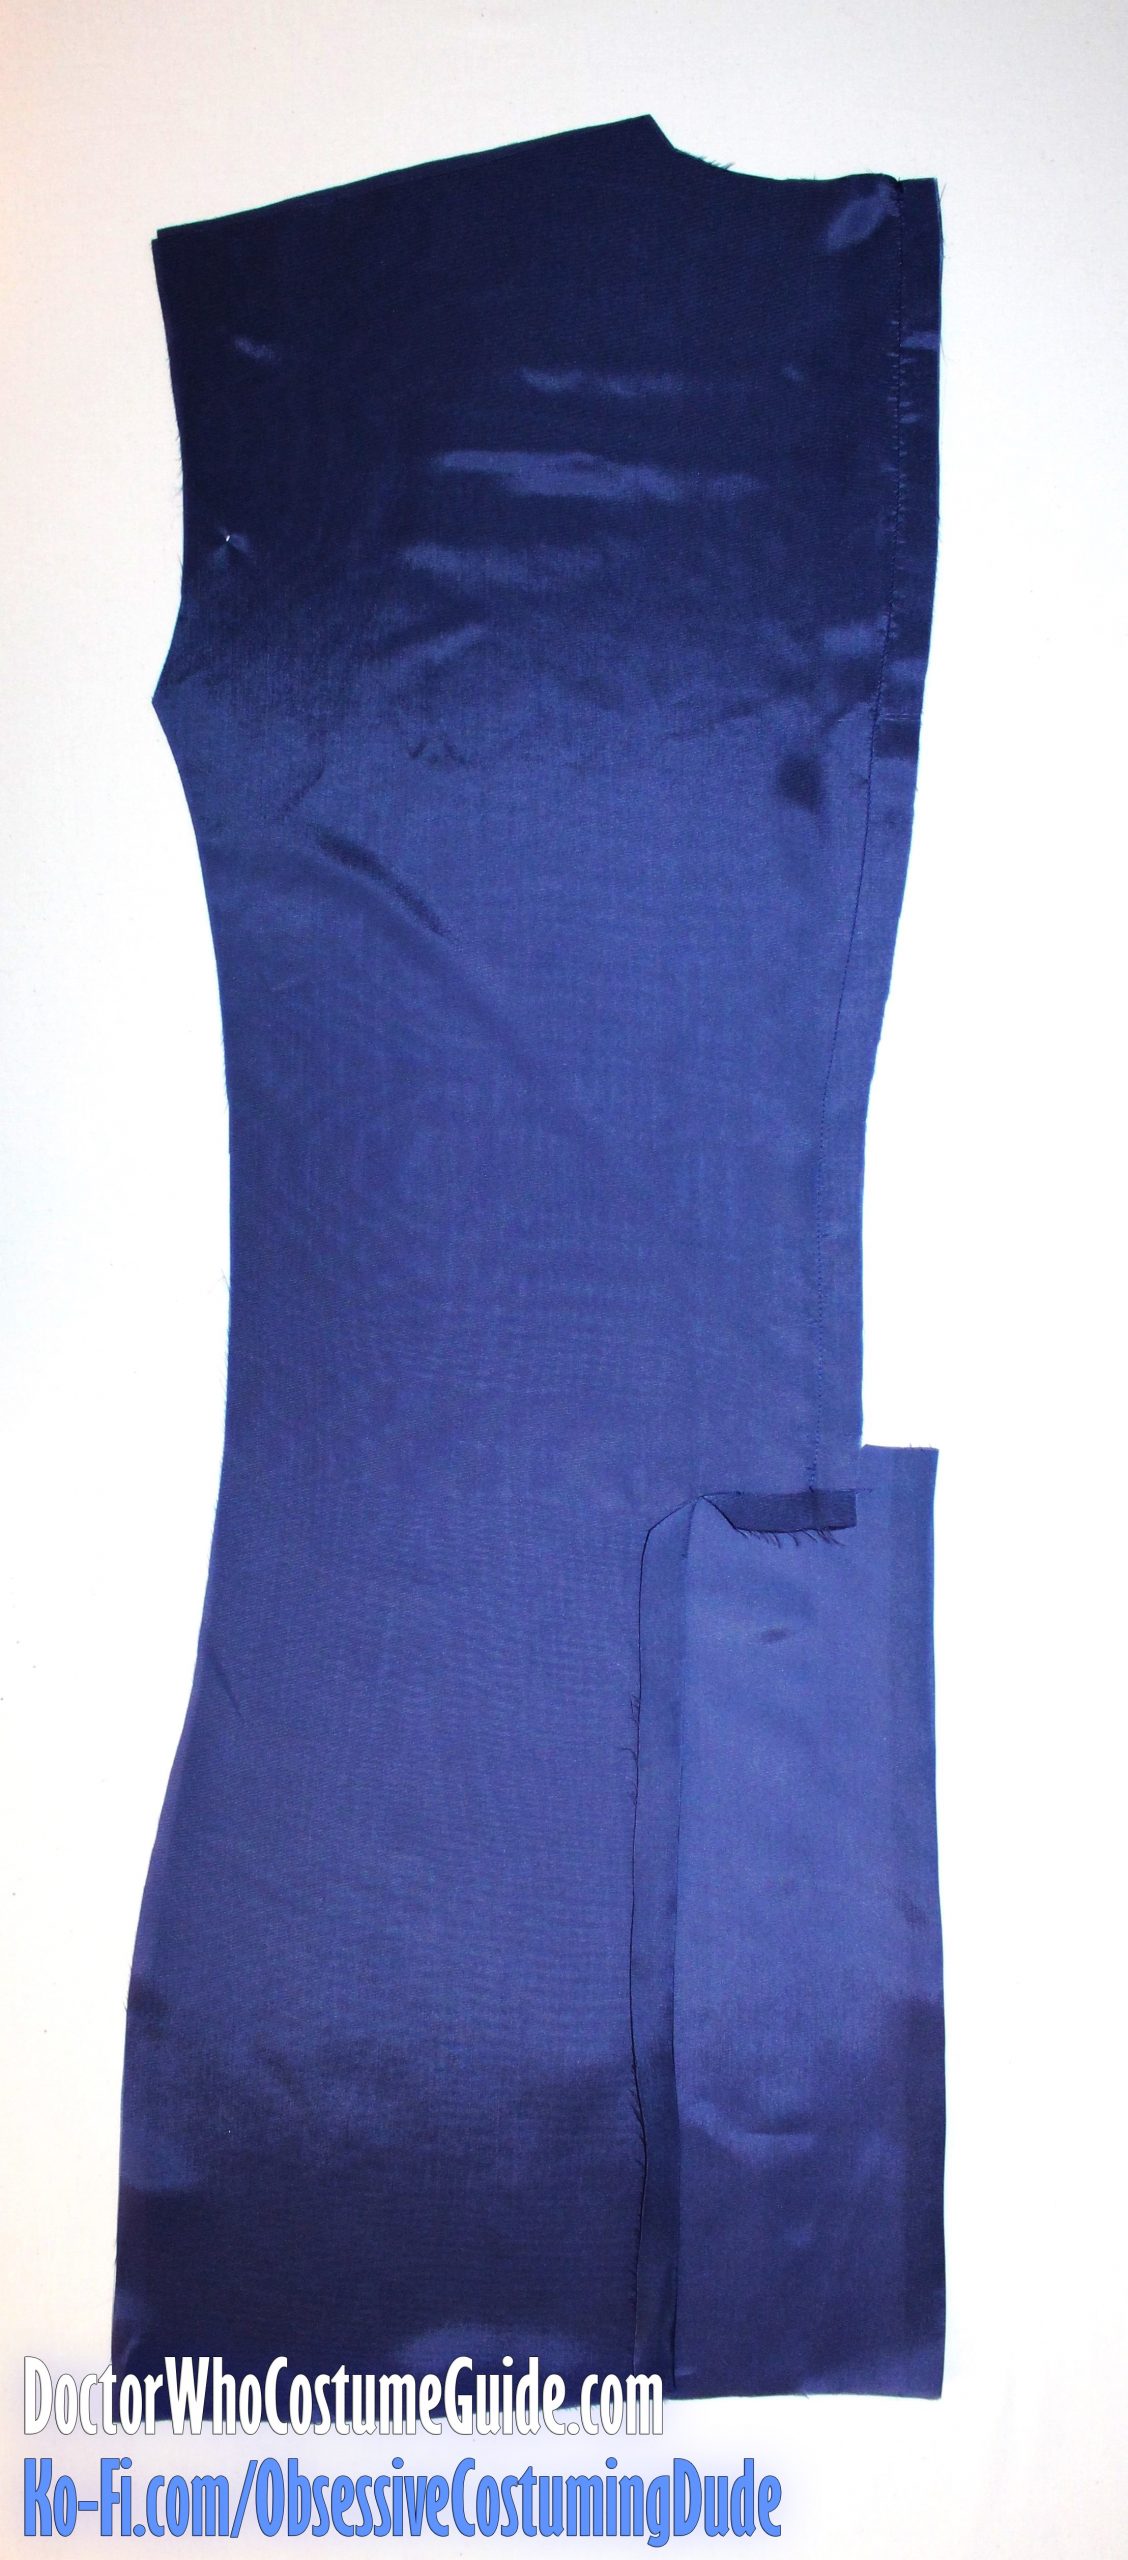
Sew the front lining (piece J) to the side panel lining (piece K).
Press the seam allowances open.
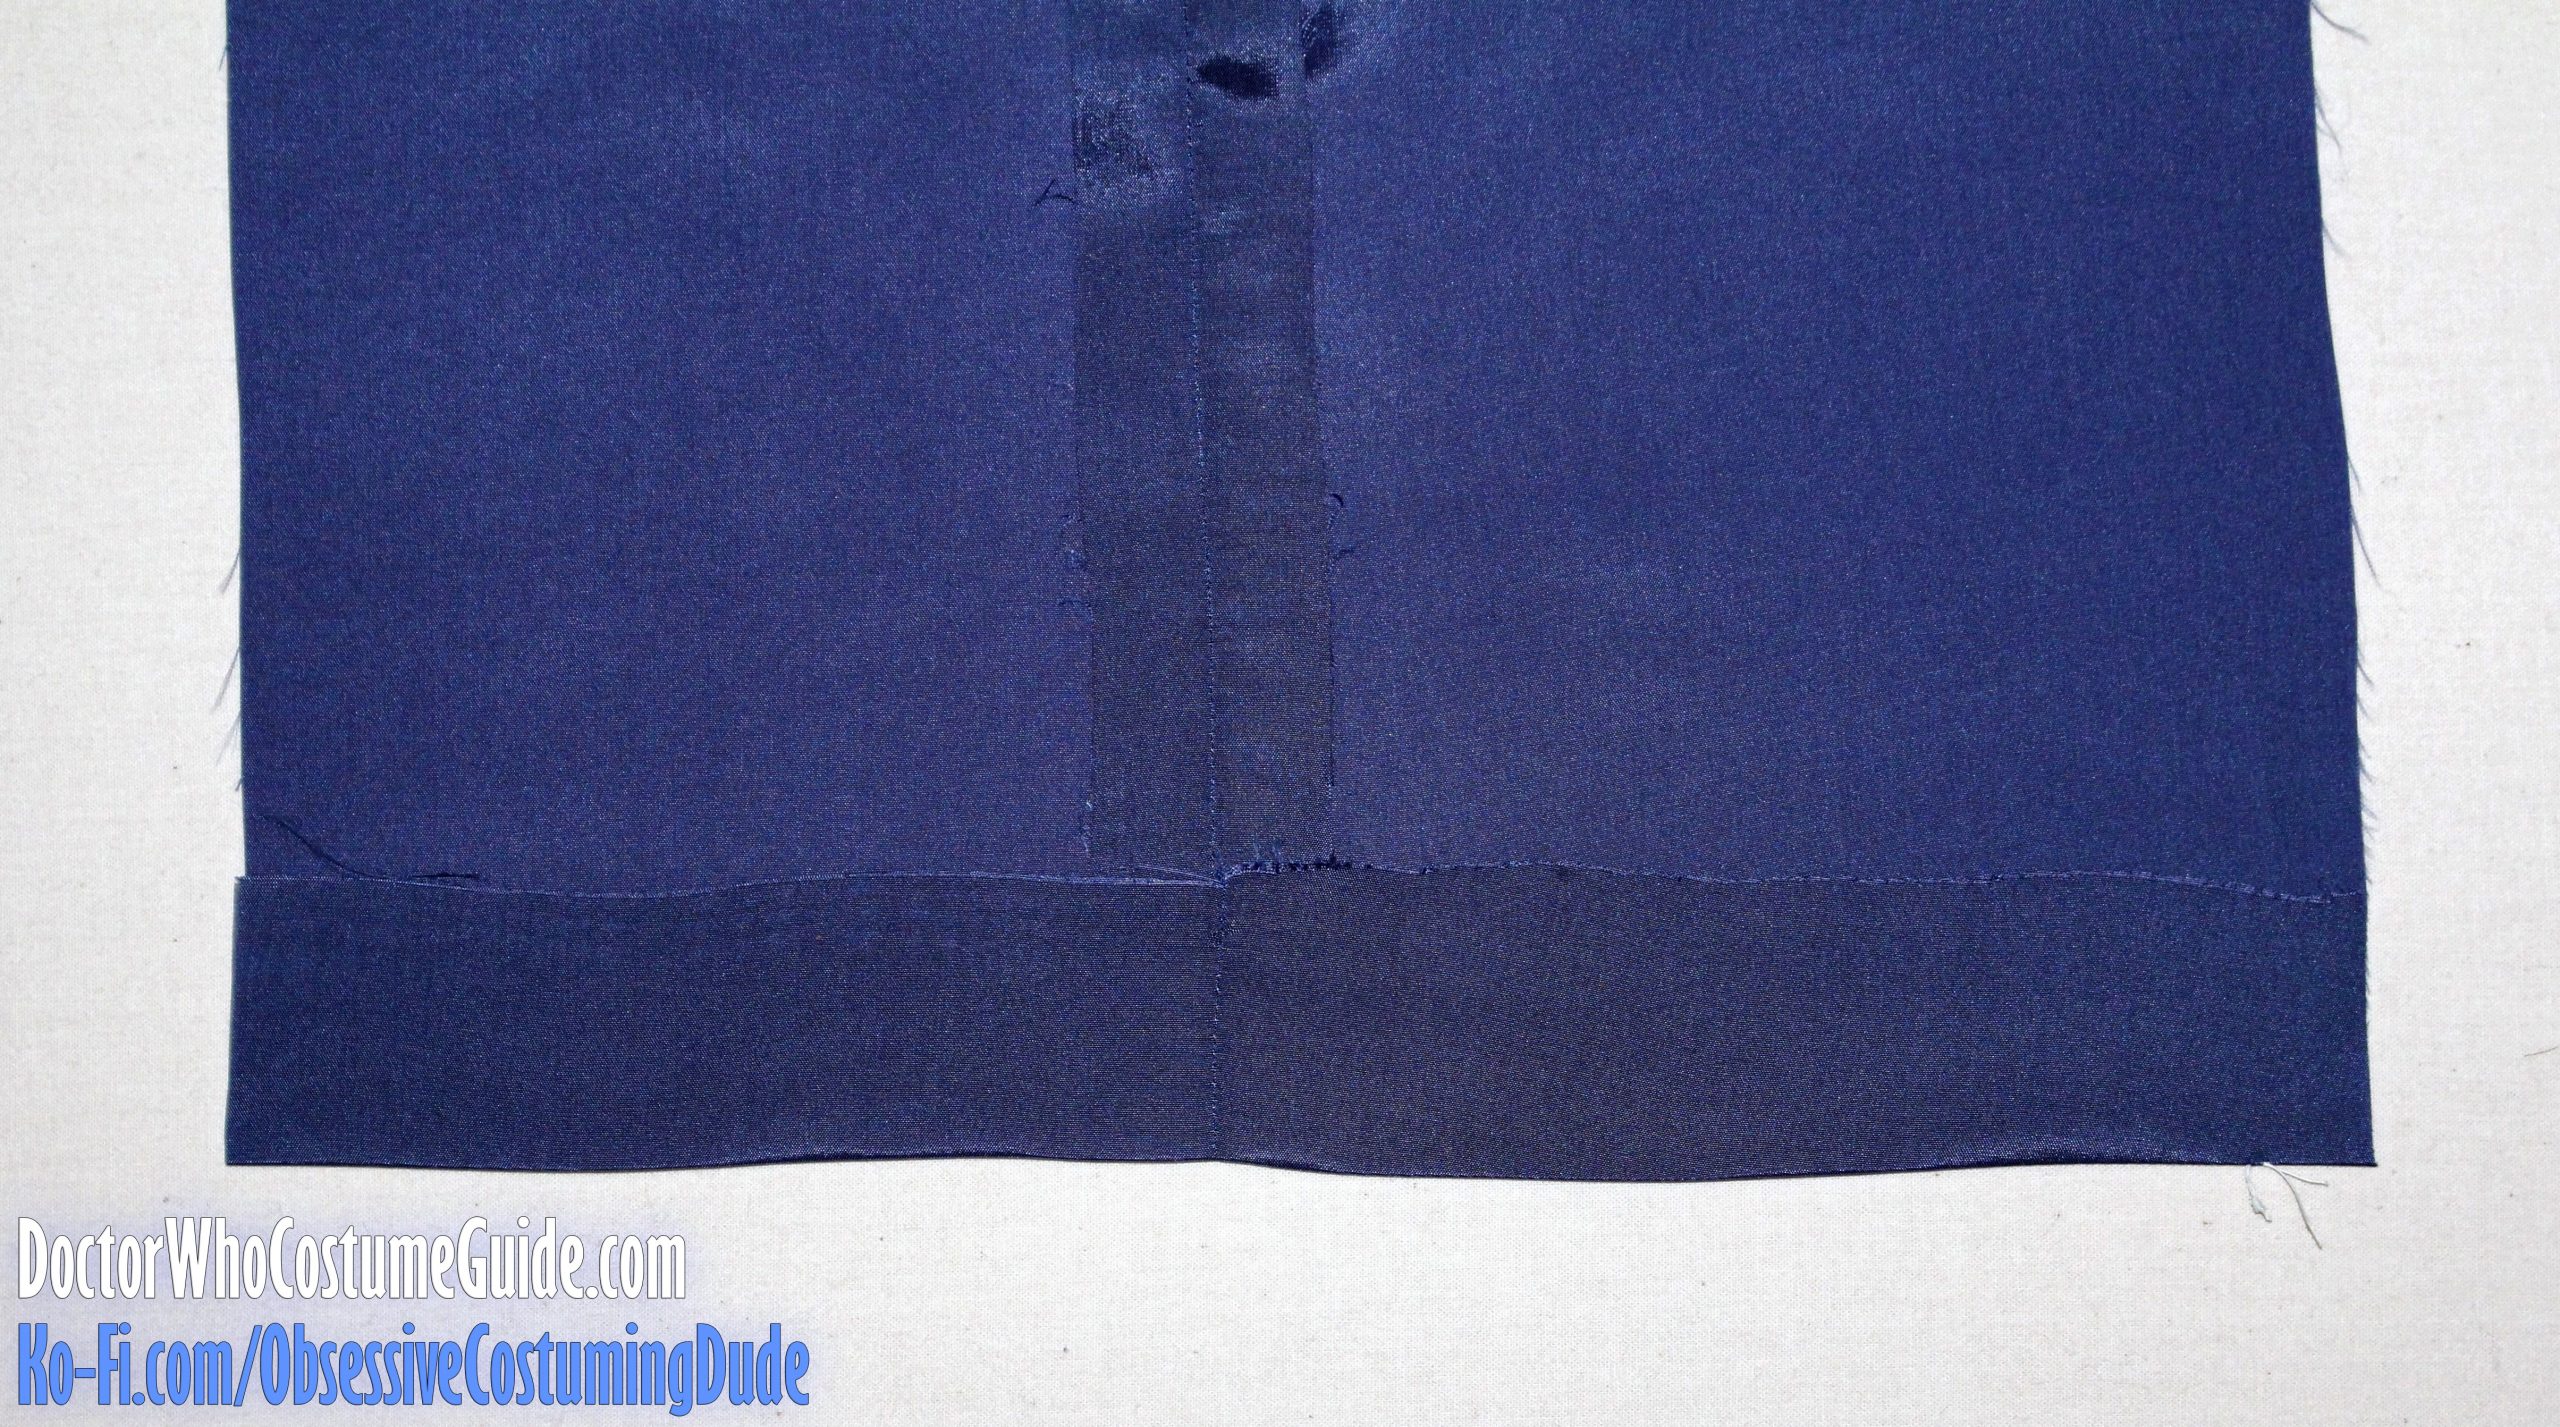
Press the lining’s hem allowance upward.
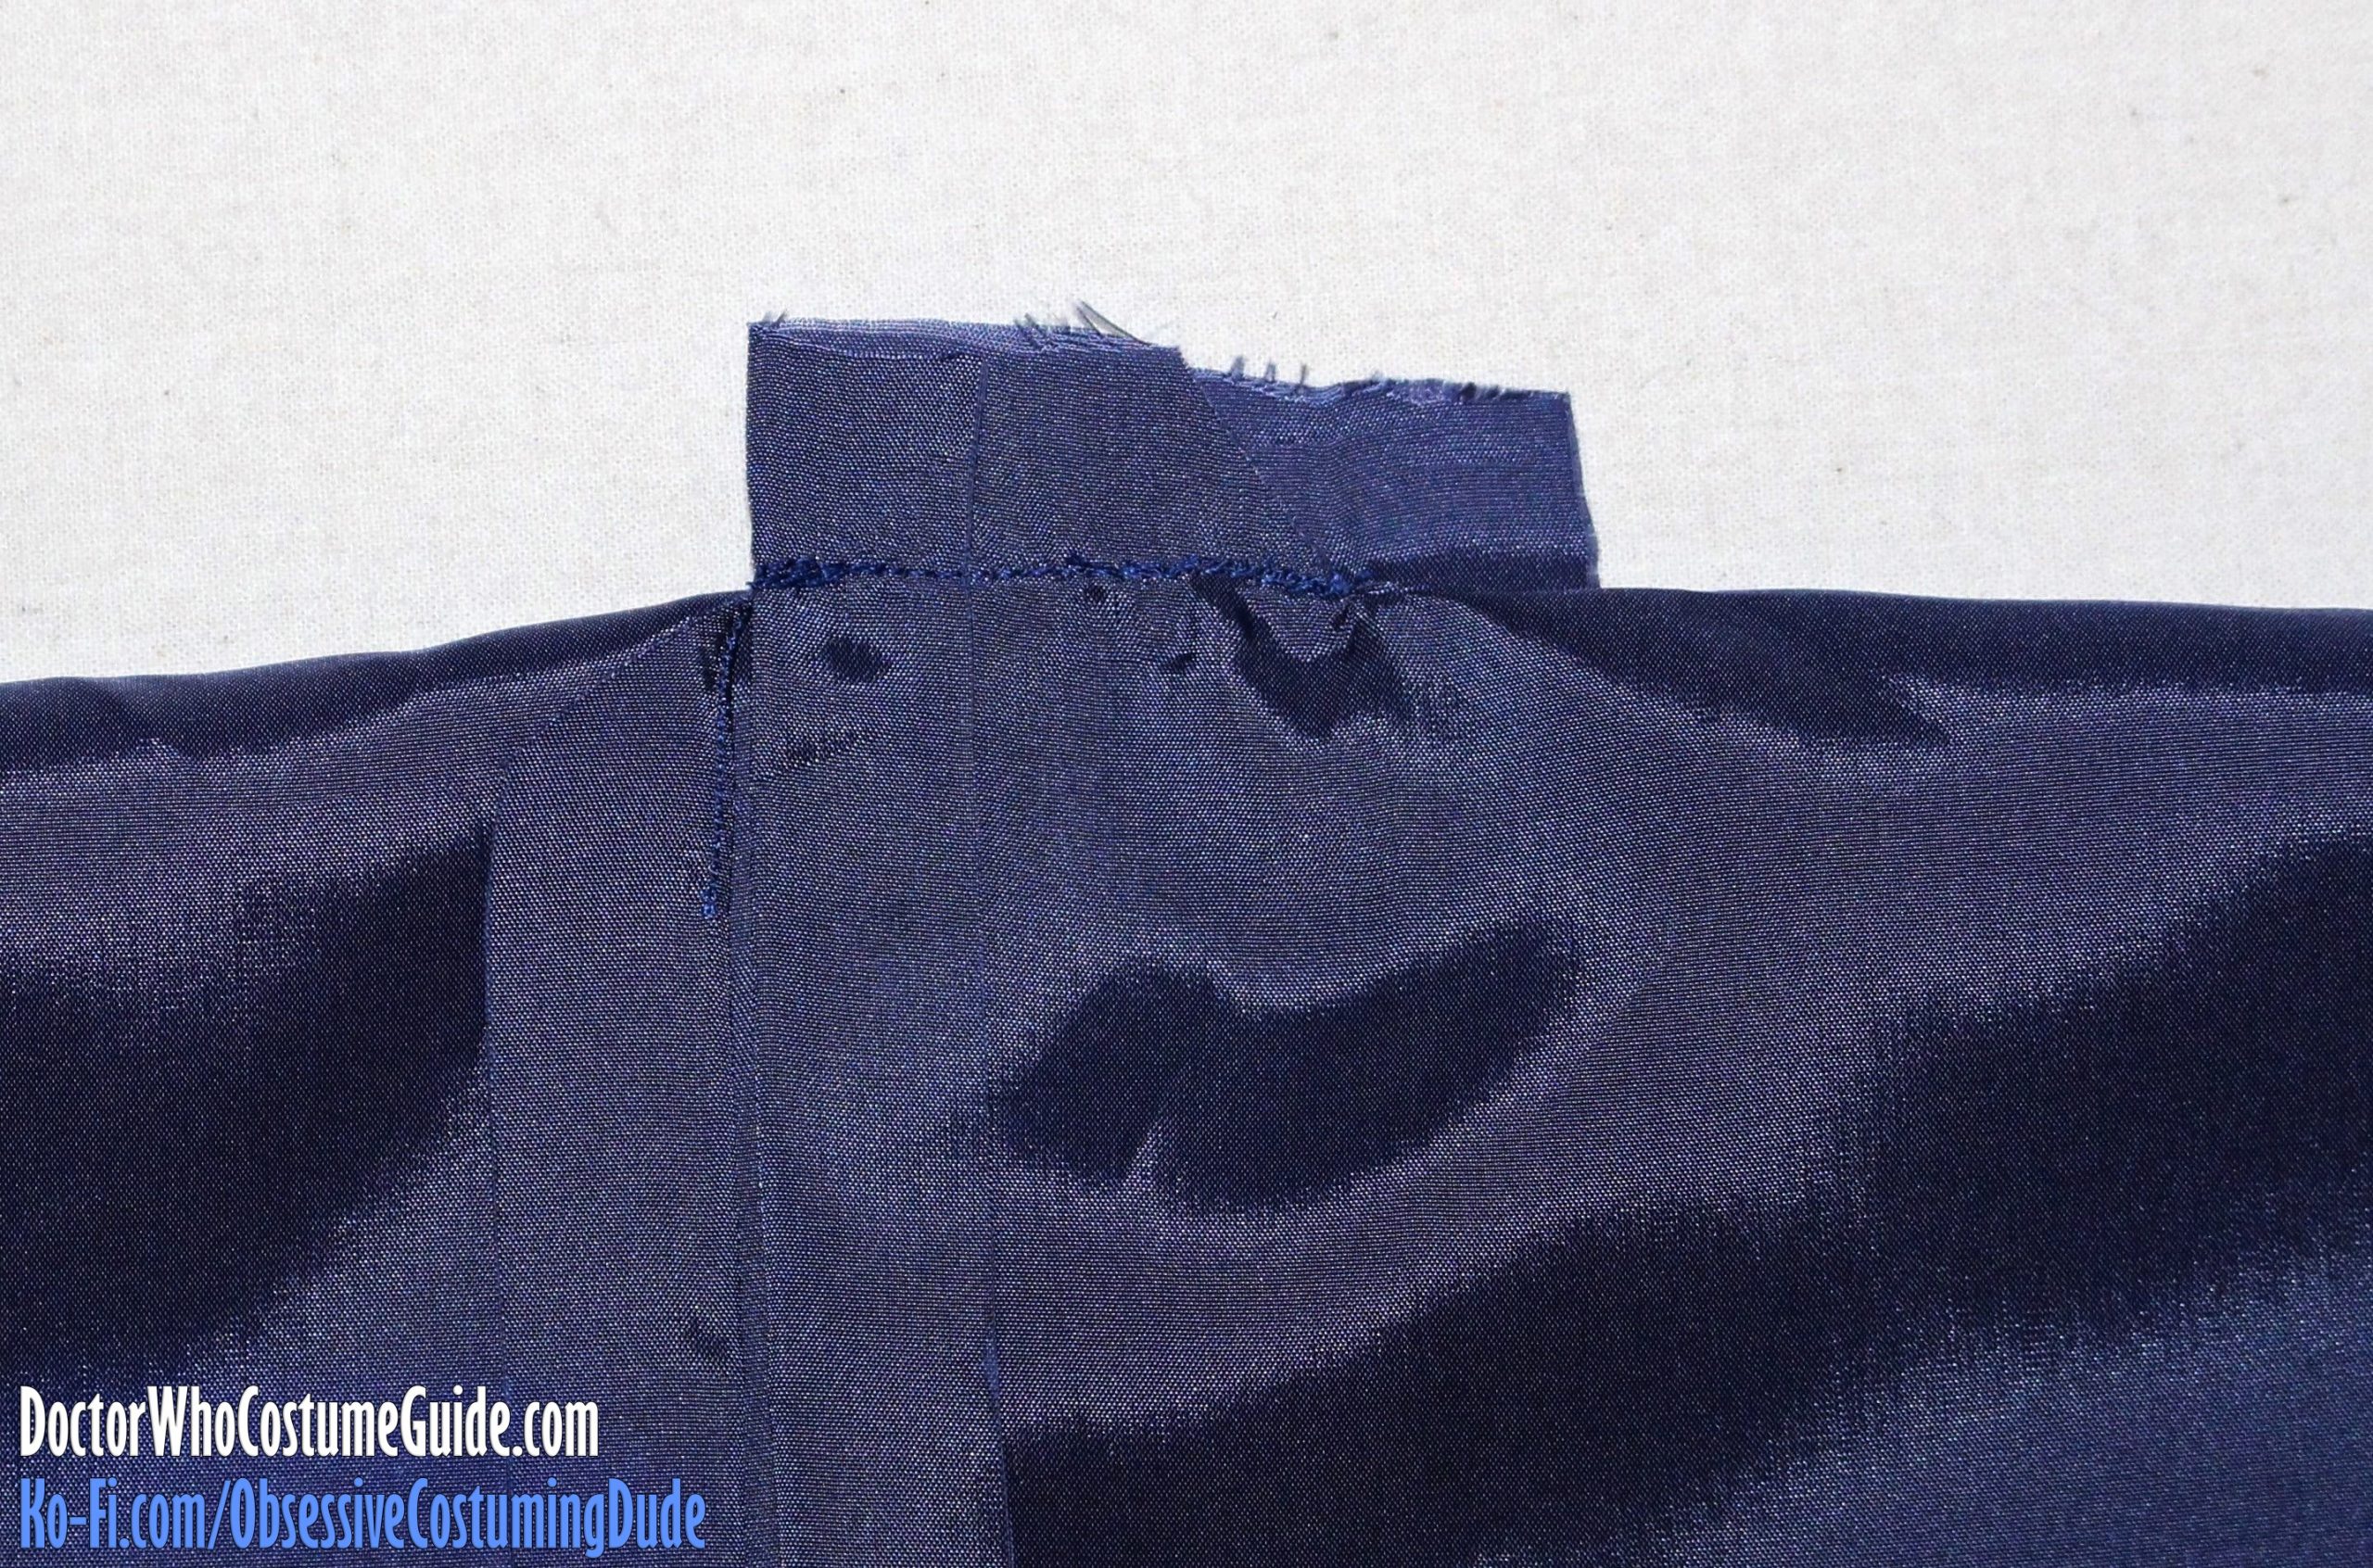
Sew the front lining assembly to the front facing (piece I), matching lower dots.
(The lower, folded edge of the lining corresponds to the dot on the front facing, and the facing will extend downward past the lining.)
Press the seam allowances toward the lining.
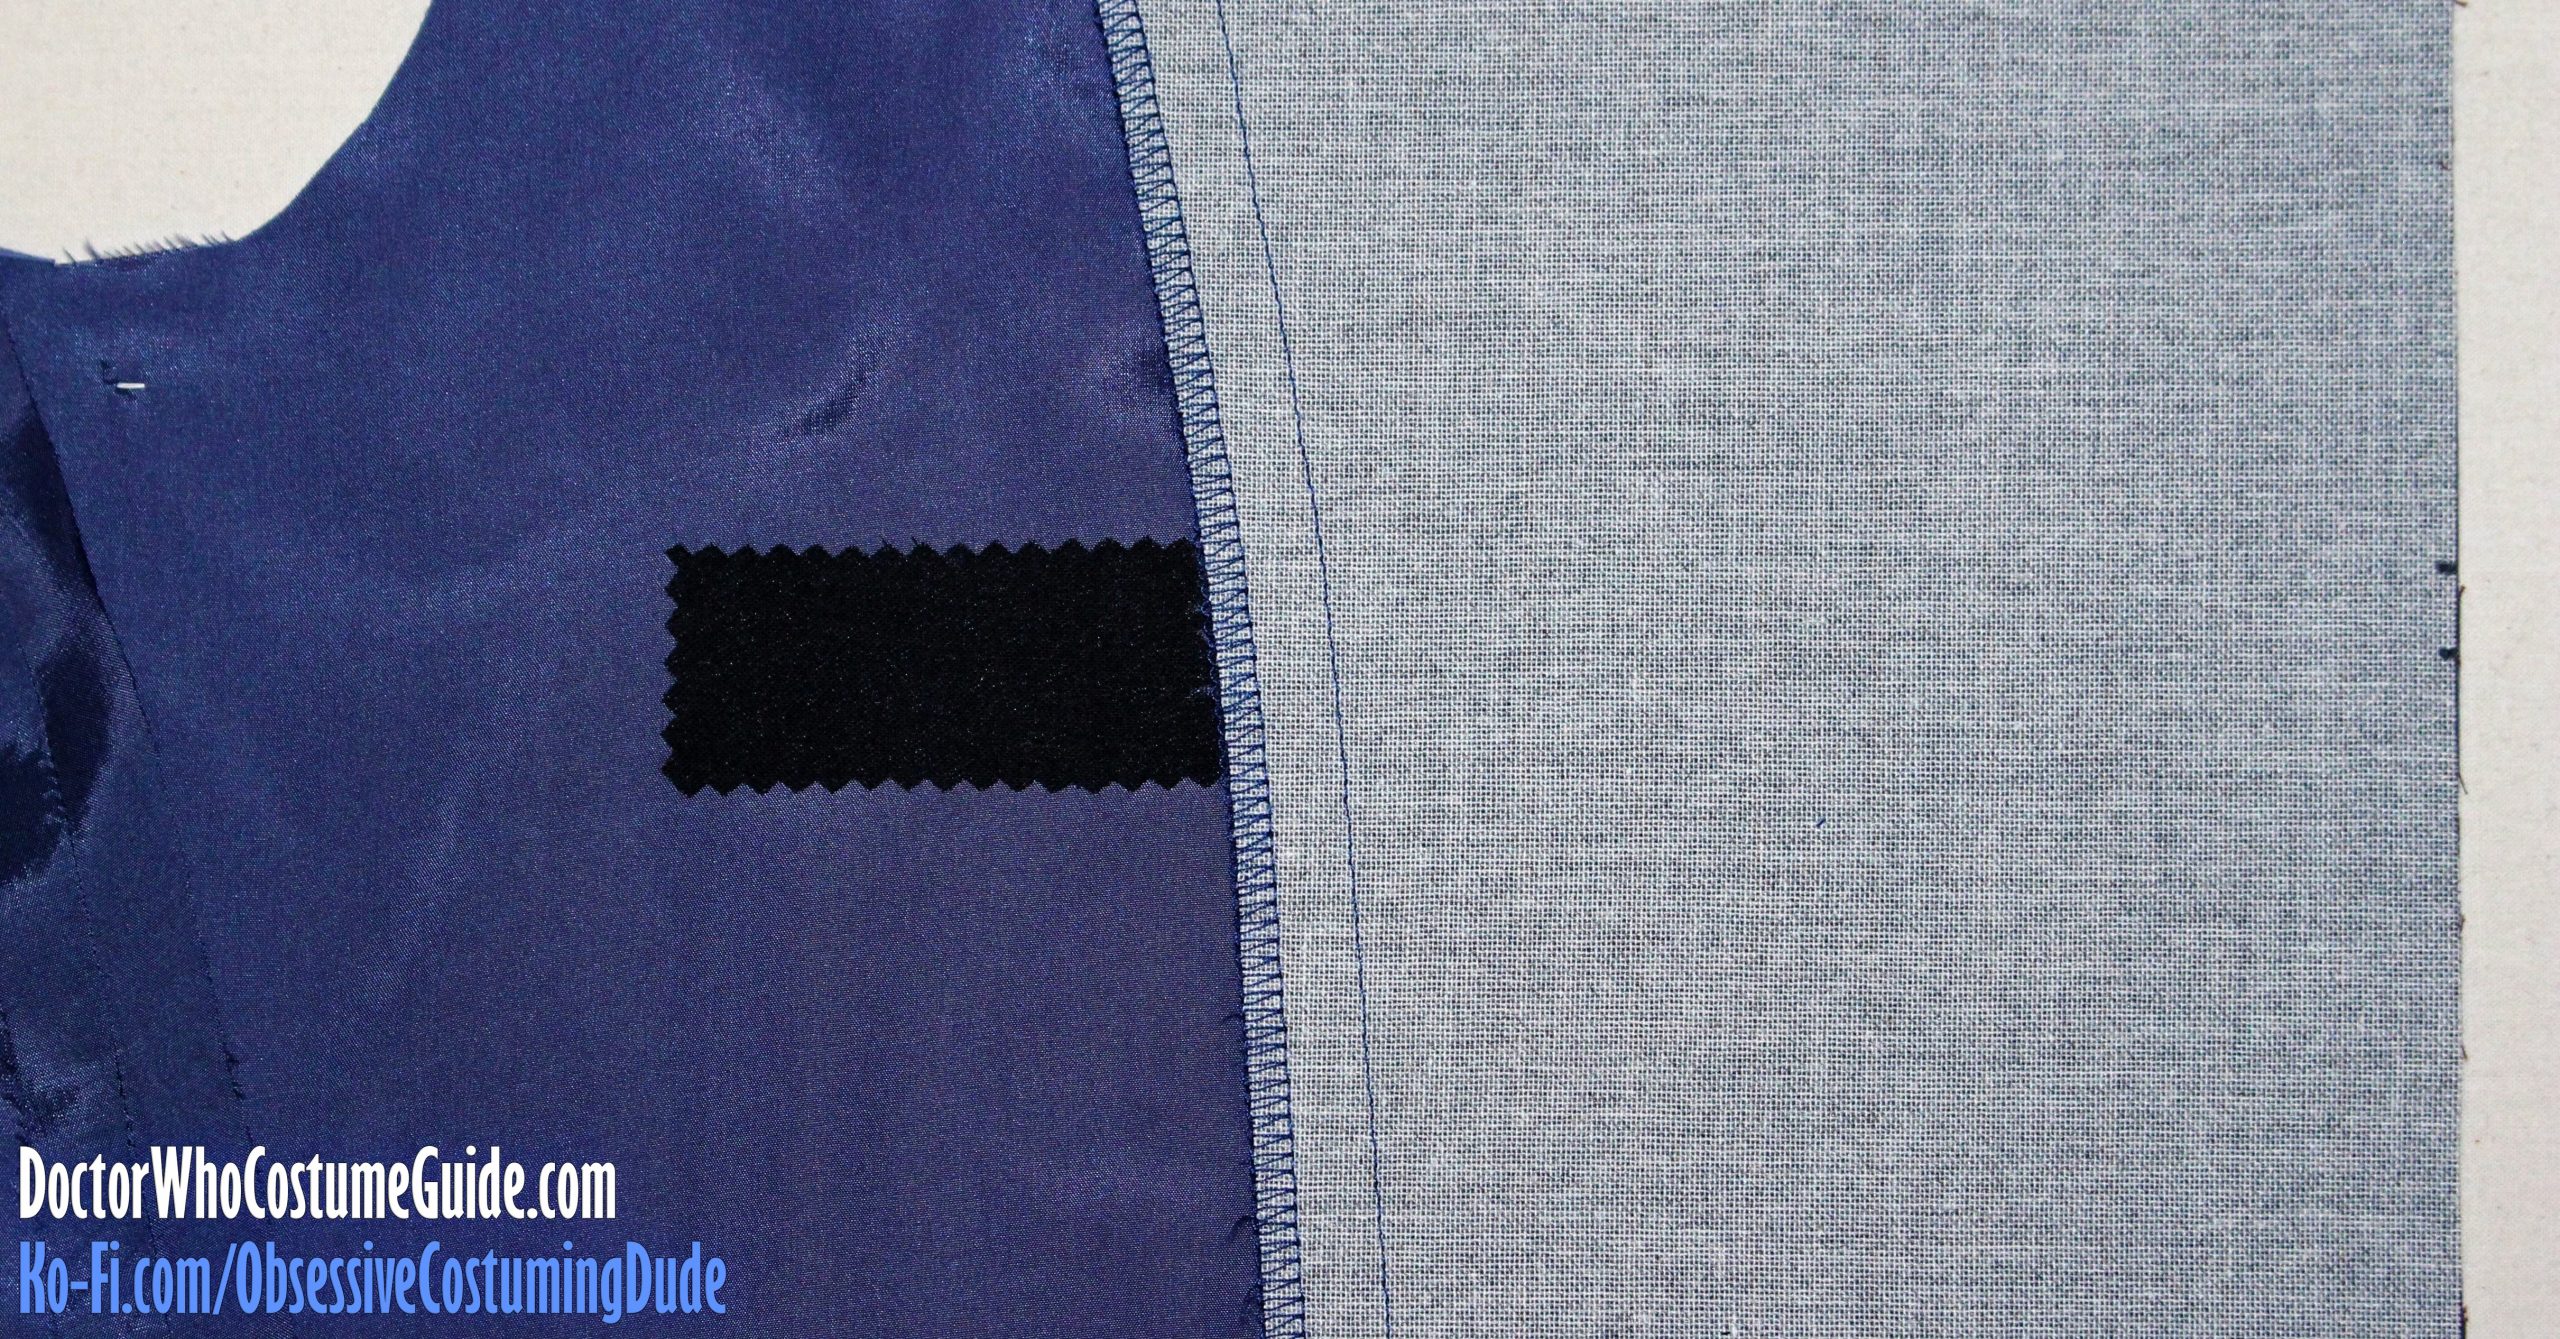
With the front facing already bolstered with the fusible hymo, the front portion of the pocket opening doesn’t need additional stabilizing, but I do like to stabilize the back/lining portion of the pocket opening.
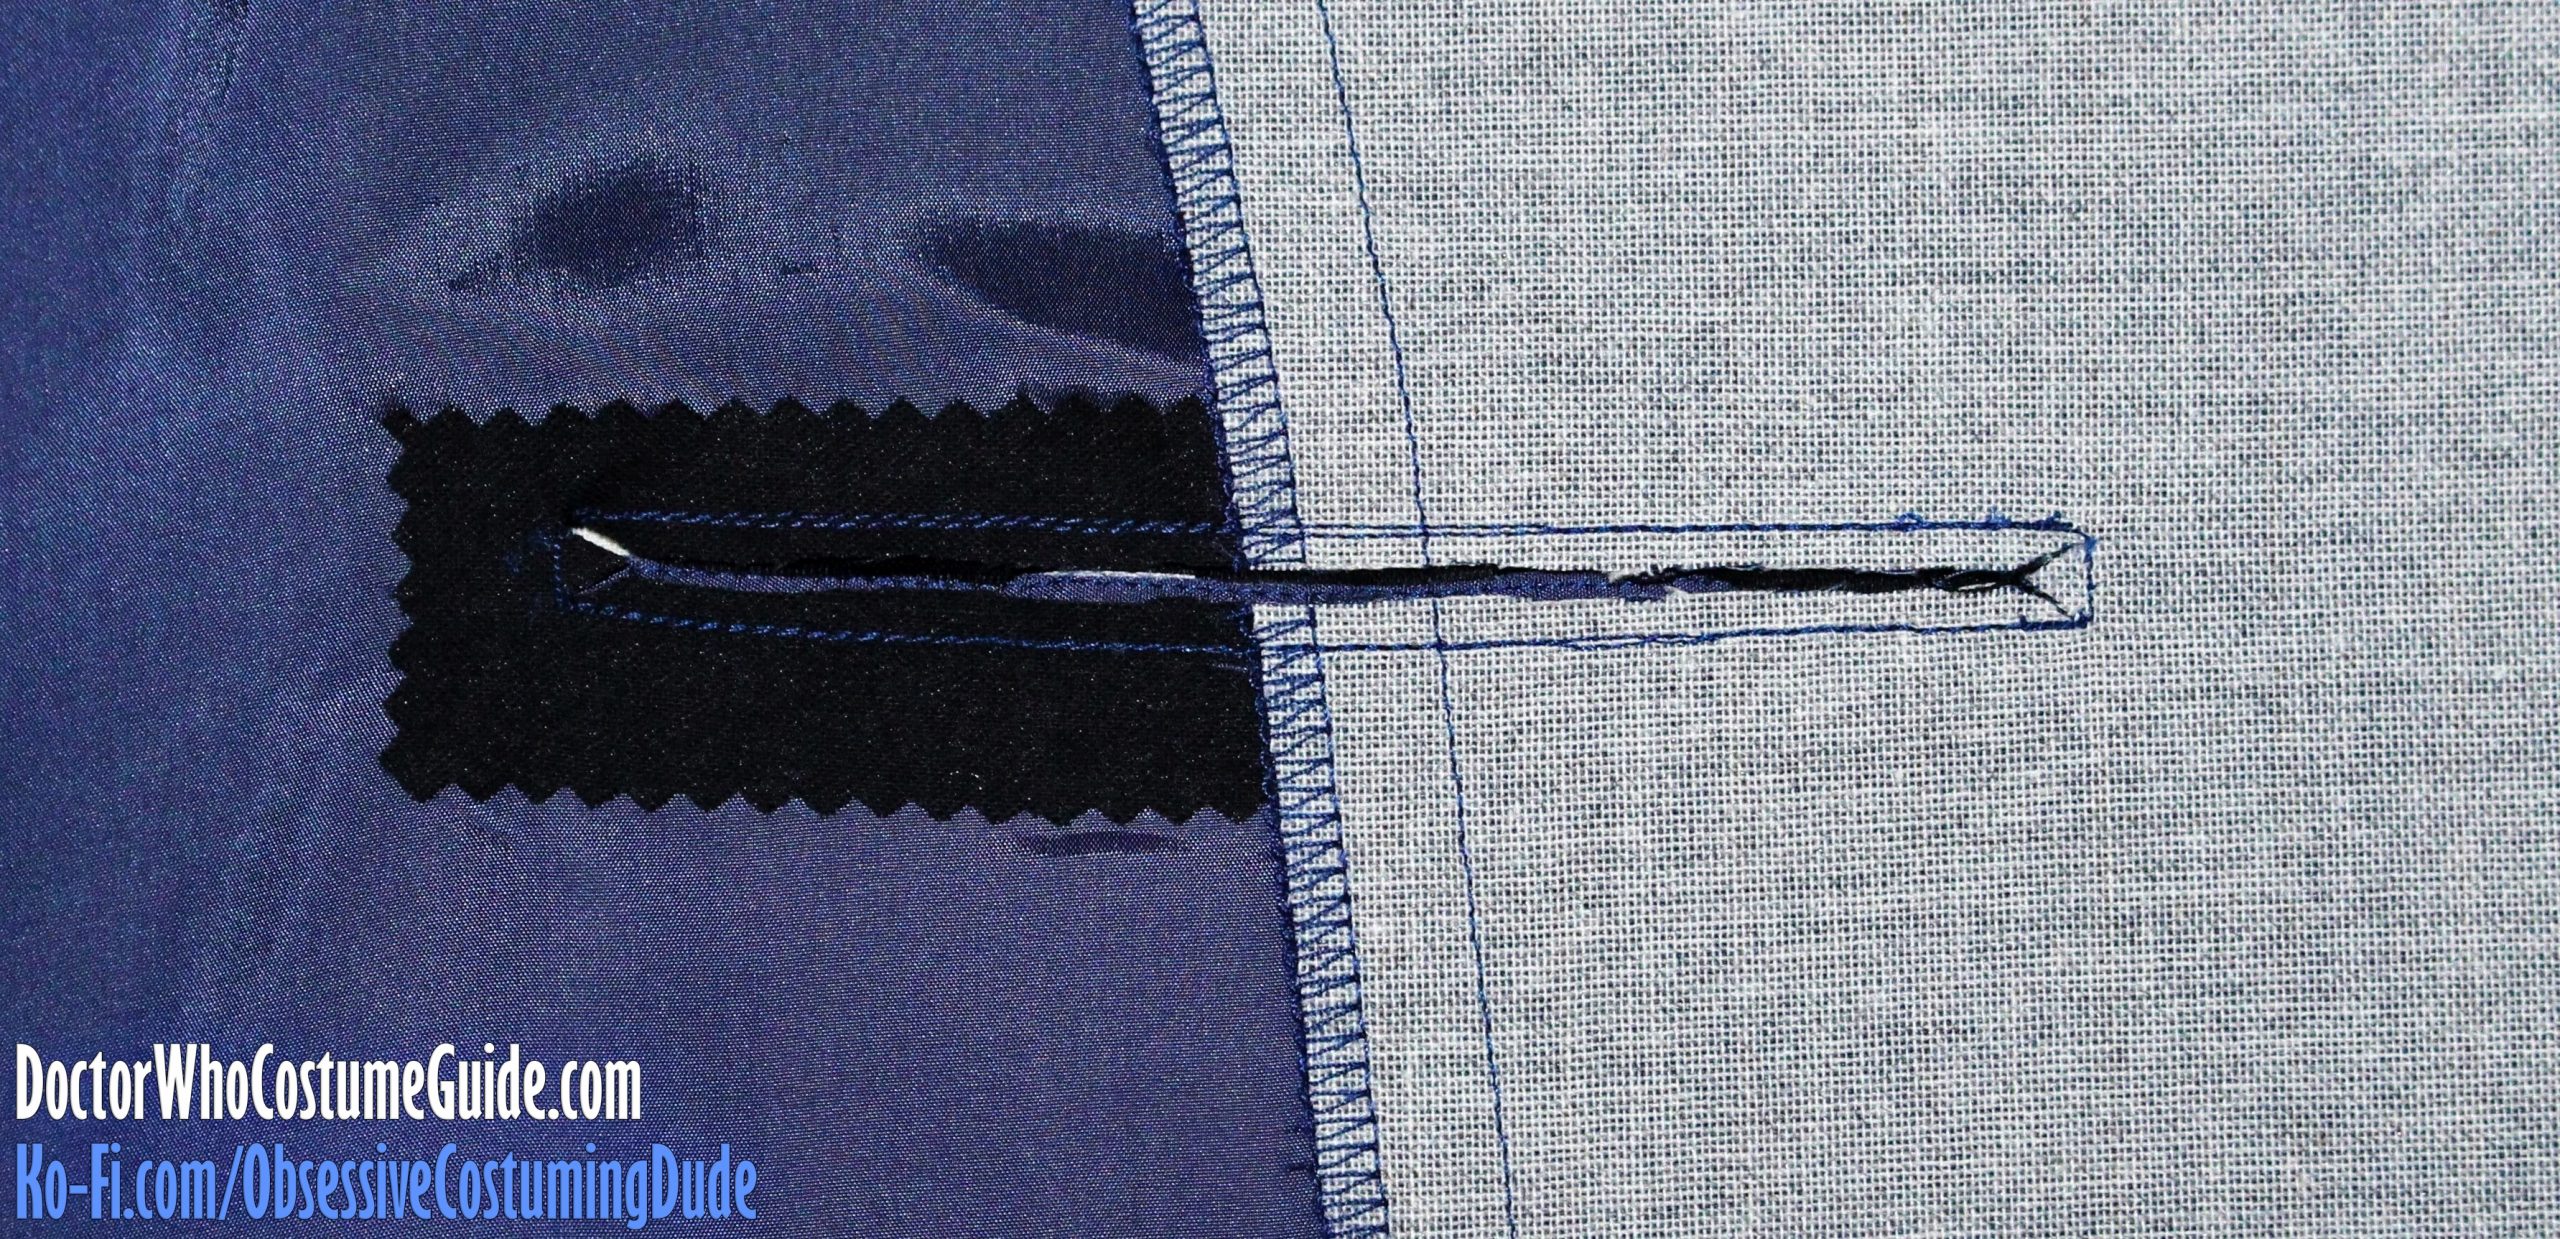
To do this, cut a small rectangle of lightweight fusible interfacing about 1” tall and a 3-4” long, with pinking shears, and apply it to the pocket area on the underside of the lining.
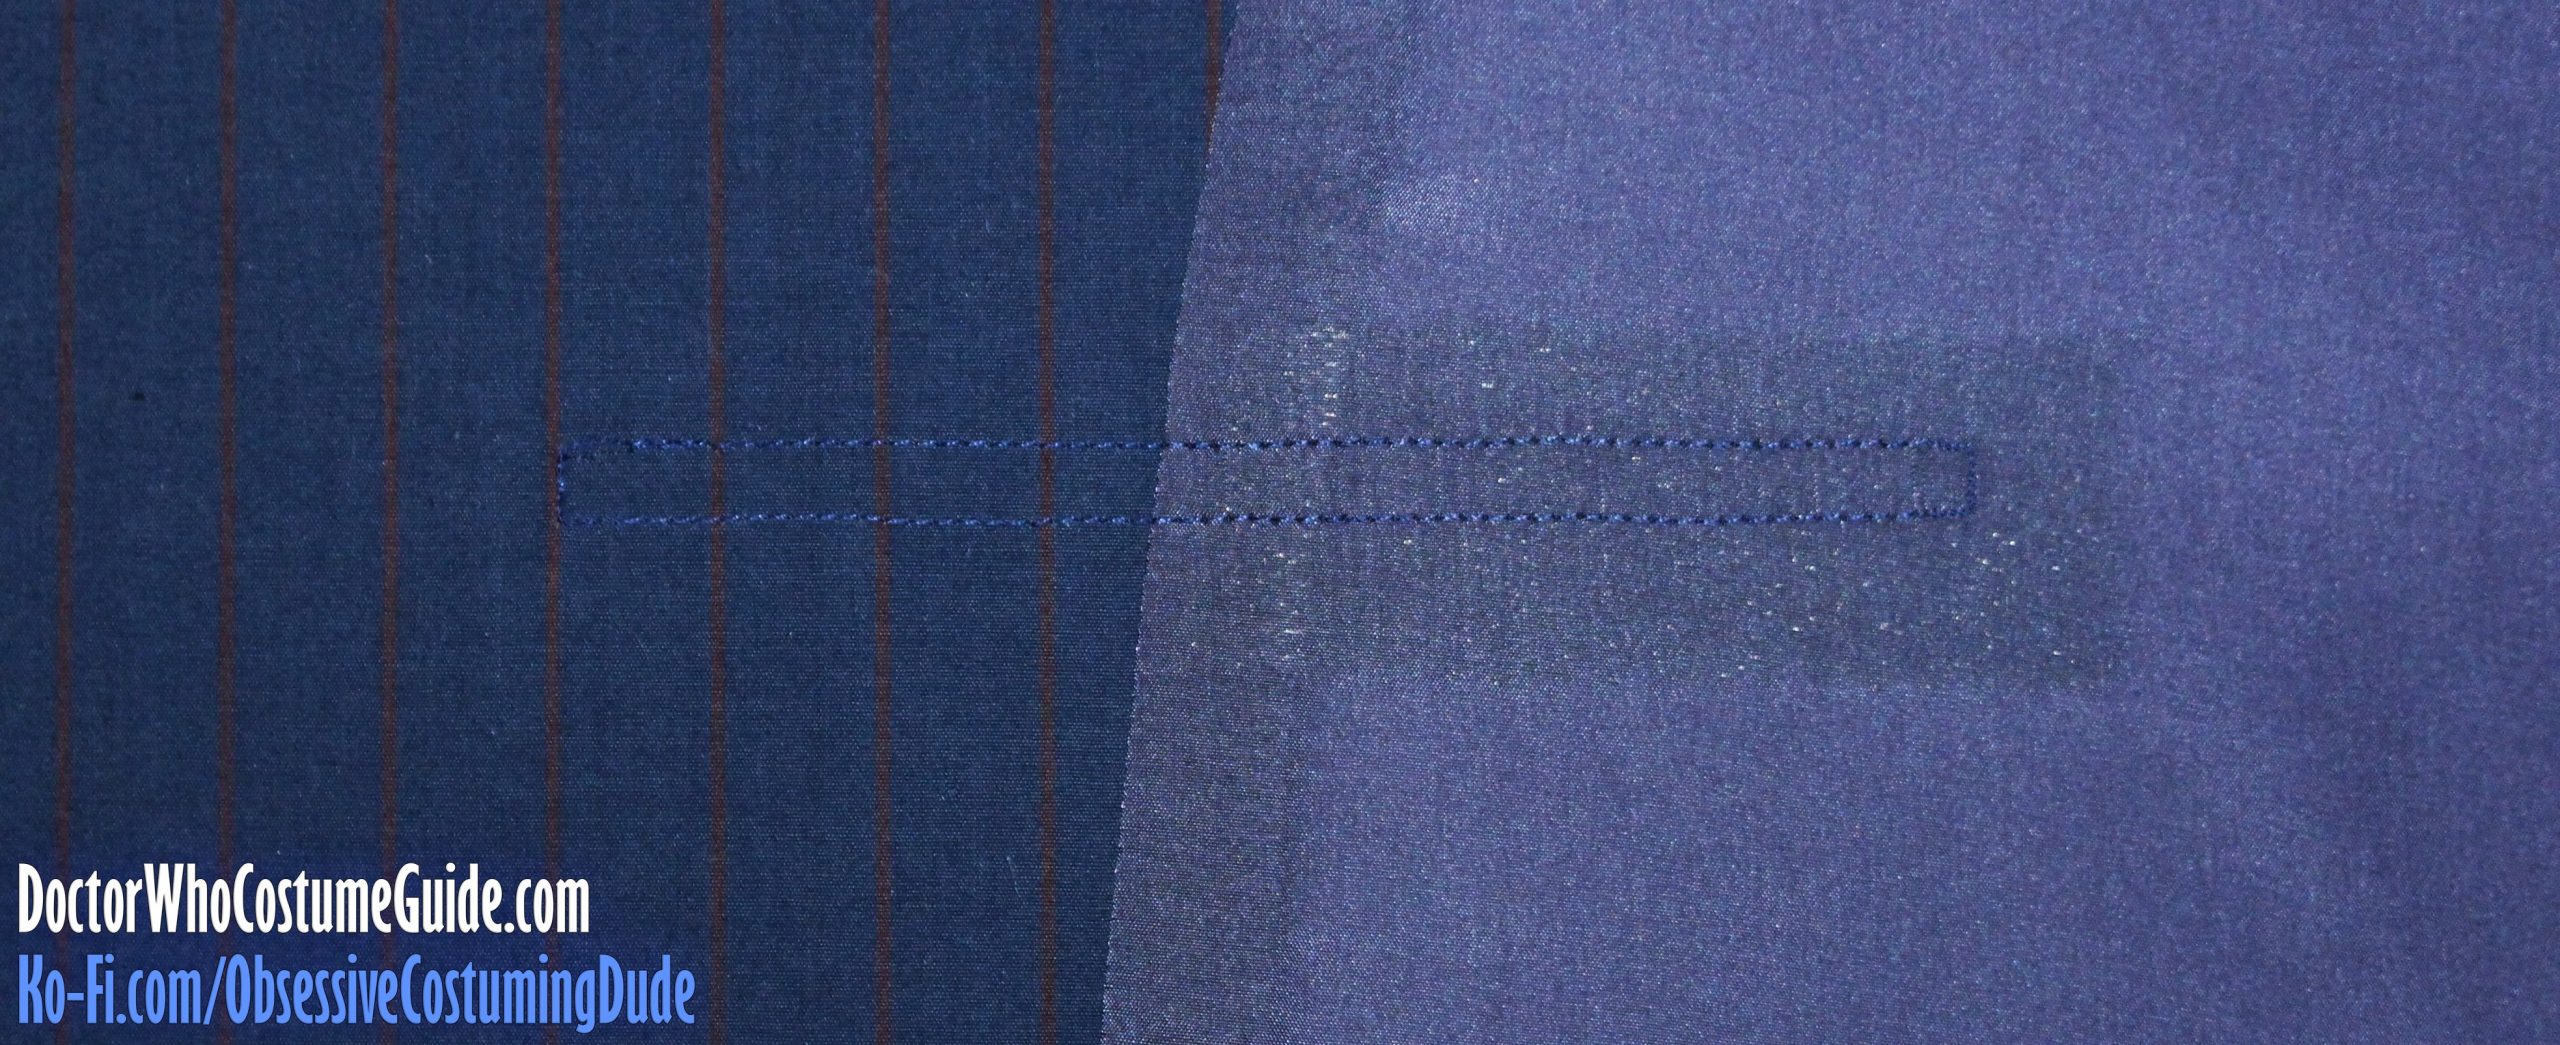
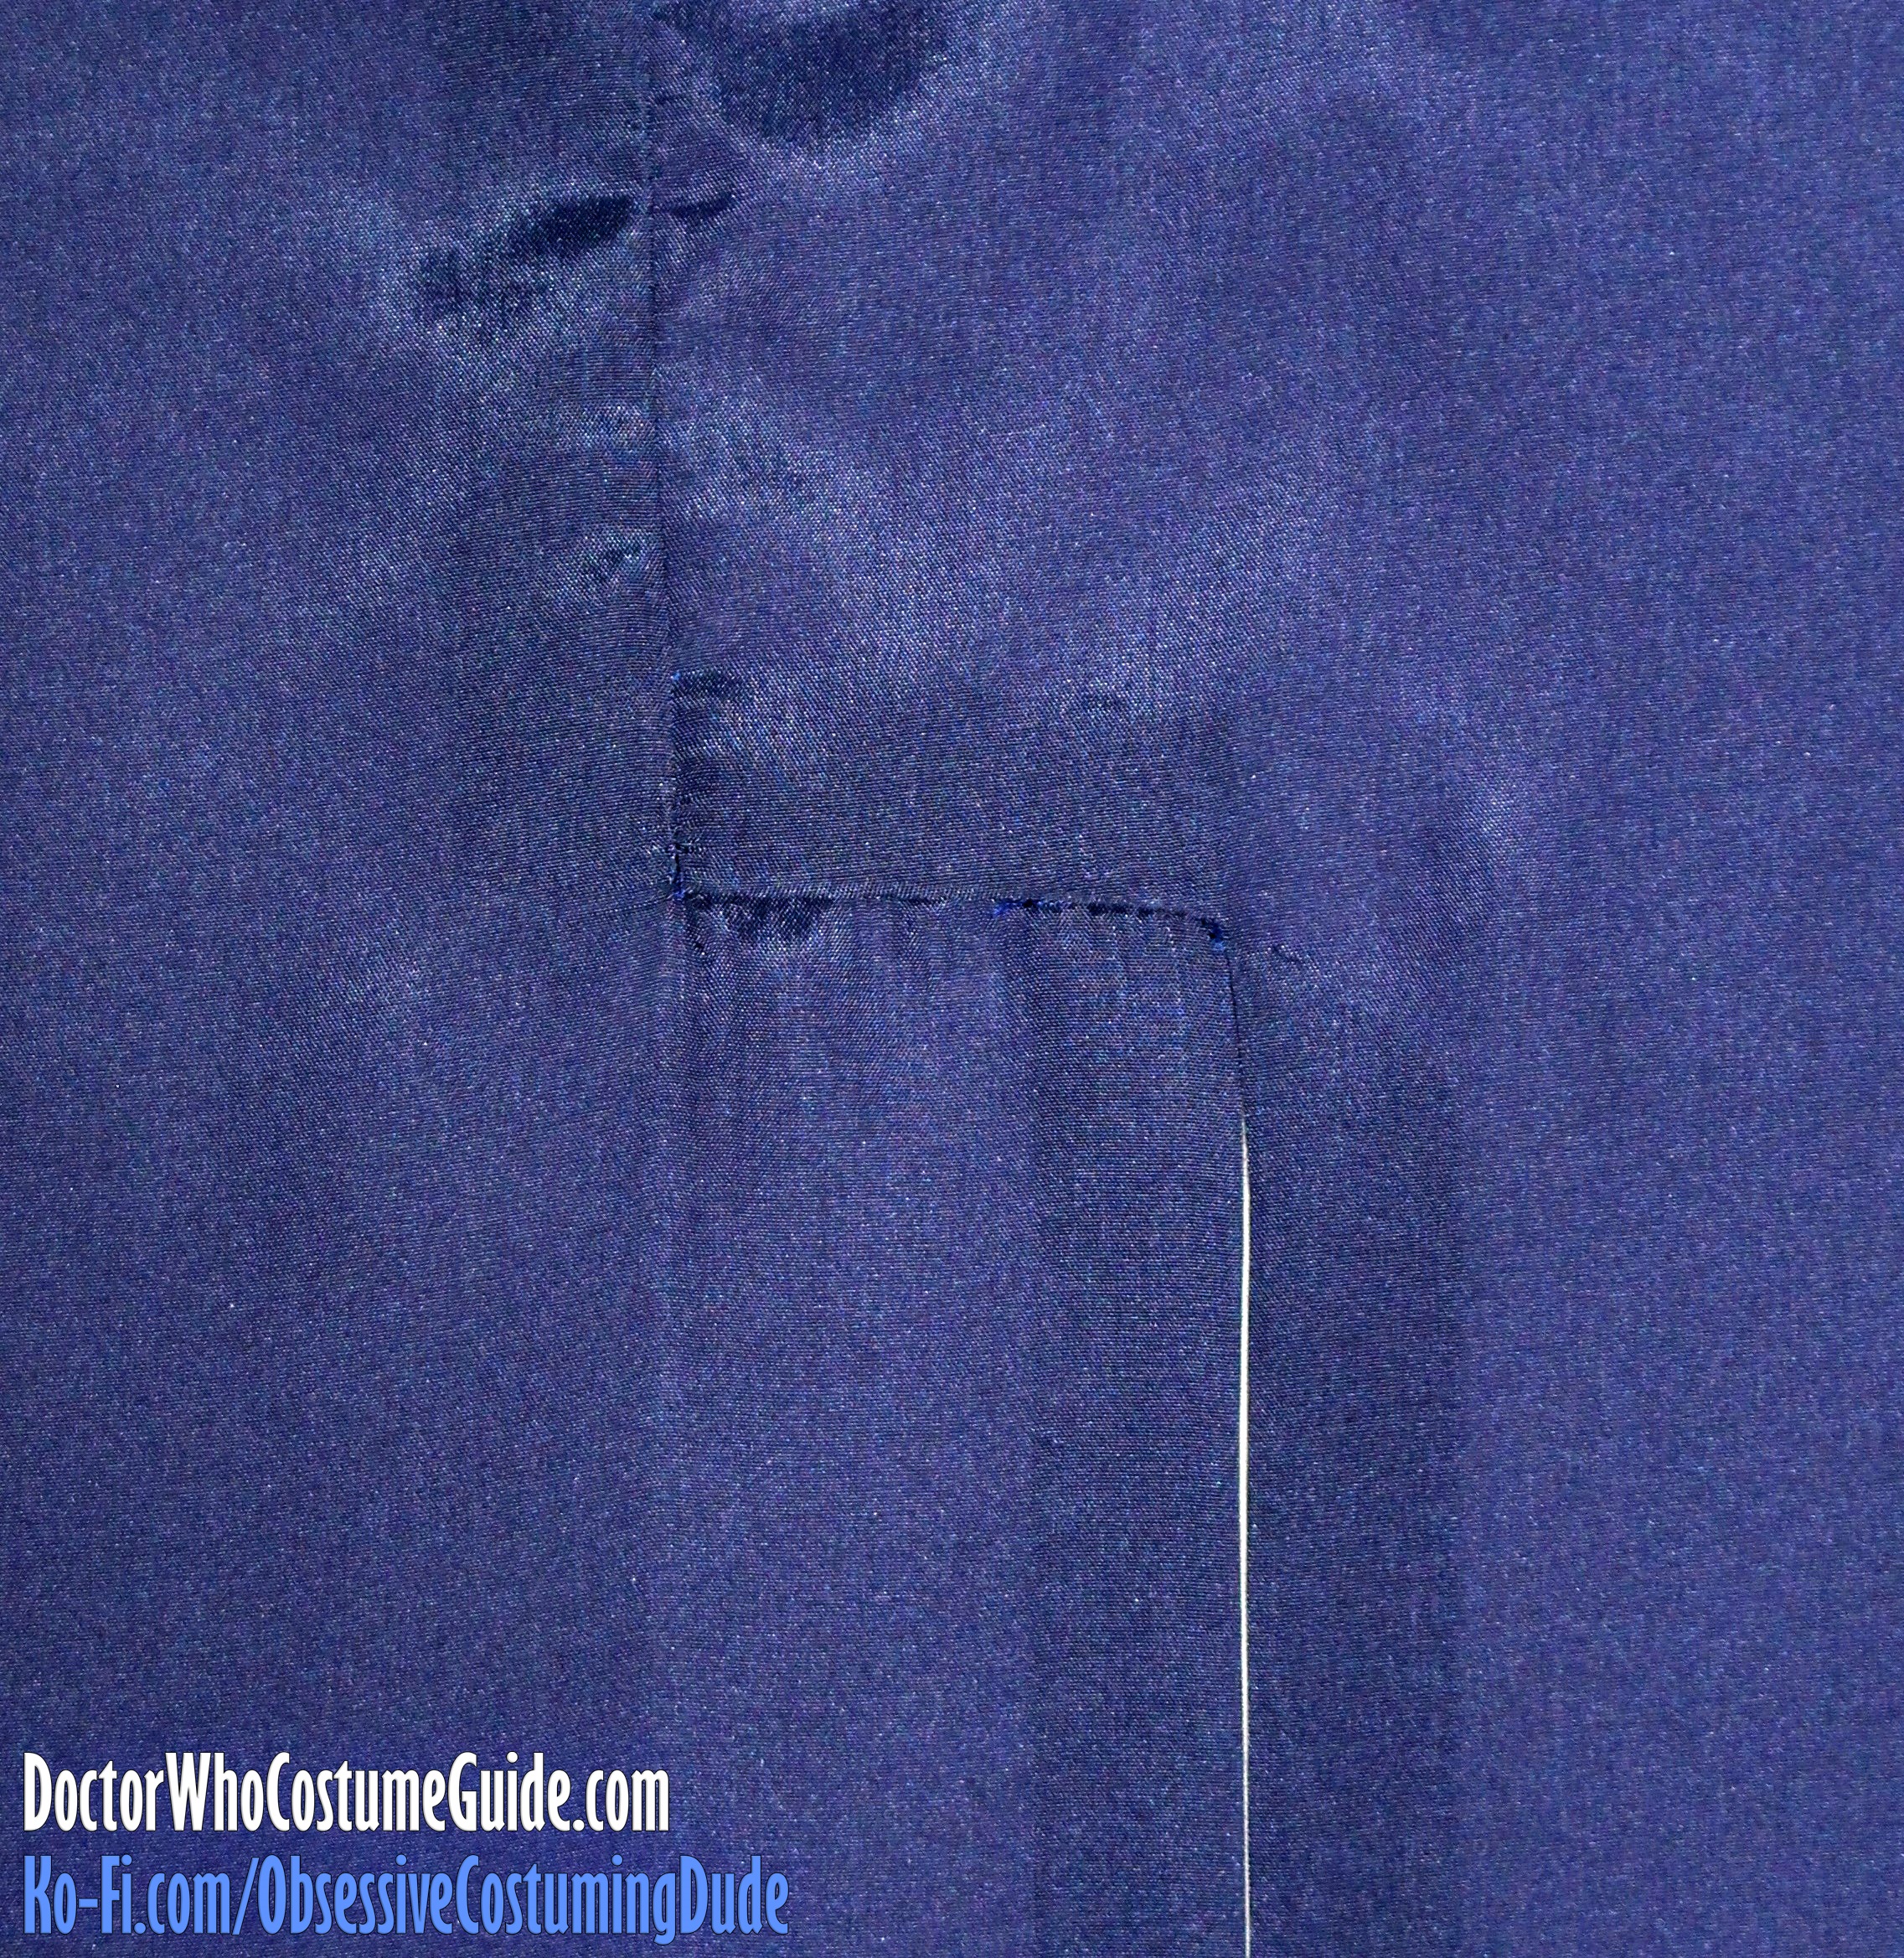
From the right side of the lining assembly, topstitch around the pocket opening, shortening your stitch length around the corners.
I also like to bolster up my pocket welt (piece U) with a lightweight fusible, but it’s up to you if you’d want to.
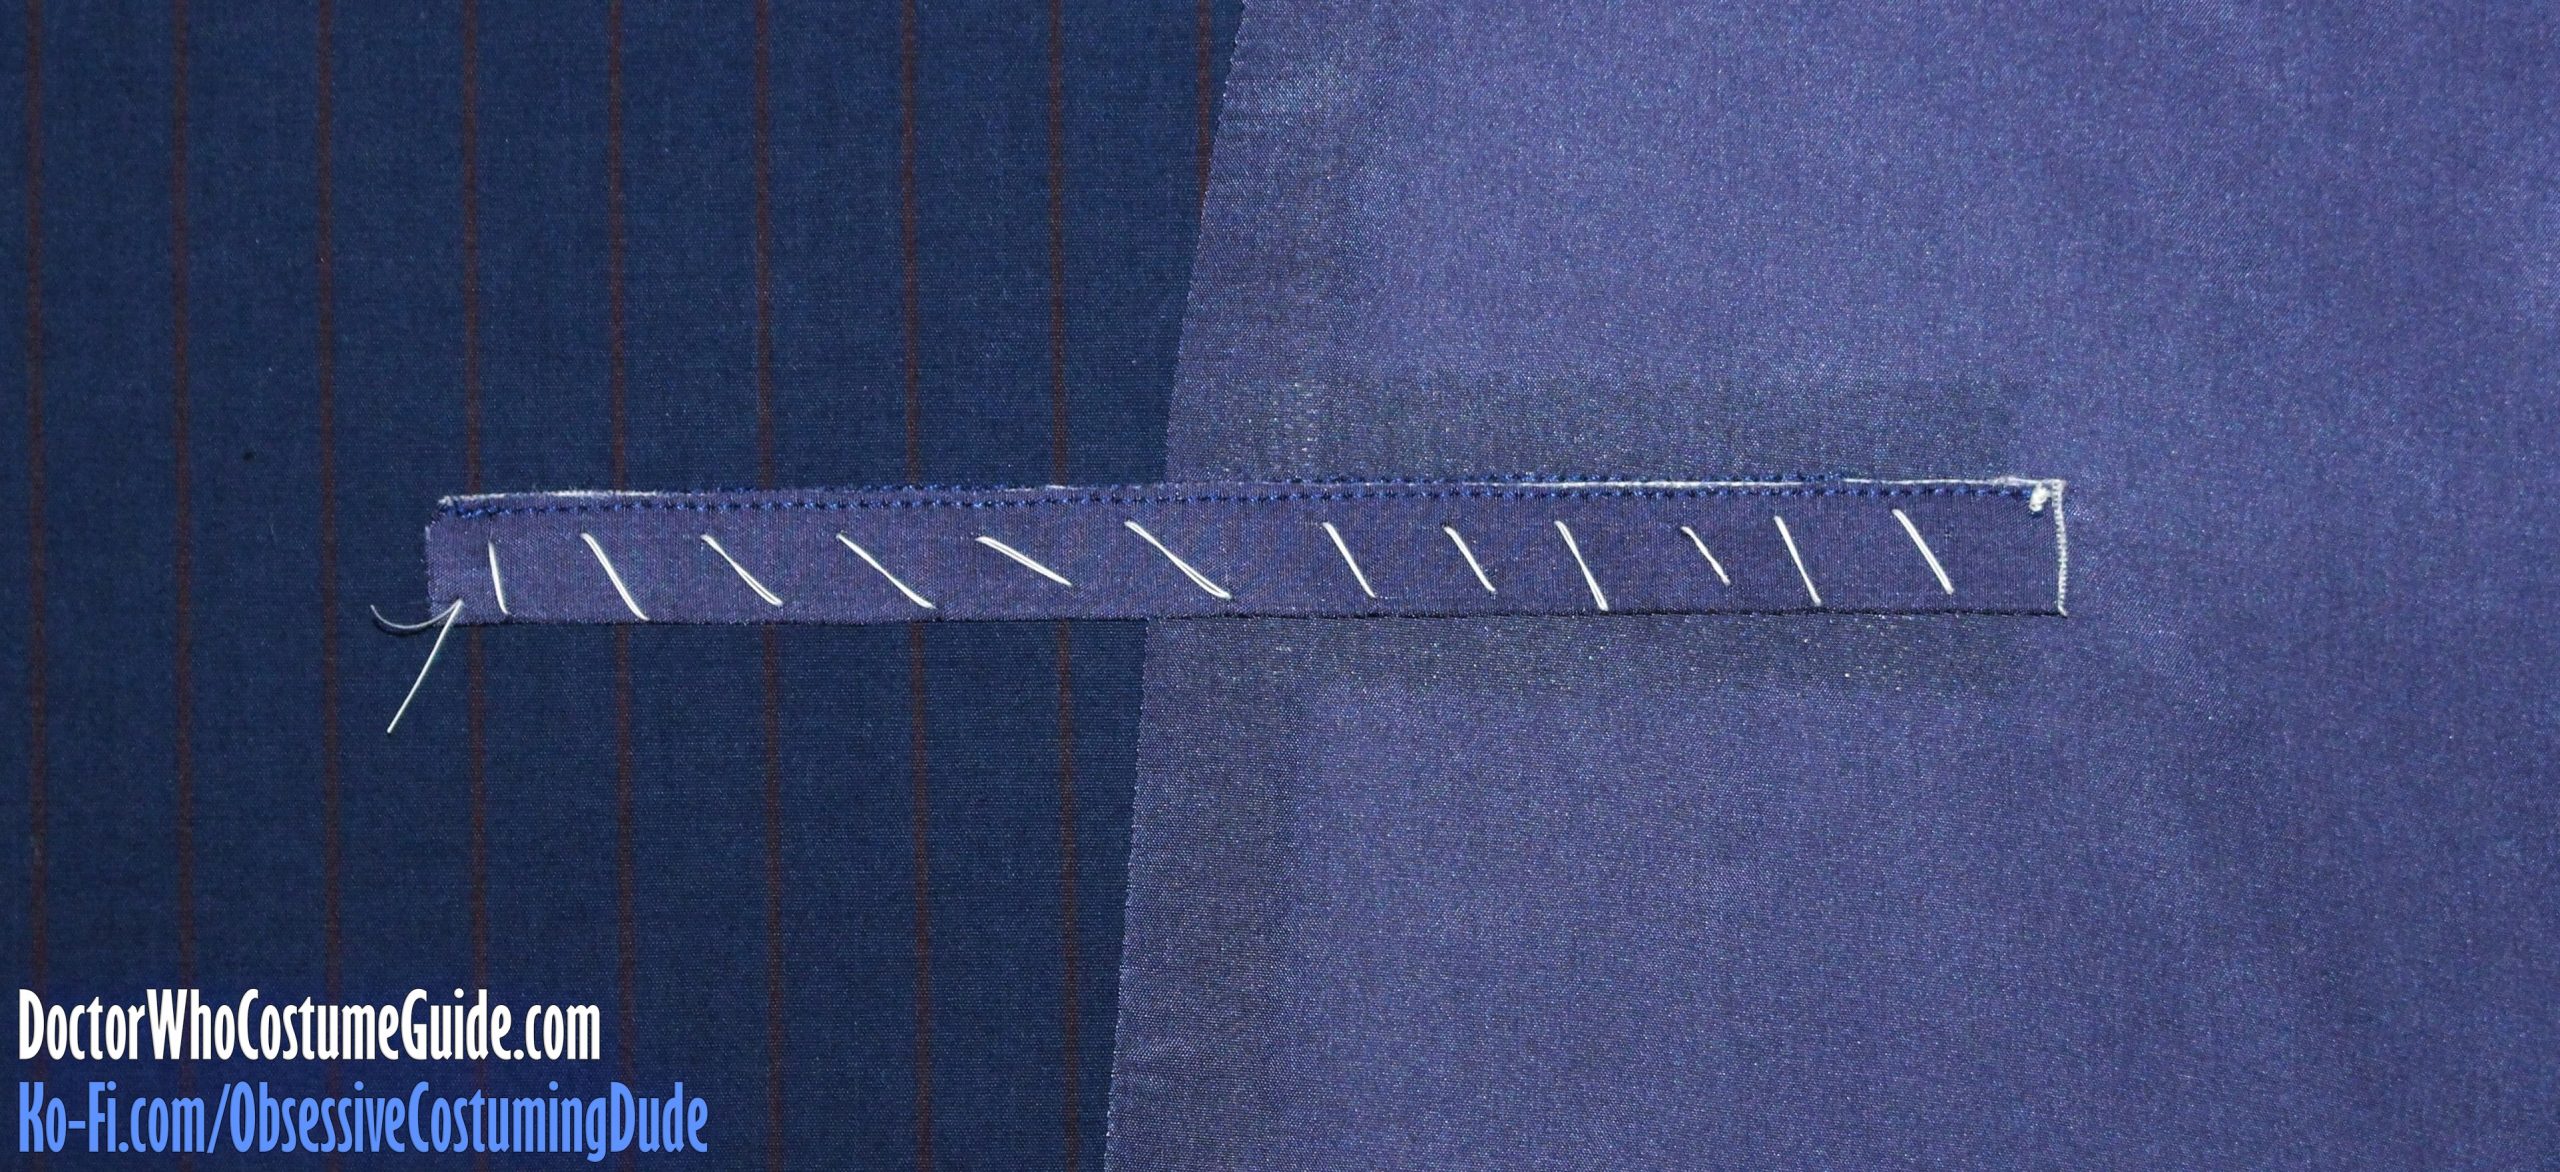
Press the pocket welt in half, long edges together.
Sew or baste the long edges of the pocket welt together.
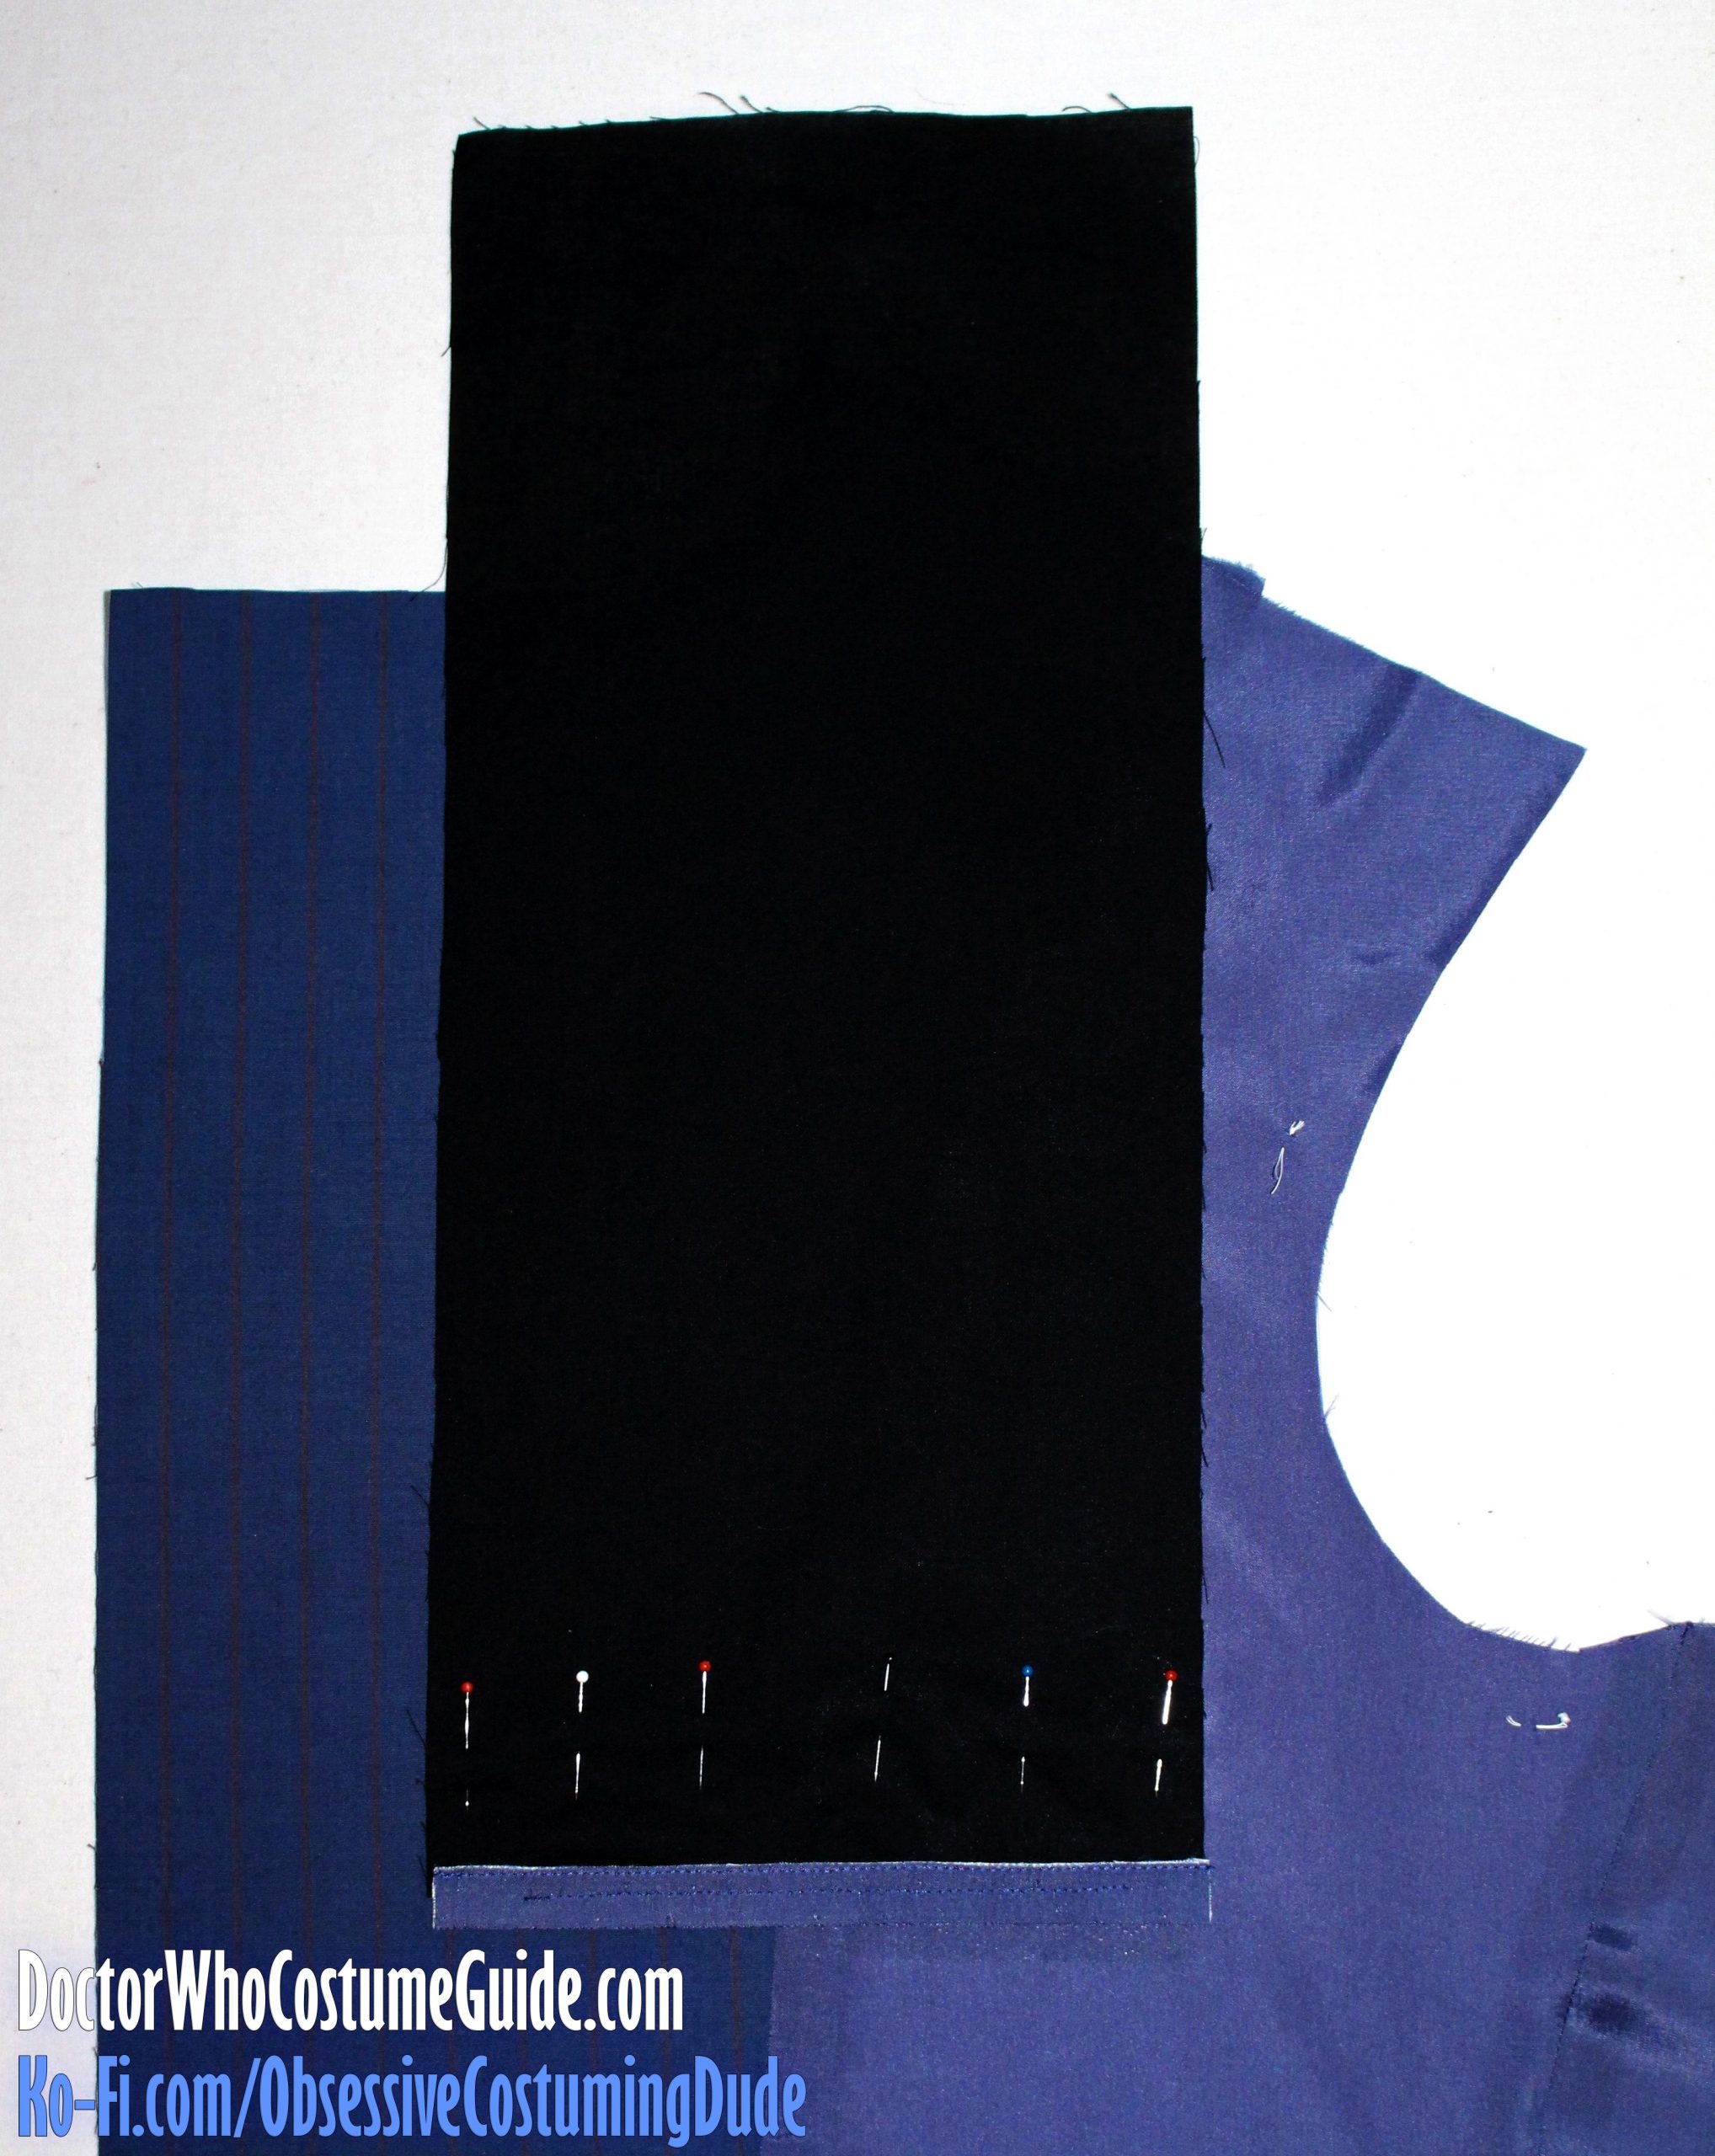
Baste the welt into place over the pocket opening, with its upper/sewn edges flush with the upper stitch line.
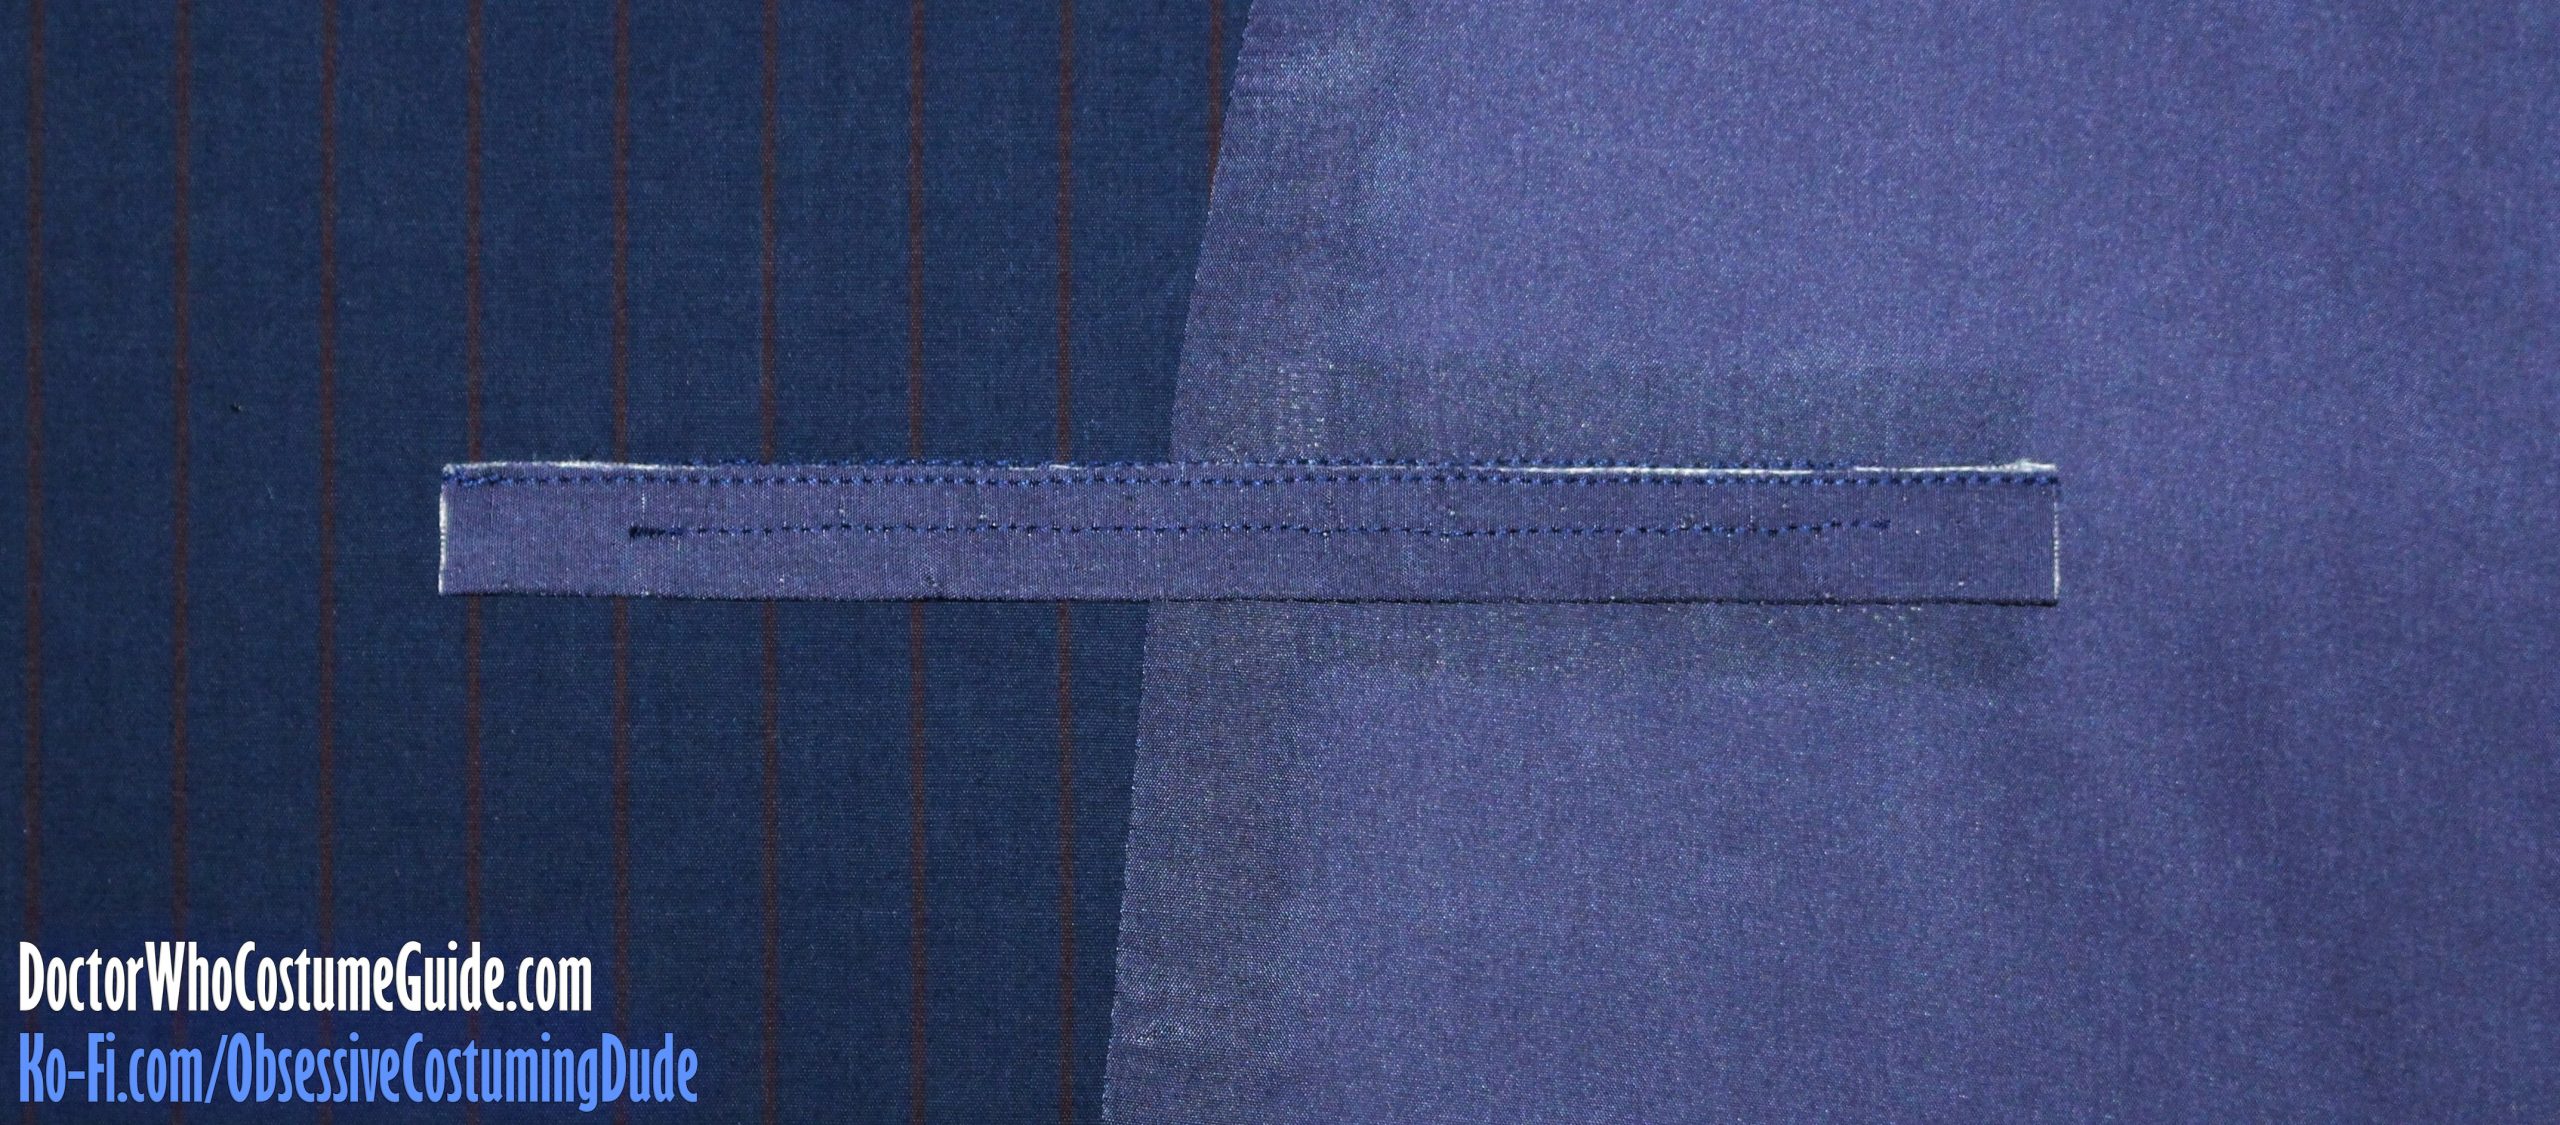
Using your quilting/walking foot, from the underside, sew the pocket welt into place by stitching again over the lower stitch line, beginning and ending your stitching exactly at the corners of the pocket opening.
Pull the upper edges of the pocket welt out of the way, and slide the interior pocket bag (piece V) underneath, as close to the stitch line as possible (so the two overlap over the pocket opening).
Pin the pocket bag into place over the pocket opening.
Again from the underside, sew the pocket bag into place by stitching again over the upper stitch line, beginning and ending your stitching exactly at the corners of the pocket opening.
Slash the pocket opening across the center, stopping about ⅜” from the ends and snipping a “Y” shape to the corners on each side, catching only the facing and lining fabric (not the welt or pocket bag).
TIP: Be sure to clip all the way to the corners, but not past them! Sharp scissors are essential for this!
TIP: Trim some bulk out of the seam allowances, to help the layers turn under and lie flatter. (See above.)
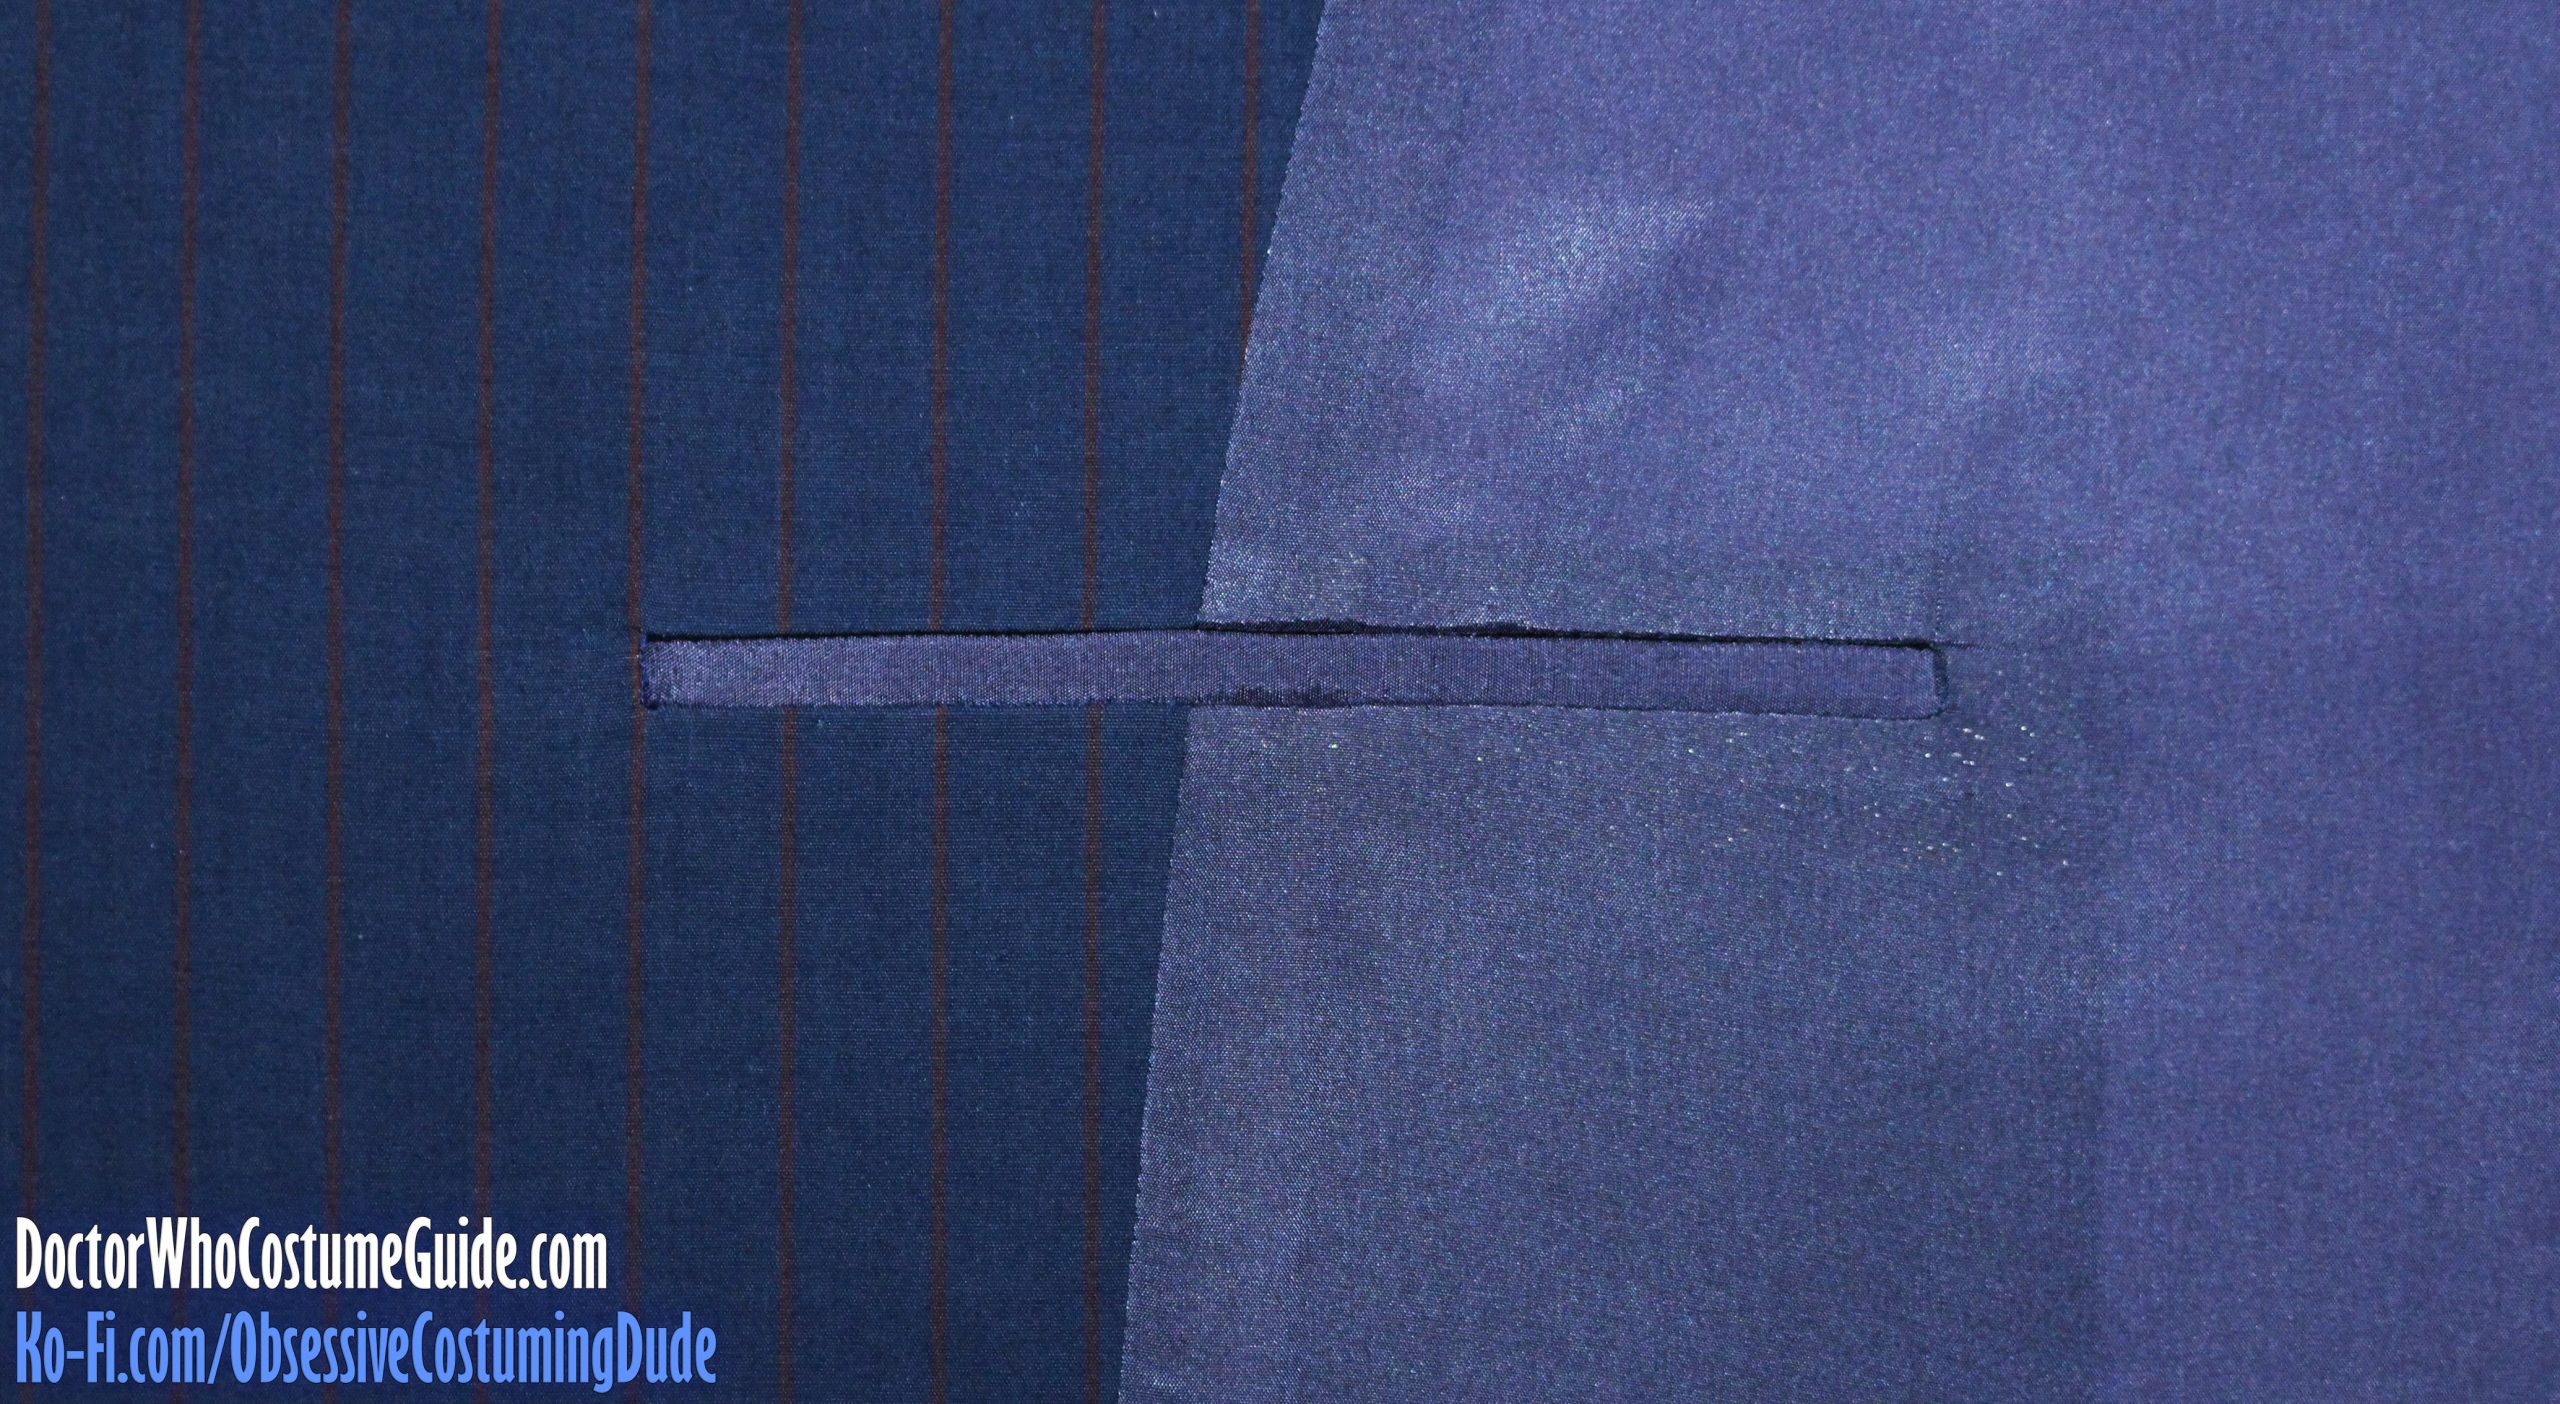
Turn the pocket bag under and press. (Be sure to press the seam allowances upward.)
Turn the pocket welt under and press. (Be sure to press the seam allowances downward.)
Turn the triangular “prongs” under and press.
On the underside, fold the pocket bag upward, and then back down again so its free end is flush with the pocket opening’s lower/welt seam allowance.
Sew the end of the pocket bag to the lower allowance, close to the previous stitch line.
Sew the sides of the pocket bag closed, catching the triangular “prongs” in the stitching.
I like to curve my stitching slightly toward the bottom, rather than producing sharp lower corners.
I also like to stitch again ⅛” from the previous stitching and trim the allowances with pinking shears.
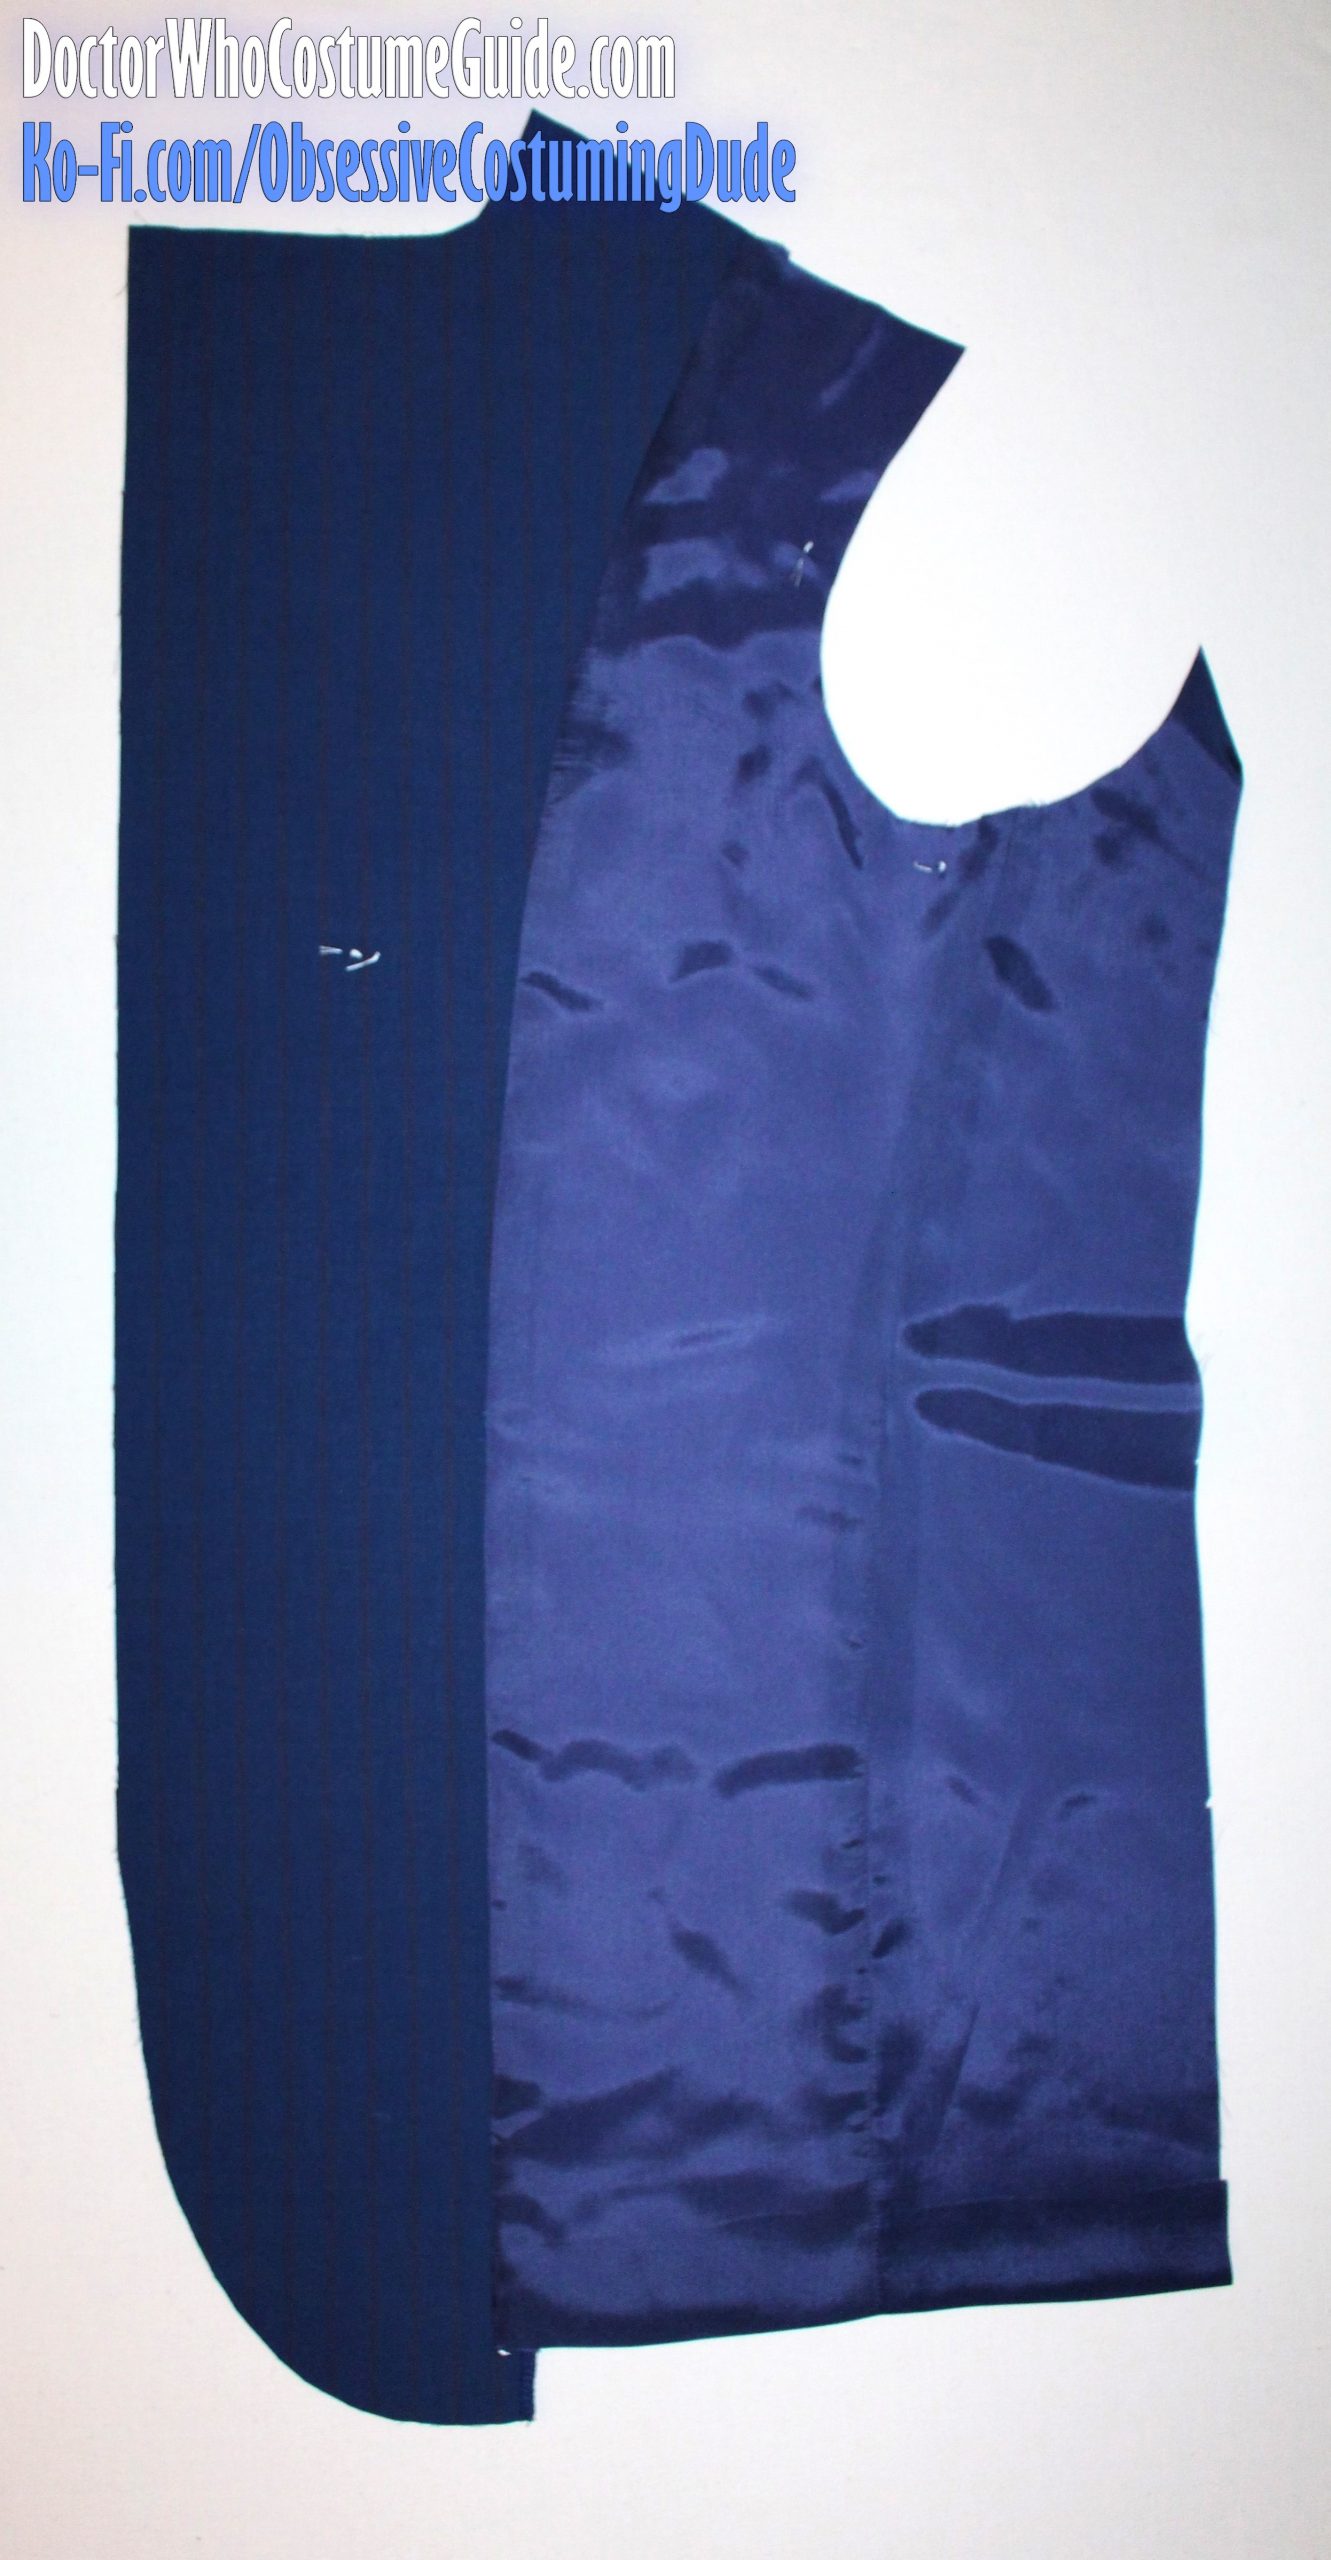
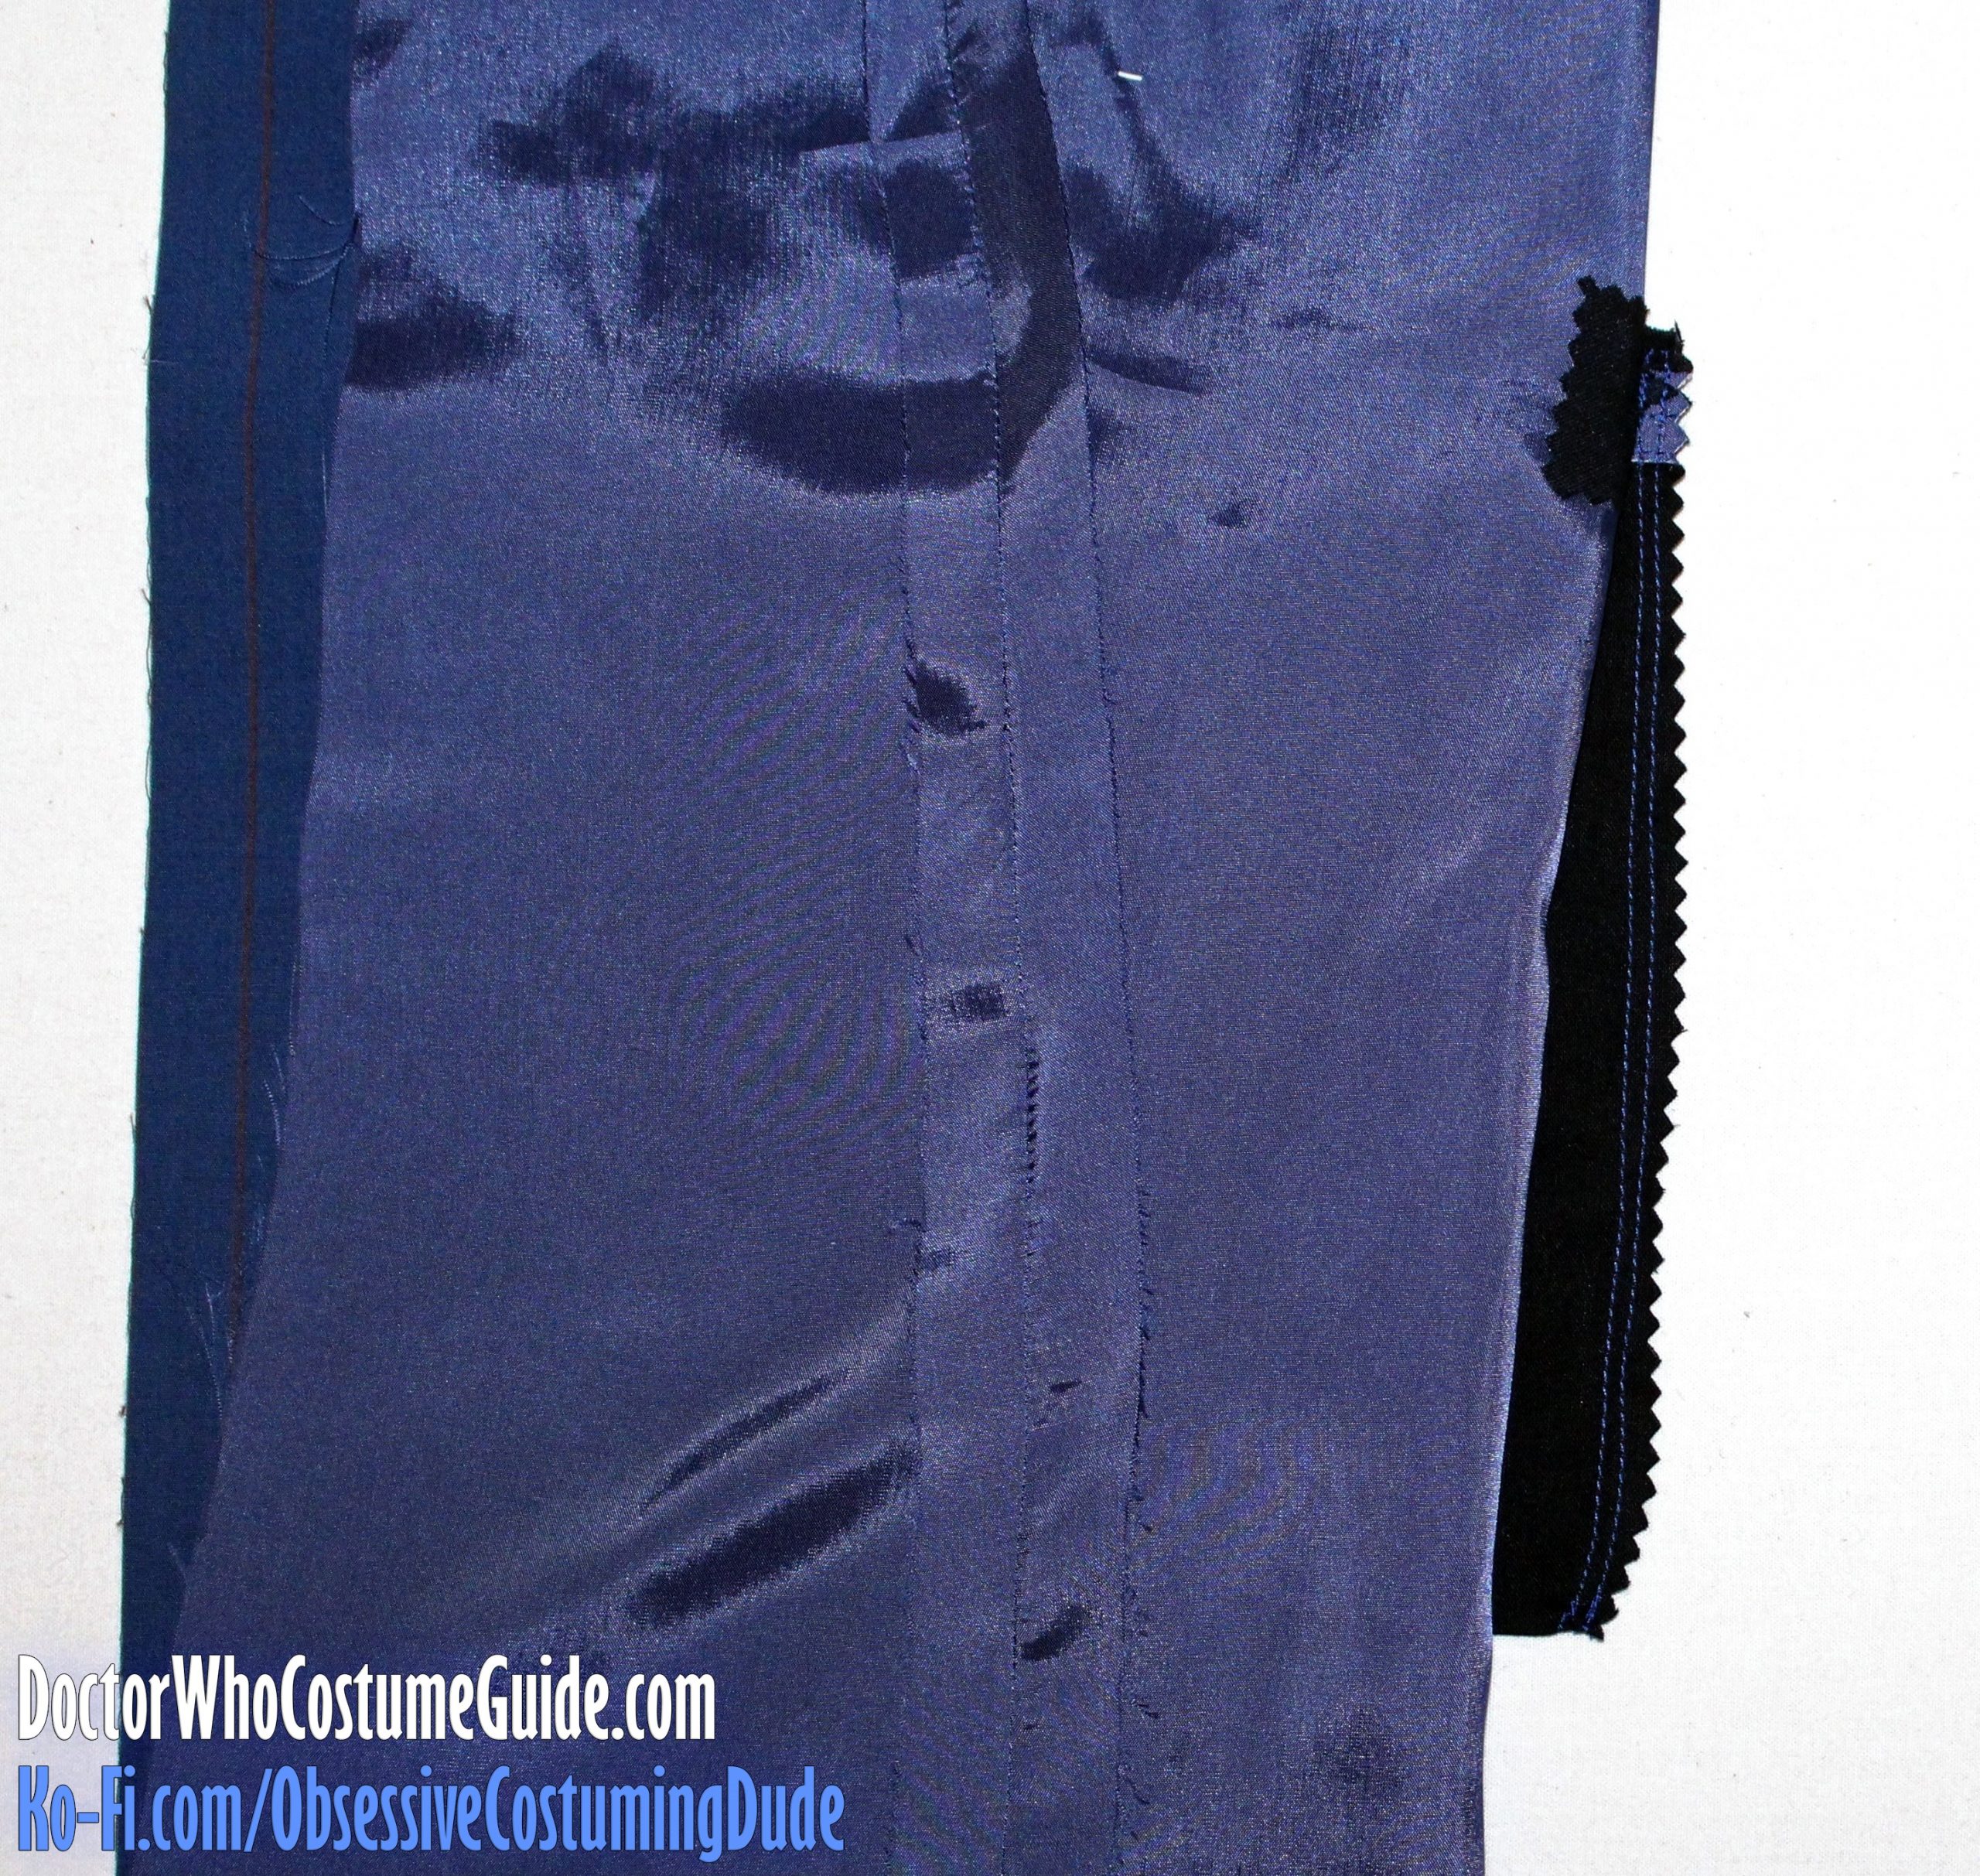
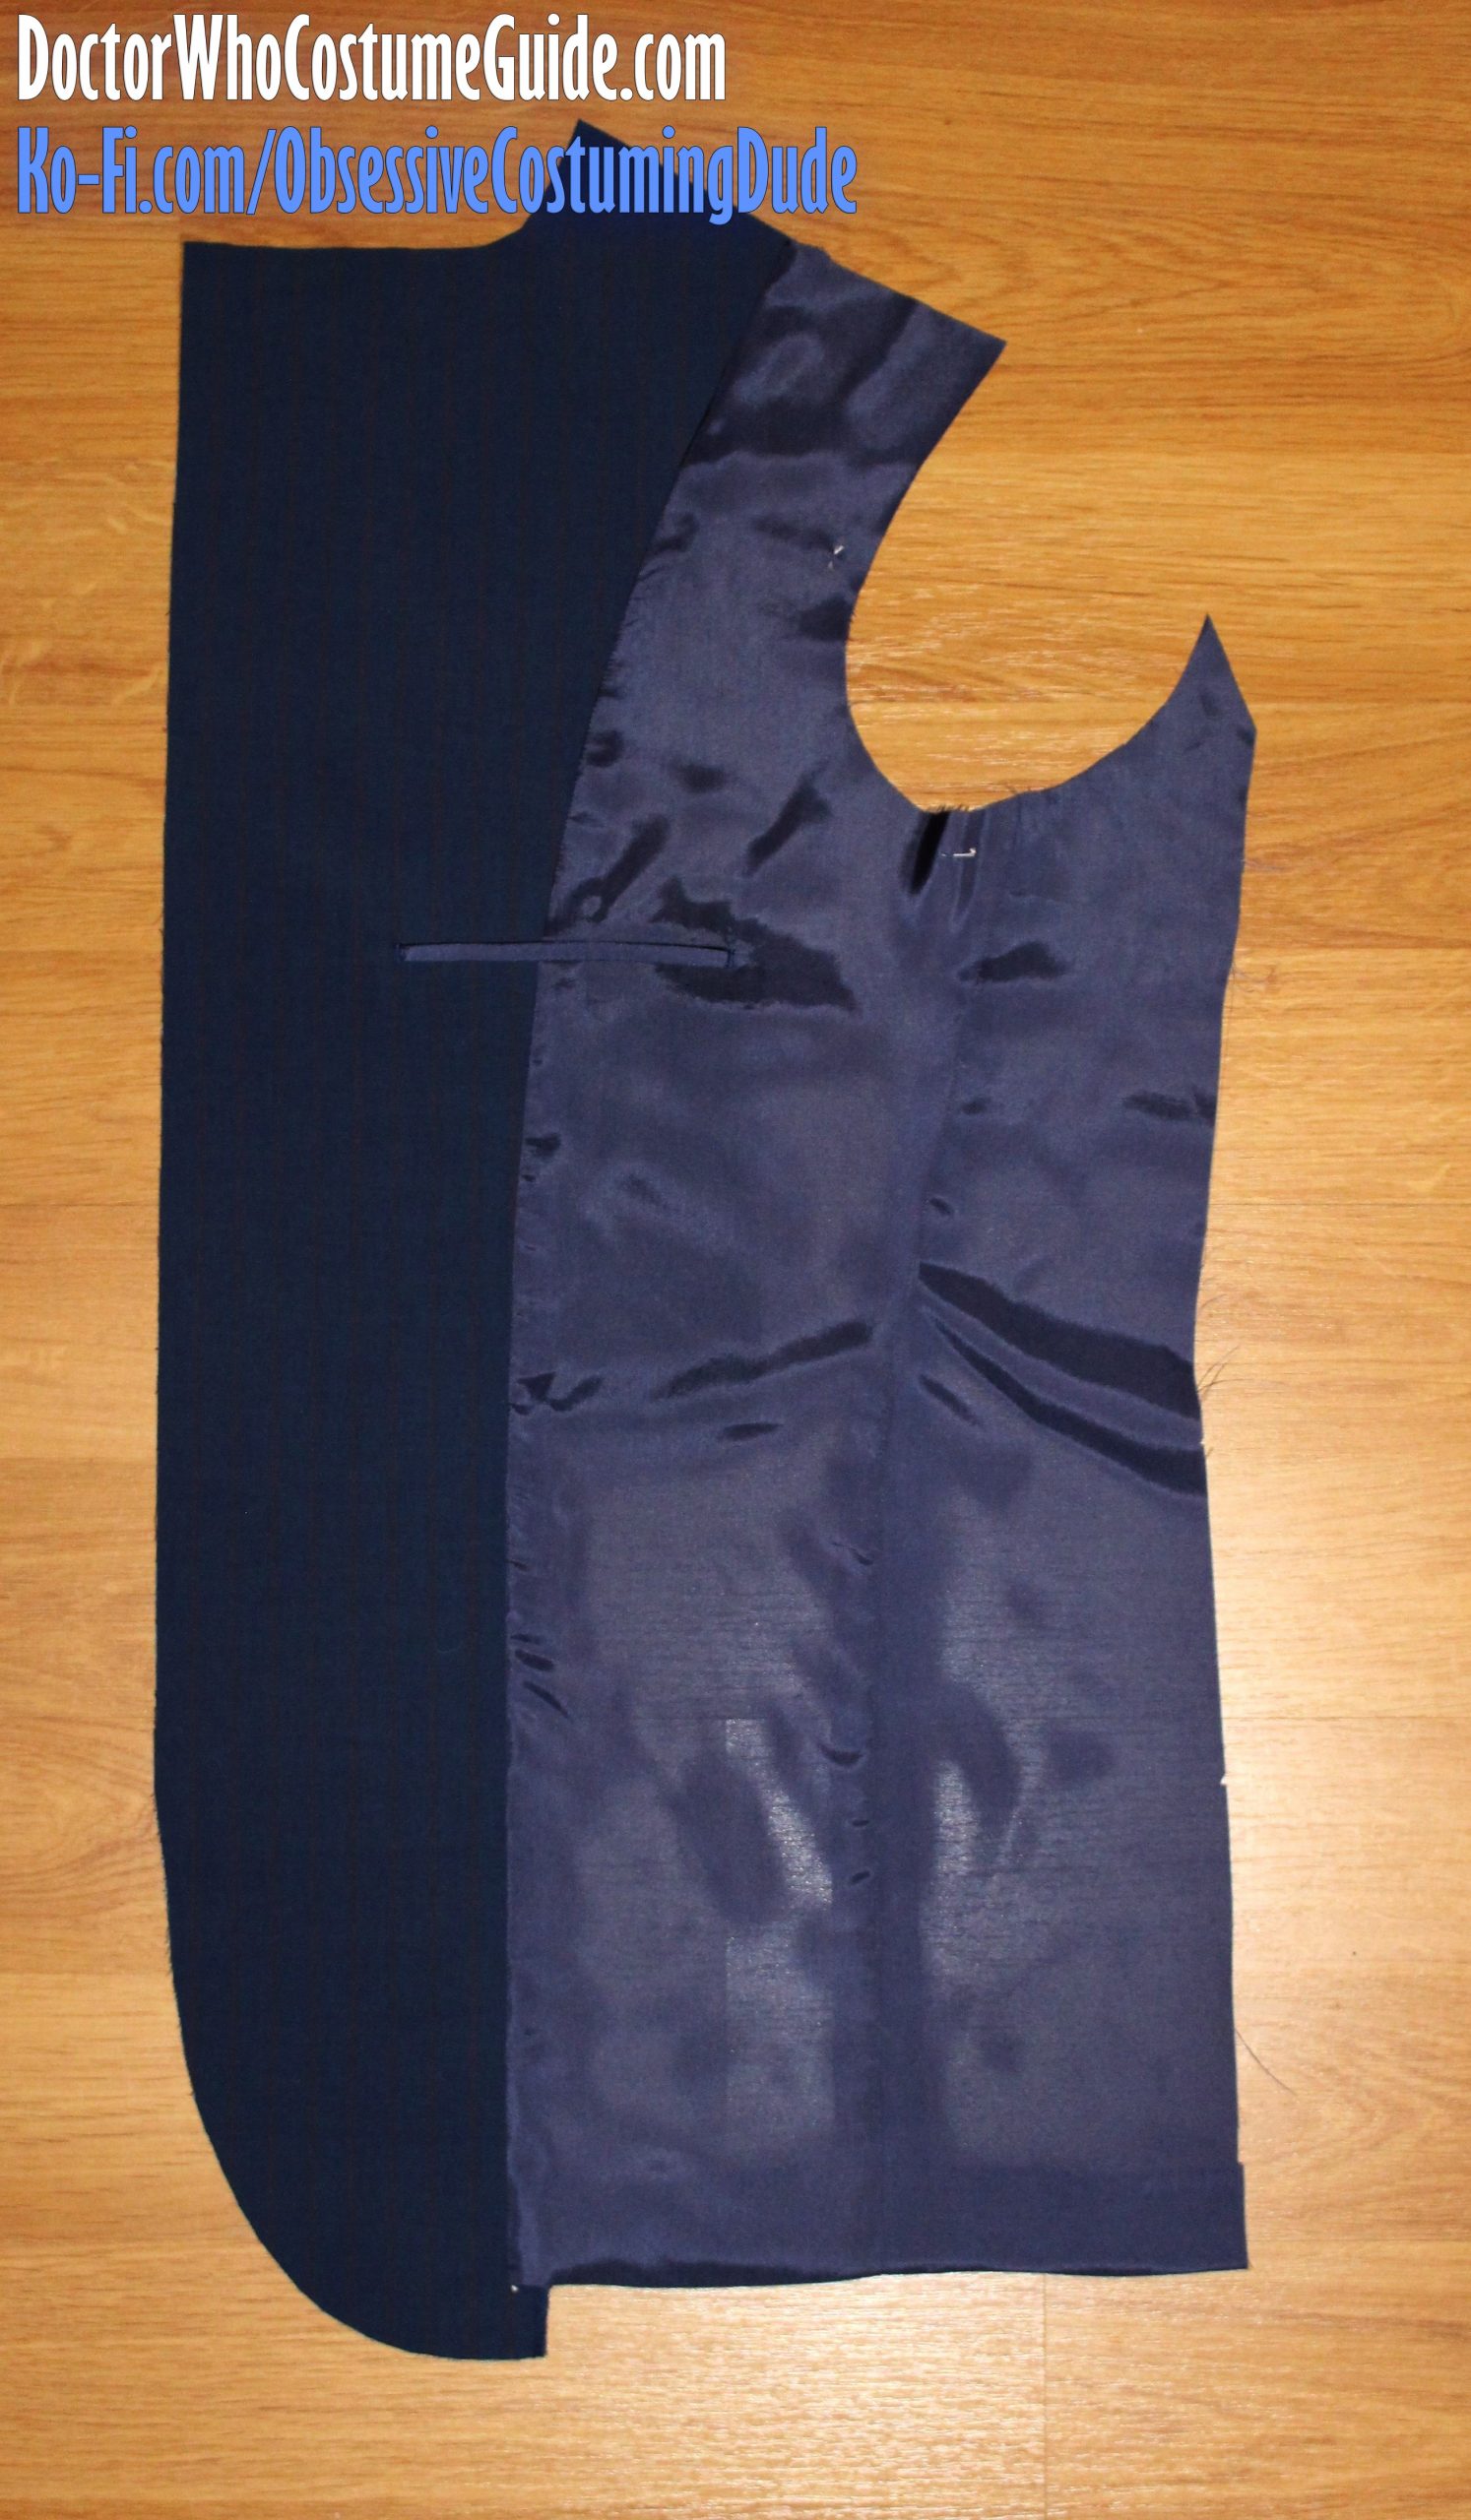
Your front interior assembly should now look like this:
Repeat for the other side.
The lower back lining area is a bit tricky and can be difficult to wrap your mind around at first.
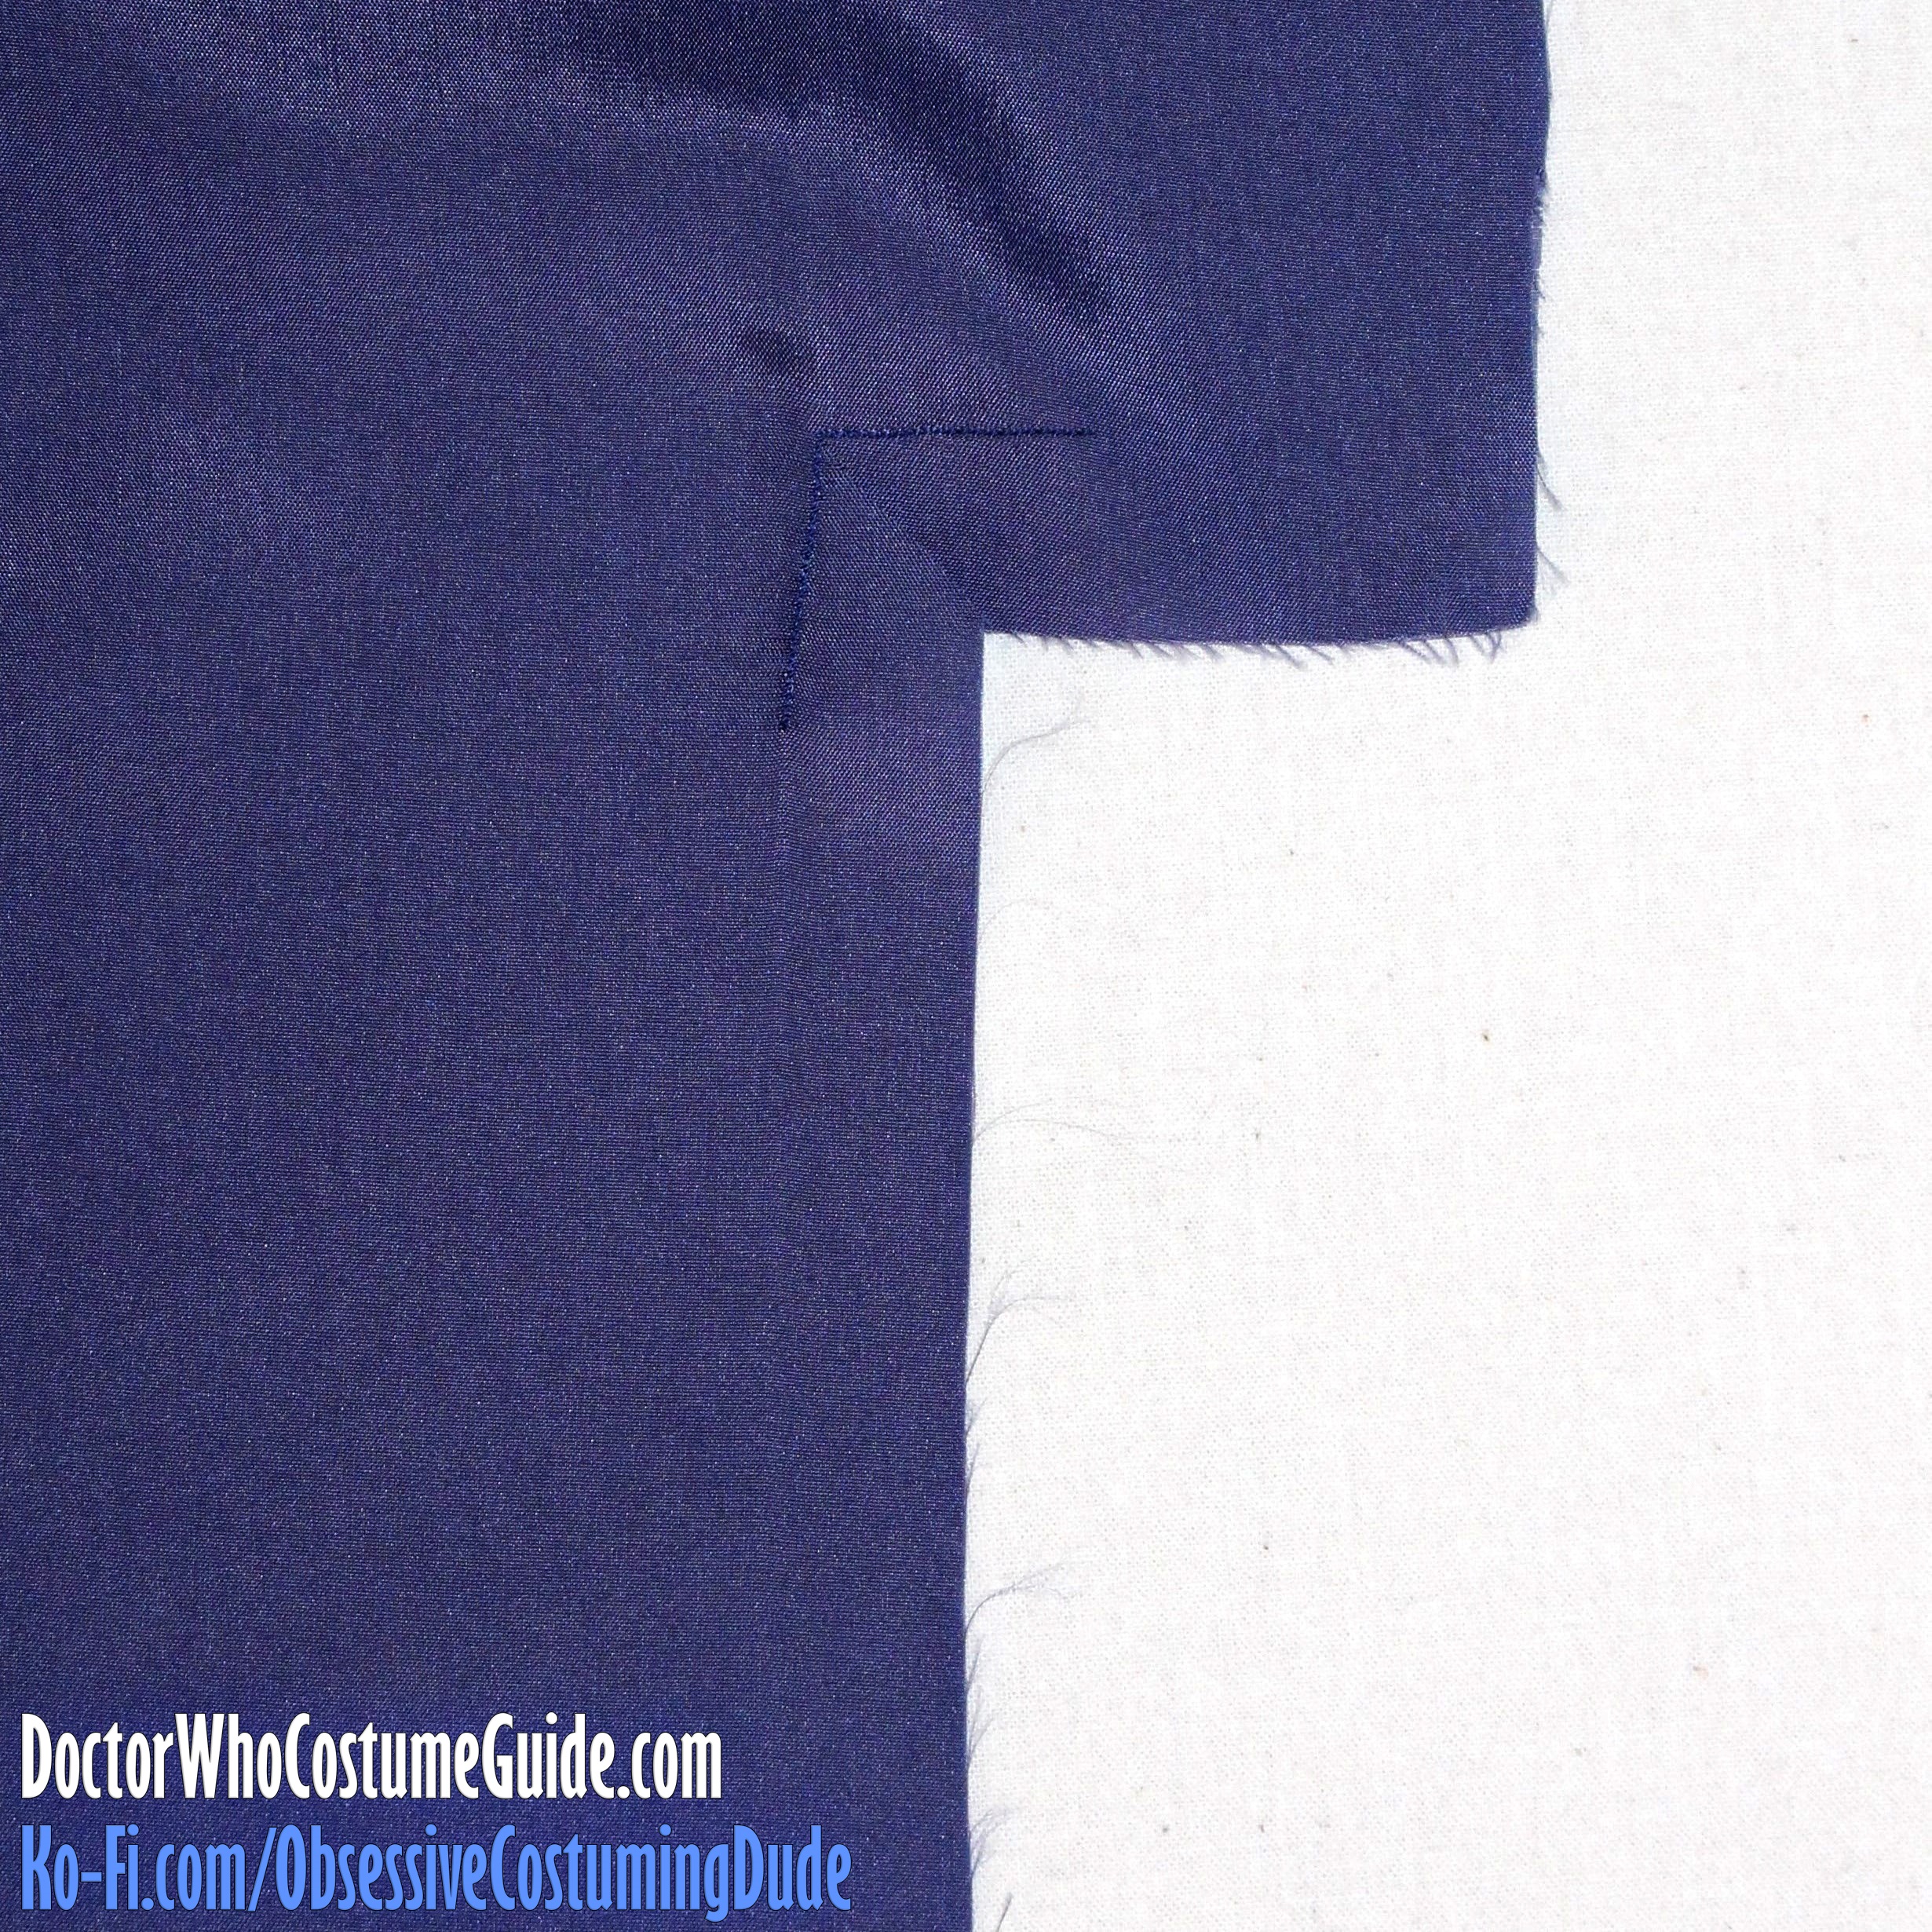
On the back left lining, reinforce the upper corner of the vent with a short row of stitching.
Clip the seam allowance diagonally up to the corner of the stitching.
Then, press those seam allowances under to the wrong side of the lining.
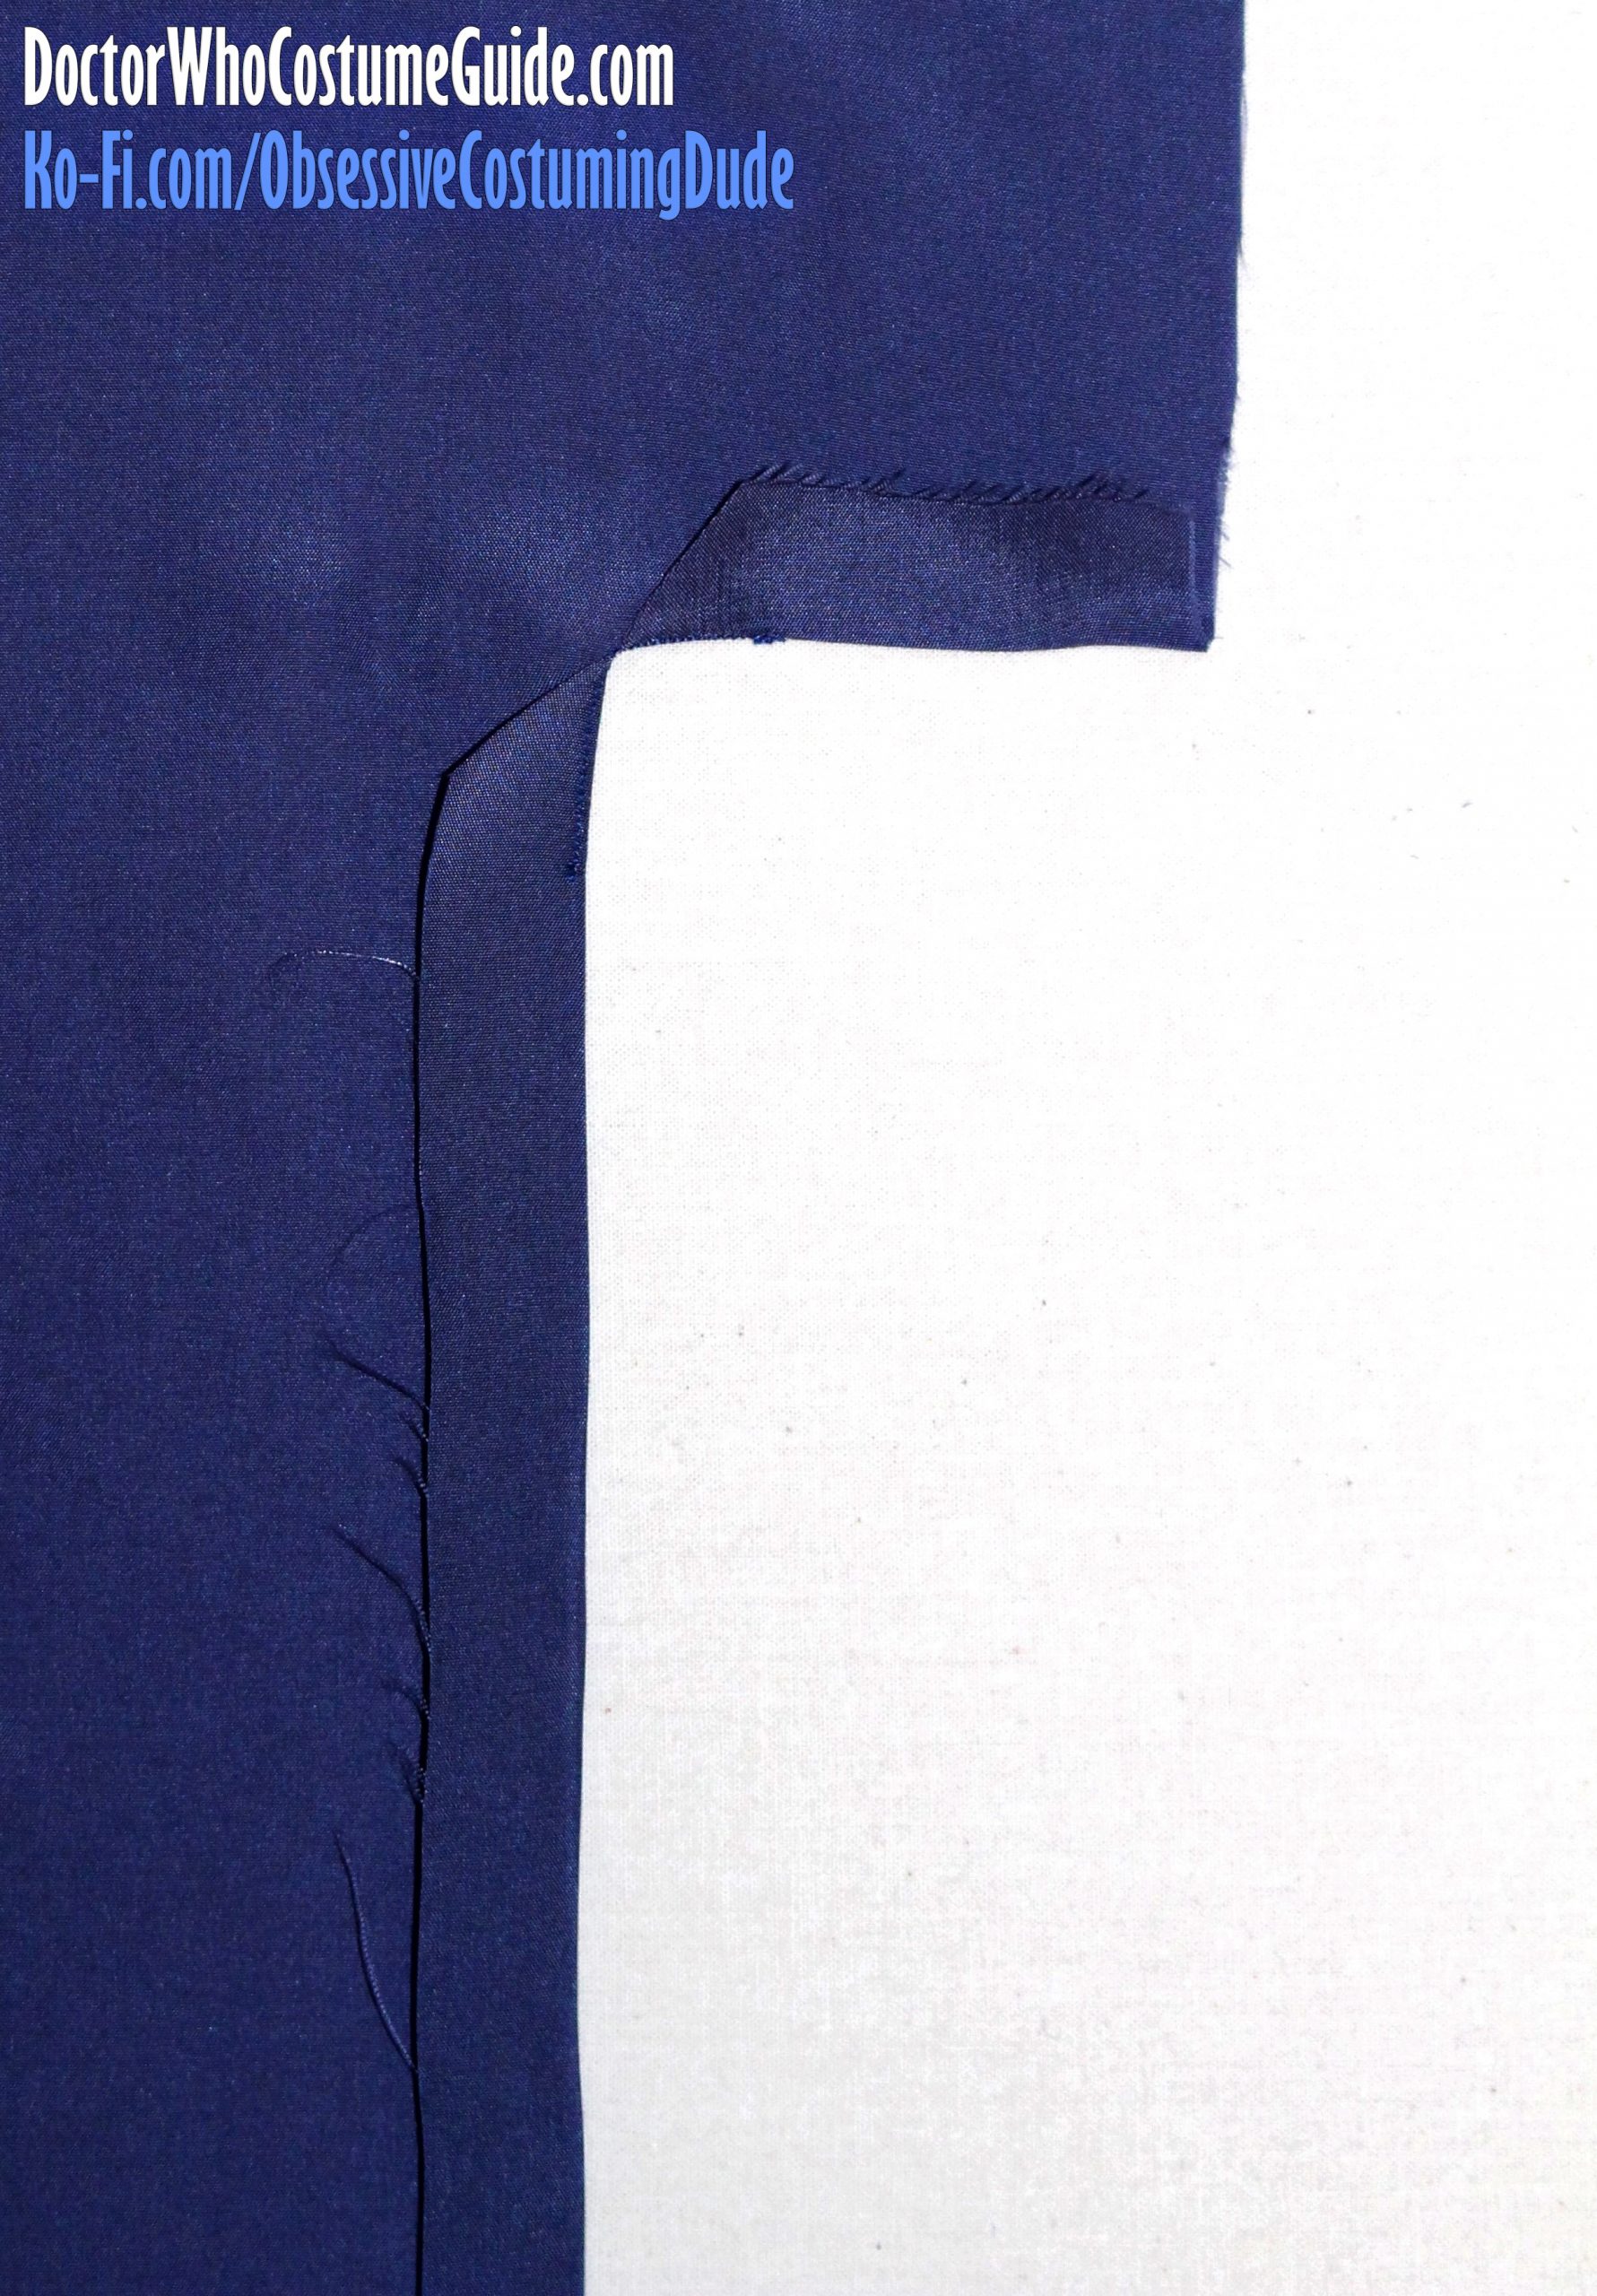
Reinforce the centermost corner of the back right lining and clip it diagonally the same way.
Then, press the seam allowance under on the outer edge of the vent.
Sew the back lining pieces together along the center back, from the neckline to the clipped corners.
Fold the upper left allowance down to the seam line, so it’s not caught in the stitching.
Press the seam allowances to the right, and the vent to the left.
Pull the upper left allowance under (which is possible because we clipped it diagonally).
You can slip-stitch the upper edges together later if you want, but I prefer to machine-sew them.
To do this, pull the other layers out of the way, and sew the upper allowances together along the seam line.
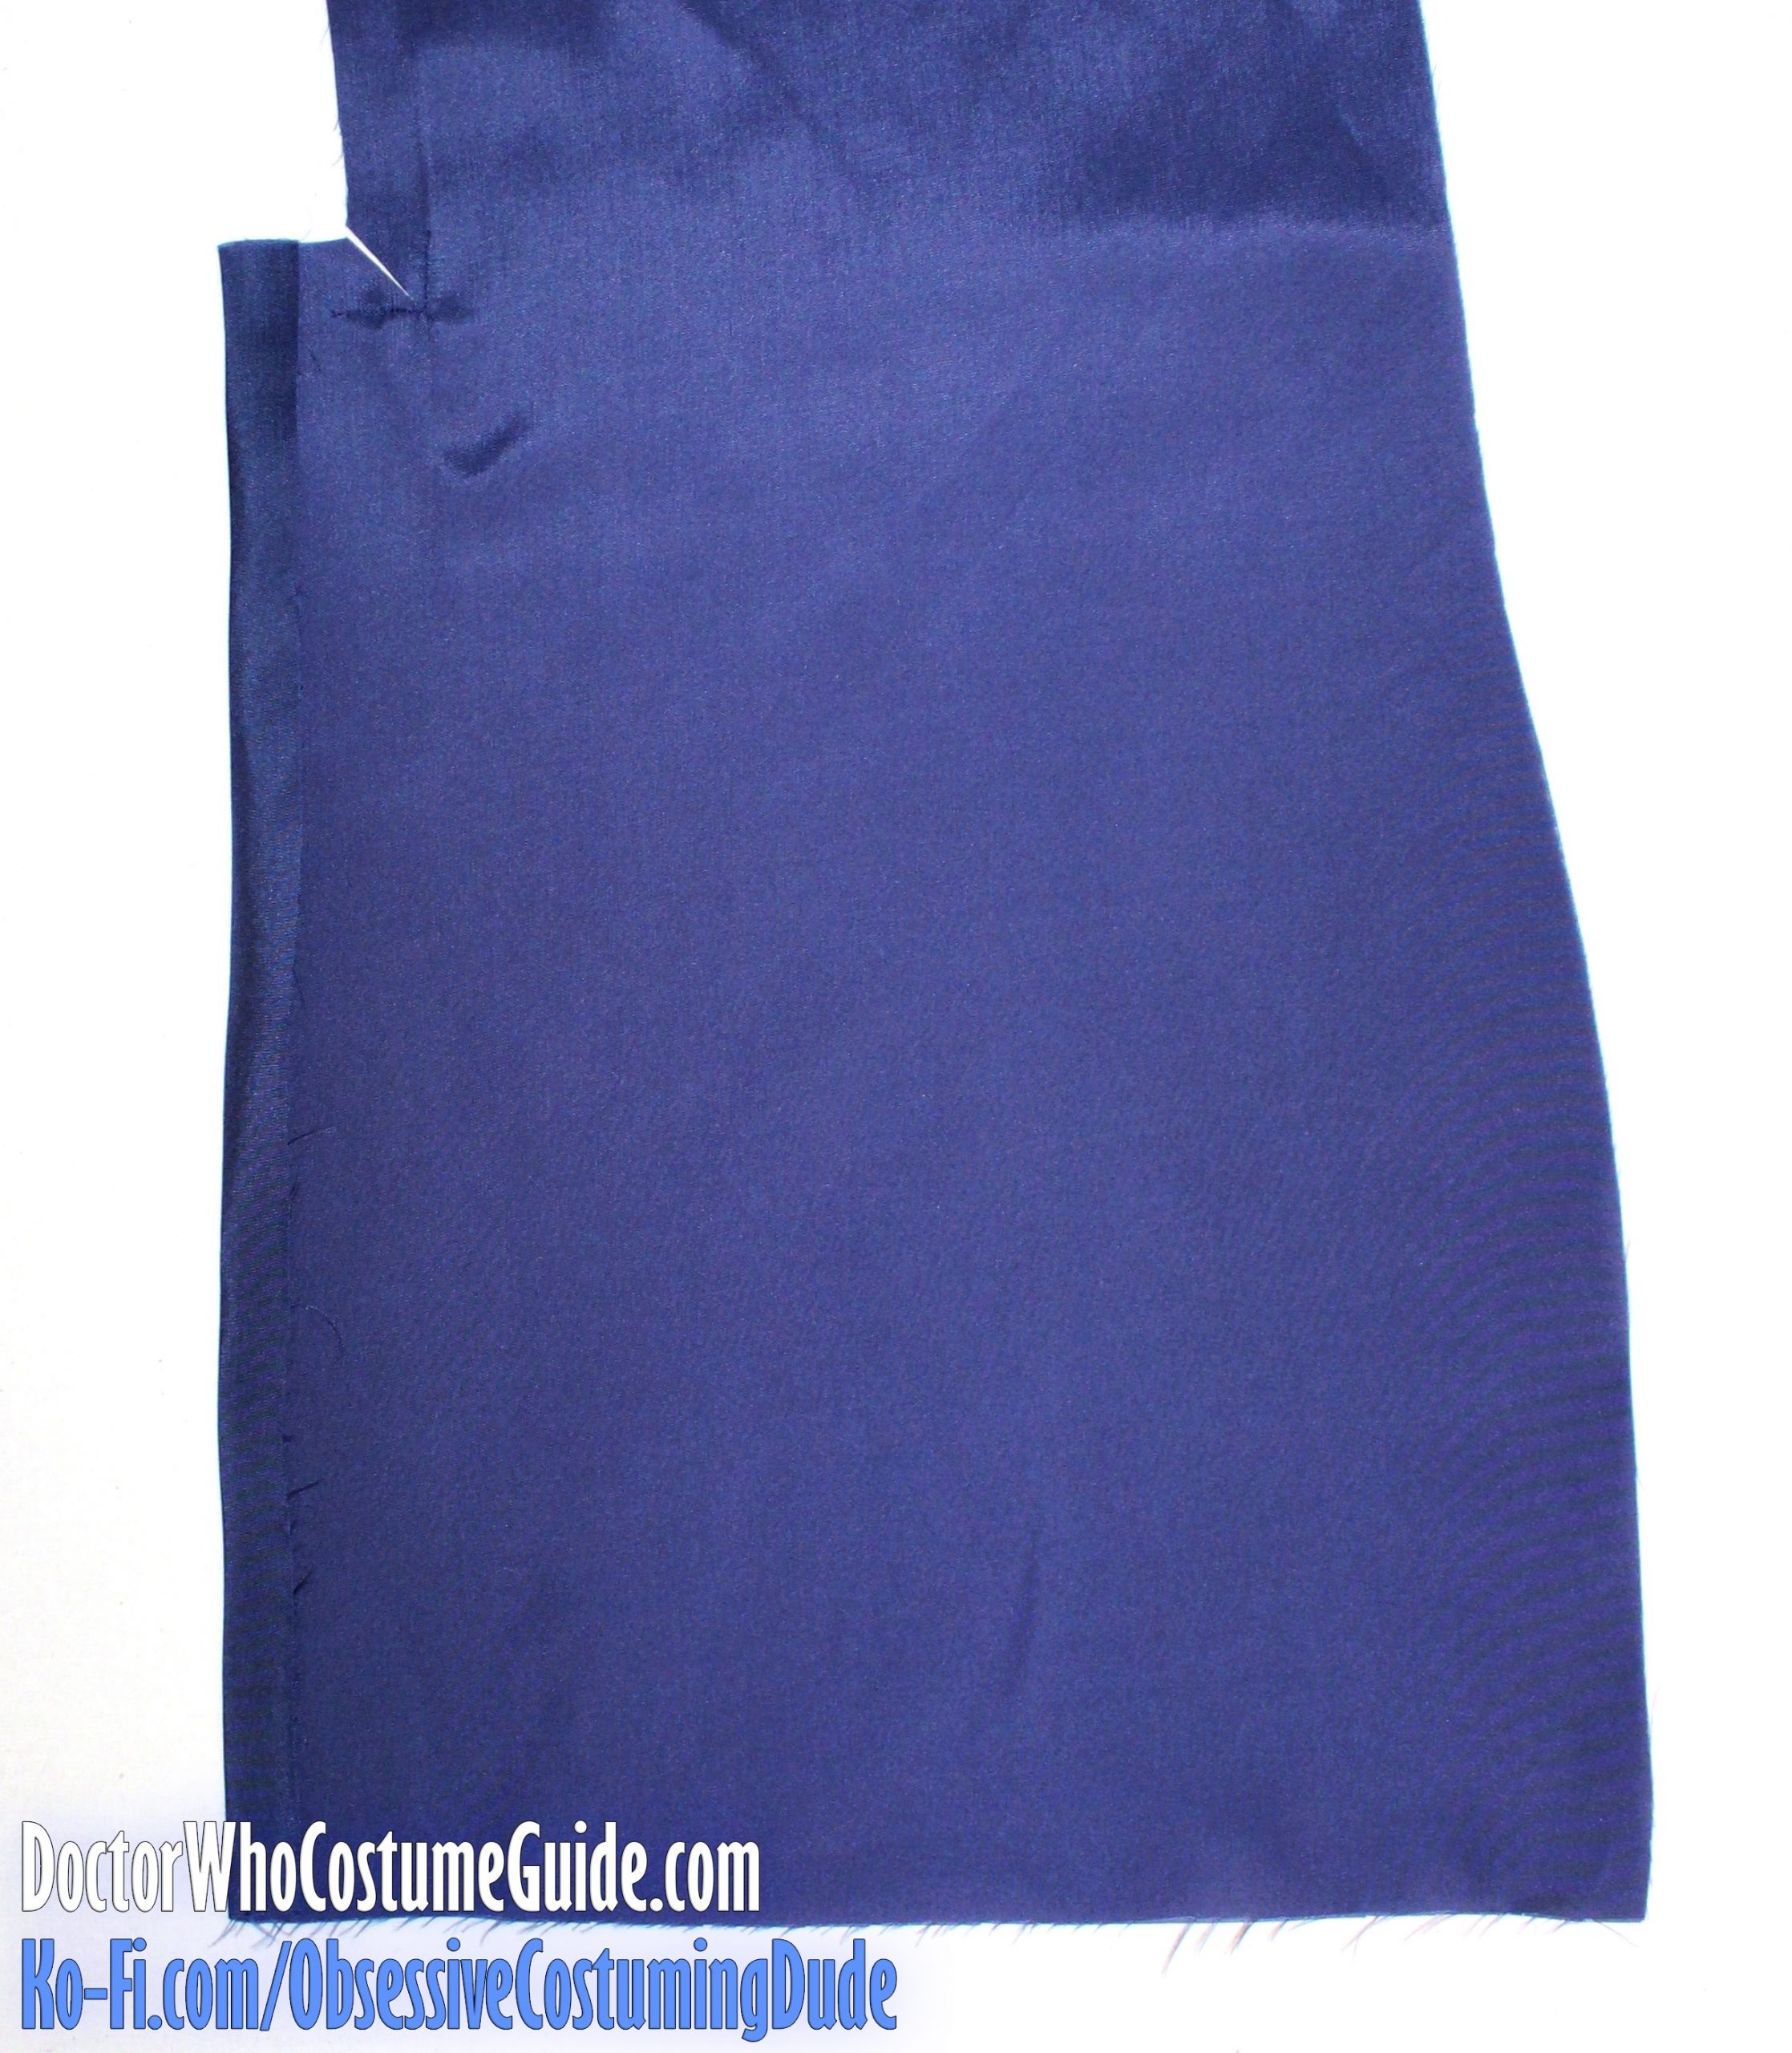
The back vent lining area should now look like this:
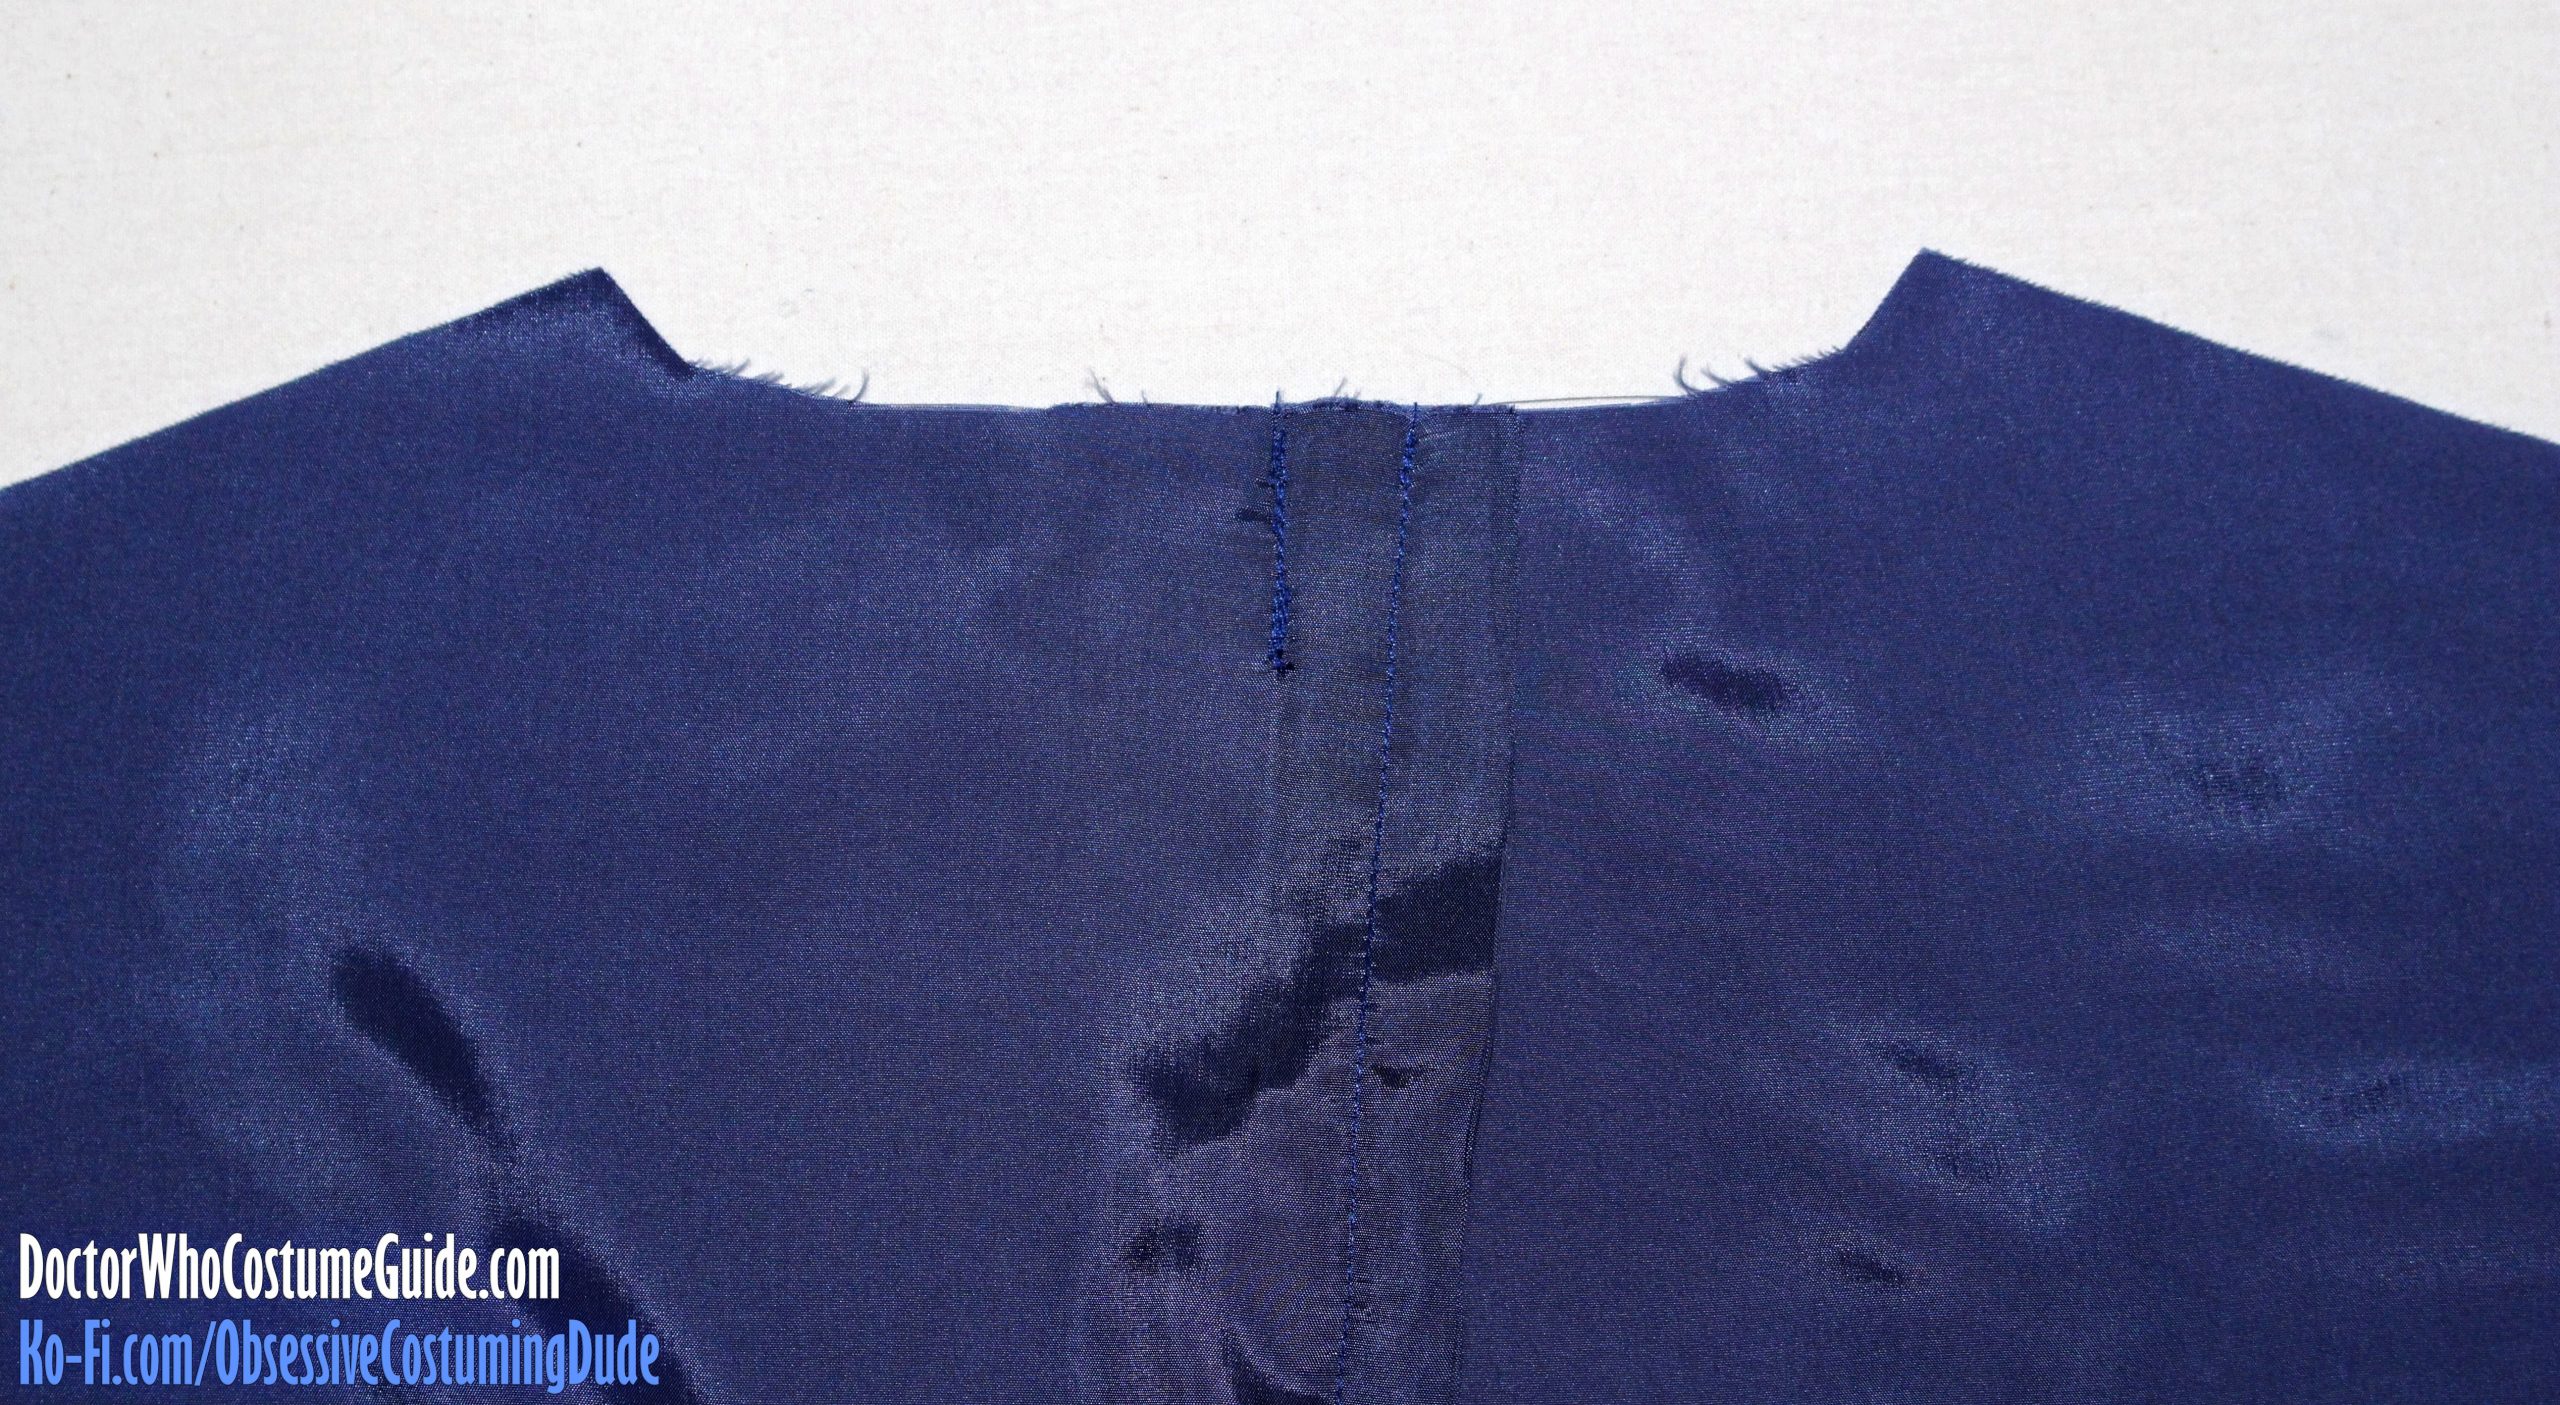
Sew the upper back pleat, reinforcing the stitching at the bottom and across the neckline seam.
Press the pleat toward the right.
Assemble the jacket interior the same way as done previously with the jacket body:
Sew the fronts to the back at the shoulders, easing in the back shoulders to fit. Press the seam allowances open.
Sew the fronts to the back at the sides, and press the seam allowances open.
Join the upper sleeve and under sleeve linings, and press the seam allowances open.
Attach the sleeve linings to the interior assembly, easing to fit. Stitch again ⅛” inside the previous stitch line, then trim the upper armscye seam allowances to ½” and the lower armscye seam allowances to ¼”.
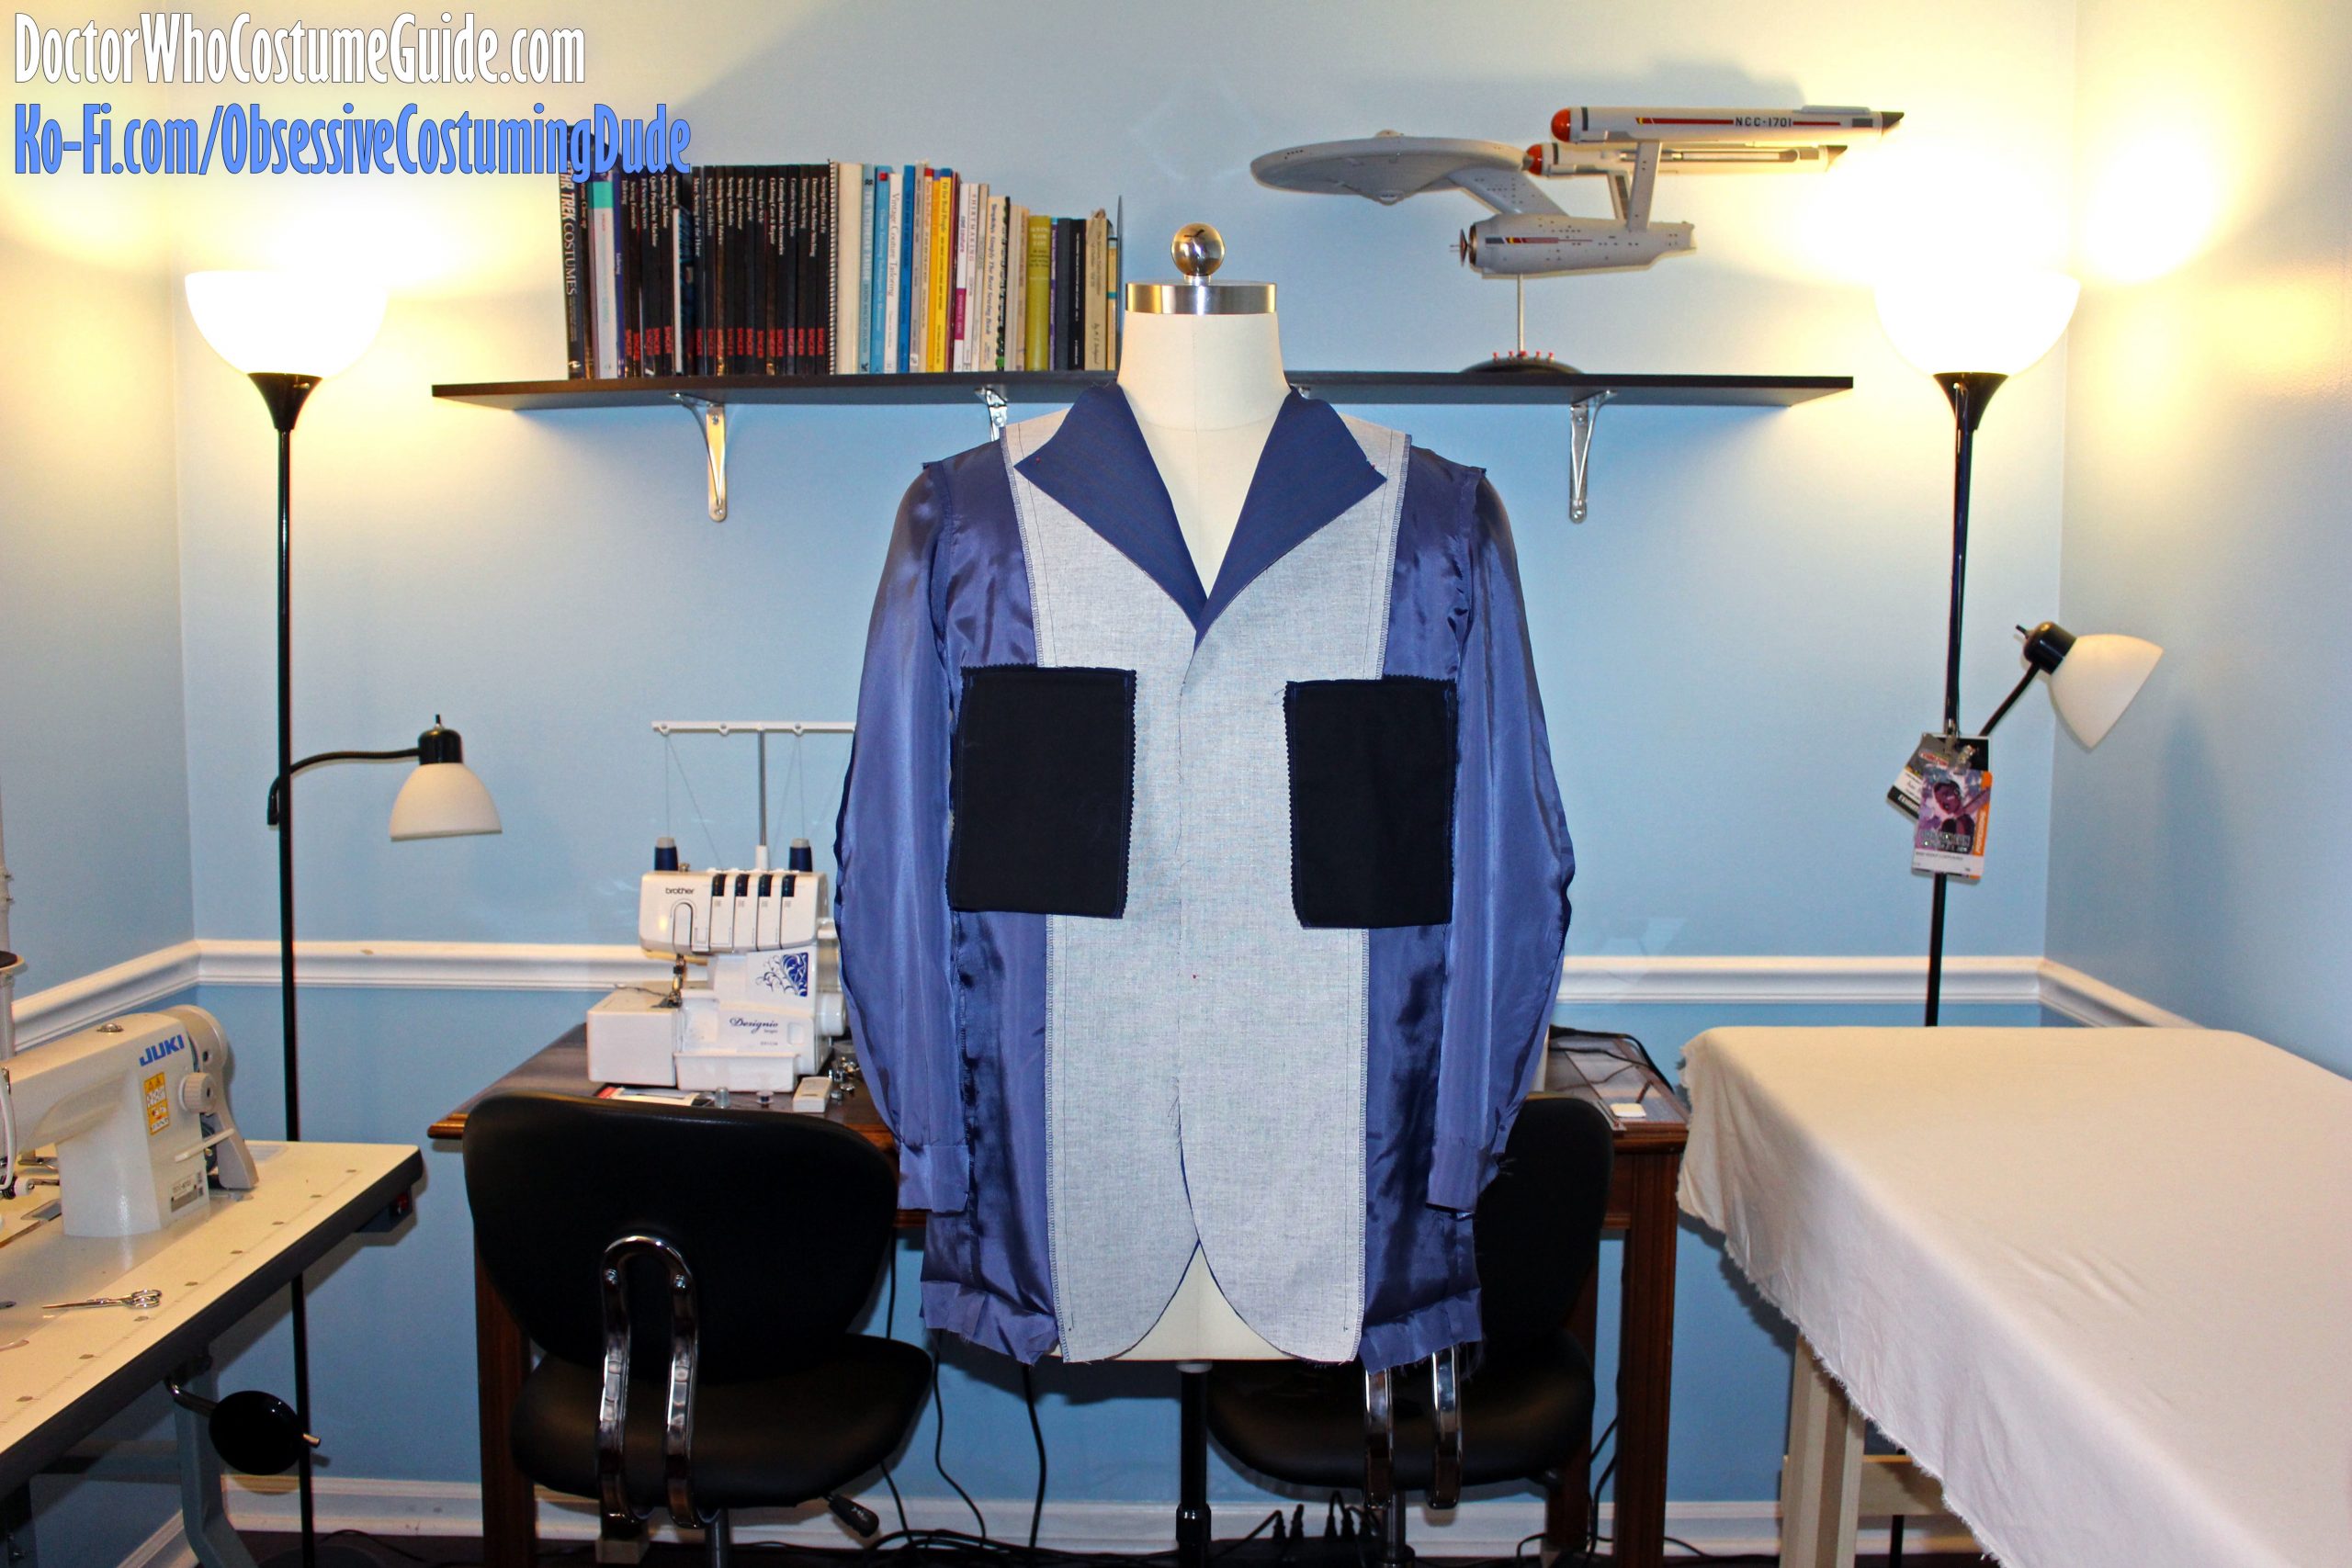
Your finished interior assembly should look something like this: