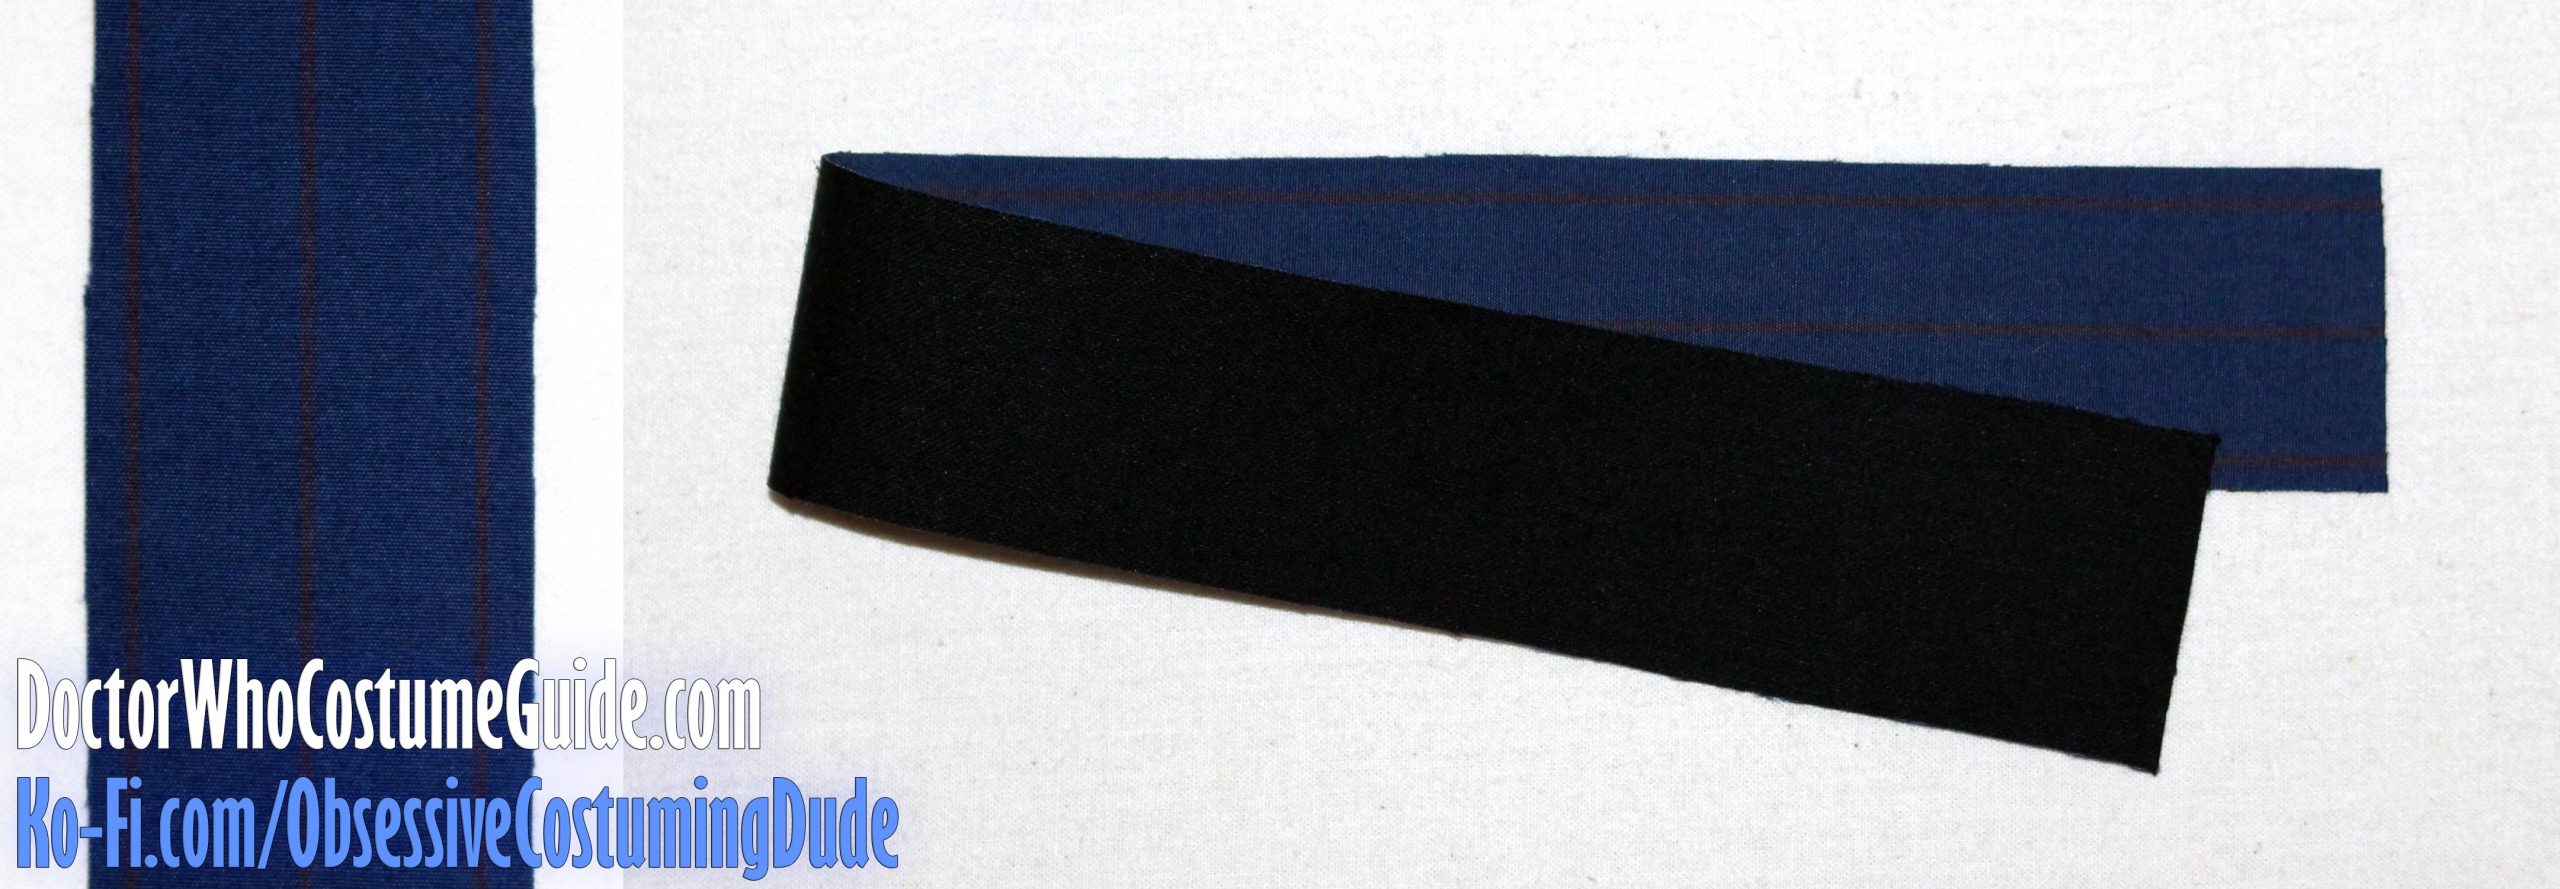
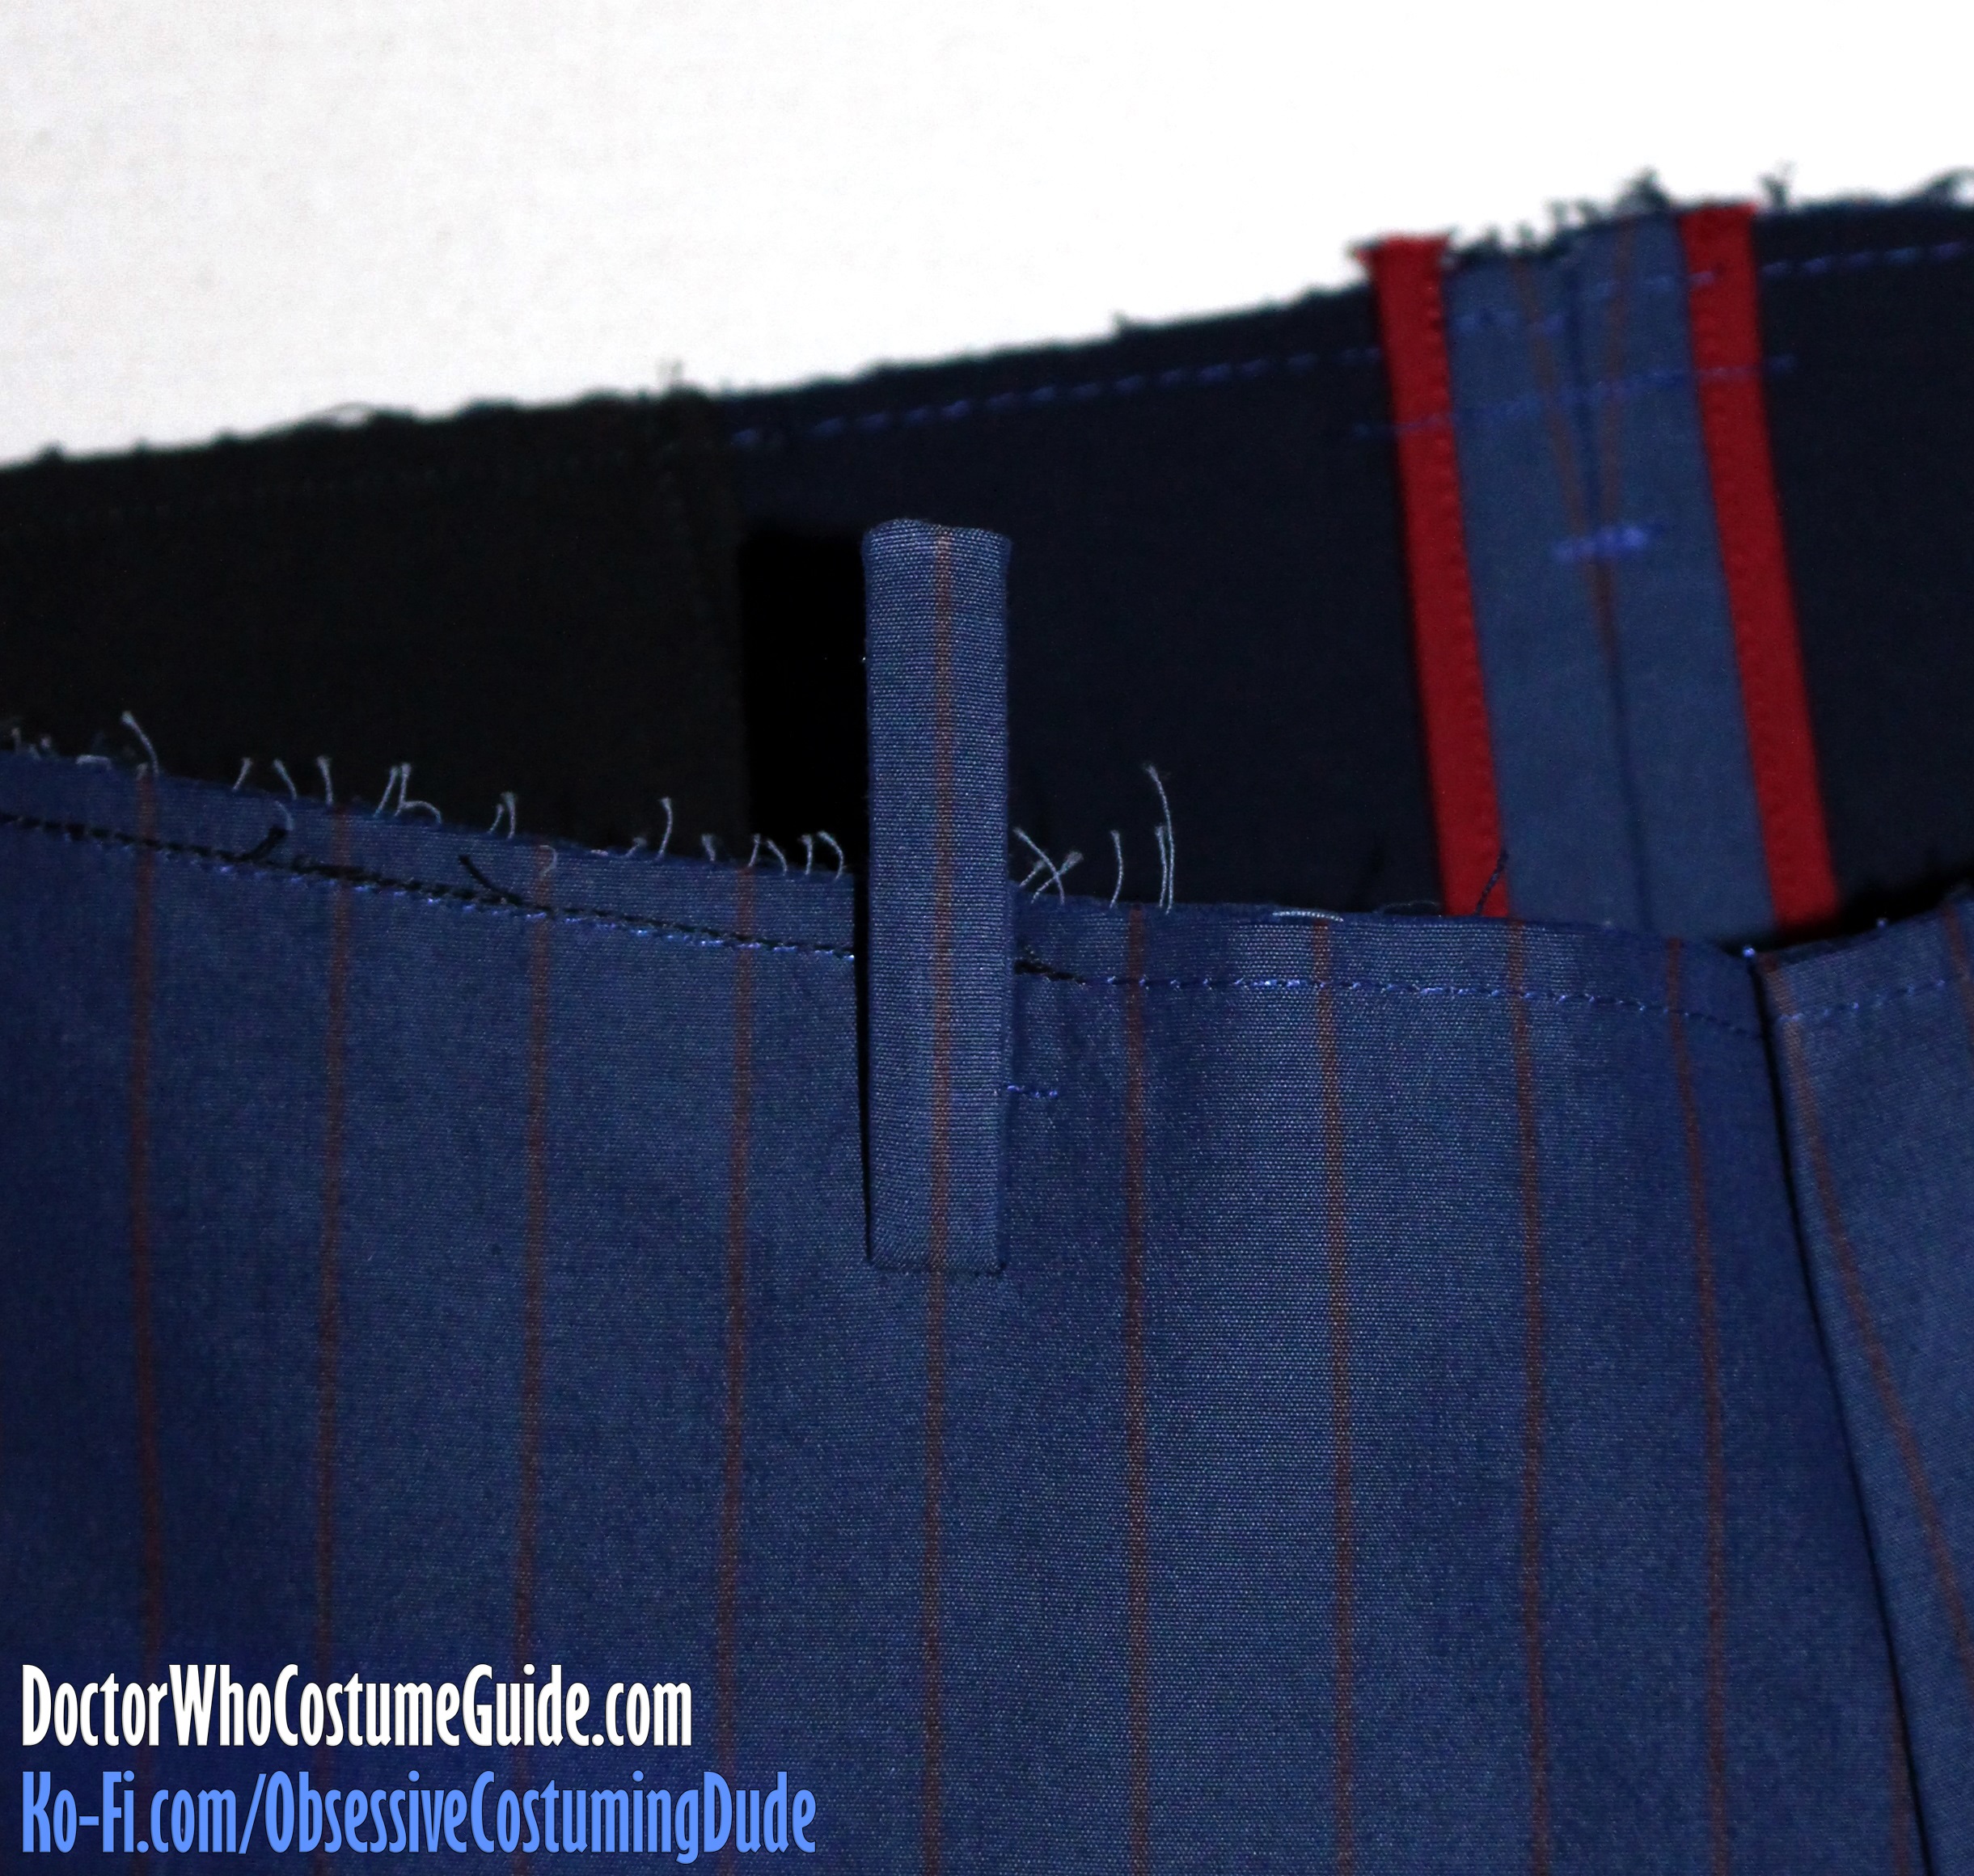
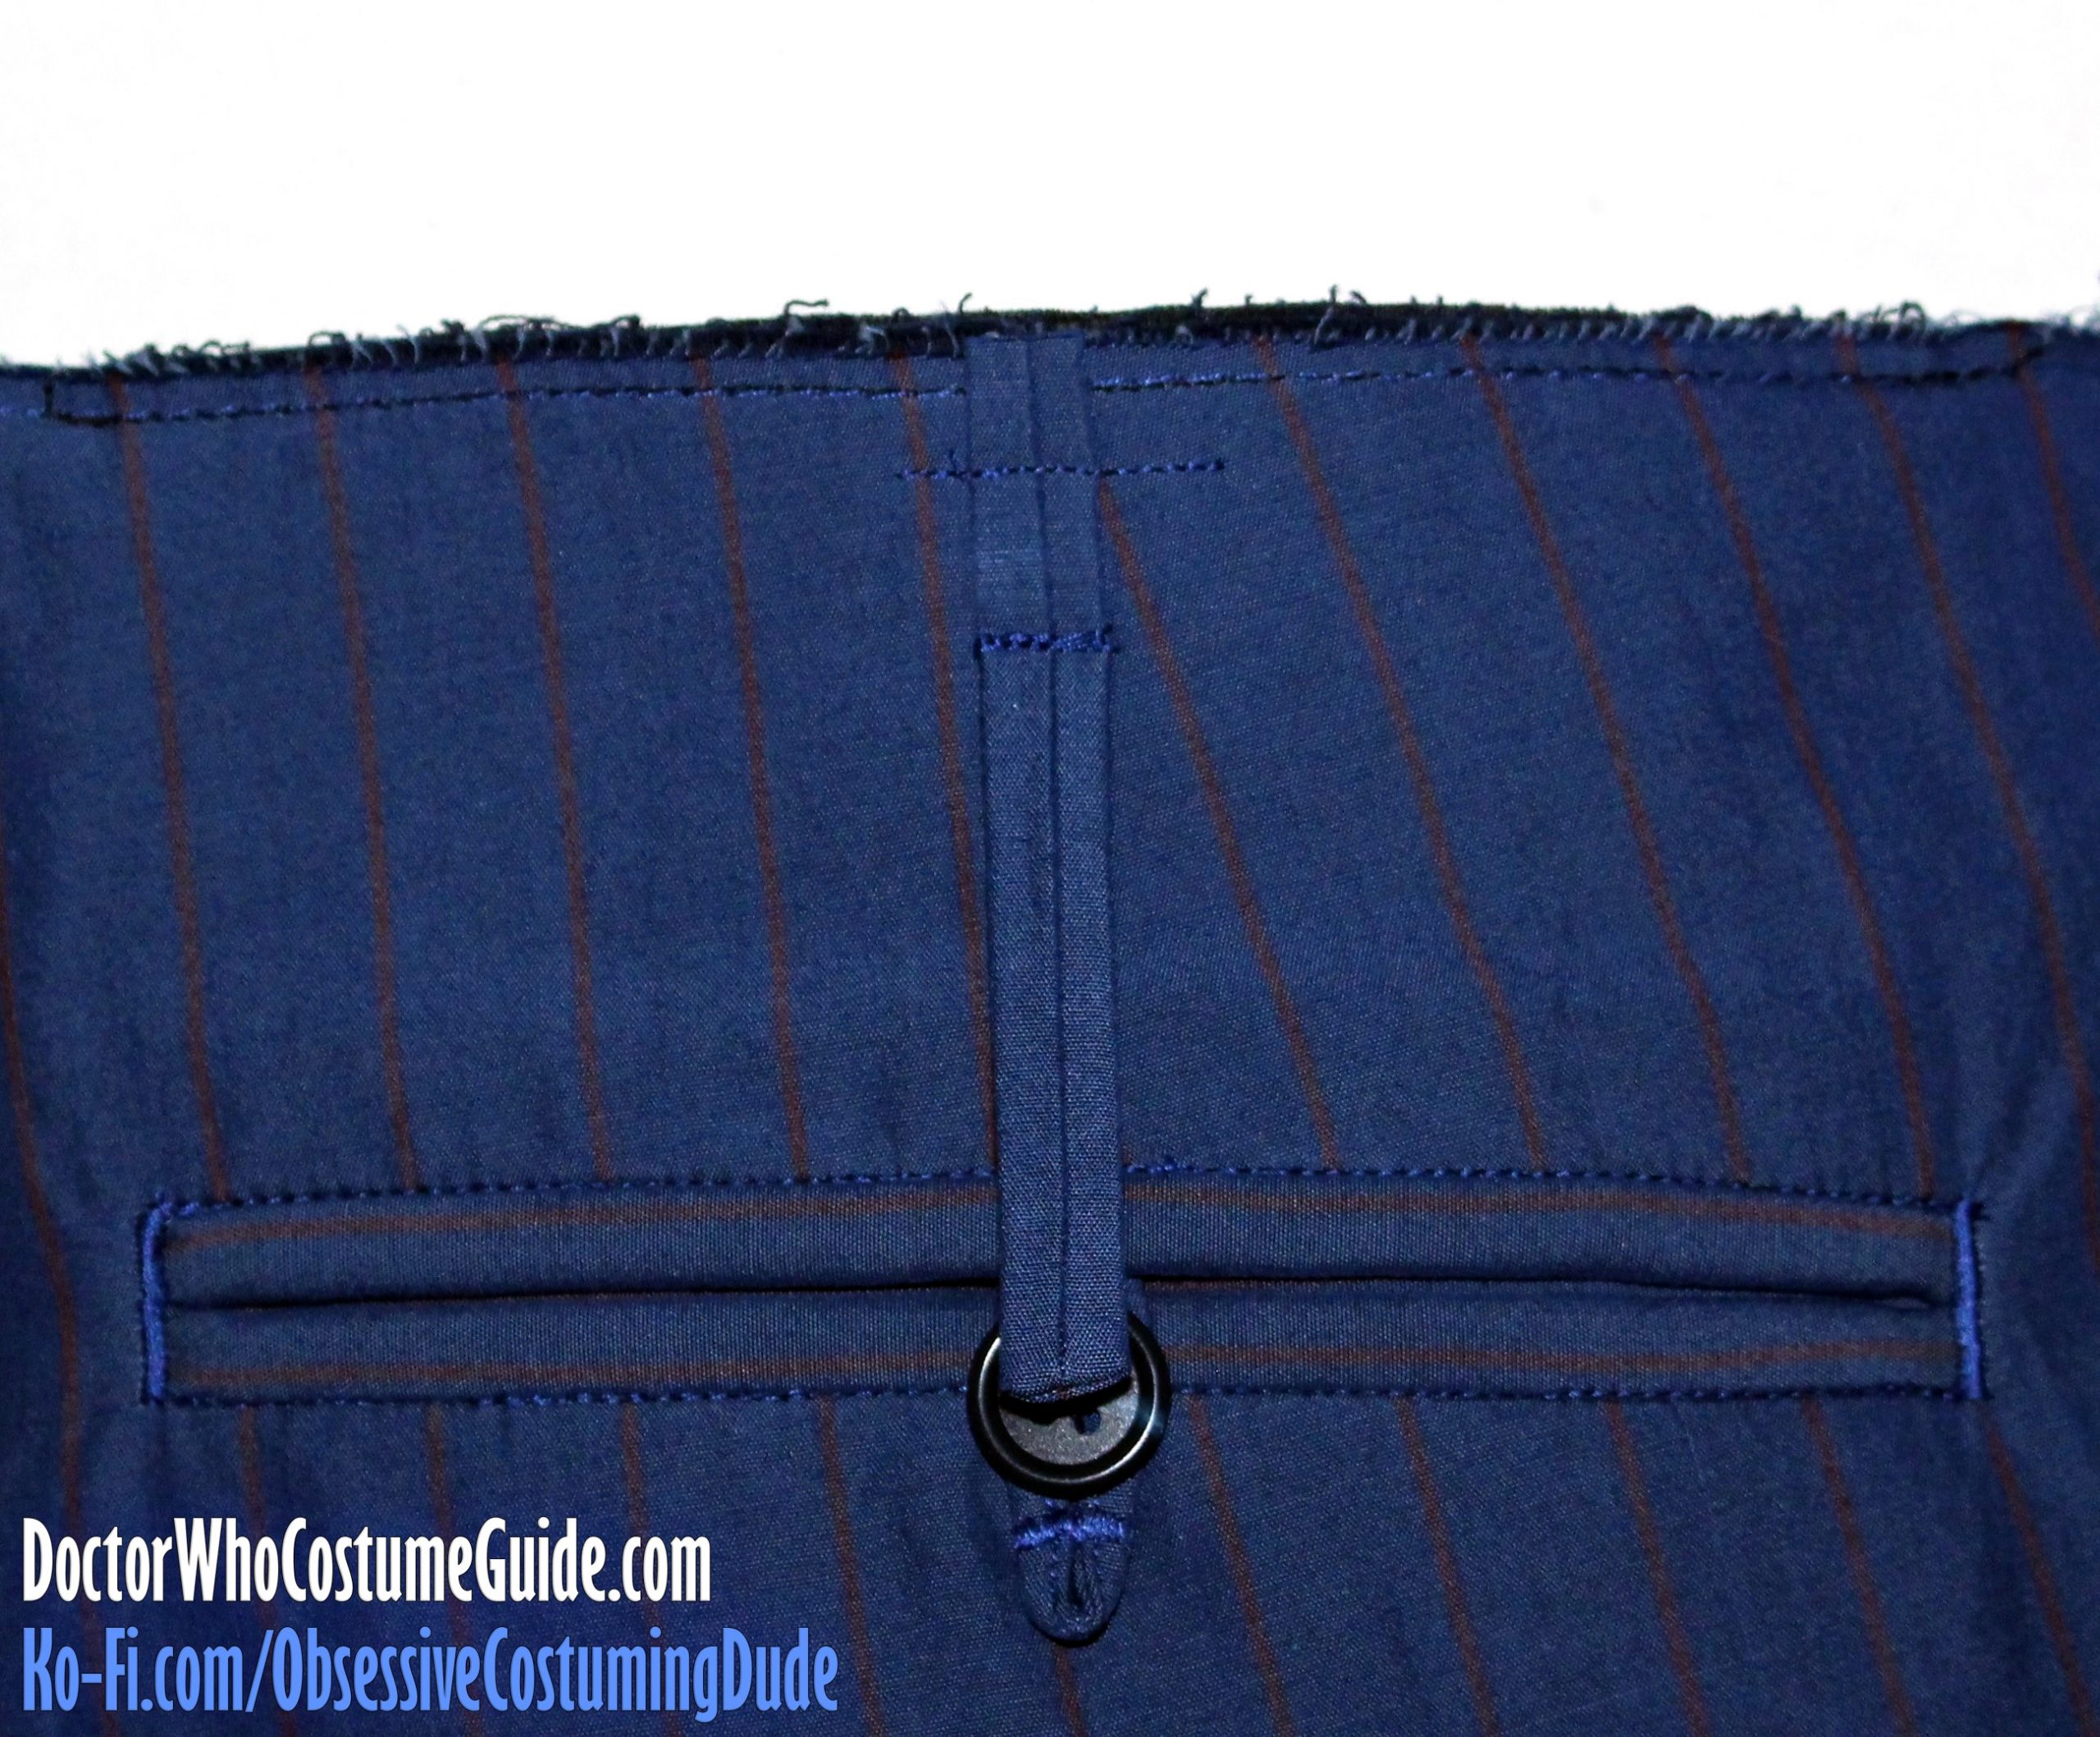
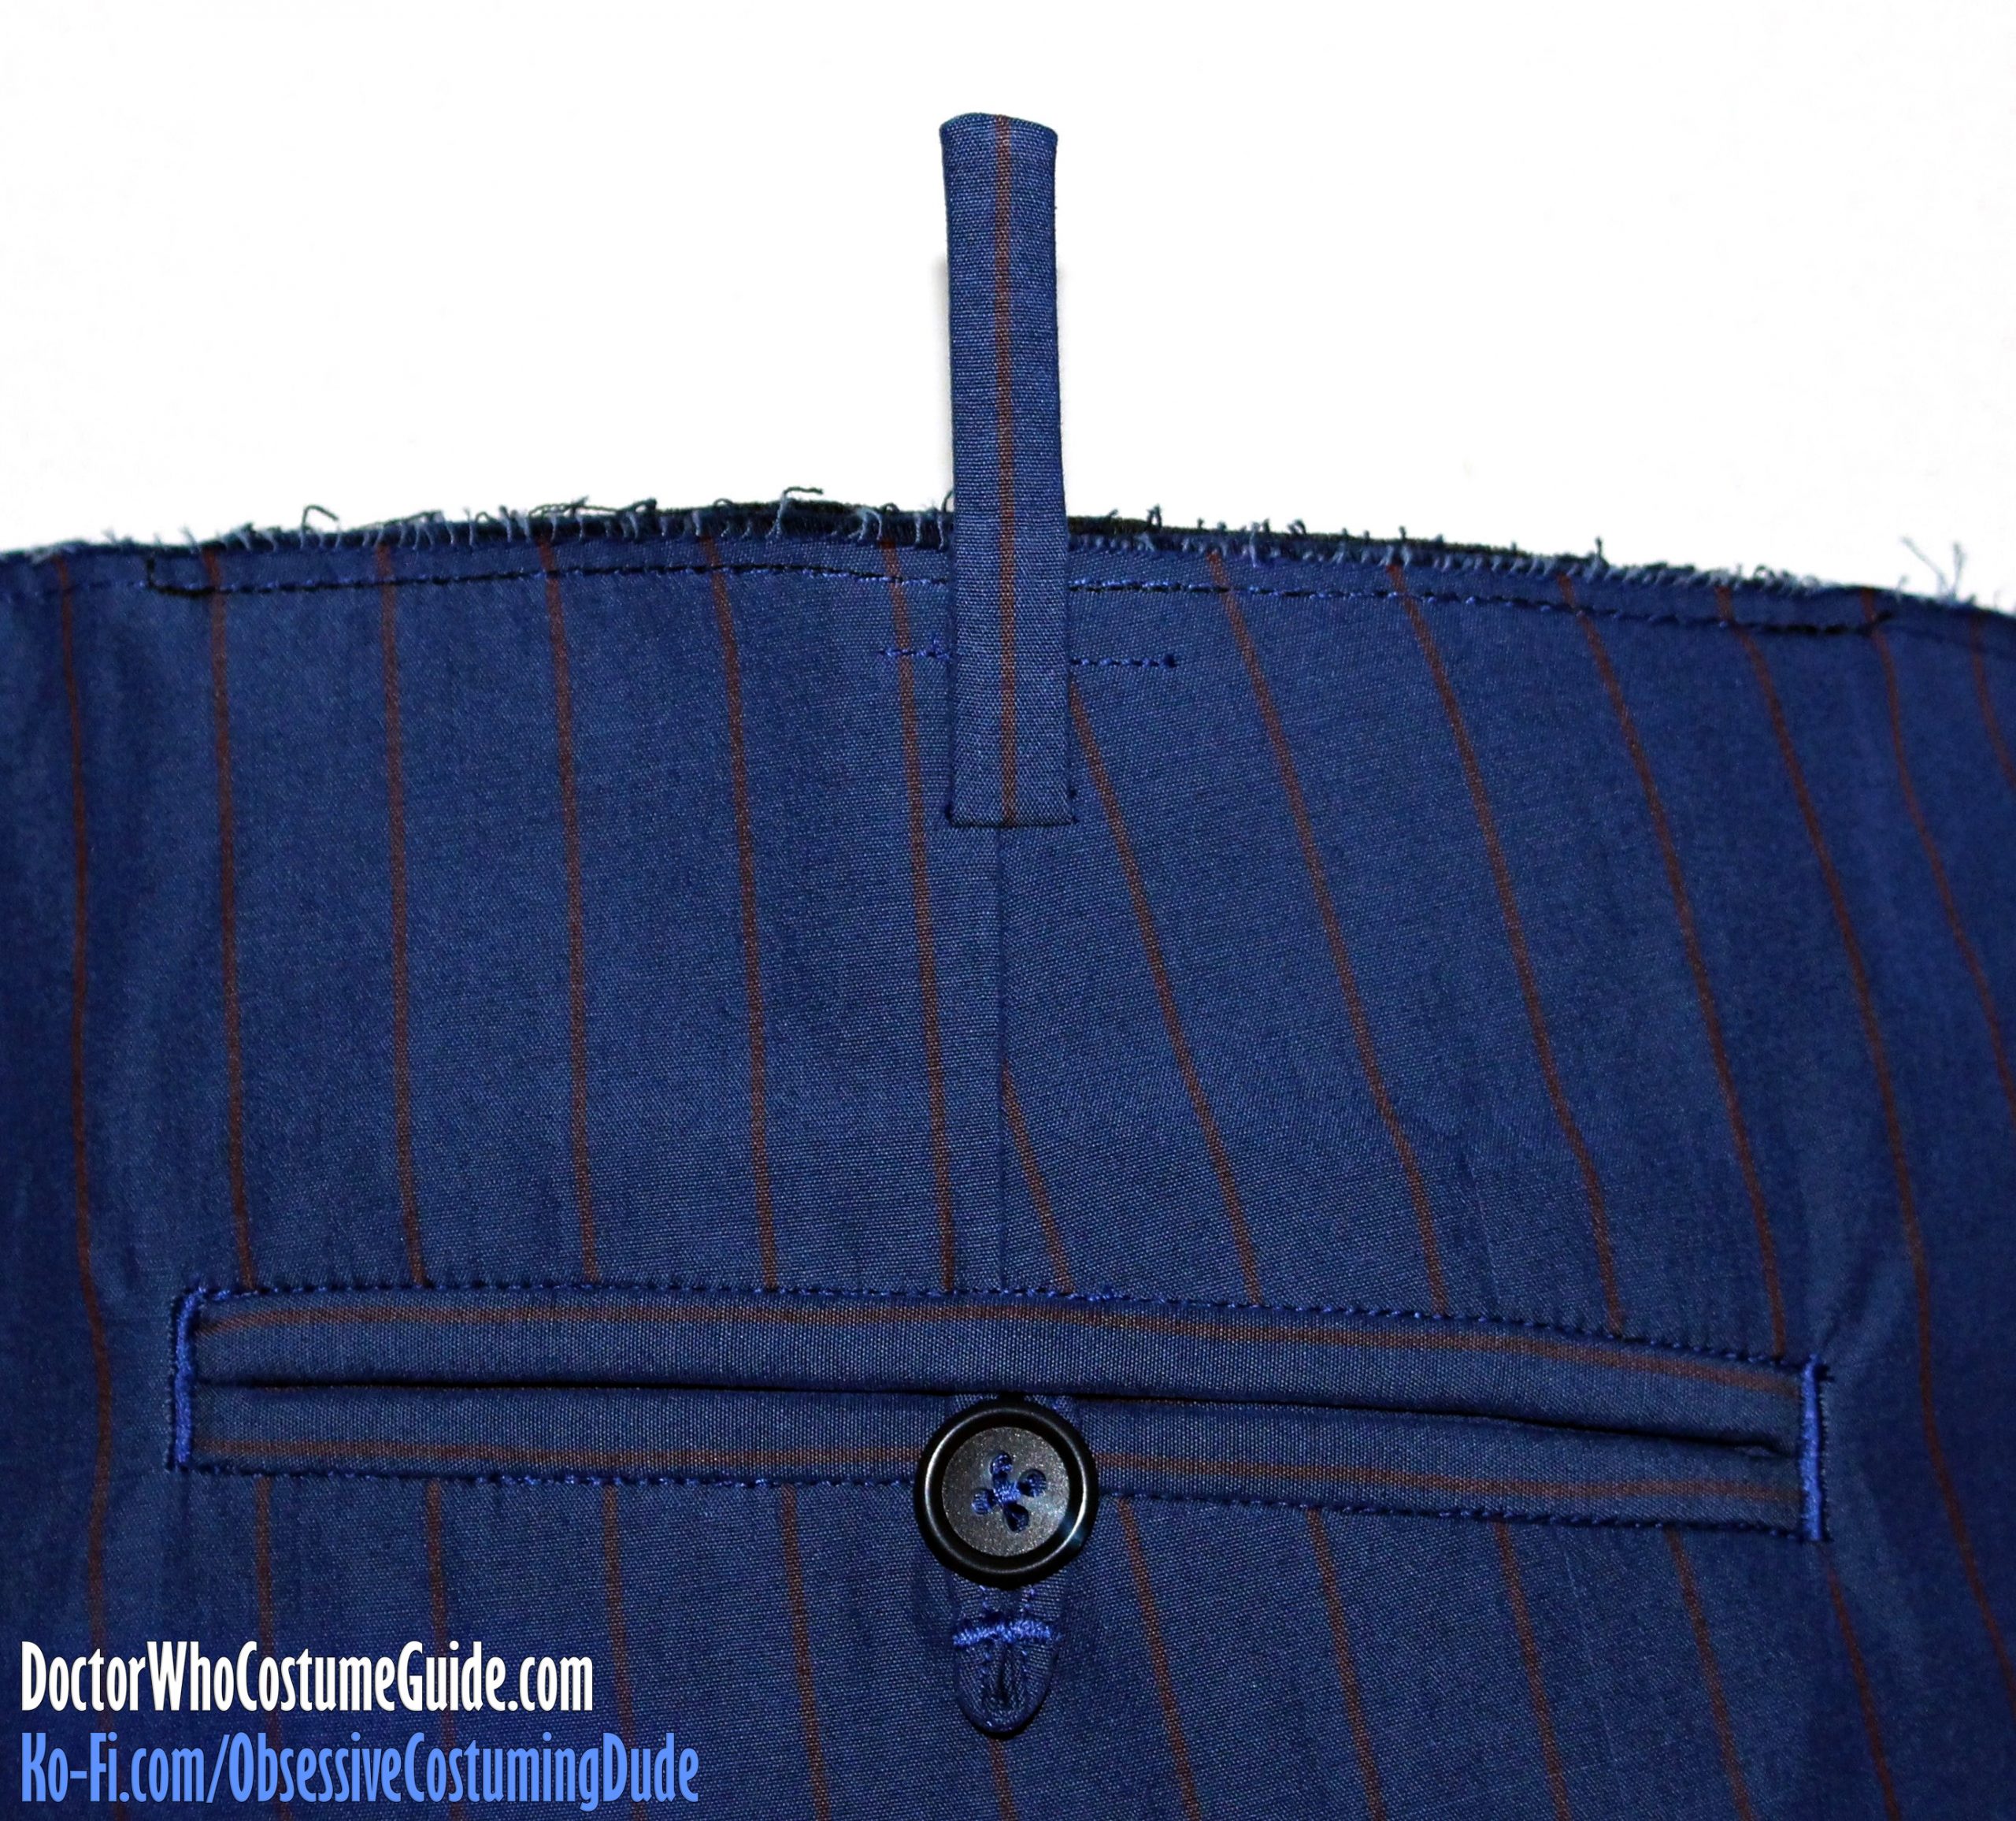
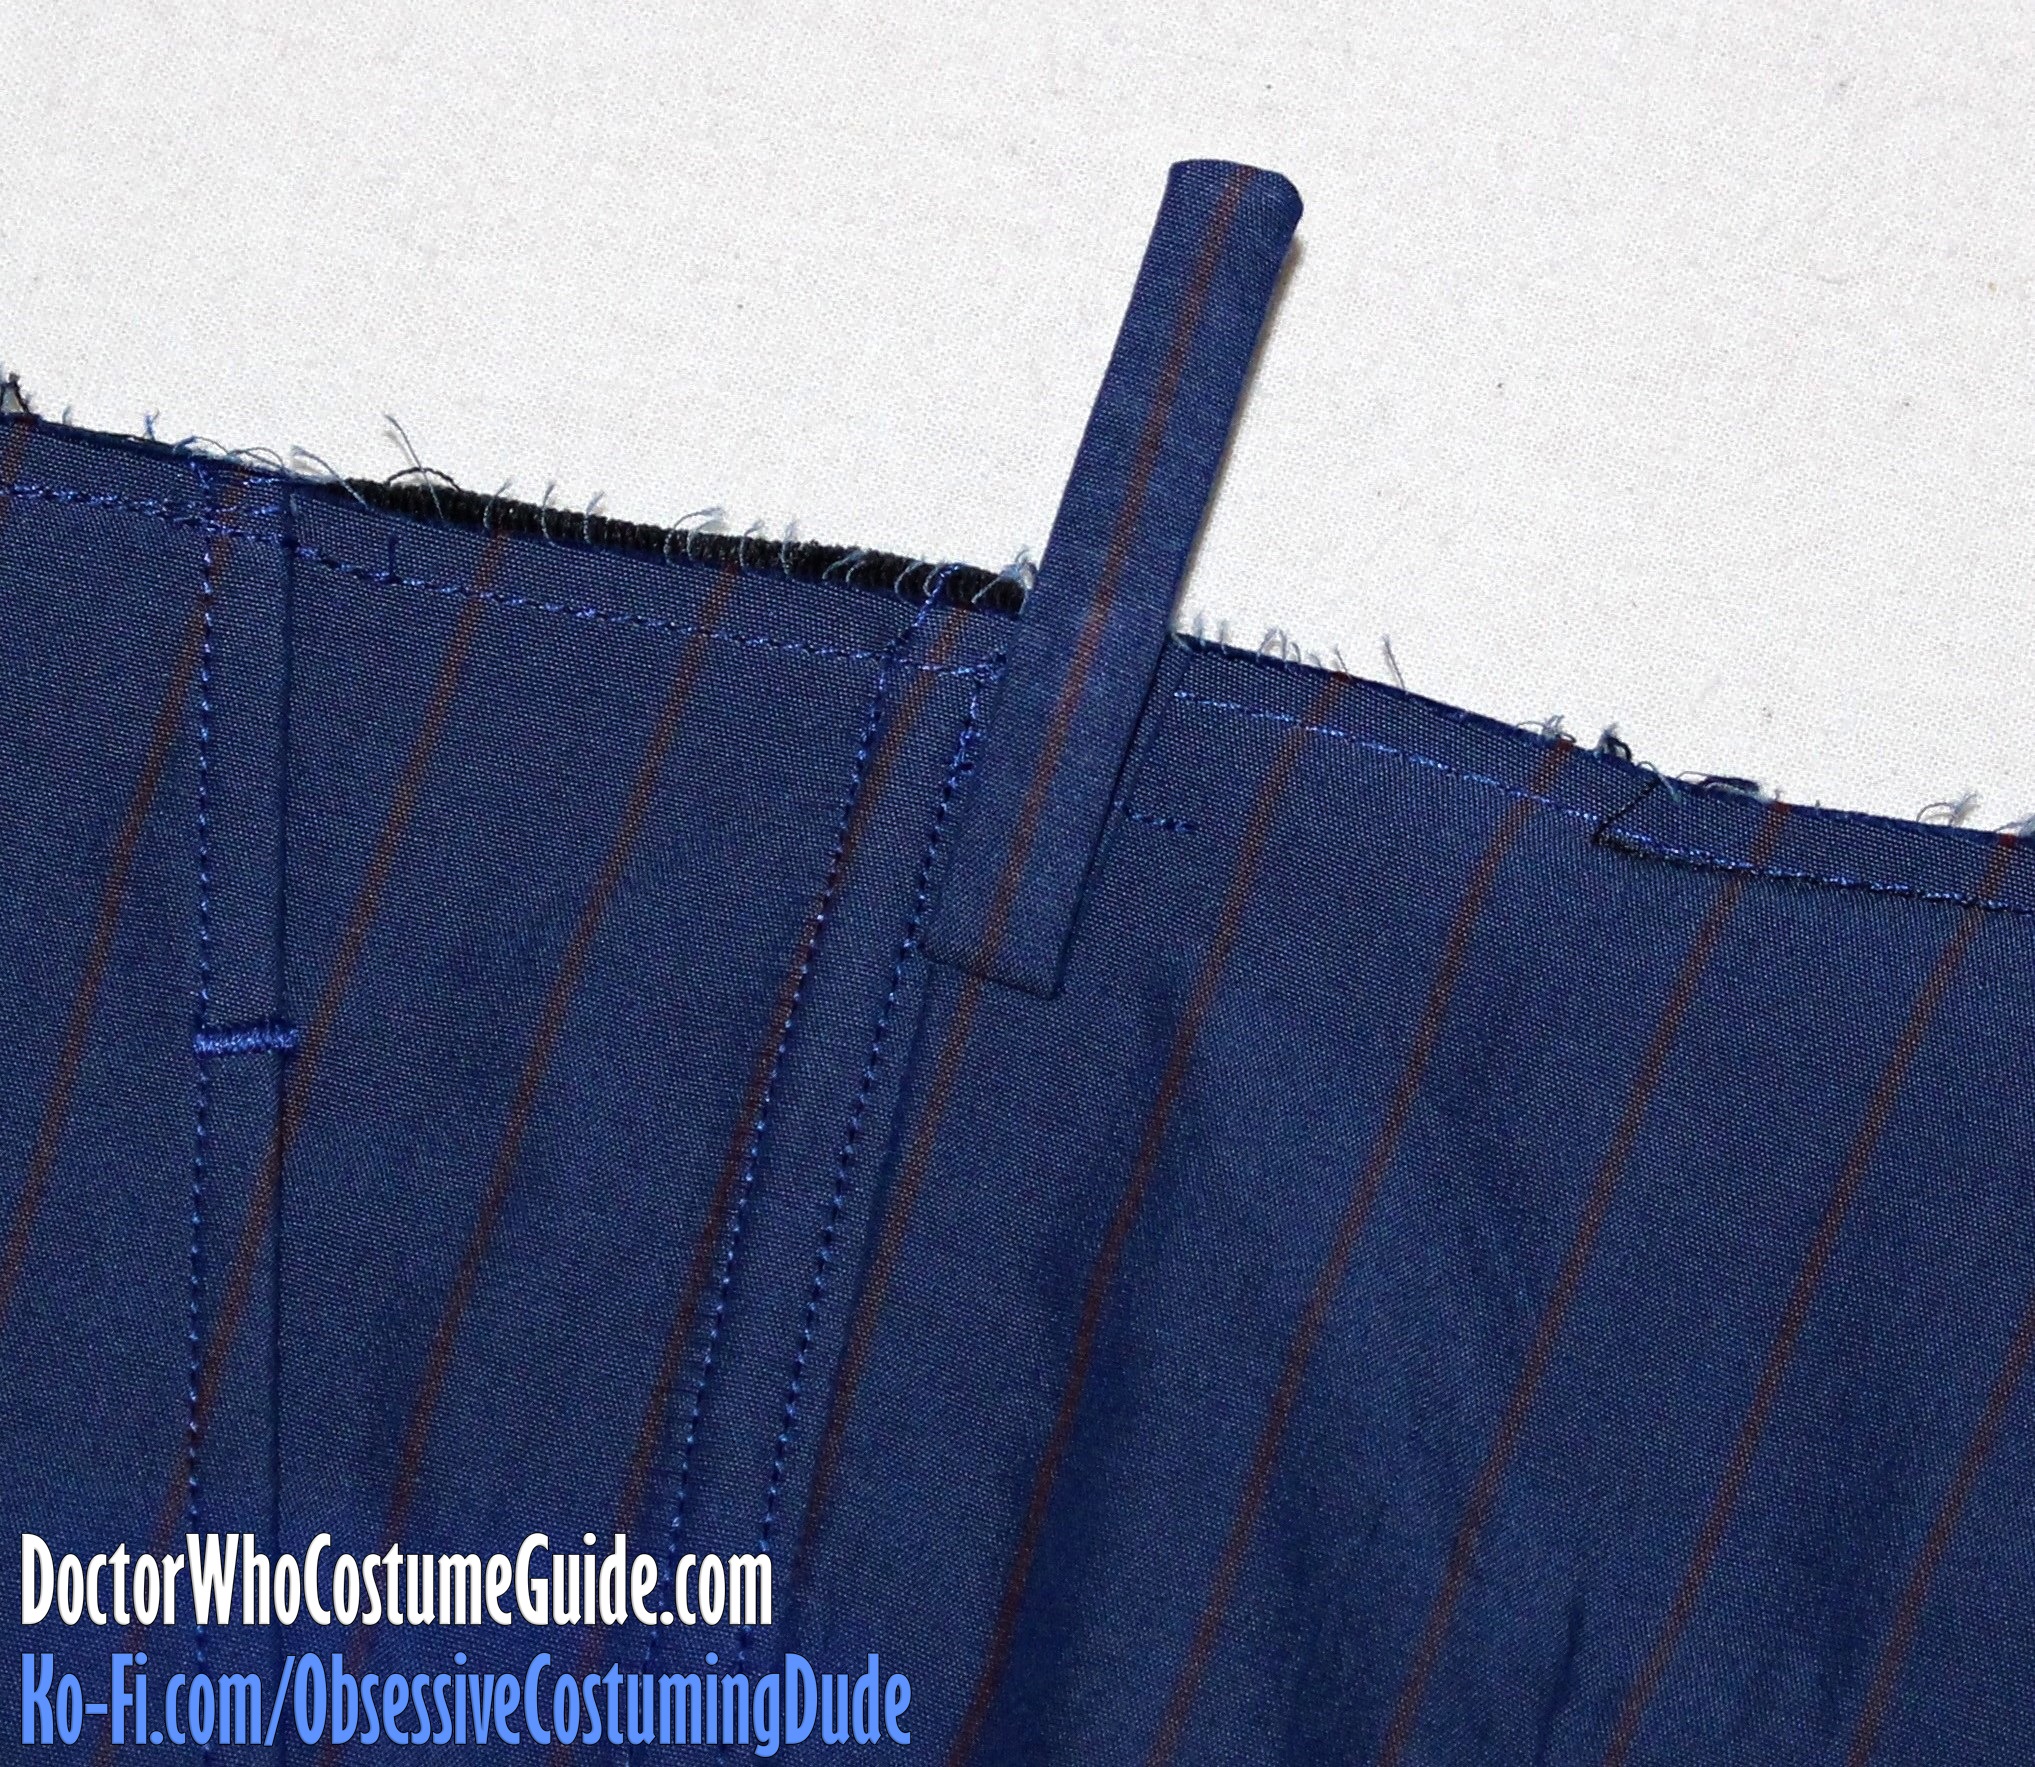
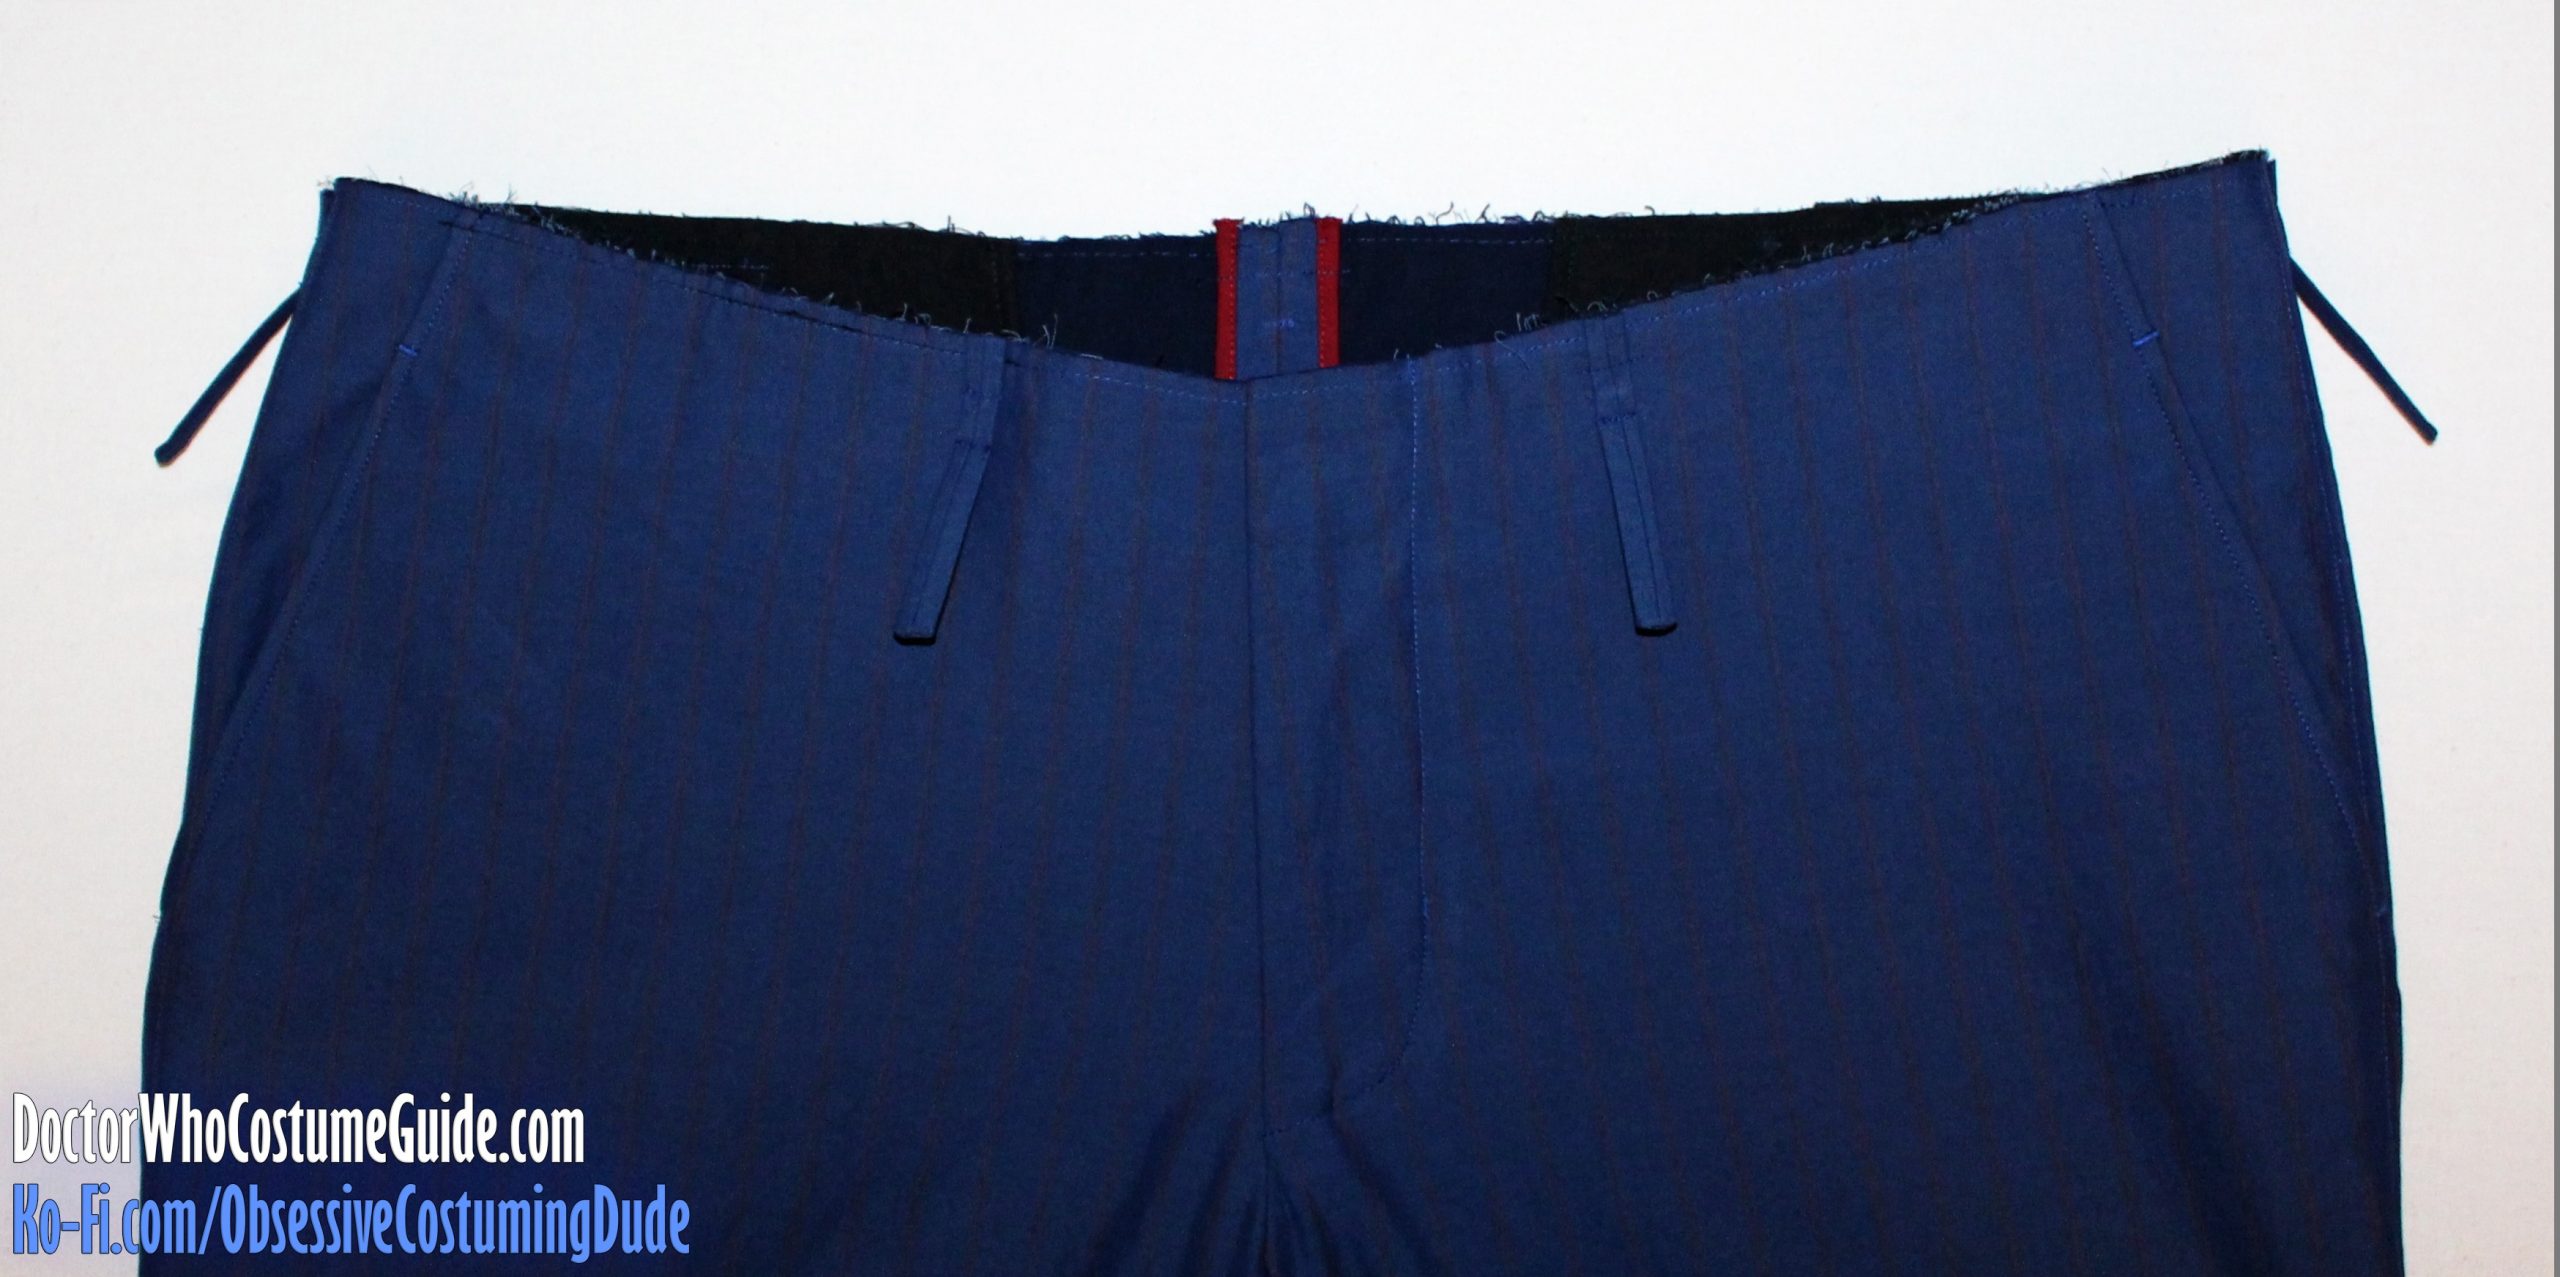
When cutting your belt loop strips (piece MM), be sure to use the alignment guide on the printed pattern so they’re centered over pinstripes.
Because the shirting fabric is so thin, you can also bolster up the strips with a lightweight fusible interfacing, if you like.
Fold the strips in half vertically, so the folded edge is exactly on a pinstripe, and the other two are perfectly aligned.
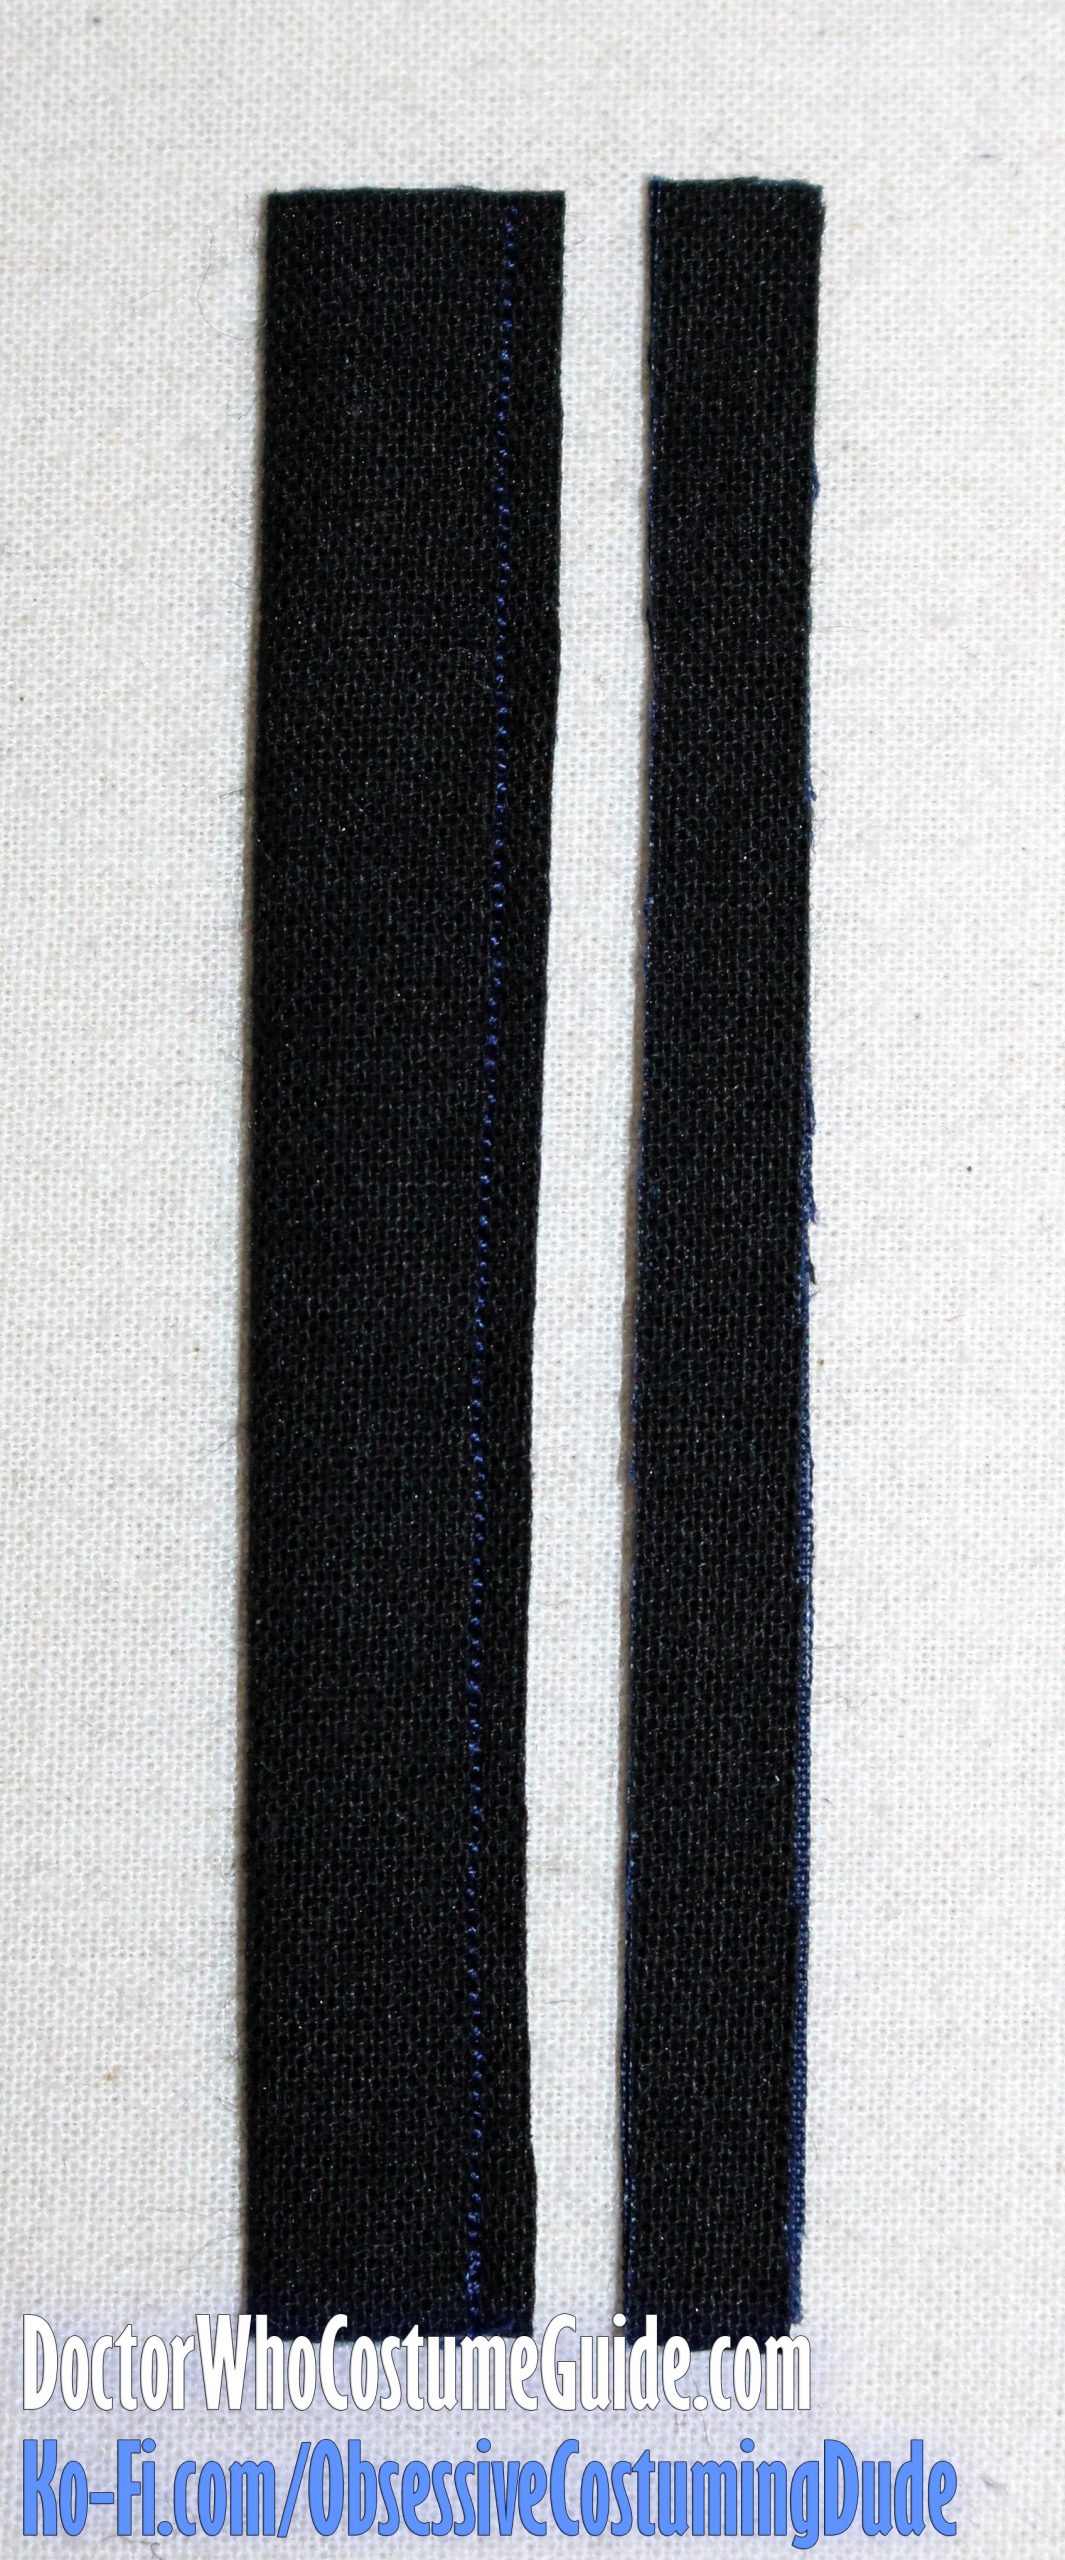
Sew the strips closed with a short stitch length, stitching exactly over the outer pinstripes.
At this point, there are a couple different ways you can produce the individual belt loops.
The first technique is to turn the strips out and roll the seam to the underside.
You may wish to try something like the Dritz Clip ‘N Turn (see right), but I’ve always found that to be frustratingly difficult.
Then, trim your strips into 3 ¼” segments, which will be used for the individual belt loops.
However, I prefer to actually sew the upper end of the belt loops closed, because it both protects the edges from fraying and makes them easier (for me) to turn.
If you wish to as well, cut the belt loop strips into 3 ½” segments for the individual belt loops before turning them right-side-out.
(Note that these strips are ¼” longer than with the first method I mentioned!)
Trim away about ¼” of the seam allowance.
Then I use a little miracle gadget called the Dritz Quick Turn (see below right) to turn the closed loop. It’s much easier!
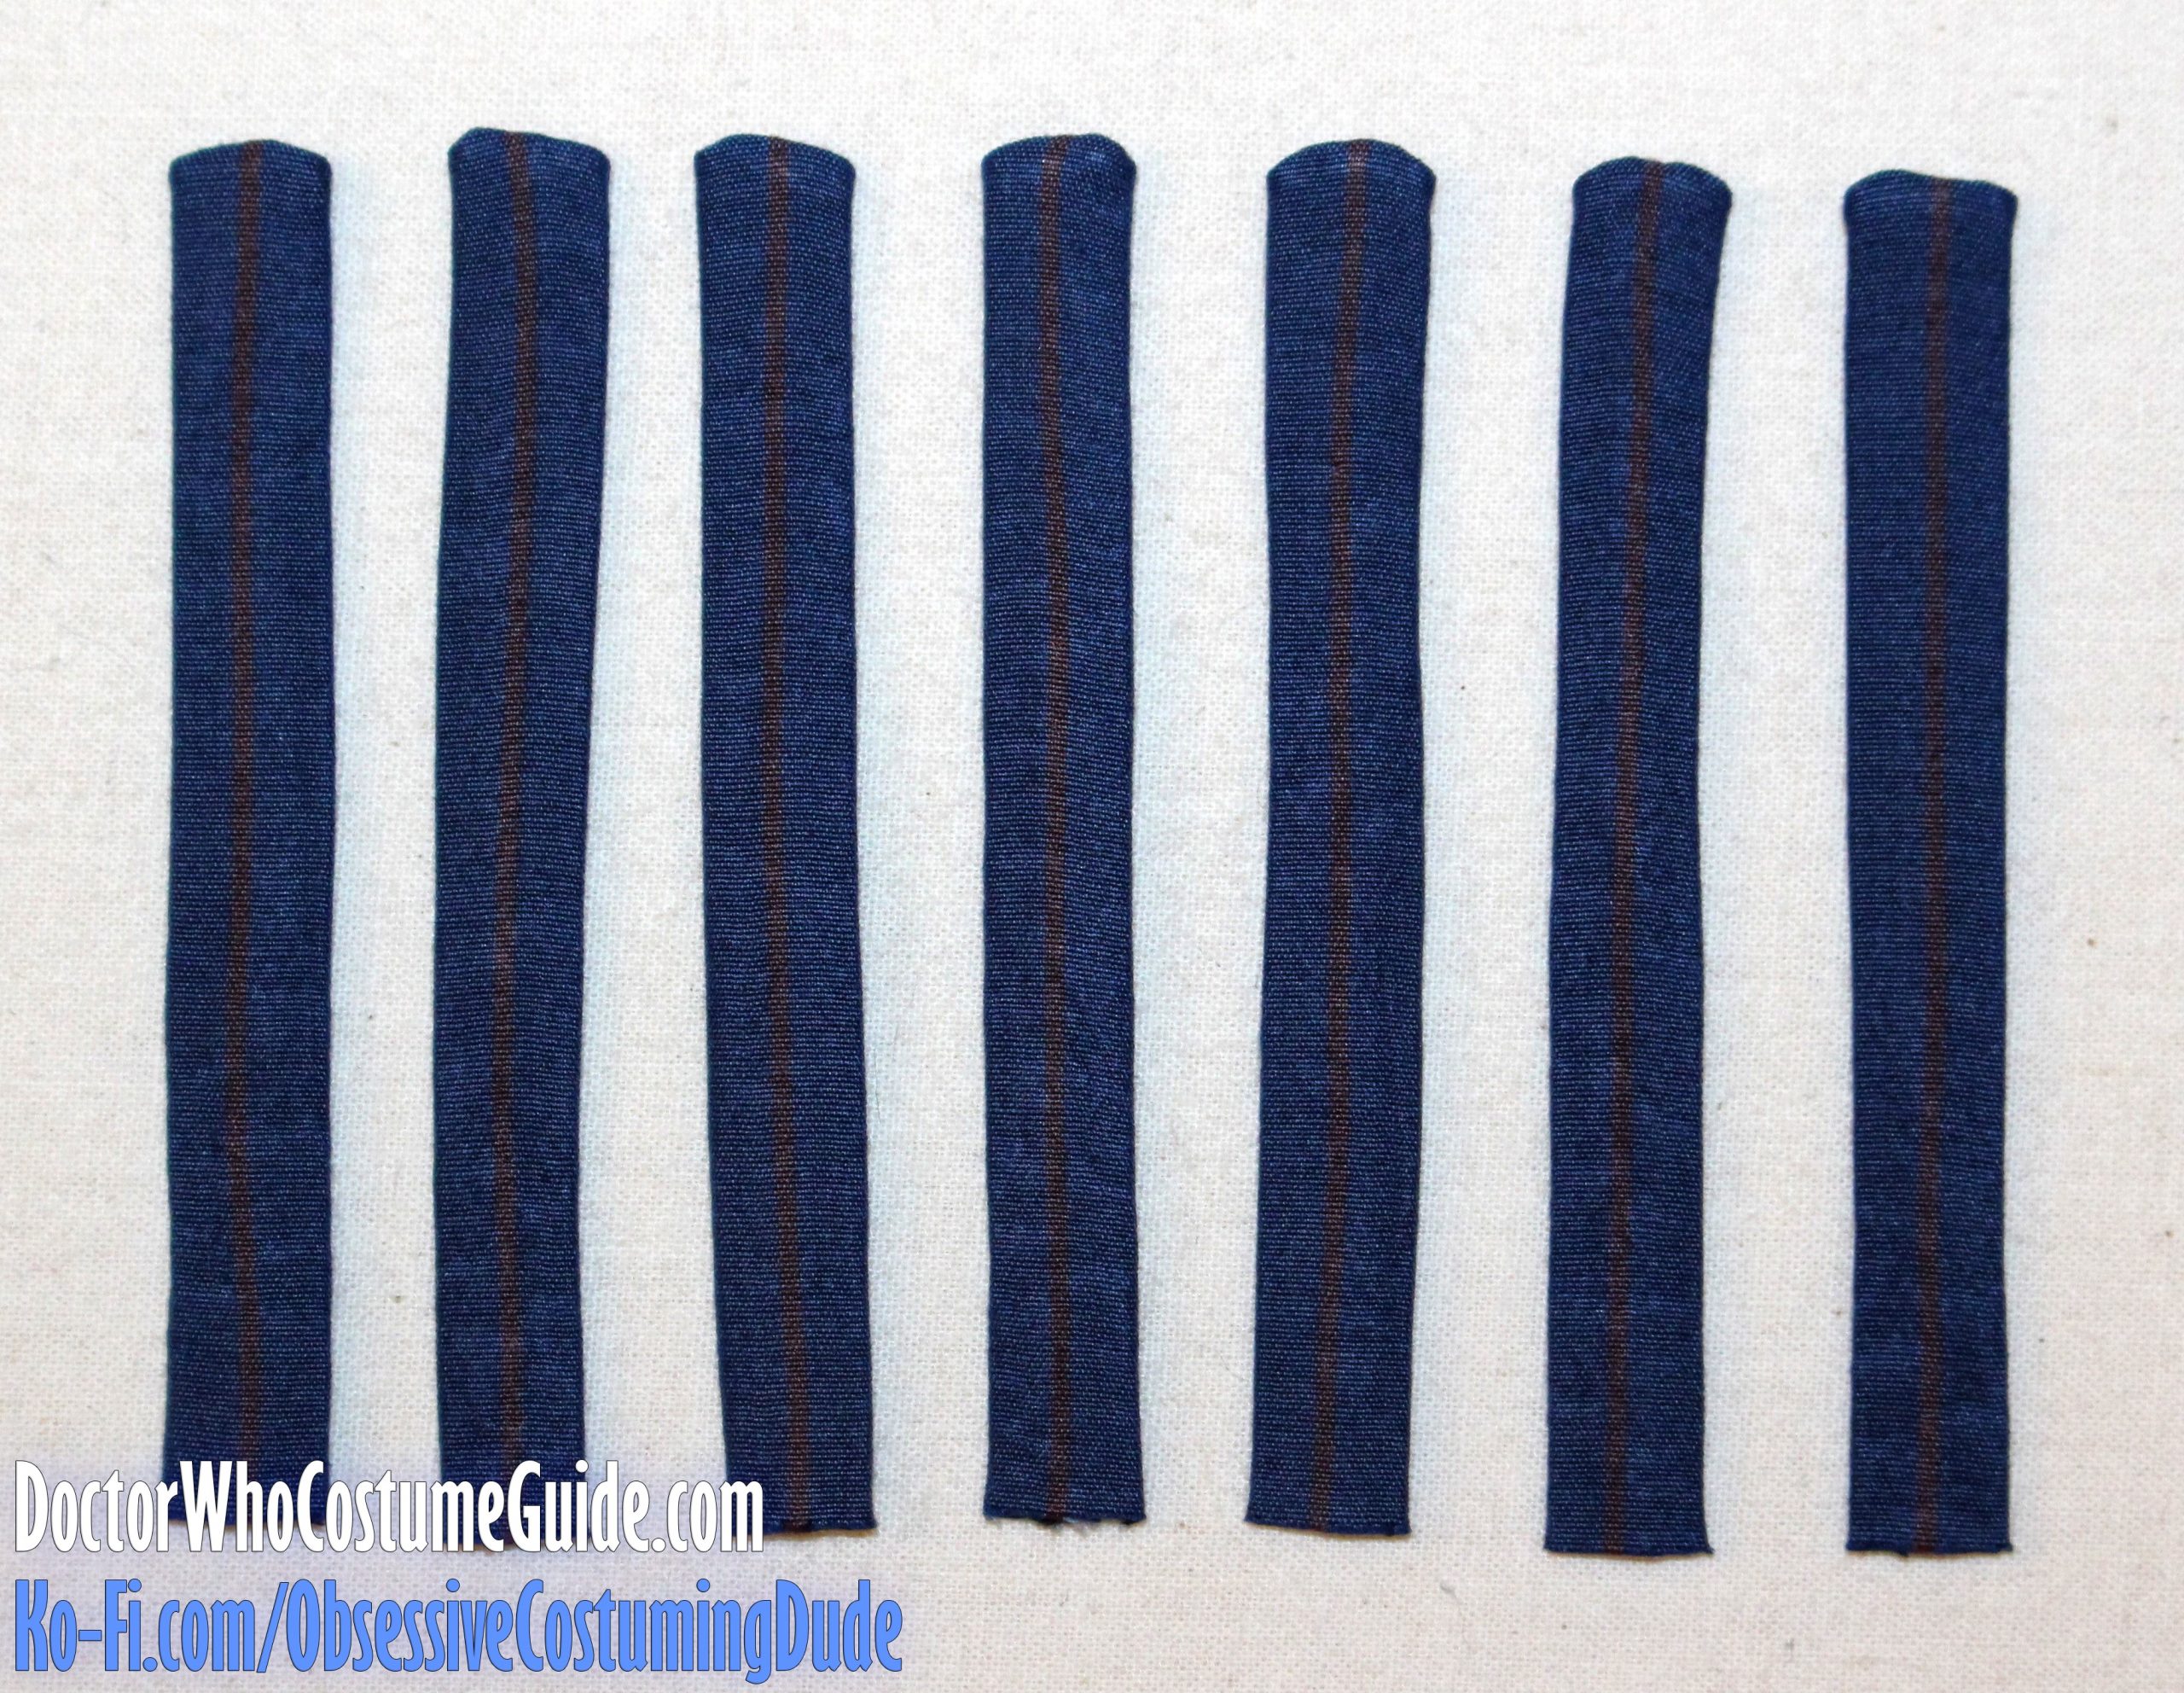
Press the belt loop flat, with the pinstripe vertically centered and the seam on the underside.
Repeat for the other belt loops.
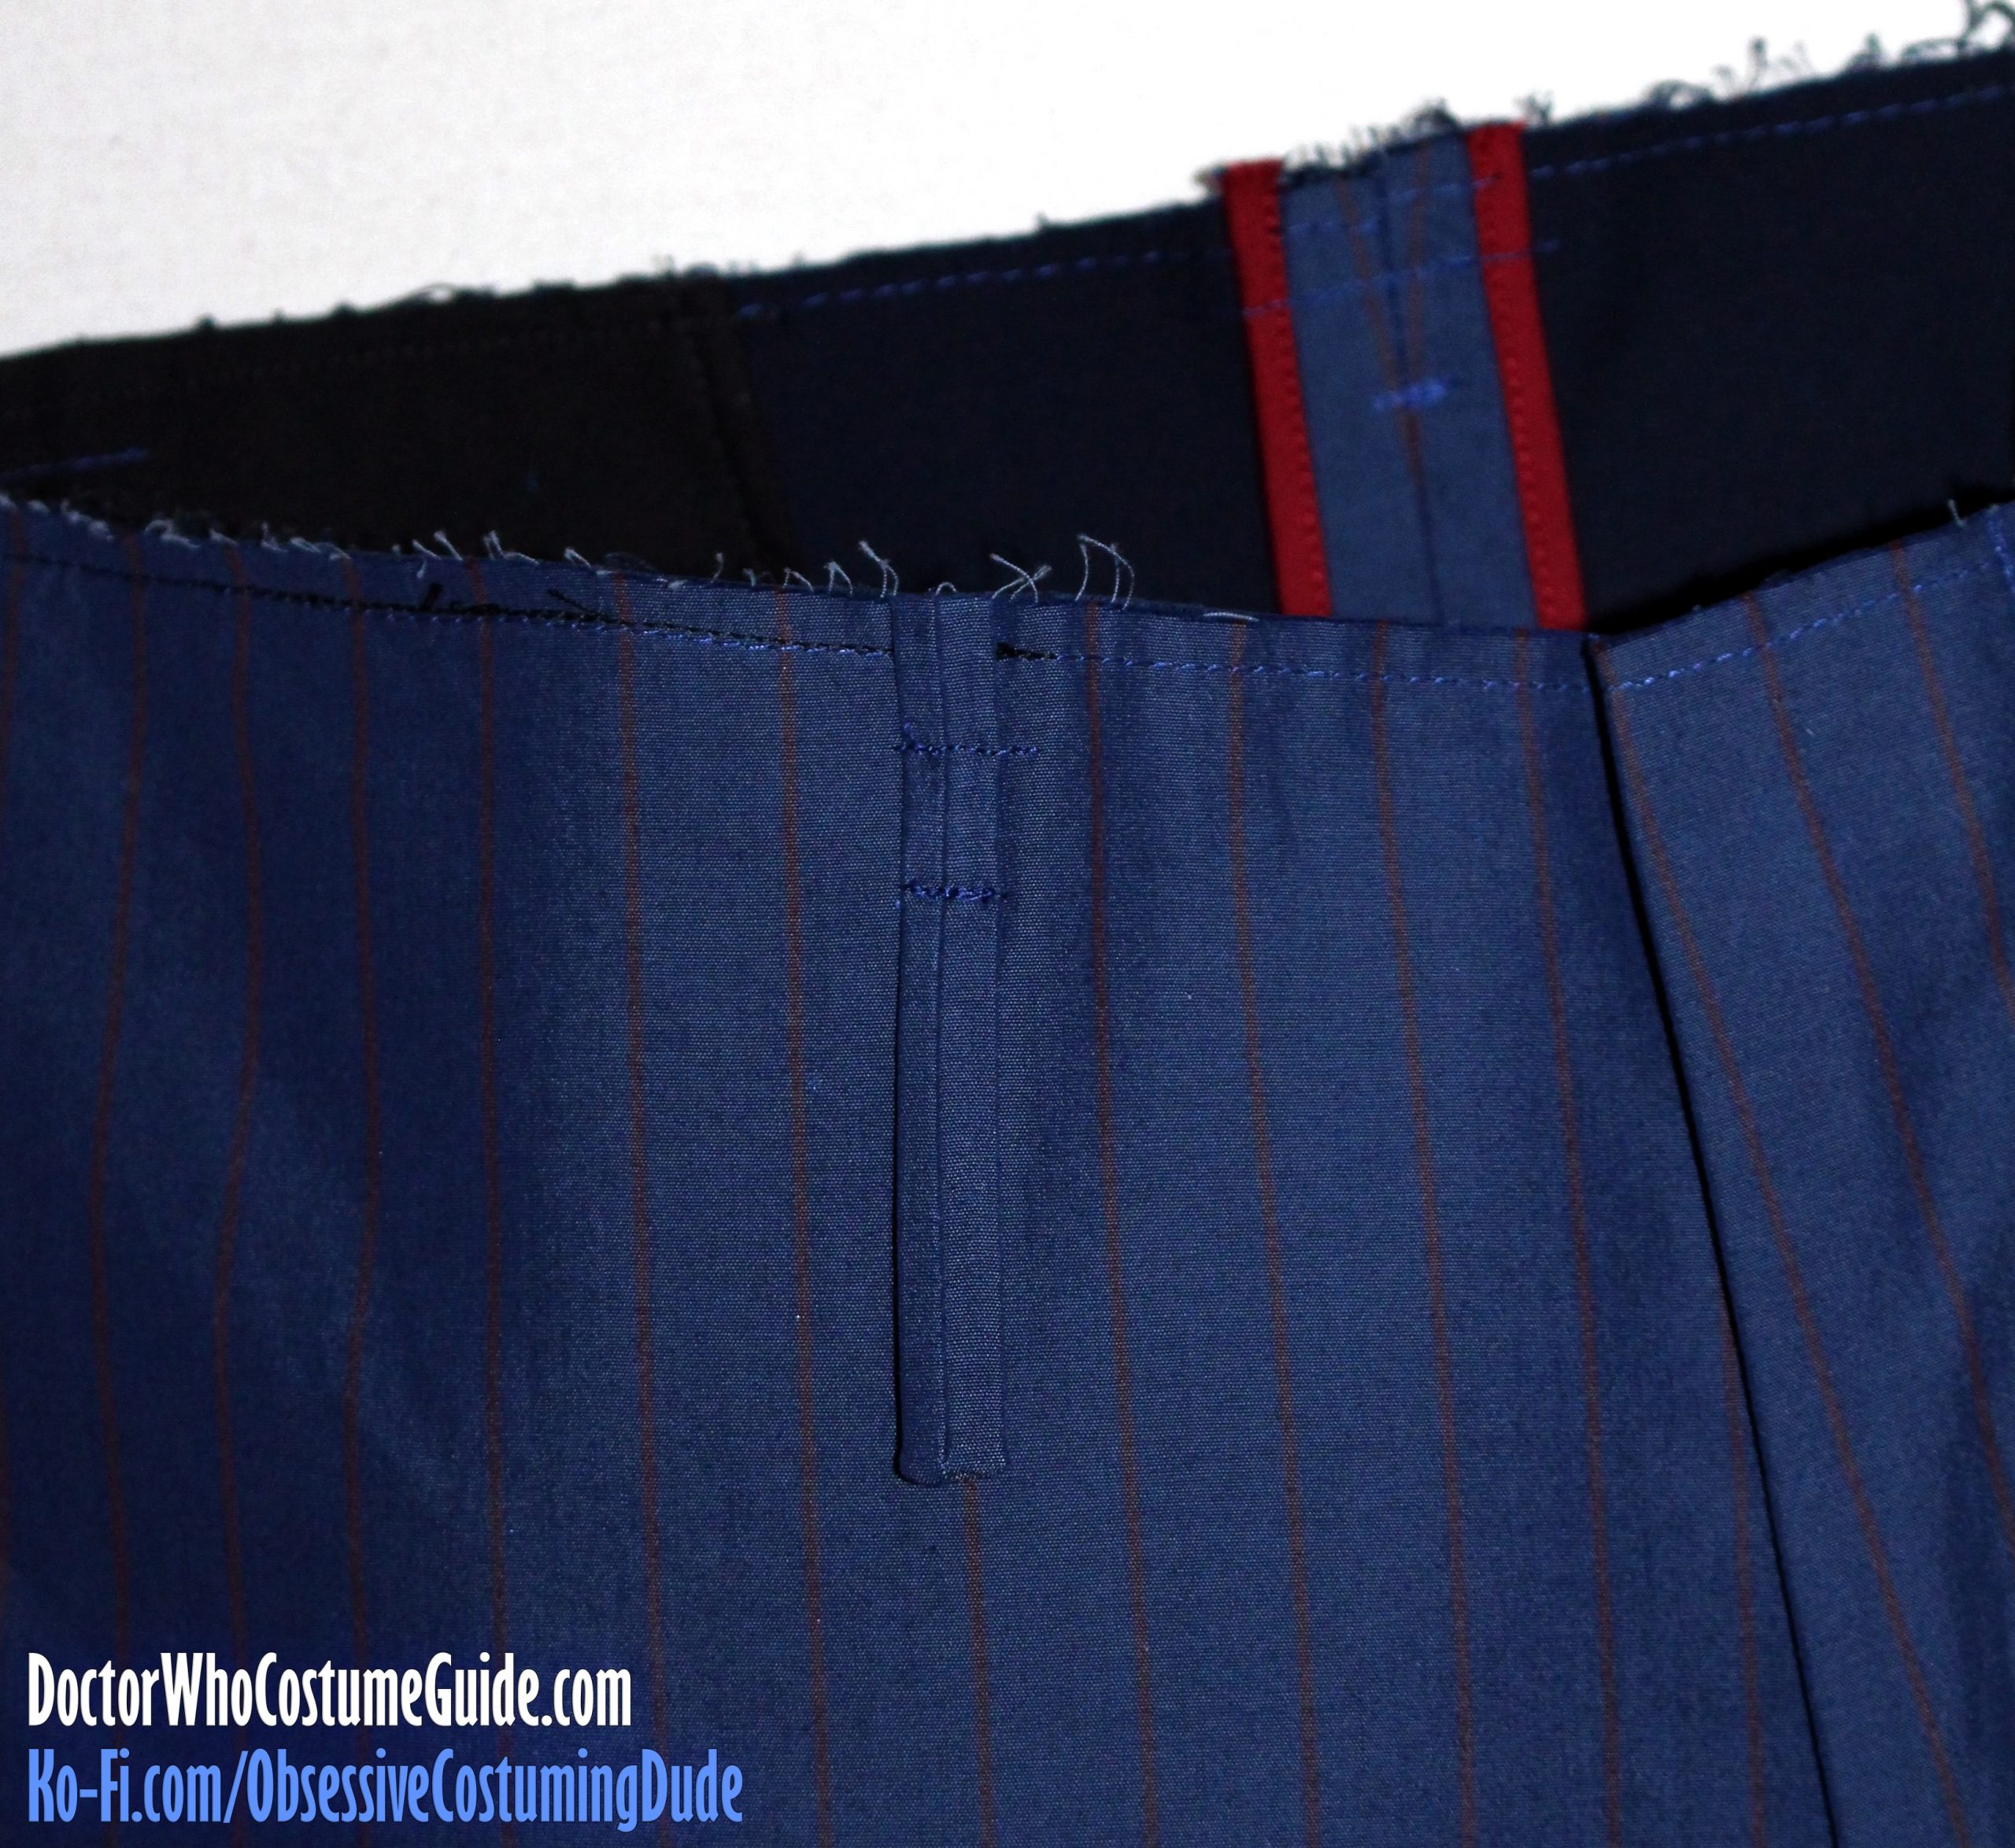
Position the front belt loops approximately 4” from each center front, with the pinstripes aligned with those on the trousers.
Baste the belt loops to the trousers ½” from the upper edge.
Sew the belt loops to the trousers 1” from the upper edge, reinforcing your stitching several times.
On the back of the trousers, center belt loops over the center back seam and back darts.
Position the side belt loops just behind the side seams, again with the pinstripes aligned.

