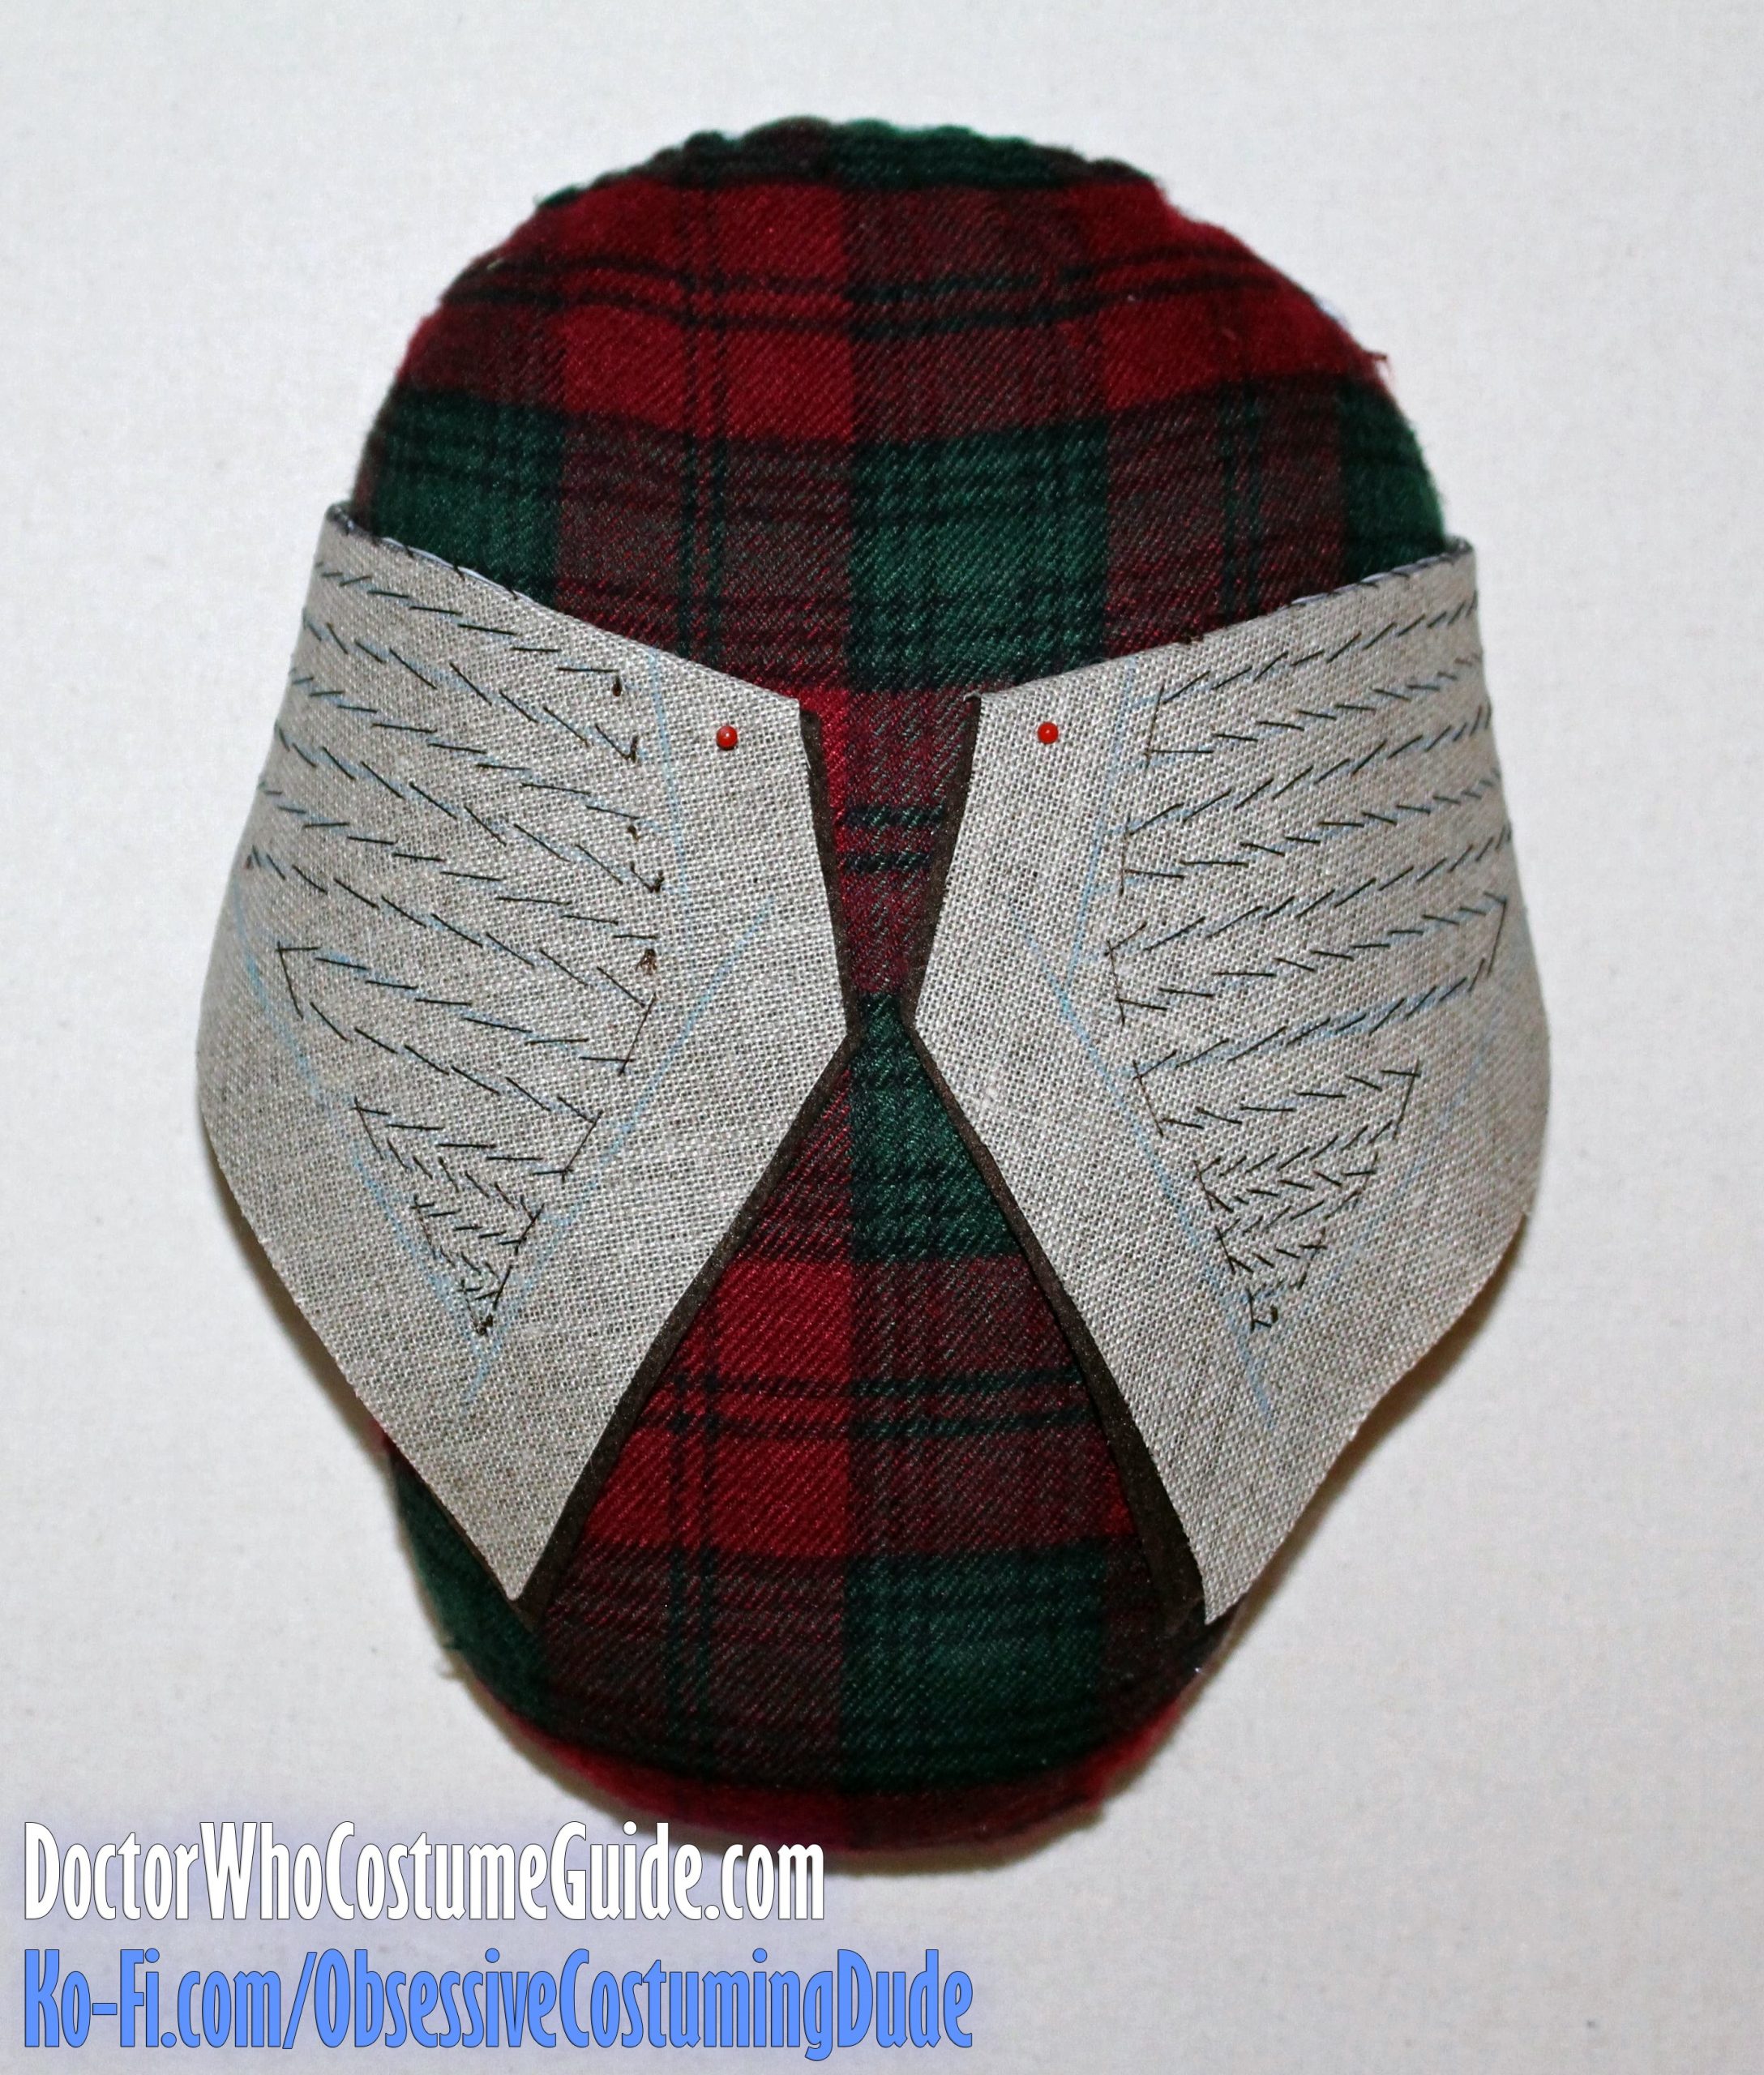
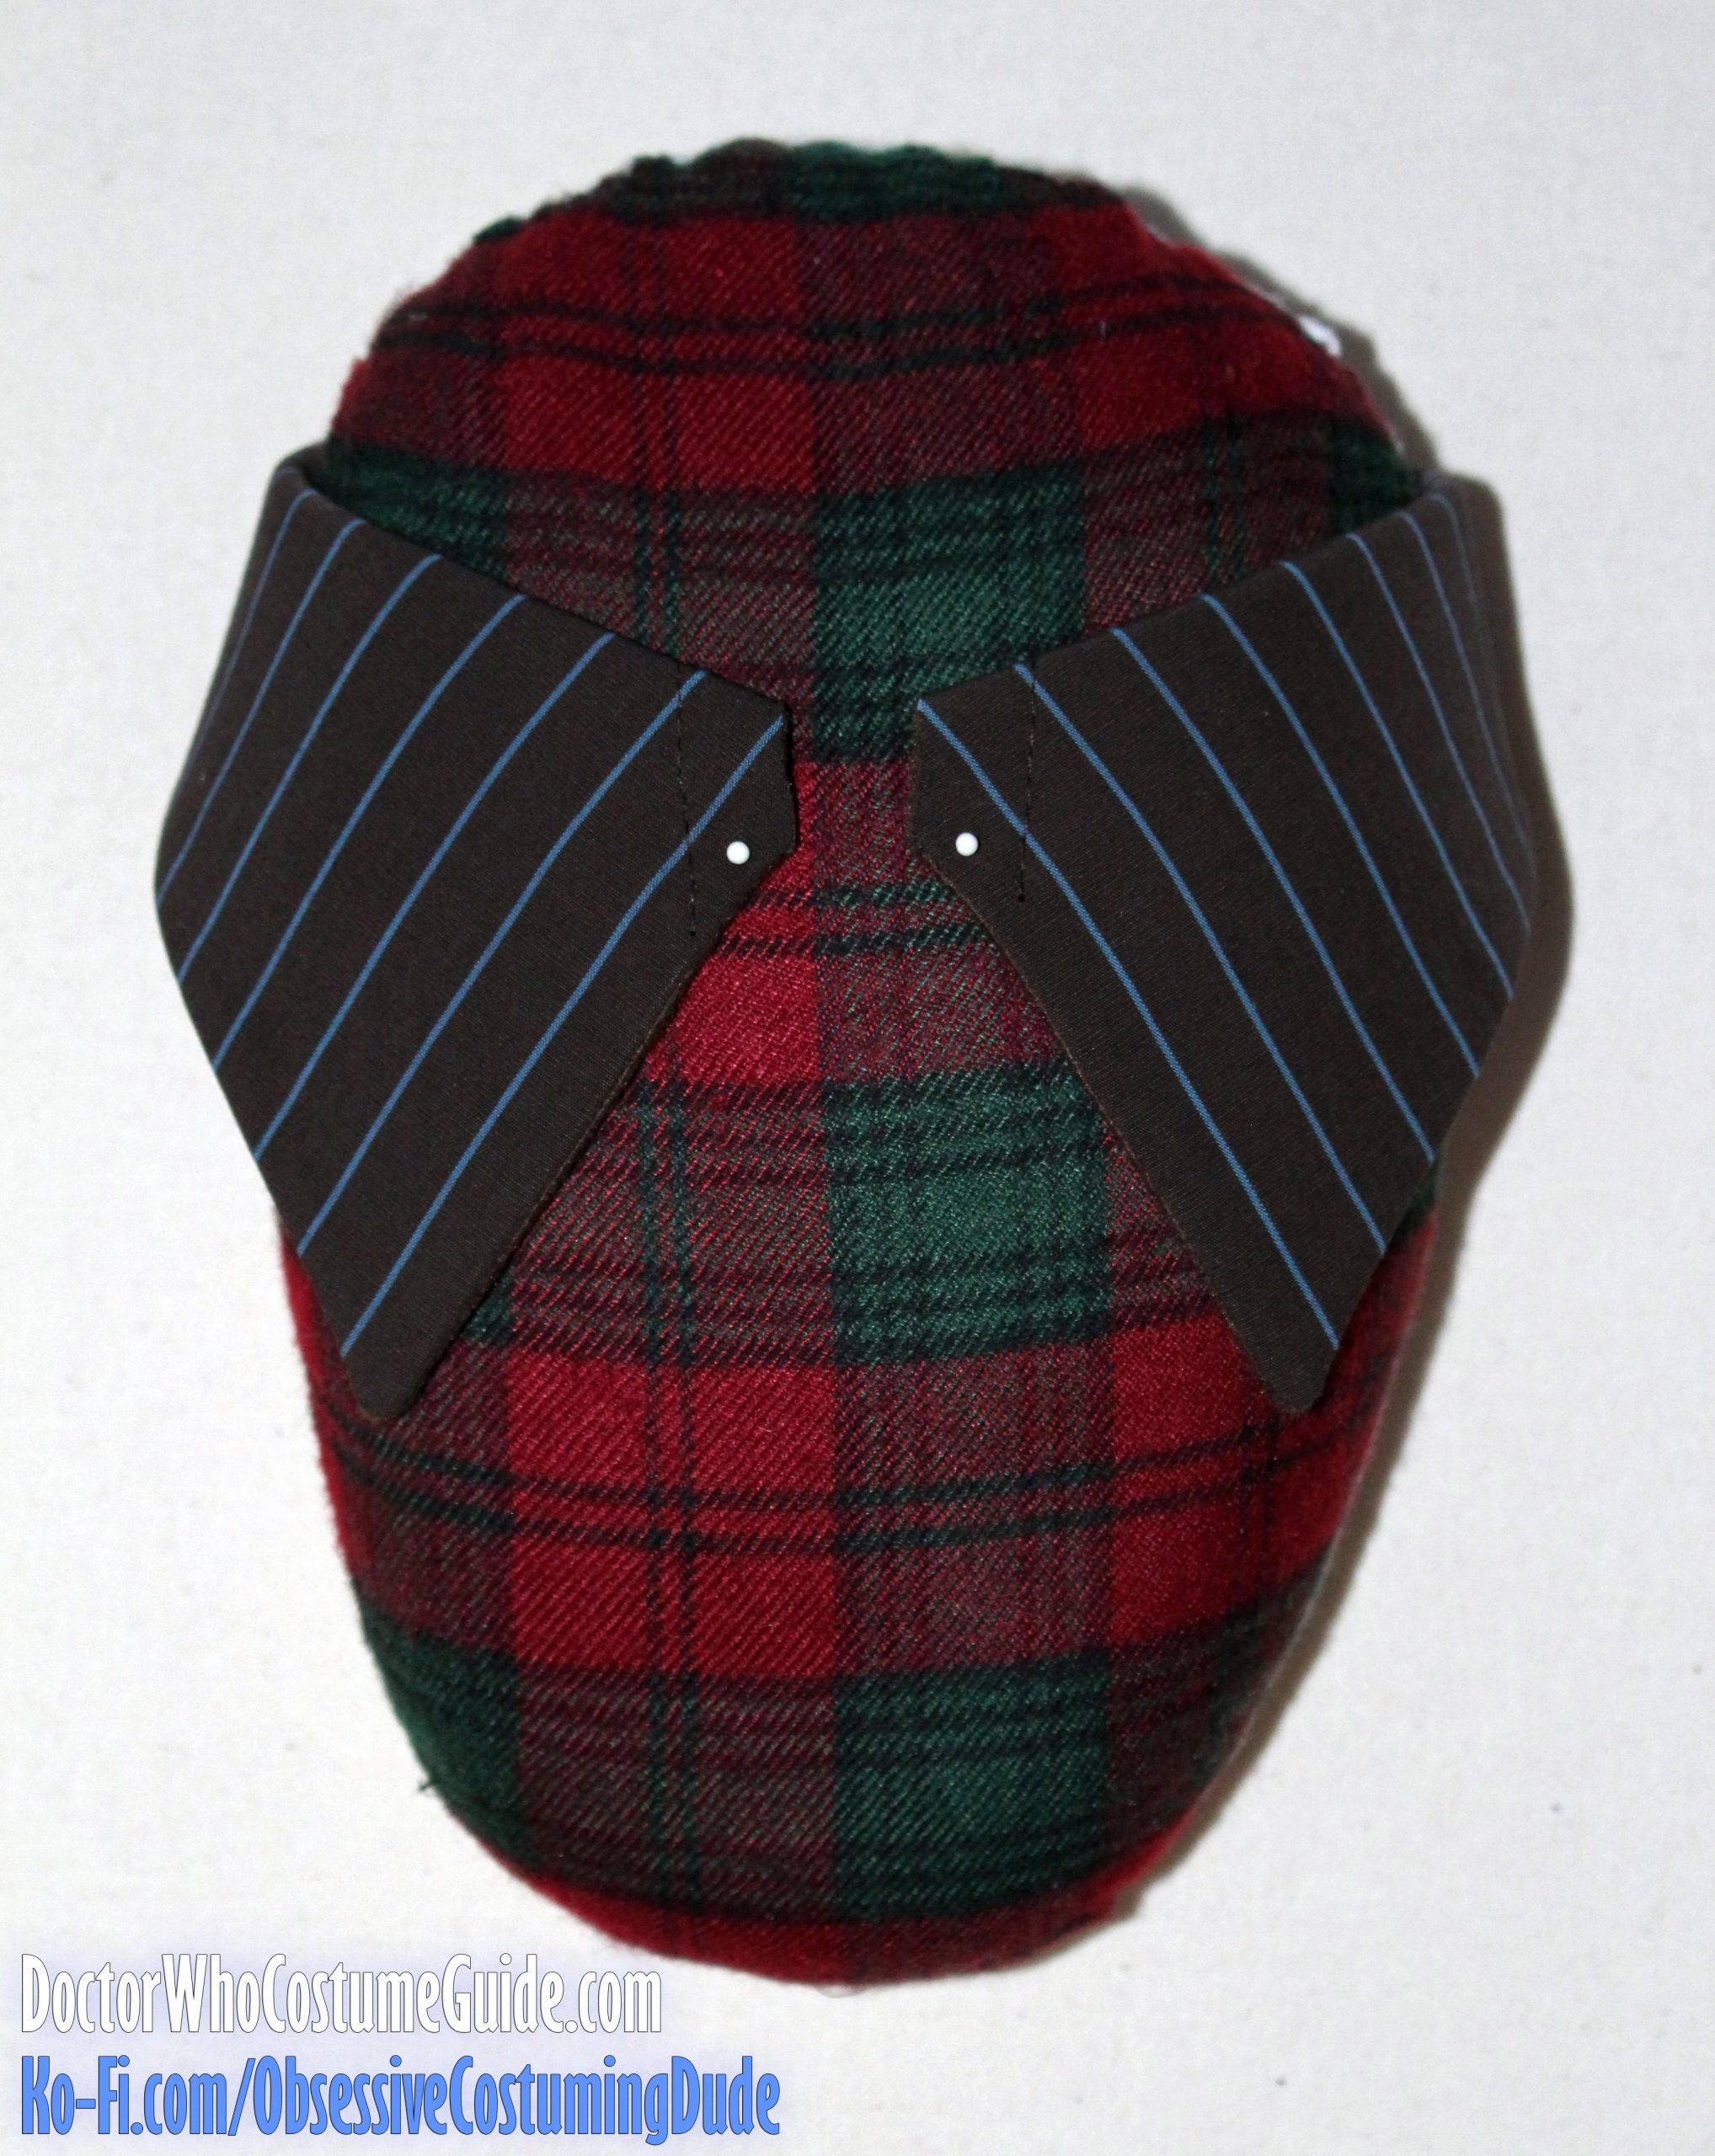
The jacket collar is comprised of two pieces: the upper collar (piece M) and the under collar (piece N).
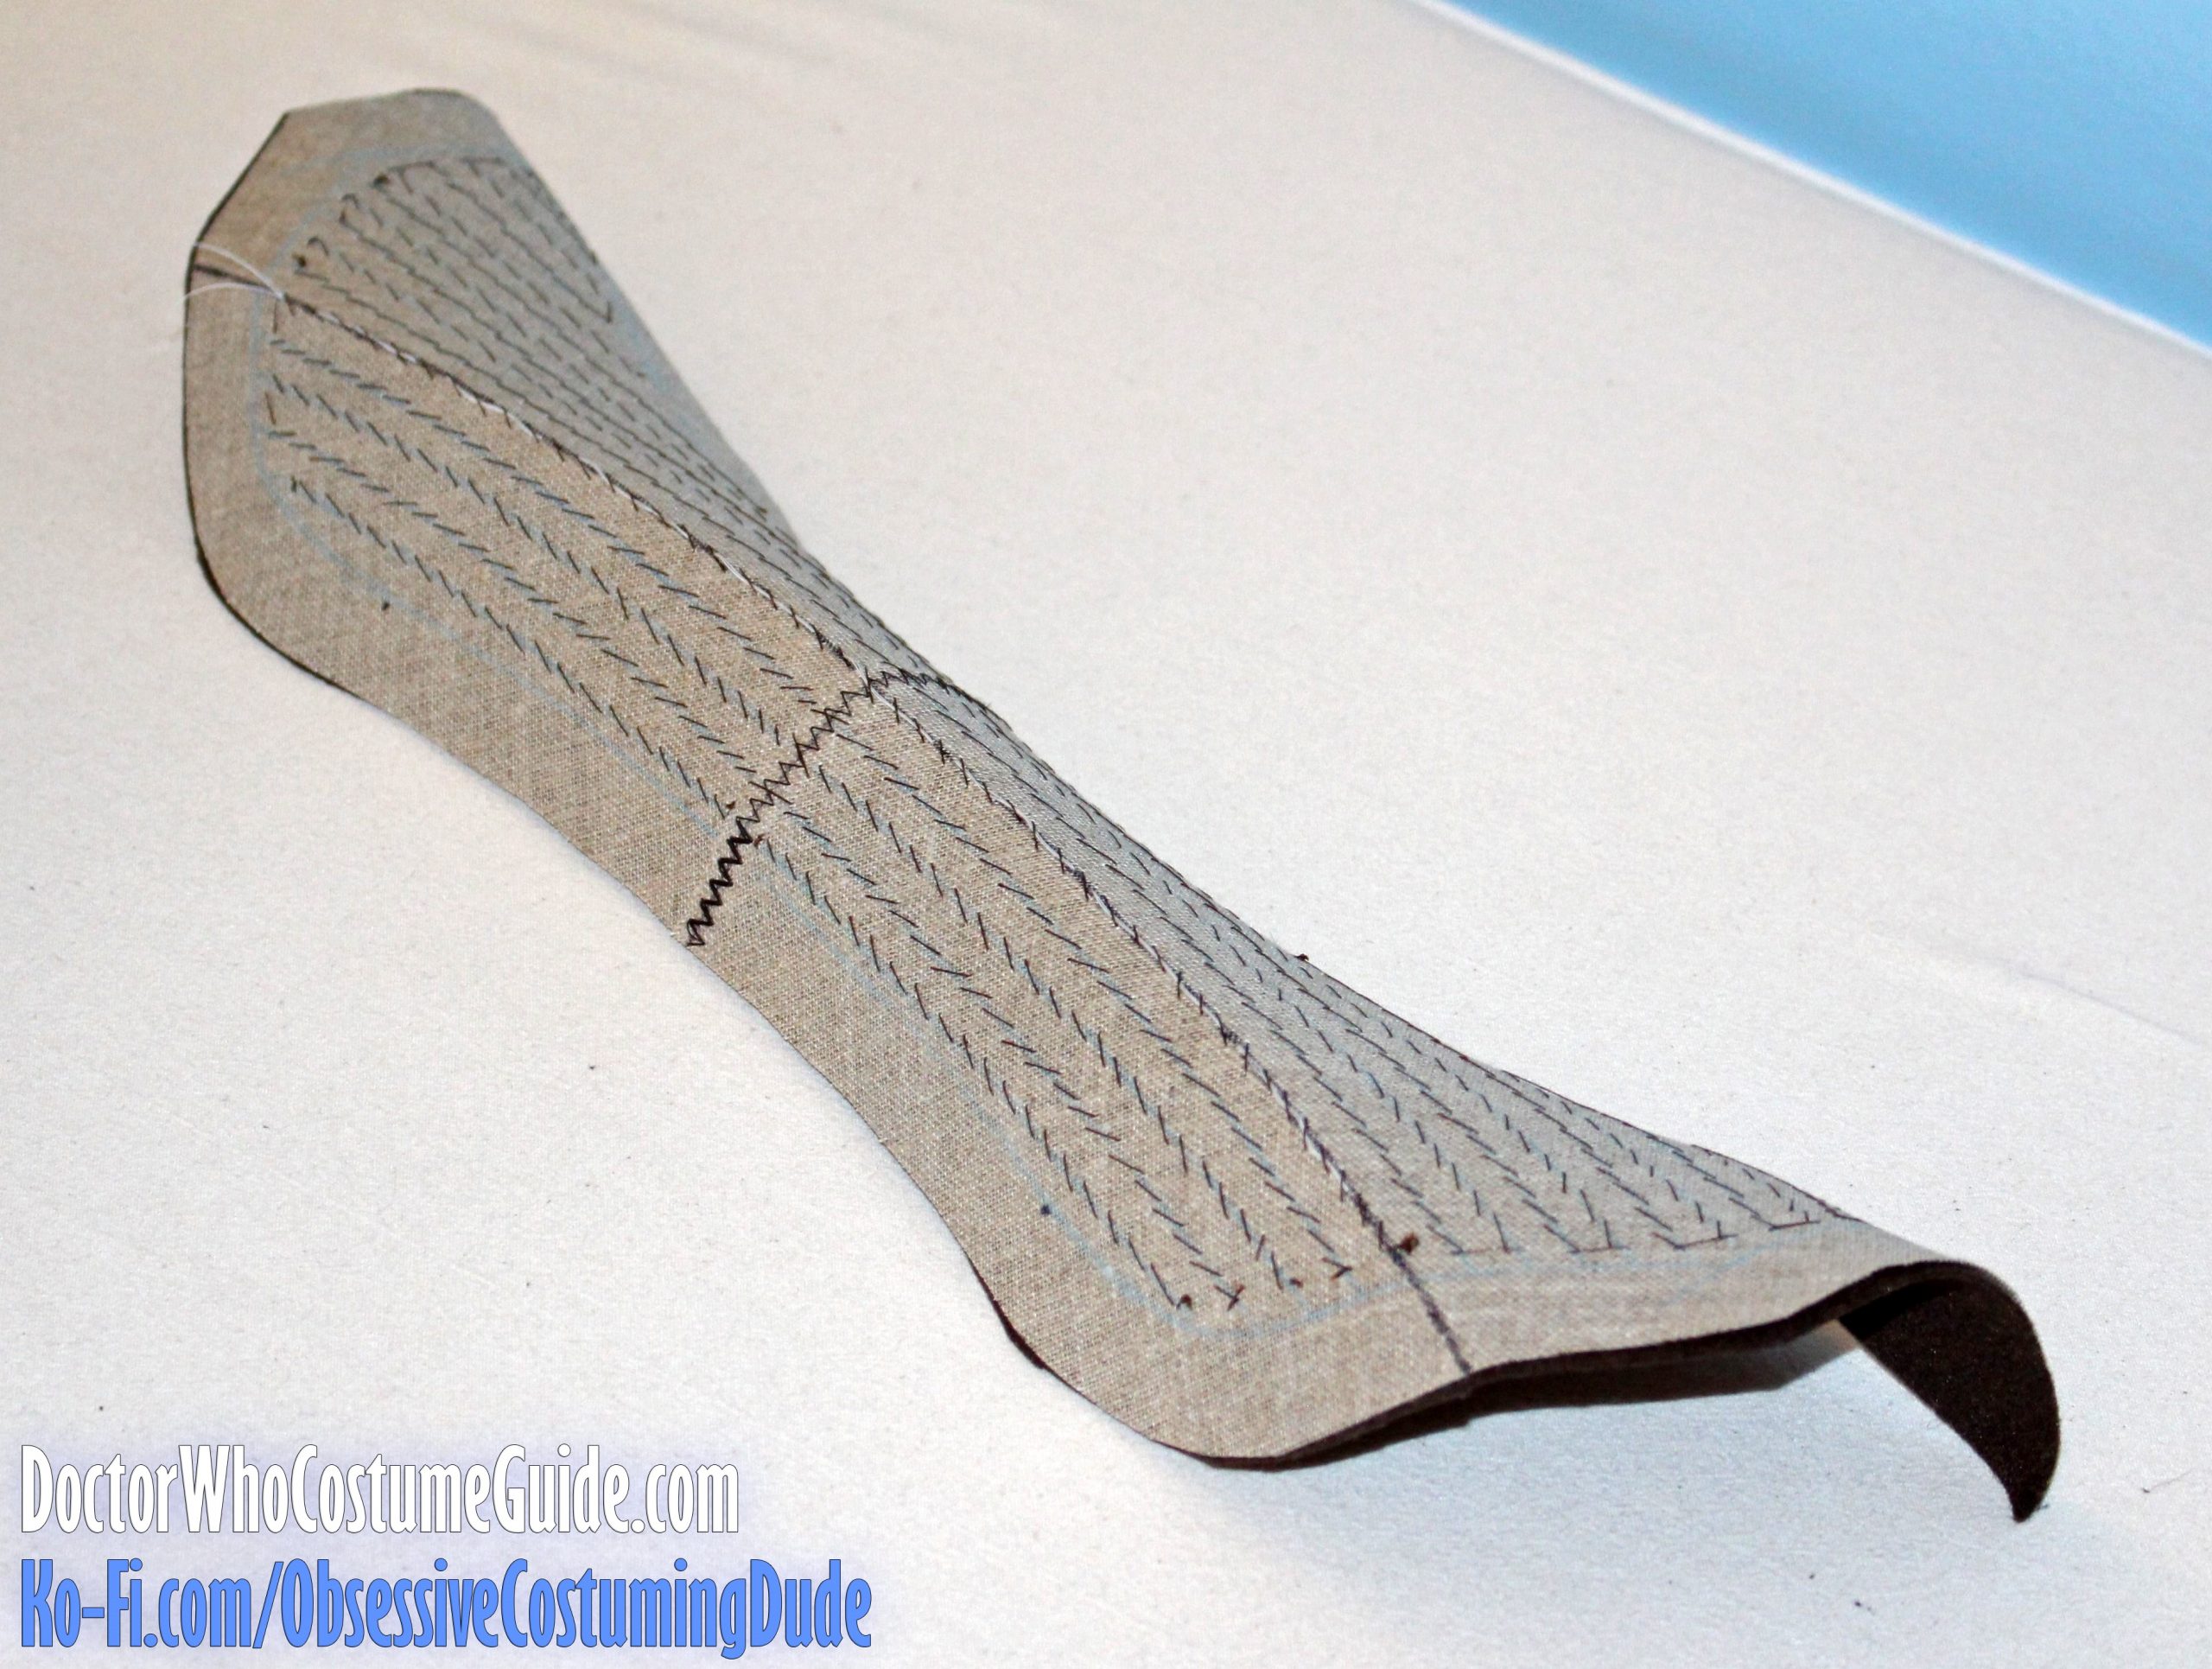
The collar’s structure is provided on the undercollar, using bias-cut French canvas.
And like the jacket’s lapel, the collar has a roll line too.
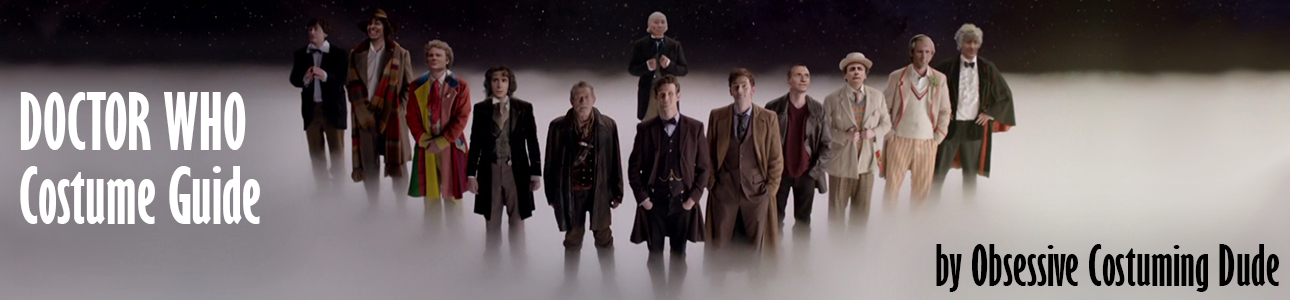
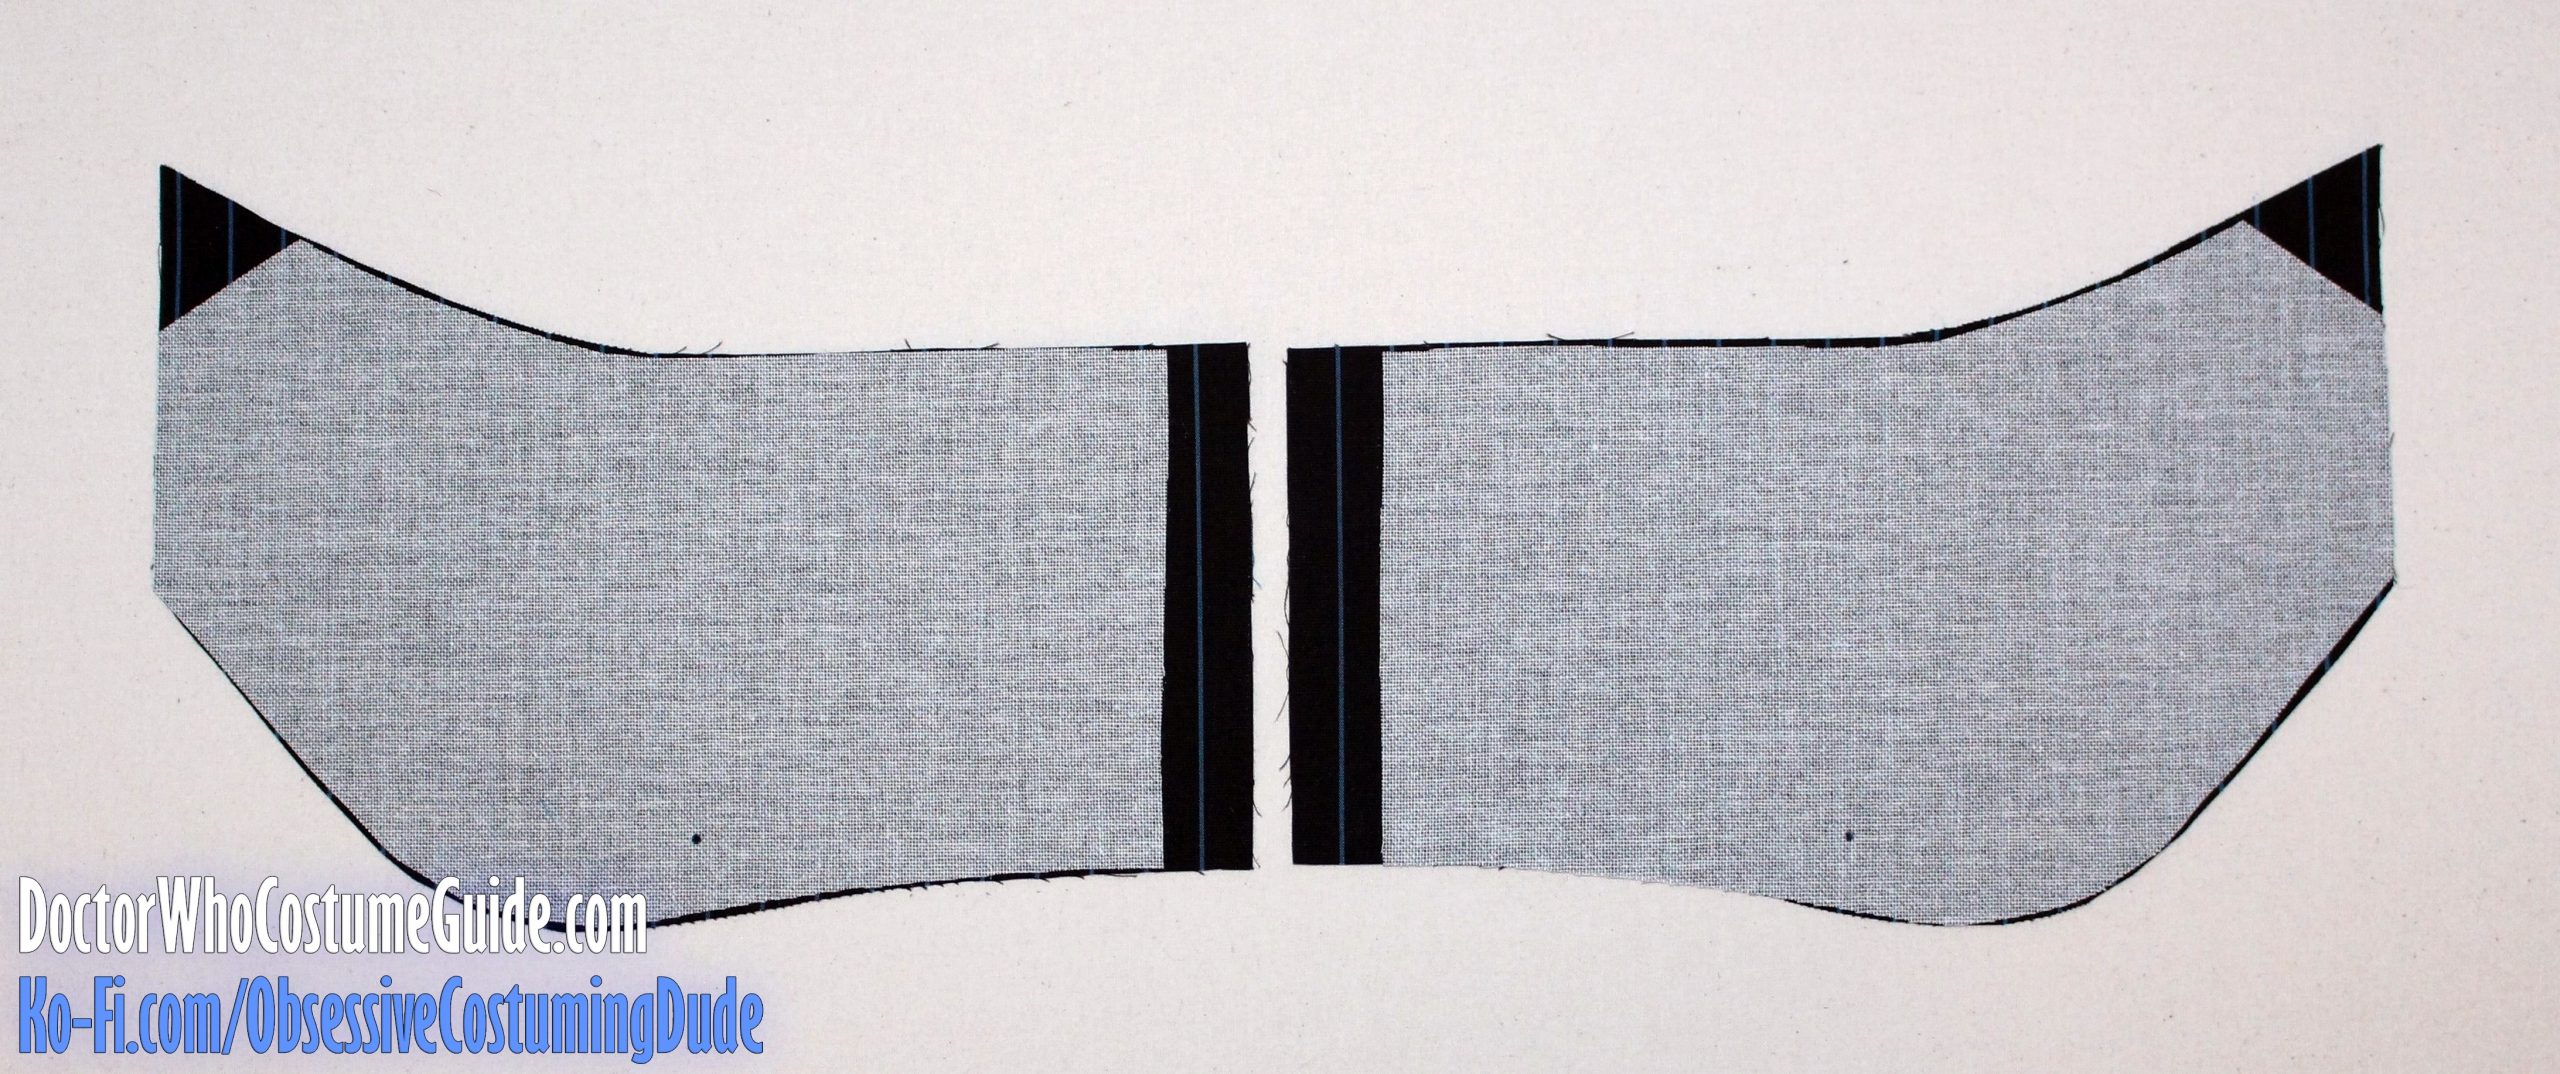
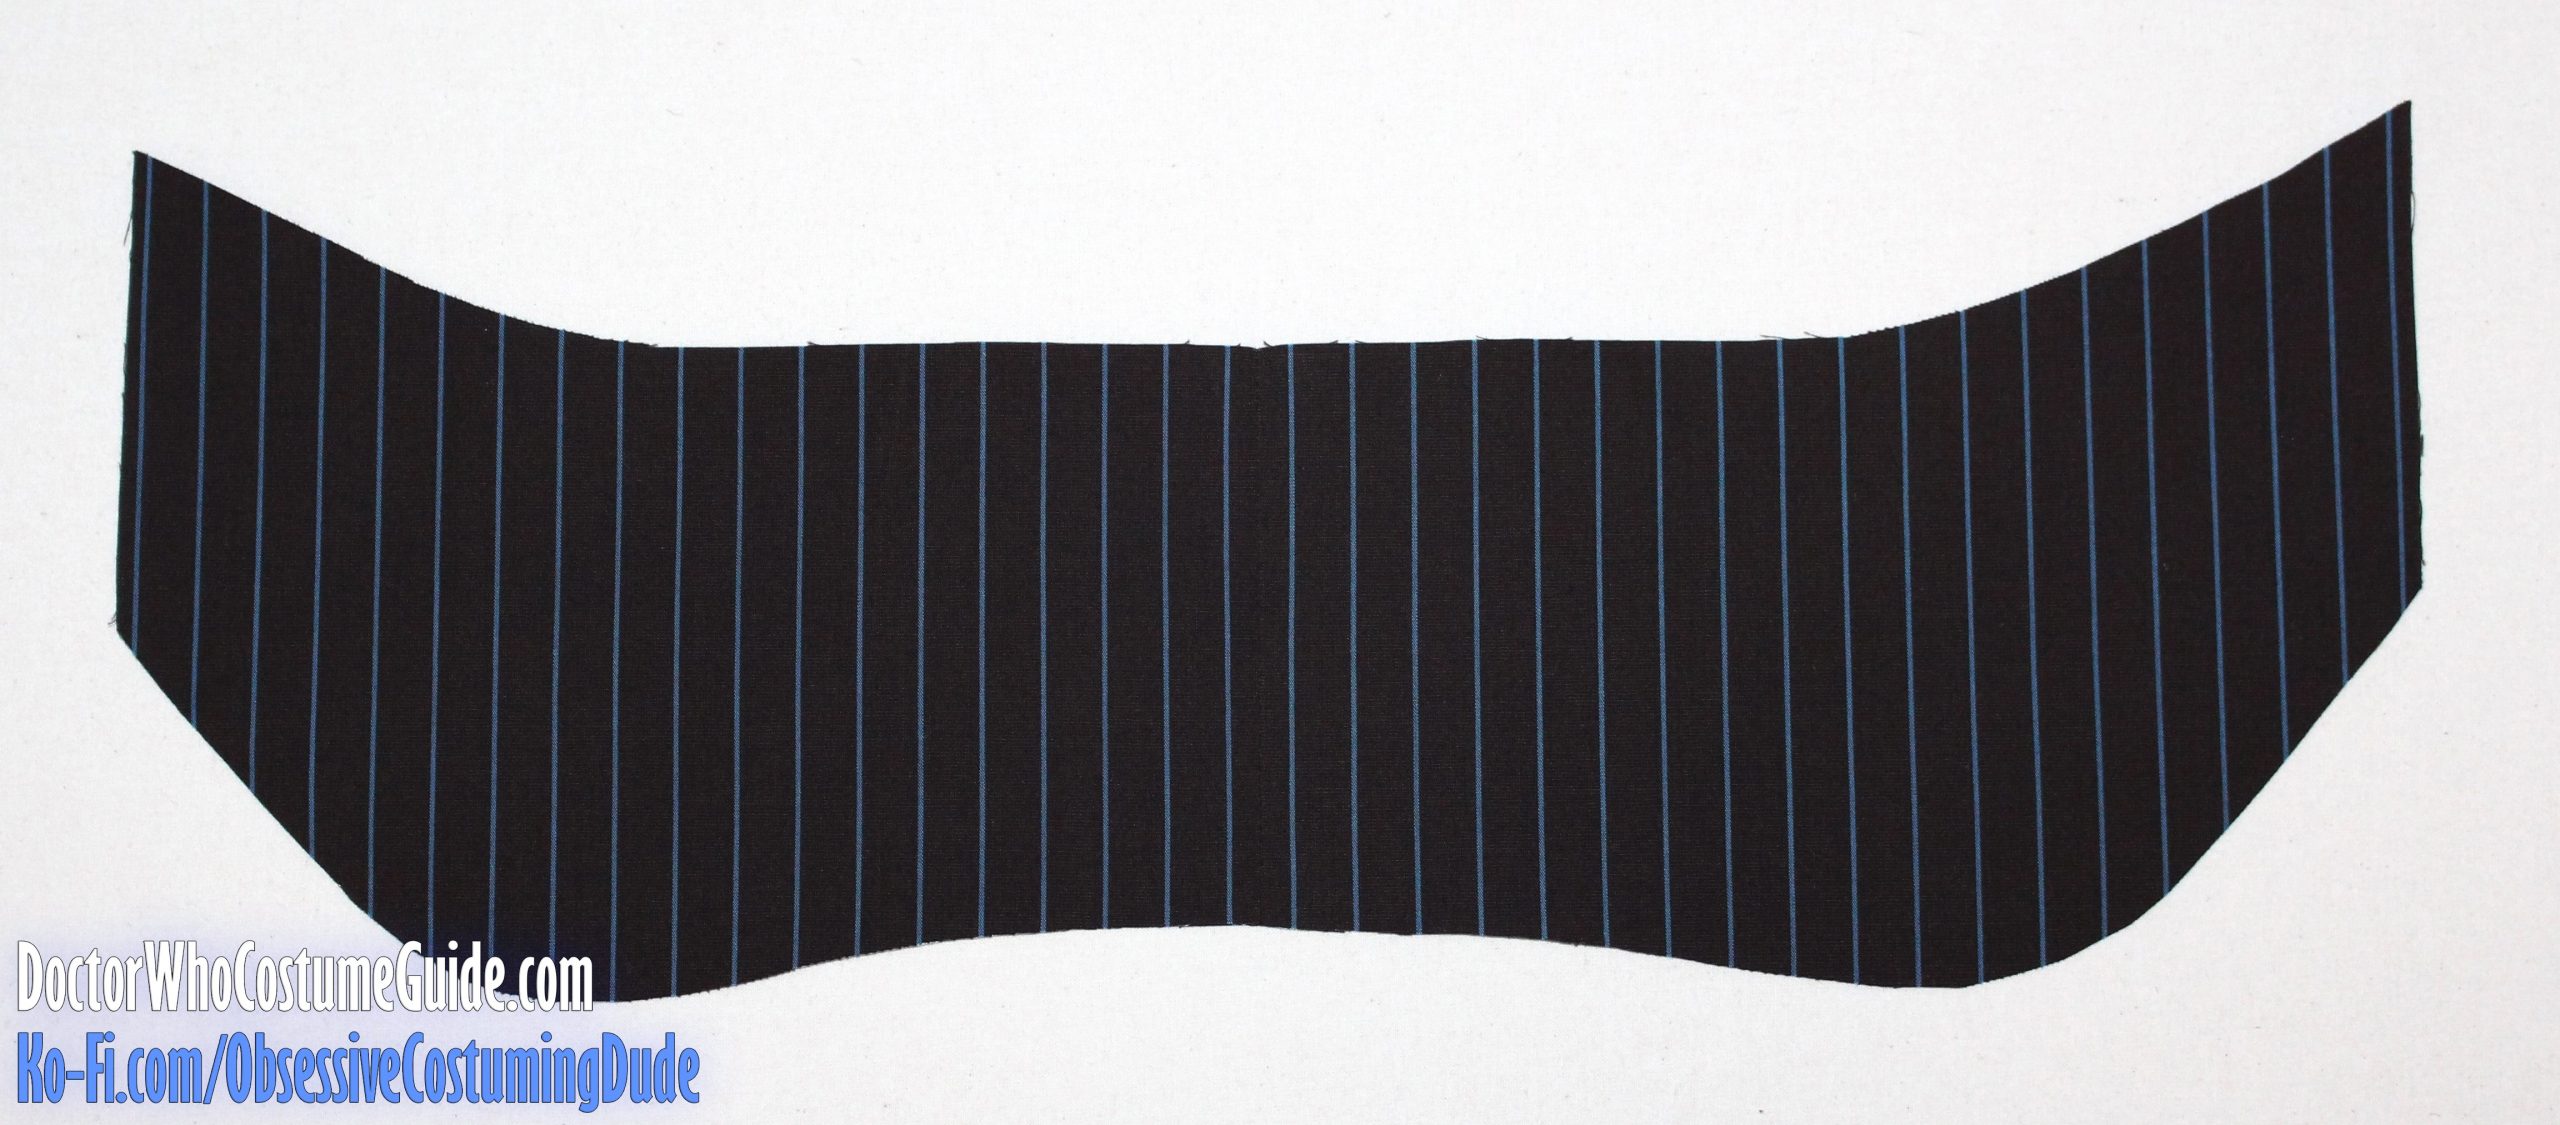
Although the undercollar felt/melton is cut as a single piece, the two pieces of French canvas are cut with the center back on the bias.
Overlap the two pieces of undercollar canvas at the center back, and sew them together across the seam line with a zig-zag stitch.
Then, trim the seam allowances close to the stitching.
There are different opinions about how to best padstitch the collar.
Personally, I like to padstitch the actual roll line, and then continue padstitching on each side in parallel rows.
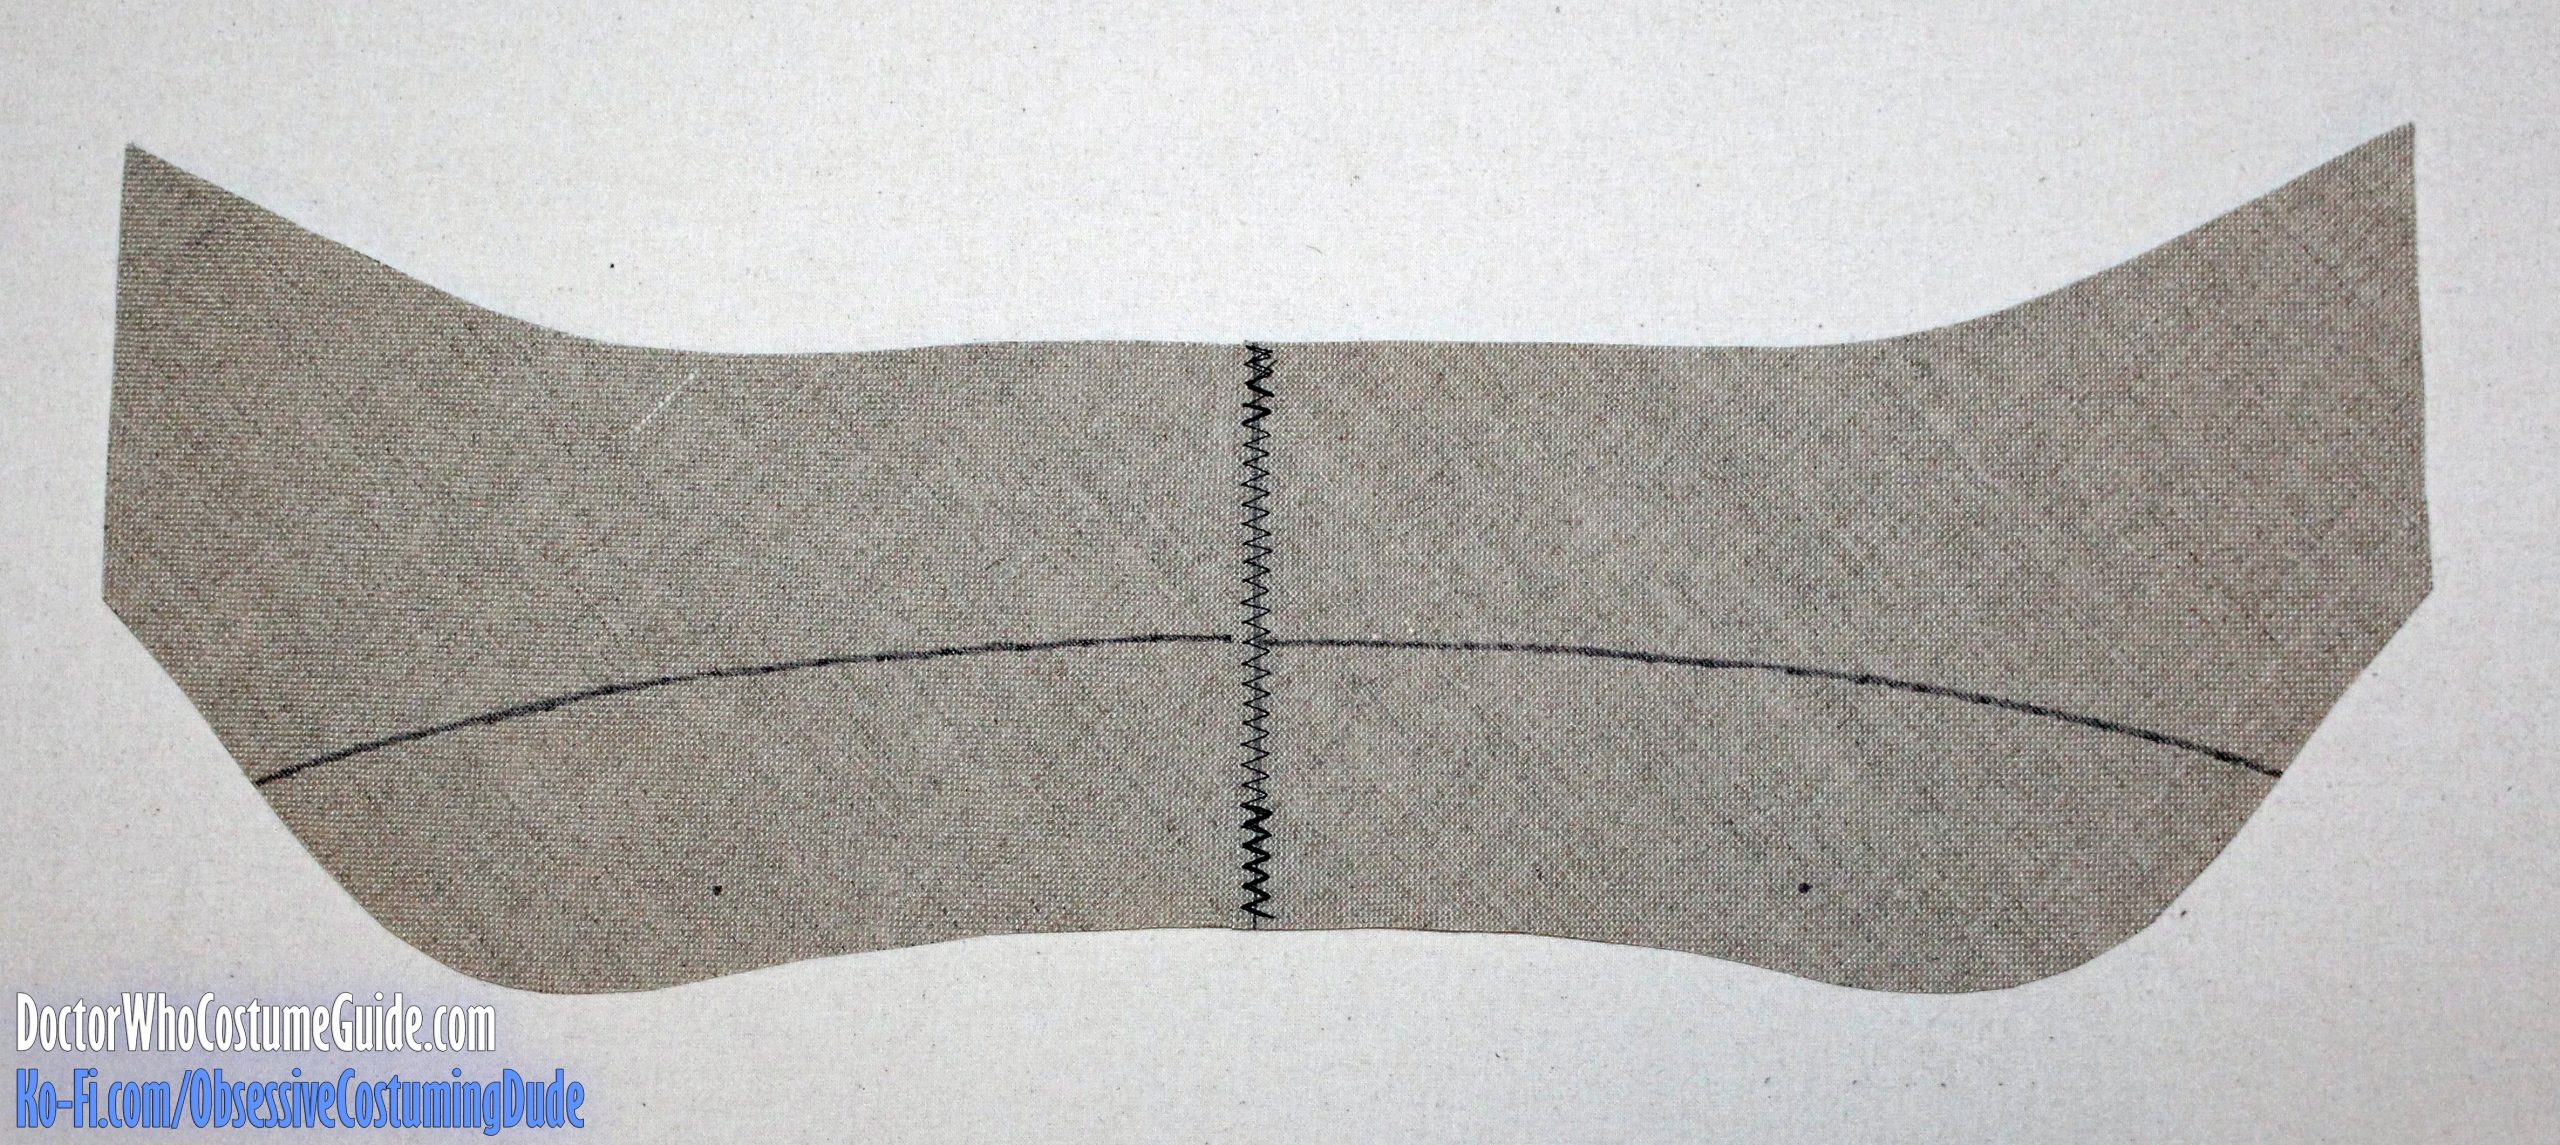
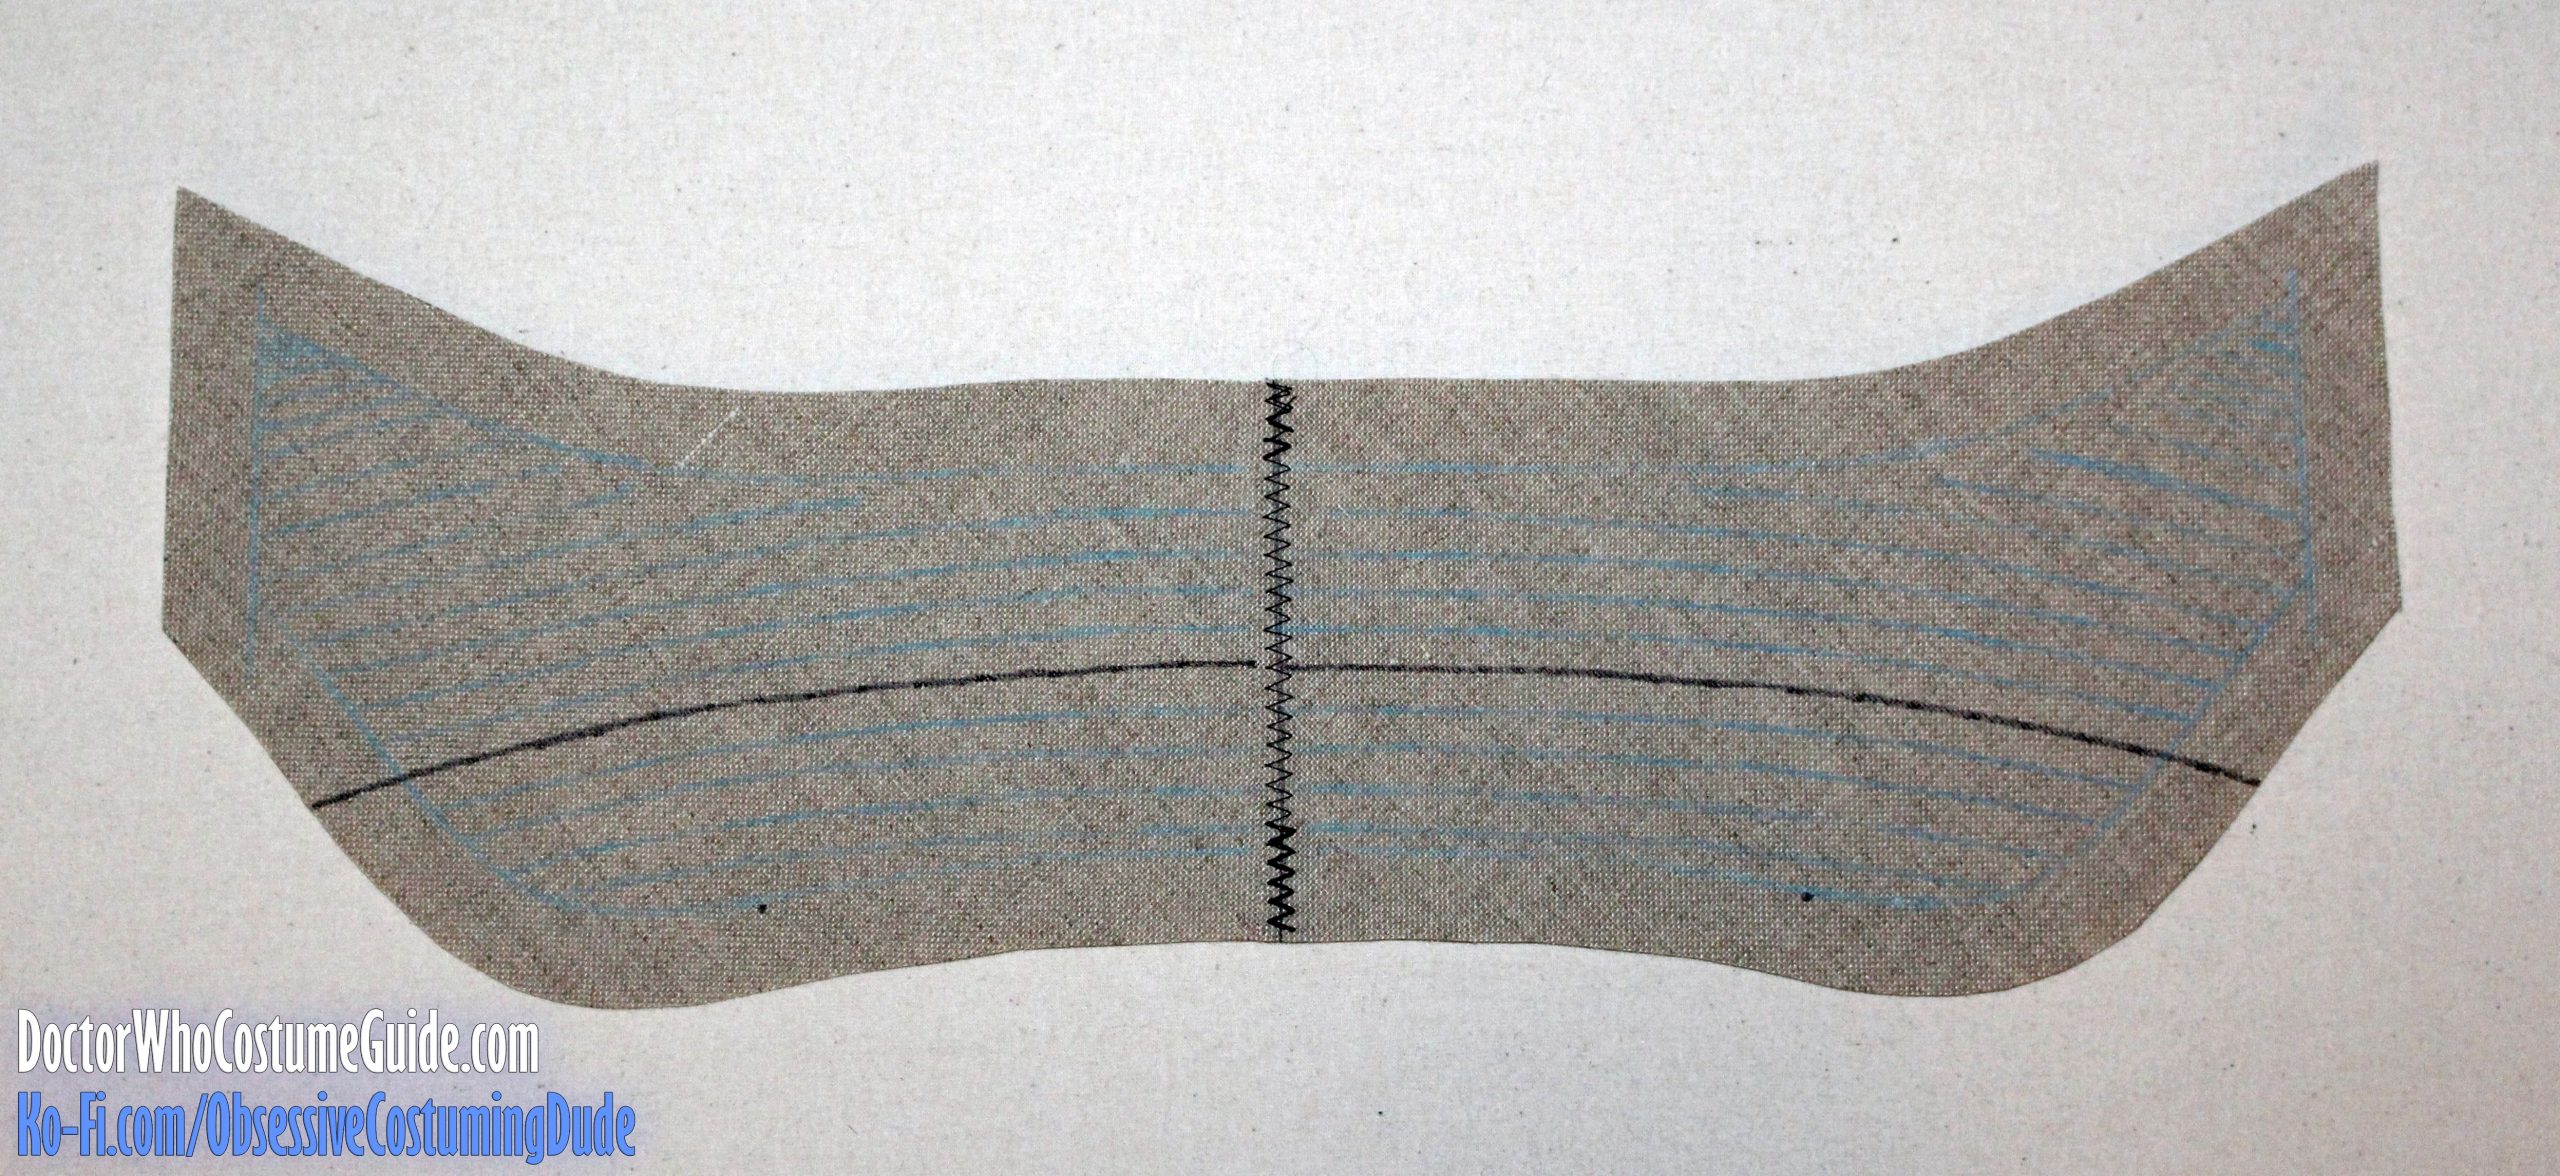
Mark the seam lines on the canvas, and the rows for padstitching.
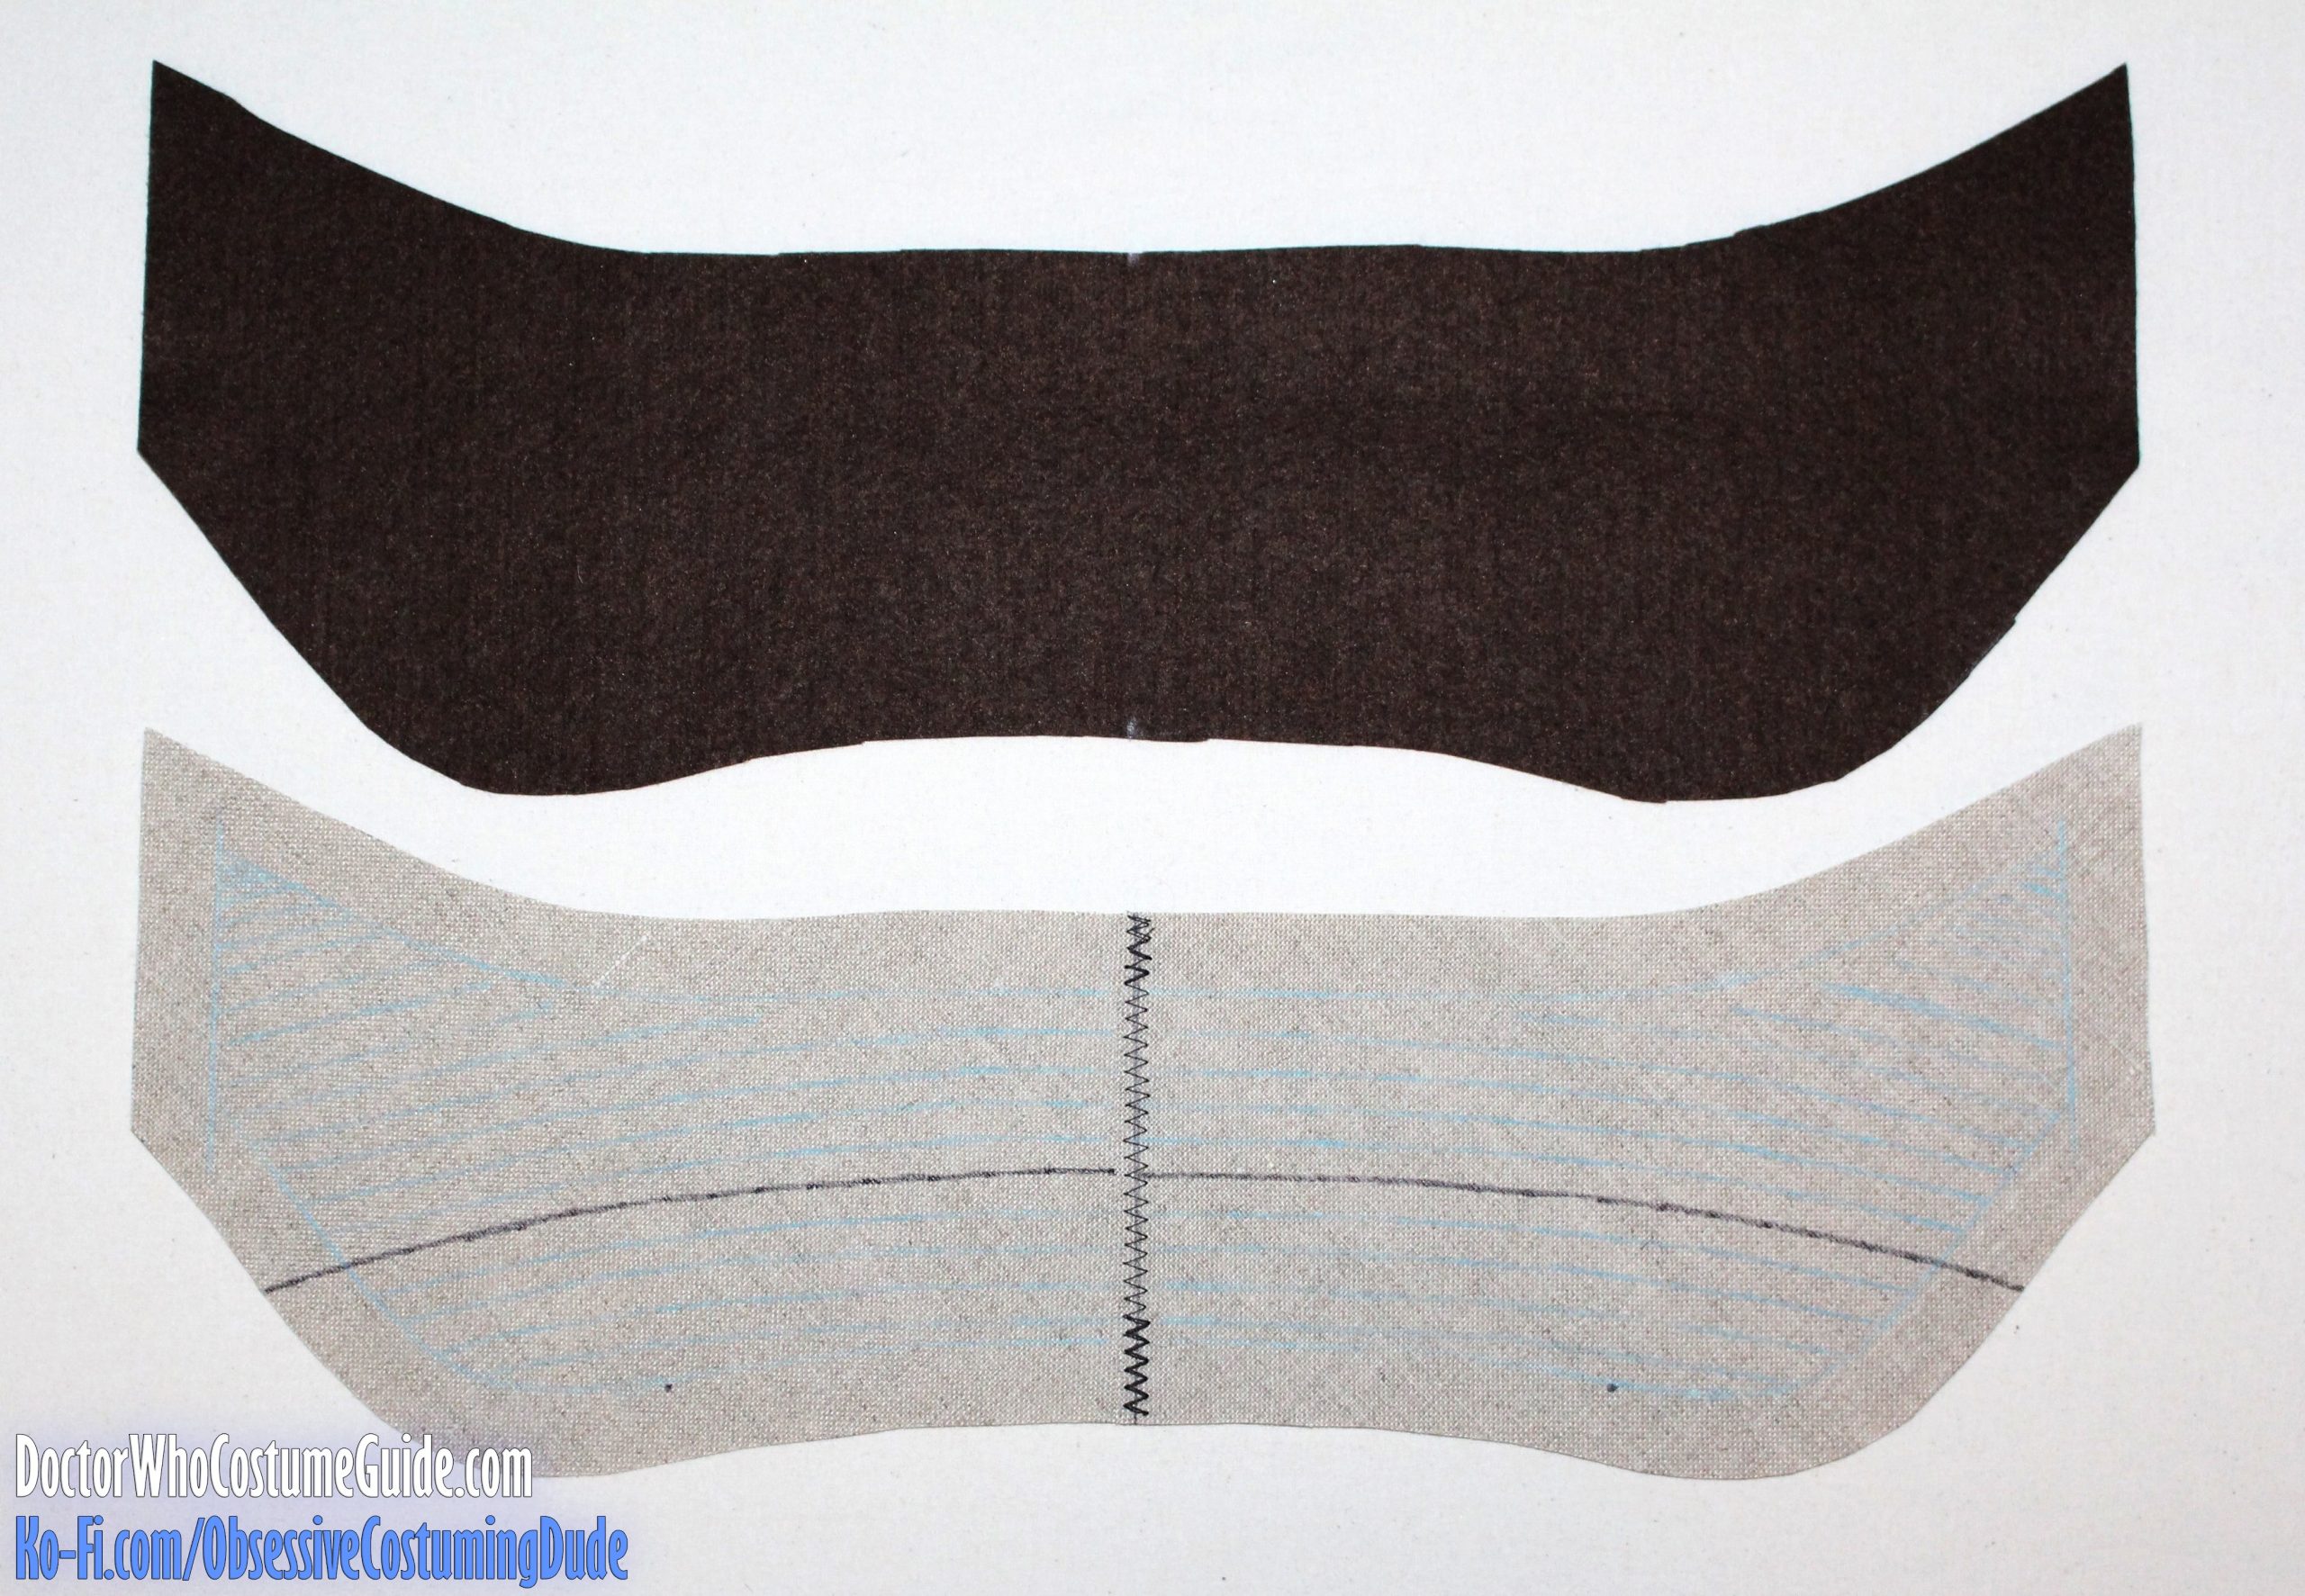
Place the French canvas on the wrong side of the undercollar felt, matching edges, and baste the layers together along the roll line.
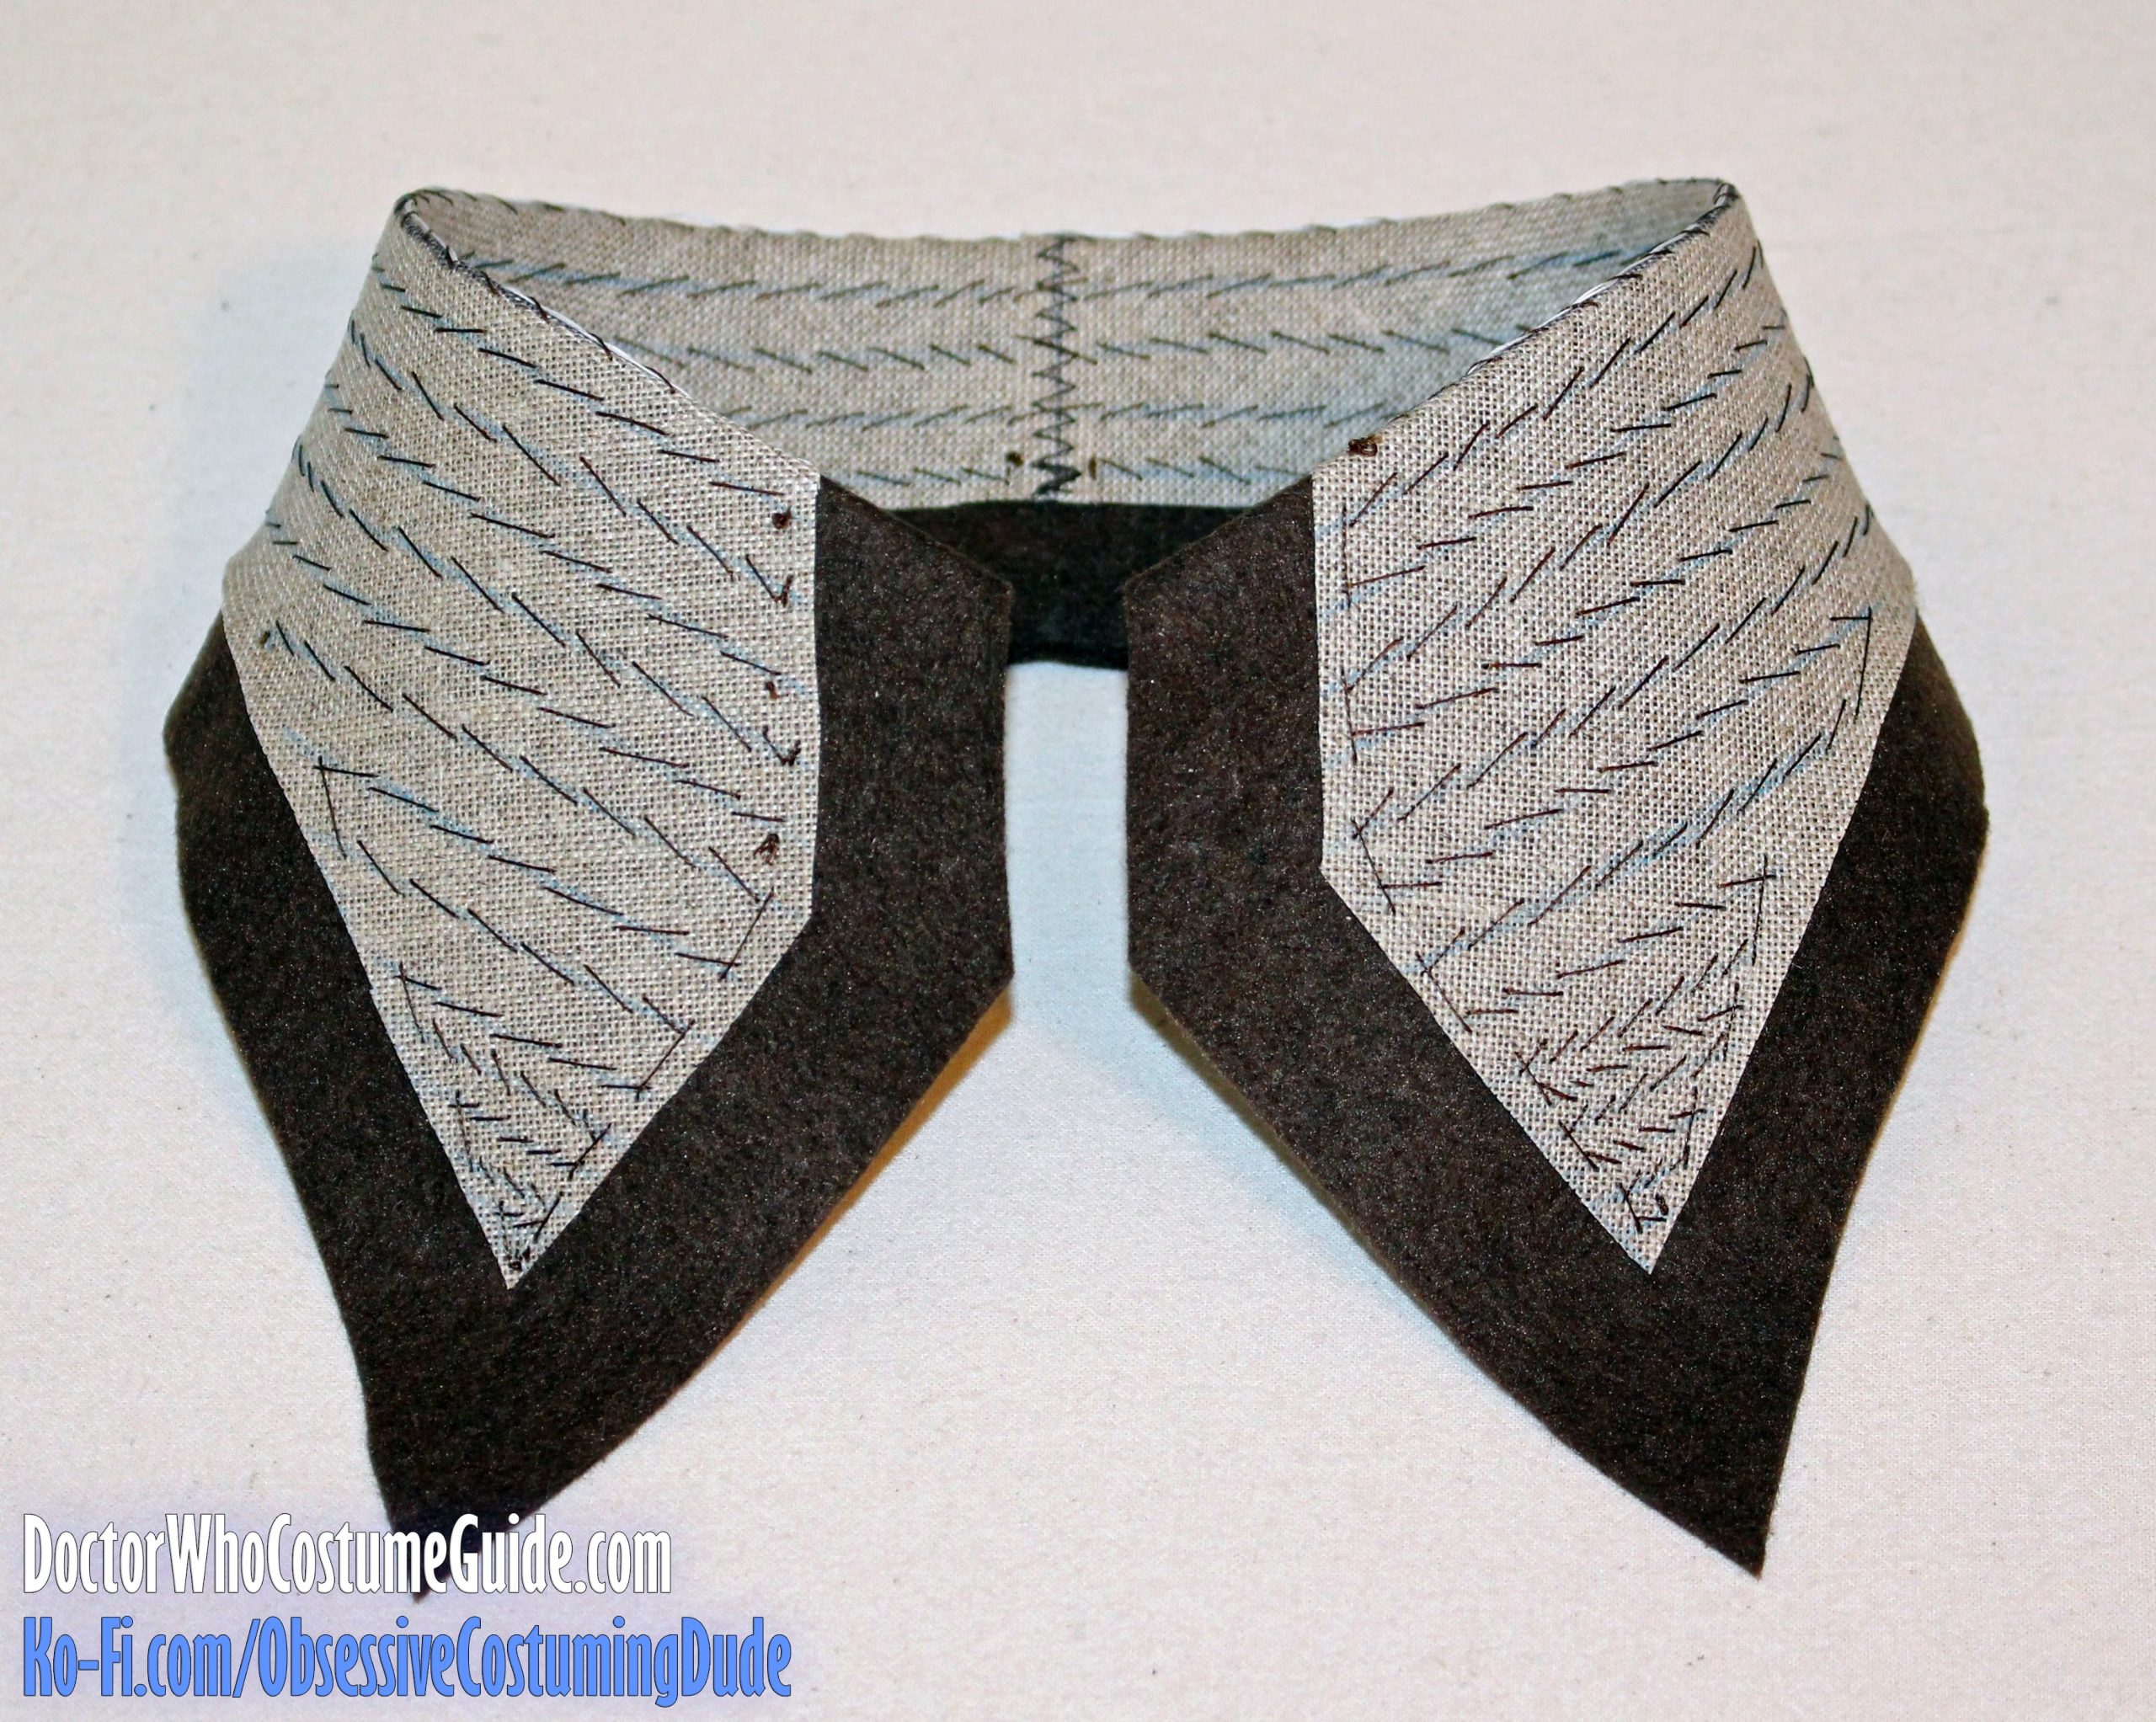
Padstitch the undercollar, beginning and ending your stitching ⅛” from the seam lines.
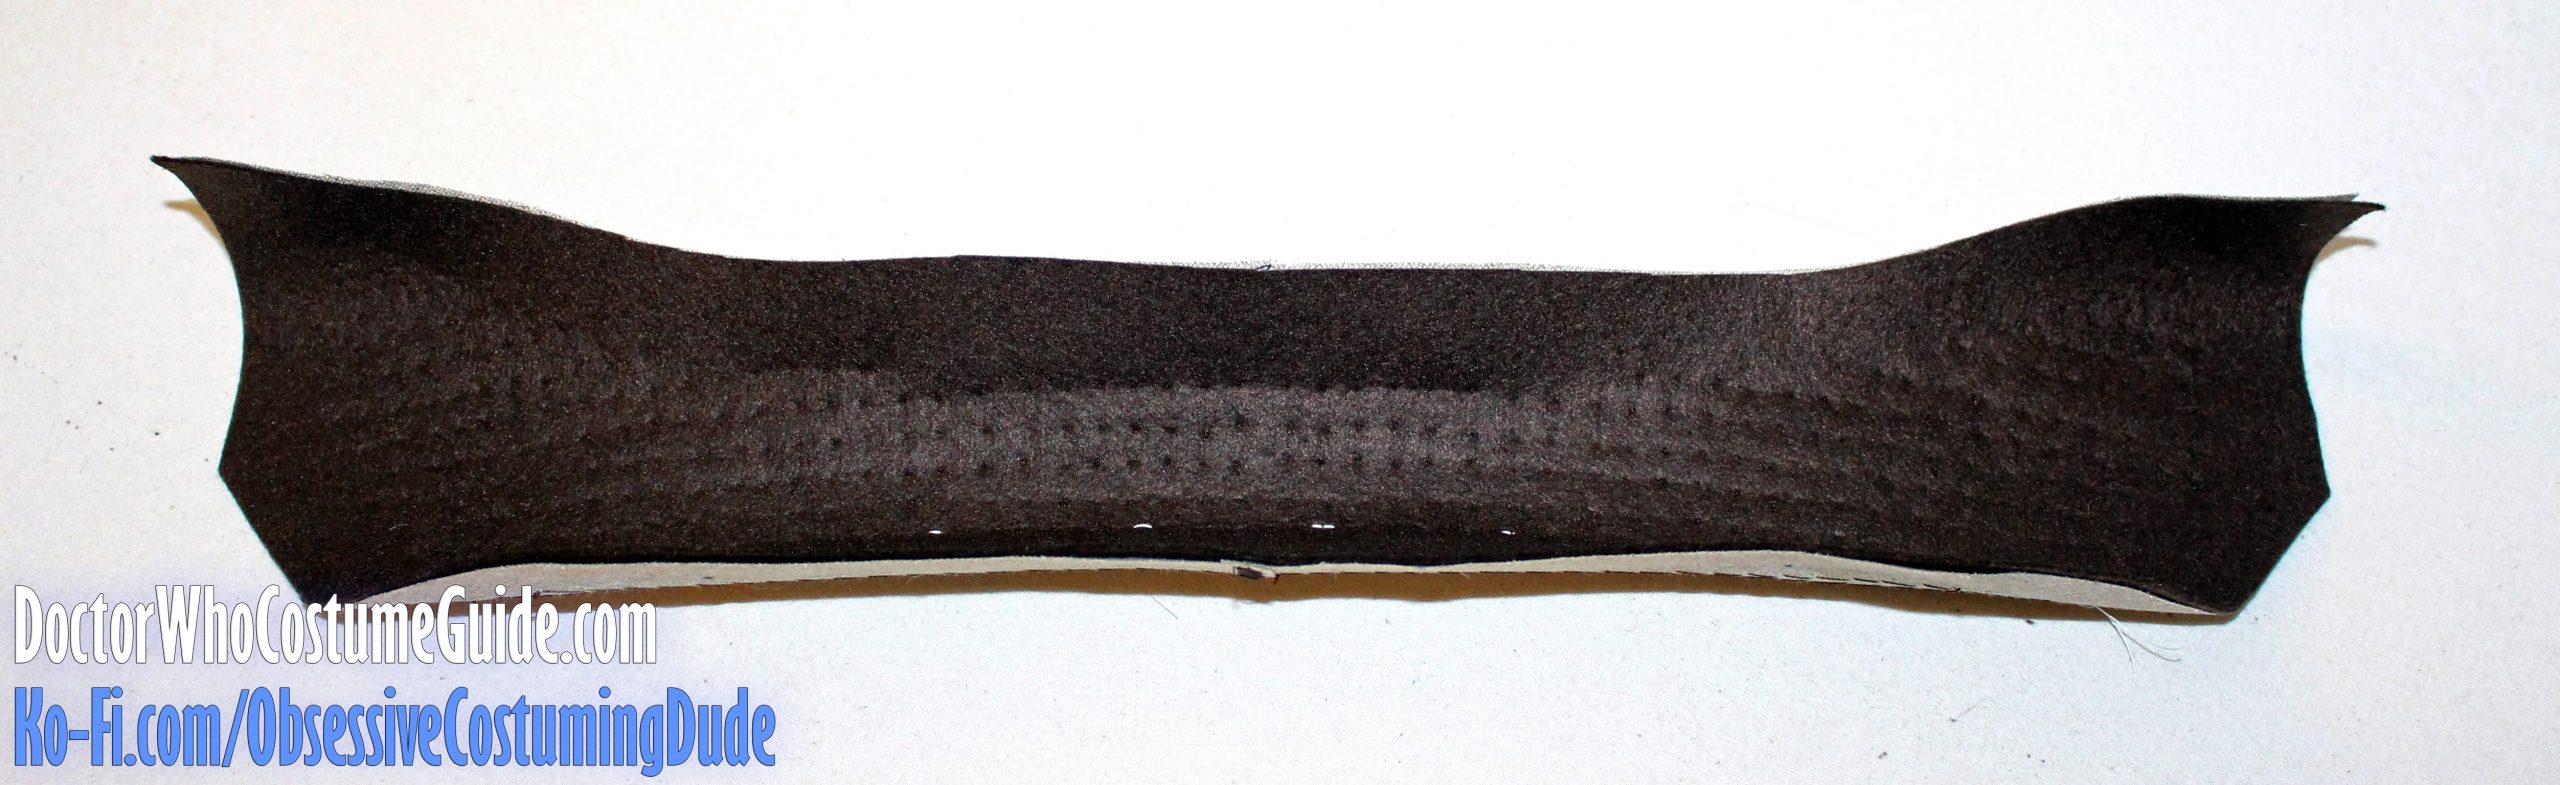
Fold the undercollar along the roll line, pin it to a tailor’s ham, and steam it into shape.
Once it’s set and cooled, your undercollar should hold its shape nicely.
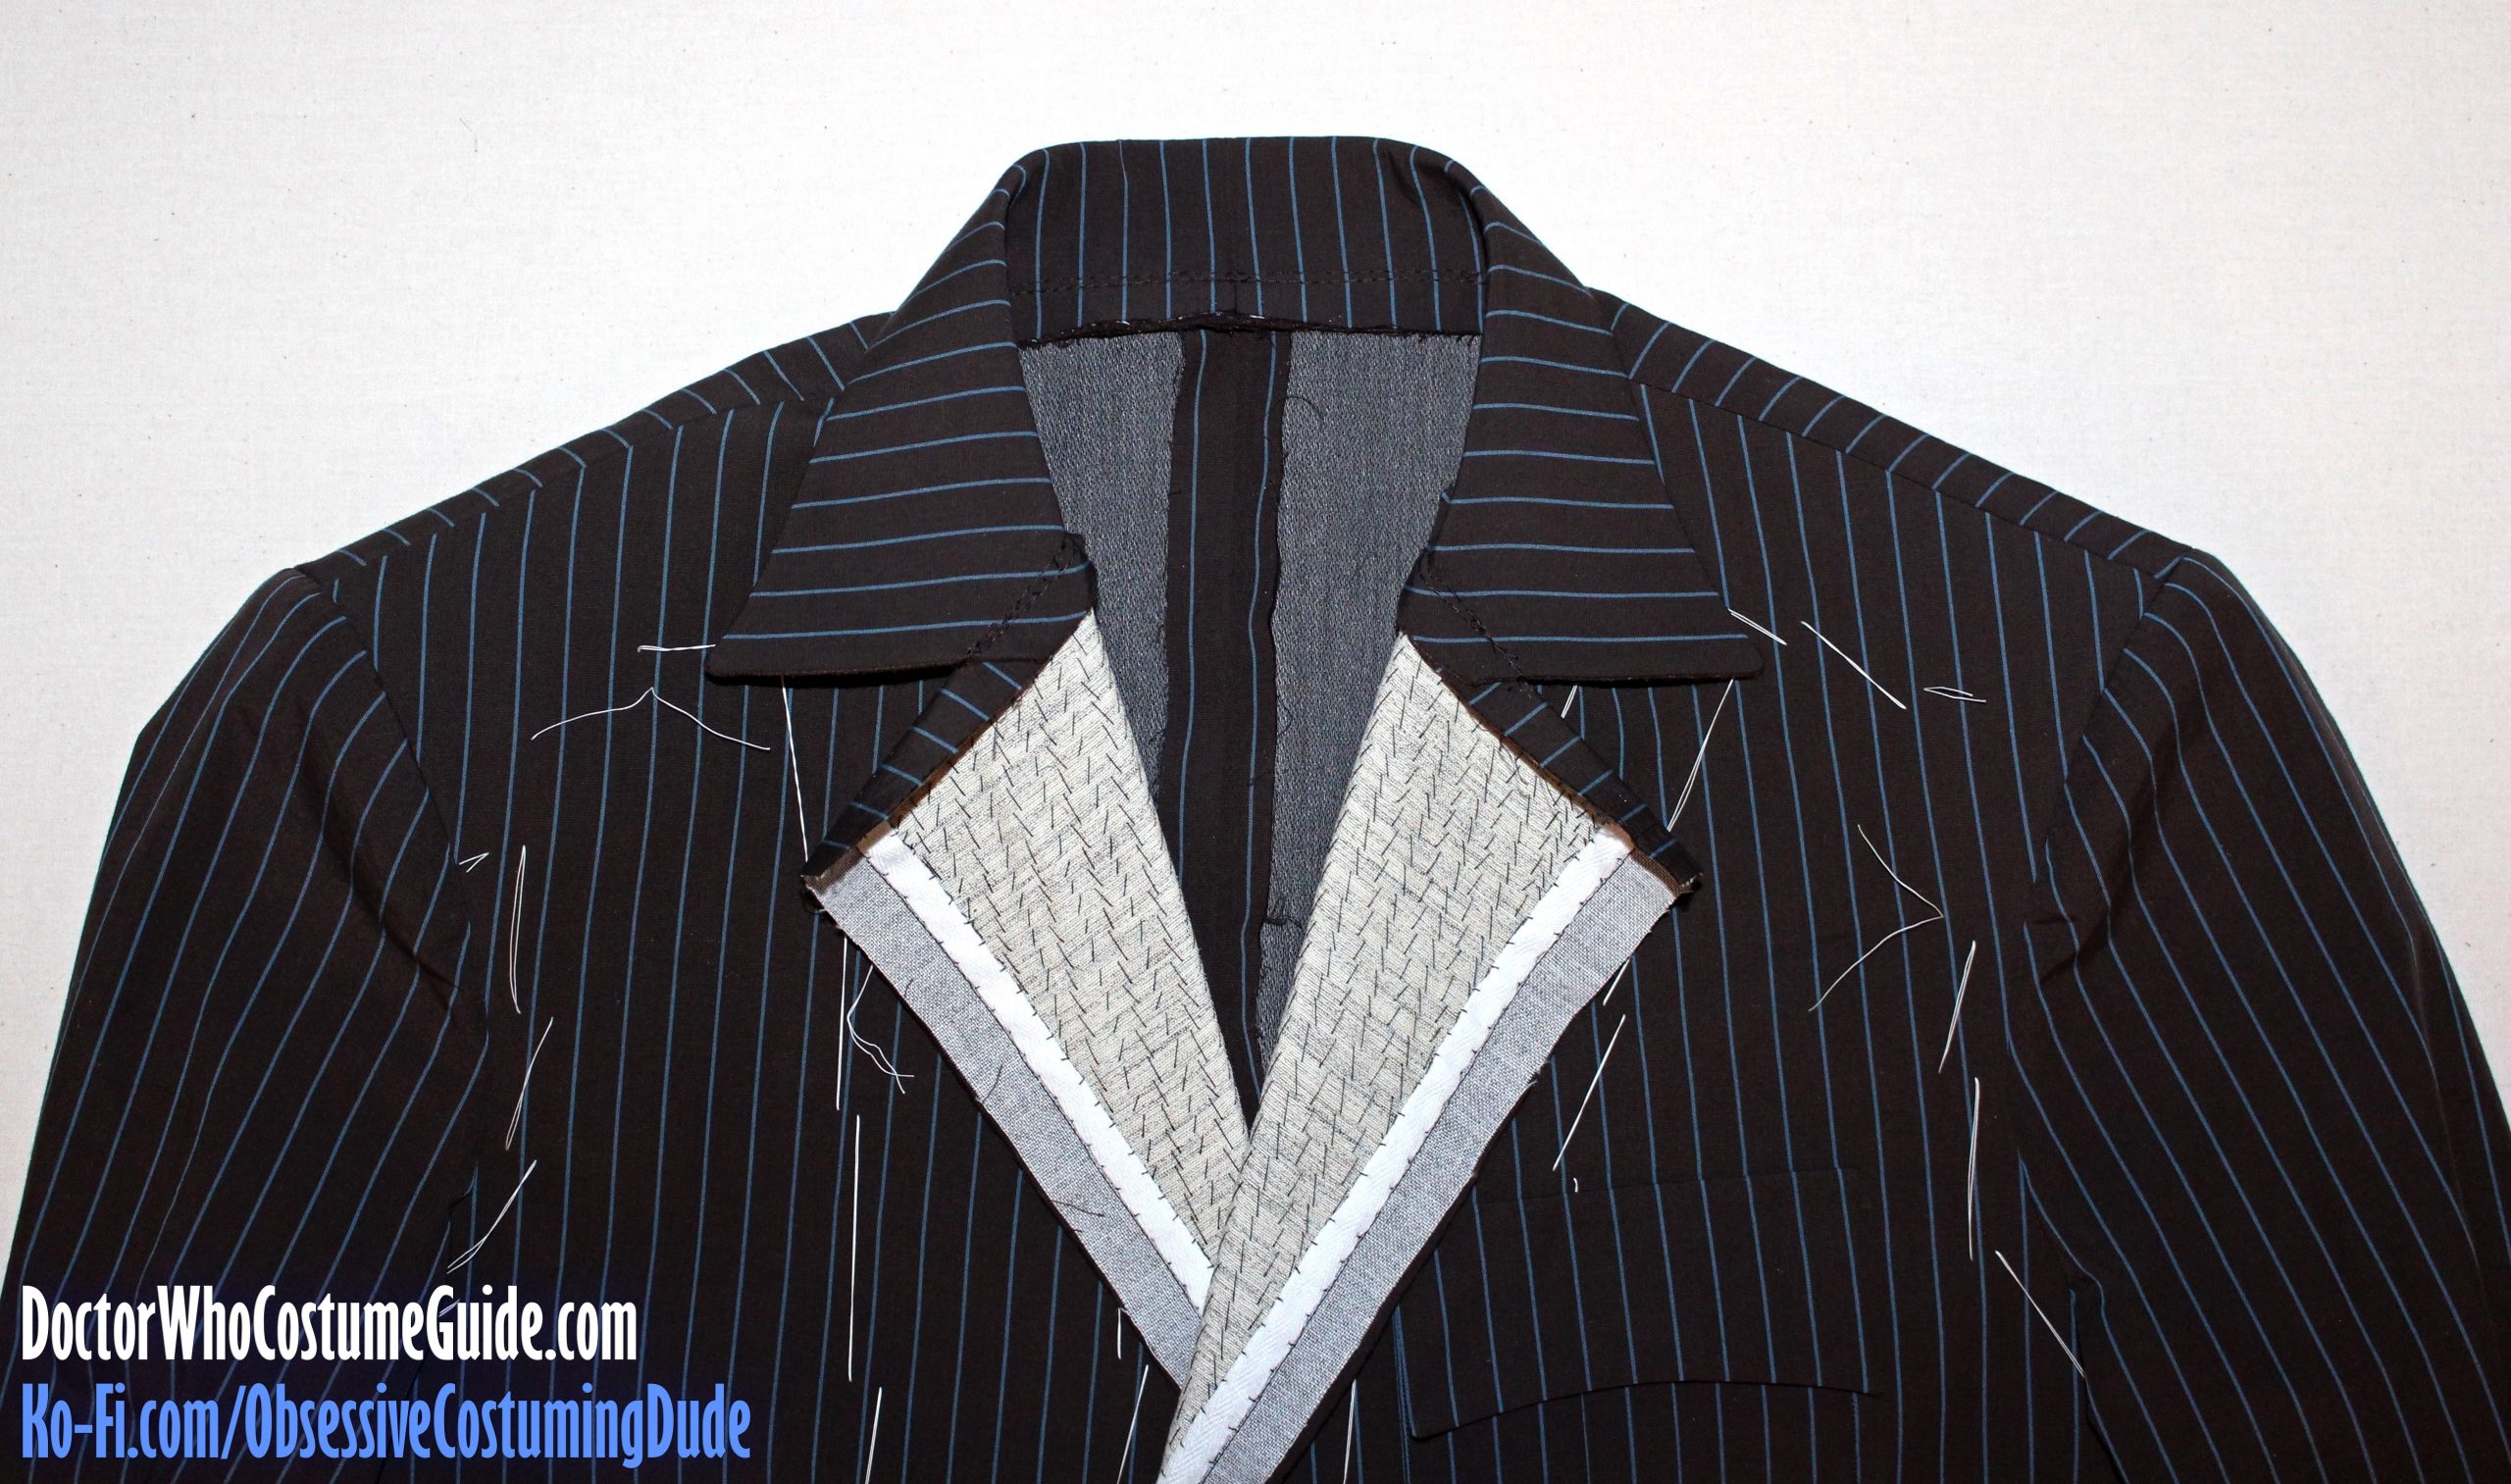
Trim the canvas seam allowances away (I actually like to trim away a tiny bit more), taking care to avoid your stitching.
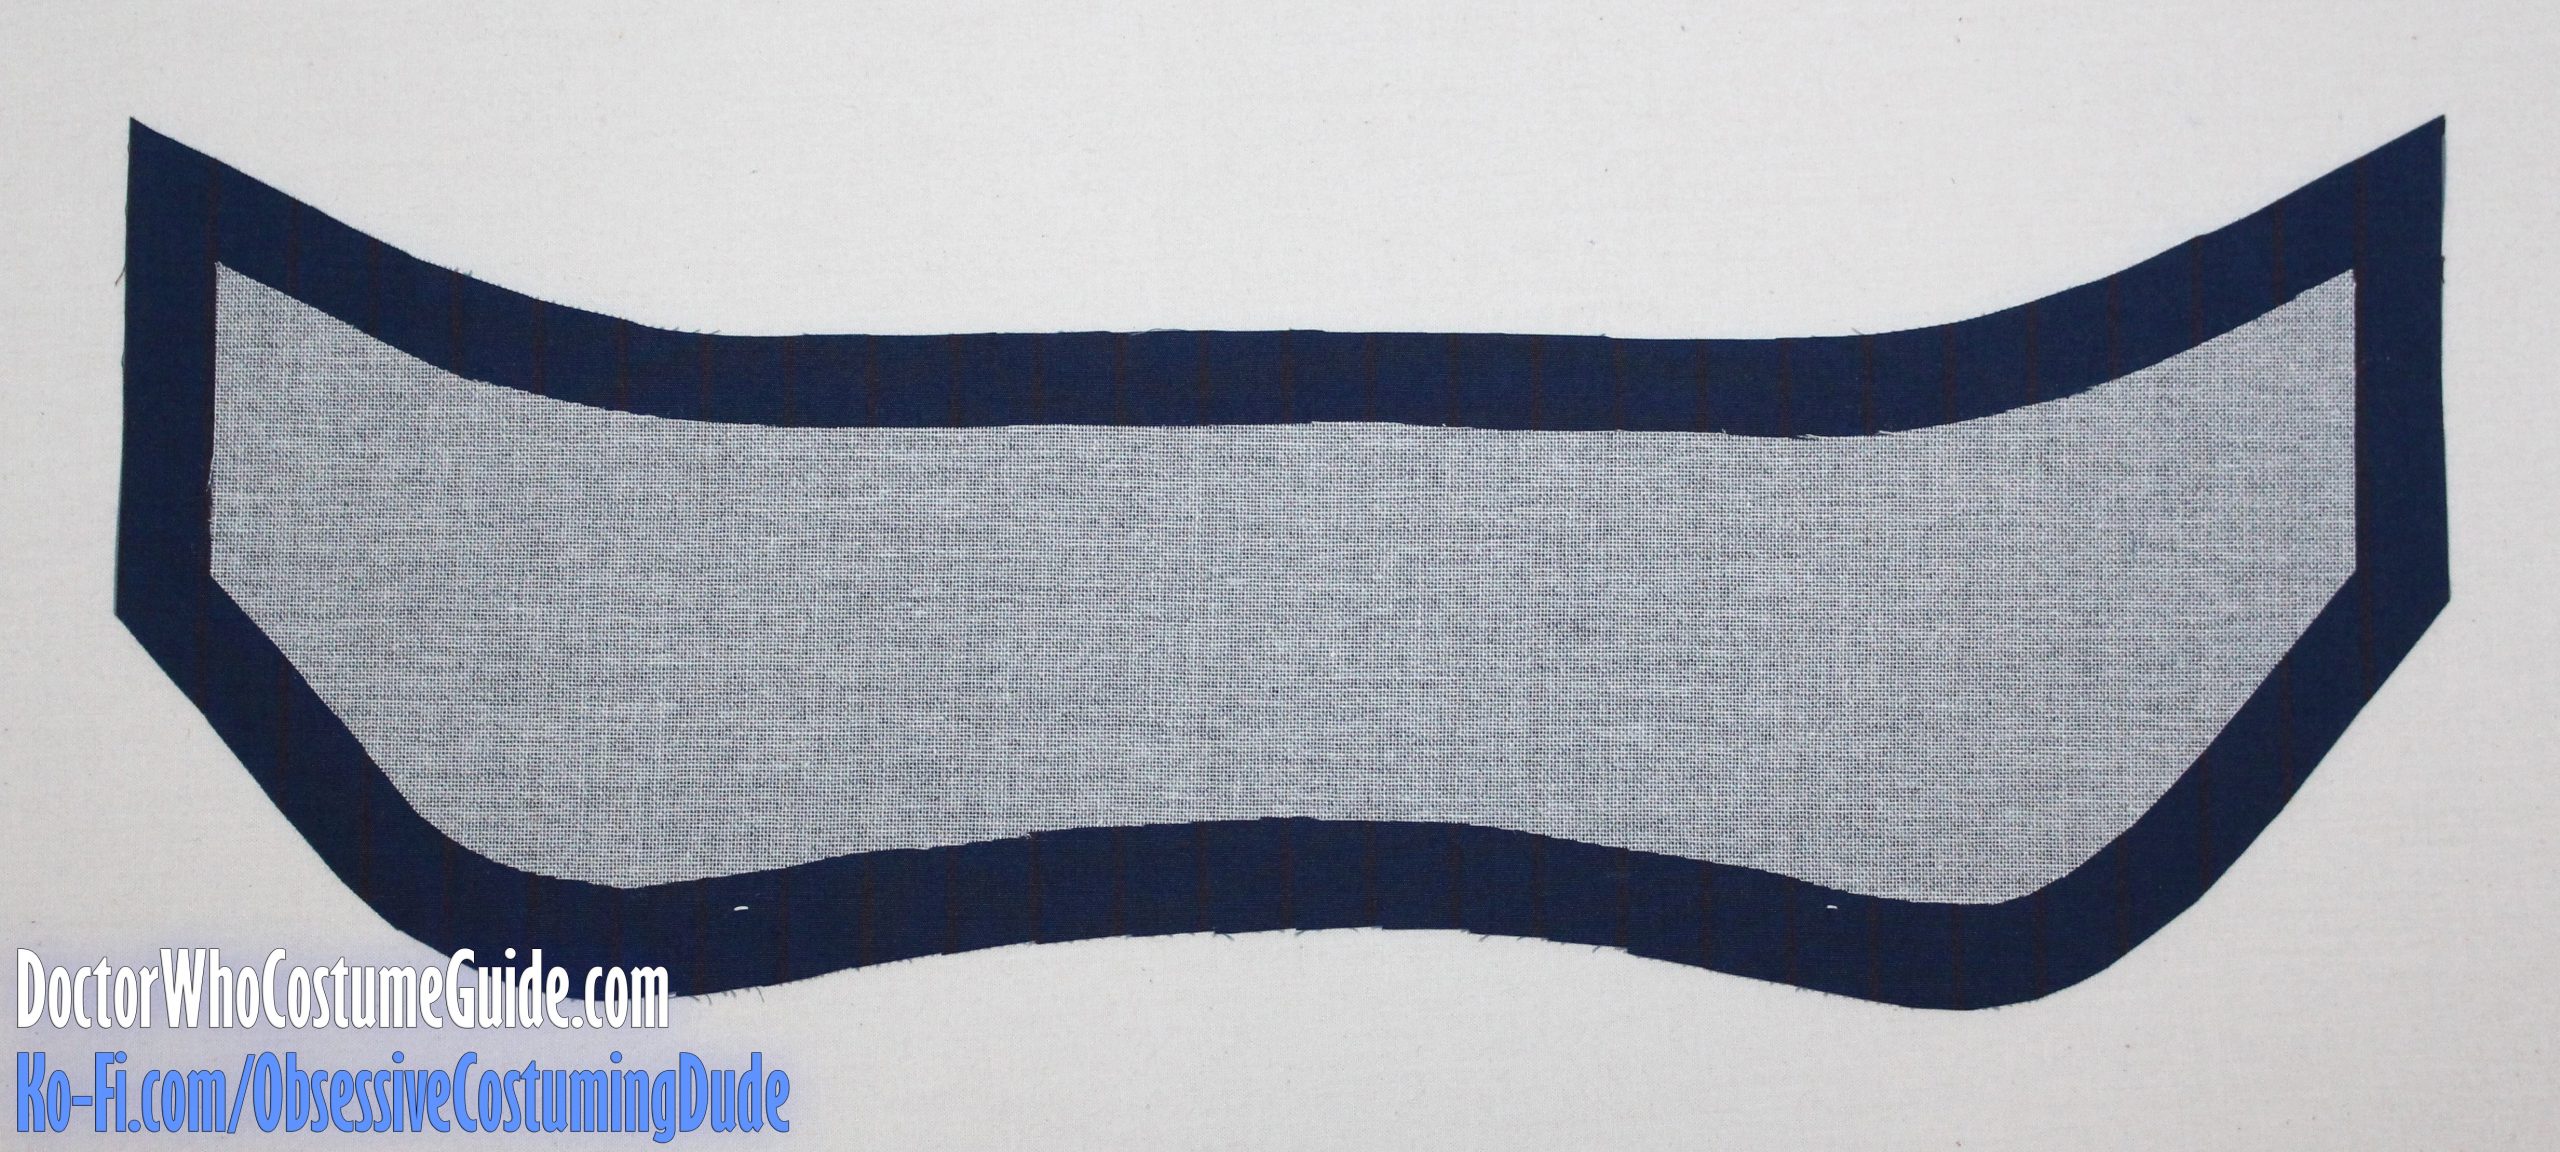
OPTIONAL: Interface your upper collars (piece M) with a lightweight fusible interfacing. (I used the same fusible hymo as I did on the jacket front and front facing.) Trim the interfacing out of the seam allowances – entirely, not just partially as pictured directly below. See the blue suit example, even though it was cut as a single piece.
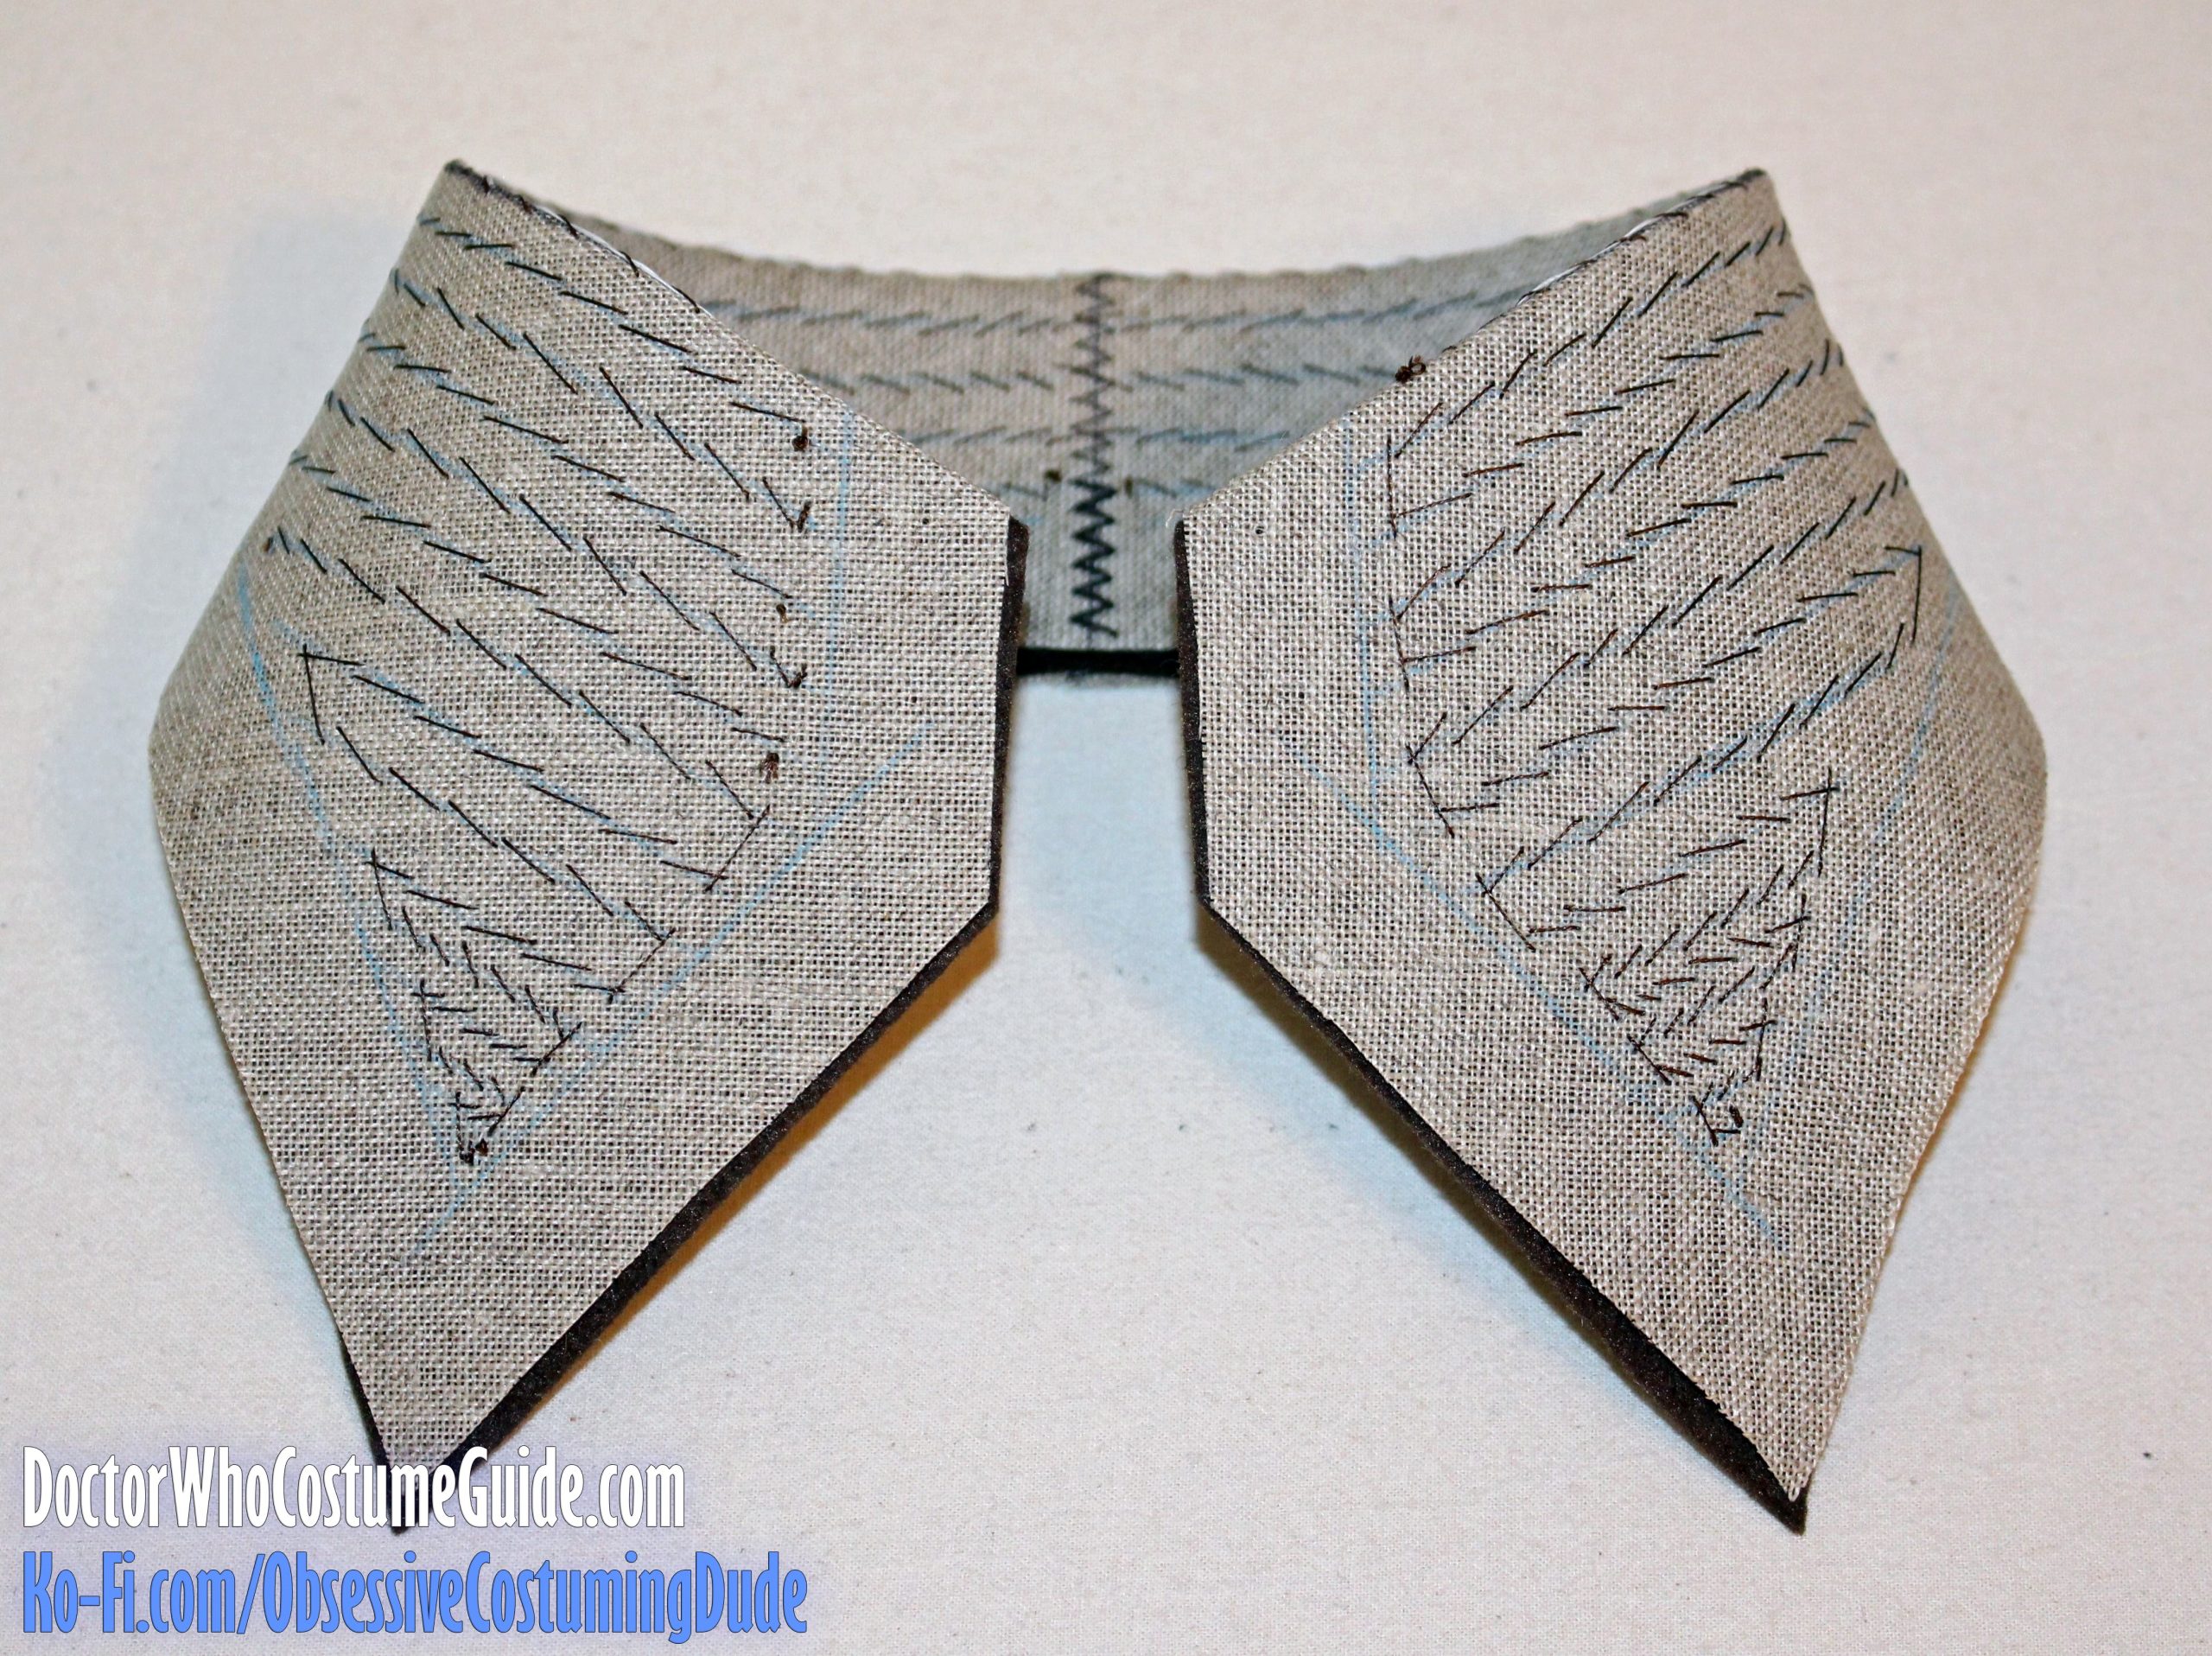
Sew the two upper collars together along the center back.
(Remember that the center back seam is ideally either centered over a pinstripe, or halfway between two pinstripes.)
Press the seam allowances open.
Hopefully, your center back seam line will be practically invisible!
There are numerous methods of finishing and attaching a jacket collar – all of which, in my opinion, have their pros and cons.
For this tutorial, I’ll be demonstrating what I believe to be the easiest and most convenient method (what I call the “Muggle method”) of attaching a jacket collar, although other methods are arguably better.
(If you’d like to learn additional methods for attaching jacket collars, I teach you six in my tailoring course!)
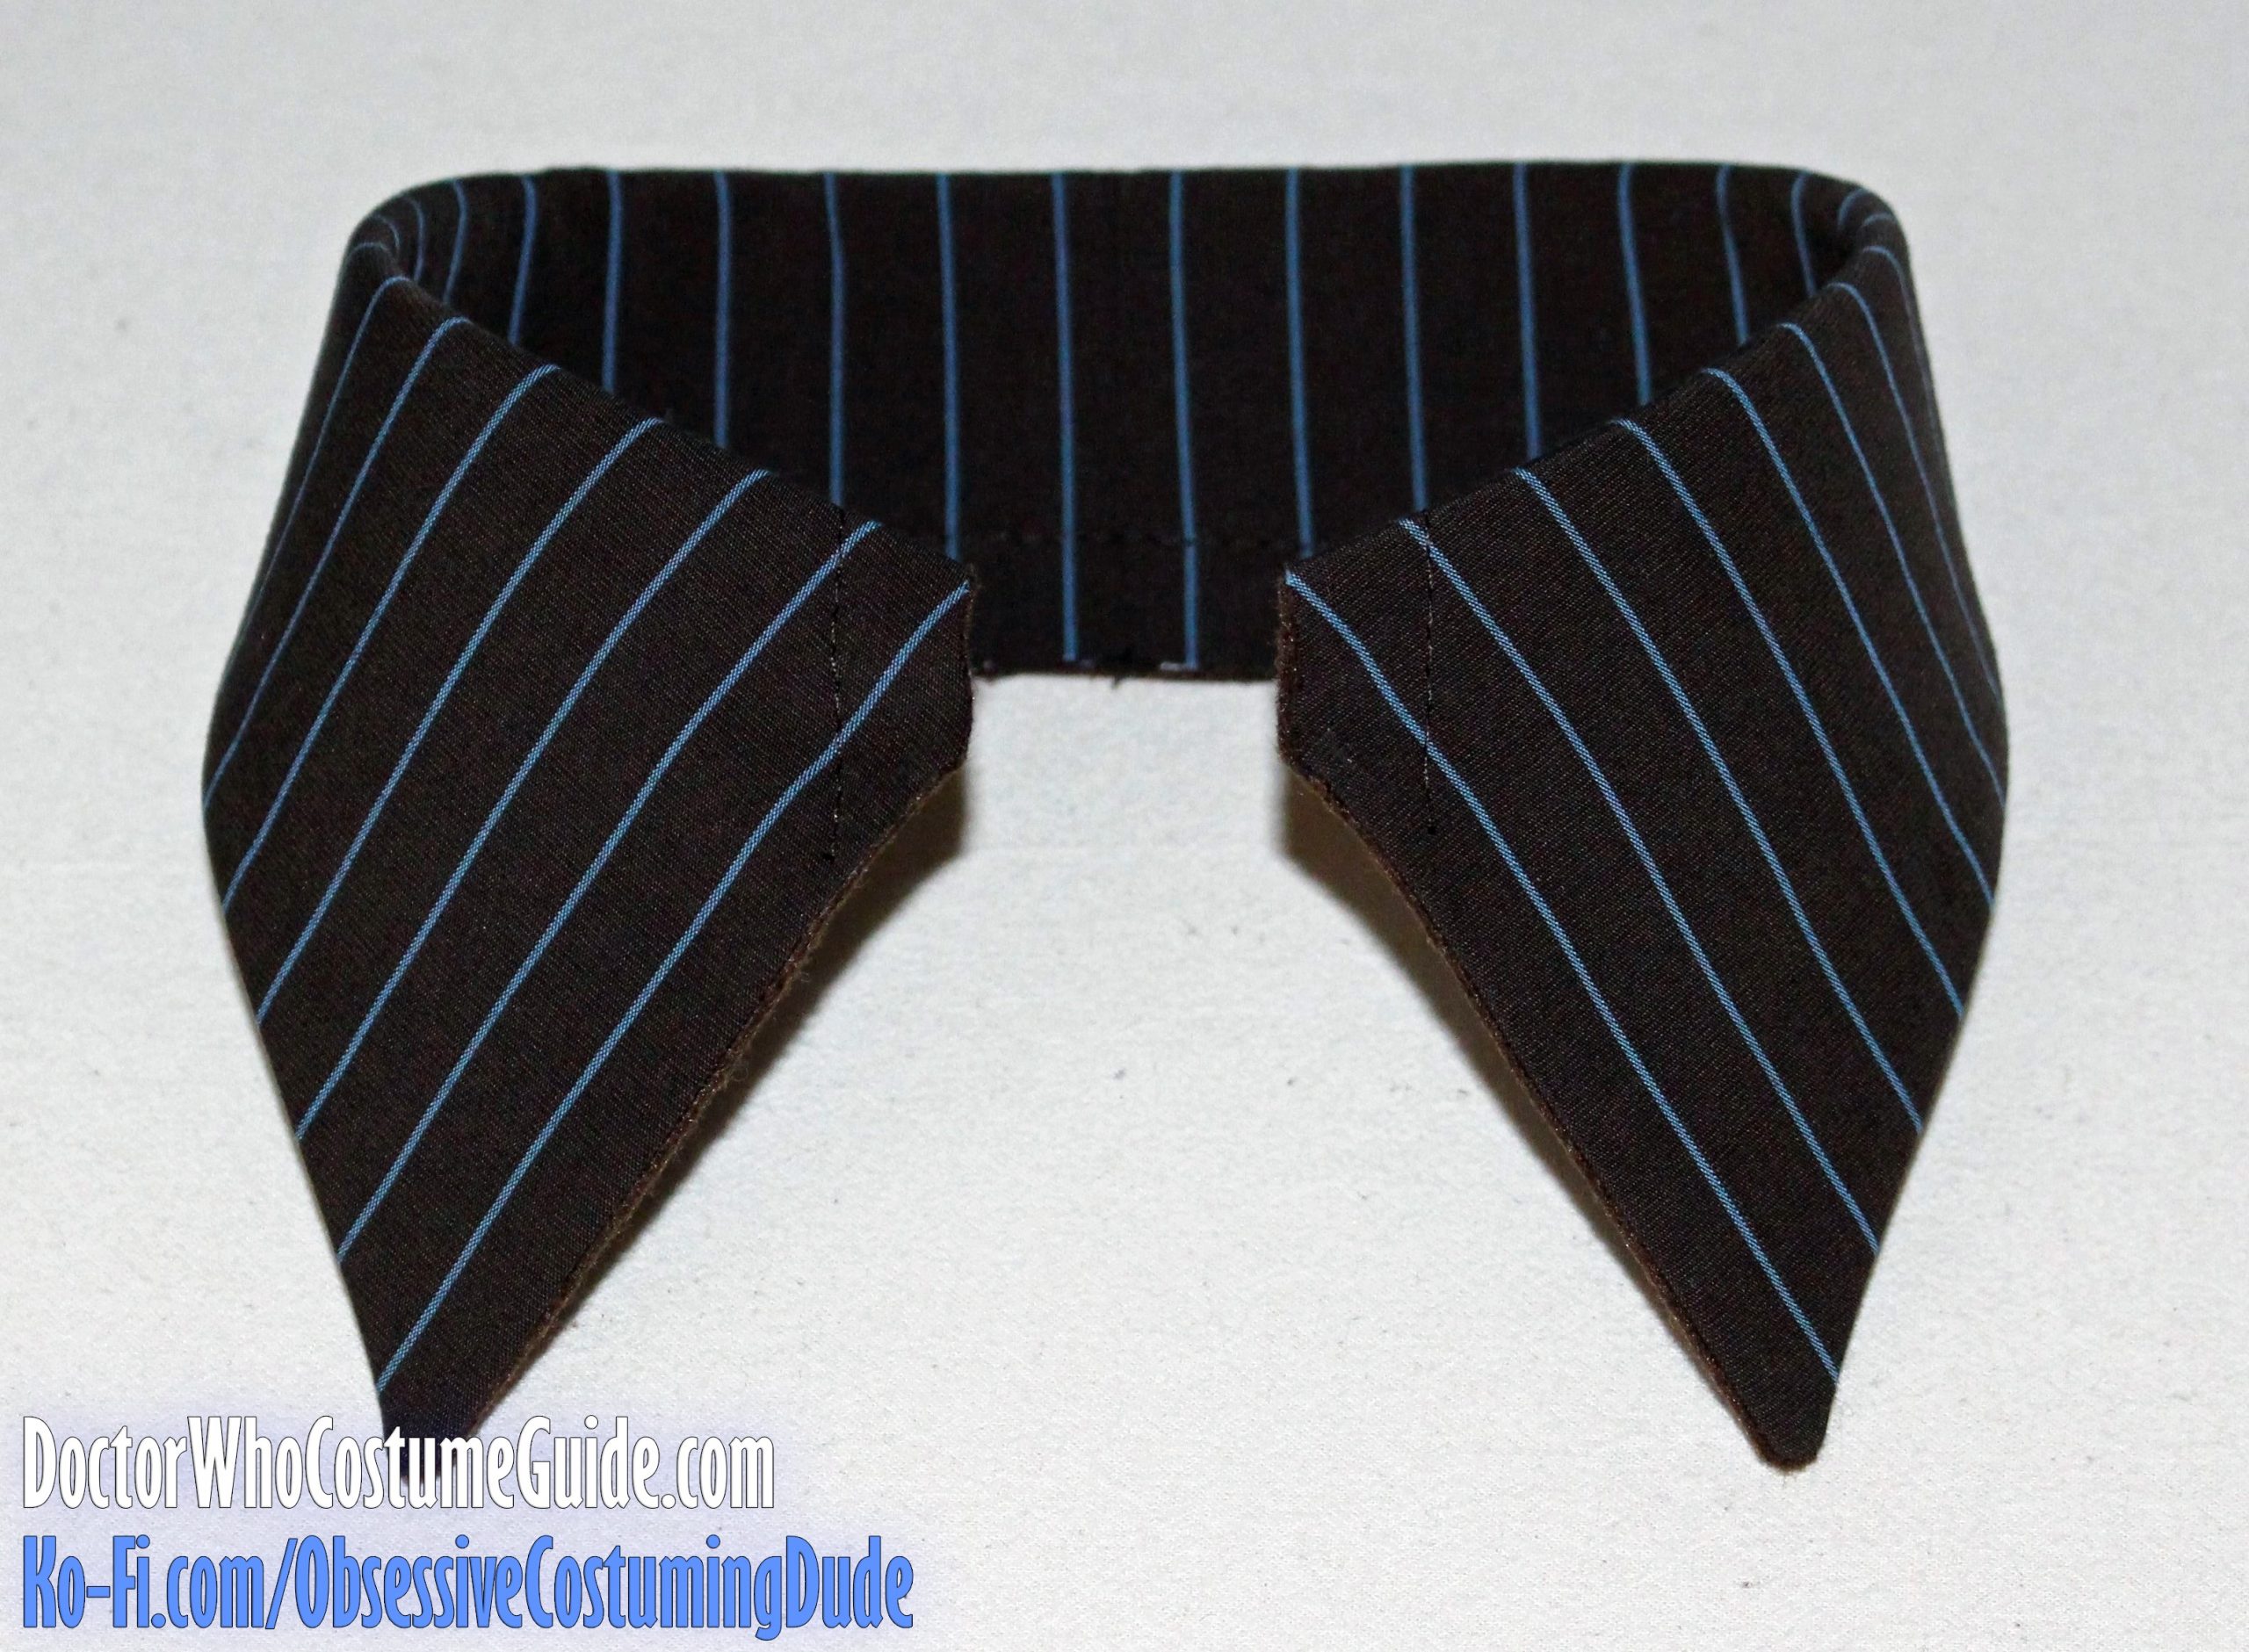
With this technique, sew the upper collar and under collar assemblies together along the front and outer/lower edges, shortening your stitch length around the corners.
Trim the seam allowances and turn the collar assembly right-sides-out.
Press the collar assembly again over a tailor’s ham so it’s nice and crisp.
As before, once it’s set and cooled, your collar should hold the shaping we established.
Baste the collar assembly to the jacket around the neckline, matching center backs, collar notches, and dots at the shoulder seams.