If you chose not to underline/flatline your sleeves with sateen, interface the underside of the lower sleeve hem area (pieces G and H) with a lightweight fusible interfacing, about 3” wide, and cut with pinking shears to avoid making an impression on the right side of the finished sleeve.
(Brown suit pictured above)
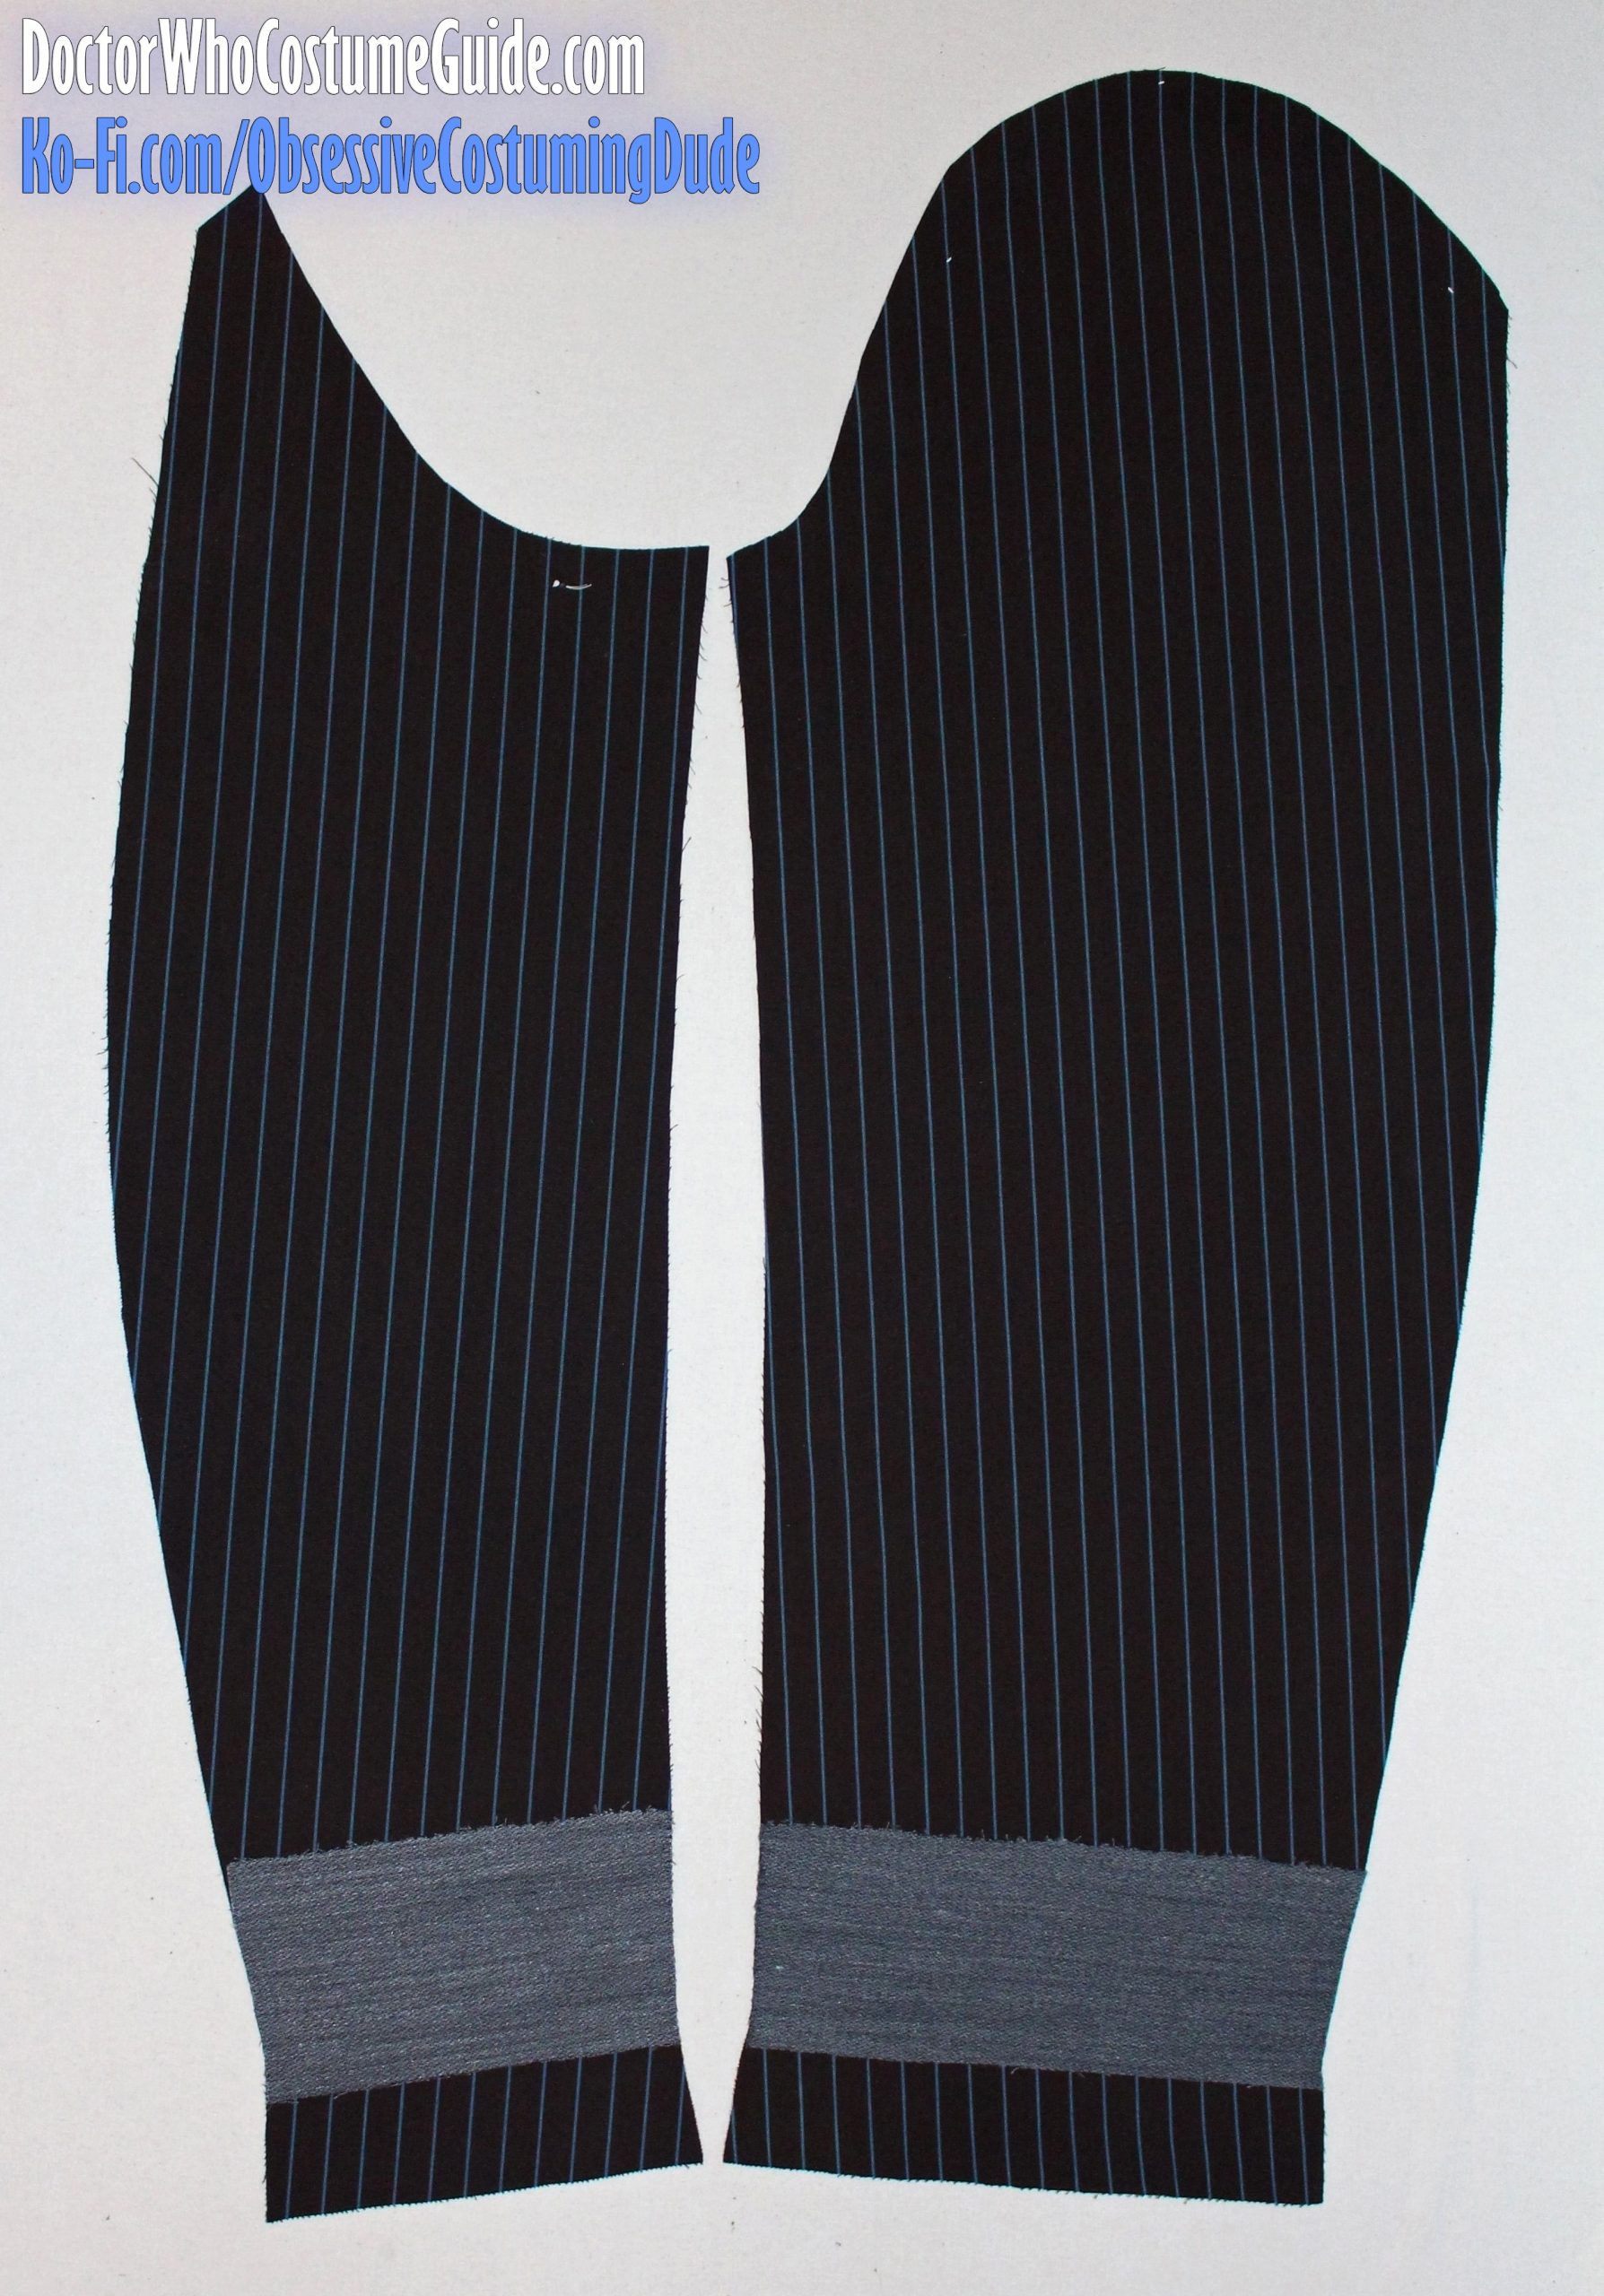
If you cut your jacket sleeves using the alignment guide on the printed pattern, it should be possible to match the pinstripes at the front and lower back seam lines (but not the upper back).
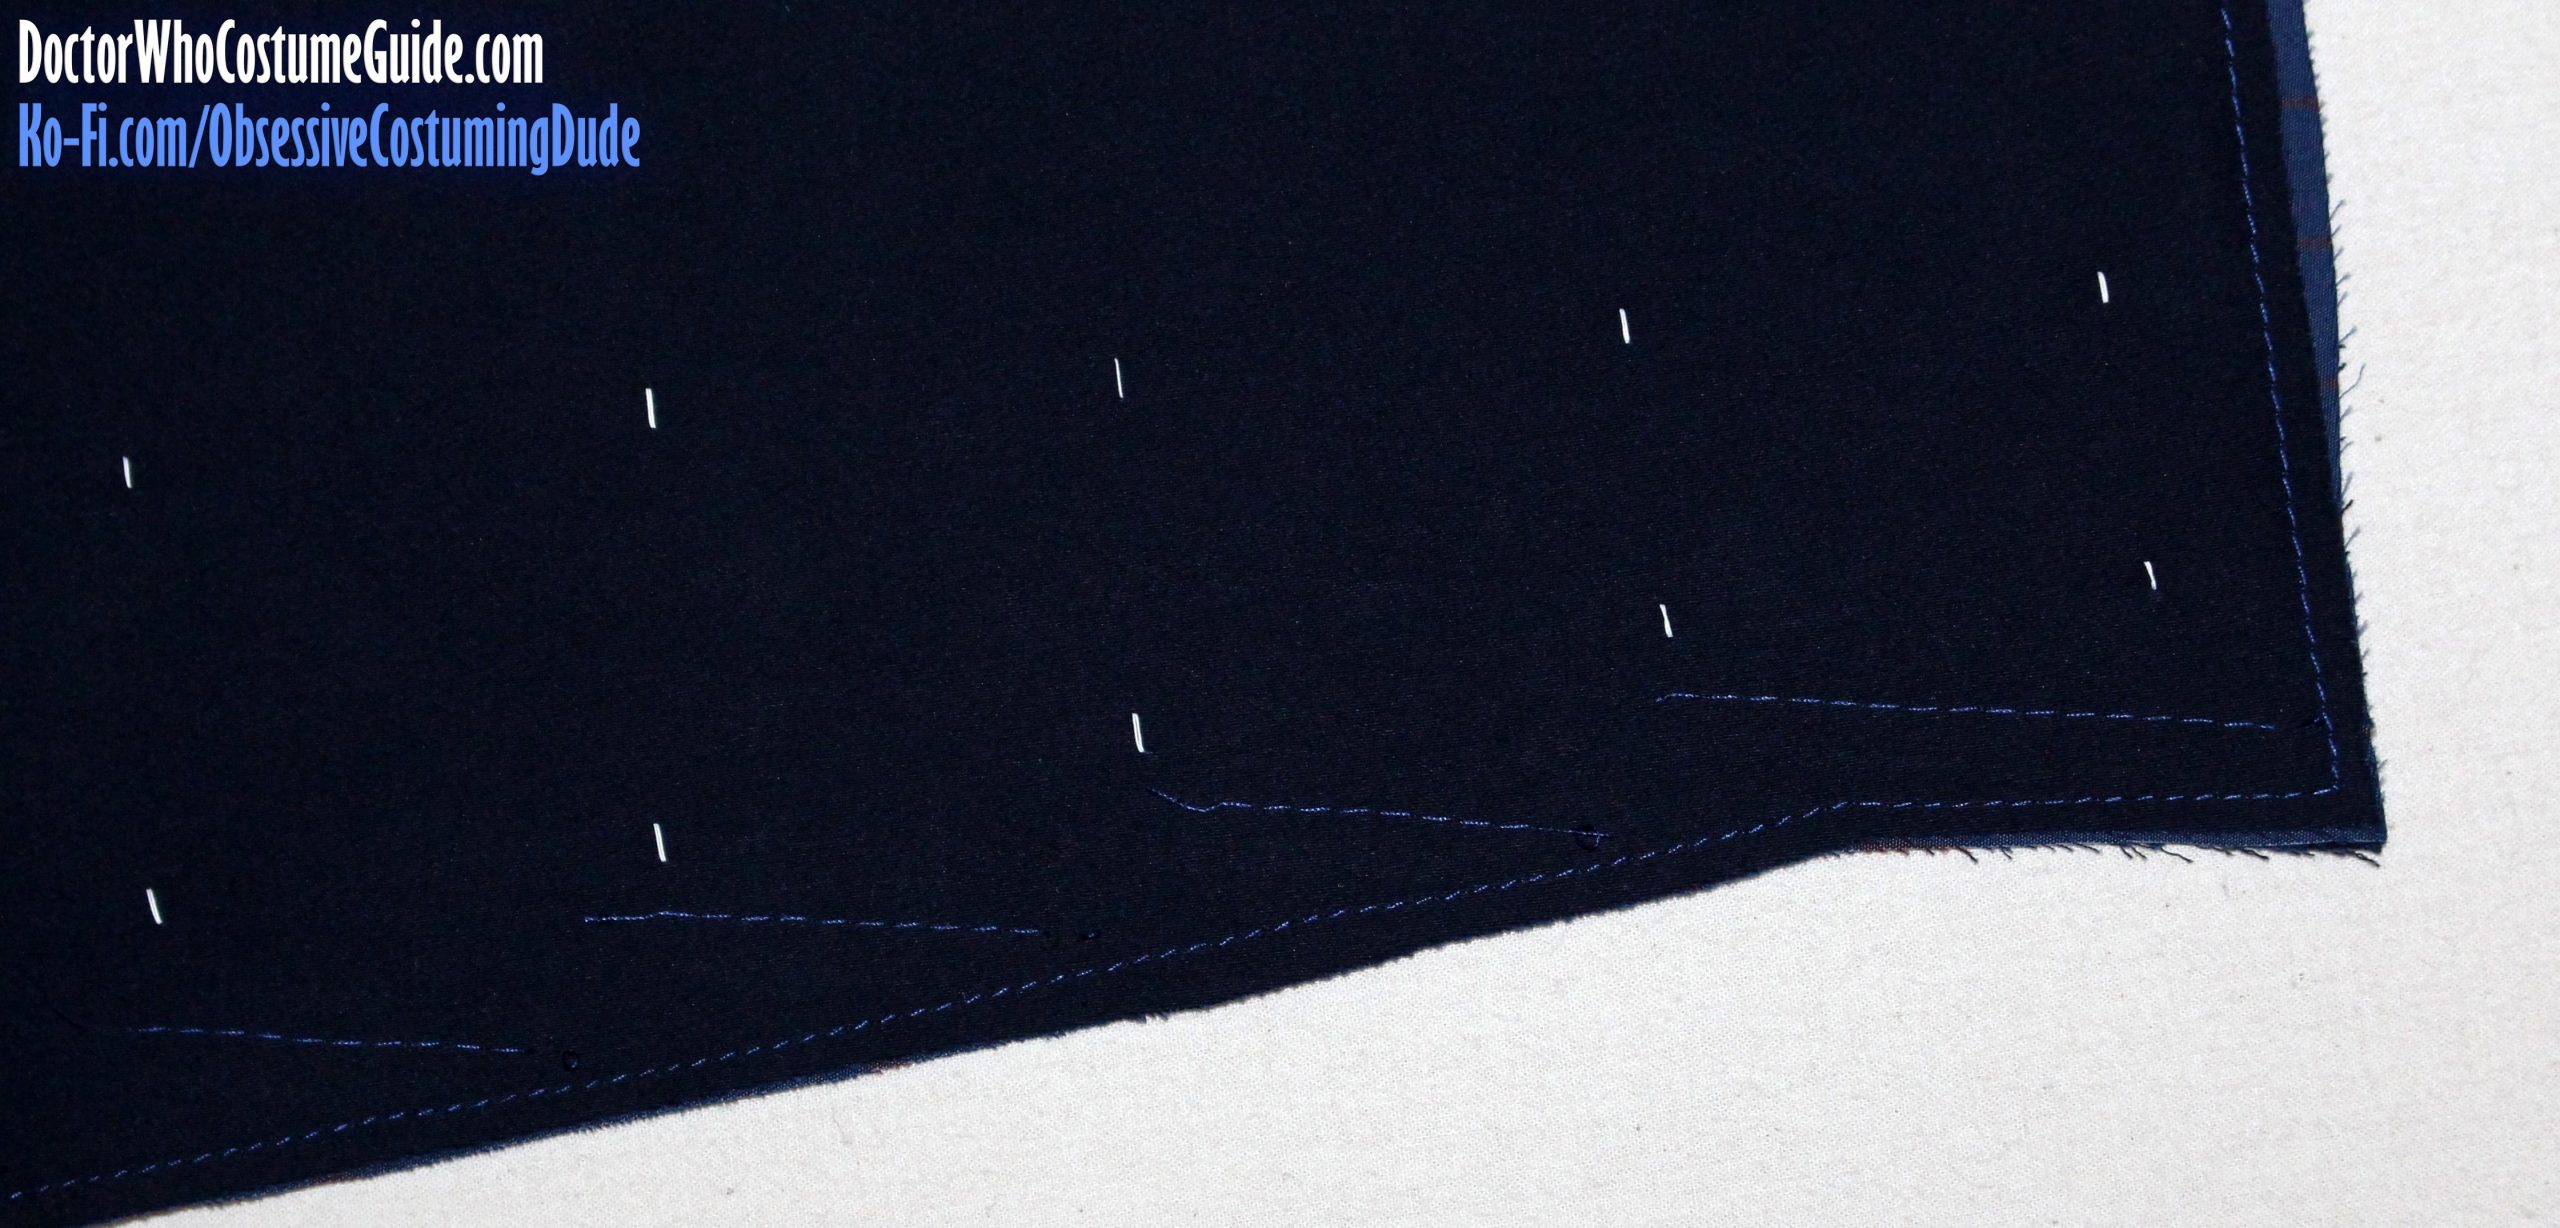
TIP: If you bolstered up your sleeves with sateen, the pinstripes will probably not be visible on the underside. To aid you in sewing a perfectly aligned sleeve seam, sew or baste through the relevant pinstripes in an easily-distinguishable thread color.
Pin the upper sleeve (piece G) to the under sleeve (piece H), matching pinstripes along the aforementioned areas.
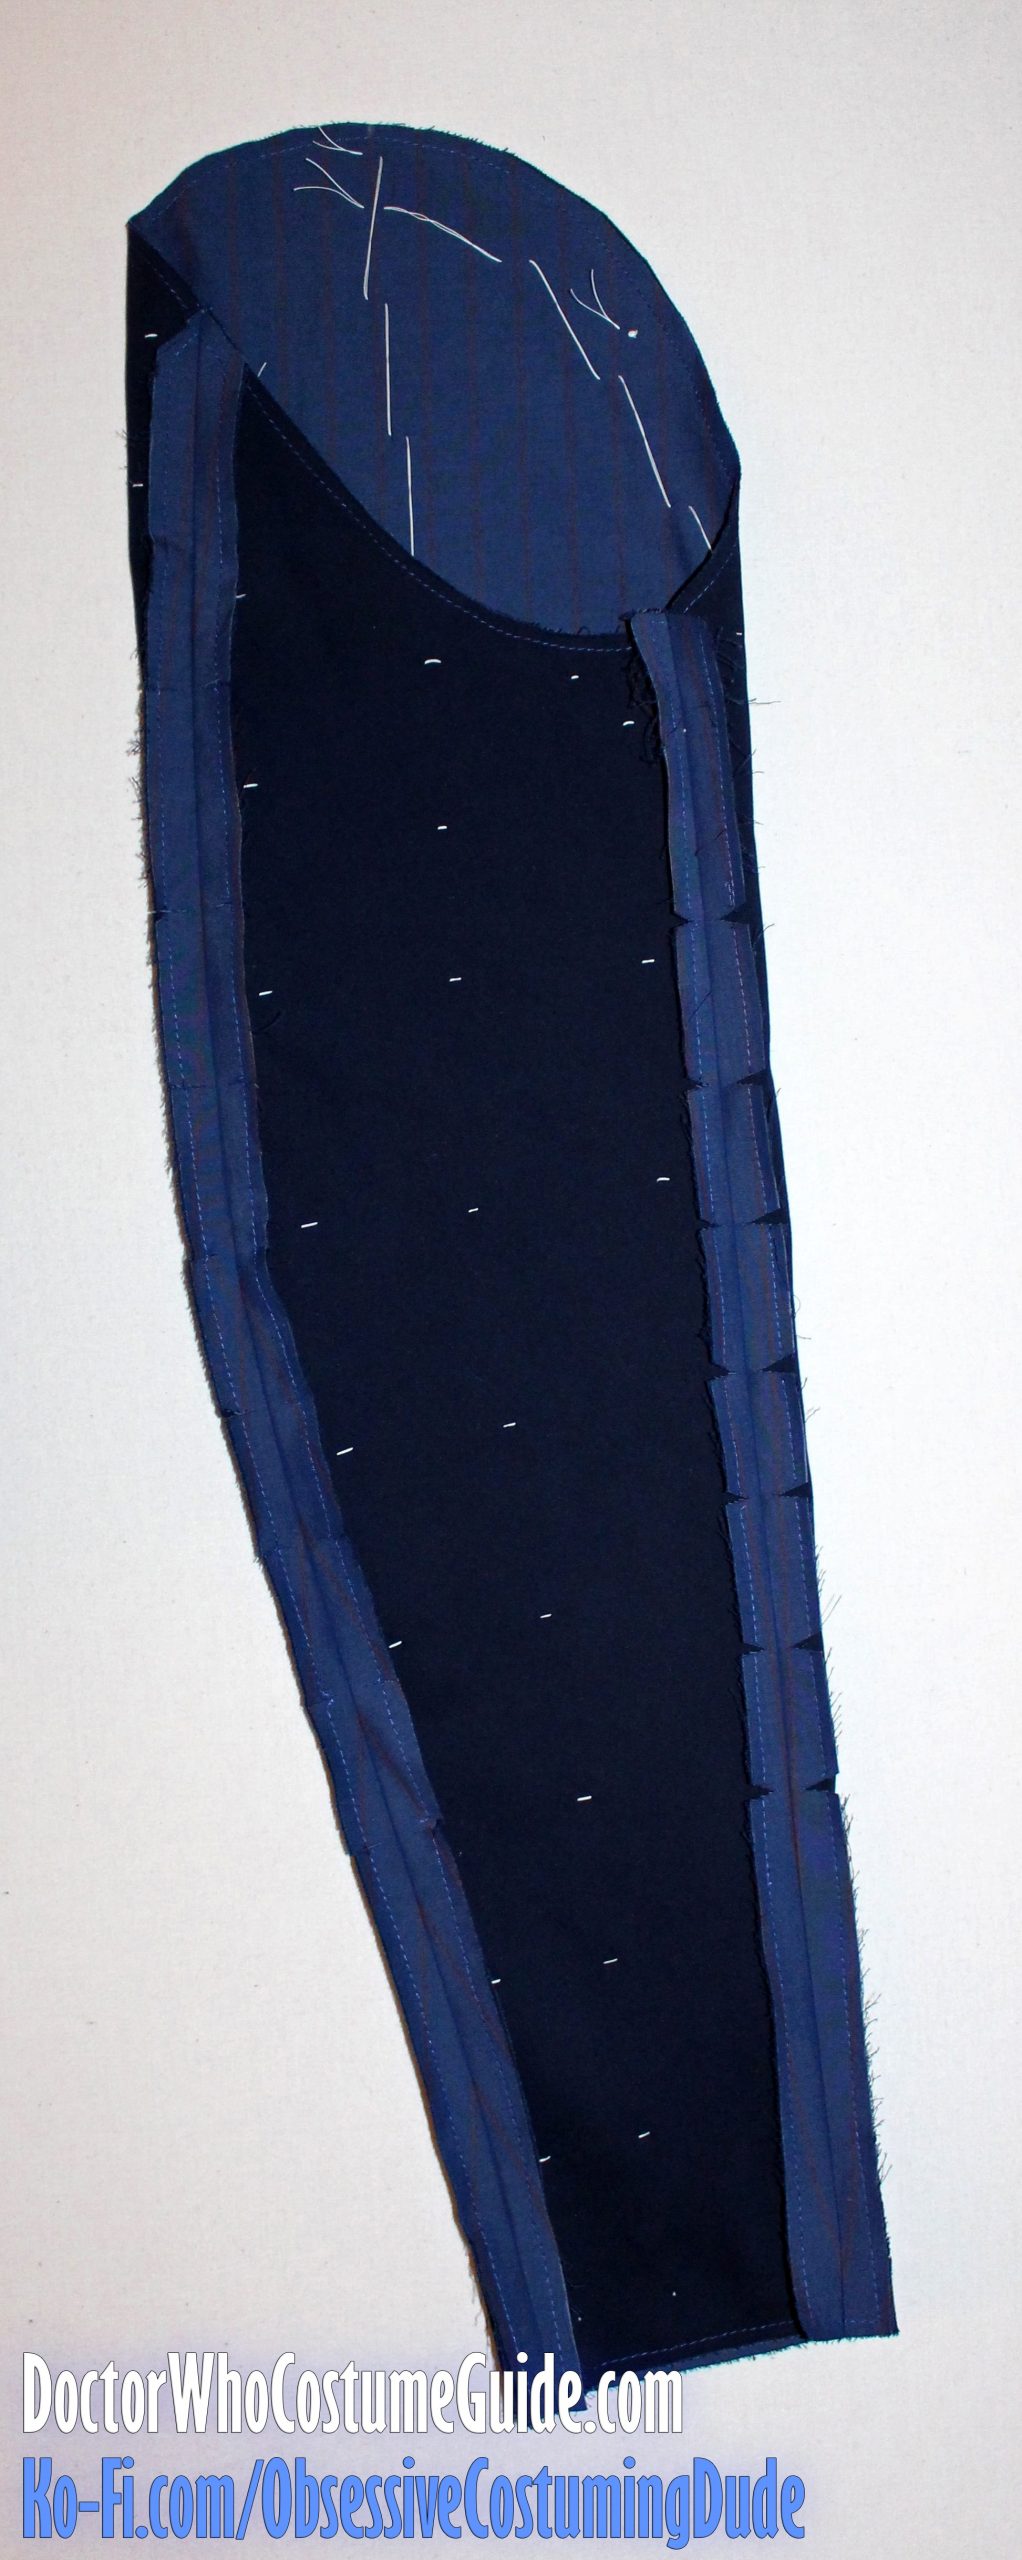
Sew the upper sleeve to the under sleeve.
Clip the front seam allowances and notch the back ones as needed.
Press the seam allowances open.
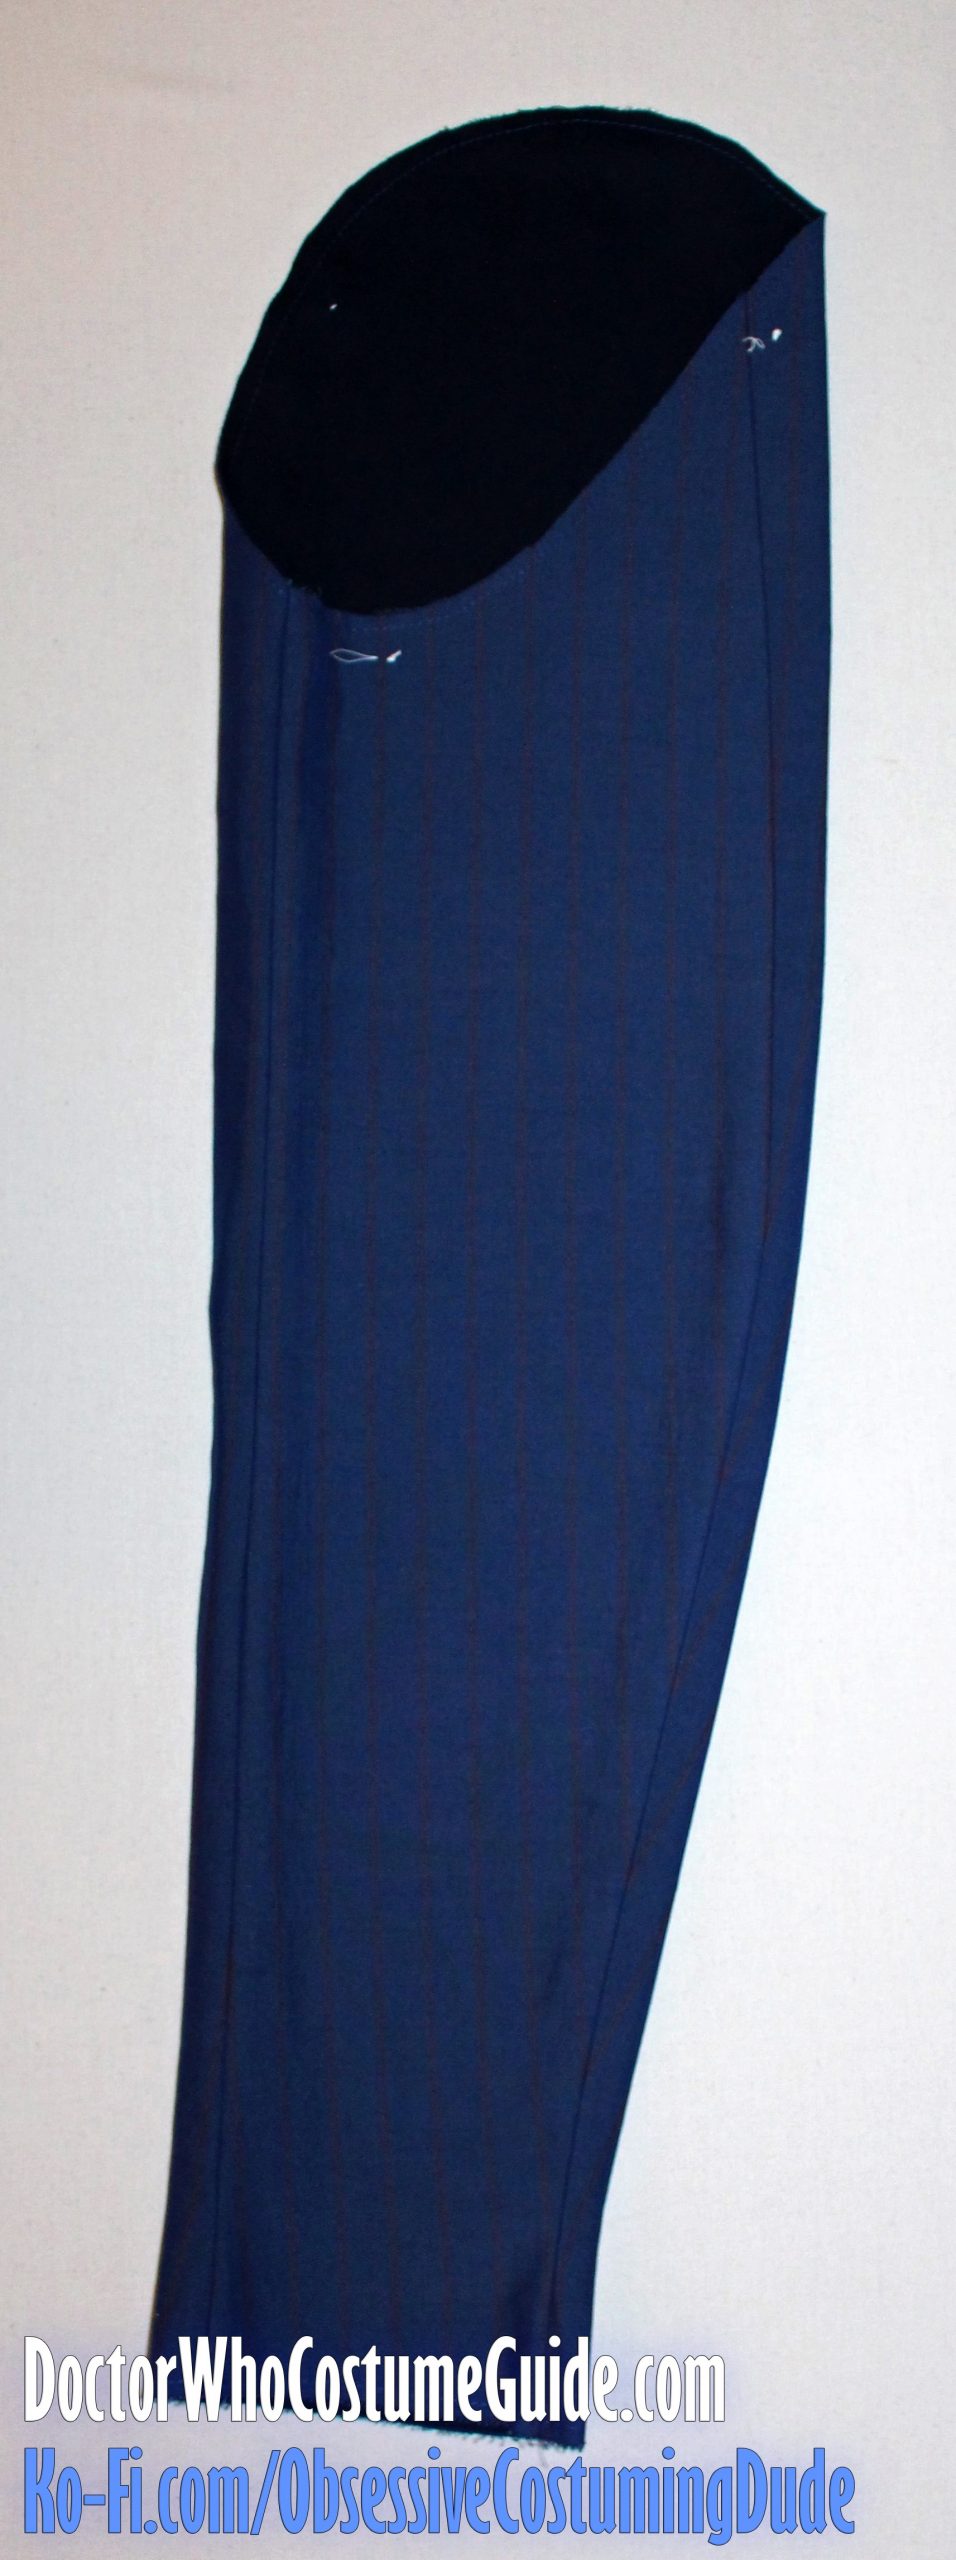
At this point, I like to ahead and hem the sleeve, simply because I find this easier to do before the sleeve is attached to the jacket.
If you wish to do so now, press the sleeve’s 2” hem allowance upward.
Hand-sew the top edge of the hem allowance to the interfacing, taking care to only stitch through the interfacing (and not onto the outside of the sleeve).
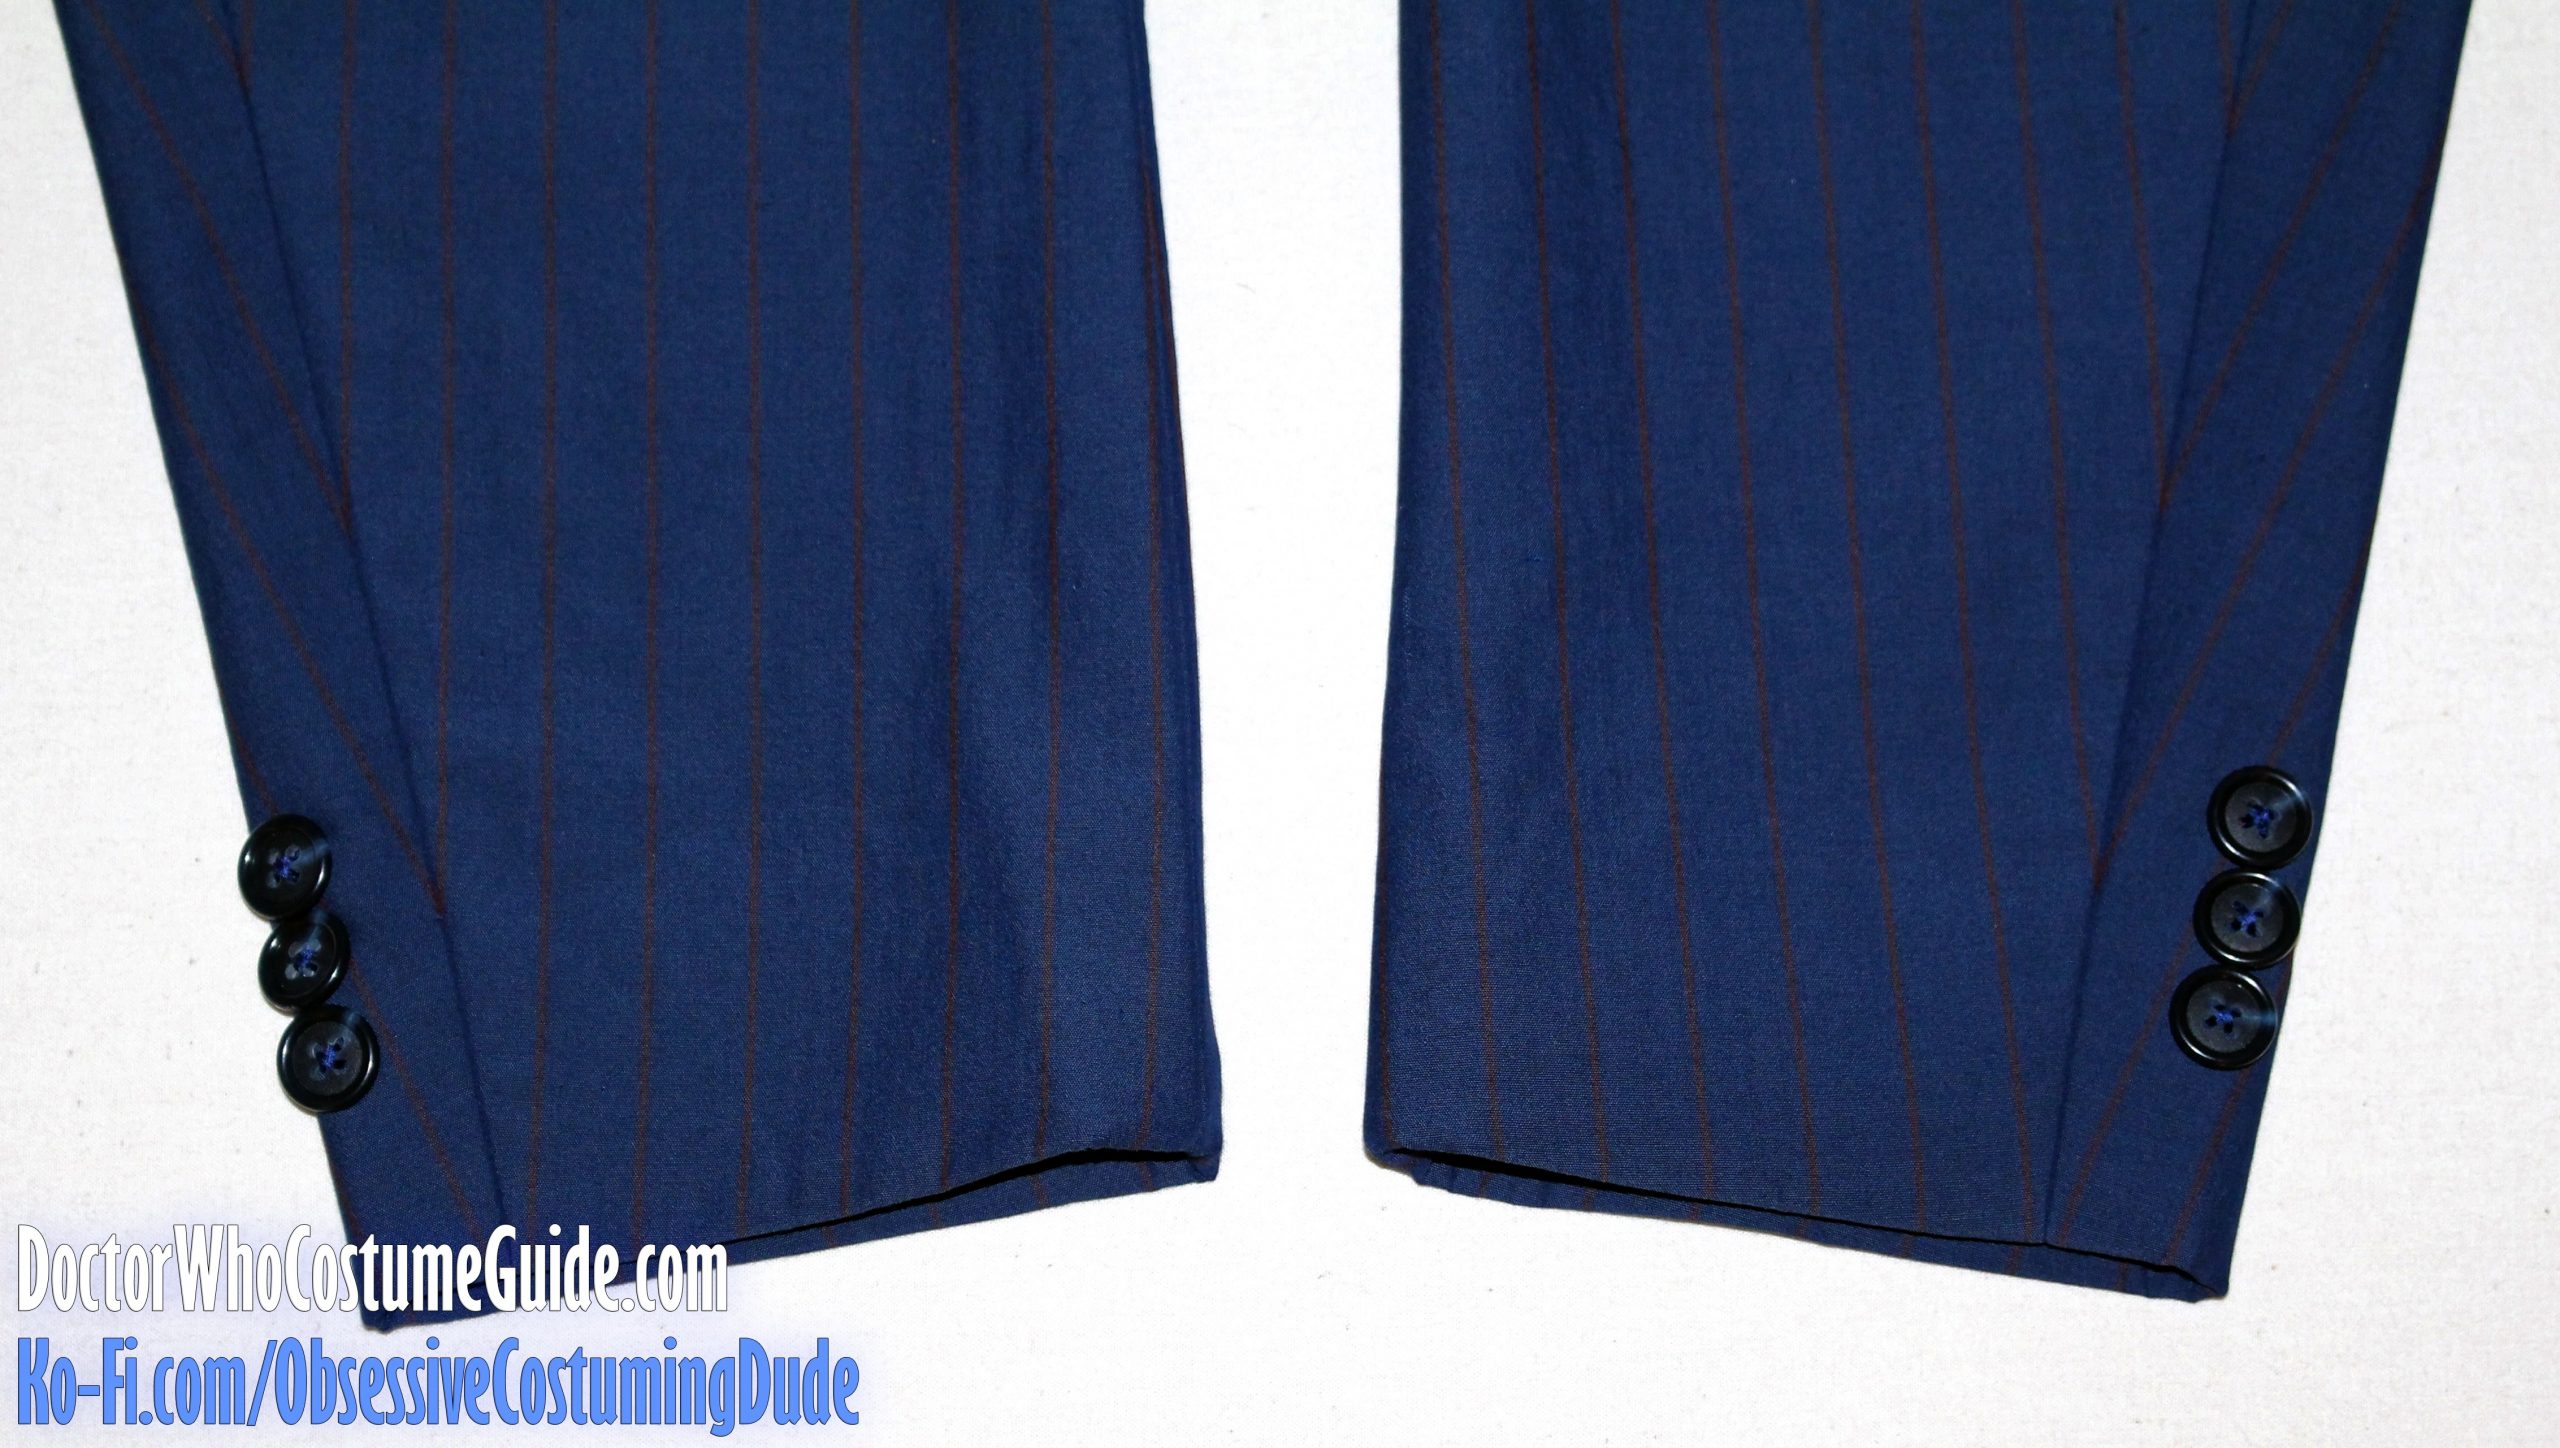
I also like to go ahead and attach the sleeve buttons – both because I also find this easier to do before the sleeve is attached to the jacket, and because it’s easier to hand-sew the buttons without having to avoid the sleeve lining.
Position the center of the lower button about 1 ¼” from the bottom of the sleeve and ¾” forward of the back seamline, with the other two buttons spaced directly above it.
Hand-sew the sleeve buttons to the sleeve.
Repeat for the other sleeve.
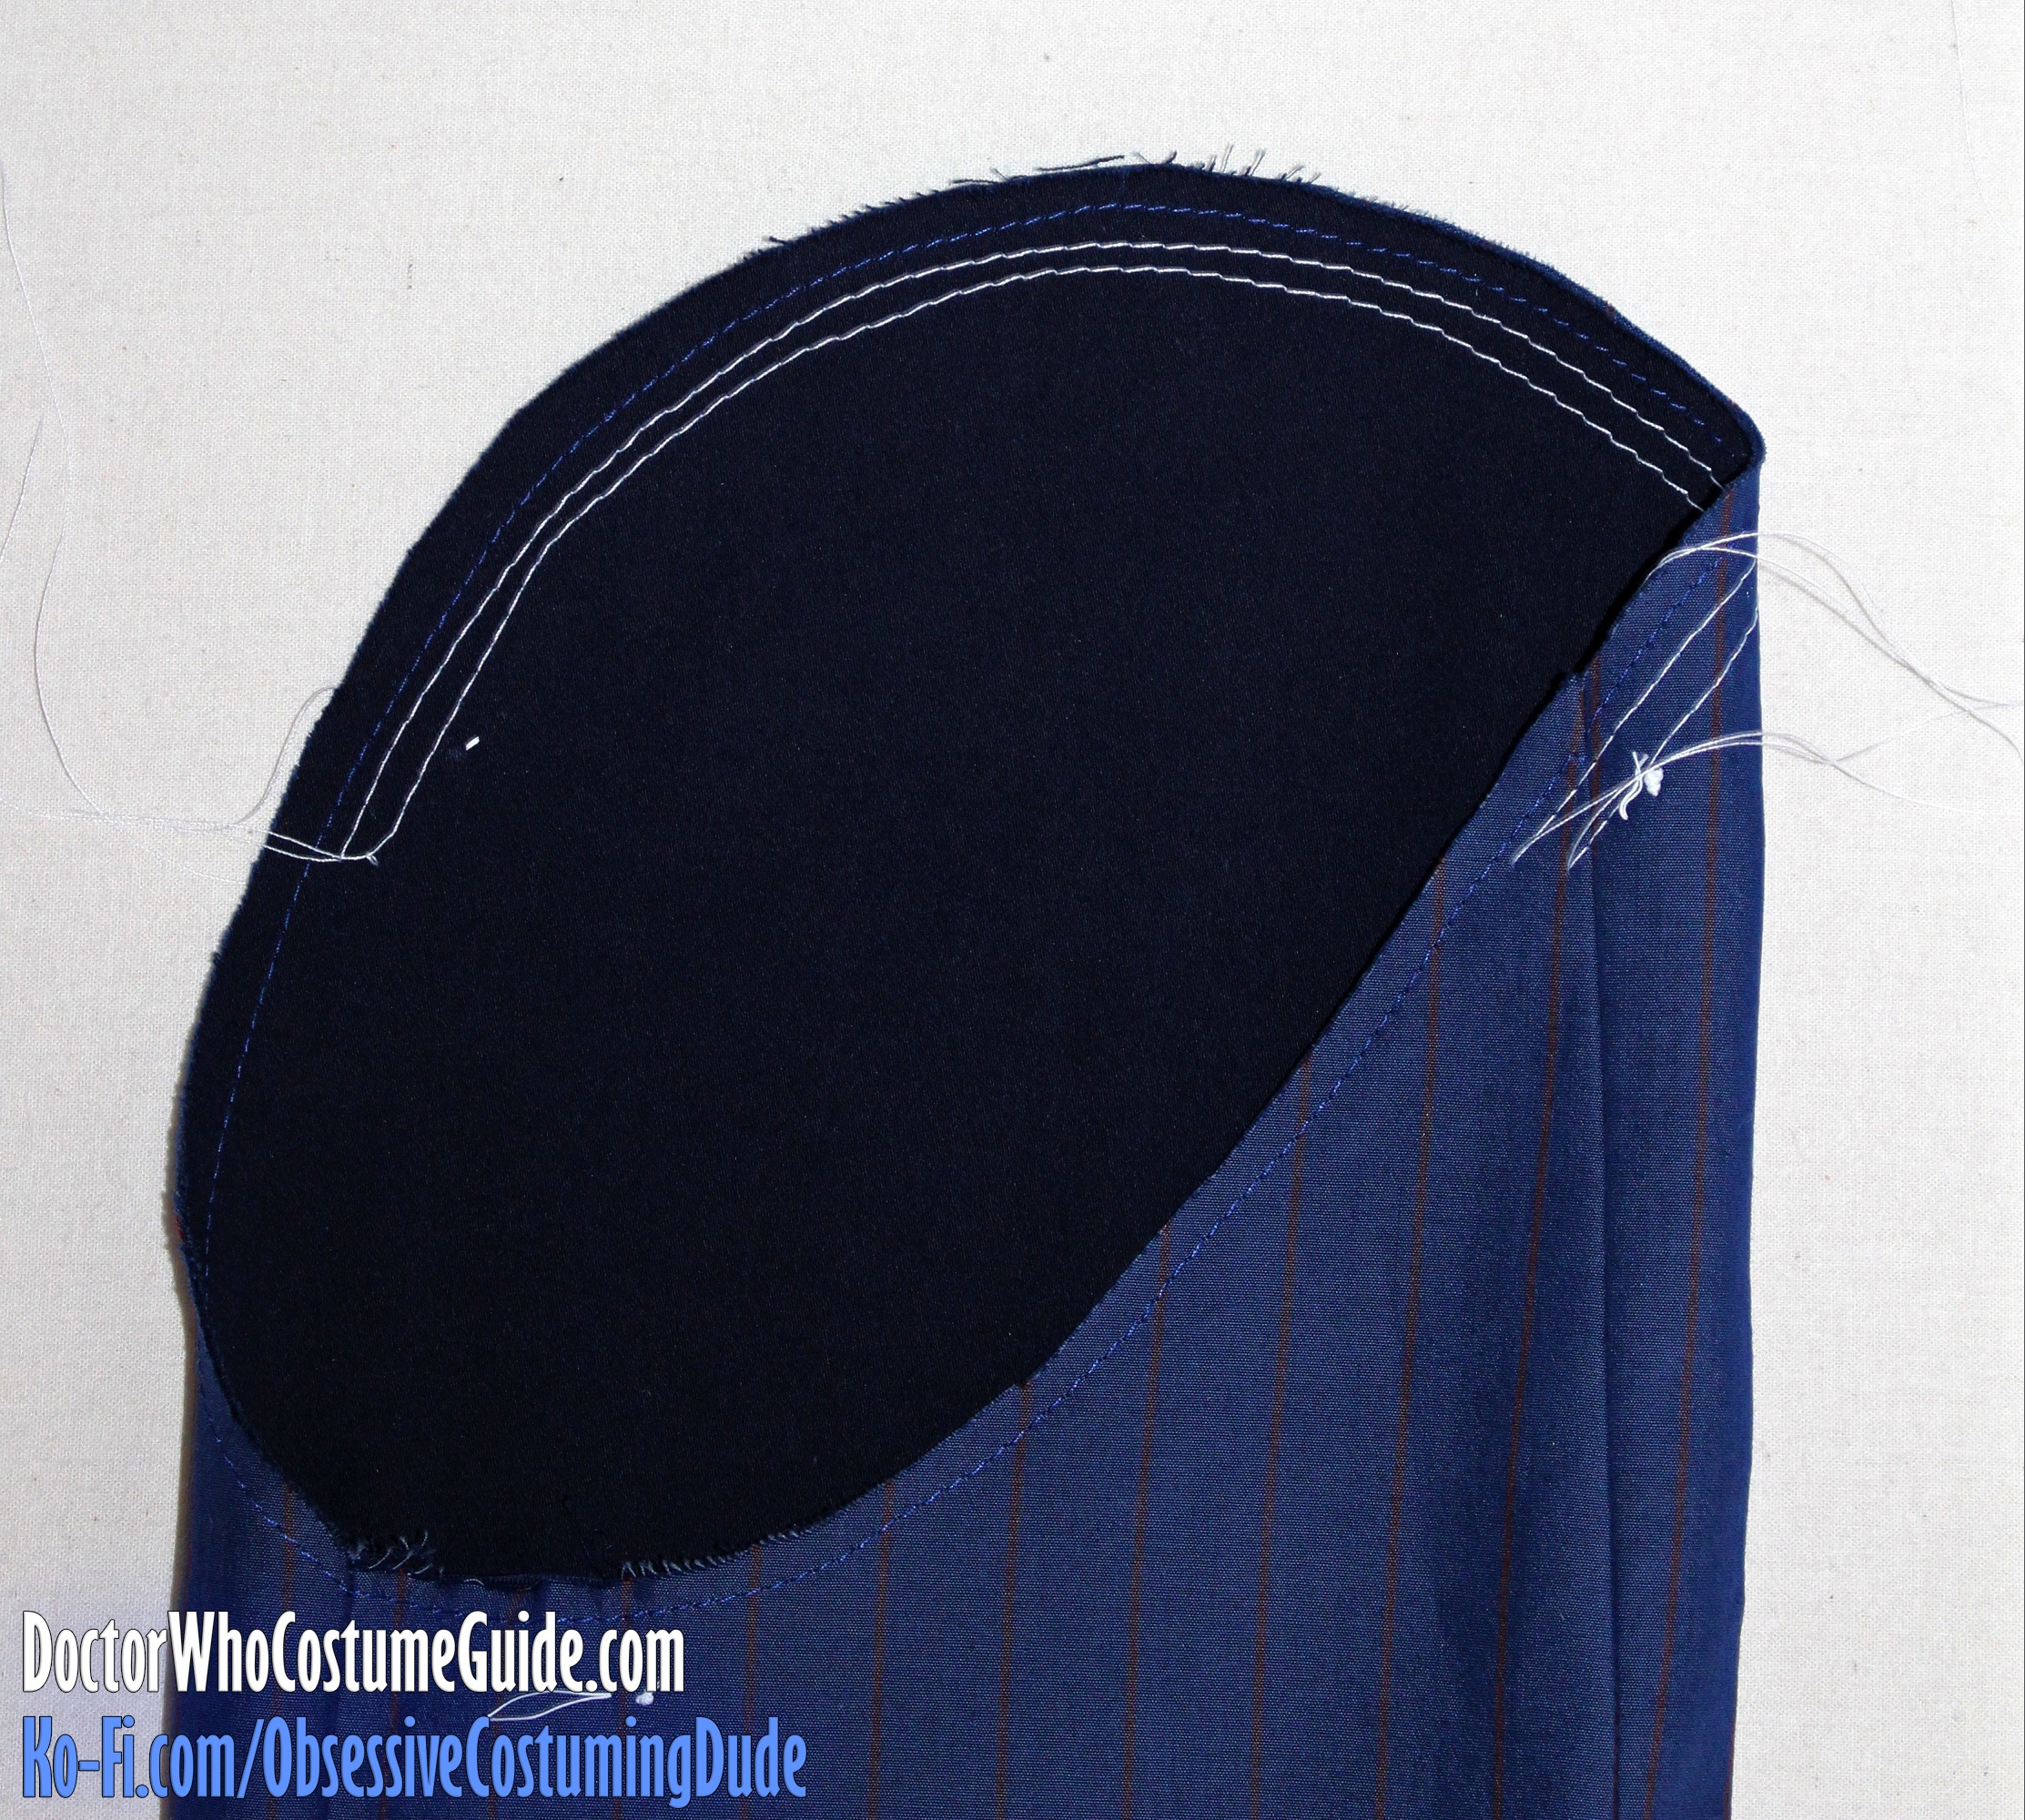
To set in the sleeve, the ease in the sleeve cap first needs to be gathered down to size.
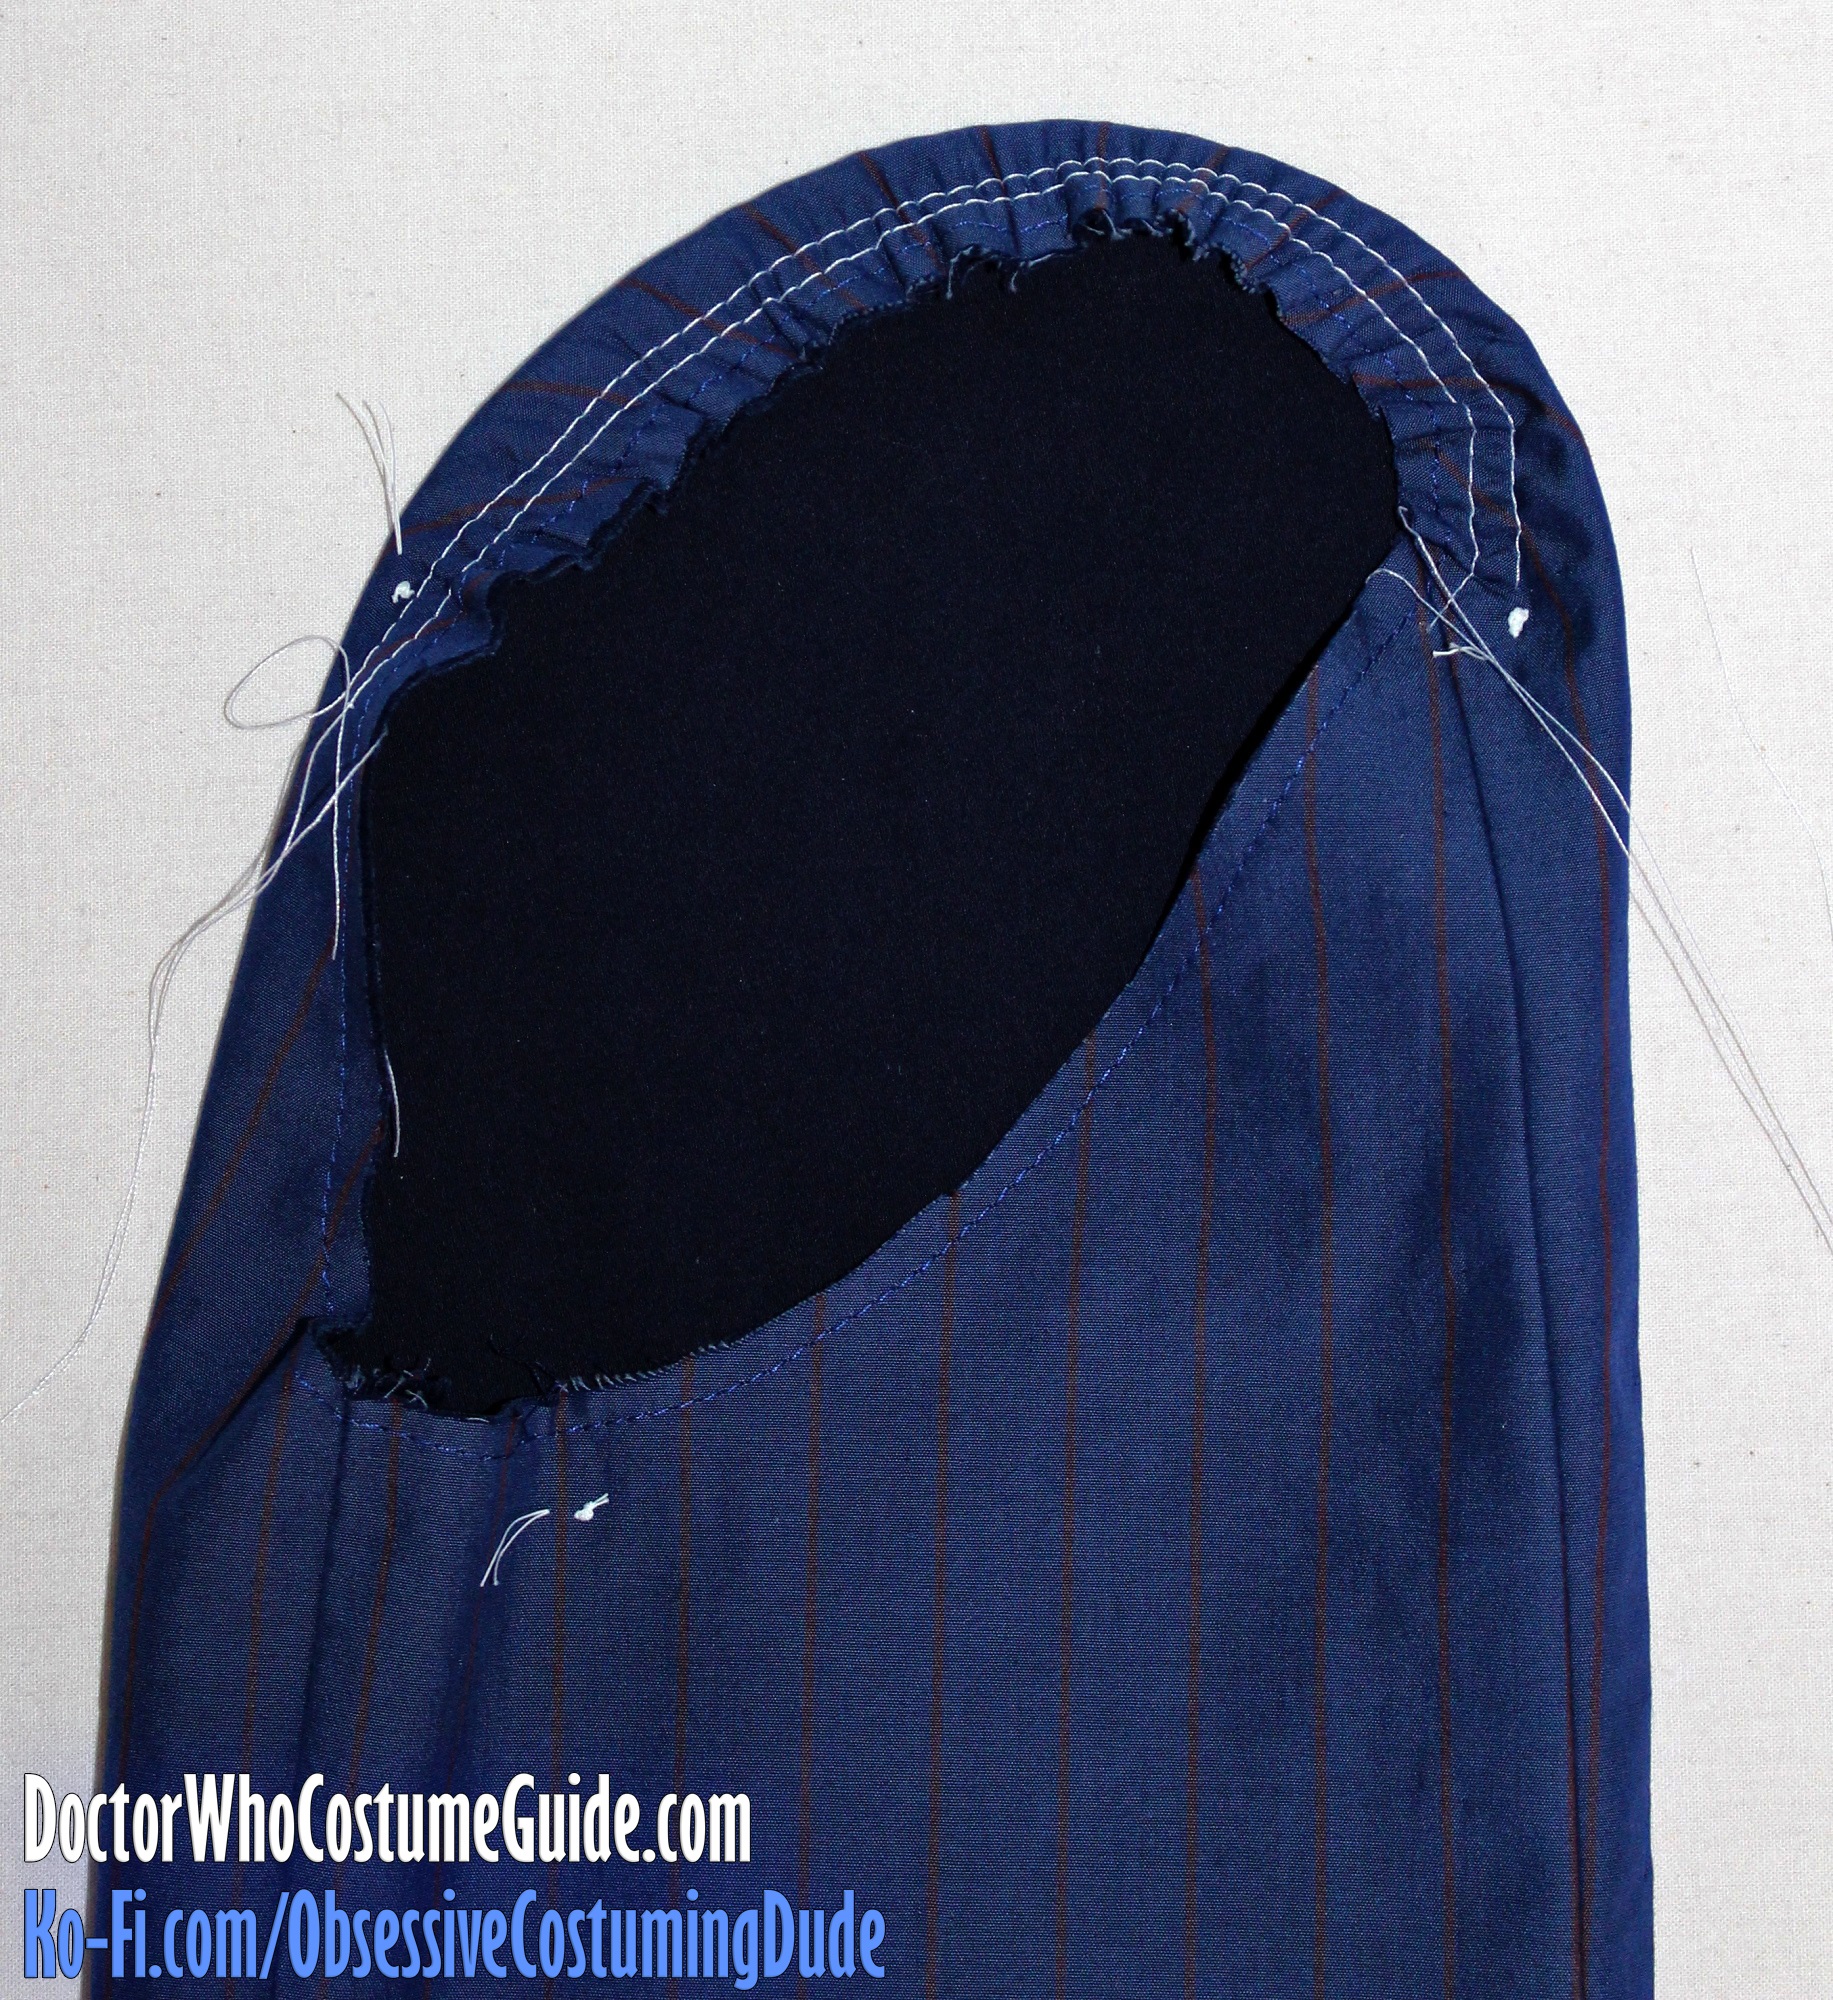
Sew two rows of gathering stitches around the sleeve cap, inside the seam allowance.
Gather the ease along the stitches and steam it away over a tailor’s ham.
Because the fabrics are cotton, the sleeve cap ease won’t steam away as well as more traditional suiting fabrics such as wool, cashmere, camel hair, etc., but just do your best!
With this project, I achieved my best results by gathering a small amount of ease, steaming it away, and repeating the process in approximately ¼” increments.
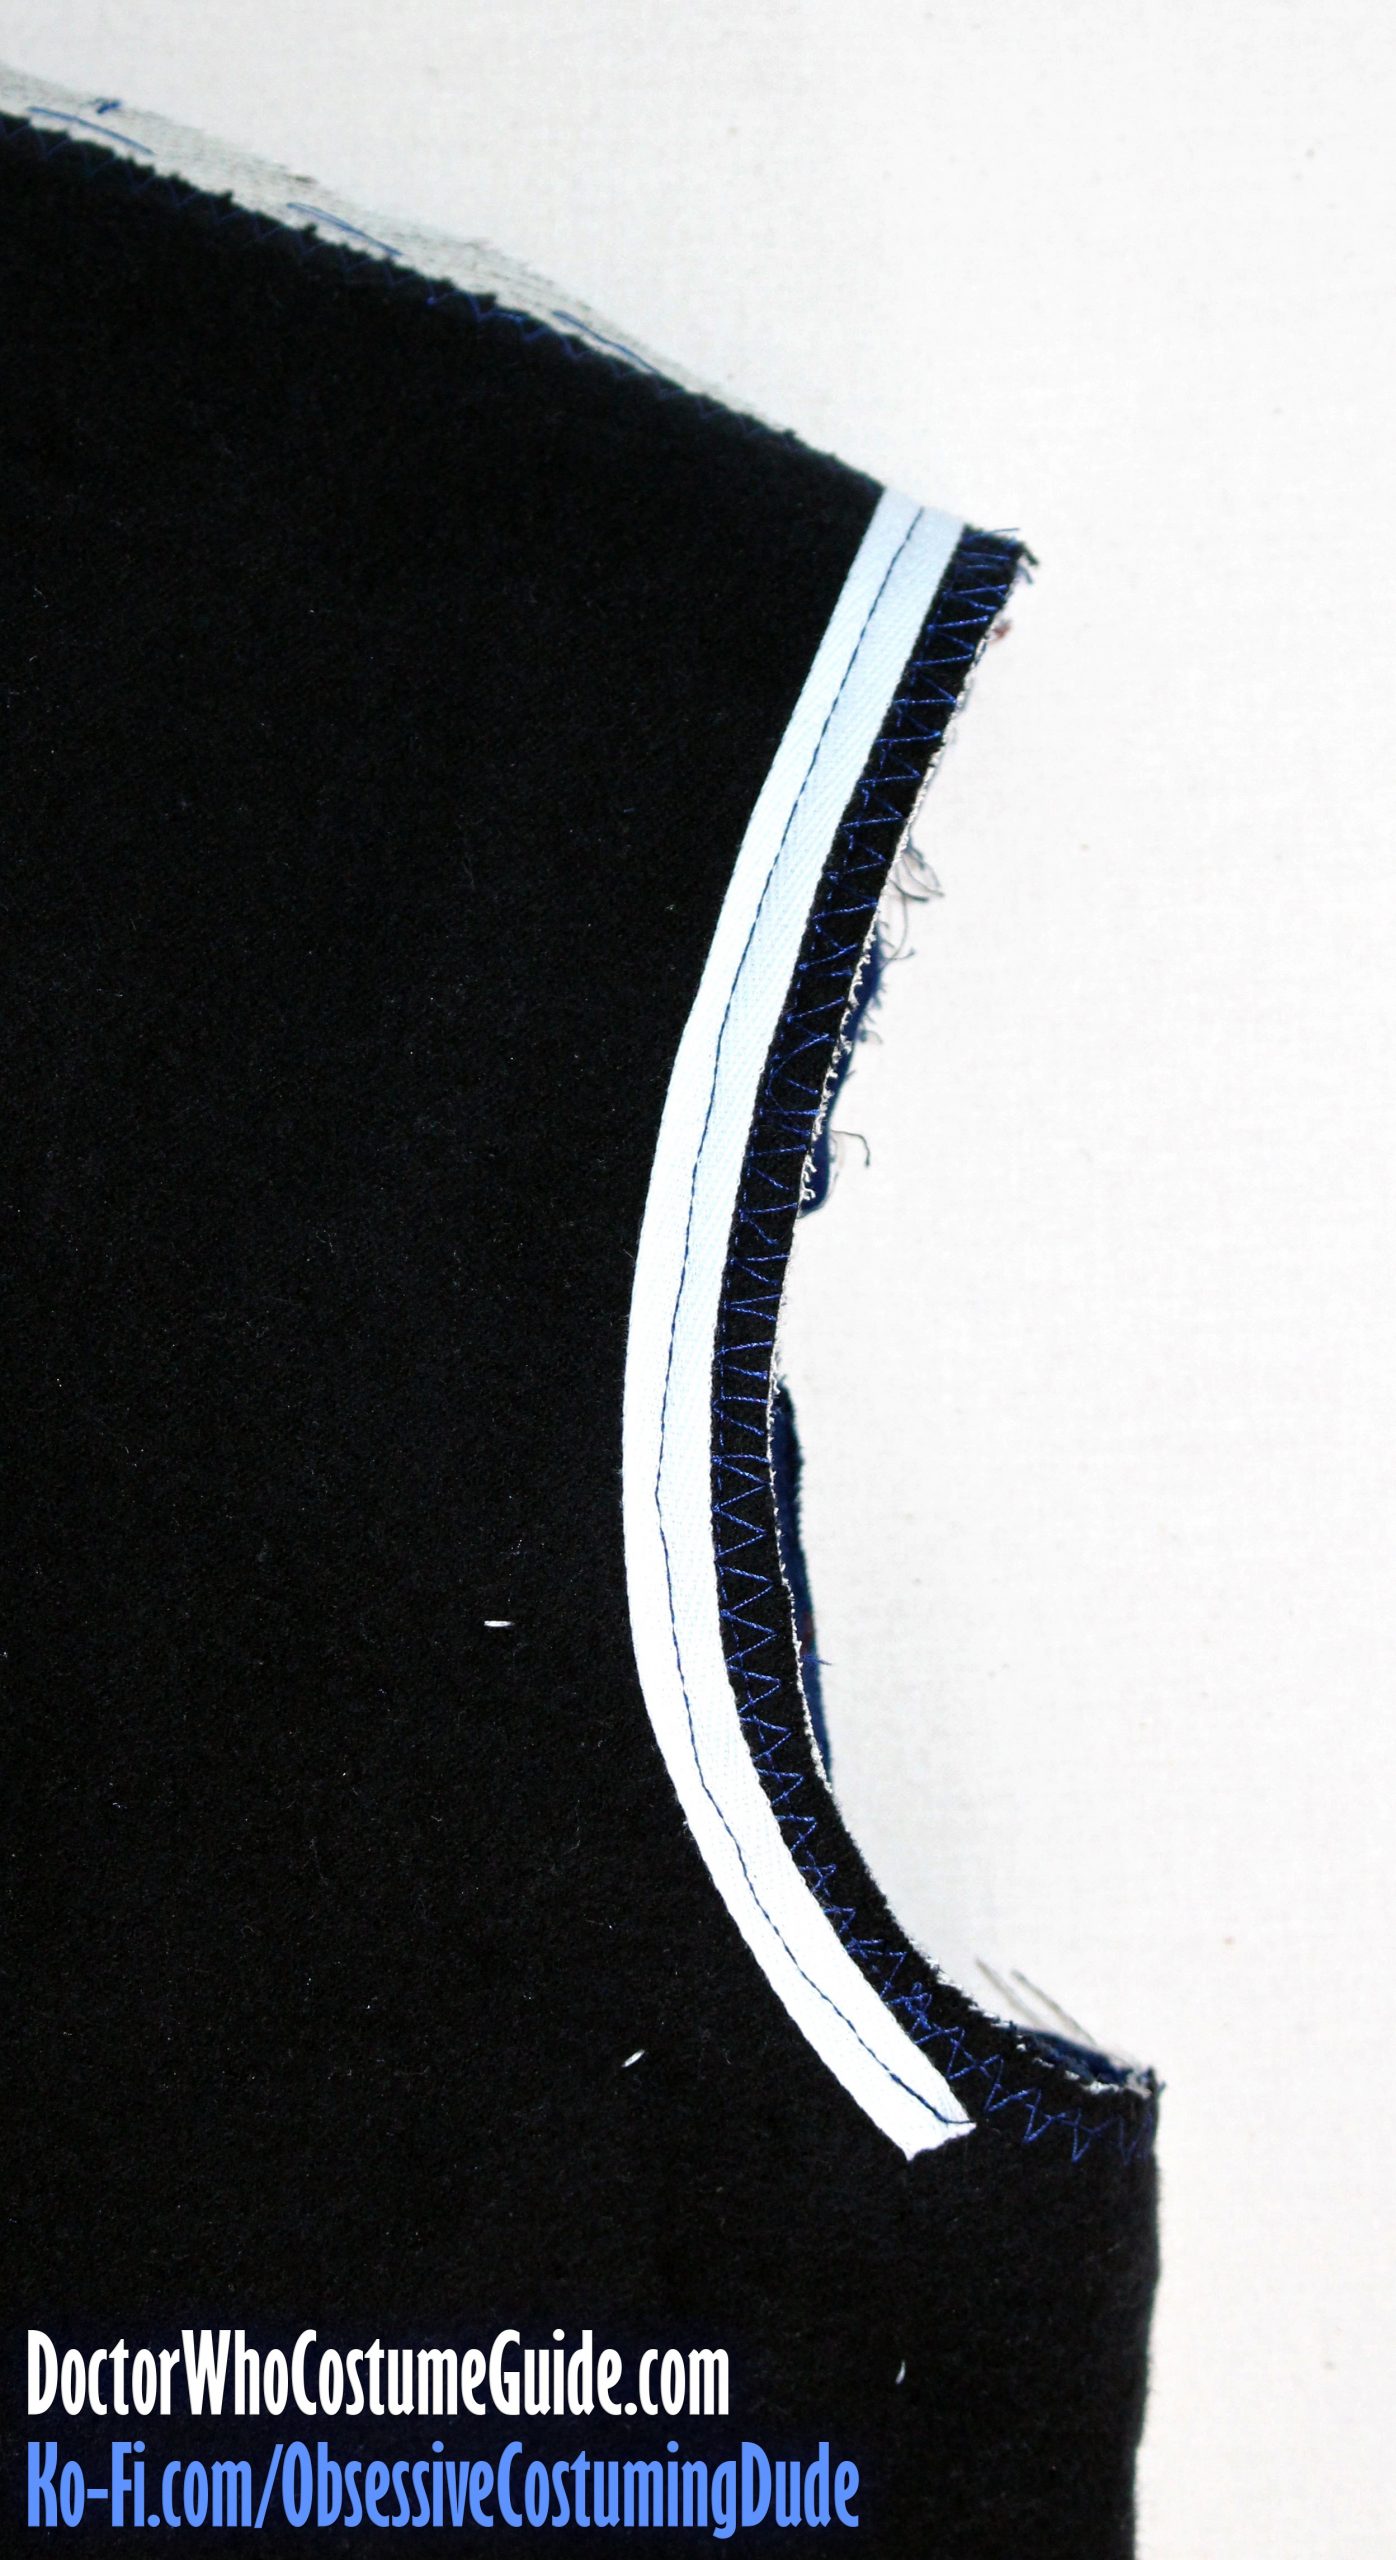
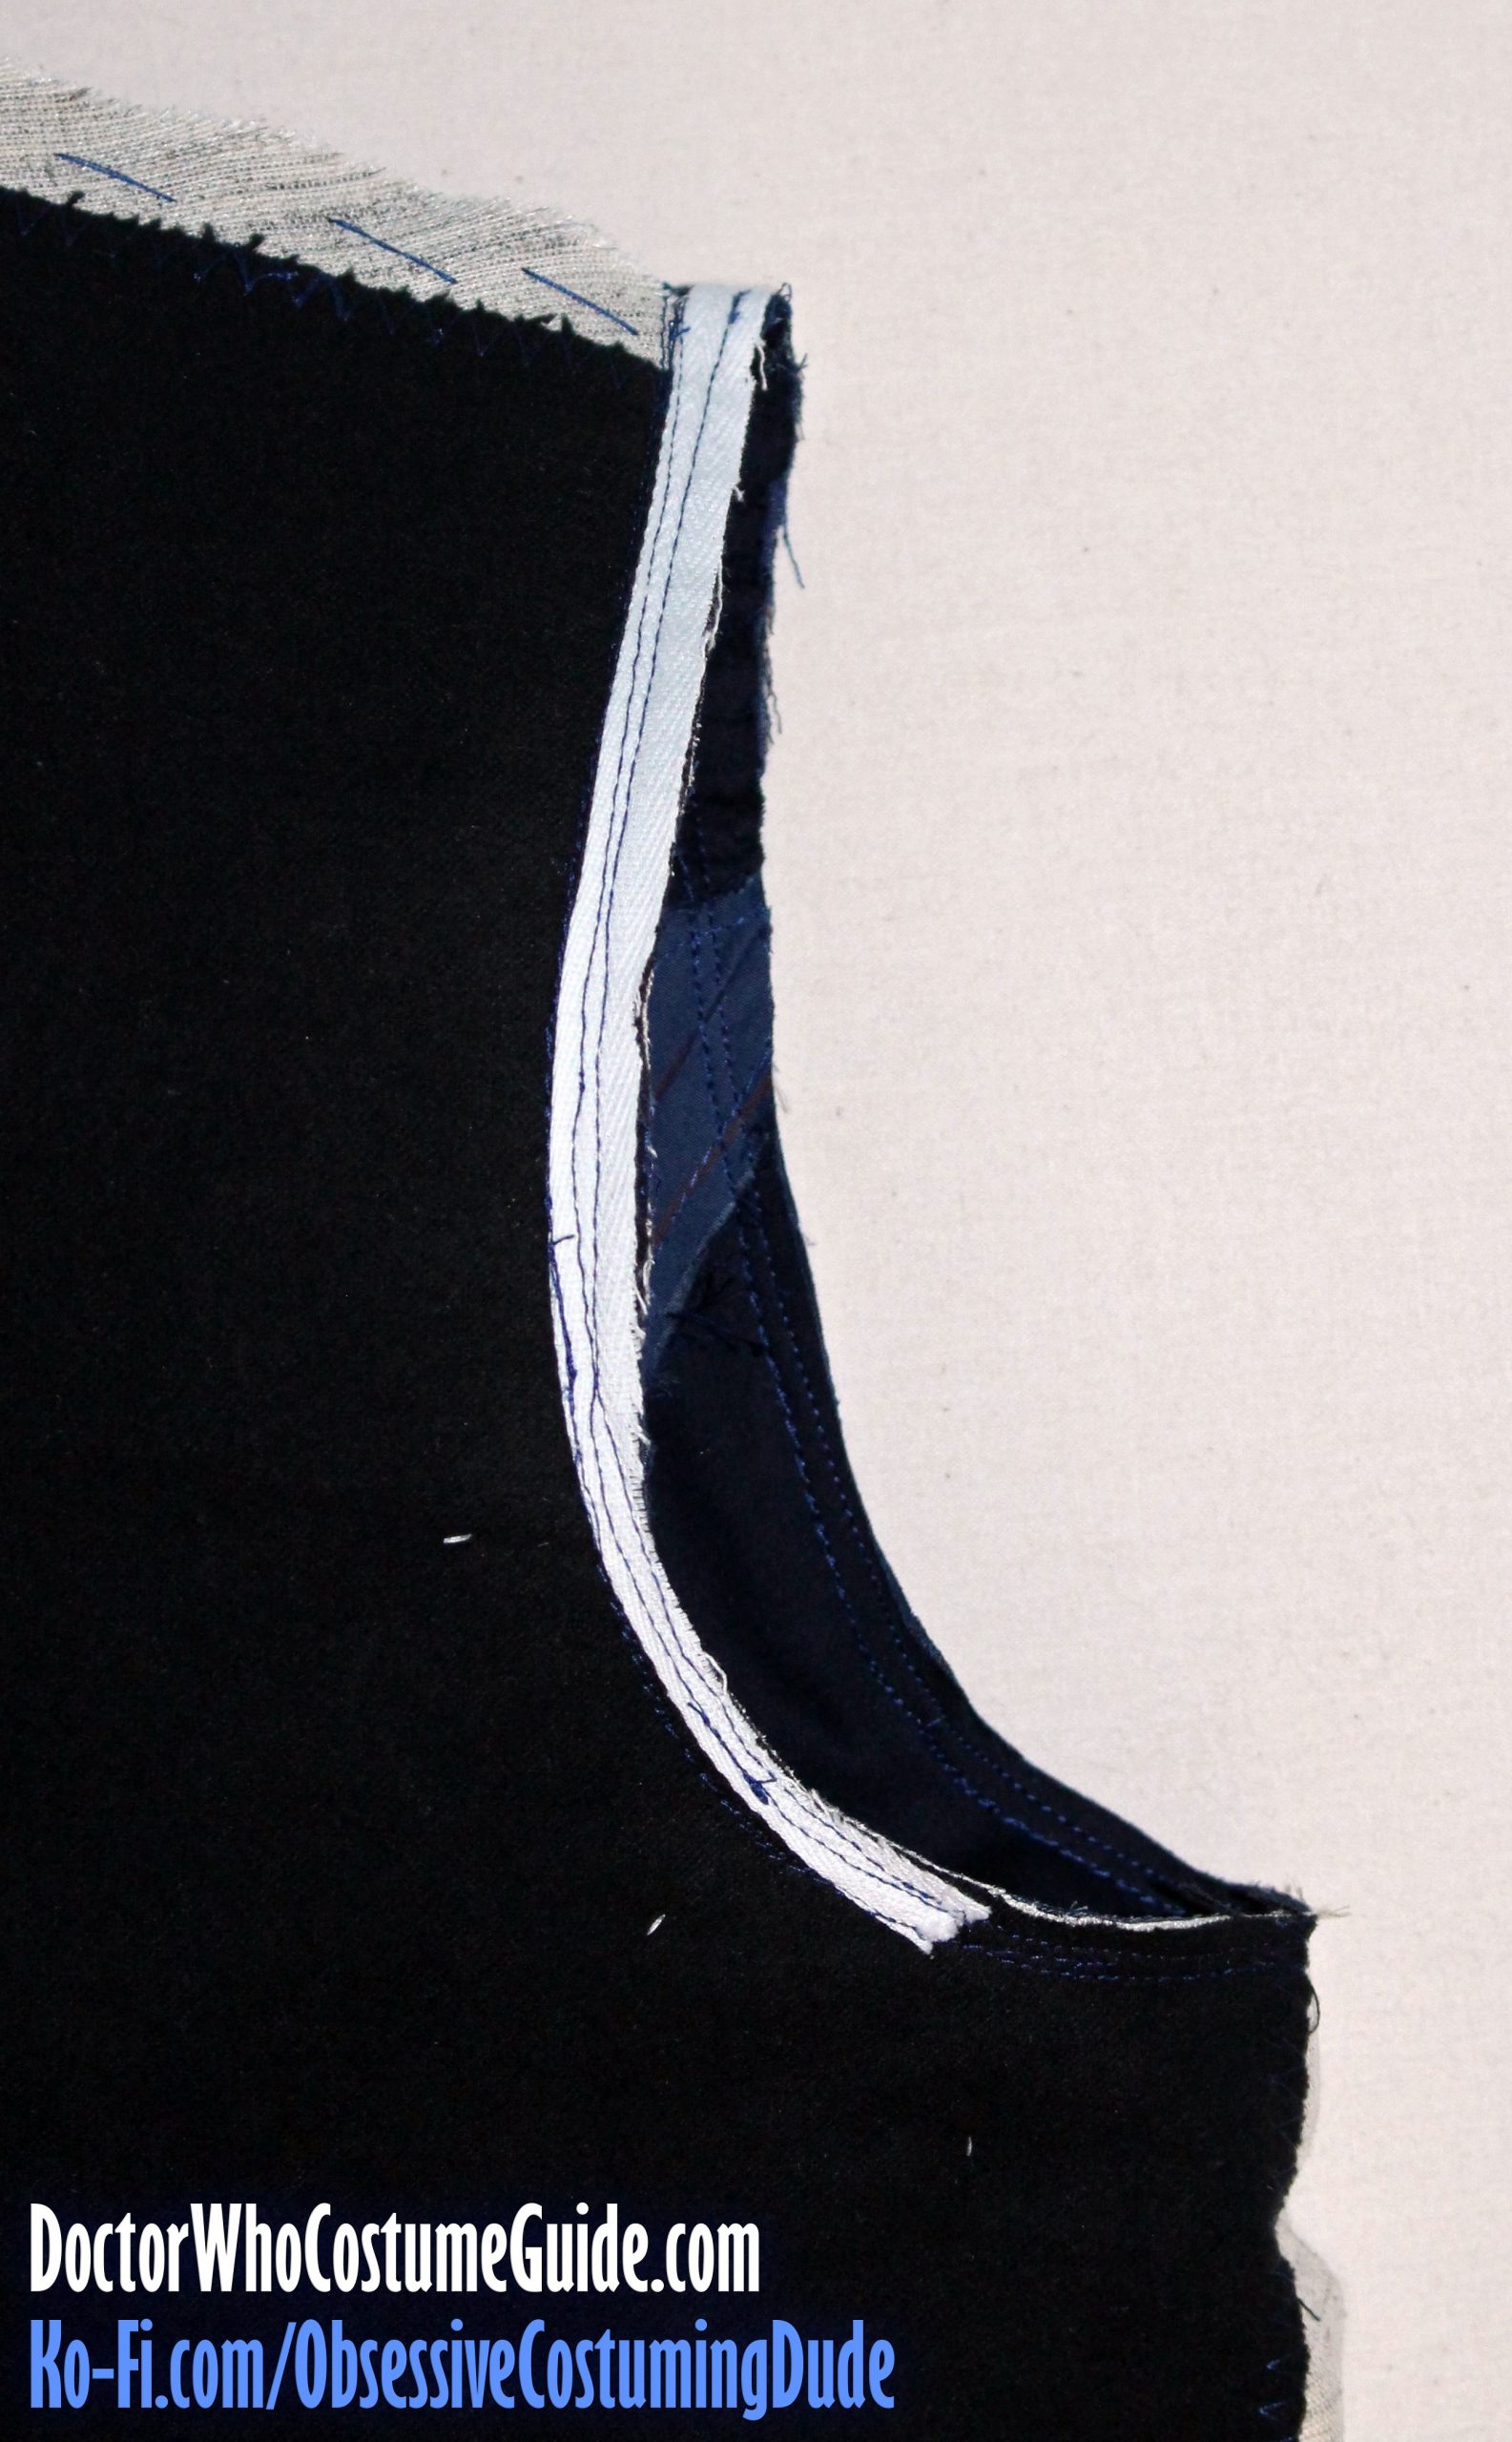
Before attaching the sleeves, the armscyes should be stabilized.
The upper back armscye also needs to be shrunk slightly to help the jacket hug the body around the shoulder blades and avoid a “boxy” shape in the back.
For this task, in Classic Tailoring Techniques for Menswear, Cabrera recommends using a strip of pocketing, while in Vintage Couture Tailoring, Thomas von Nordheim recommends simply hand-sewing a chain stitch, but I like to just use the ⅜” cotton twill stay tape again.
Pin the tape to the wrong side of the jacket around the armscye, beginning and ending at the side panel seams, with the inner edge of the tape ½” from the edge. The underarm isn’t reinforced with stay tape, as to not restrict the wearer’s movement.
Between about 1 ½” behind the shoulder seam and the side back seam, shrink the armscye by ⅜”.
To accomplish this, I like to cut and pin an appropriate length of stay tape as described above, then trim away ⅜” from the lower back and re-pin the tape, distributing the ease as described above.
Sew the stay tape to the armscye. (I like to machine-sew it, but you can do it by hand if you really want to.)
This will cause some slight rippling in the upper back armscye area, but gently steam away the rippled ease over a tailor’s ham.
With the armscye stabilized and the sleeve cap gathered, it’s time to set the sleeve!
Pin the sleeve into place along the jacket’s armscye, matching dots and balance points. (Don’t be afraid to shift the balance points slightly if you need to for fitting purposes, or even just to get the sleeve on.)
Baste the sleeve to the jacket body and inspect the cap to ensure there are no folds, pleats, puckers, etc.
Once satisfied with the quality of the sleeve cap, sew the sleeve to the jacket body, then stitch again ⅛” inside of the previous stitch line.
Trim the seam allowances to ½” around the cap, and to about ¼” around the lower armhole.
SLEEVE HEADS and SHOULDER PADS
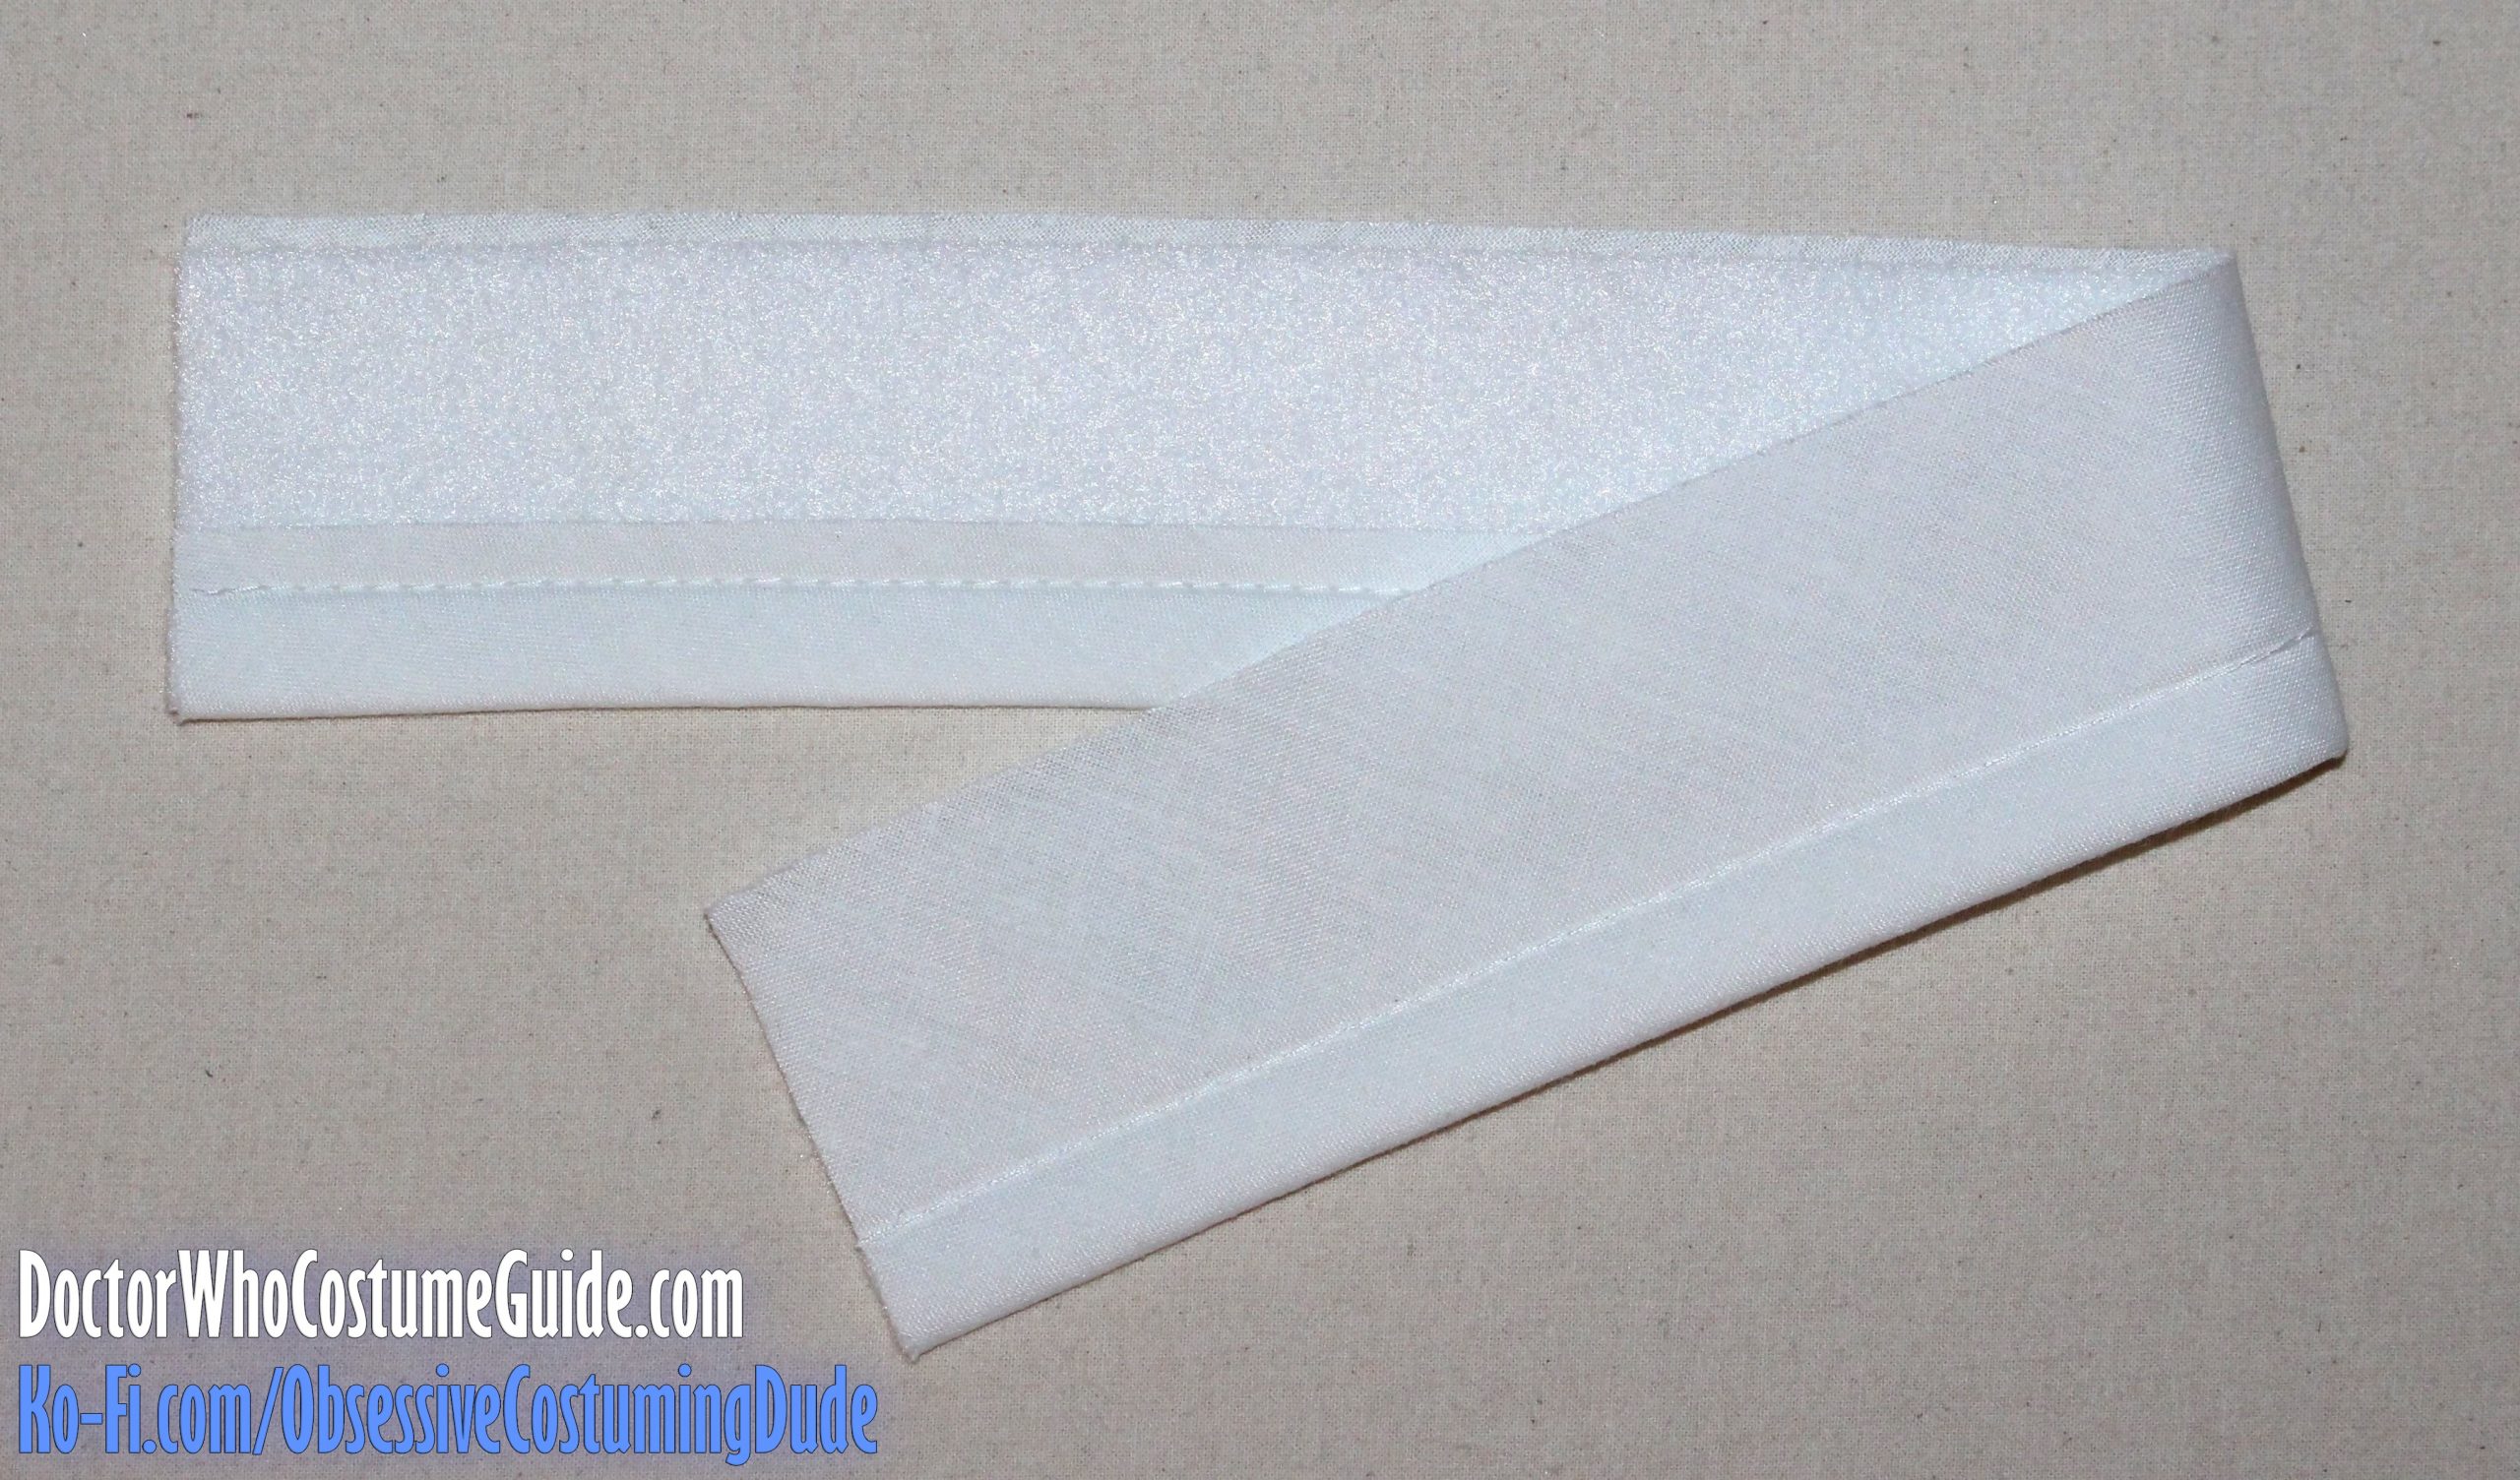
With the sleeve attached, now it’s time to attach the sleeve head!
Position the sleeve head over the armscye to determine how long it should be. The sleeve head should extend over approximately the same distance as the sleeve cap ease, or maybe a tiny bit farther.
If it’s too long, trim it down to size.
Also, trim the ends to a curve.
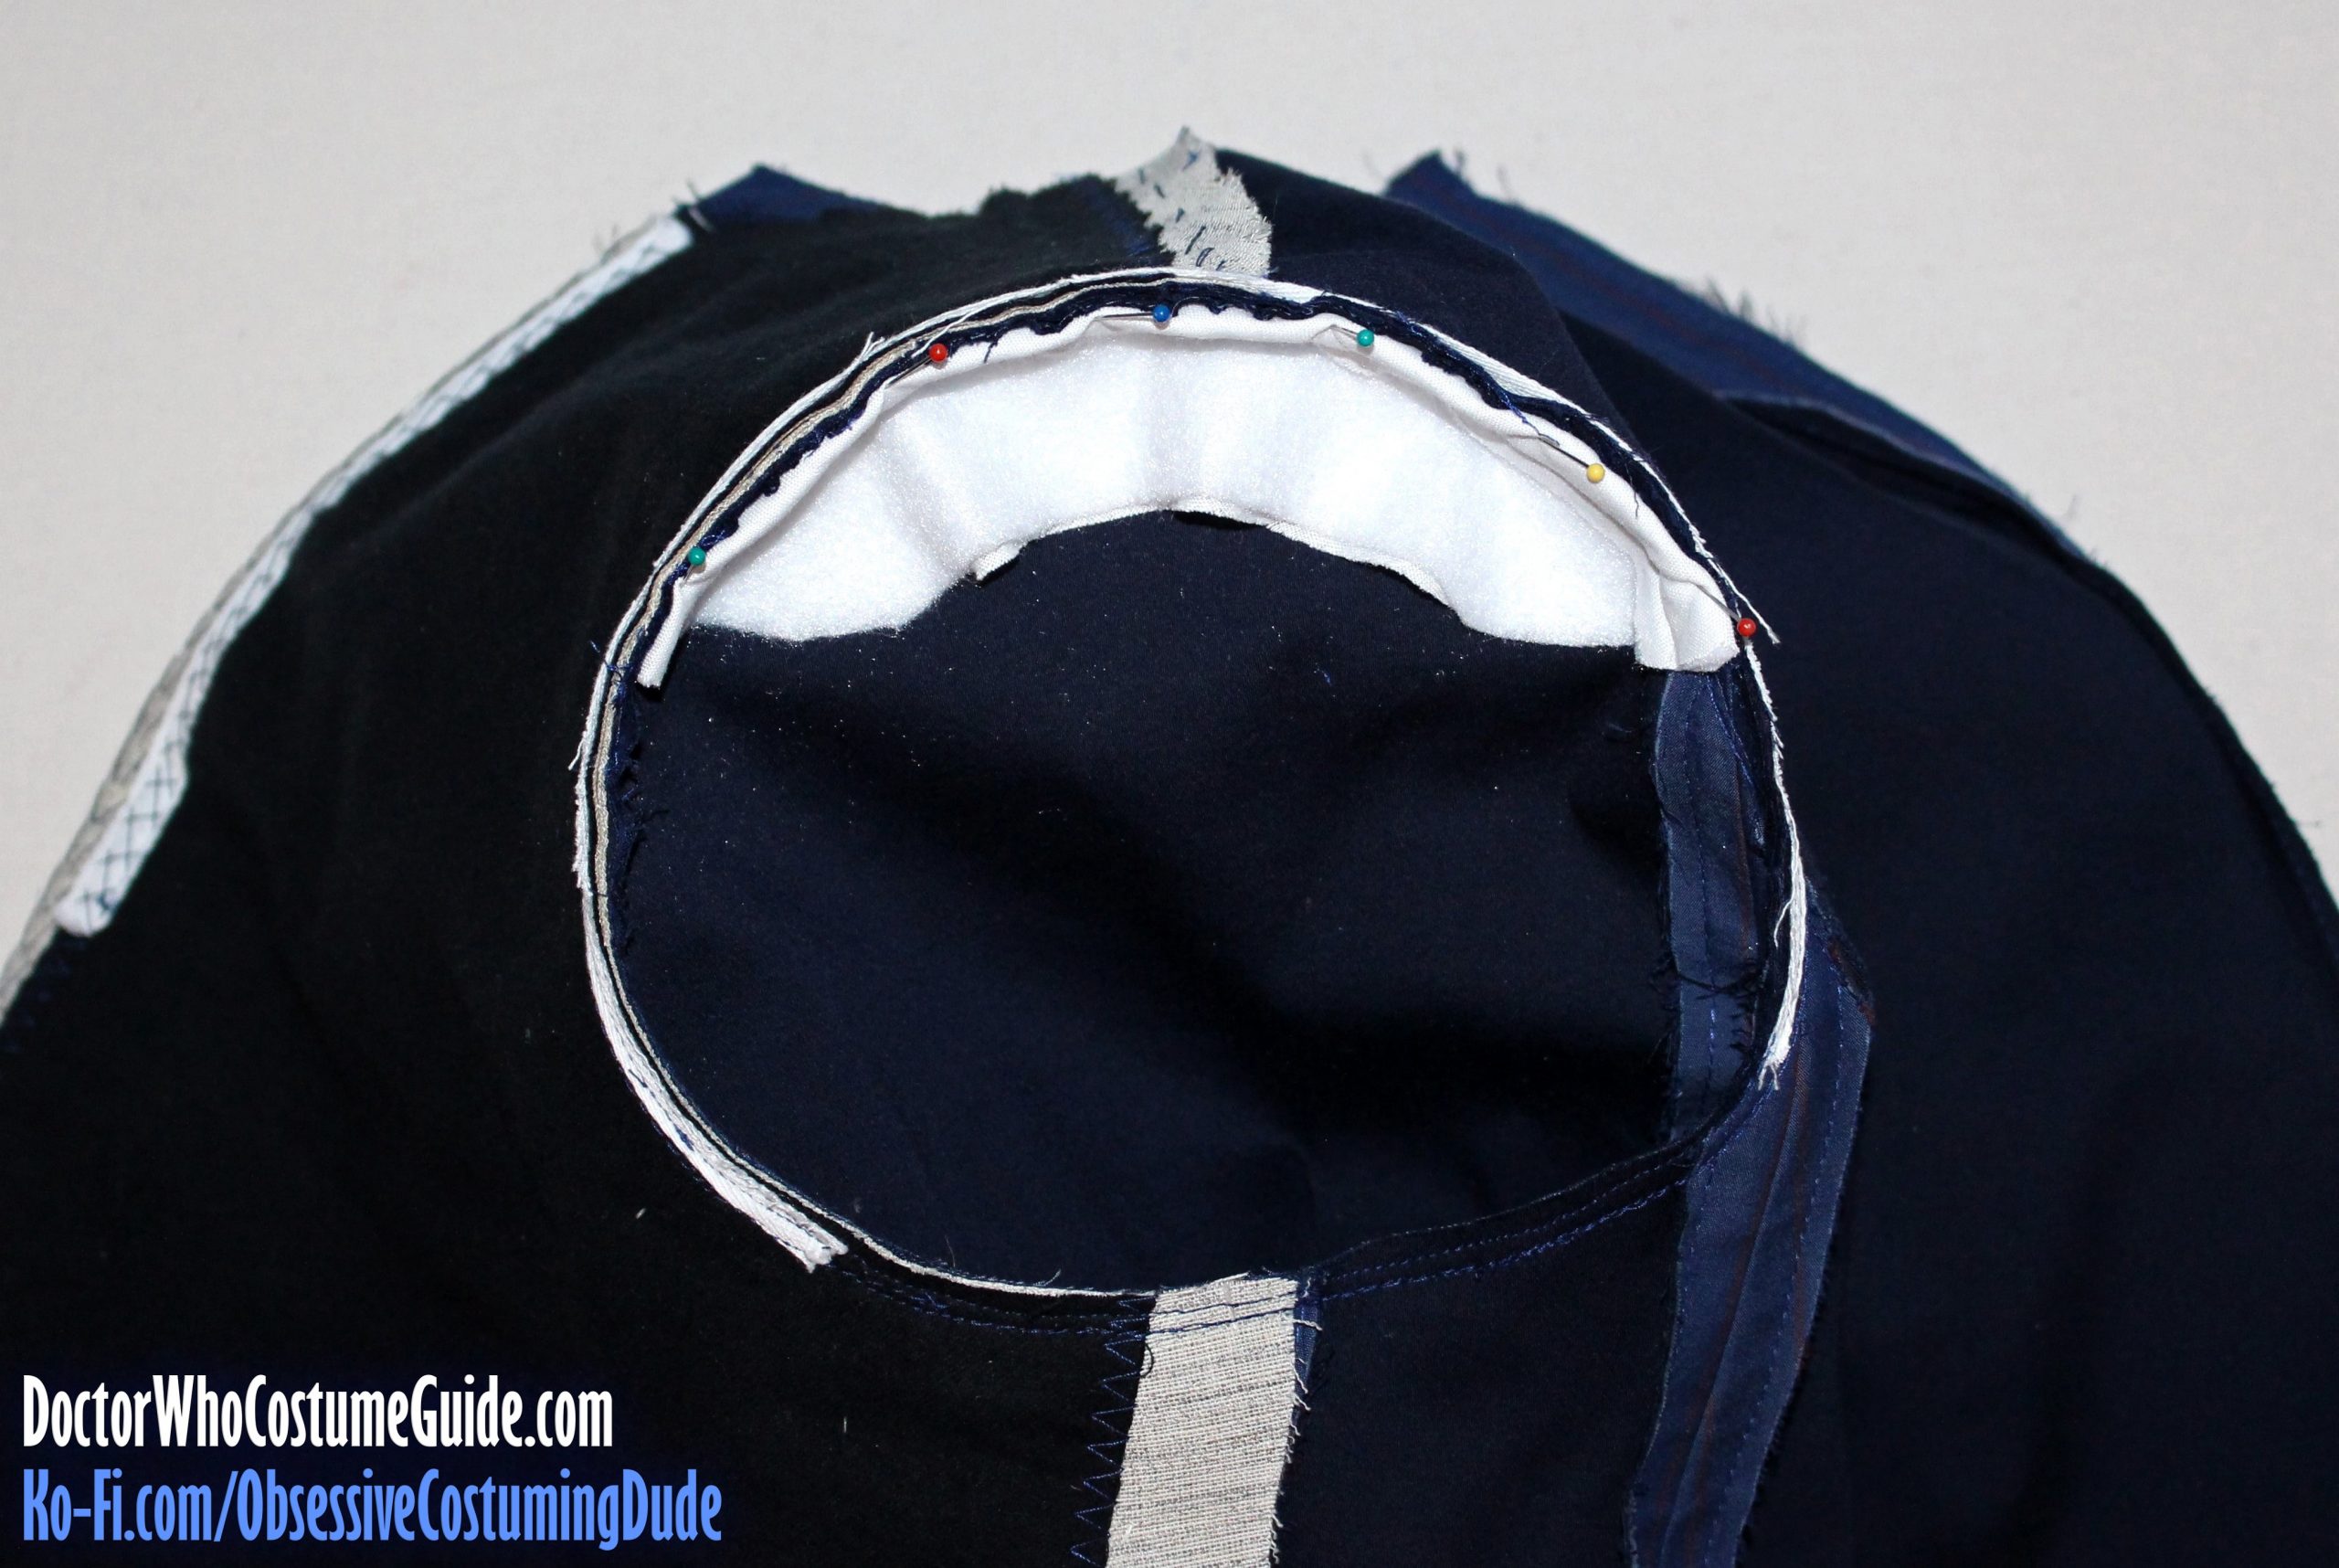
Insert the sleeve head into the sleeve cap, edges flush, and pin it into place.
Using your quilting/walking foot, sew the sleeve head to the jacket armscye about ⅛” from the seam line (⅜” from the edge).
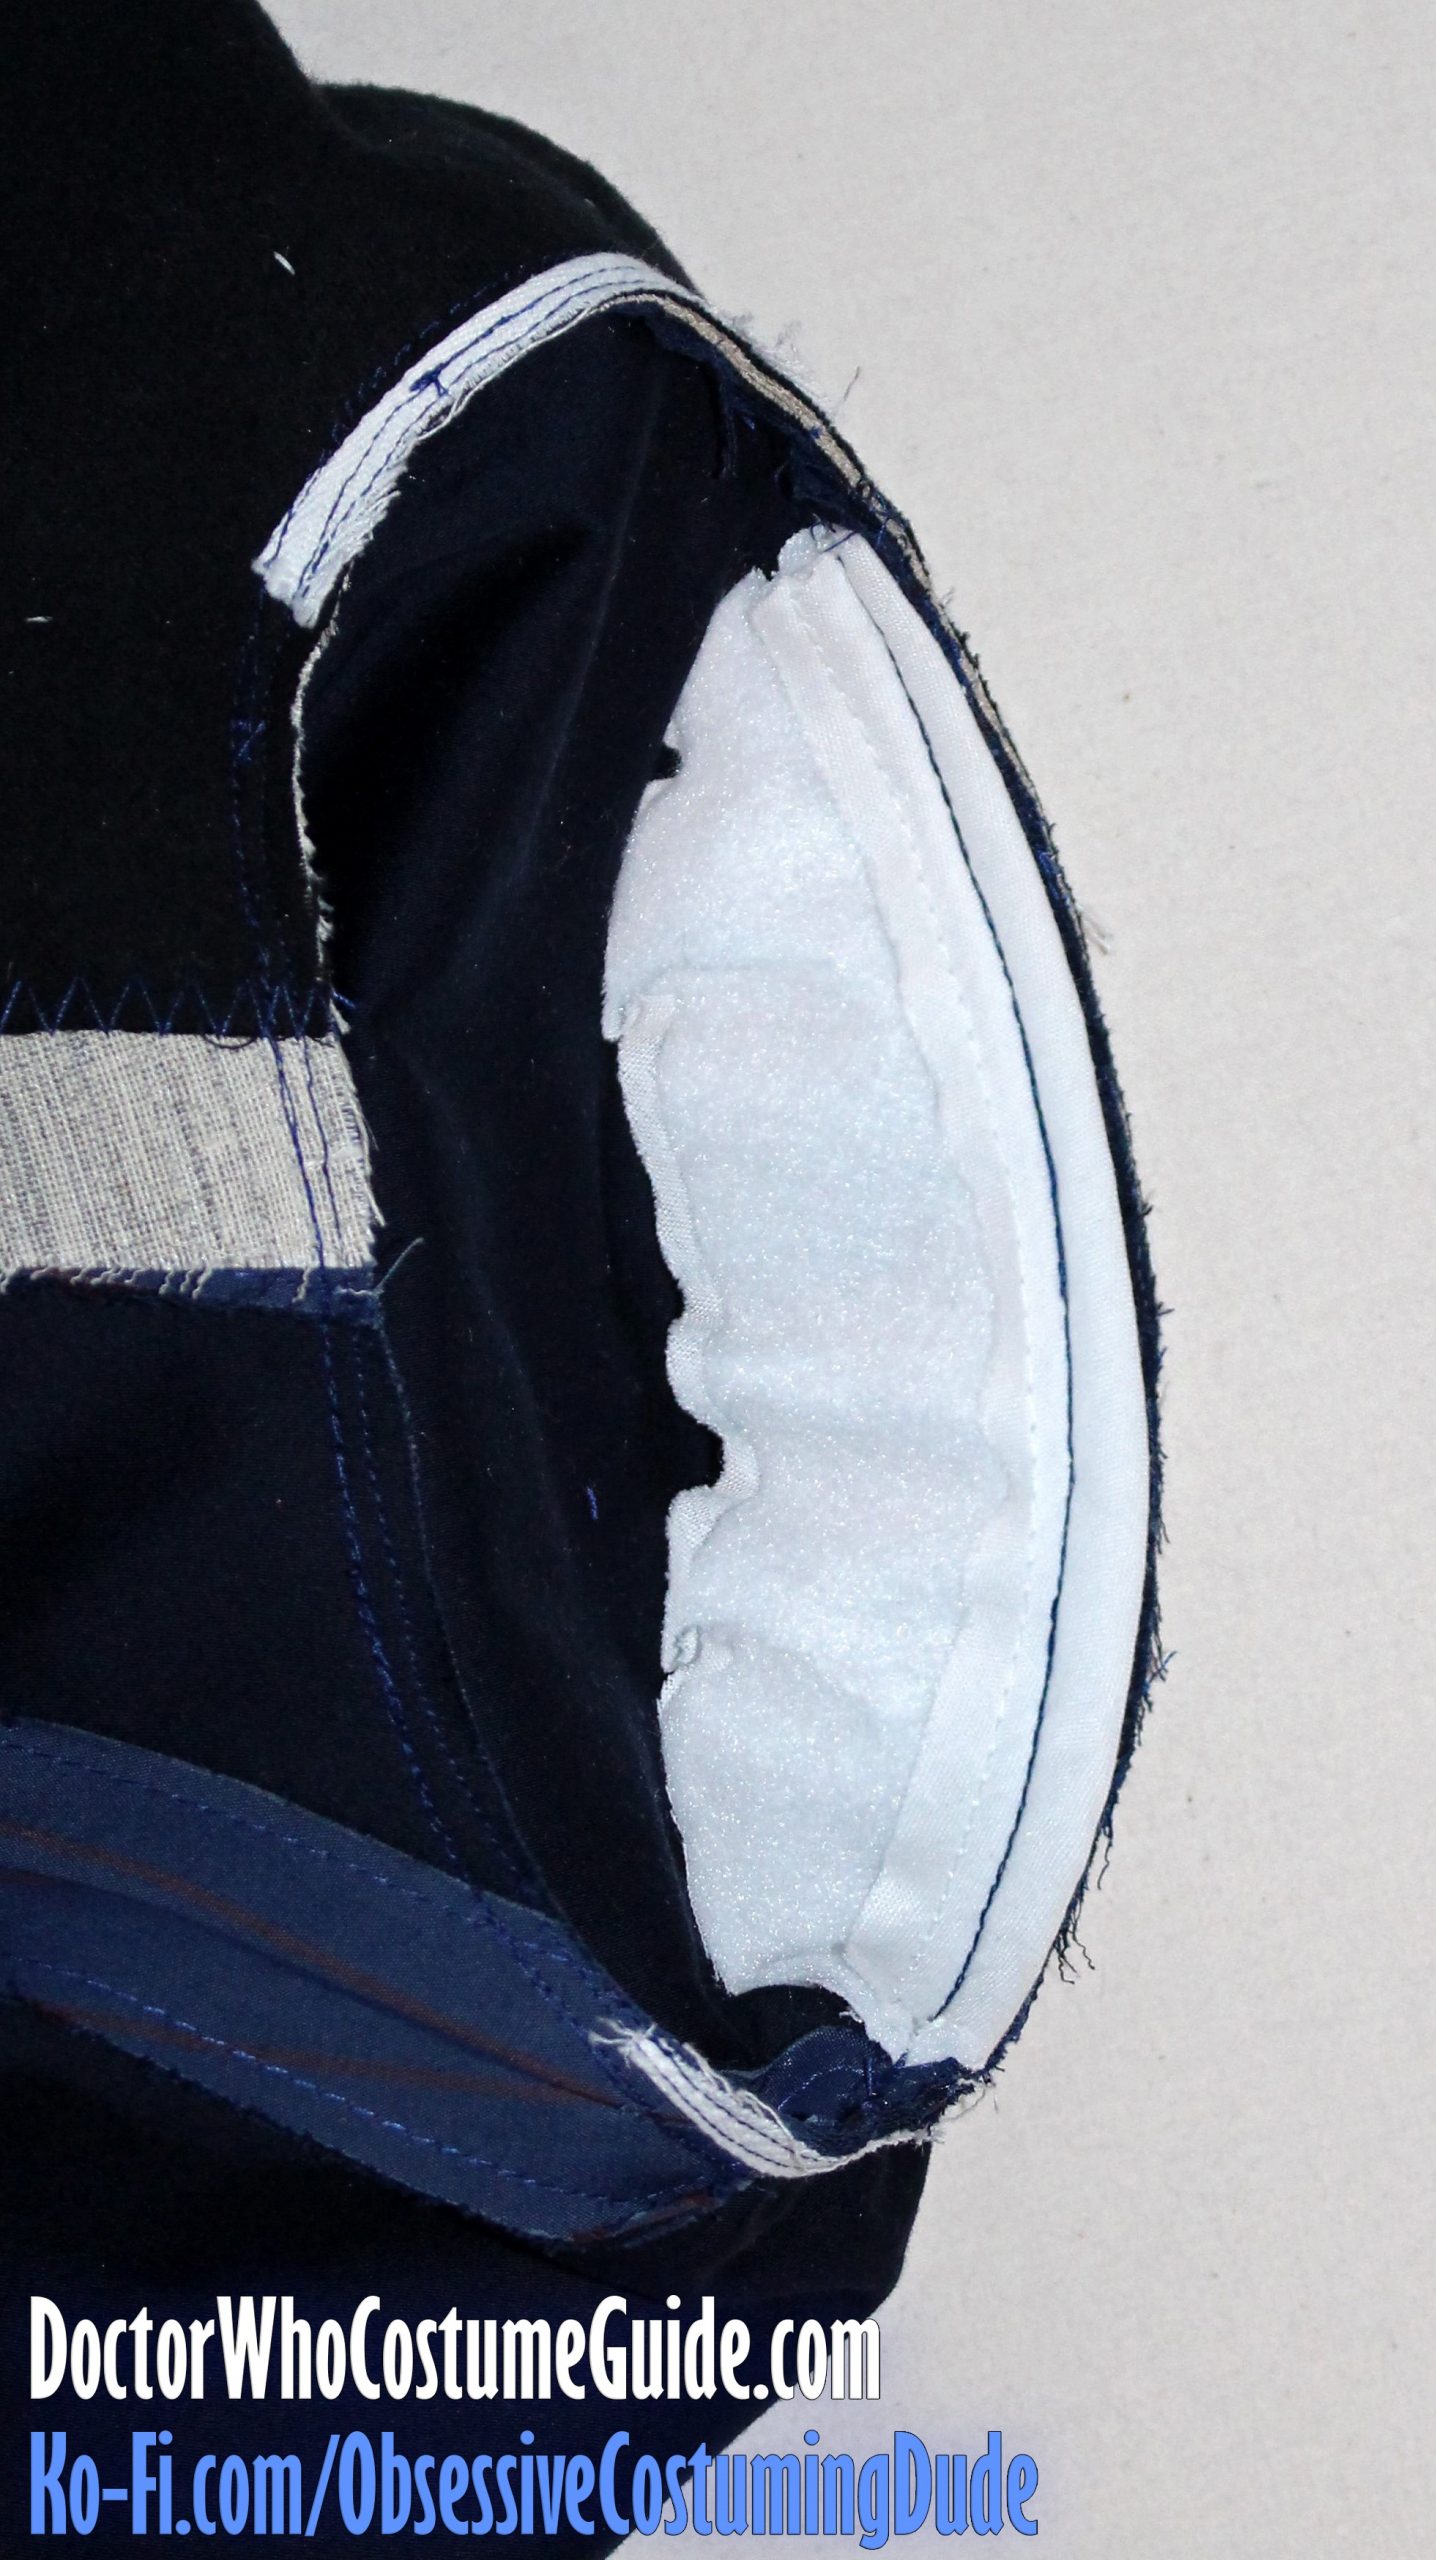
Pull the sleeve out through the armhole, then press the sleeve head and upper armscye seam allowances toward the sleeve.
Position the shoulder pad inside the jacket so the outer edge of the pad is flush with the armscye seam allowances.
Baste the shoulder pad into place around the armscye.
On the inside of the jacket, loosely (but firmly) anchor the outer edge of the pad to the armscye seam allowance, and the inner edge of the pad to the shoulder seam allowances.