Eleventh Doctor Velvet Waistcoat – Sewing Tutorial
FRONT ASSEMBLIES
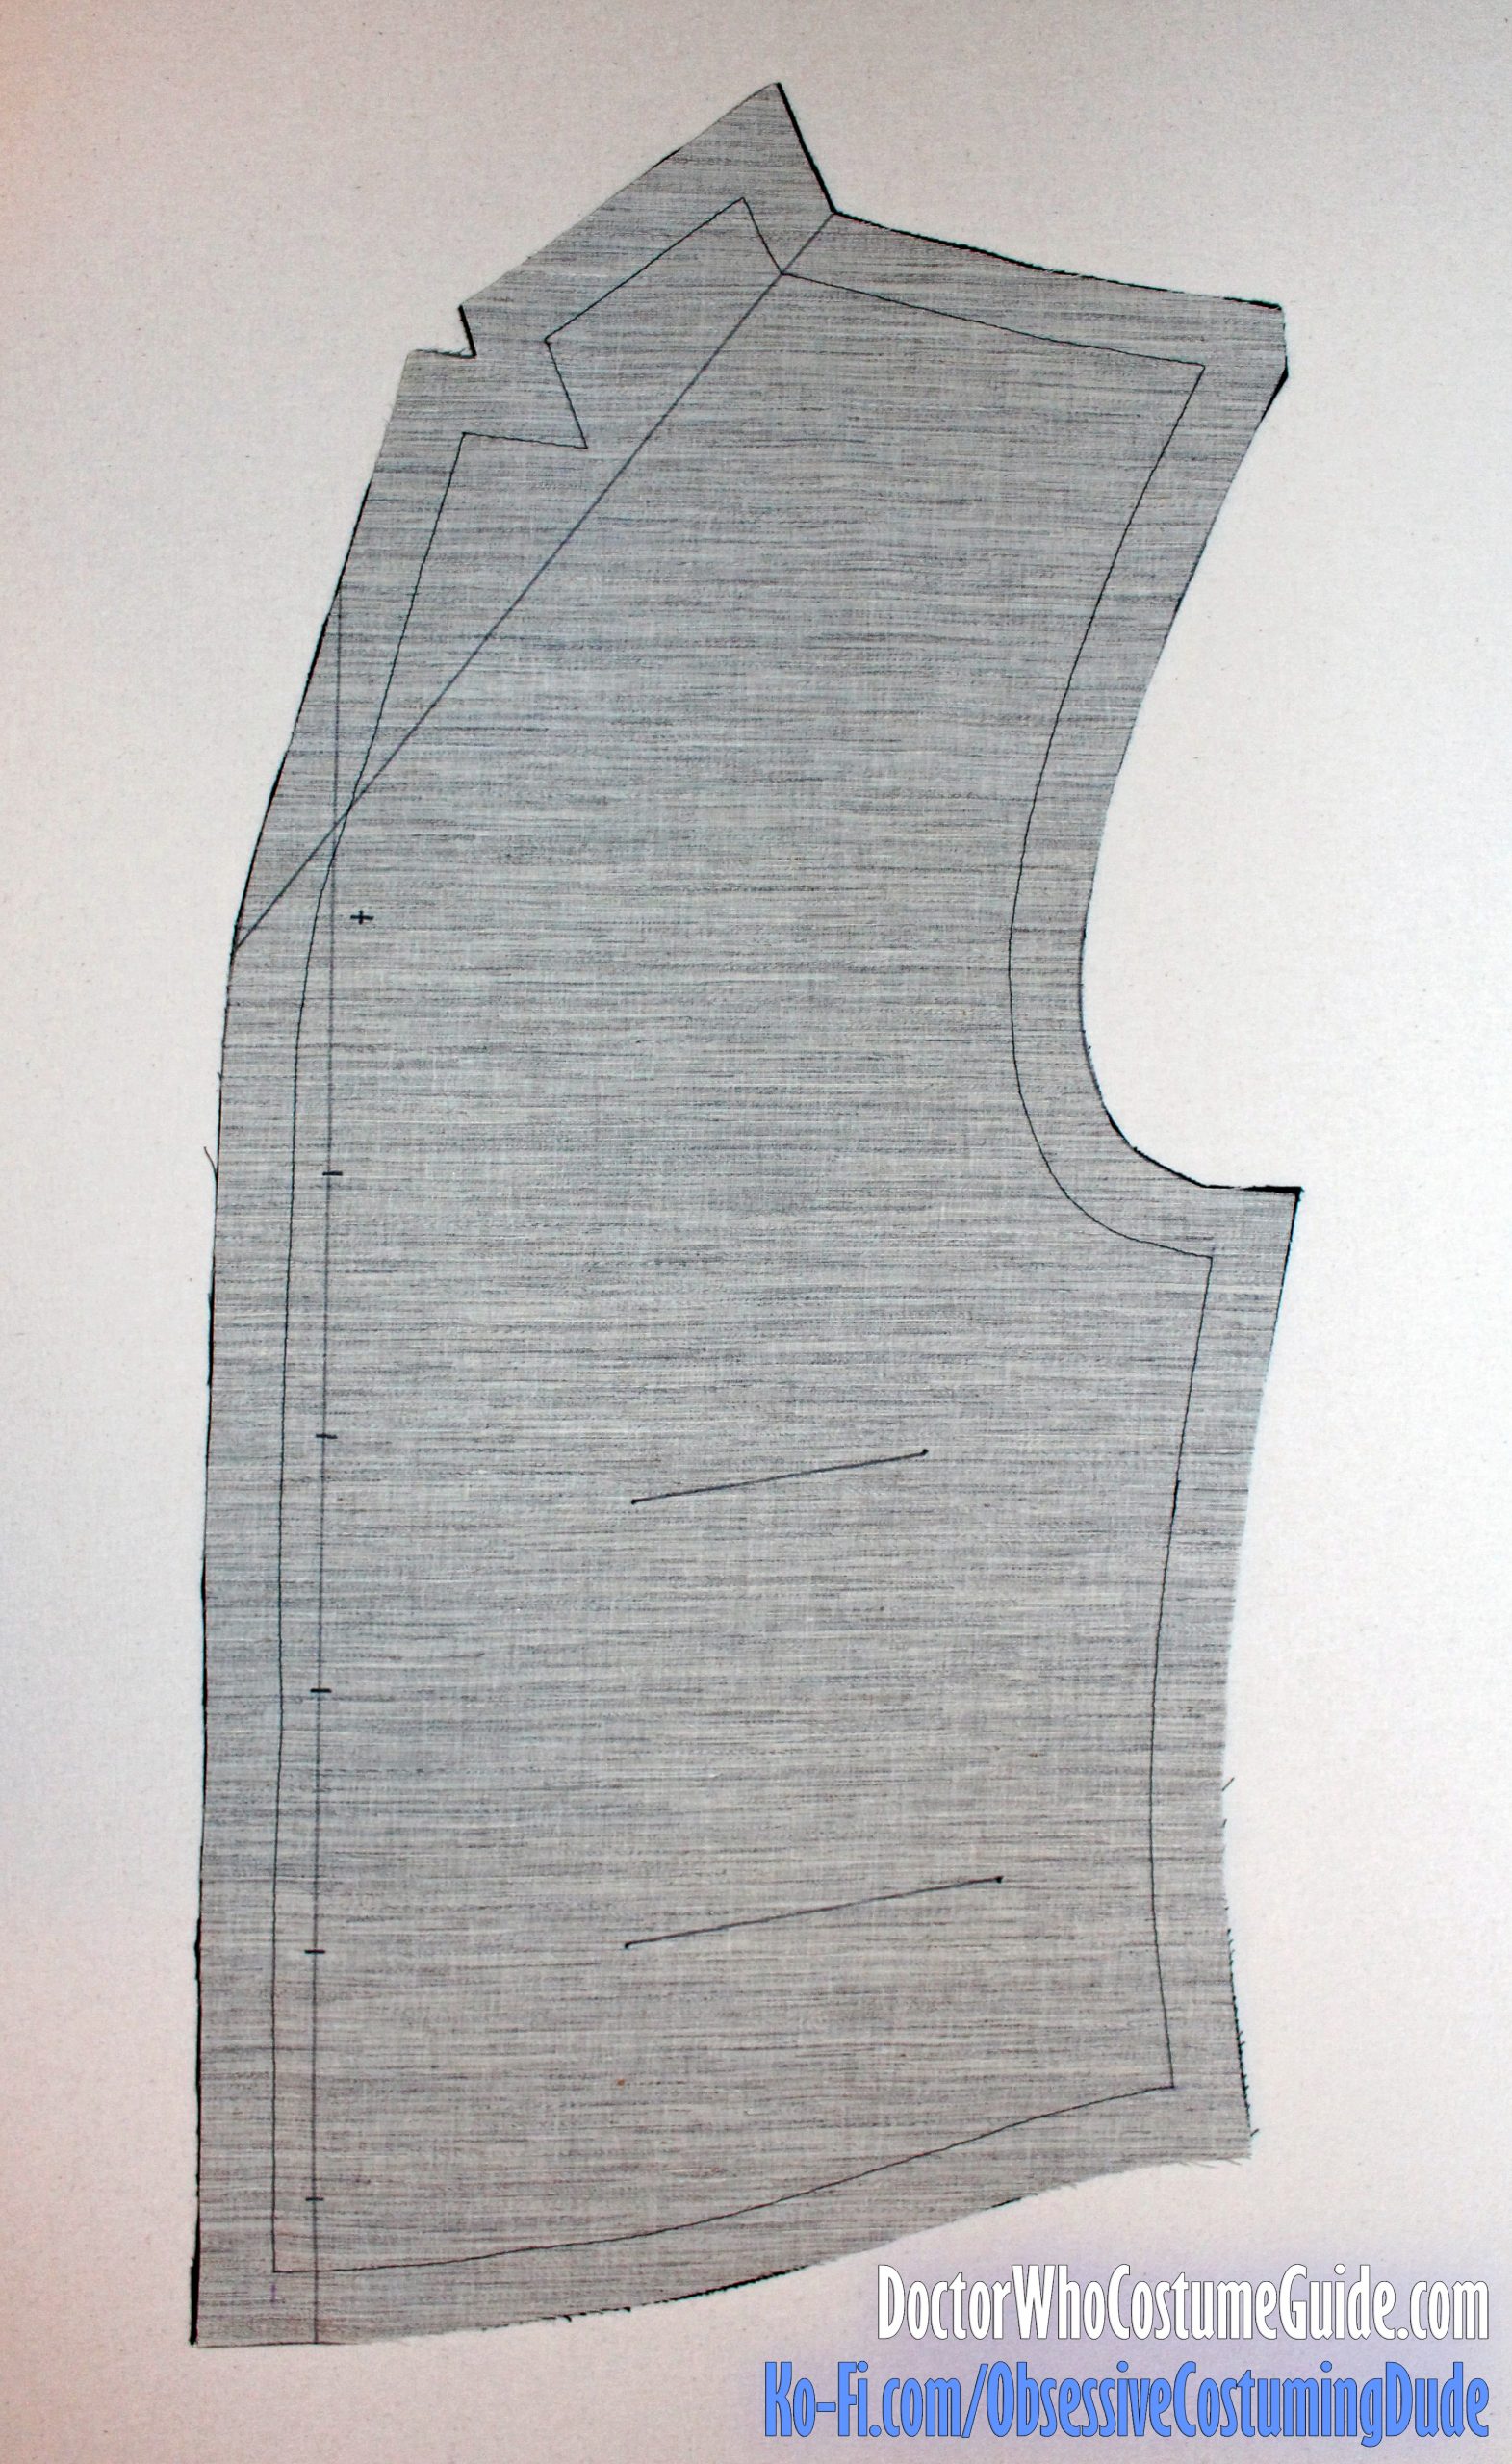
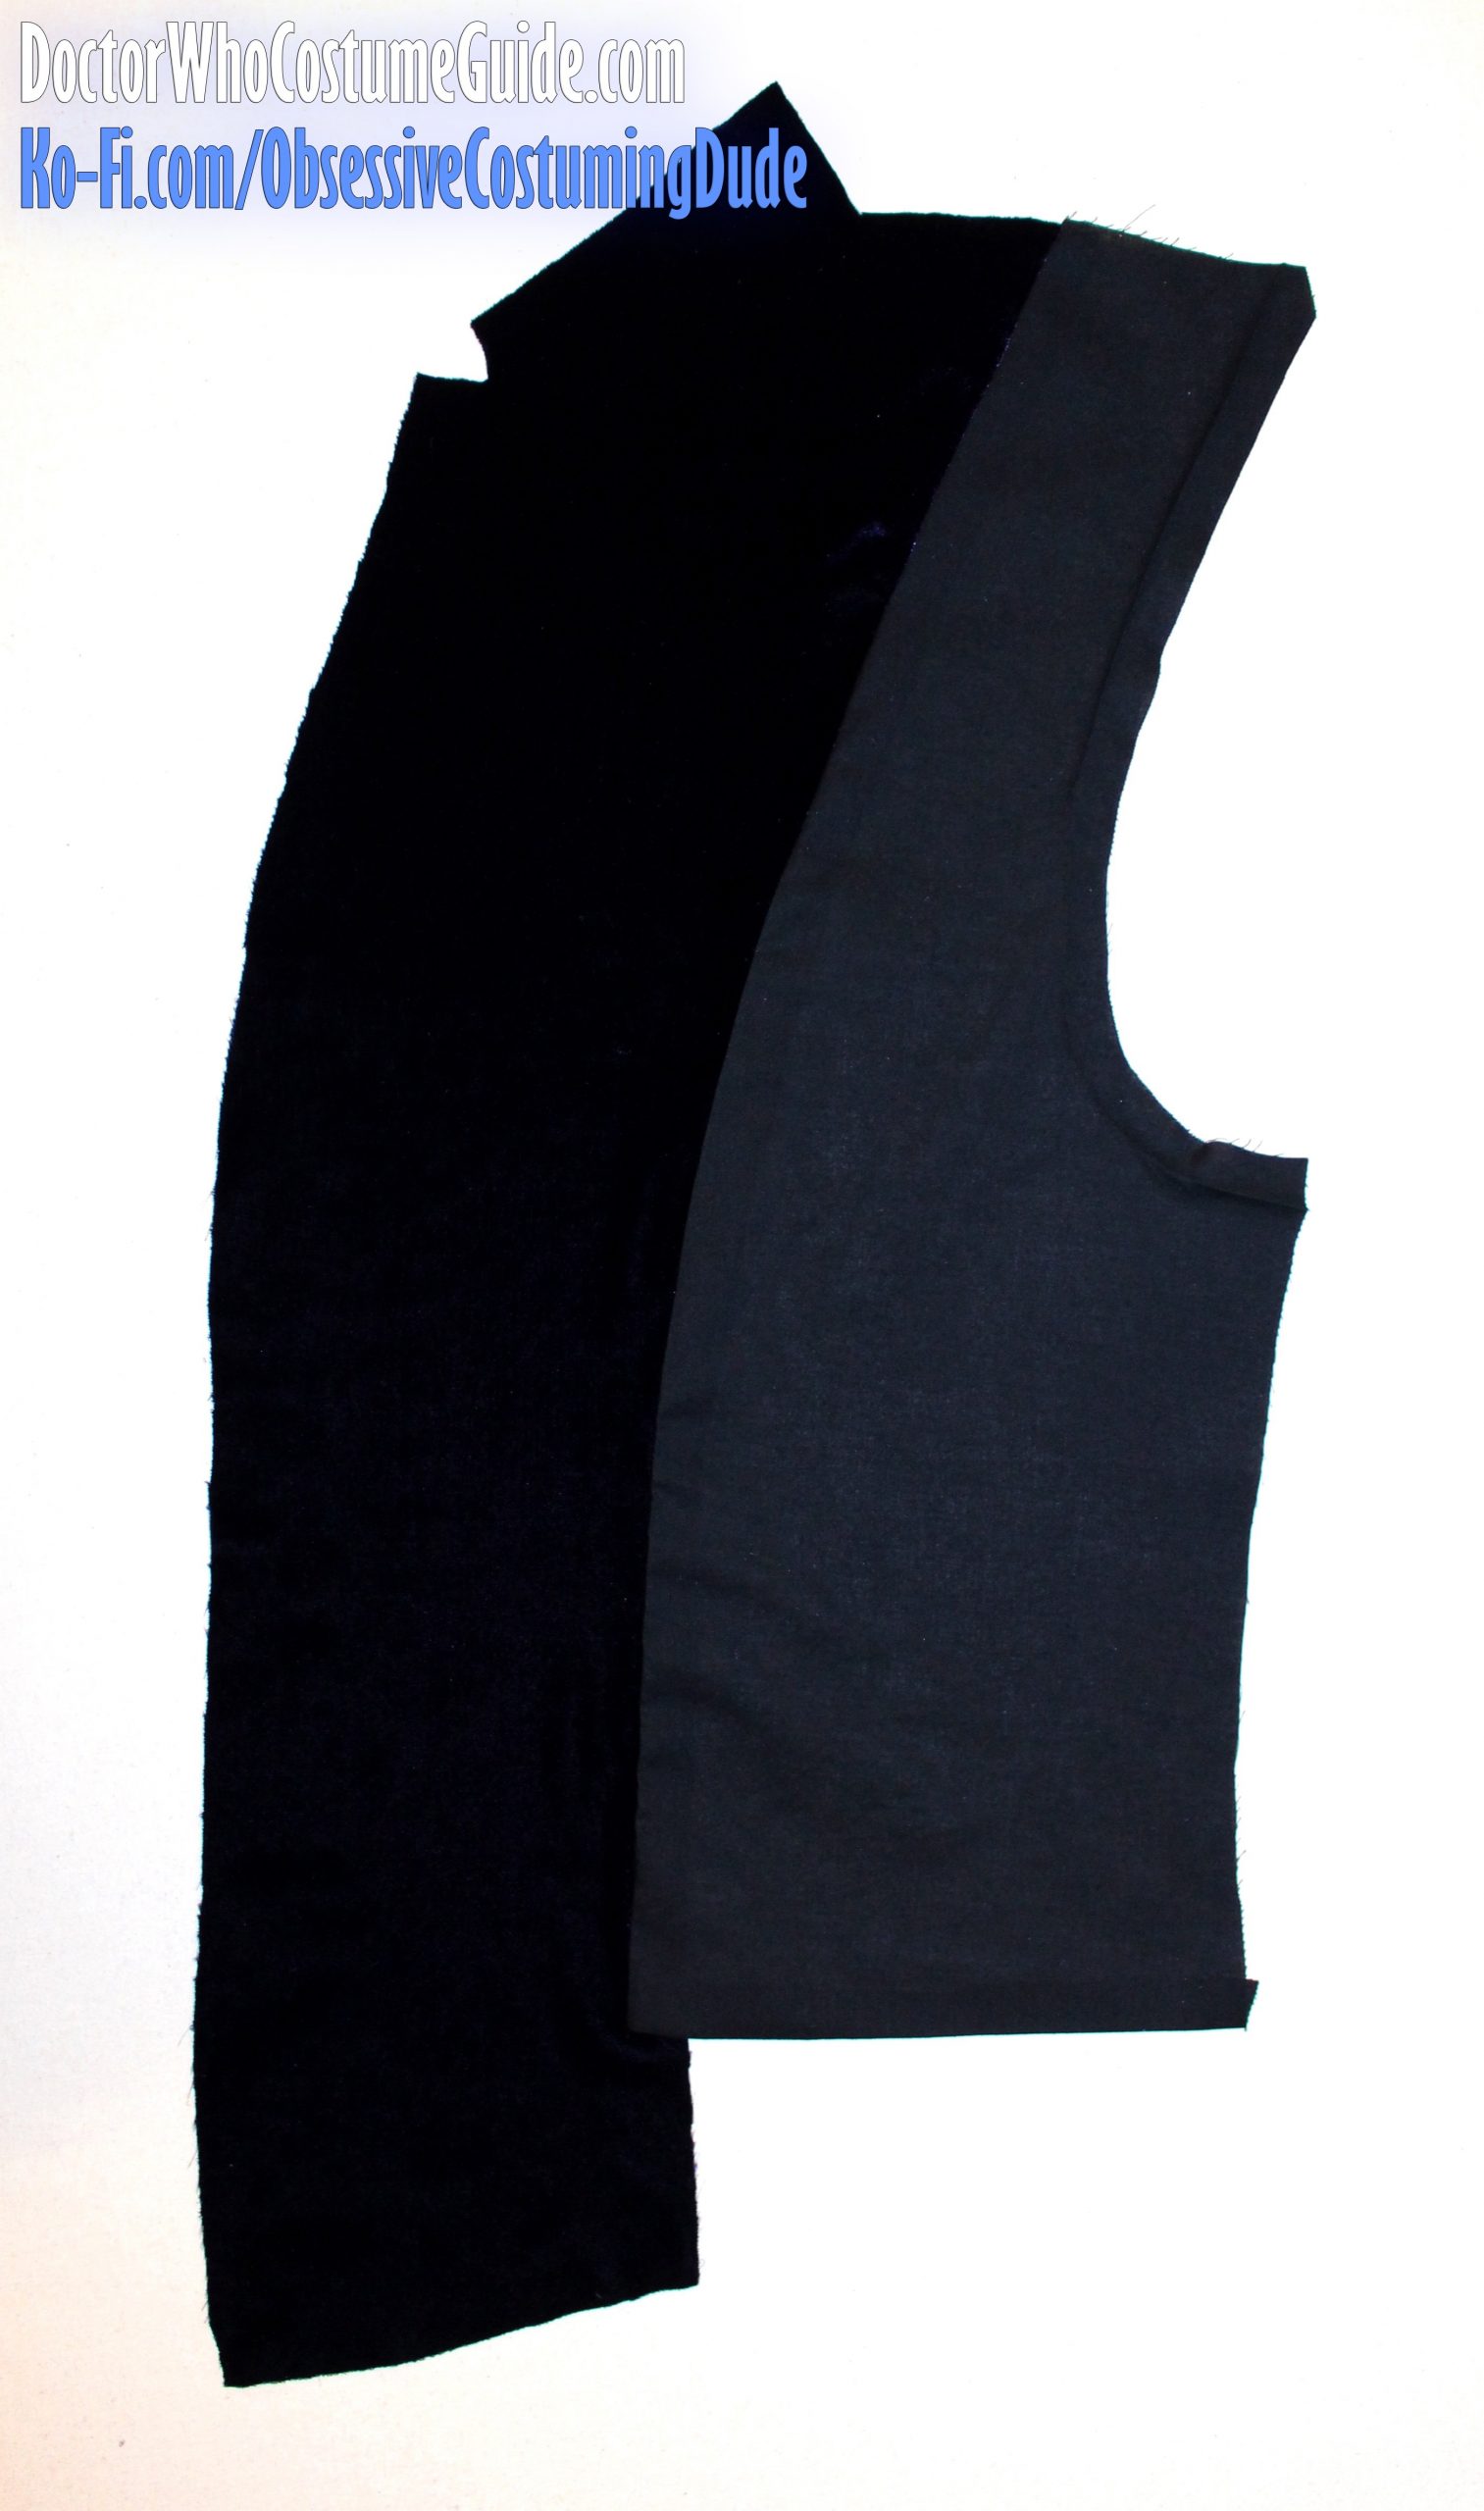
If you’re taking my Kenneth King’s advice and underlining (“flat-lining”) each waistcoat front with a layer of cotton flannel, you should have three pieces for each front: velvet, flannel, and hair canvas.
Now here’s another way the flannel comes in handy:
Interfacing is great for providing stability and structure to a garment, but a problem that it often causes is that when it’s sewn into a seam, it creates bulk. And, generally speaking, bulking up seams should be avoided whenever possible so they lie nice and flat.
So another cool trick from Kenneth King’s book, Cool Couture, is to use a layer of underlining (“flat-lining”) as a carrier layer for the interfacing, after all its seam allowances have been trimmed away.
(That’s not exactly how his trick goes; he actually talked about using a layer of muslin as a carrier layer for the interfacing, or even using two layers of muslin to form a “pouch” for the interfacing – another brilliant trick.)
But for this project, if you’re already underlining (“flat-lining”) the velvet with a layer of cotton flannel, you can just use that as a carrier layer for the interfacing.
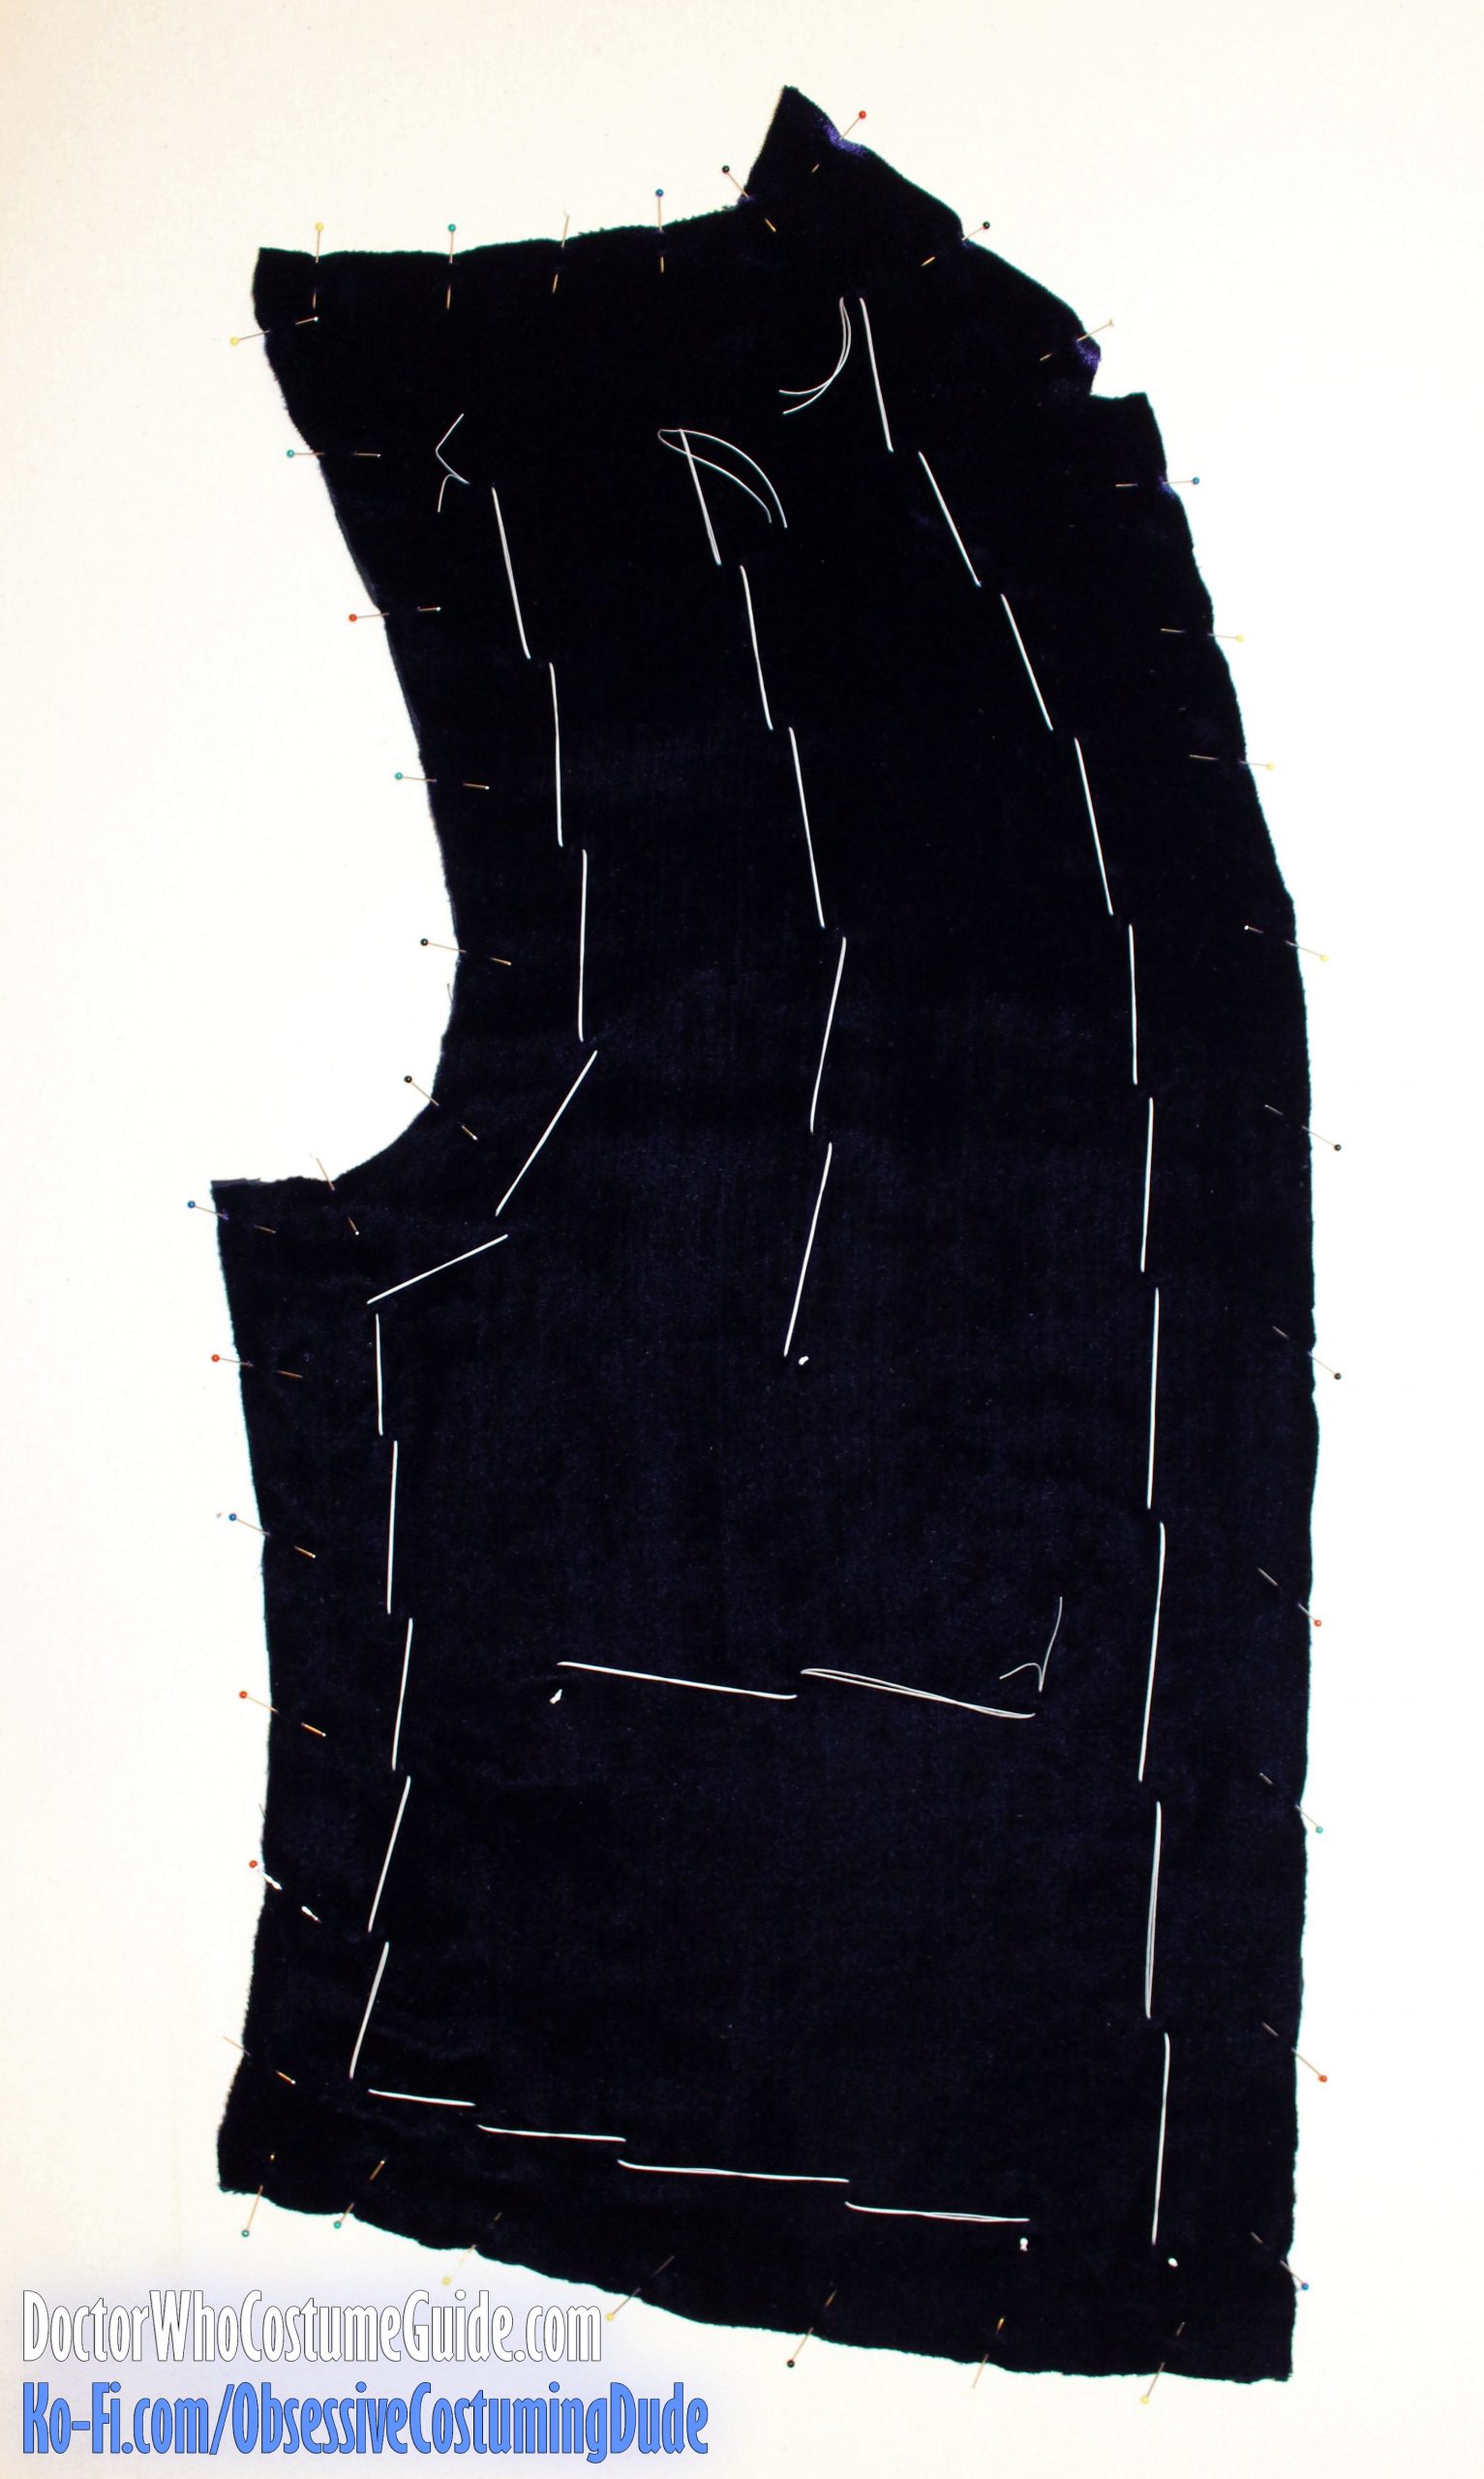
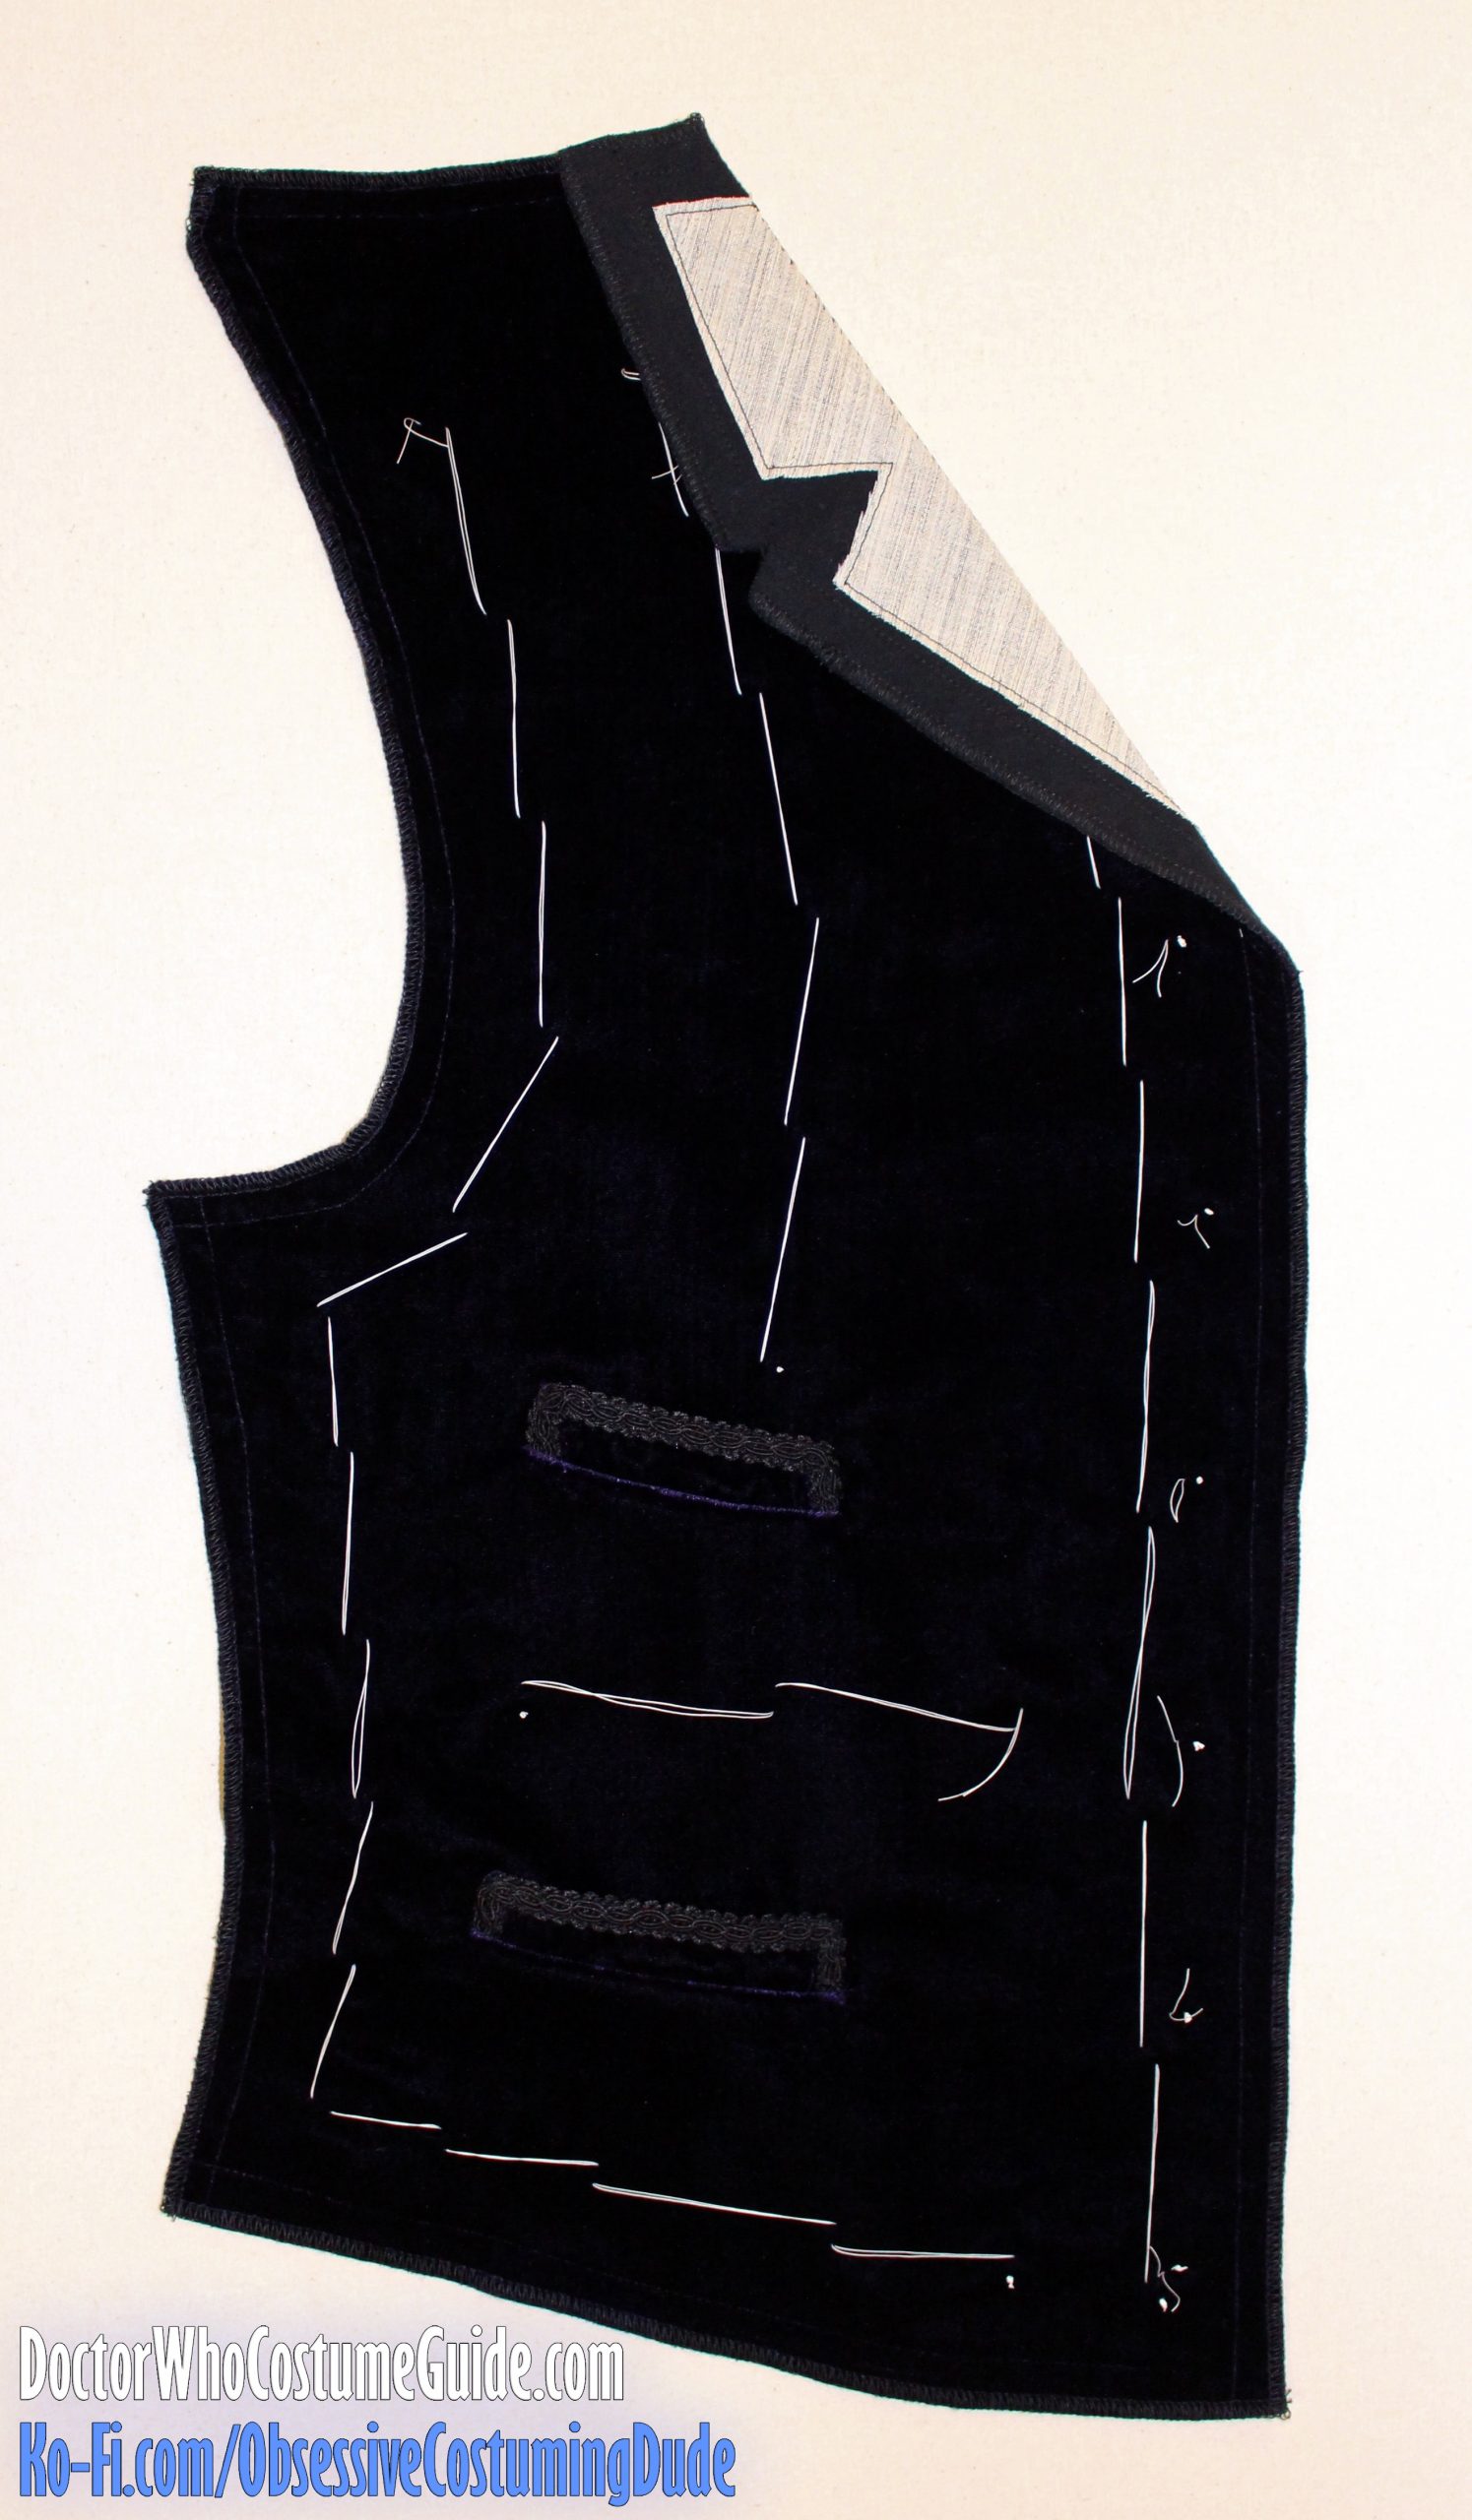
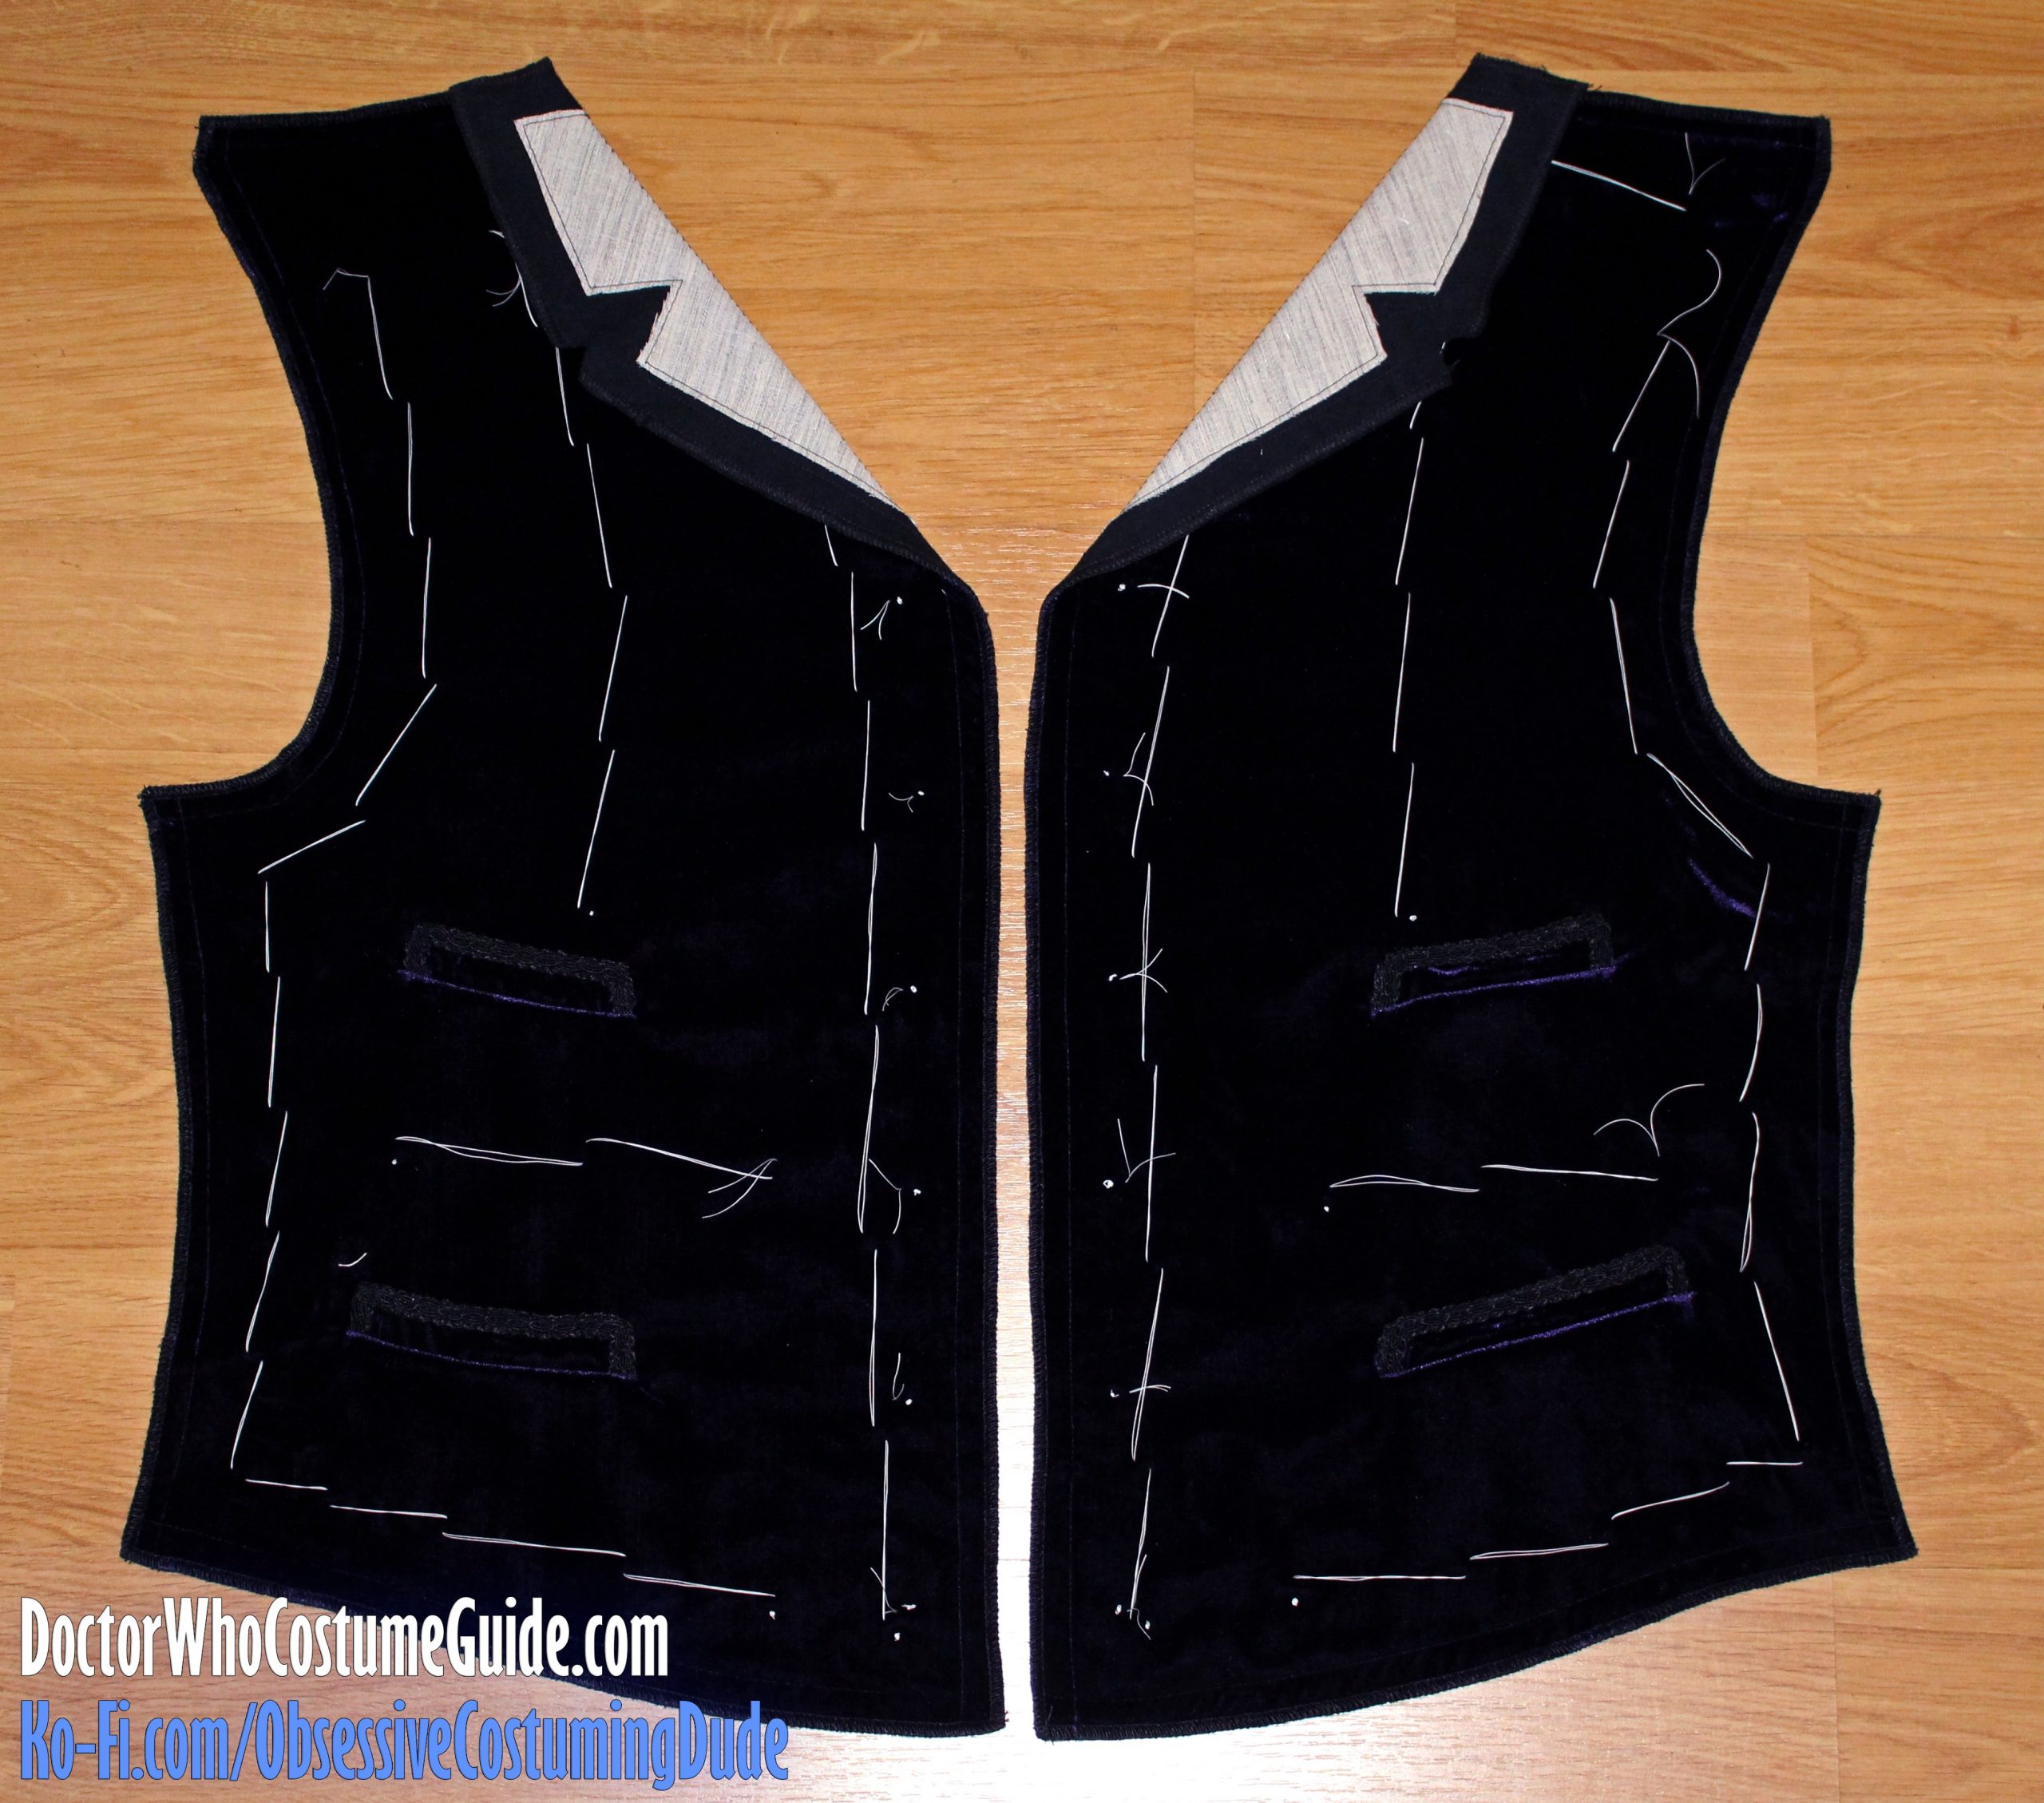
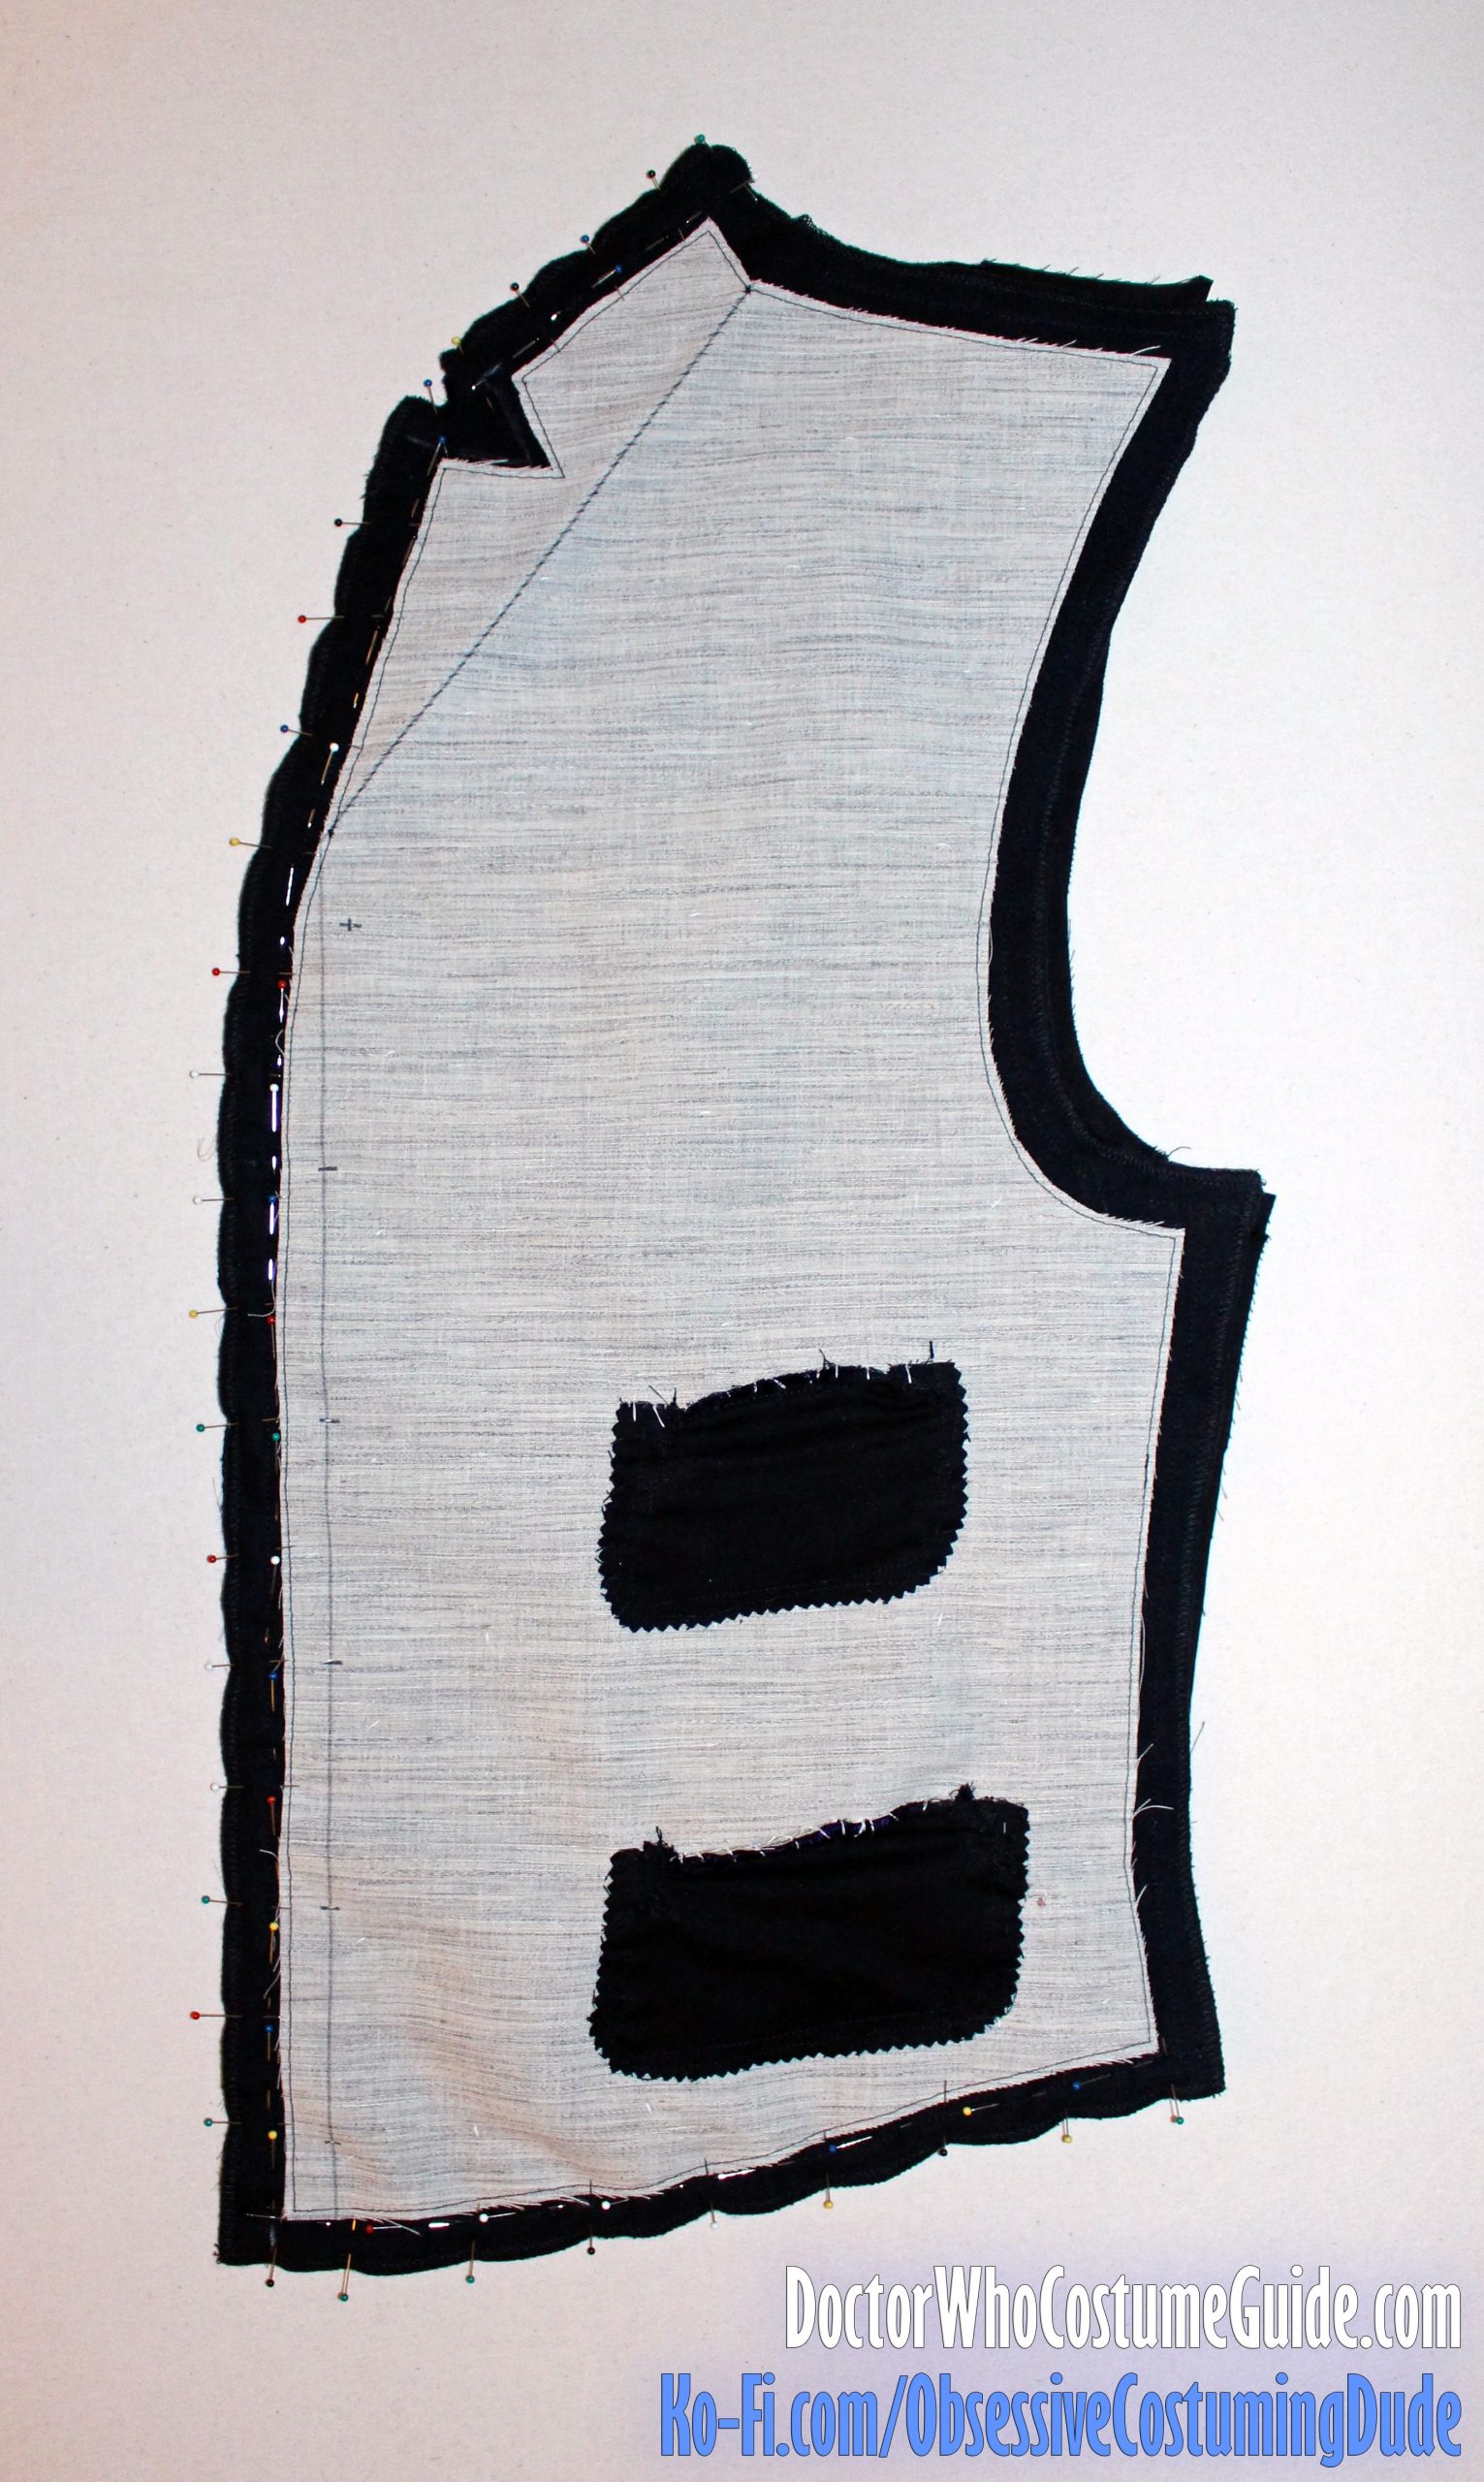
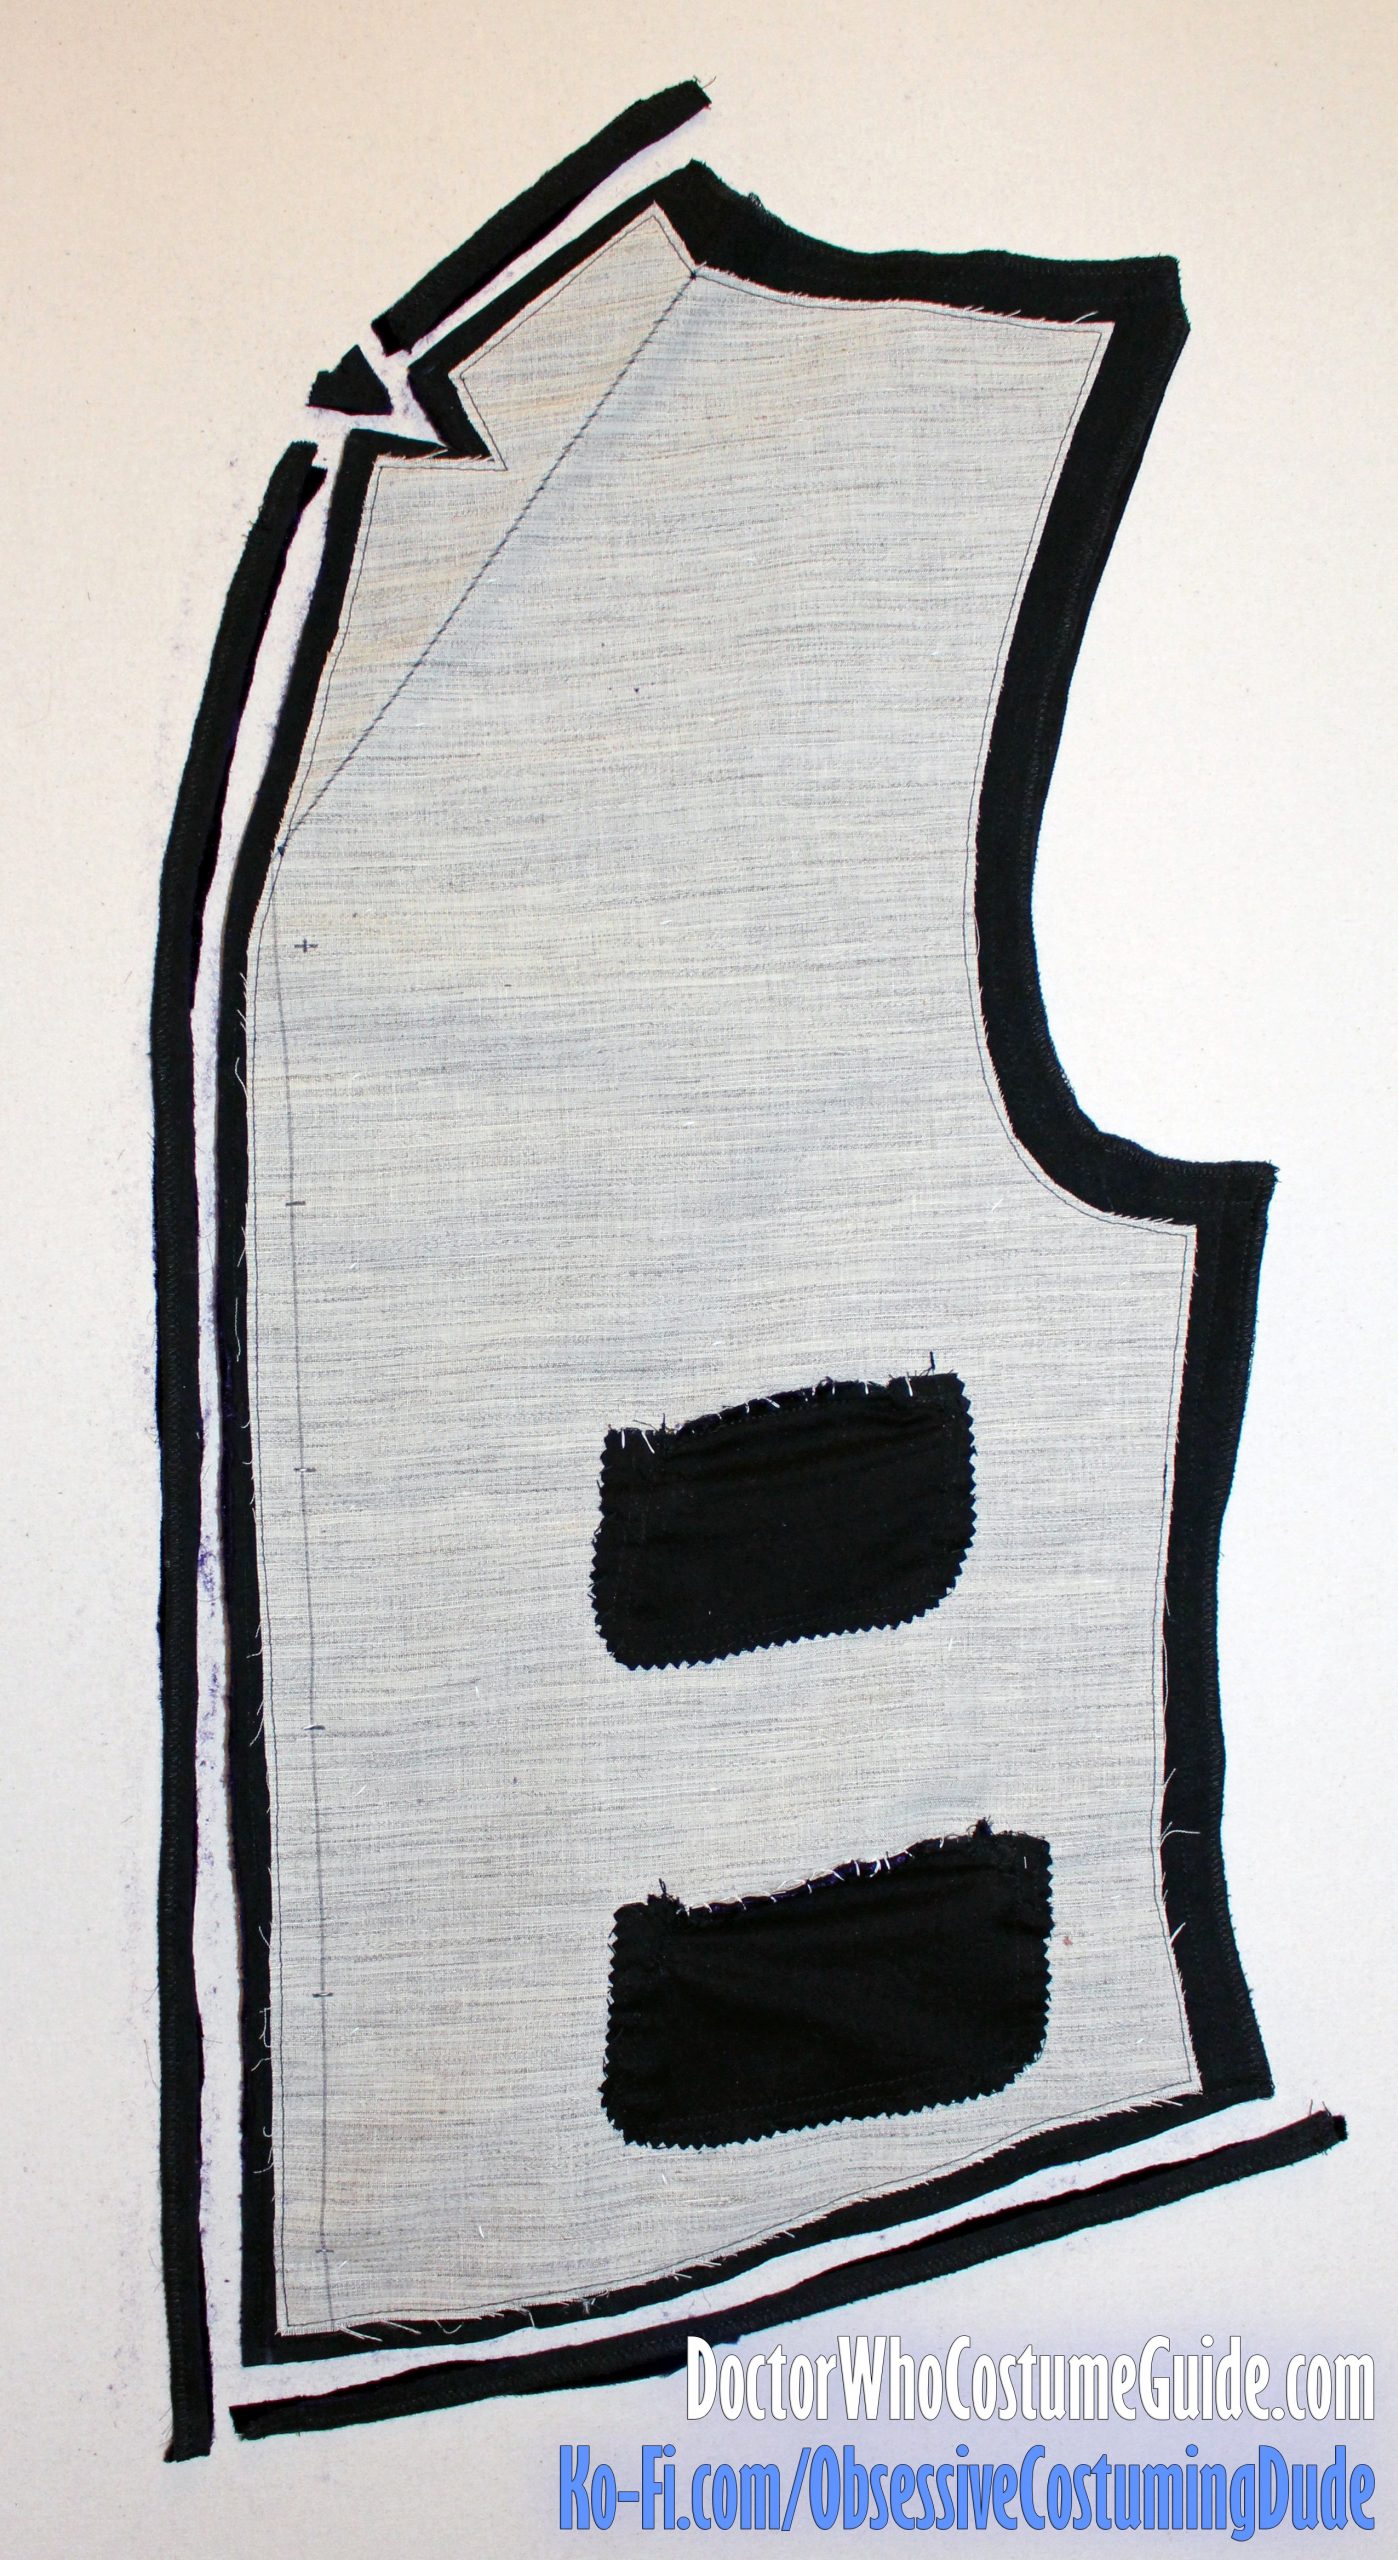
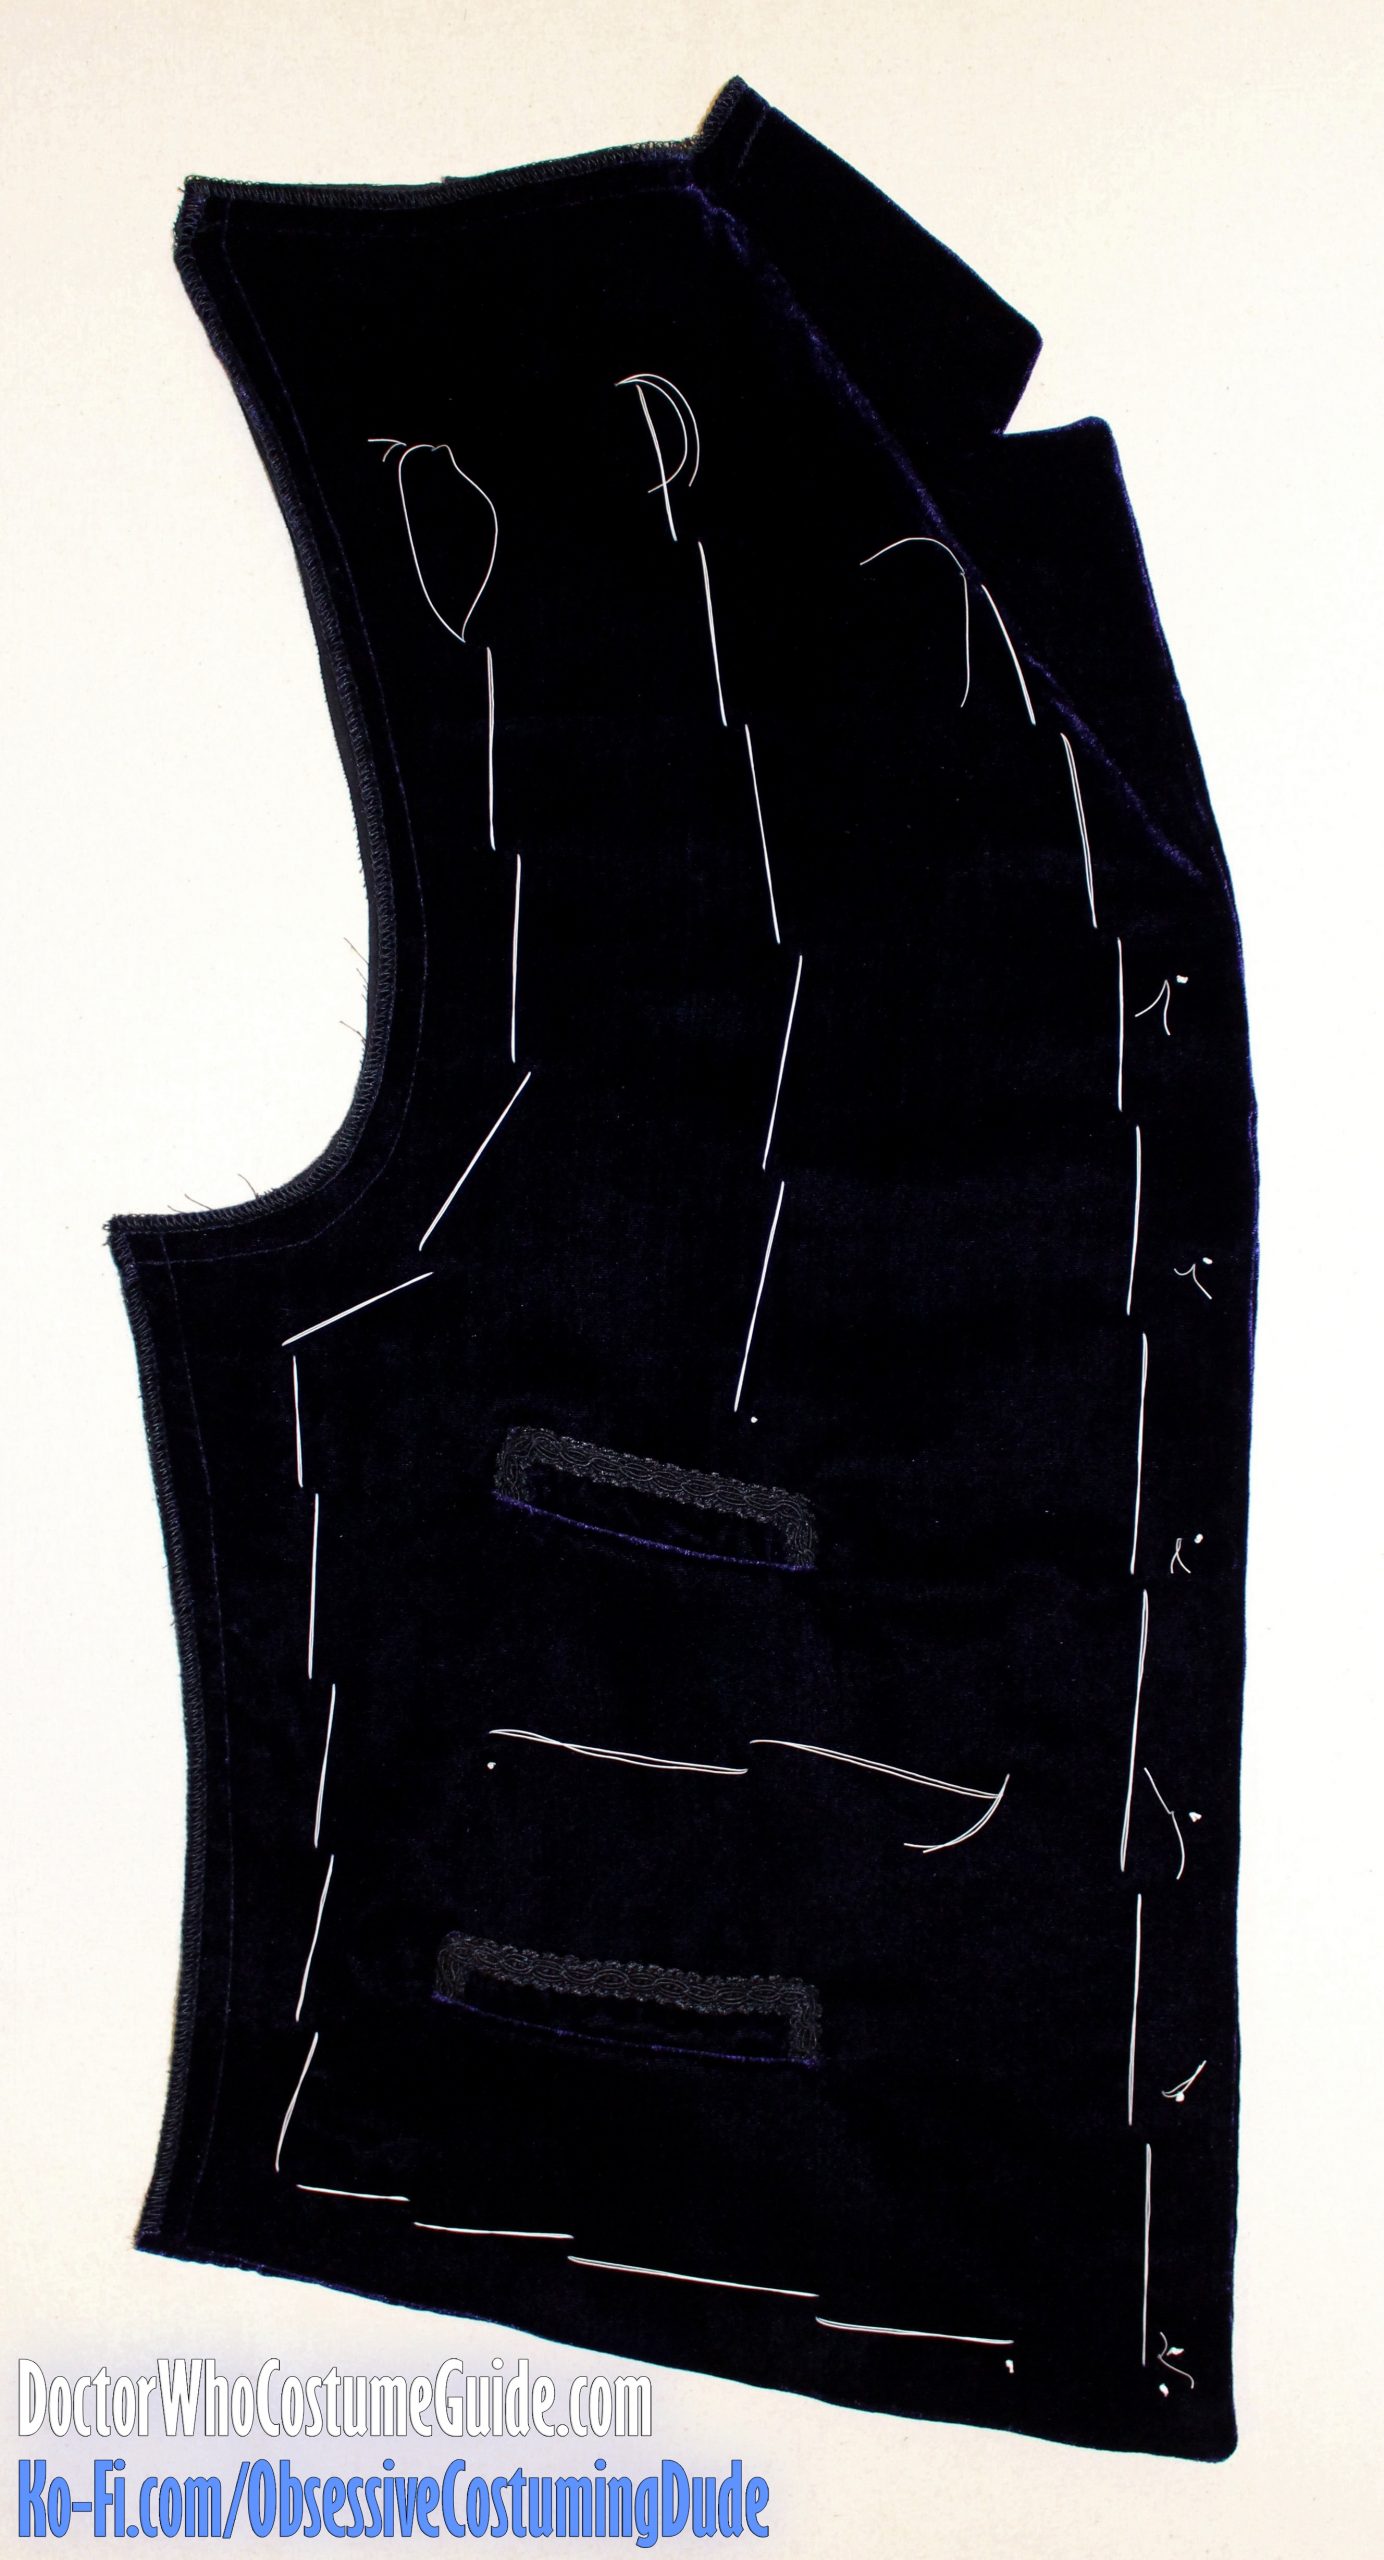
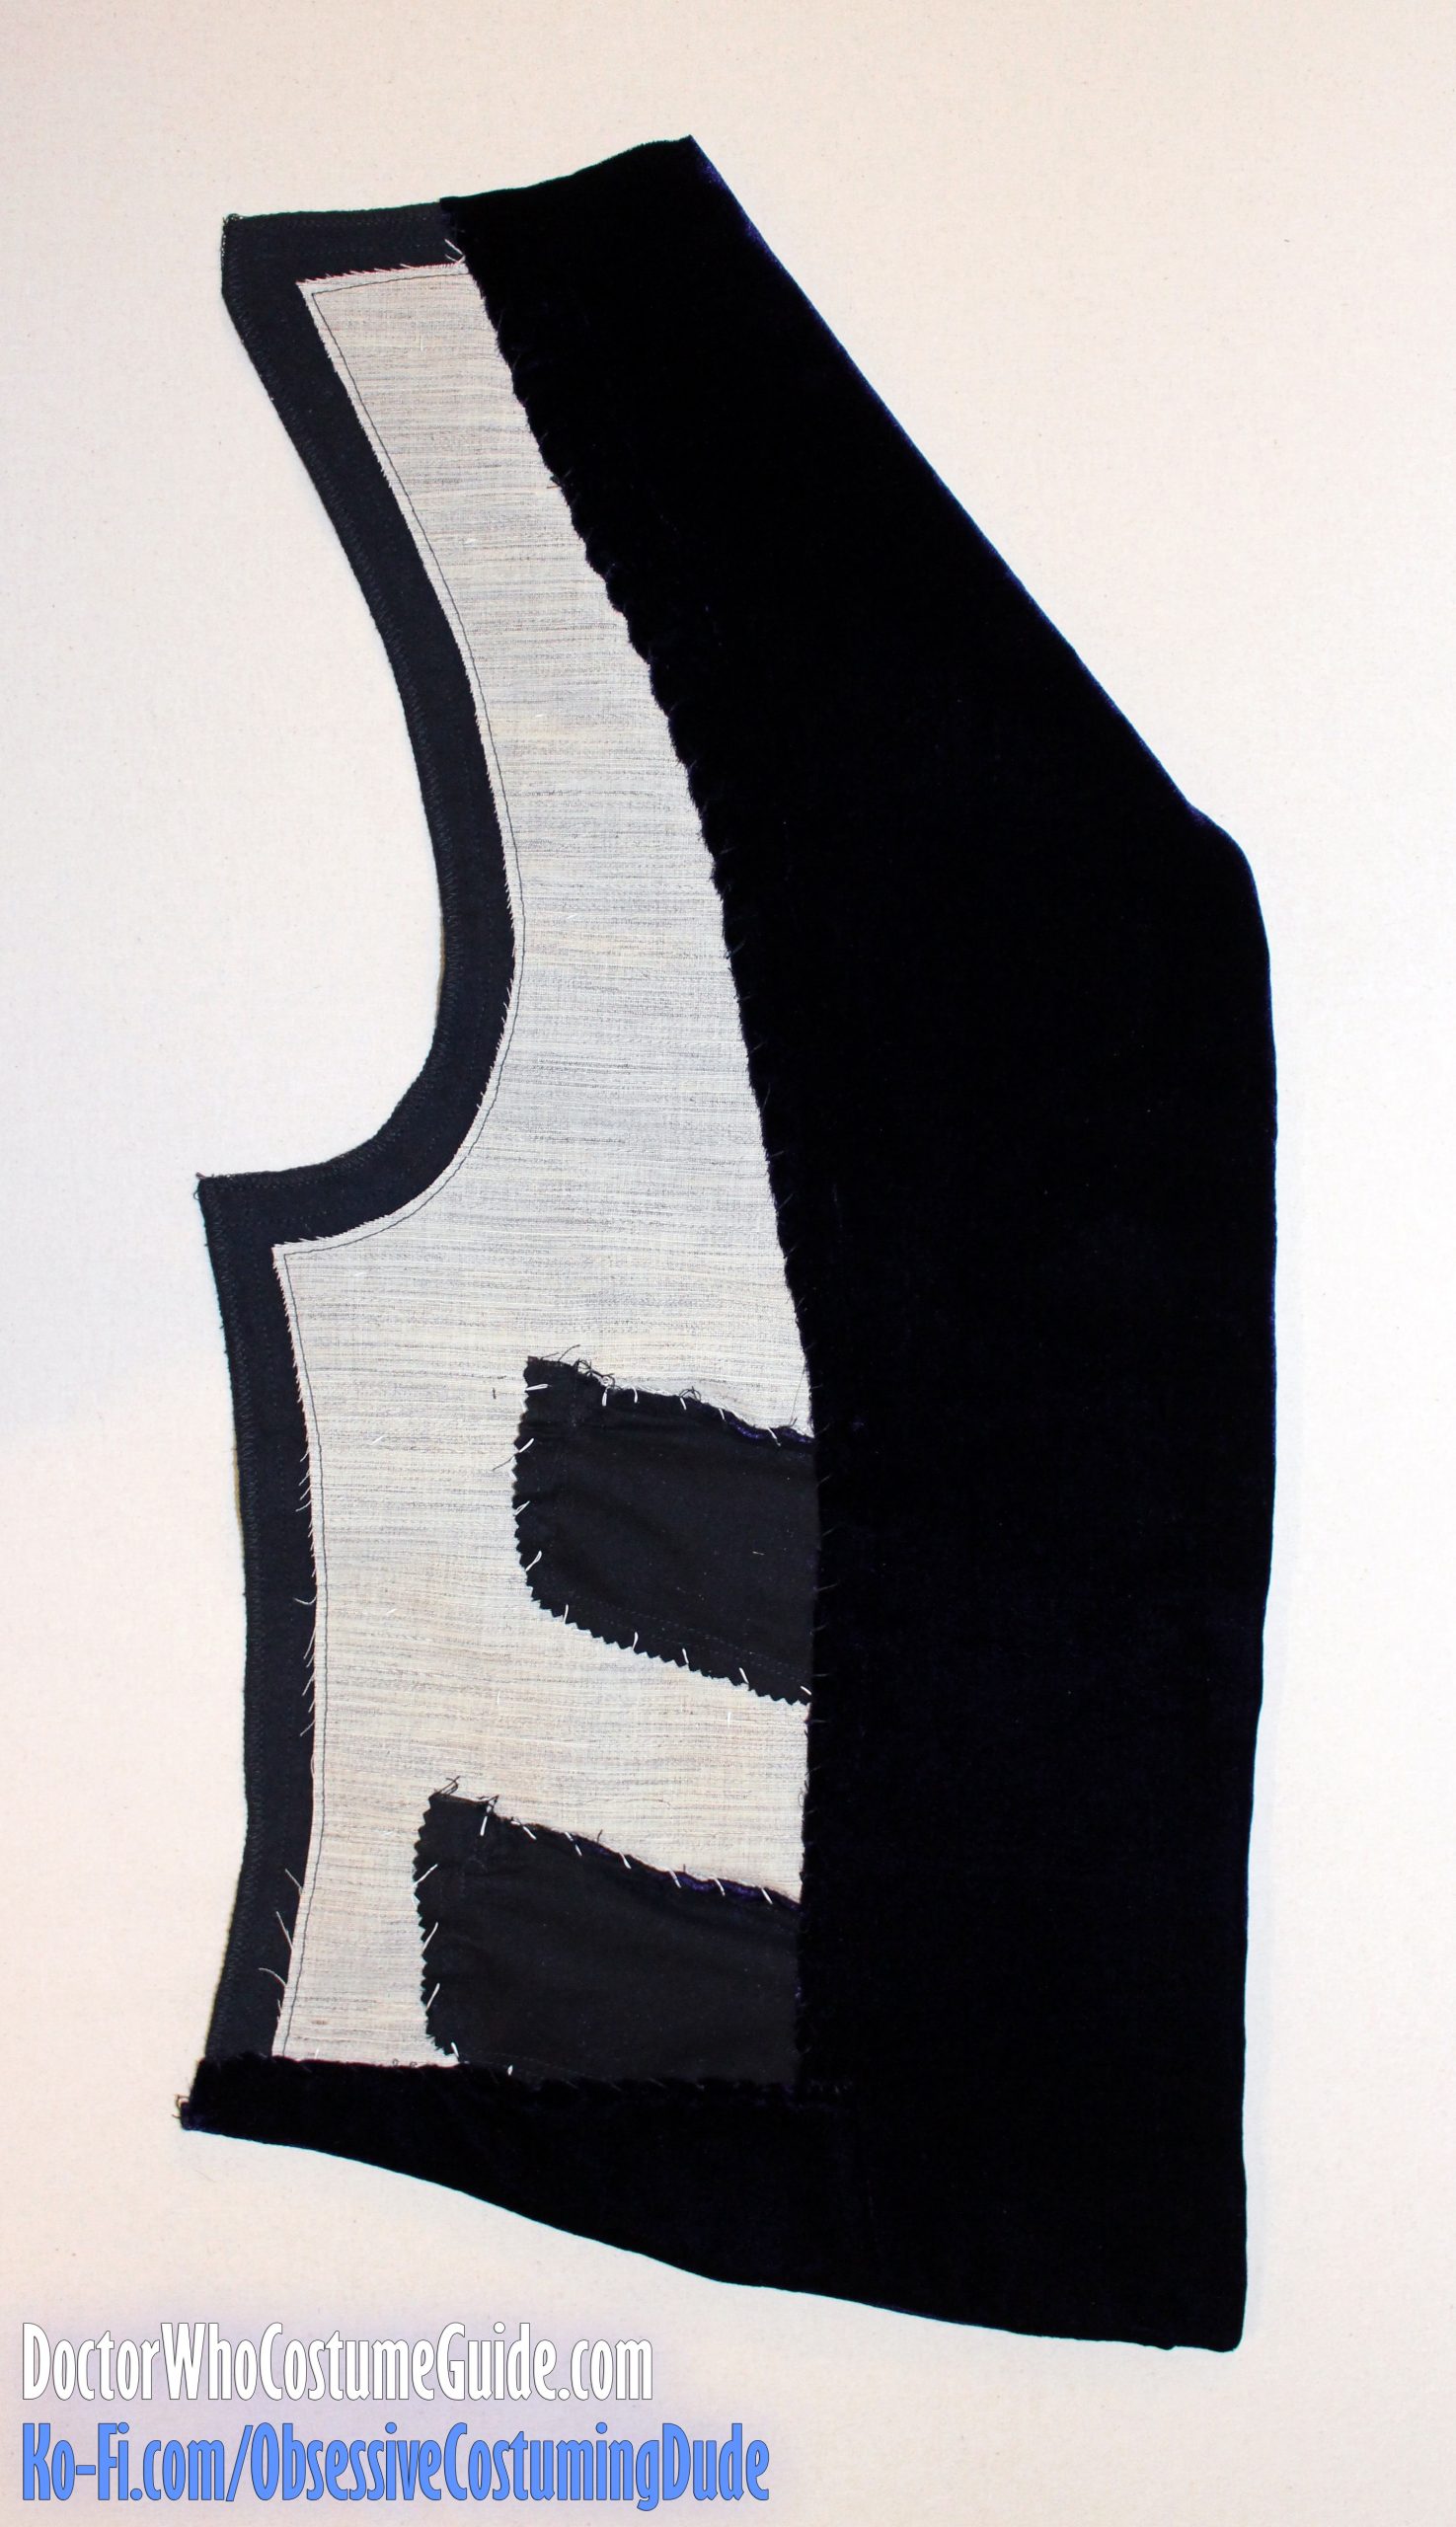
So, on a flat surface, place the waistcoat front interfacing (piece A) over the corresponding piece of cotton flannel, matching edges.
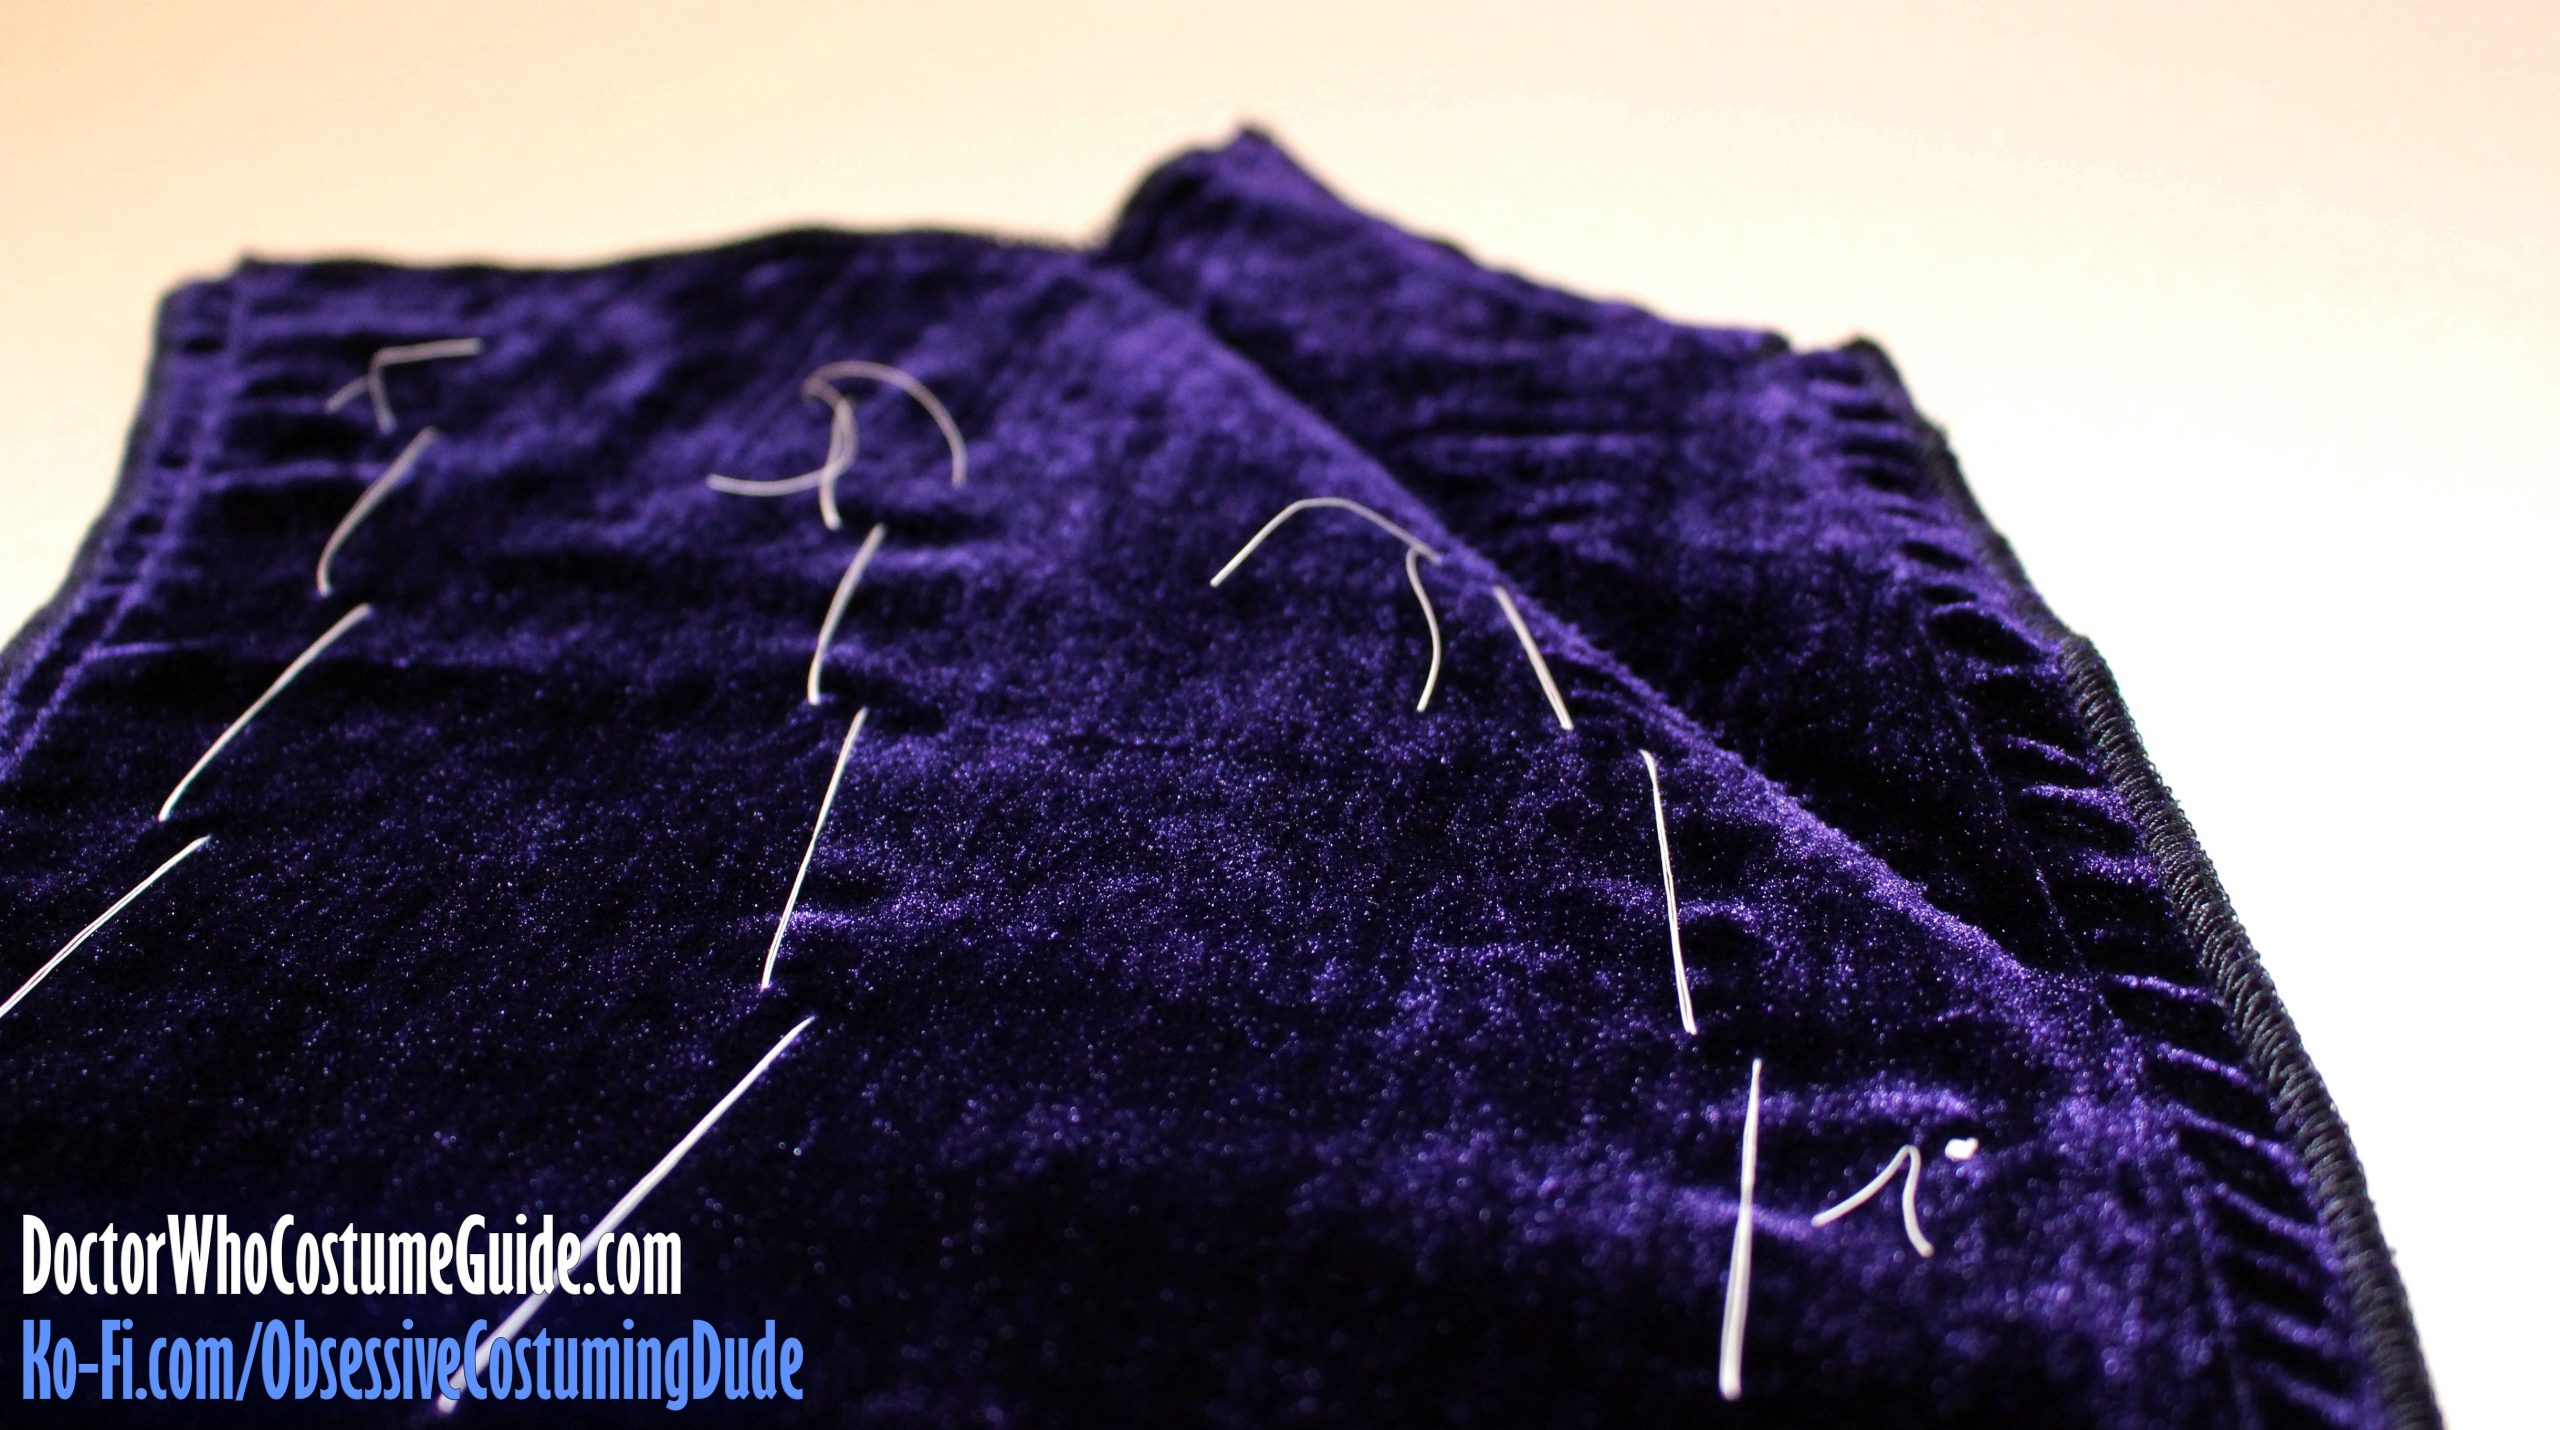
Sew the hair canvas to the flannel around the entire perimeter of the waistcoat front, ⅞” from the edges.
Trim away the hair canvas close to the stitching, about ⅛” away.
The edges of the interfacing should extend to ¾” from the edges of the flannel, which is just inside of the ⅝” seam line.
OPTIONAL: On the underside of the left front, you can leave everything as-is, but little strands of the hair canvas may poke out of the buttonholes on the finished waistcoat.
While this did happen with the original waistcoats, I, personally, find it unsightly and distracting, especially on a dark garment like this, so I like to trim the hair canvas out of the centermost 3″ or so of the left front, where the buttonholes will be, with pinking shears.
Then, using the canvas I removed as a template, I cut and apply a black fusible interfacing to the flannel and stitch close to the free edges of the hair canvas.
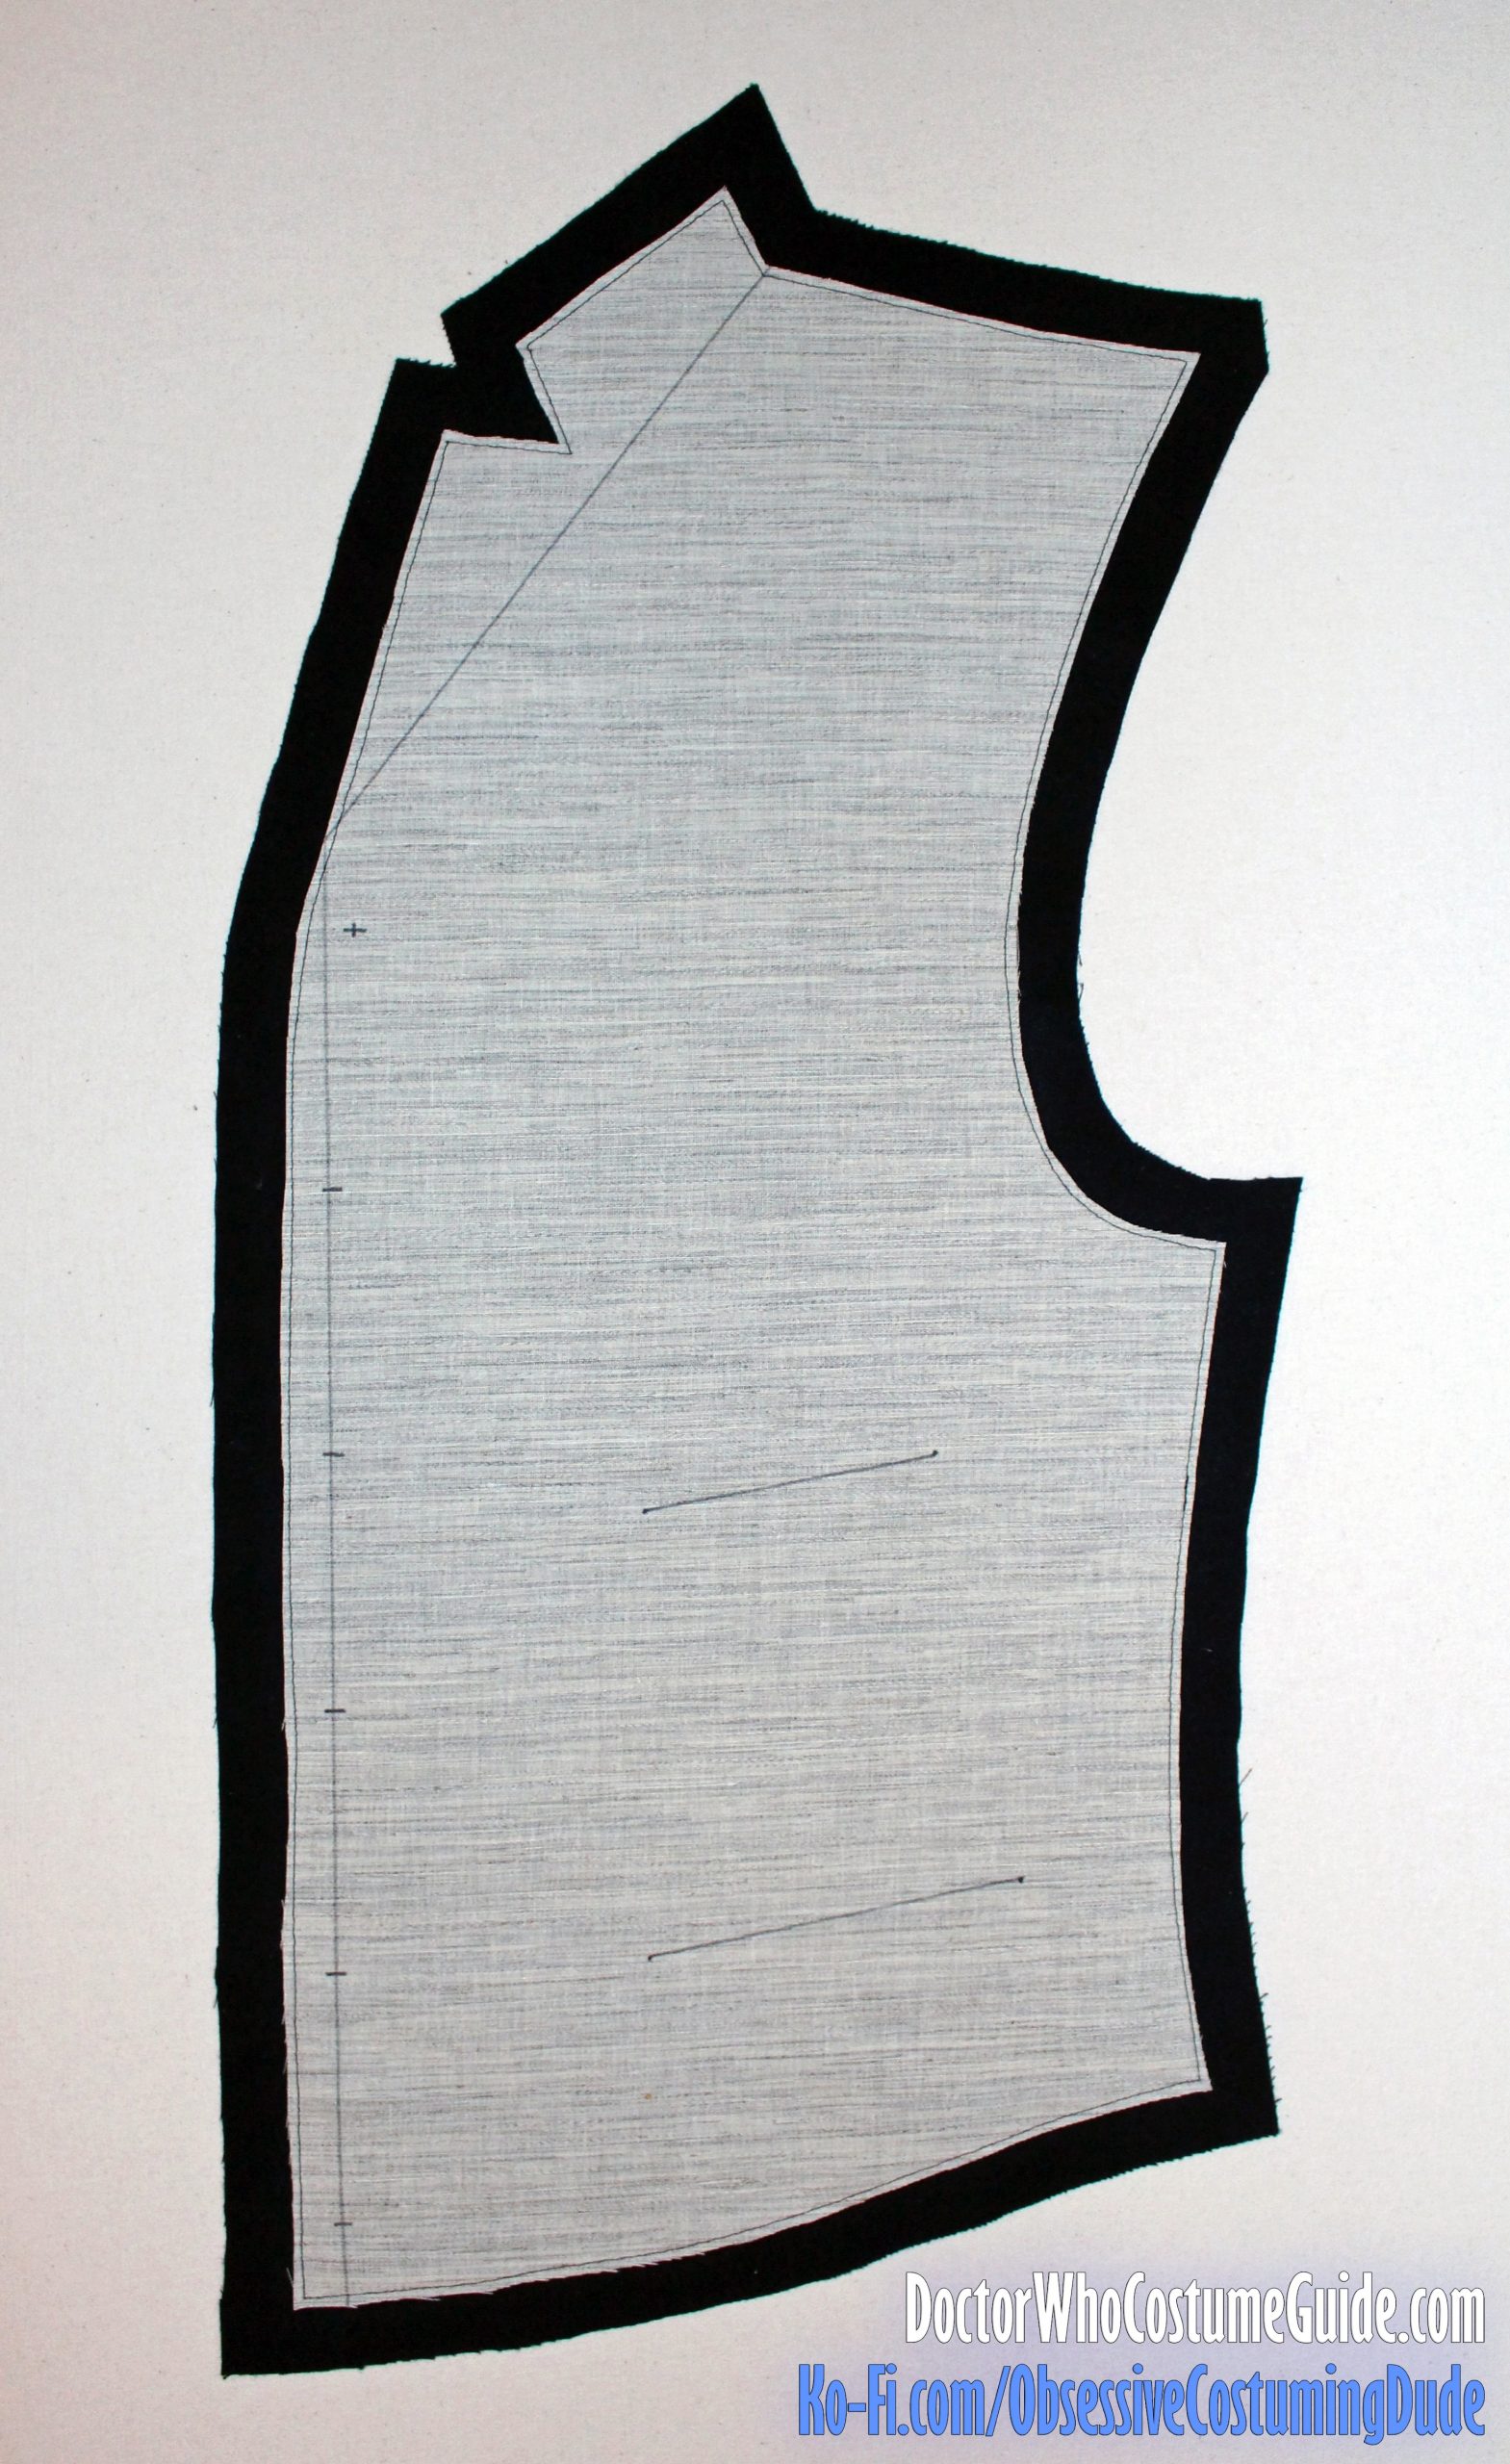
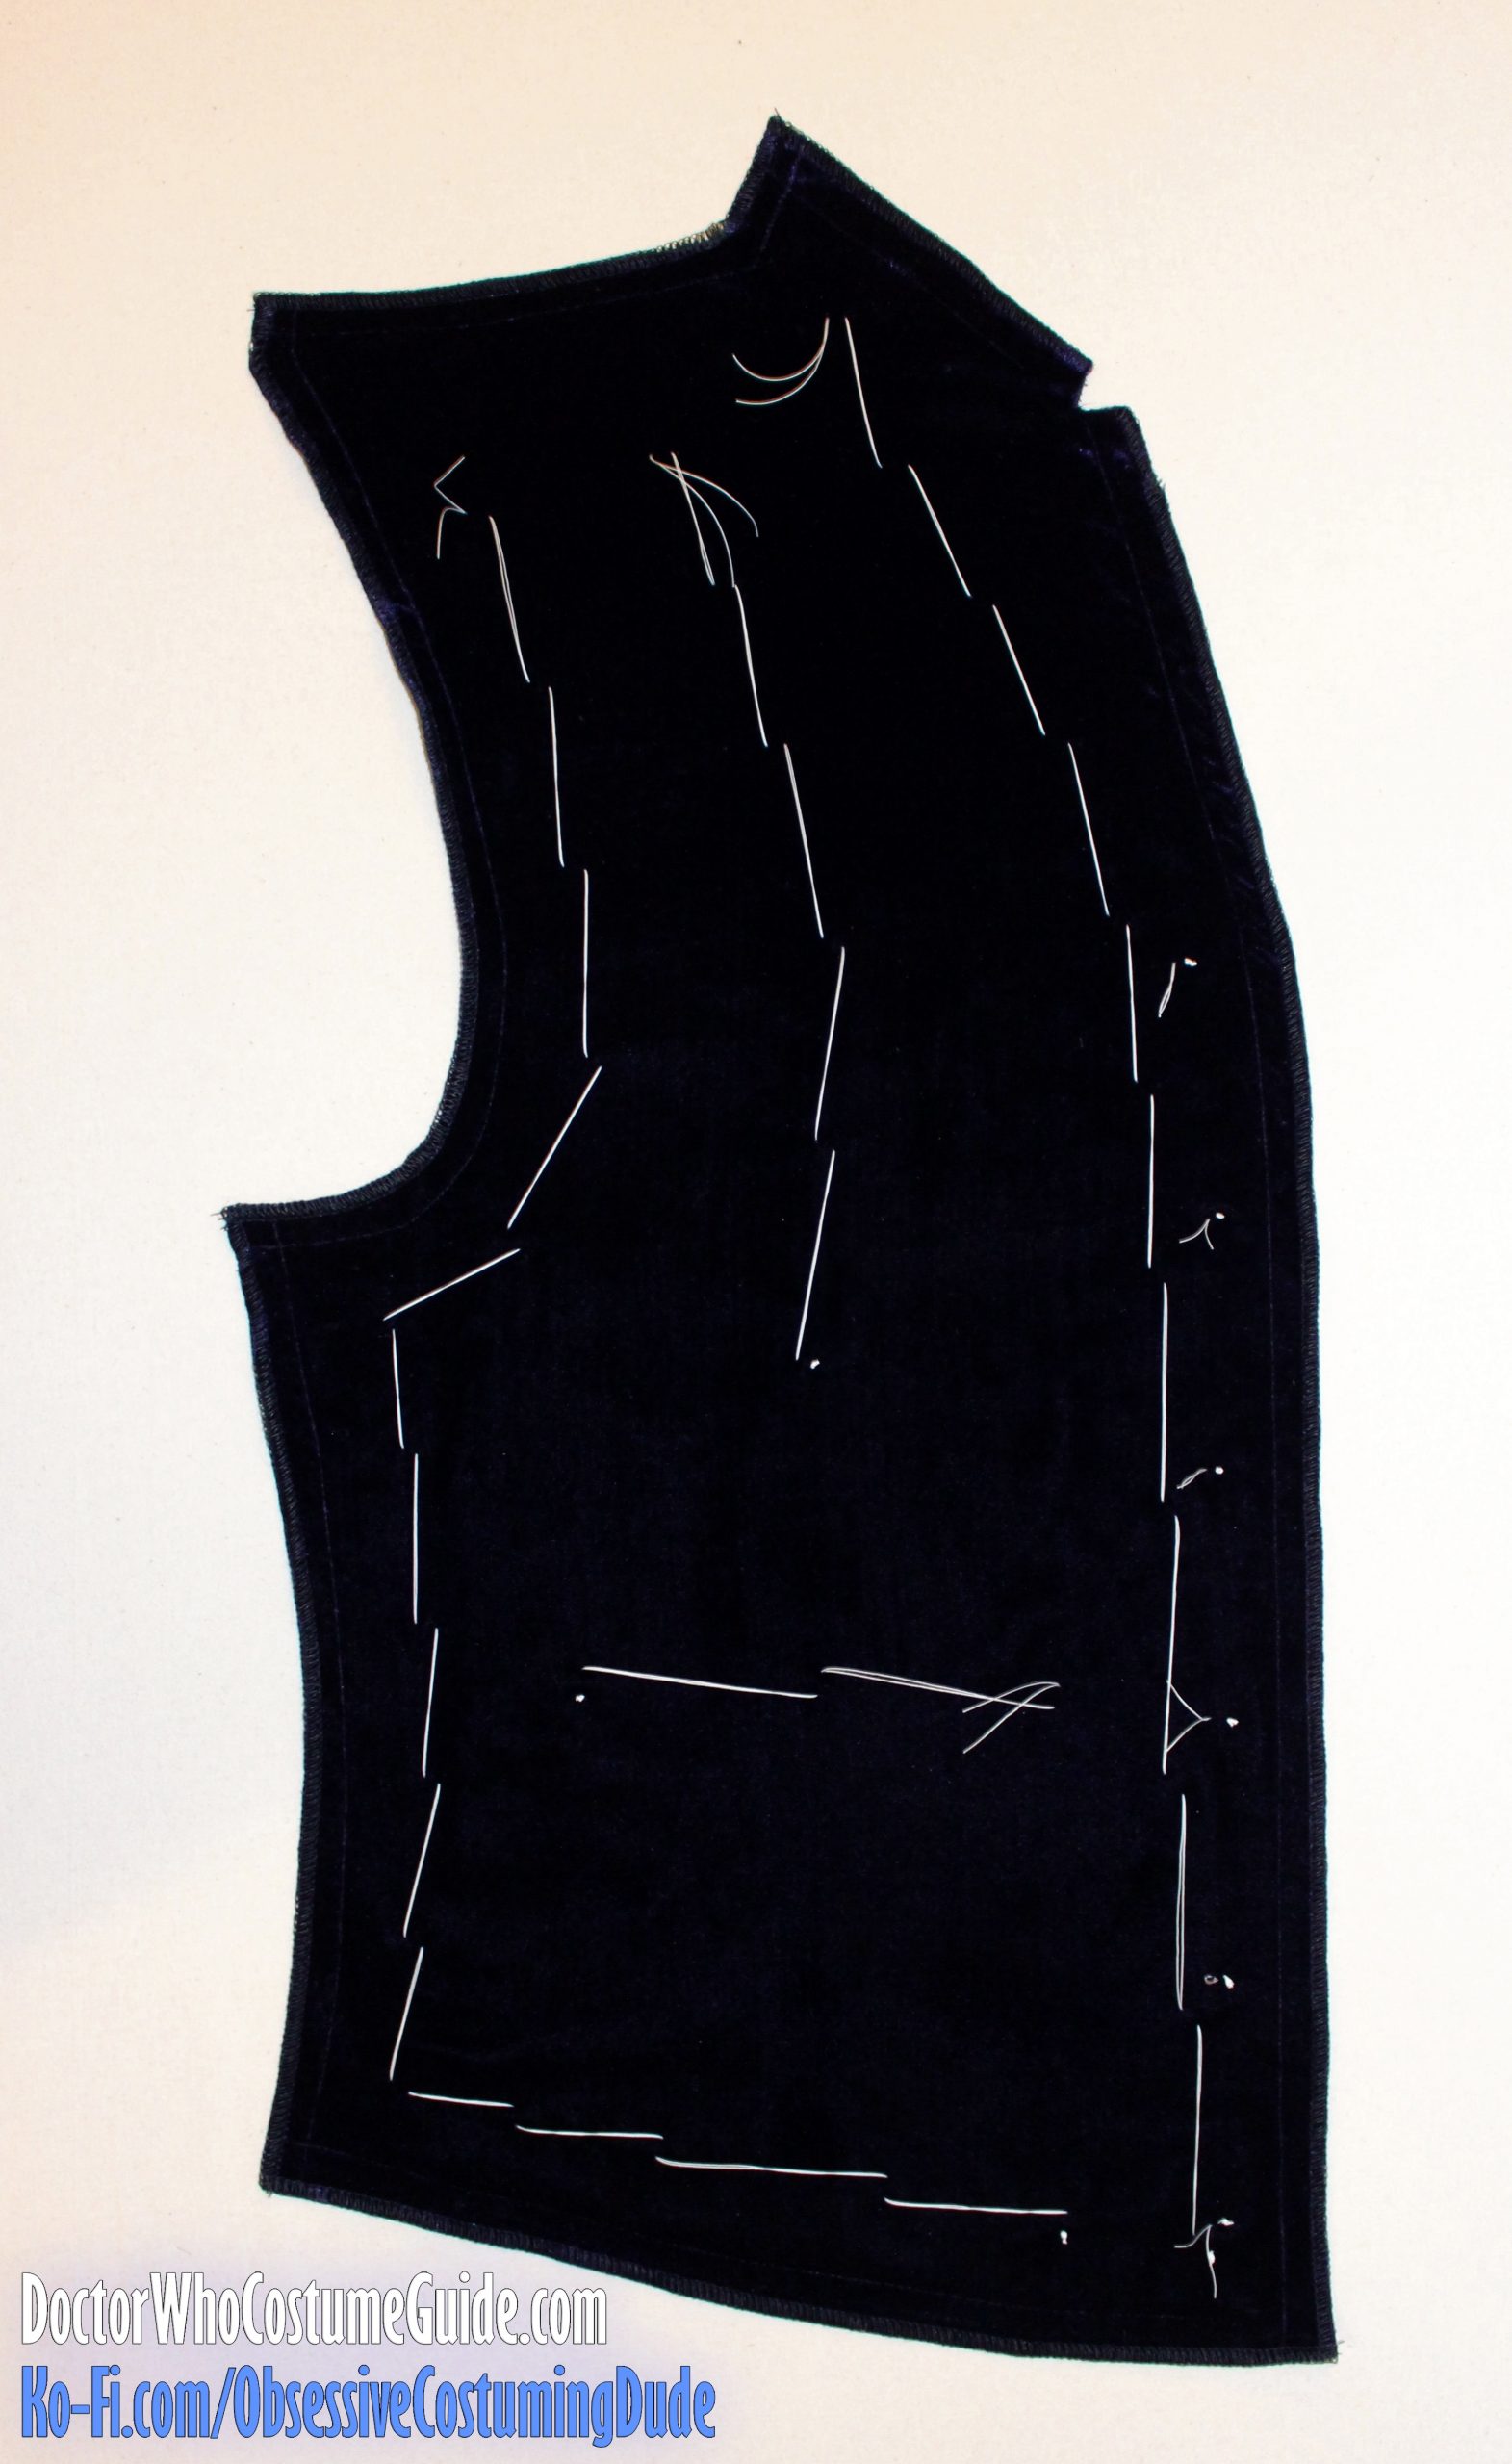
Now it’s time to “marry” the front flannel/hair canvas assembly to the front velvet.
Position your assembly with the hair canvas on bottom, and the flannel on top. Then place your velvet on top of that, and maneuver it around until all the edges are flush again. (The velvet is very “wibbly-wobbly,” – hence the benefit of stabilizing it with flannel and/or hair canvas.)
Tailor-baste the flannel/canvas assembly to the waistcoat front, leaving about 1 ½” free around the edges.
Then, pin the flannel/canvas assembly to the velvet around the entire perimeter of the waistcoat front.
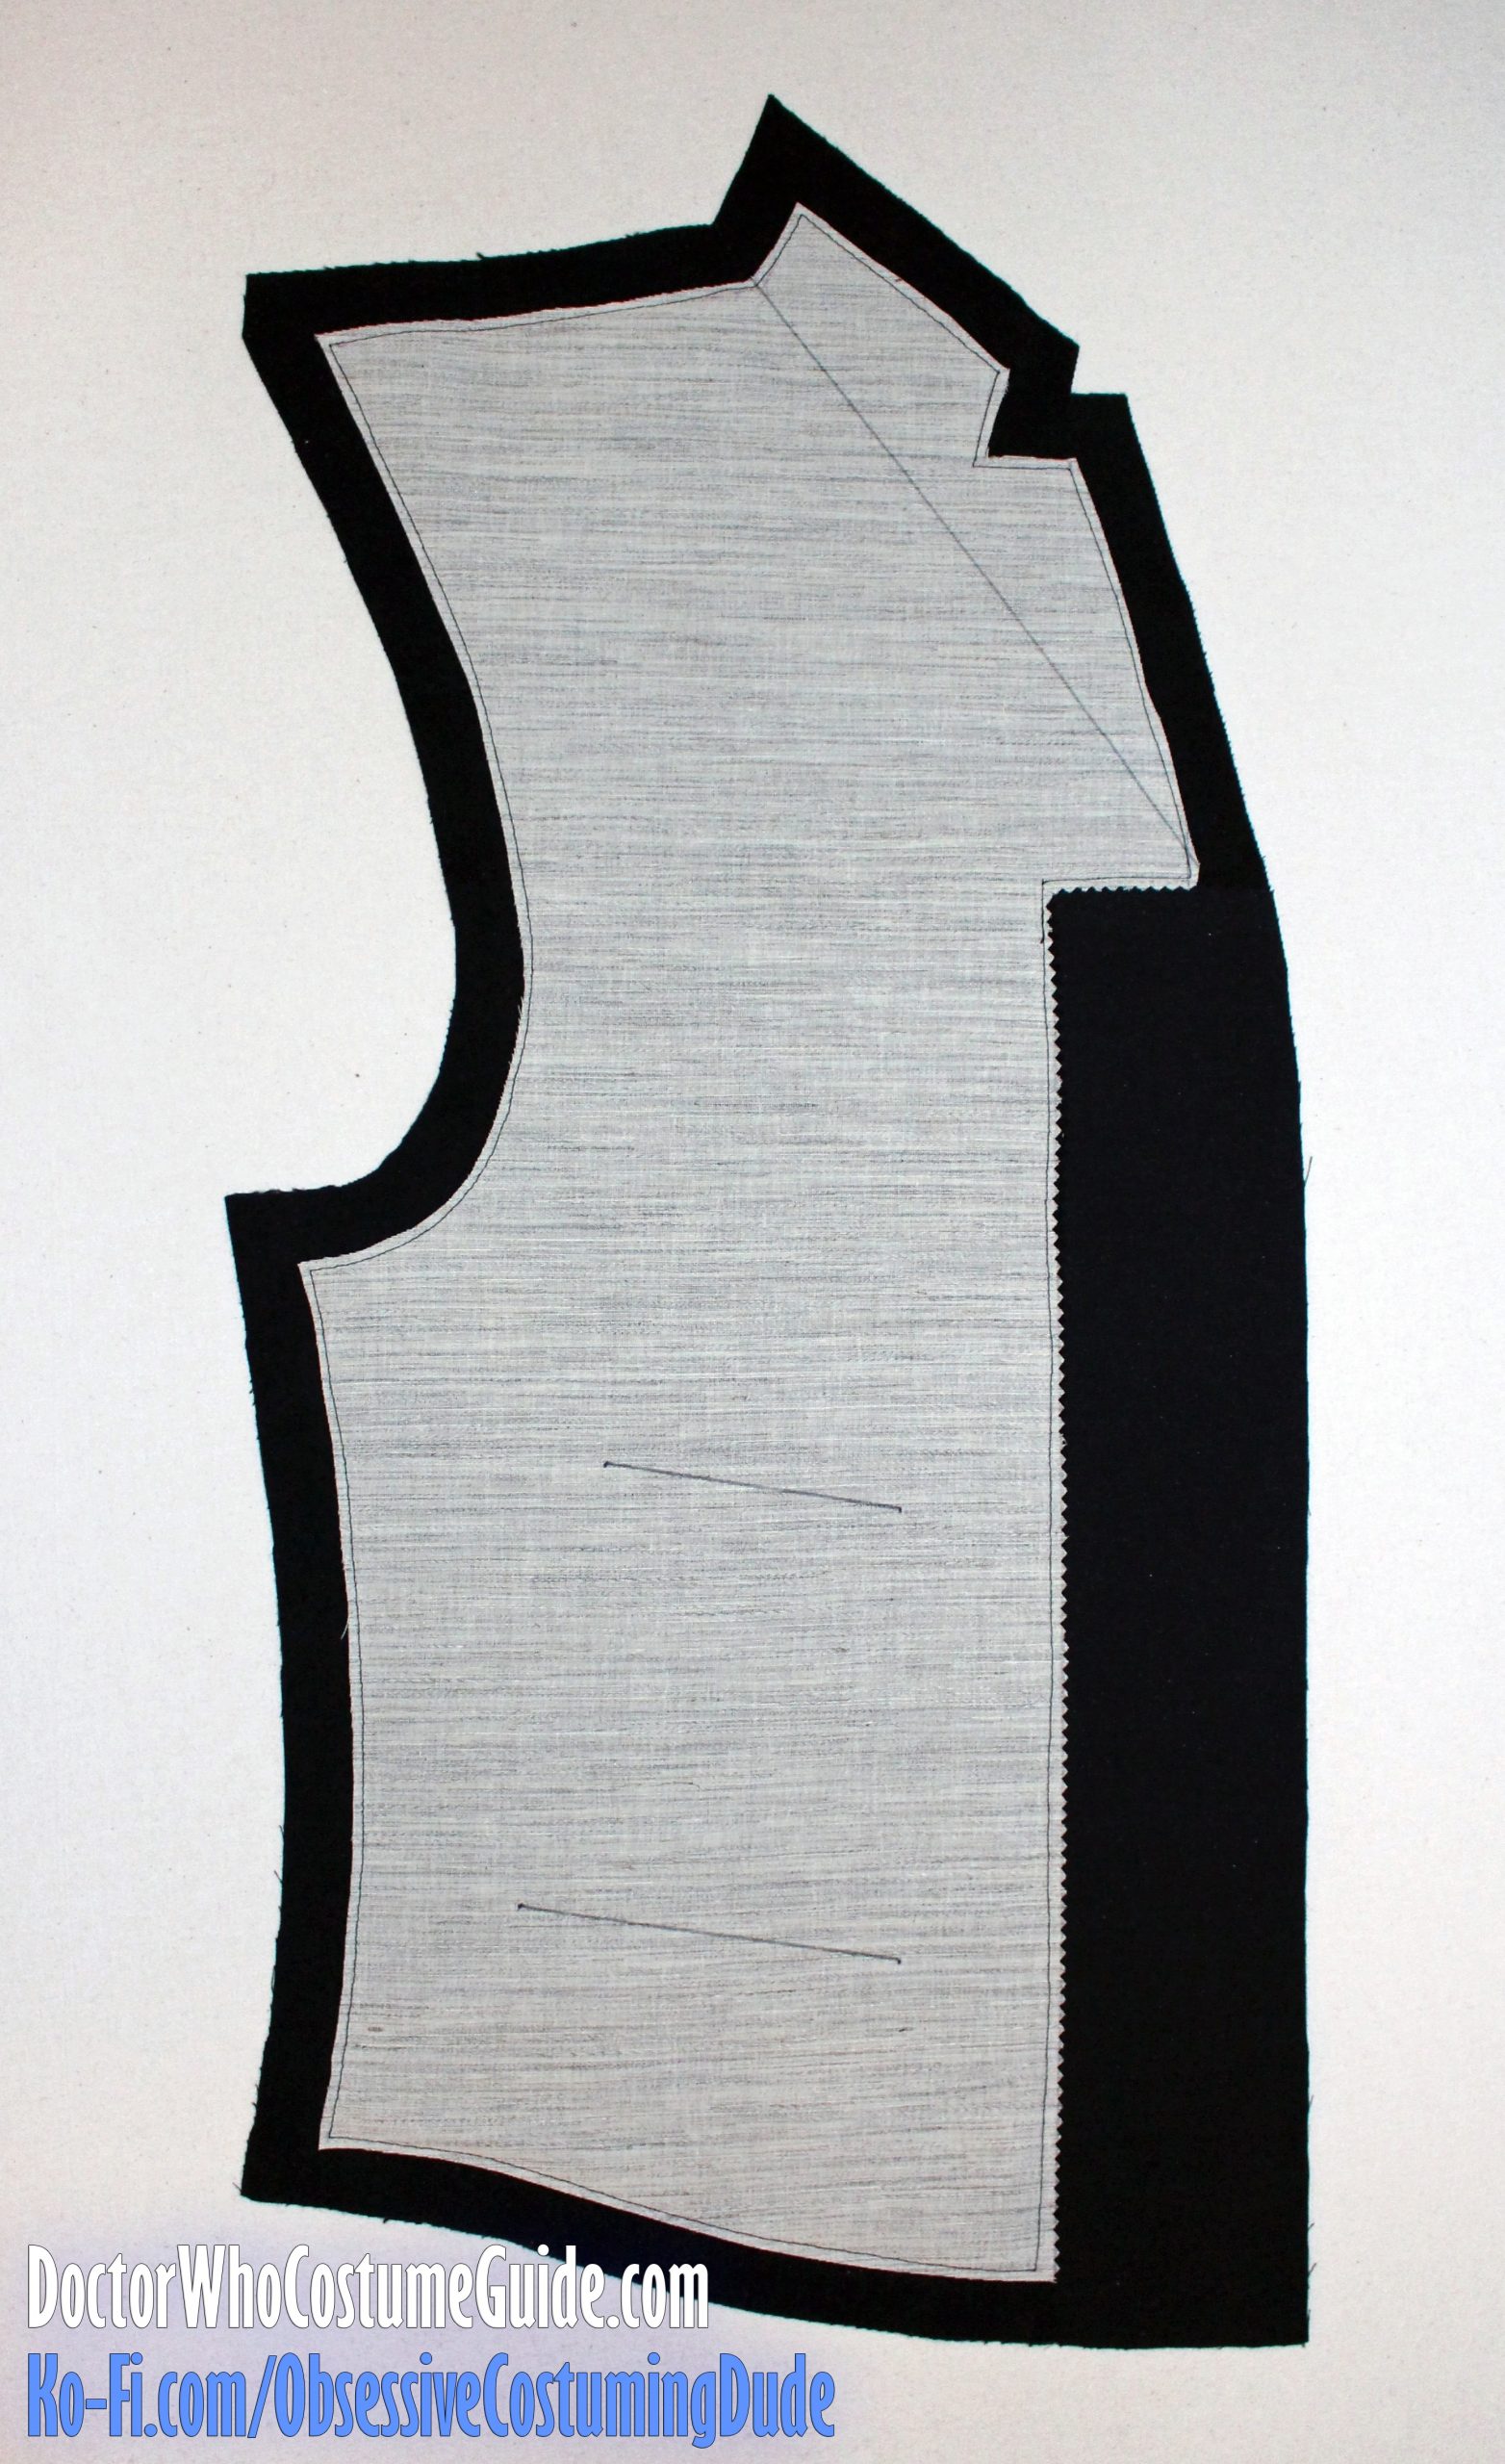
Sew the canvas/flannel assembly to the velvet around the entire perimeter, ⅝” from the edges.
TIP: Avoid the temptation of using a quilting/walking foot in this case, because the upper feed dogs on the walking foot may disturb the velvet’s pile. Sew the layers together using a regular sewing foot, with the velvet on top.
OPTIONAL: The Dharma velvet I mentioned sheds a lot around the cut edges, so I recommend serging all the front edges after the layers are joined.
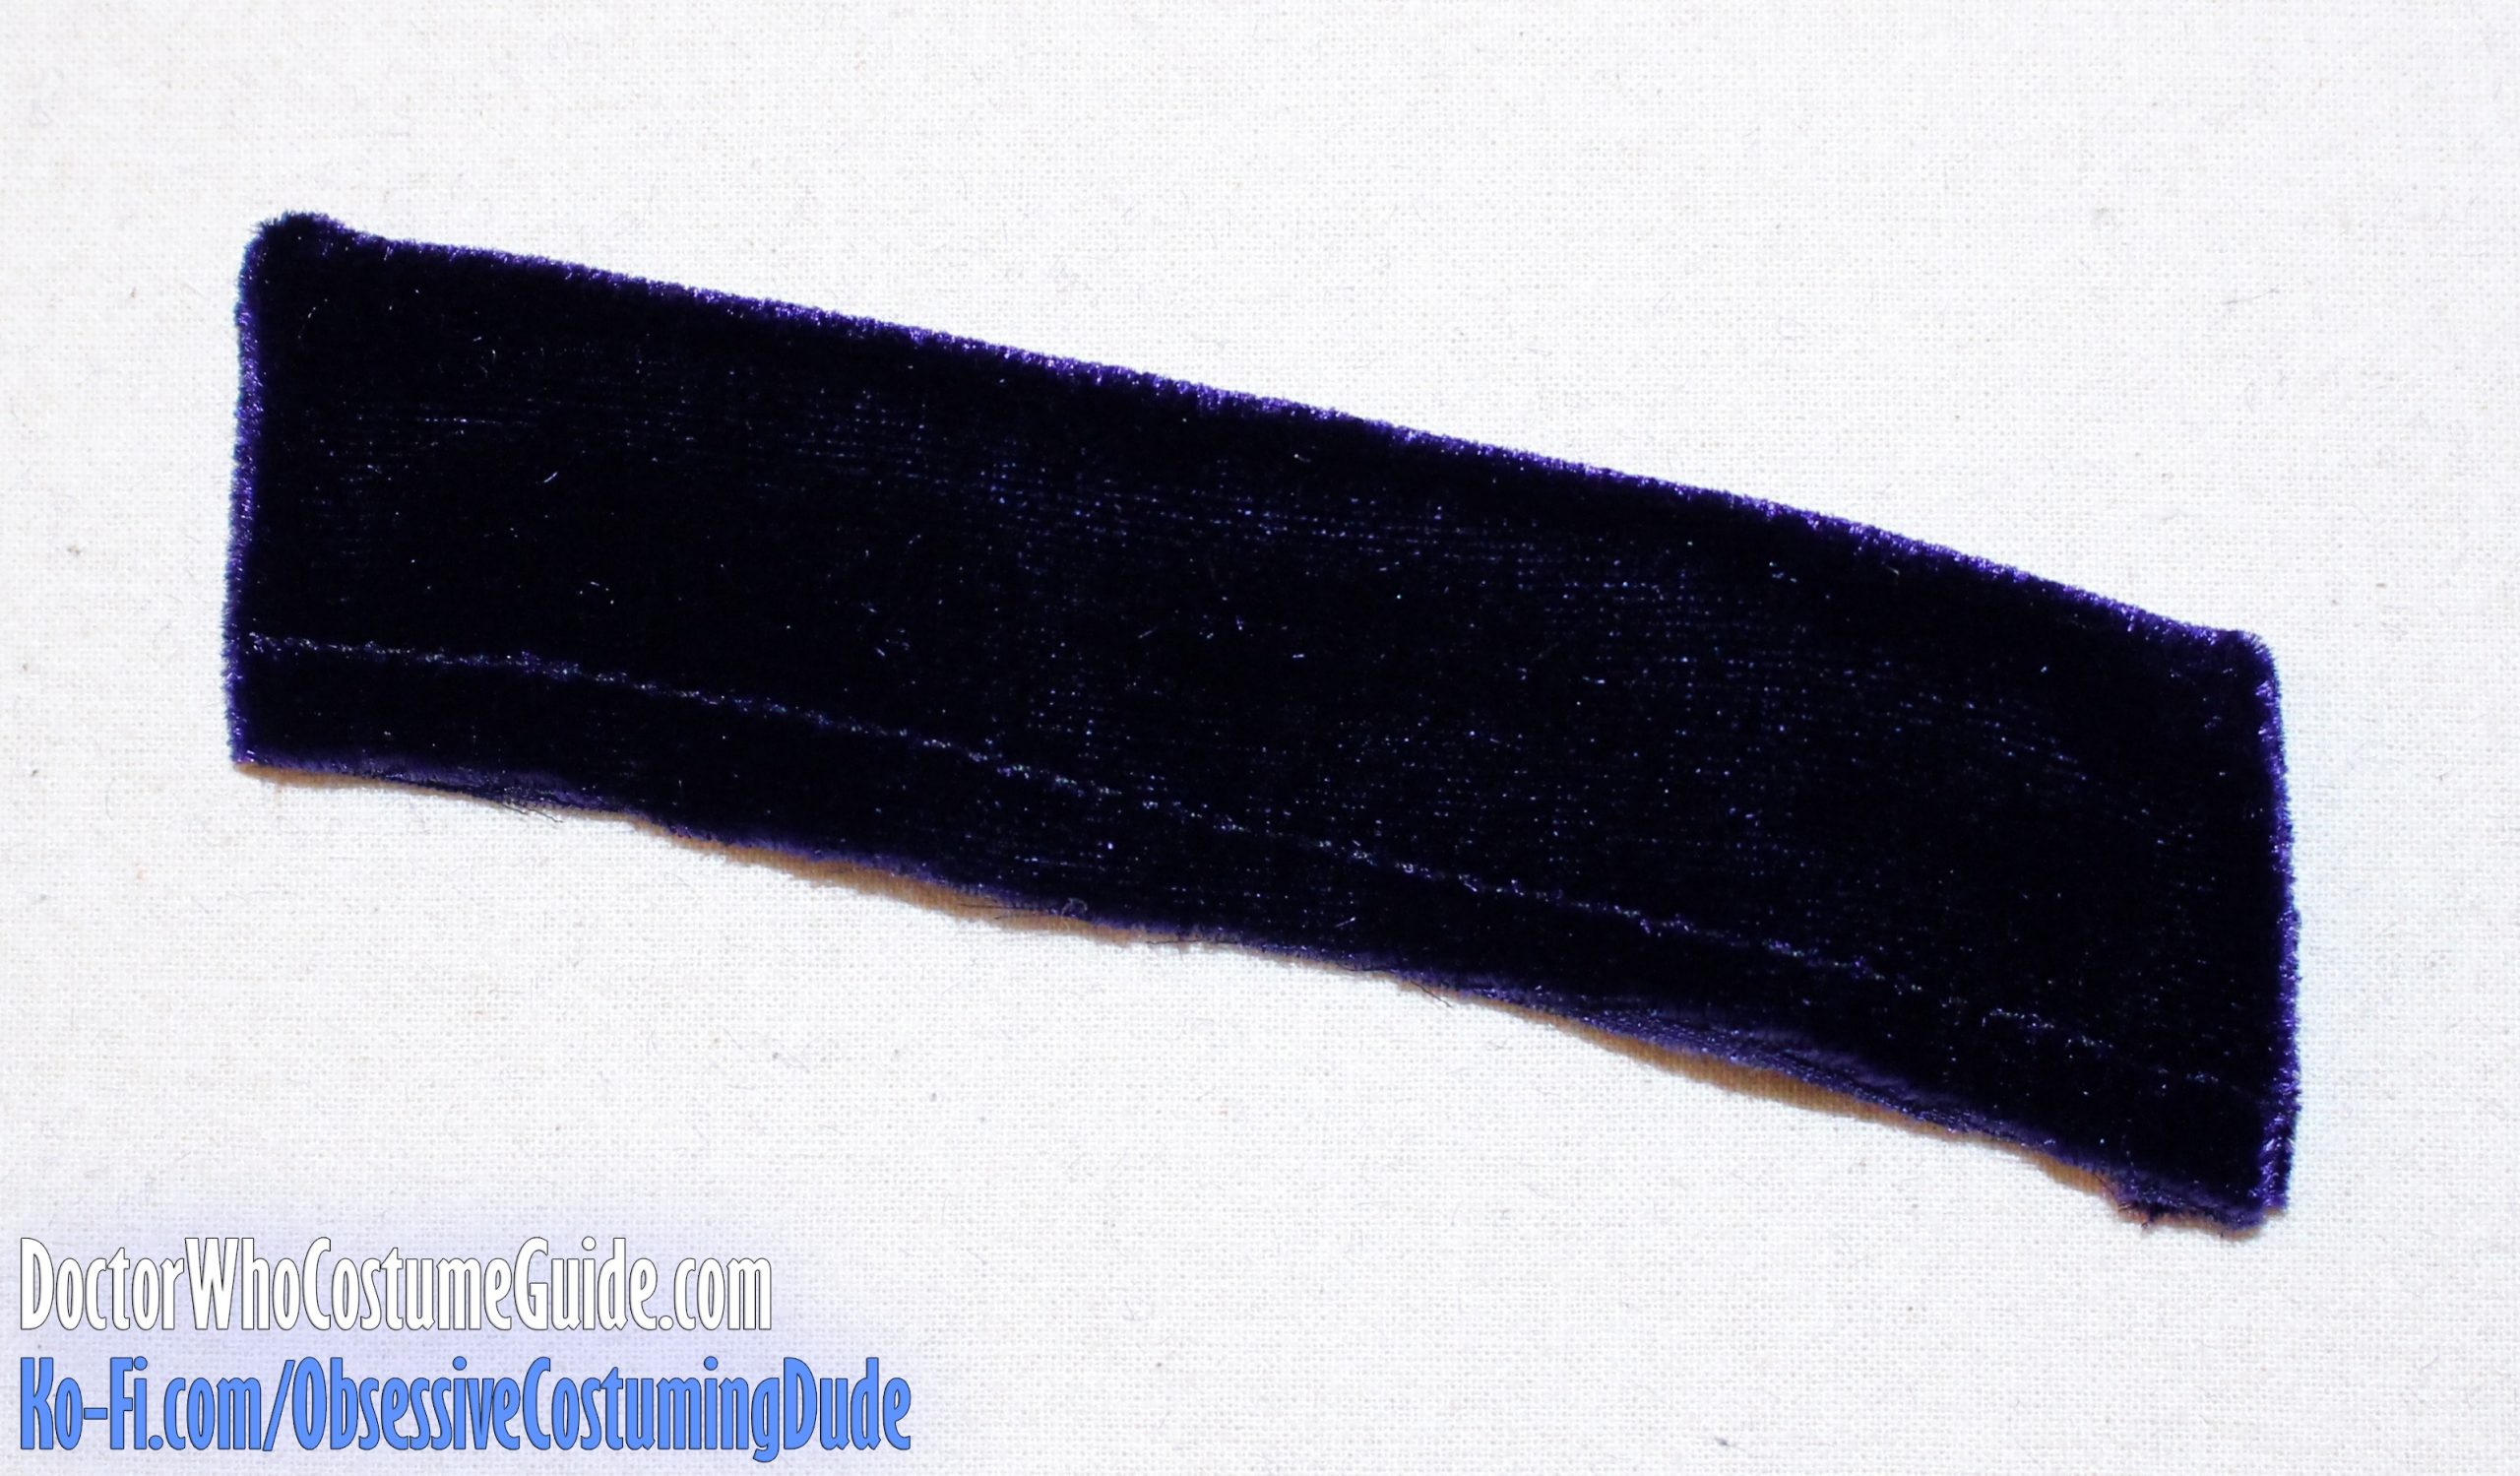
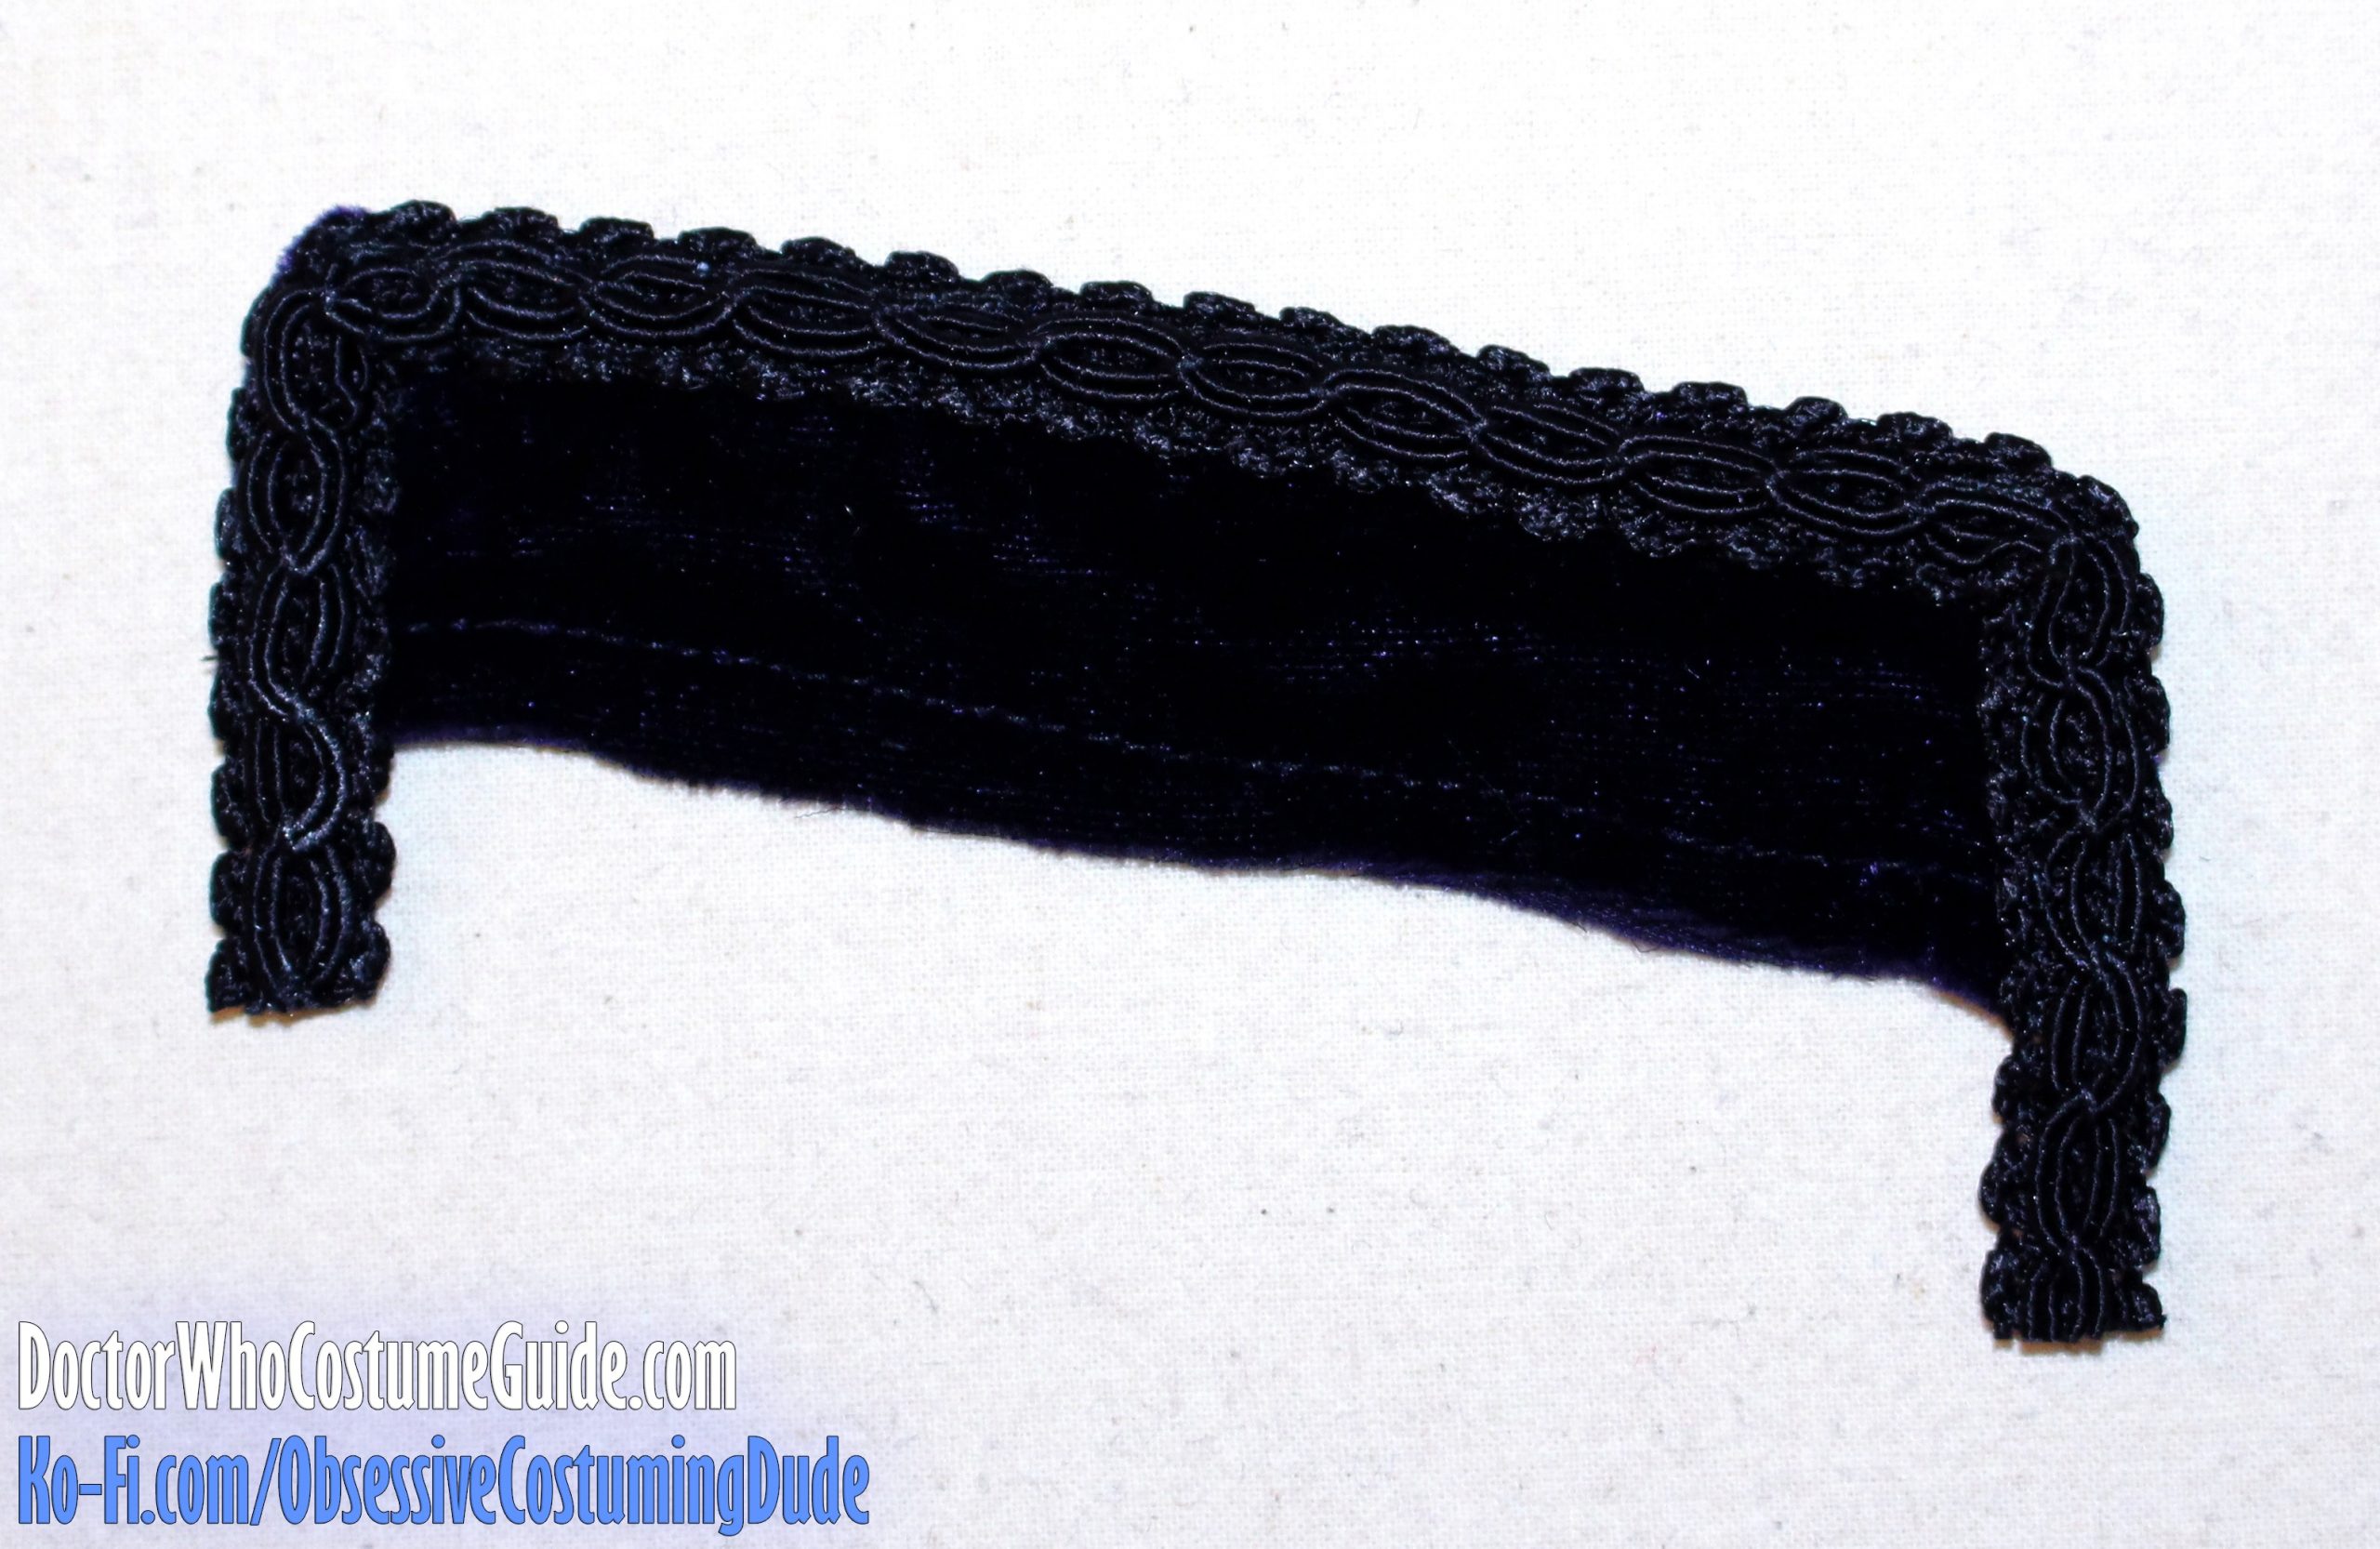
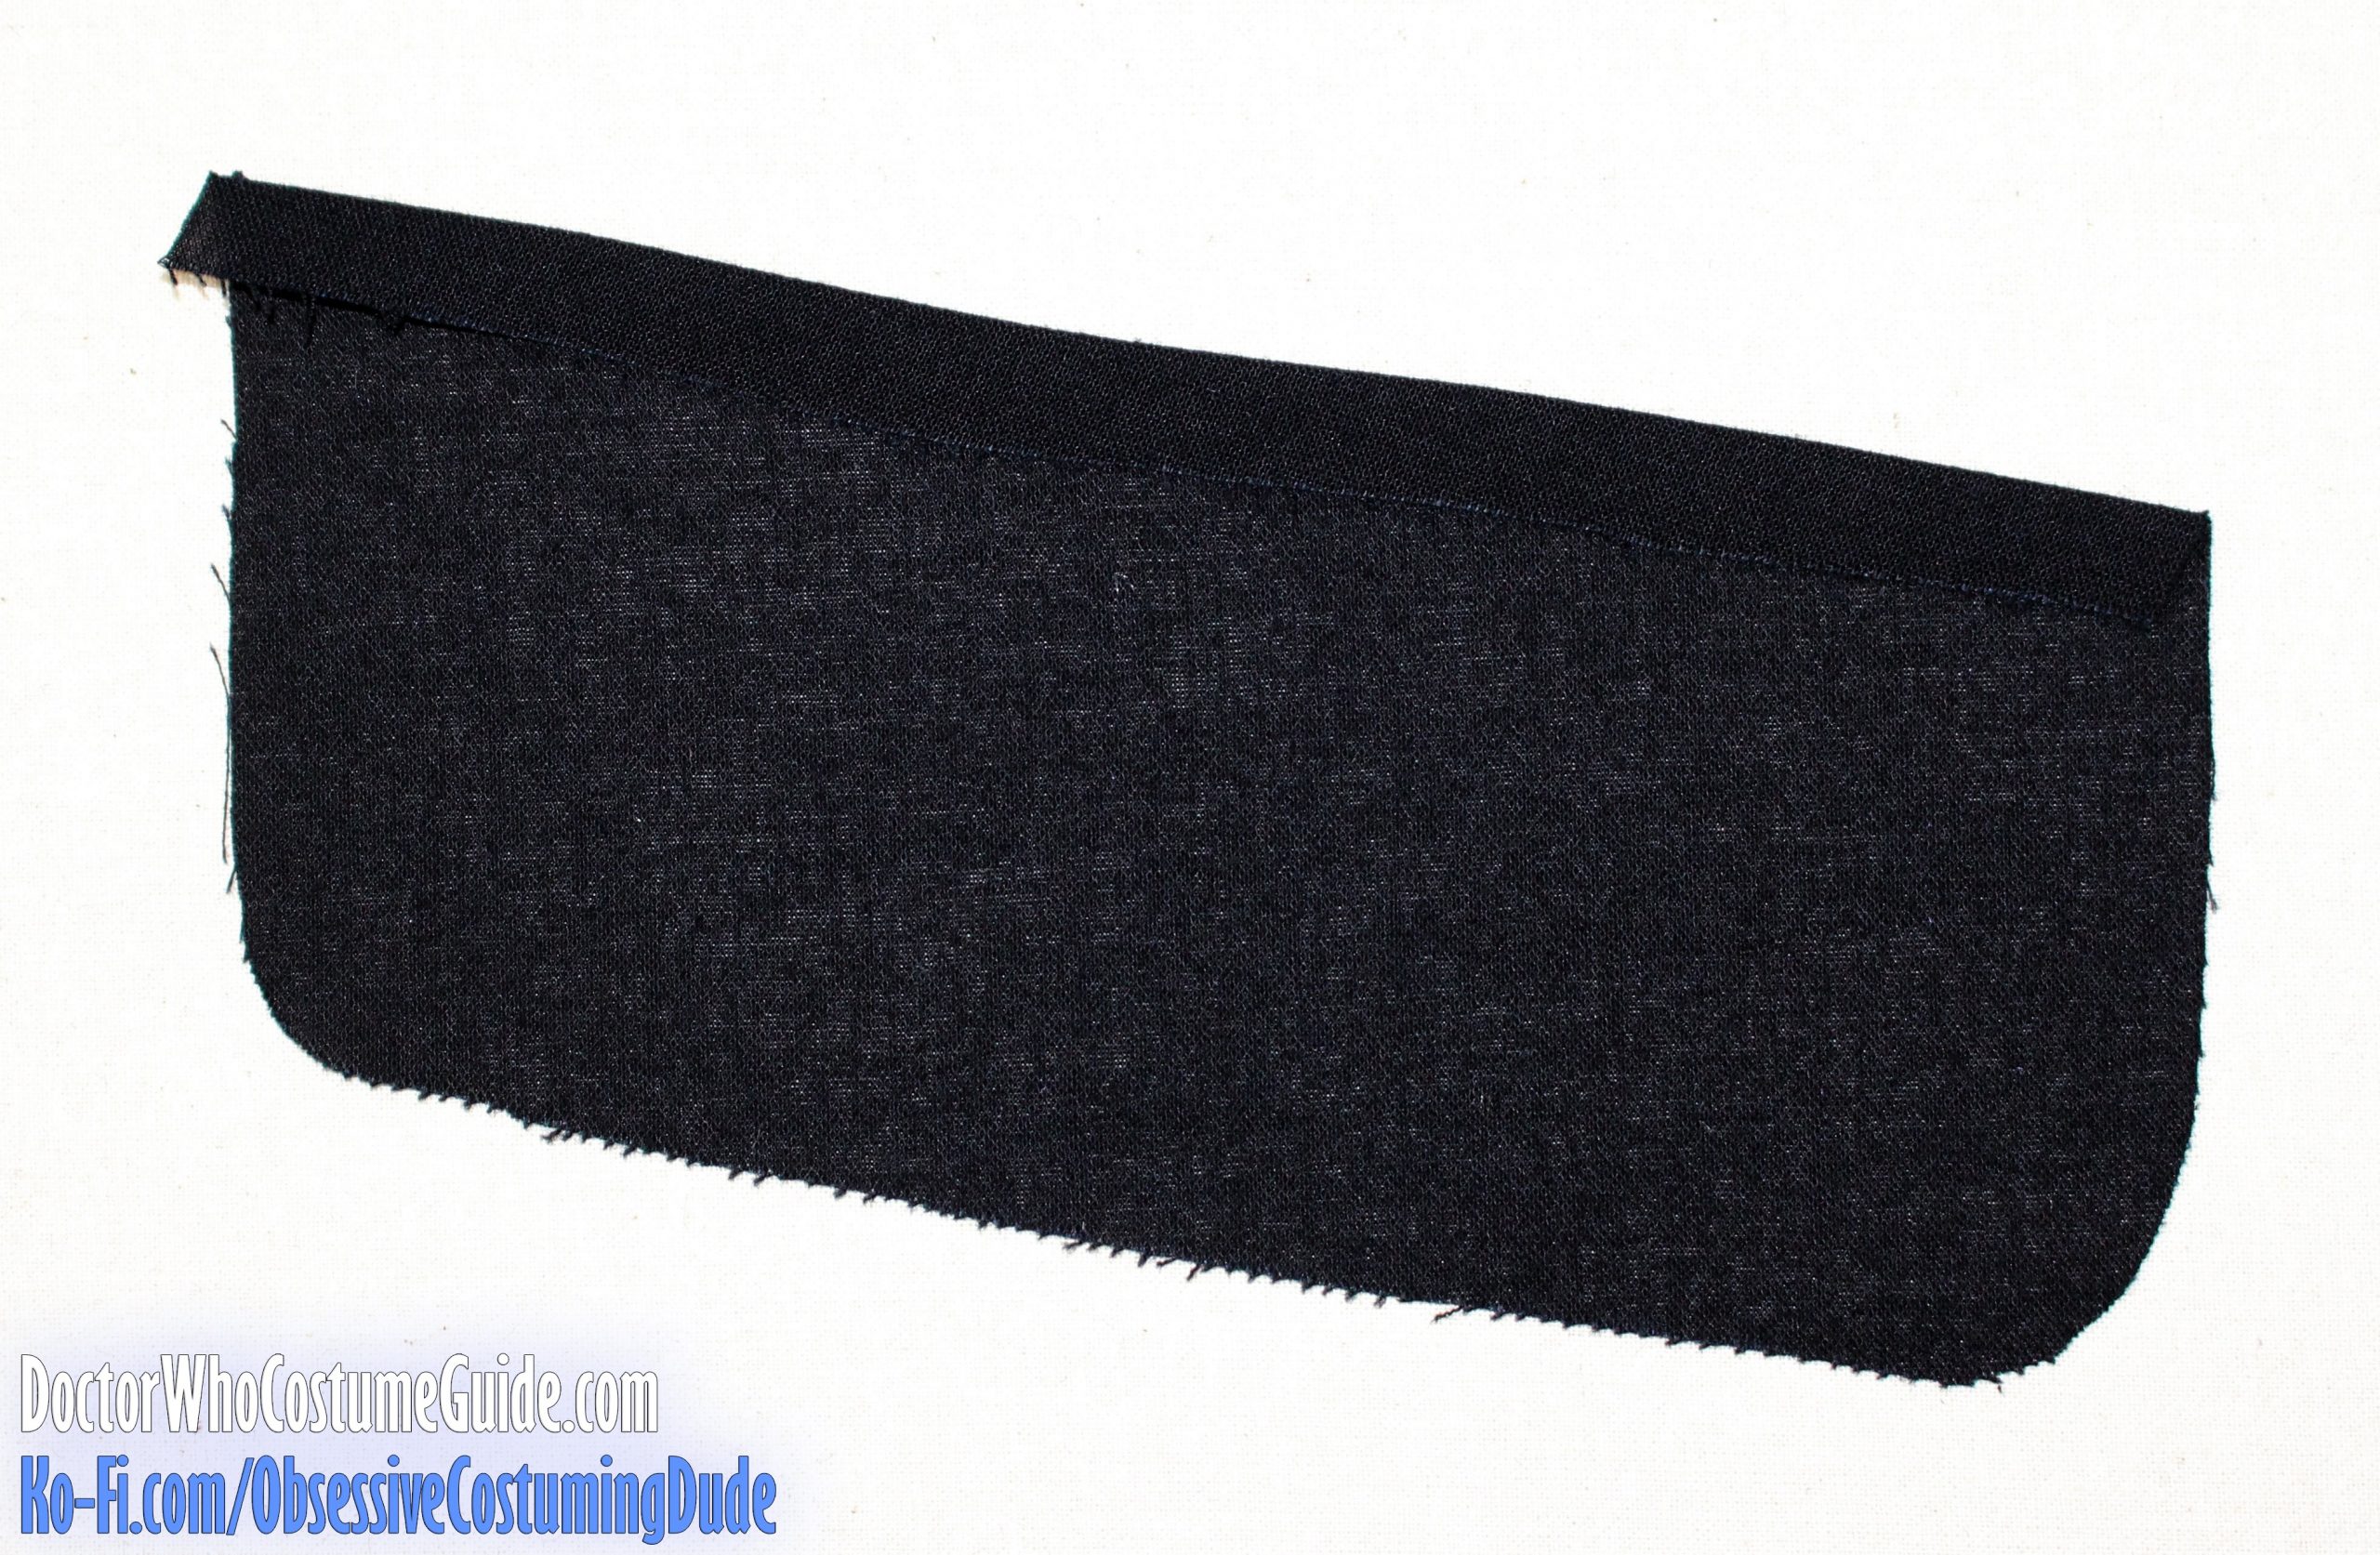
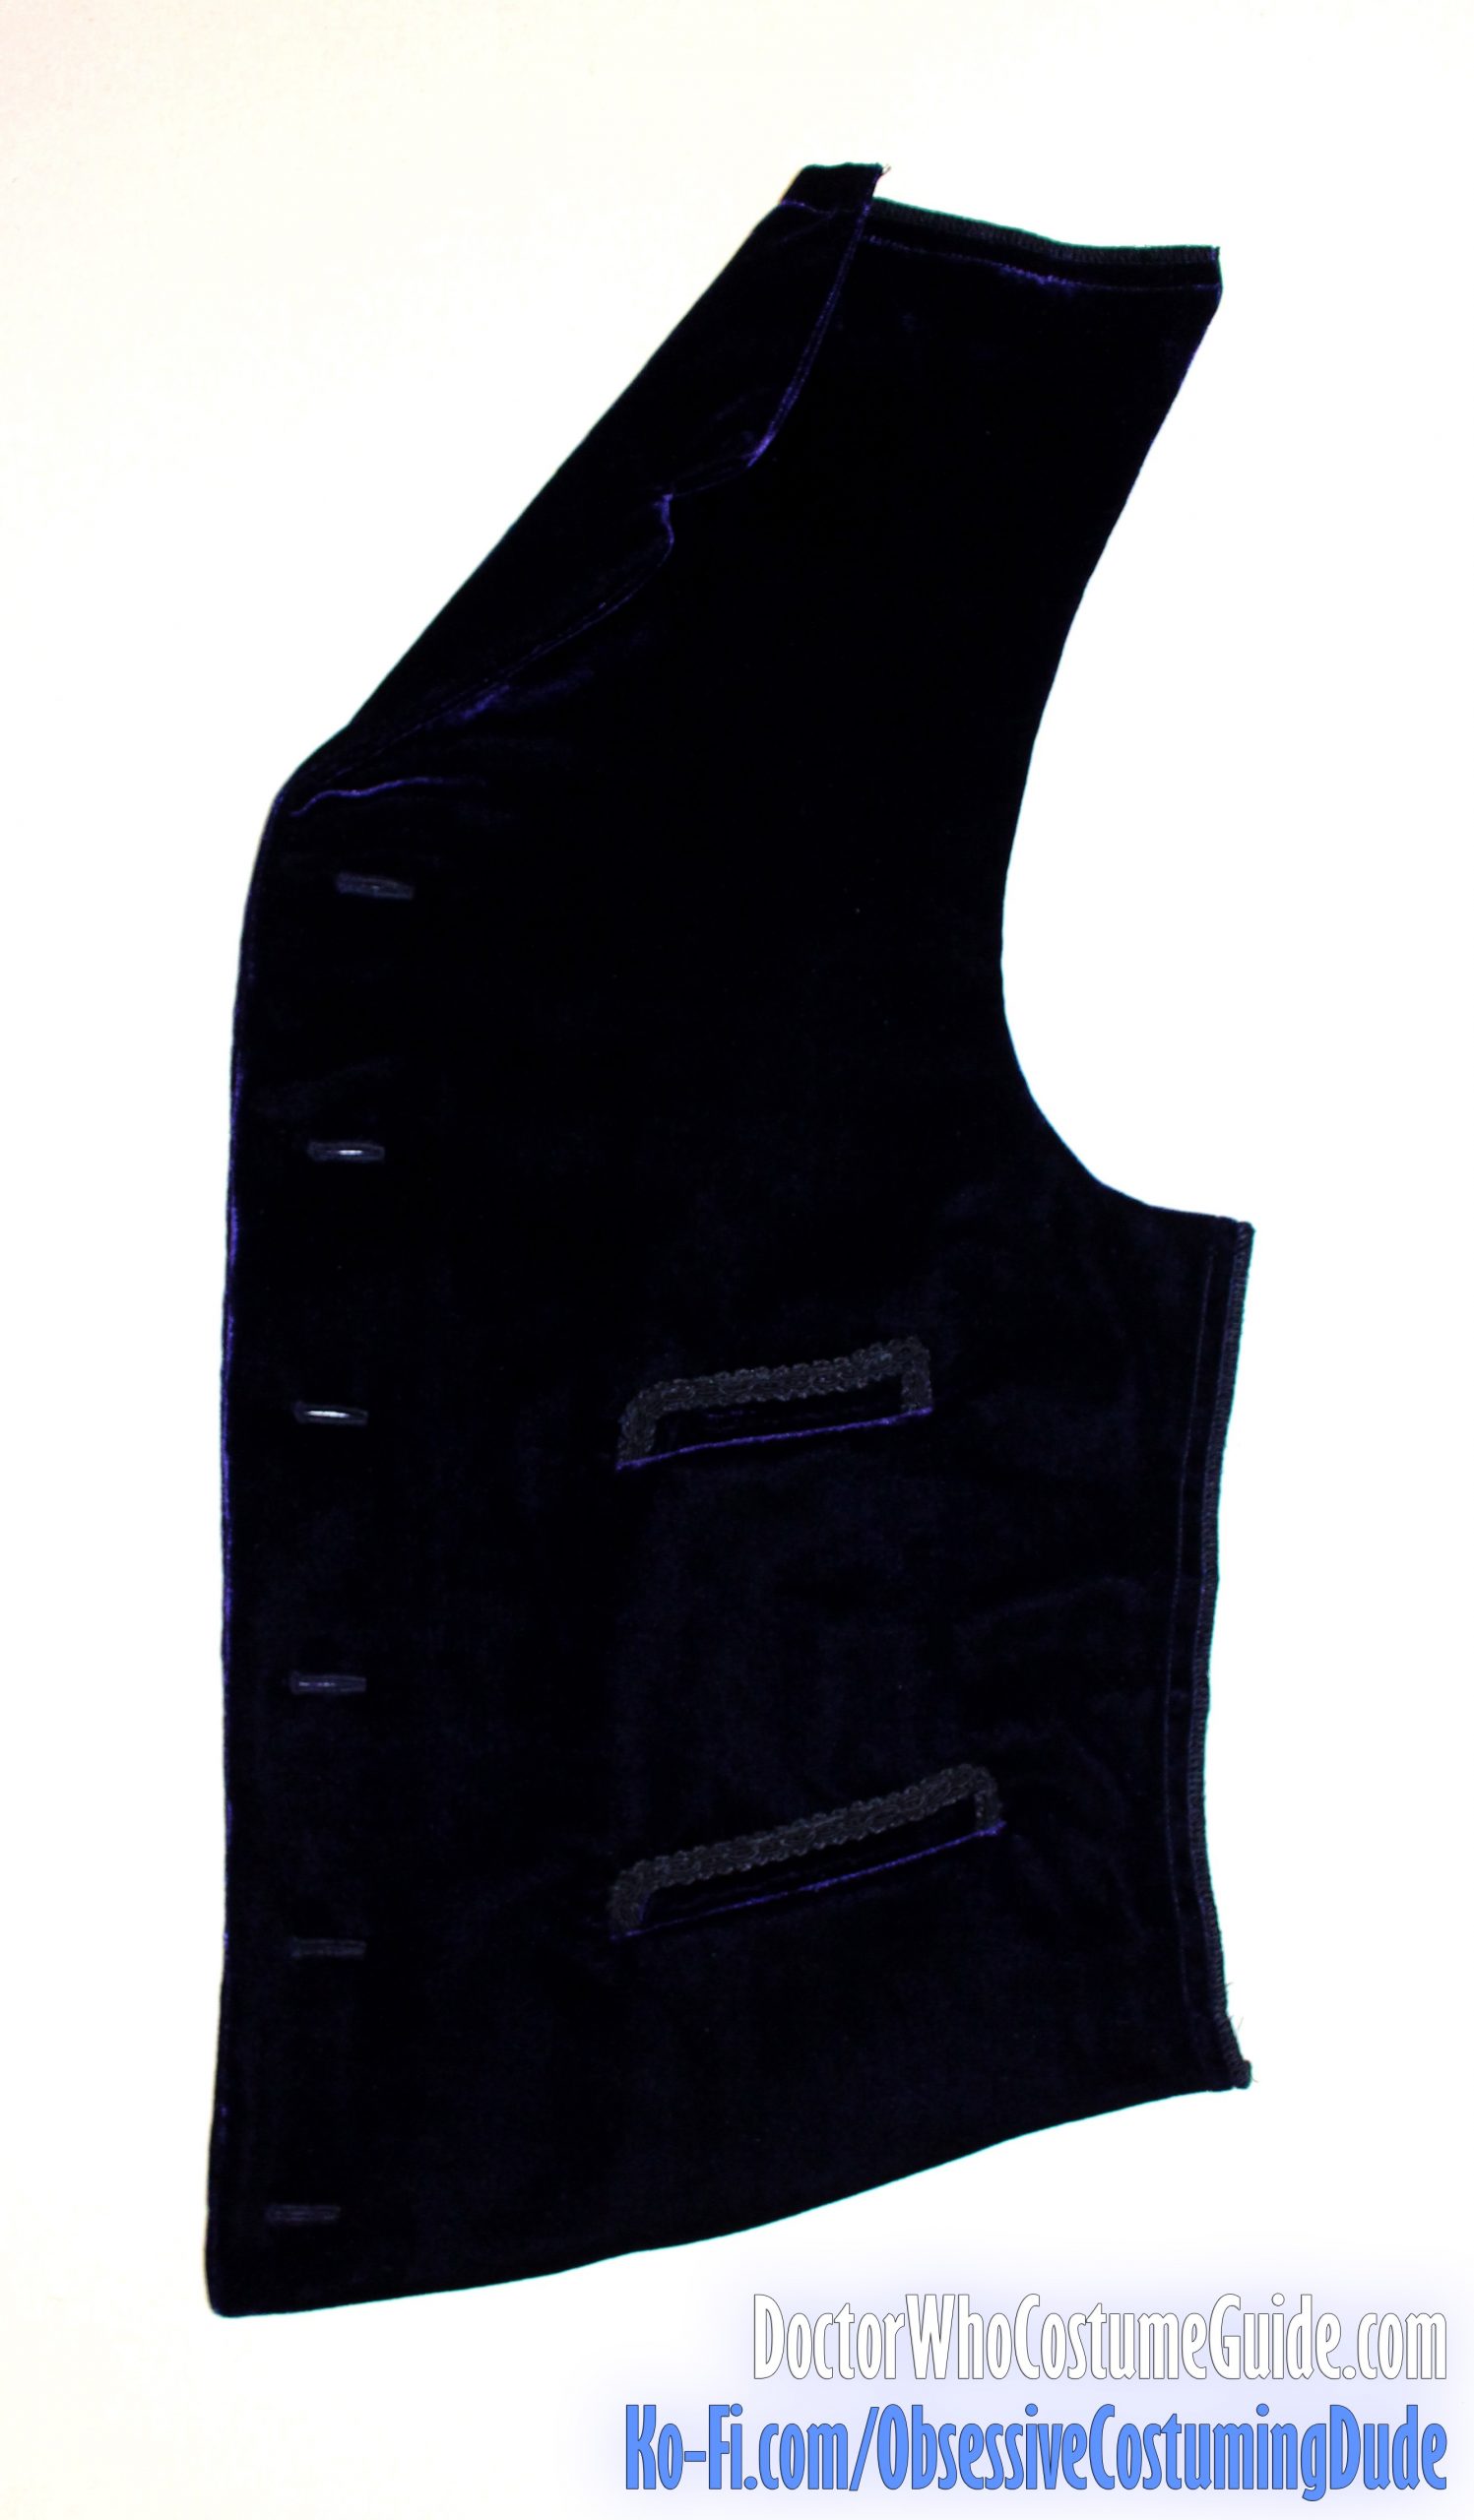
Having carefully cut your pocket welts (pieces G and H) to correspond to the pocket placements on the waistcoat fronts, make sure you know which pocket welt is for which pocket before proceeding.
Fold the pocket welt in half along the diagonal center, right sides together, matching outer and lower edges.
Sew the outer (short) edges closed.
Trim the outer seam allowances down to ¼”, turn the pocket welt back right-sides-out, and gently finger-crease the outer/side edges. (Do not press!)
Baste or sew the welt closed ¼” from the lower edge.
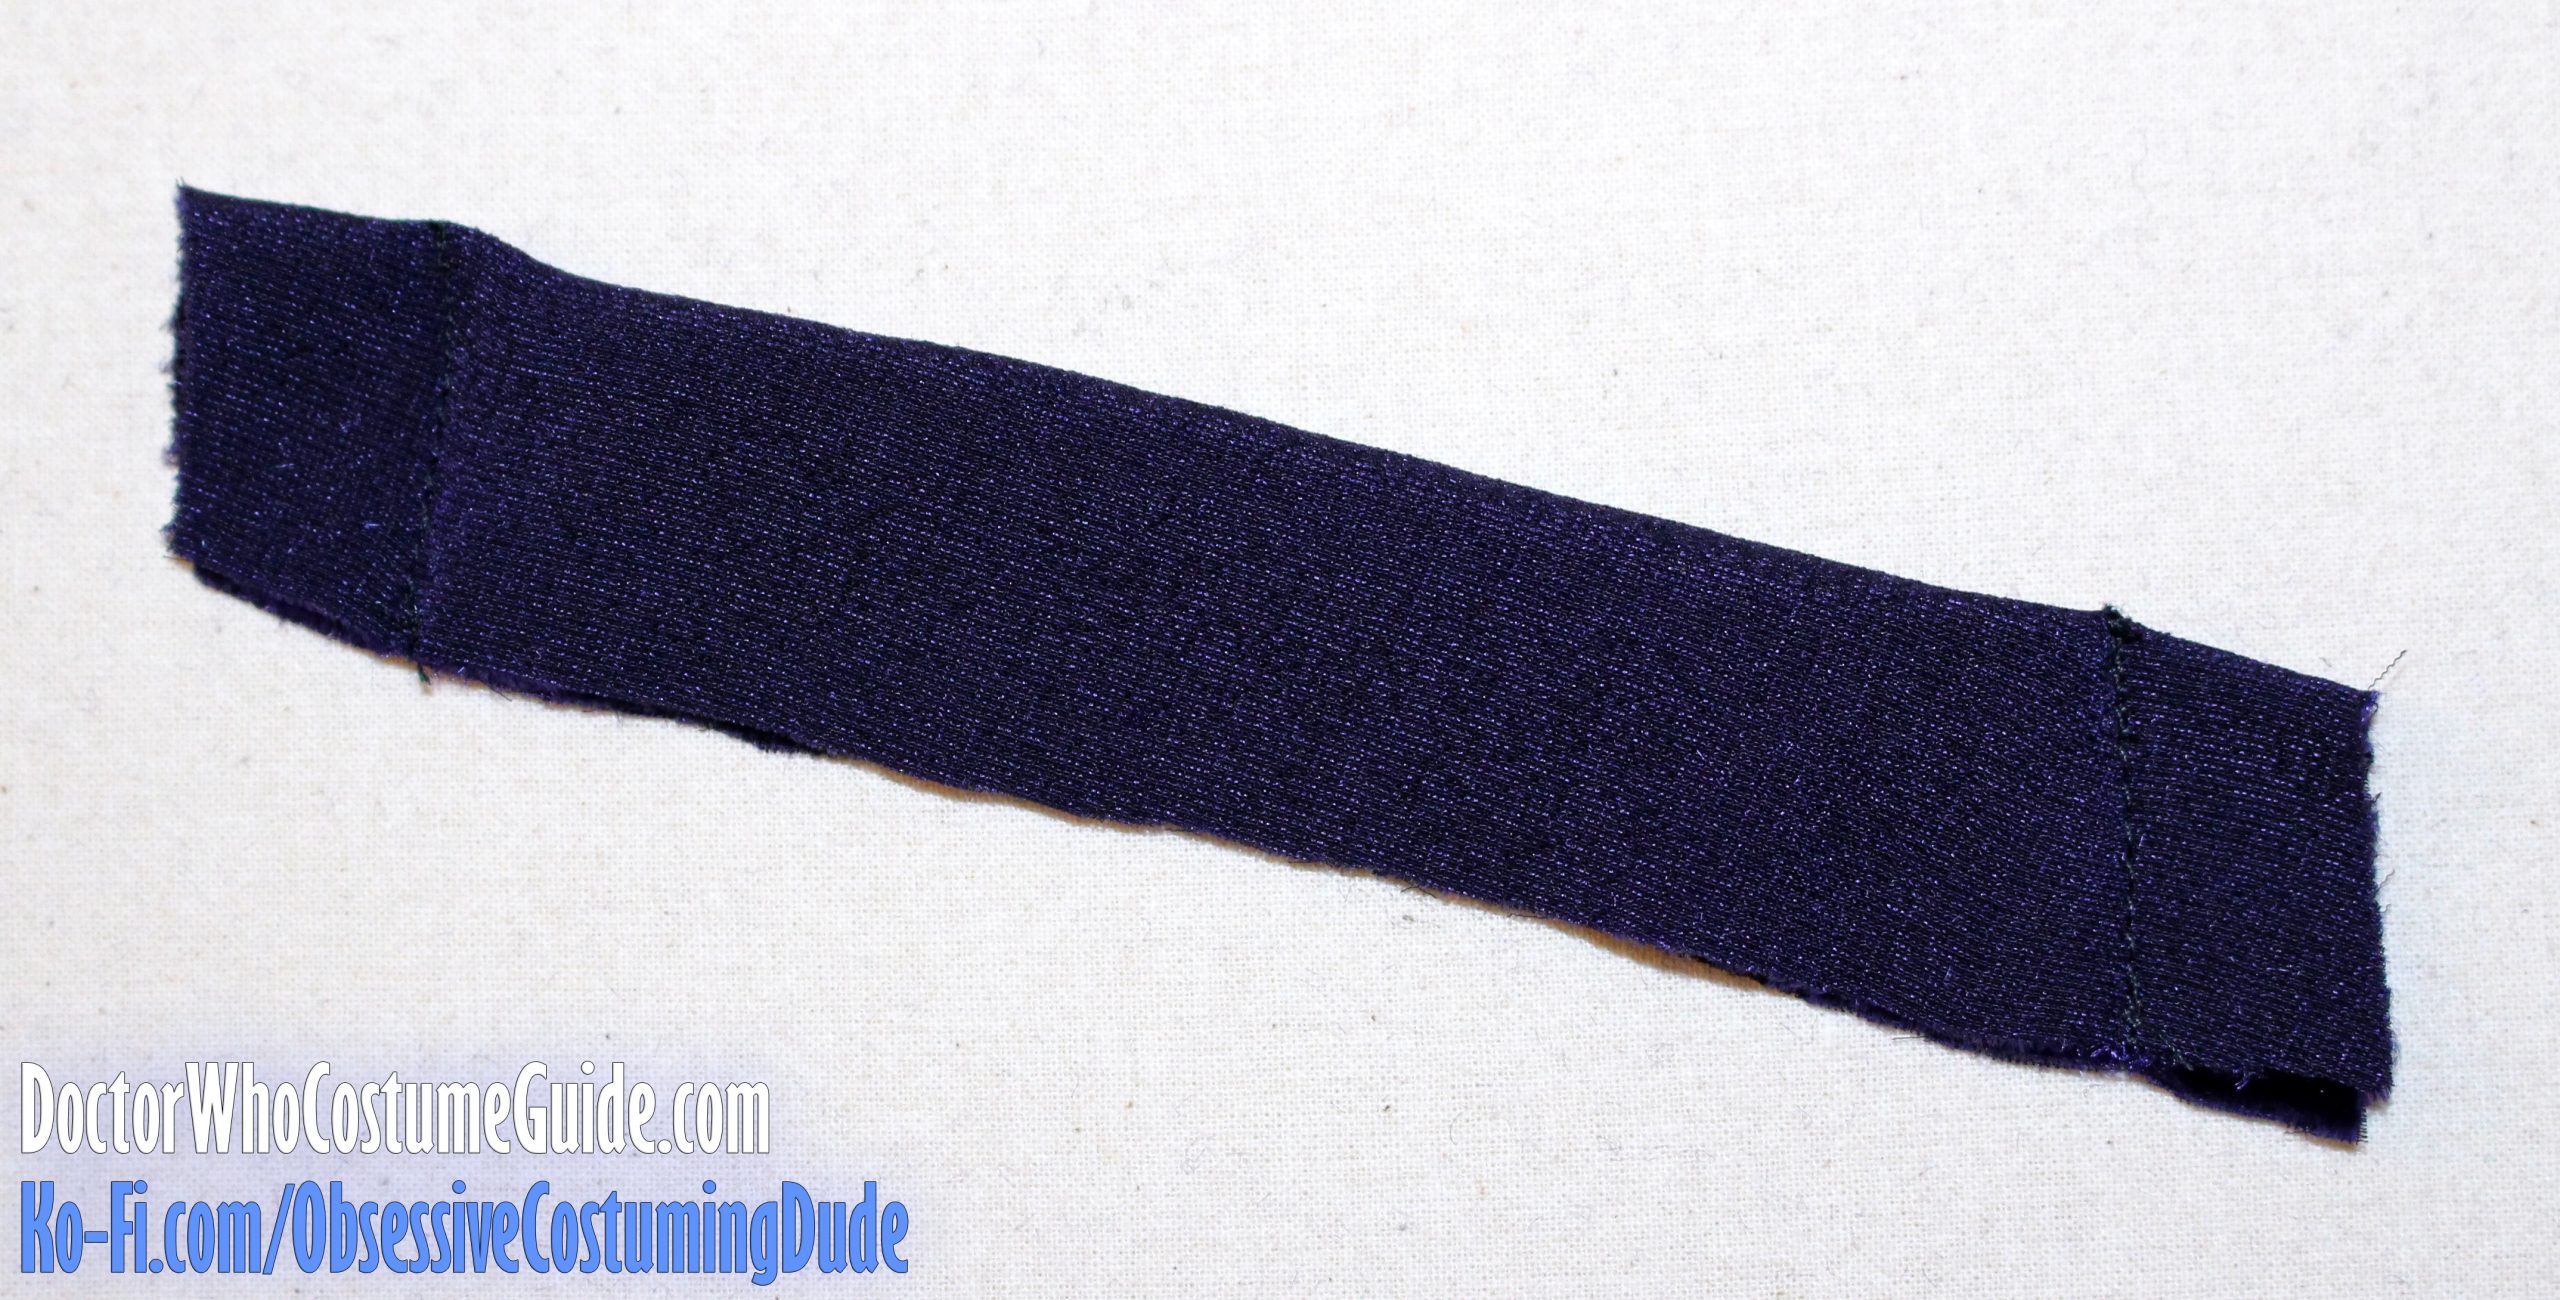
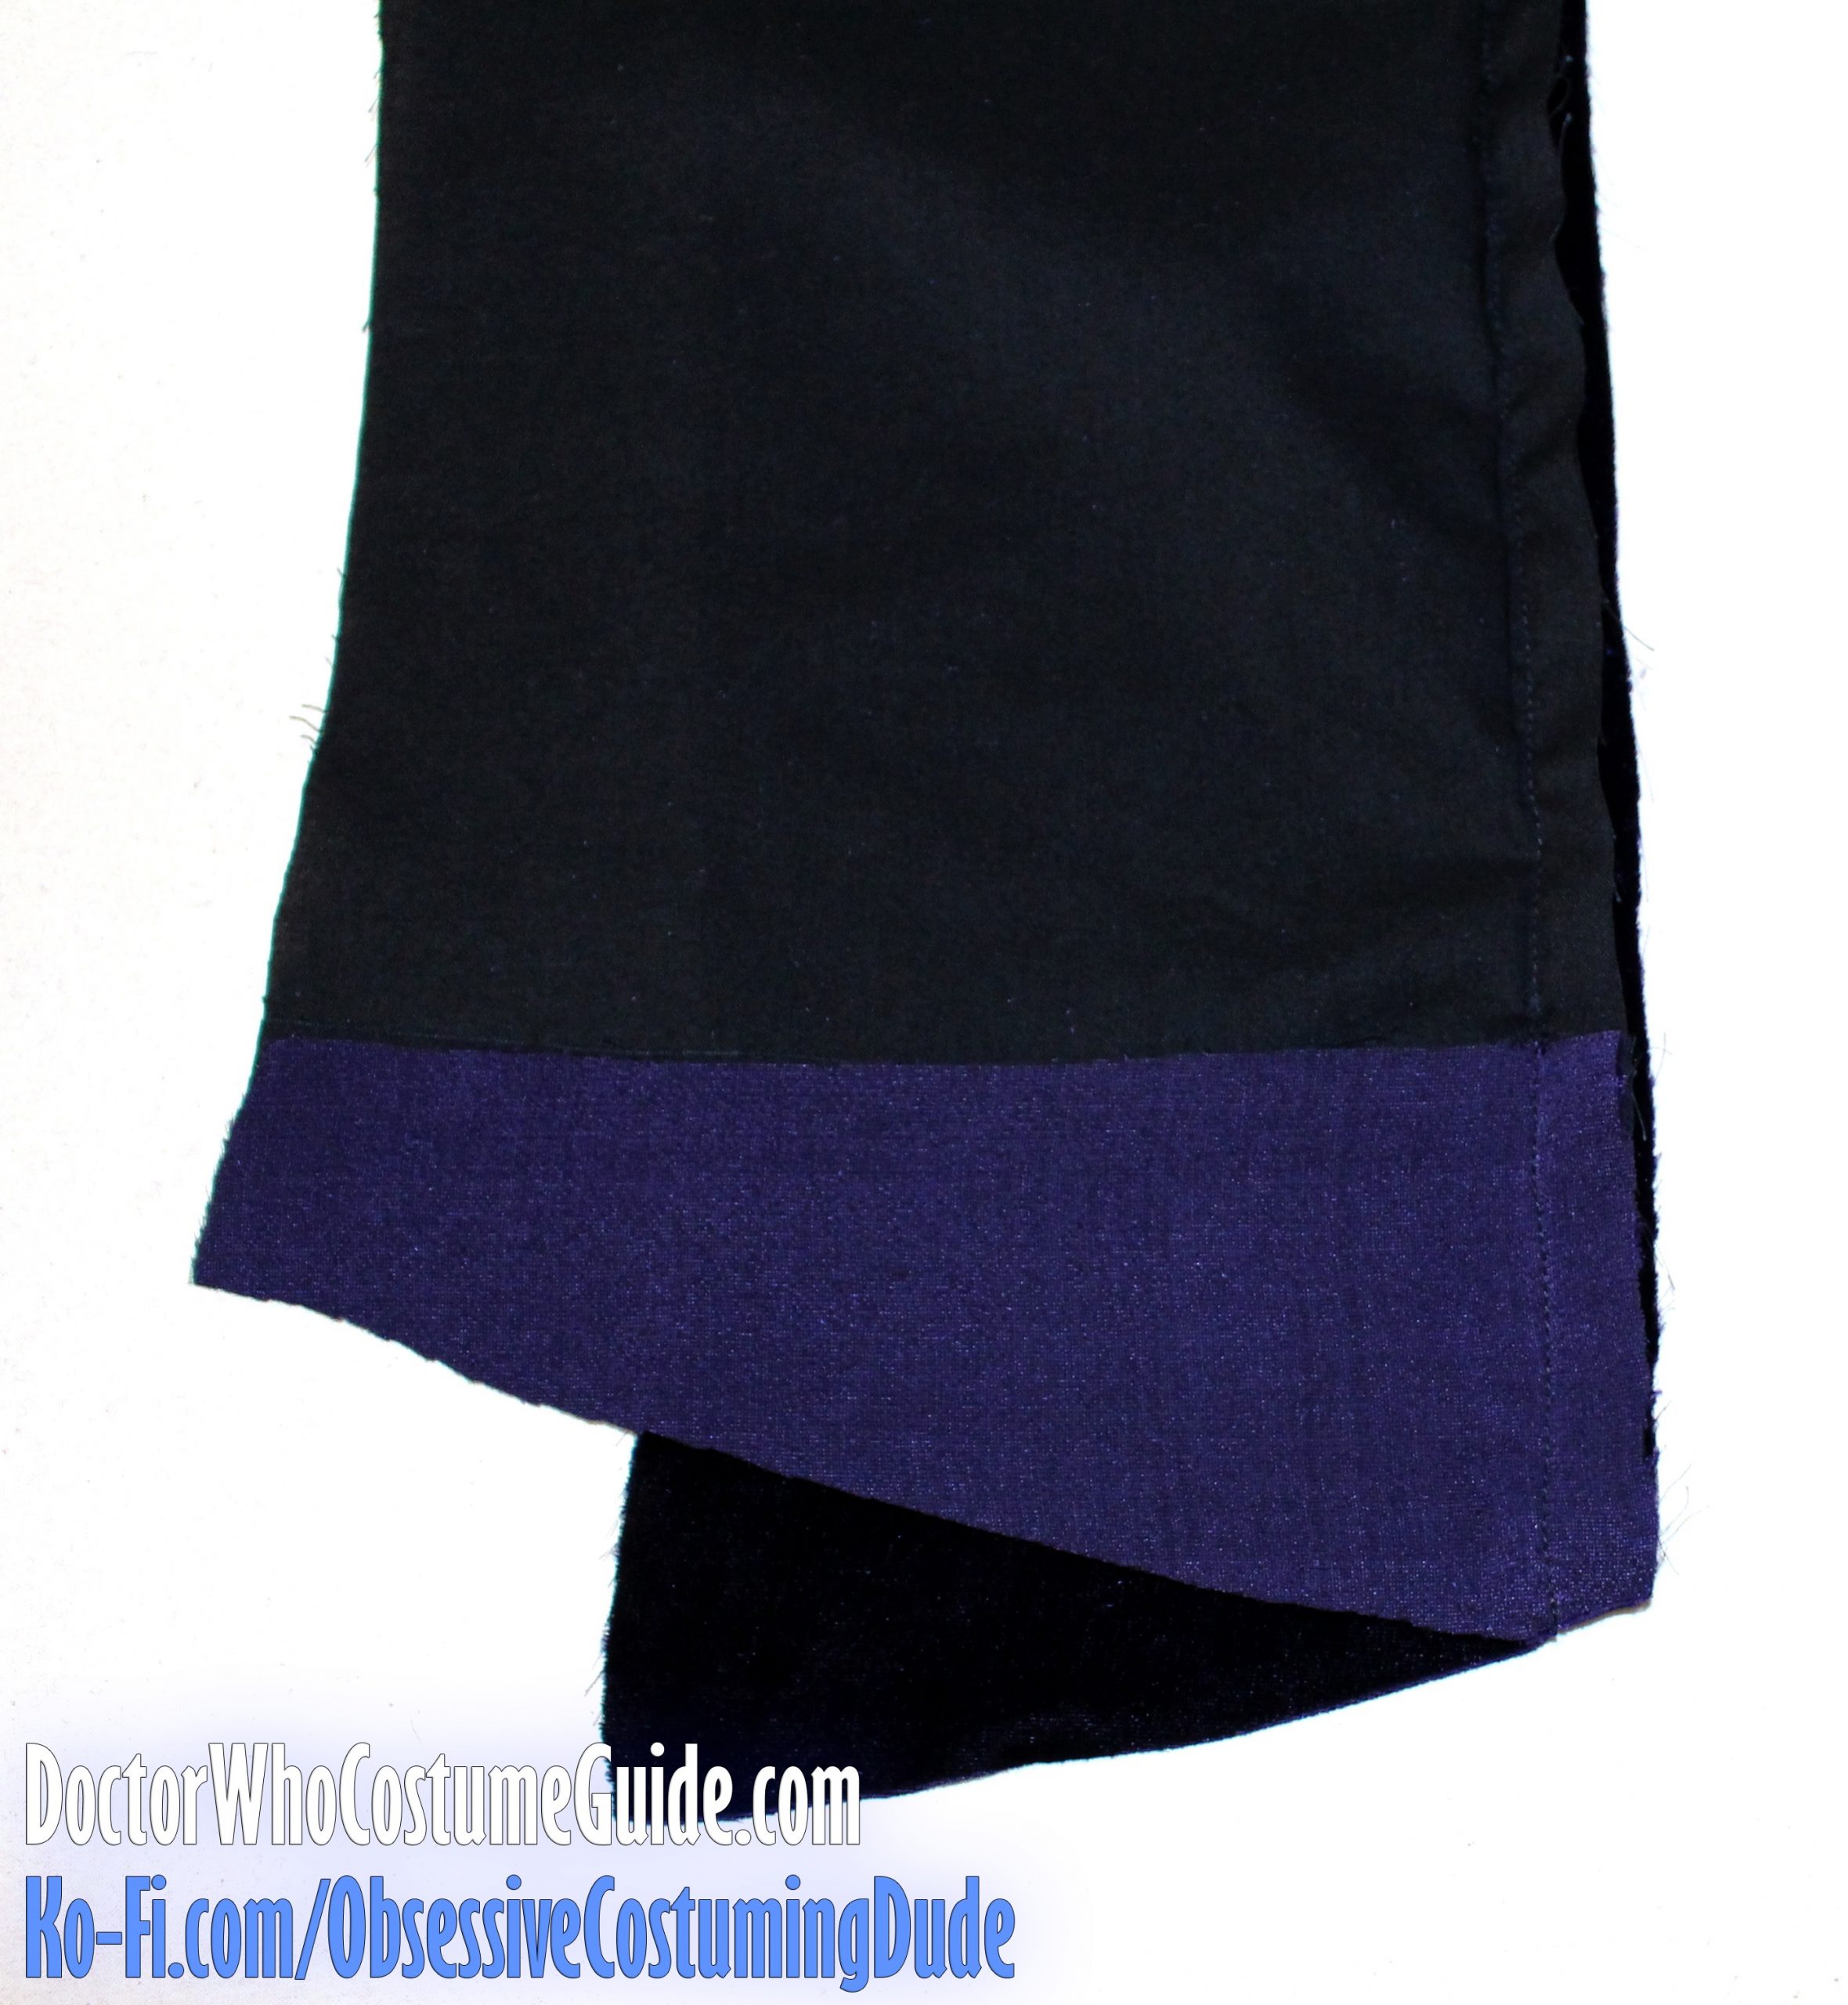
Cut a length of trim about 9″ long and position it so it overhands the bottom of the left side edge by about an inch, with the outer edges flush. (I like to leave some extra trim at the bottom because it tends to unravel.)
Sew the outer edge of the trim to the welt along the entire edge.
Once you’ve done that, pivot the trim and sew it to the top edge, then pivot again and sew it along the last edge.
After you’ve sewn the trim to the welt along the outer edges, go back and hand-sew it to the inner edges, as well, to fasten it down.
NOTE: Topstitching the trim onto the velvet with the sewing machine can be a difficult process, since the pile will eventually collapse in one direction or the other under the weight of the presser foot. The crushed pile will be hidden underneath the trim, but the actual shift in the pile will probably drag the trim along with it.
Simply put, it’s difficult to keep the trim properly positioned when attaching it to the velvet by machine.
Hand-sewing the trim to the velvet is a tedious, time-consuming process, but it allows you far more direct control.
I’ve achieved better results, with far less headache, hand-sewing the trim.
Cut away the excess trim beneath the bottom of the pocket welt and apply liquid fray preventer to the ends of the trim.
Position the welt over the waistcoat front, upside-down, matching alignment guides. (The alignment guide will become the bottom of the pocket opening later.)
Note that this means the open end of the welt will not be flush with the alignment guide on the waistcoat front, but ⅜” above it!
Hand-baste the pocket welt into place.
Sew the pocket welt to the waistcoat along the alignment guide (⅜” from the raw end of the pocket welt), beginning and ending your stitch exactly at the outer edges of the pocket welt and reinforcing at the ends.
TIP: Machine-baste the pocket welt to the waistcoat front before properly sewing it – even though you already hand-basted it. Also, use a quilting/walking foot to machine-baste and sew the pocket welt to the waistcoat front! Any damage to the pile on the wrong side of the pocket welt won’t be seen on the finished waistcoat.
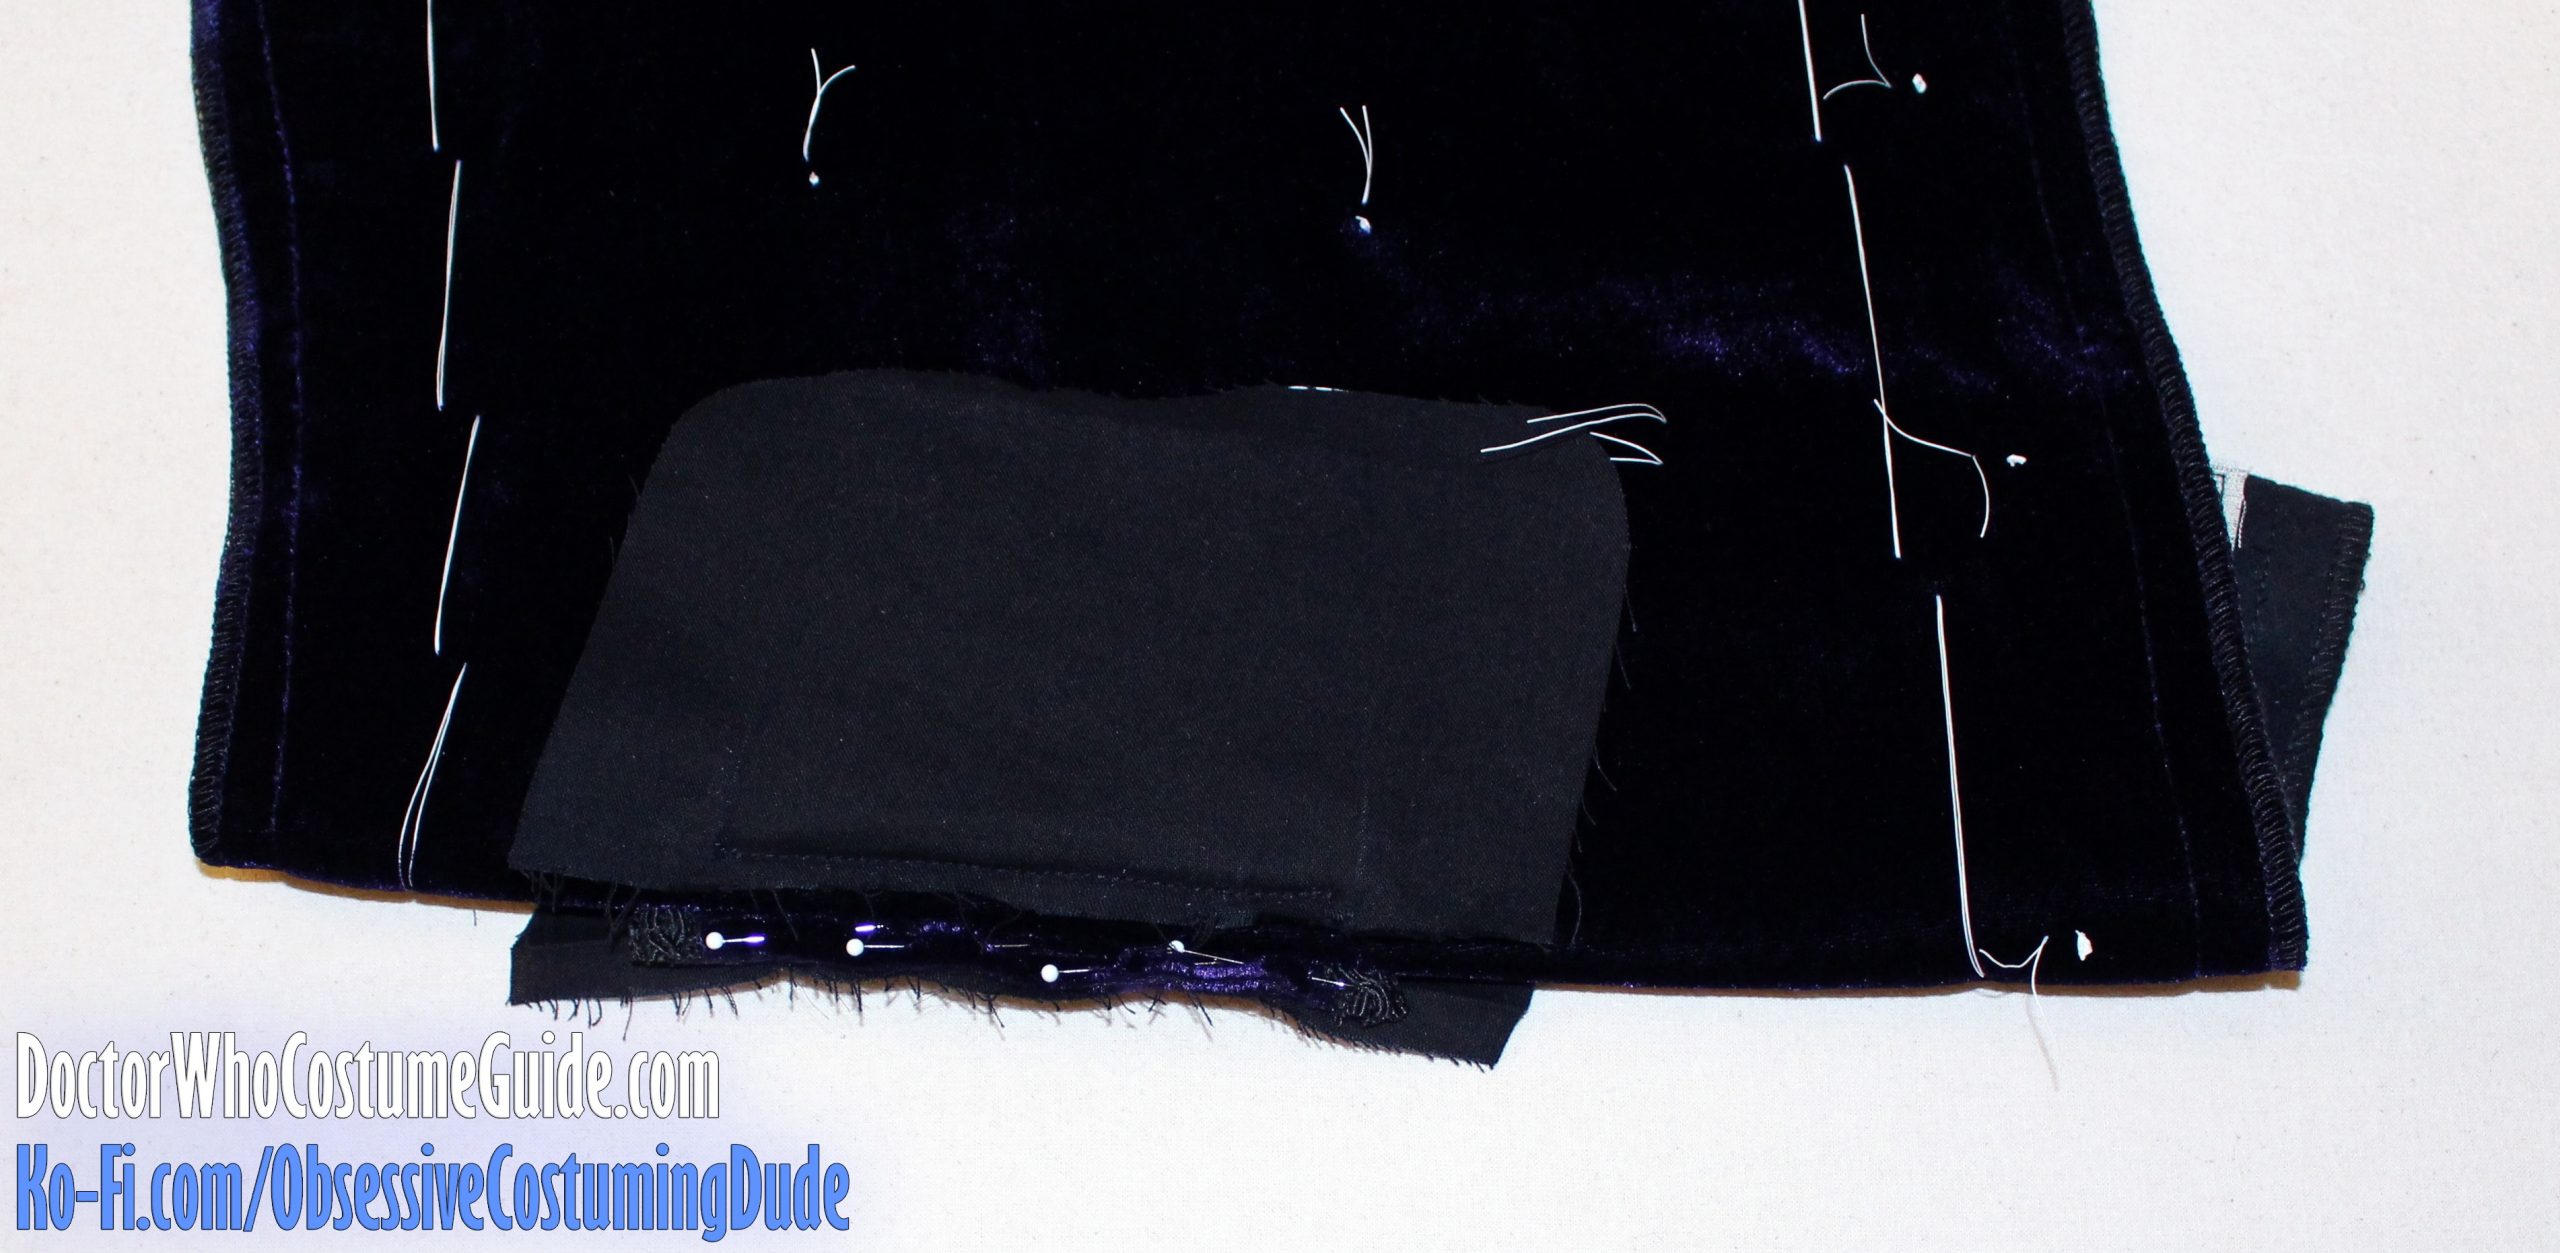
Position one piece of pocketing (piece I for the upper pockets, piece J for the lower pockets) over the pocket welt, in the direction the pocket will eventually hang, to confirm its orientation.
Flip the piece of pocketing upward (so it’s upside-down) and slide it underneath the pocket welt seam allowance, as close to the stitch line as you can manage.
Pin the pocketing to the waistcoat front.
Using a zipper/piping foot, sew the pocketing to the waistcoat along the raw end of the pocket welt, beginning and ending your stitching ⅜” from the ends of the welt.
TIP: To help you know exactly where to begin and end your stitching, lightly mark the pocketing with white tailor’s chalk ⅜” from each end of the pocket welt.
Trim away ⅜” from the upper edge of the second piece of pocketing.
Press the upper edge of the pocketing under ⅜”.
Fold the upper edge of the pocketing back upward for now.
Position the second piece of pocketing over the pocket welt so the upper edge of the pocketing is flush with the raw end of the welt.
Pin the second piece of pocketing to the pocket welt’s seam allowance, then fold the upper front of the waistcoat out of the way.
Again using your zipper/piping foot, sew the pocketing to the pocket welt as close to the first stitch line as you can manage – across the whole pocket welt this time (don’t leave ⅜” free on each end like you did with the first piece of pocketing).
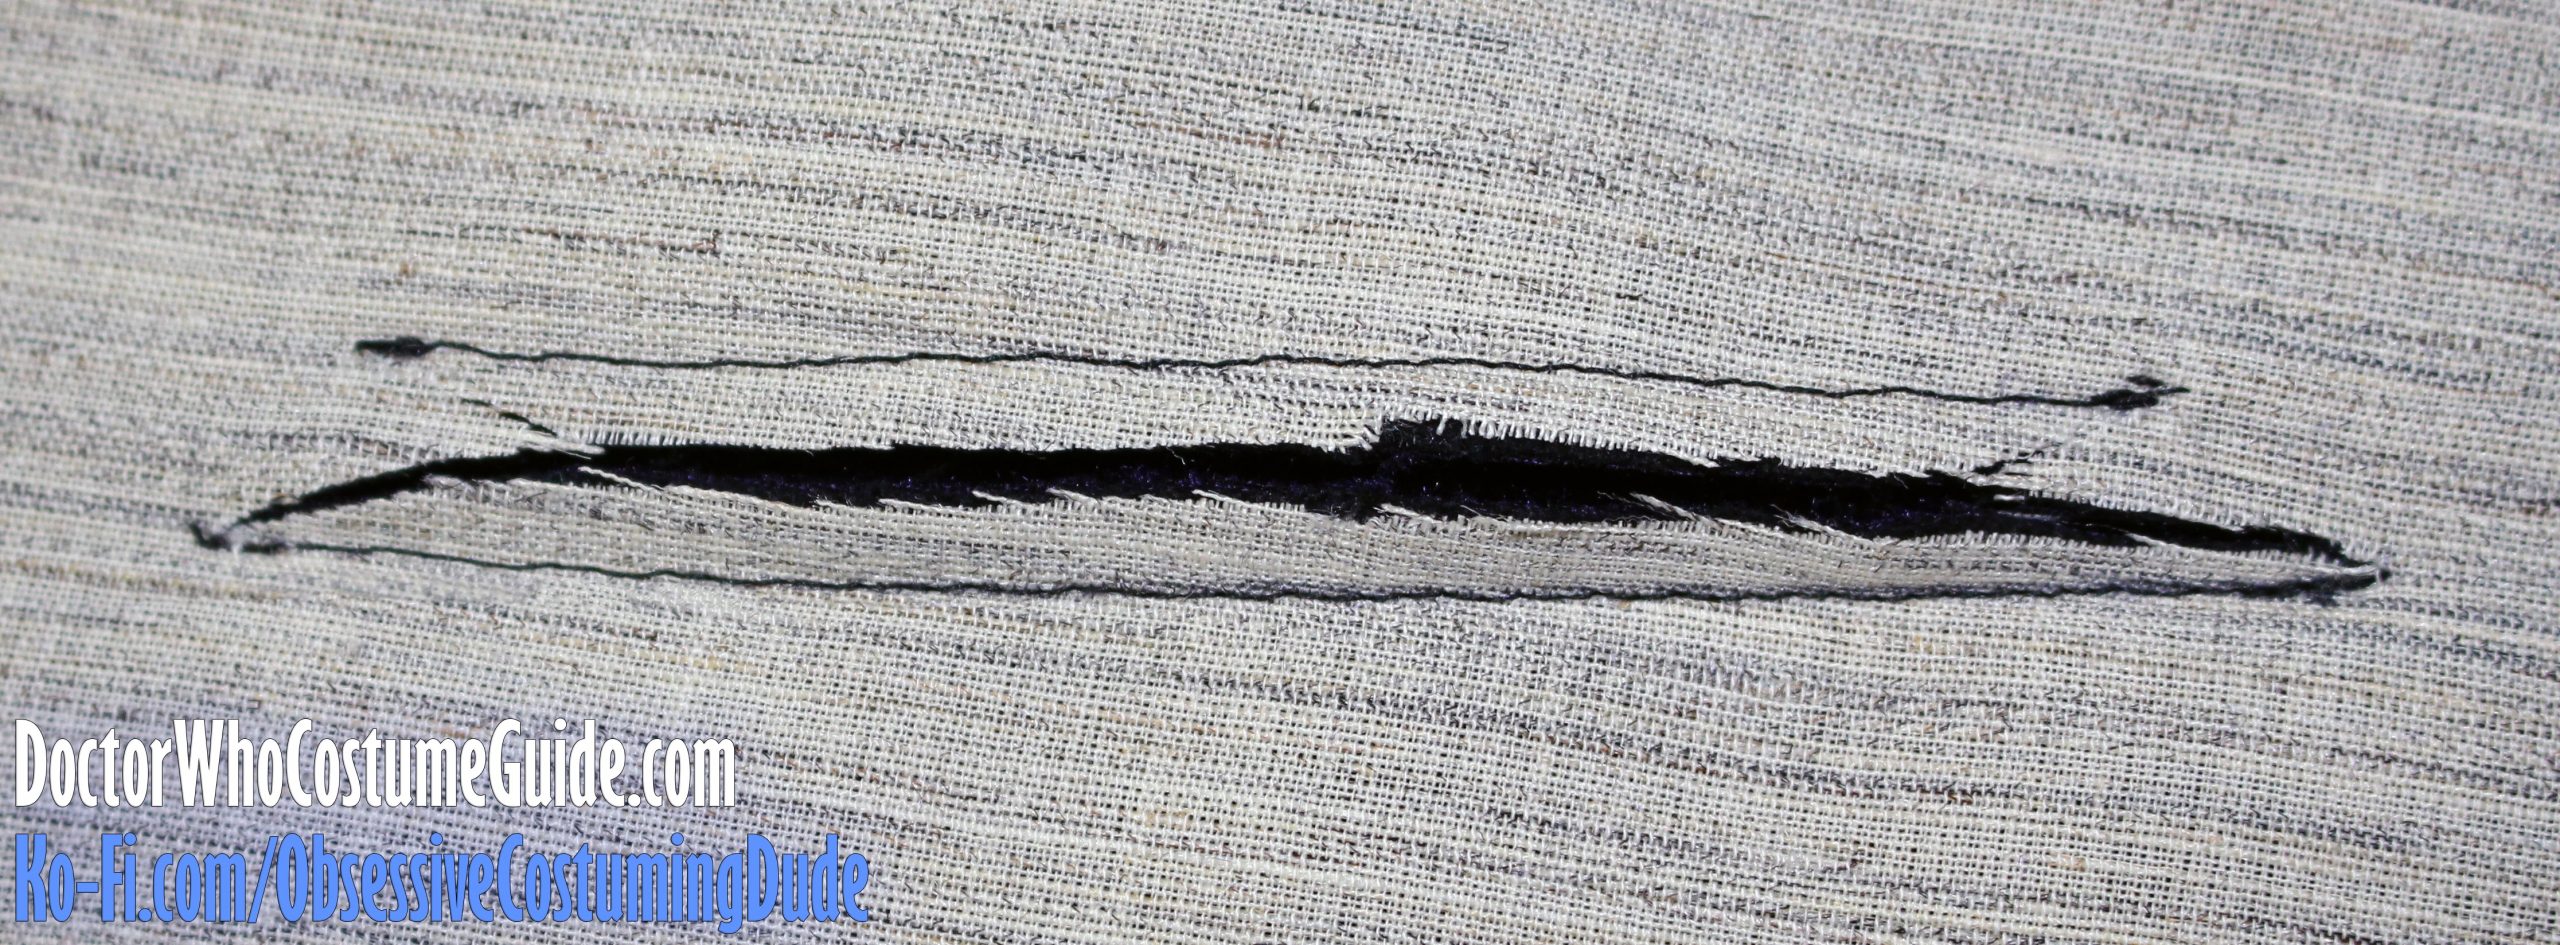
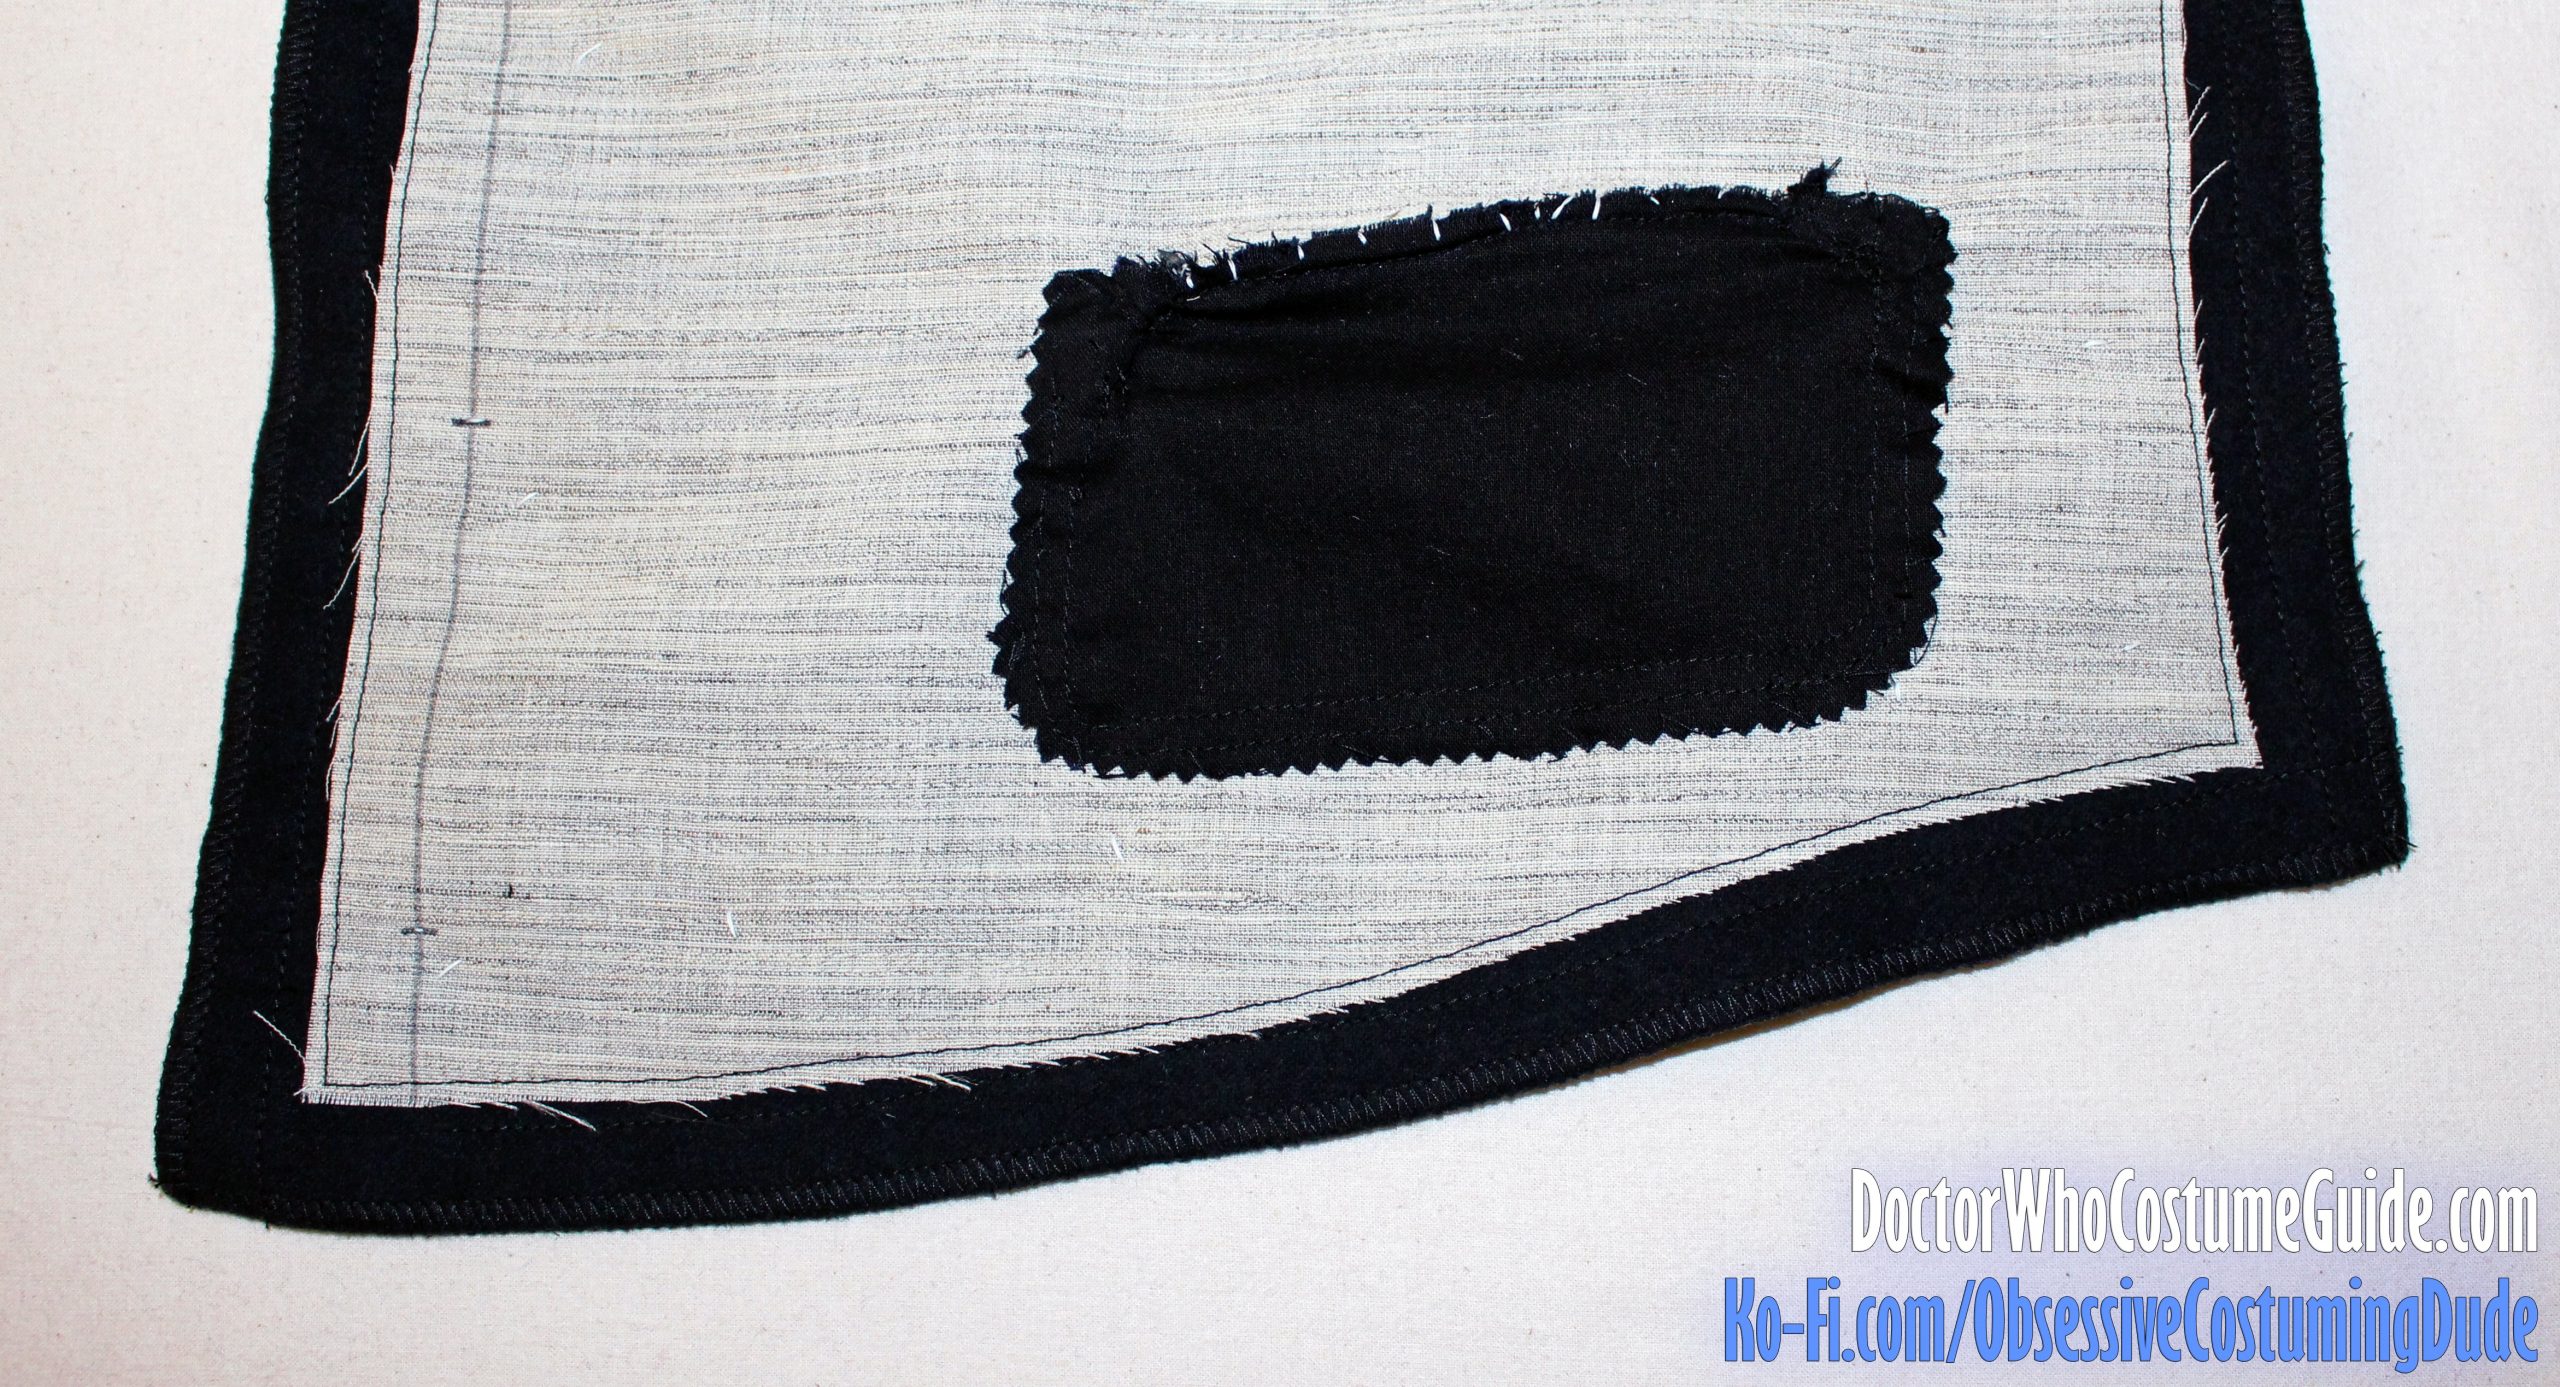
Slash the pocket opening halfway between the two stitch lines, taking care to only cut through the waistcoat front (the velvet, flannel, and canvas, but NOT the pocket welt or pocketing). Approximately ⅜” from the end of the upper, shorter stitch line, pivot and clip diagonally to the very last stitch. Repeat for the lower stitch line.
TIP: Use sharp scissors for this.
TIP: Be sure to clip exactly to the last stitch in each corner! If you don’t get all the way to the last stitch, there will be a little fold or pucker in the corner of the finished pocket – but if you go too far, there will be a little hole.
Pull the pocketing through the pocket opening to the underside.
Pull the lower pocketing downward and gently finger-press the front/pocket welt/lower pocketing seam allowances flat.
Gently finger-press the front/upper pocketing seam allowances upward.
OPTIONAL: Trim some bulk out of the seam allowances, especially the lower ones, so everything will lie flatter.
From the right side, press the pocket welt upward.
Pull the little triangular “prongs” on the sides of the pocket opening to the underside (I find tweezers helpful for this) and press.
Pin the pocket welt closed, matching outer and lower edges.
Using your zipper/piping foot, sew the triangular prongs to the pocket pouch, closing the pocket opening.
Using a regular sewing foot, sew the pocket pouch closed along the outer and lower edges.
OPTIONAL: Stitch again ⅛” from the first stitch line, or ½” from the edges.
OPTIONAL: Trim the outer edges of the pocket pouch with pinking shears, to minimize its impression on the outside of the waistcoat front.
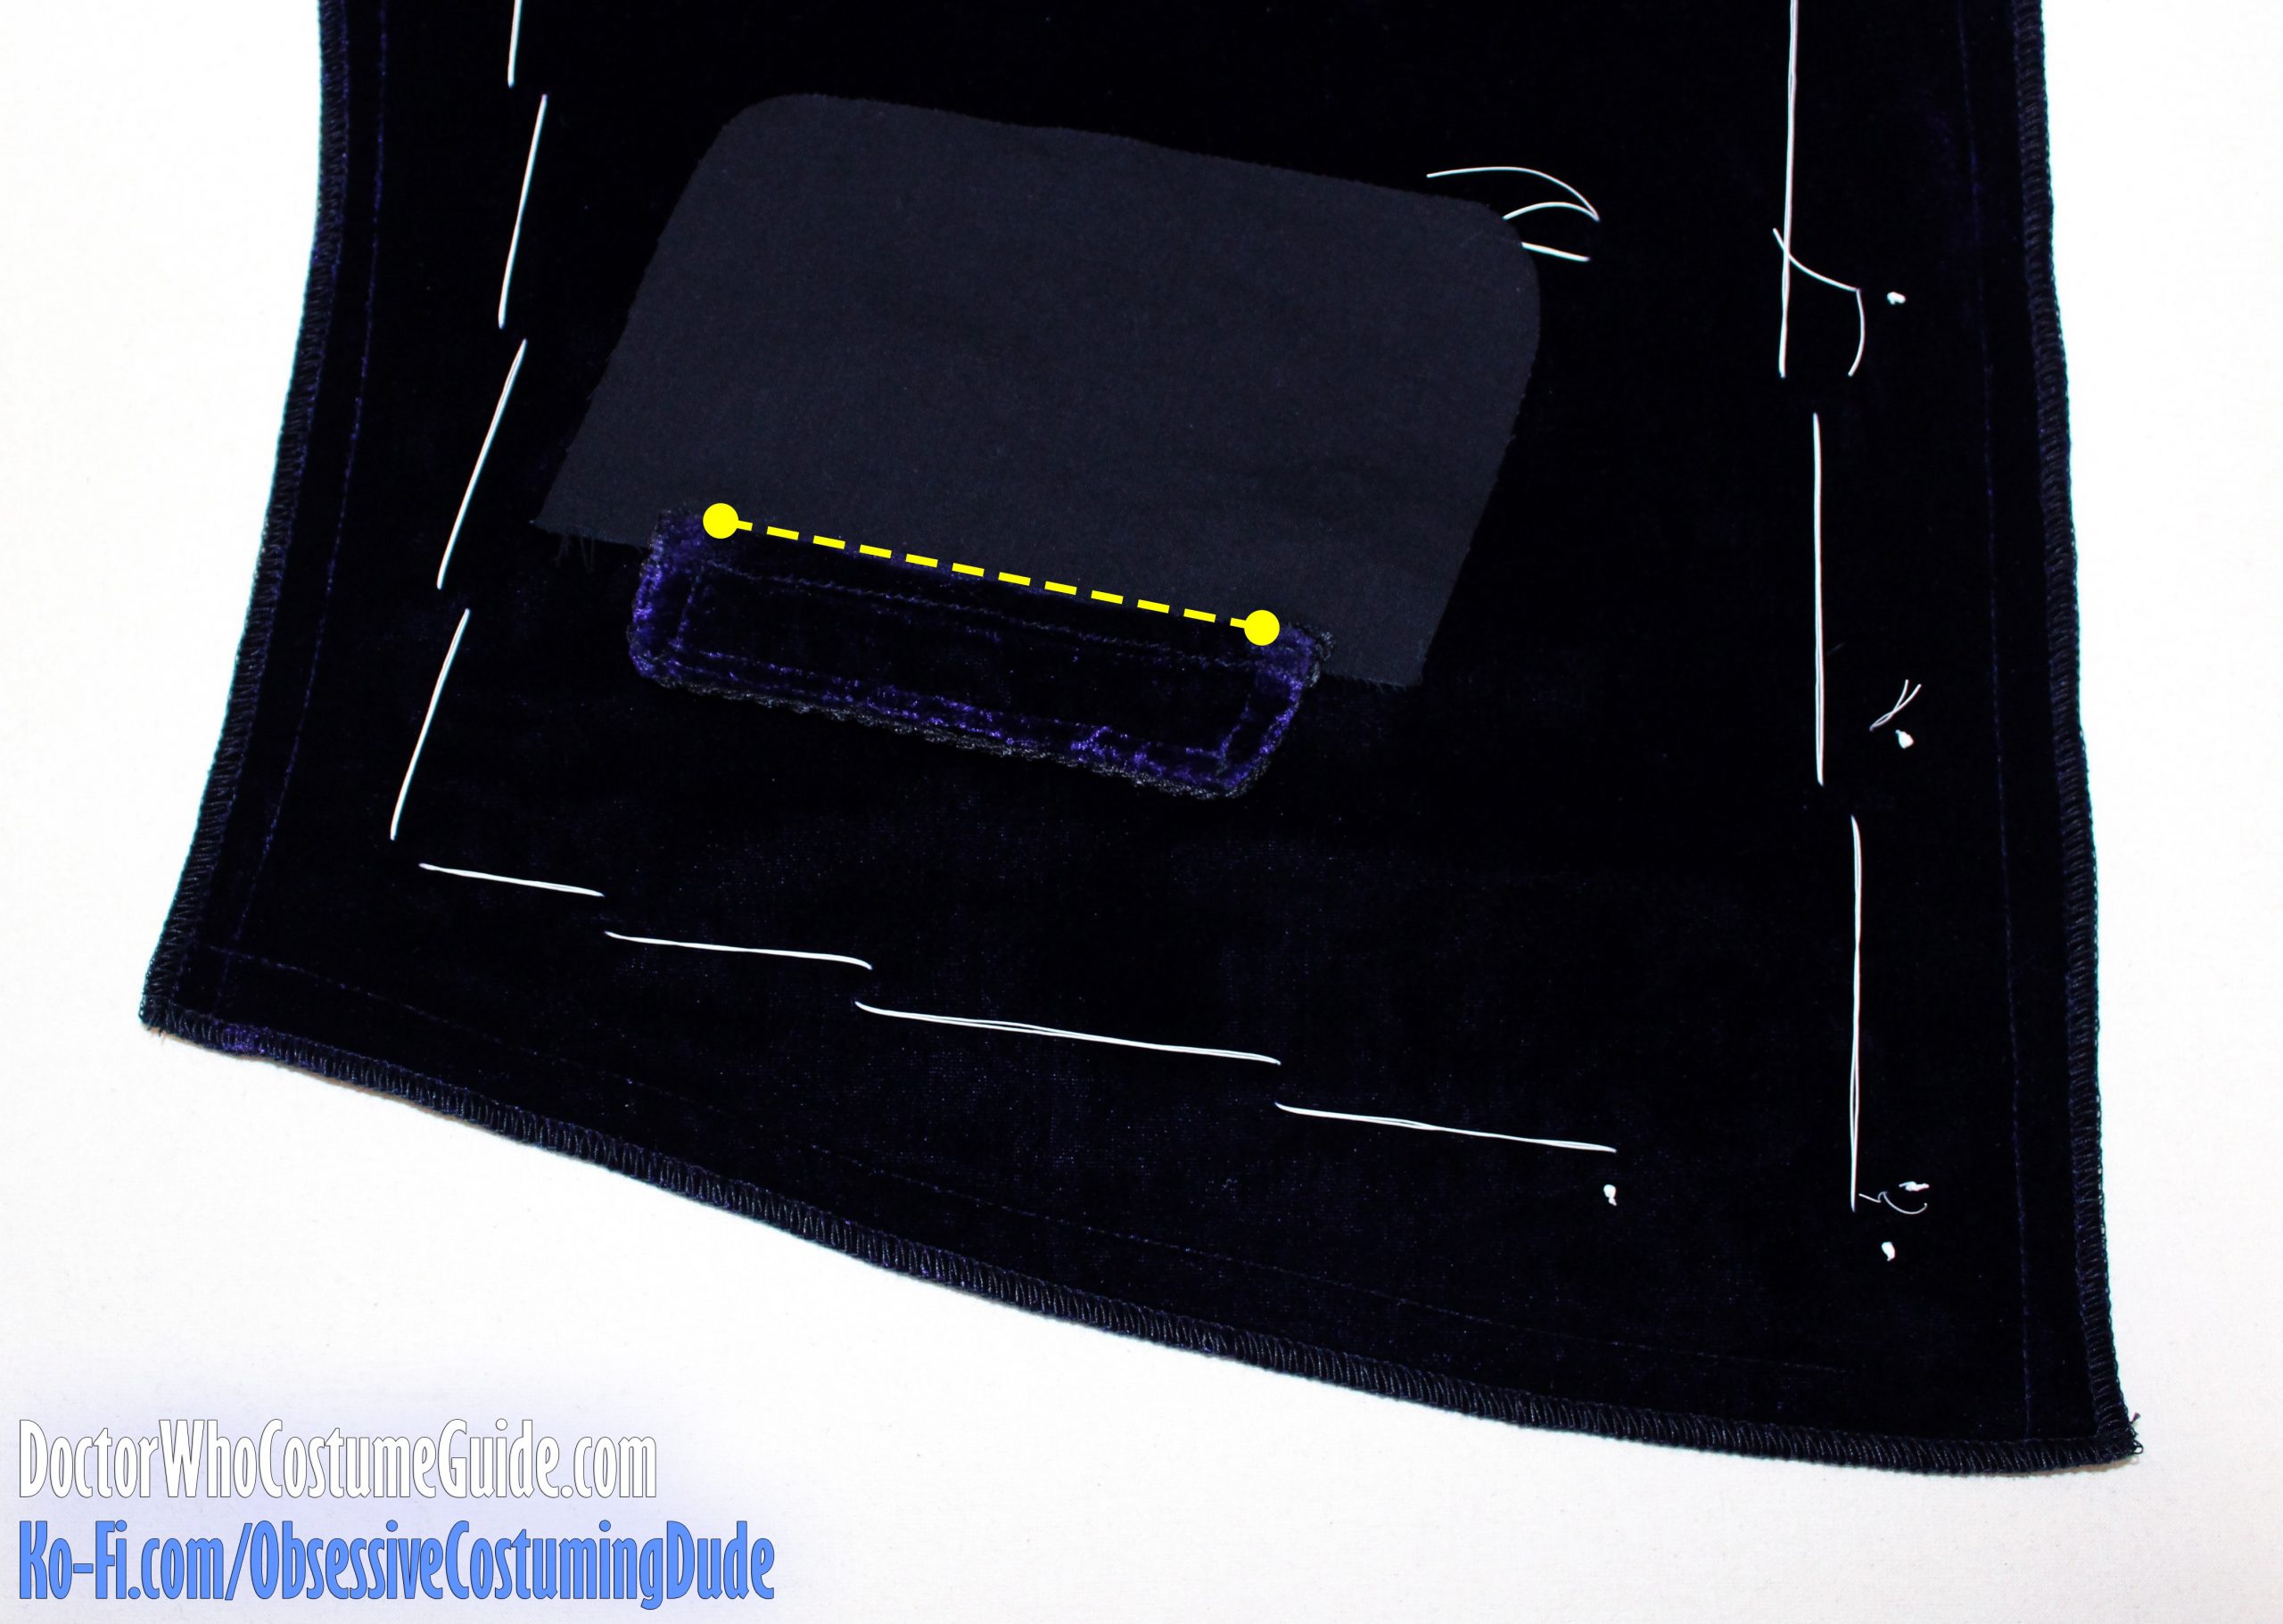
OPTIONAL: Loosely hand-sew the pocket pouch to the hair canvas to anchor and stabilize it, taking care to only stitch through the hair canvas – and maybe the cotton flannel – but not the actual velvet!
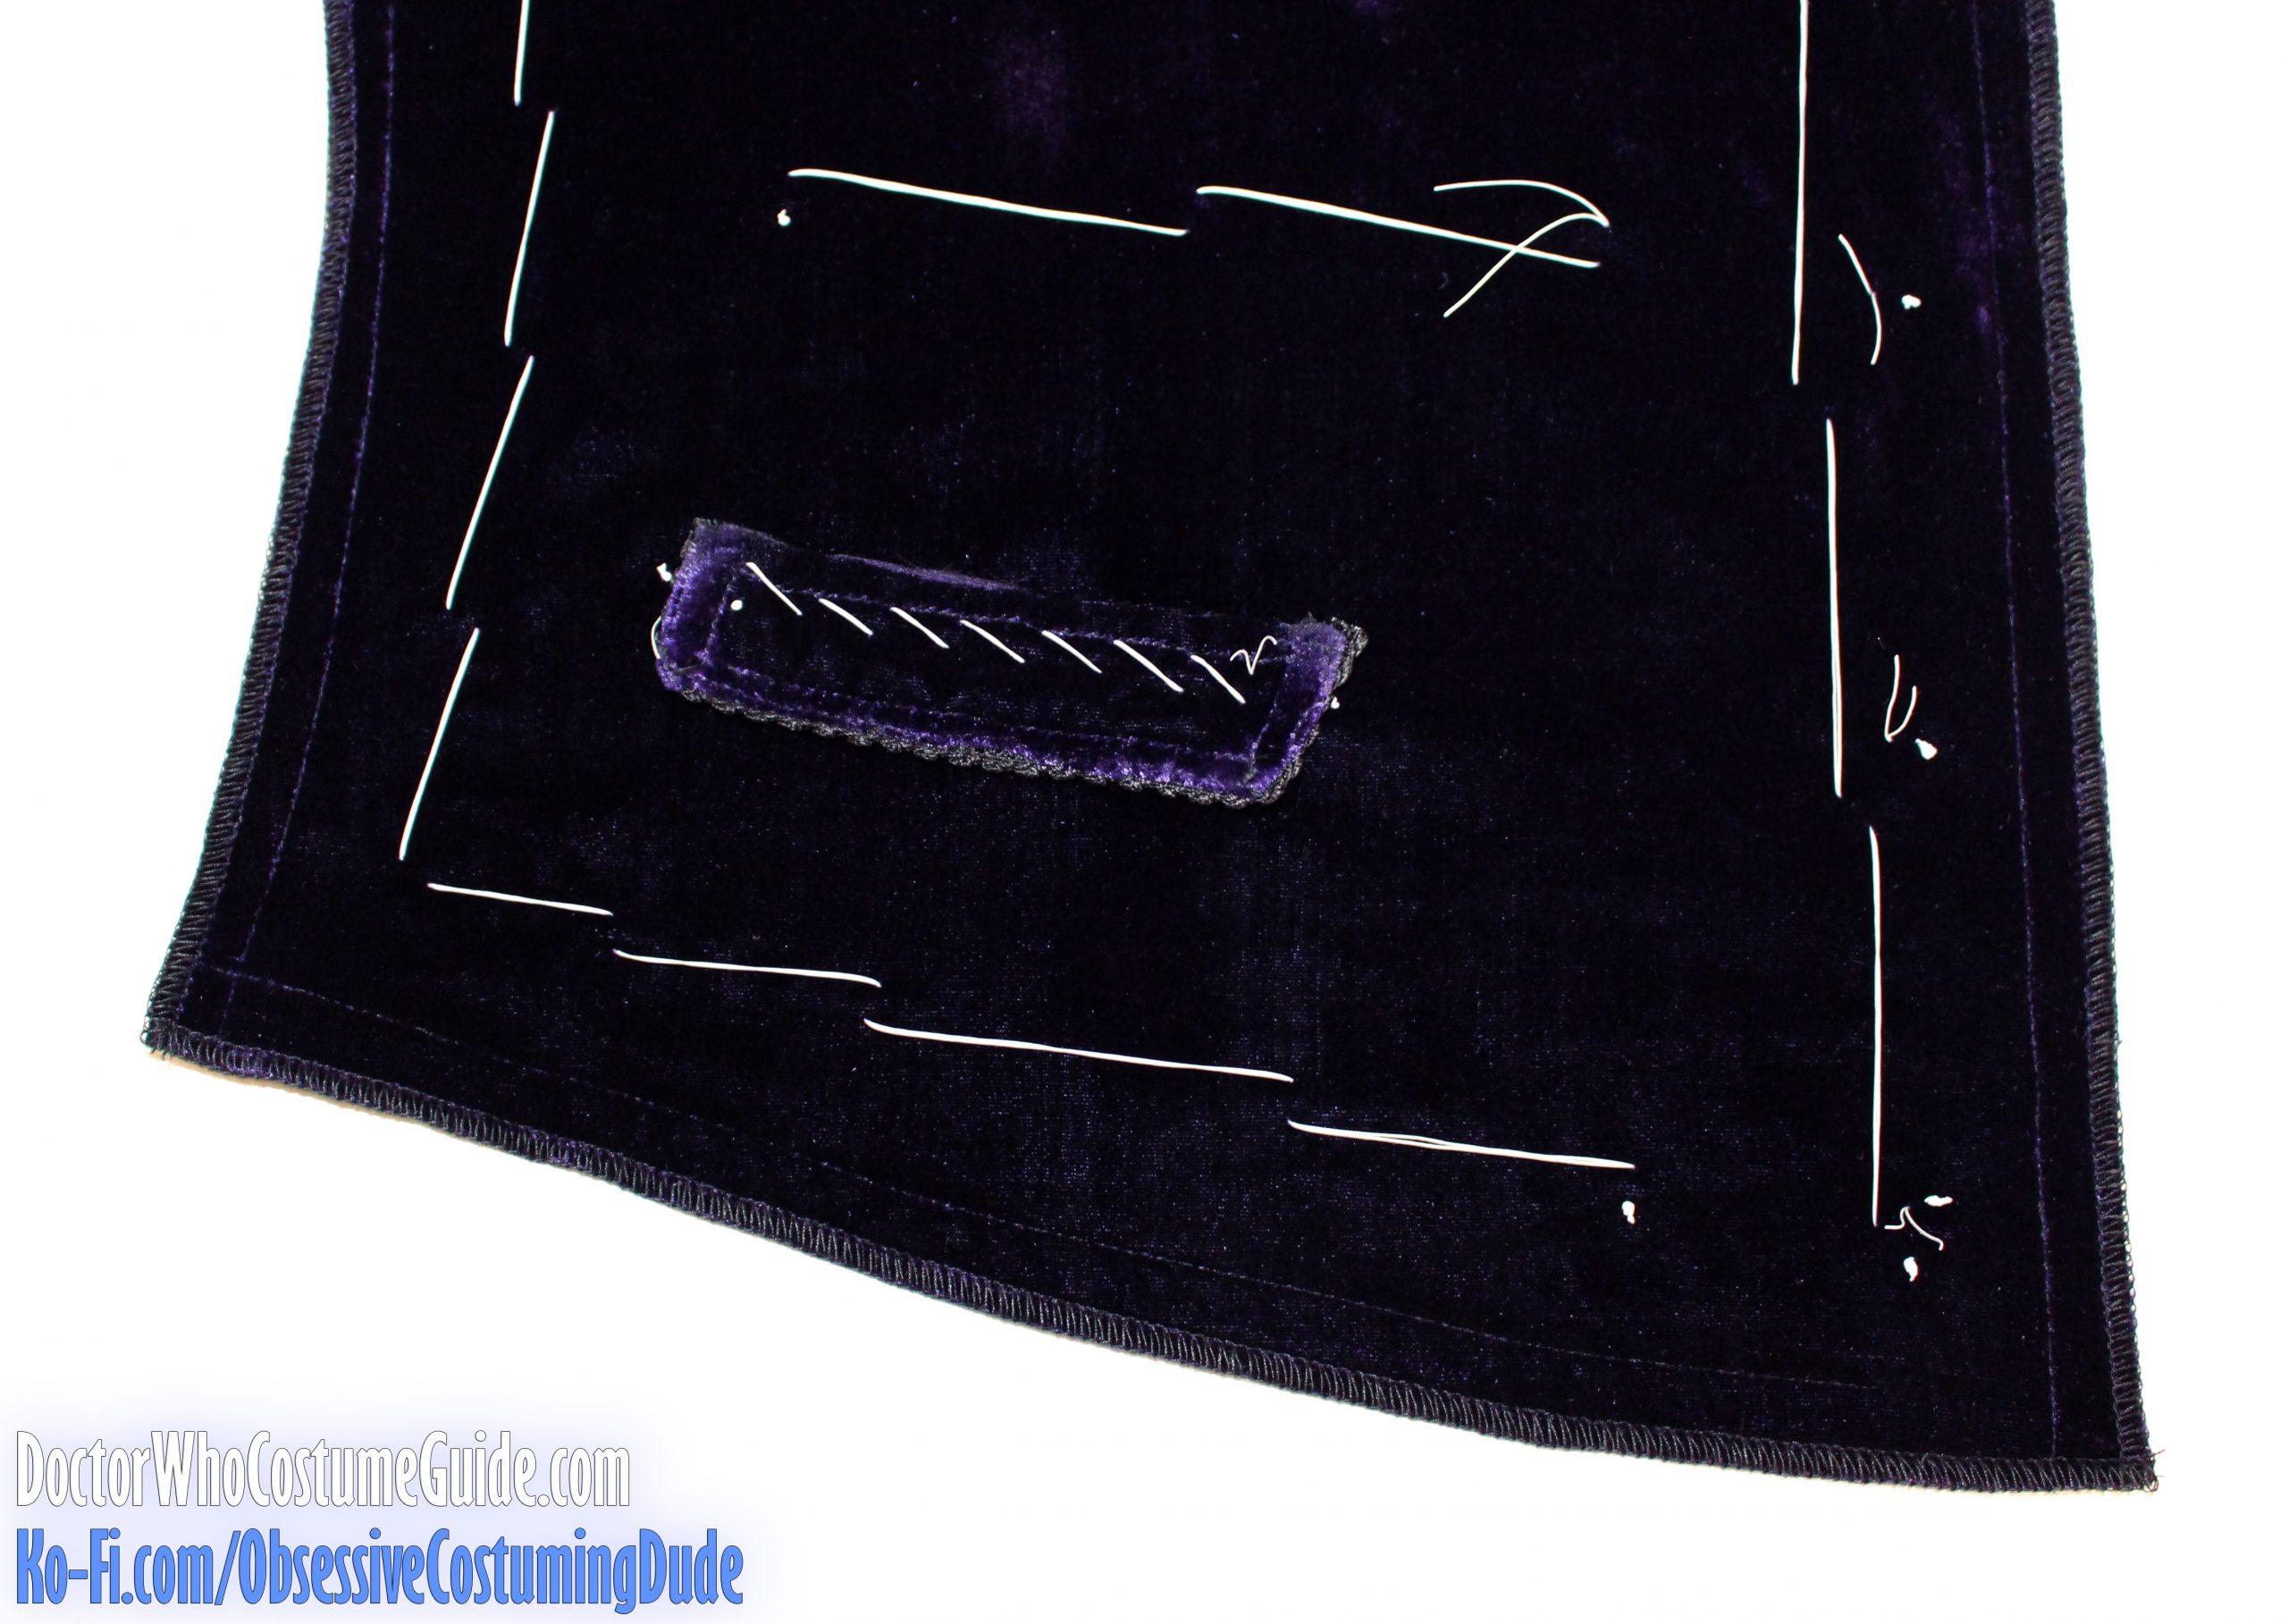
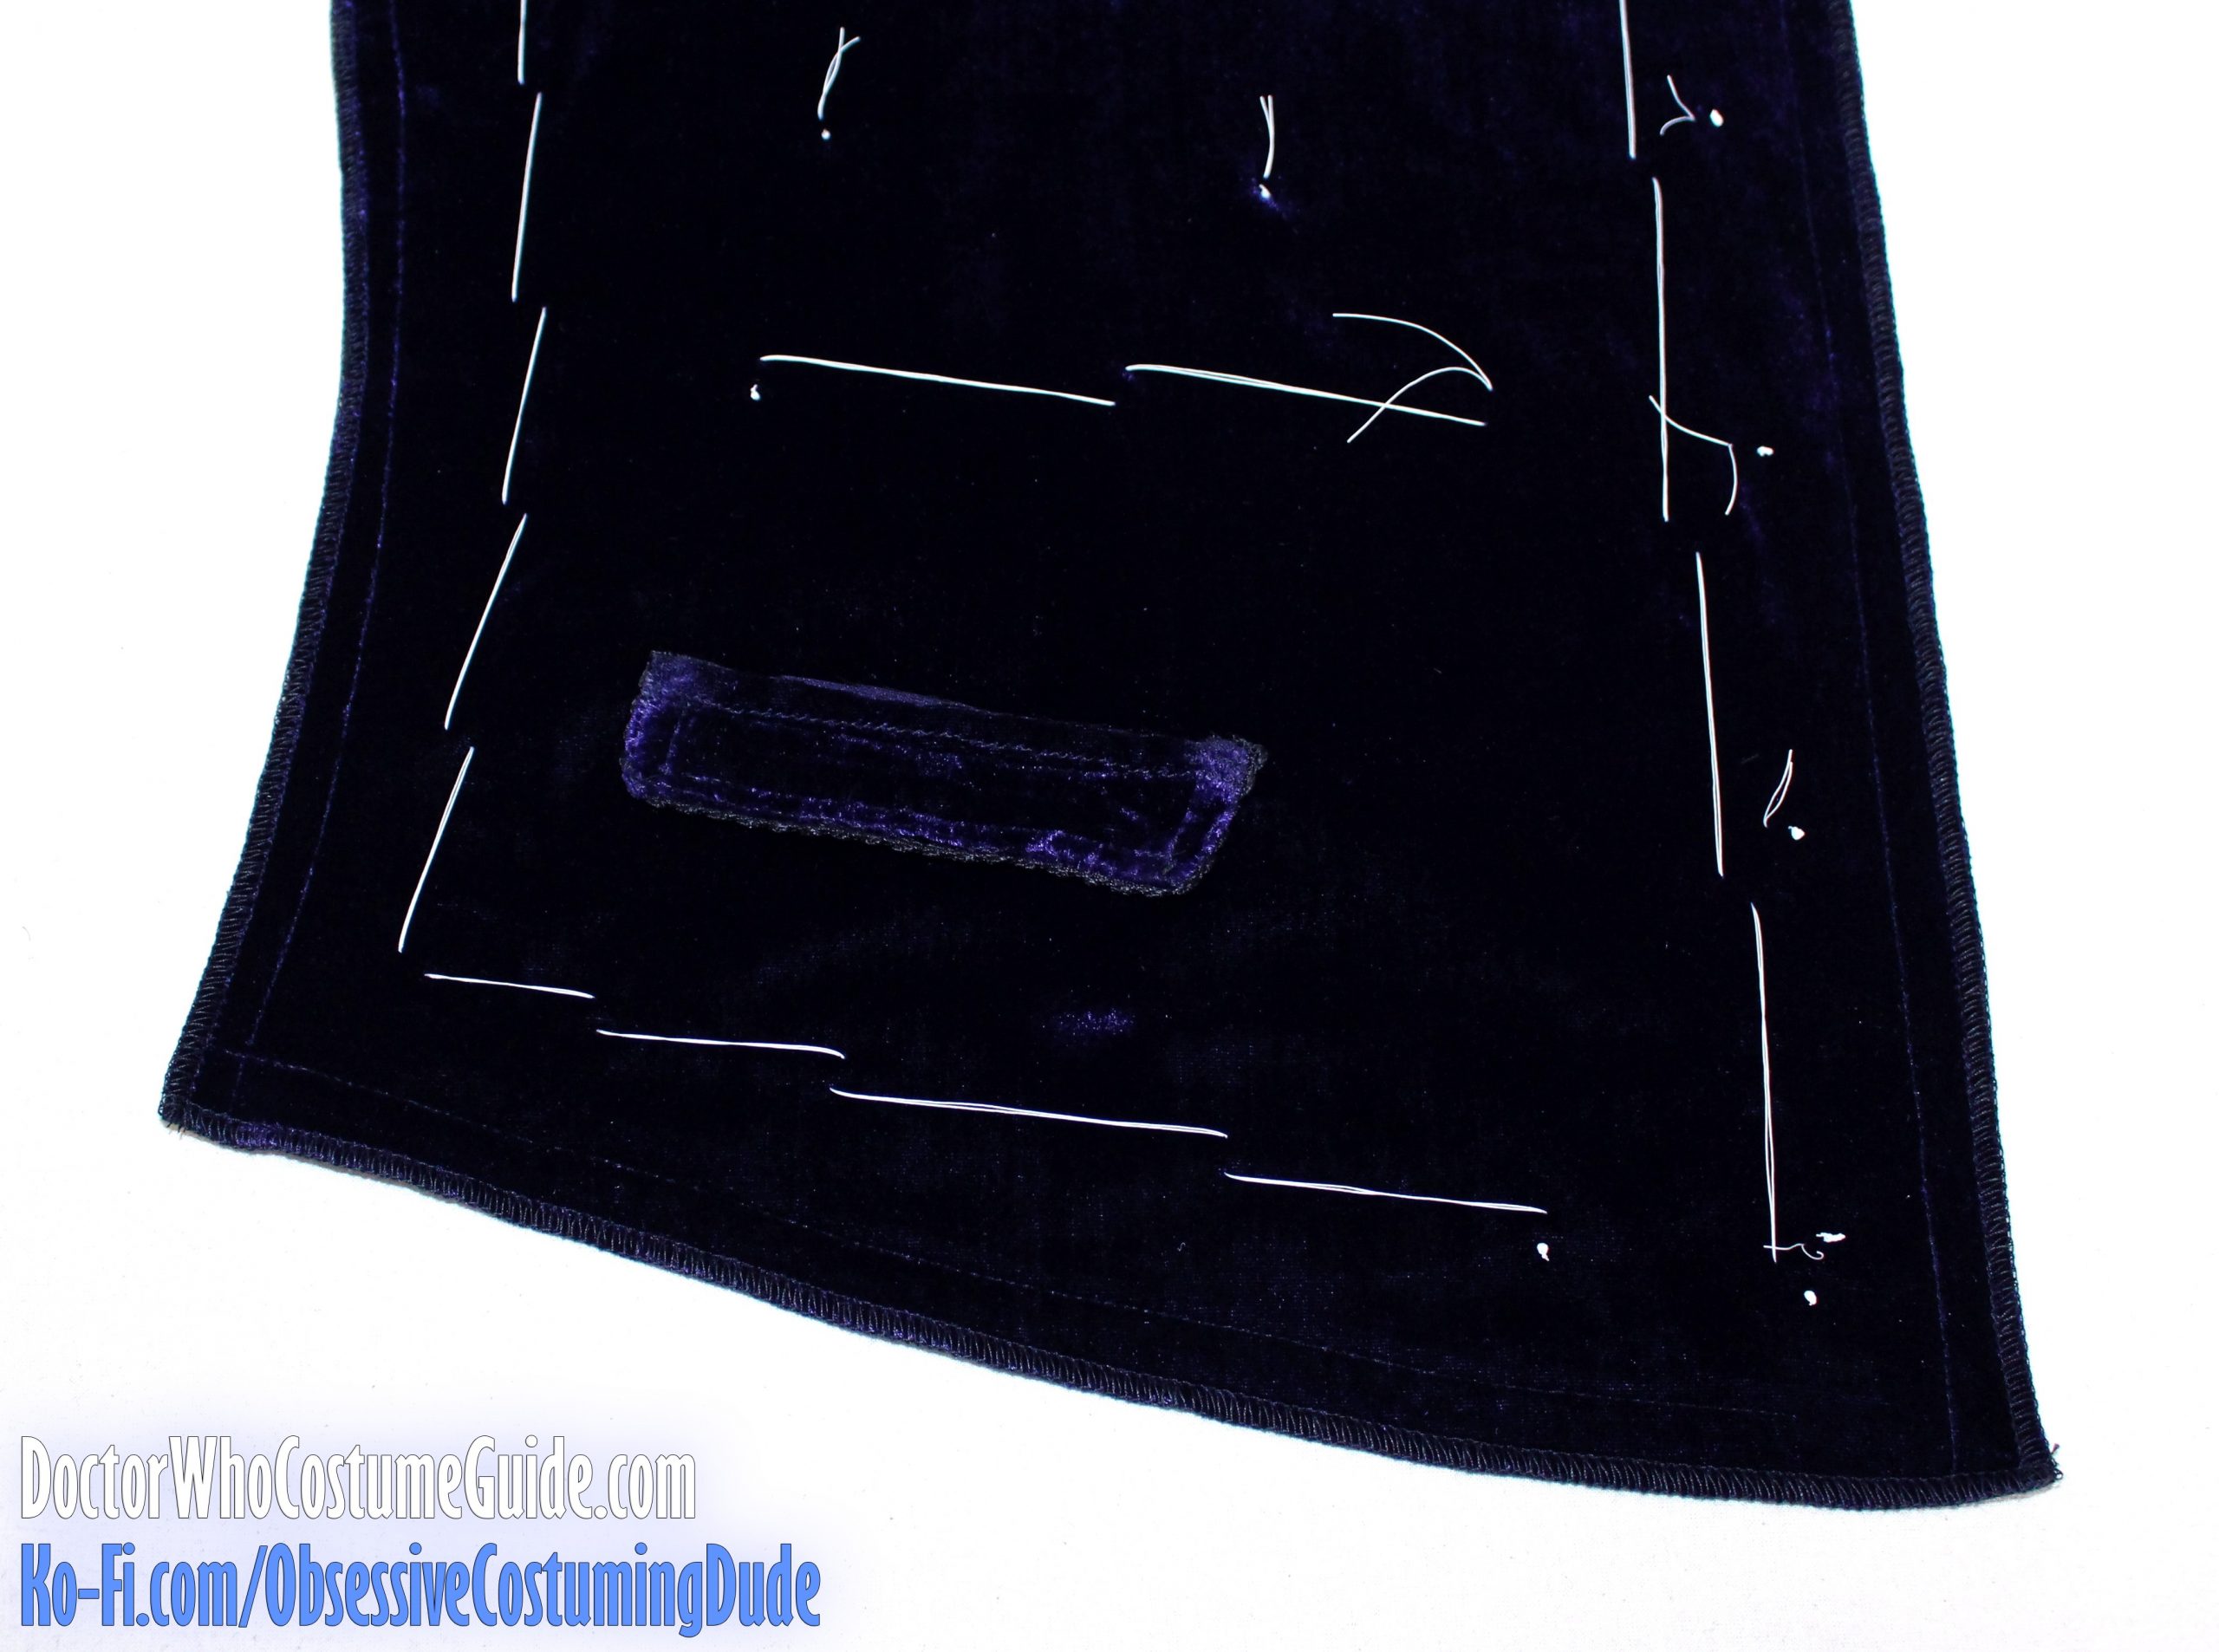
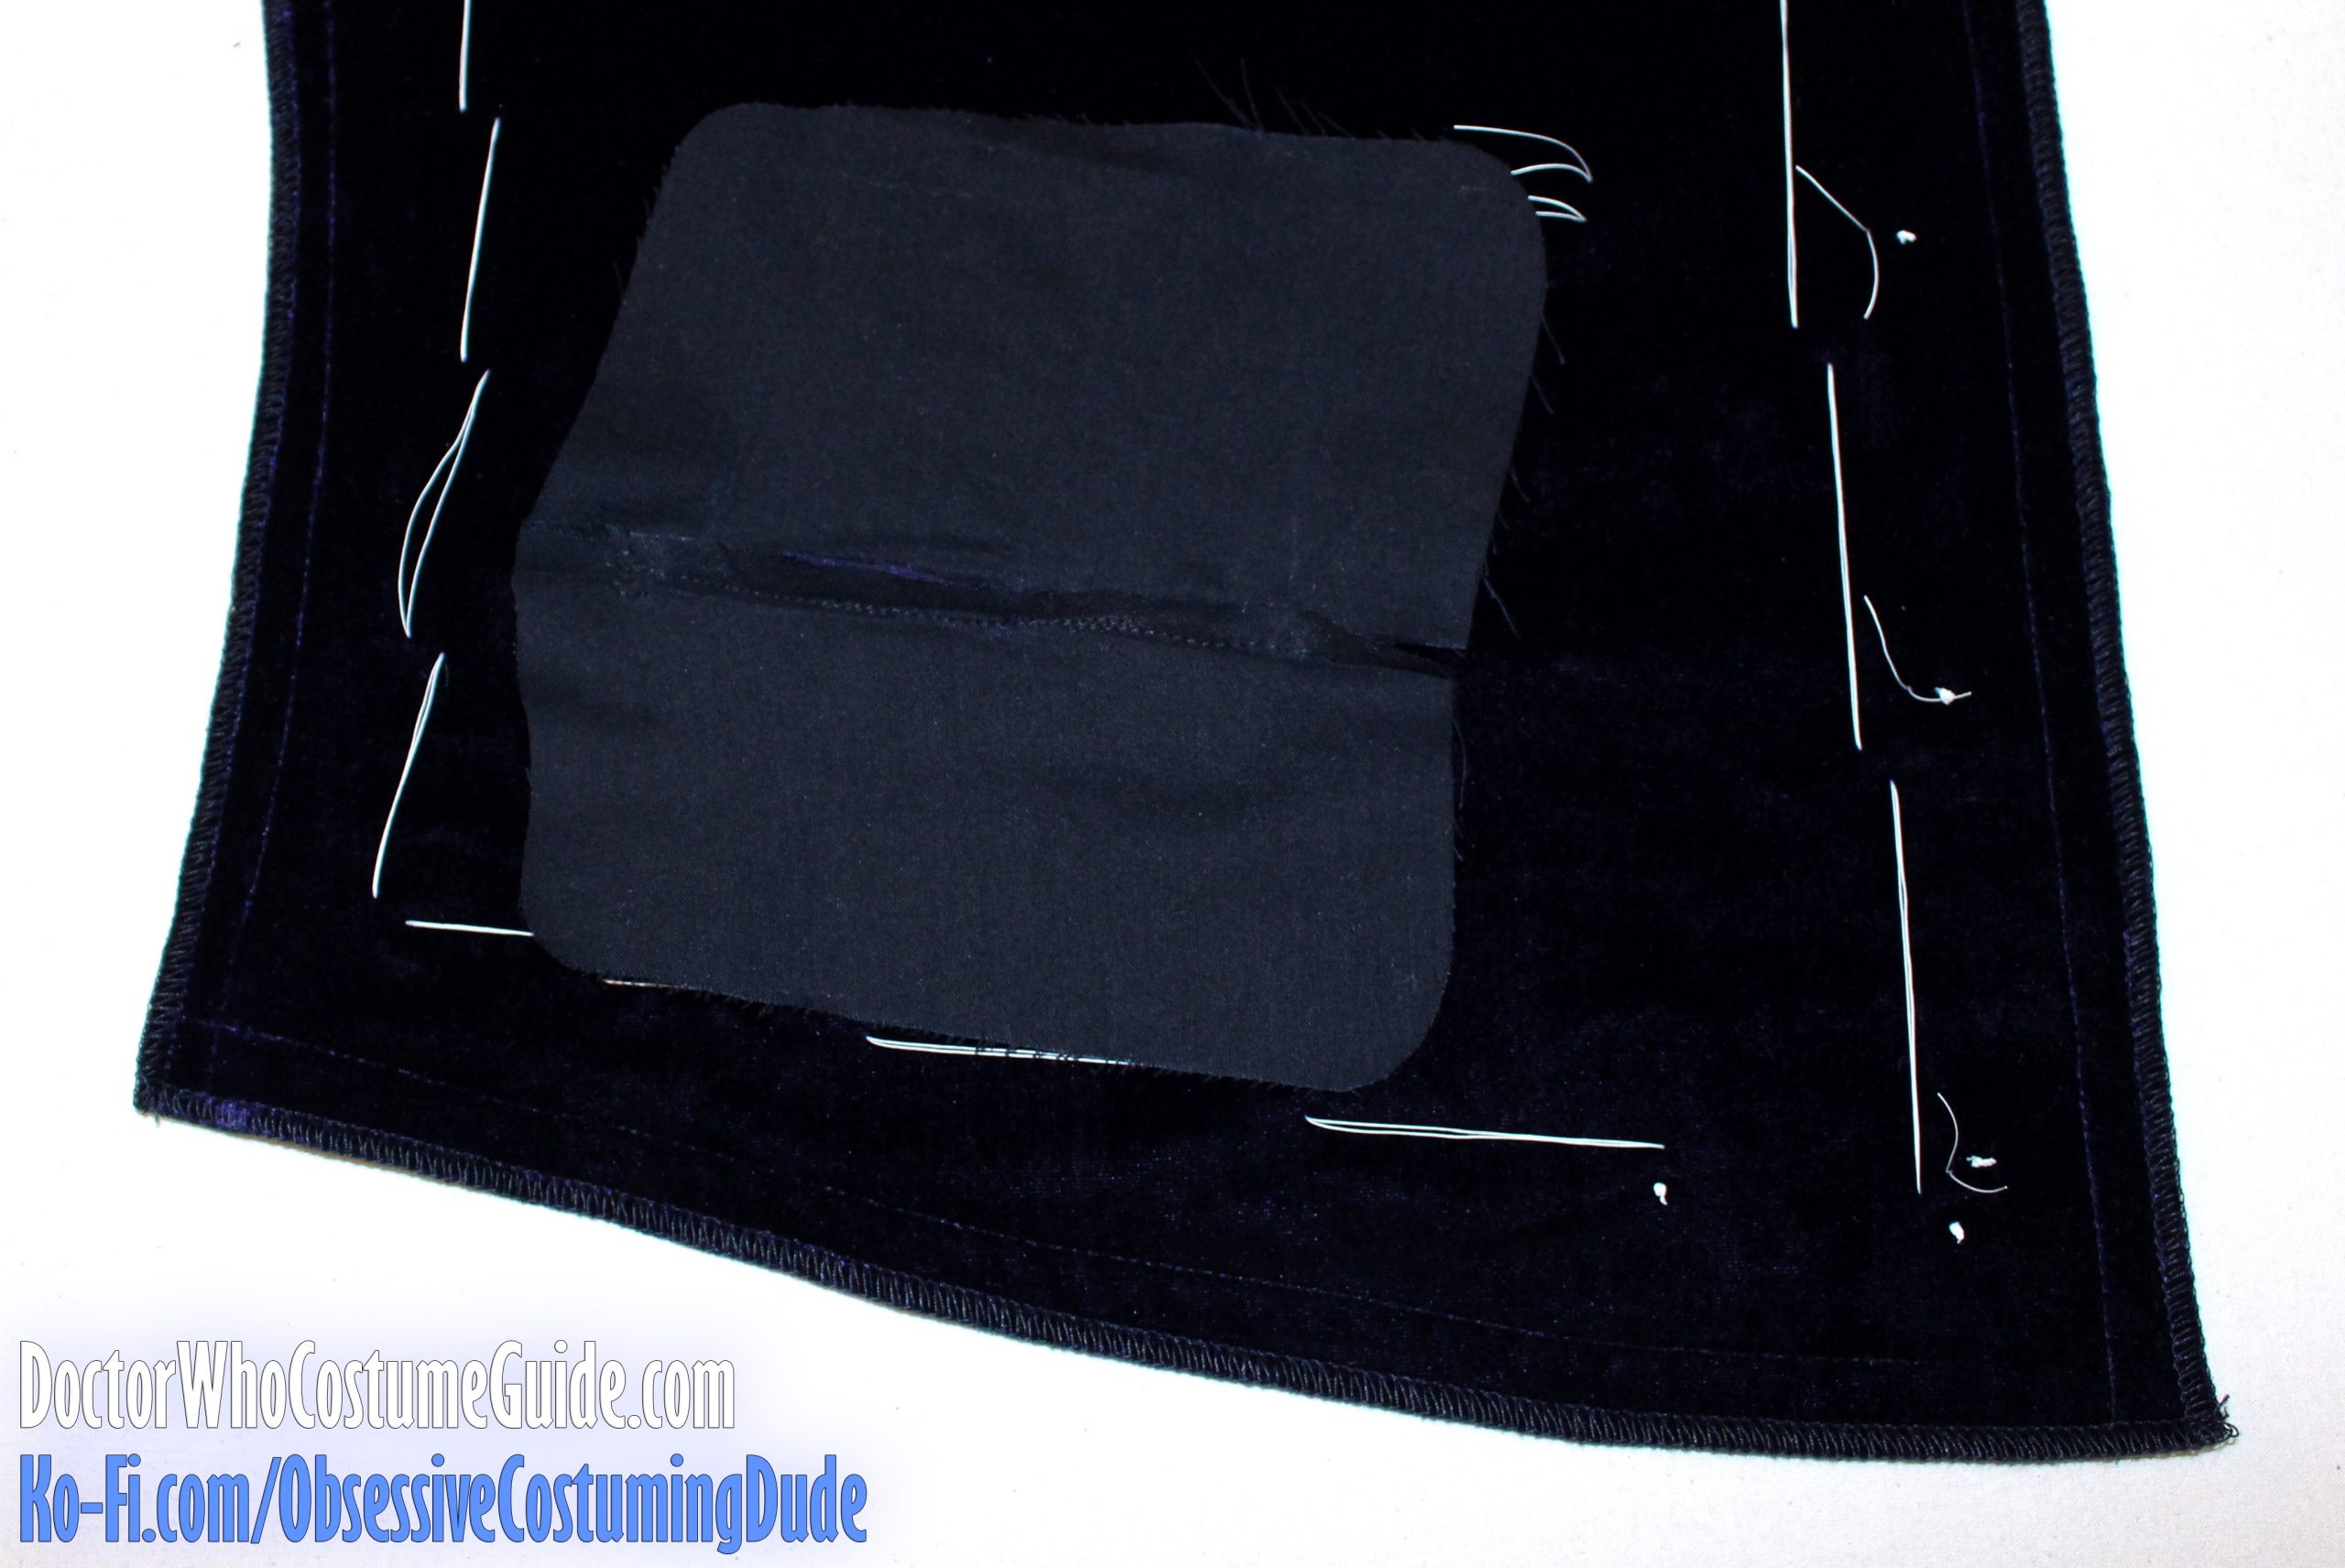
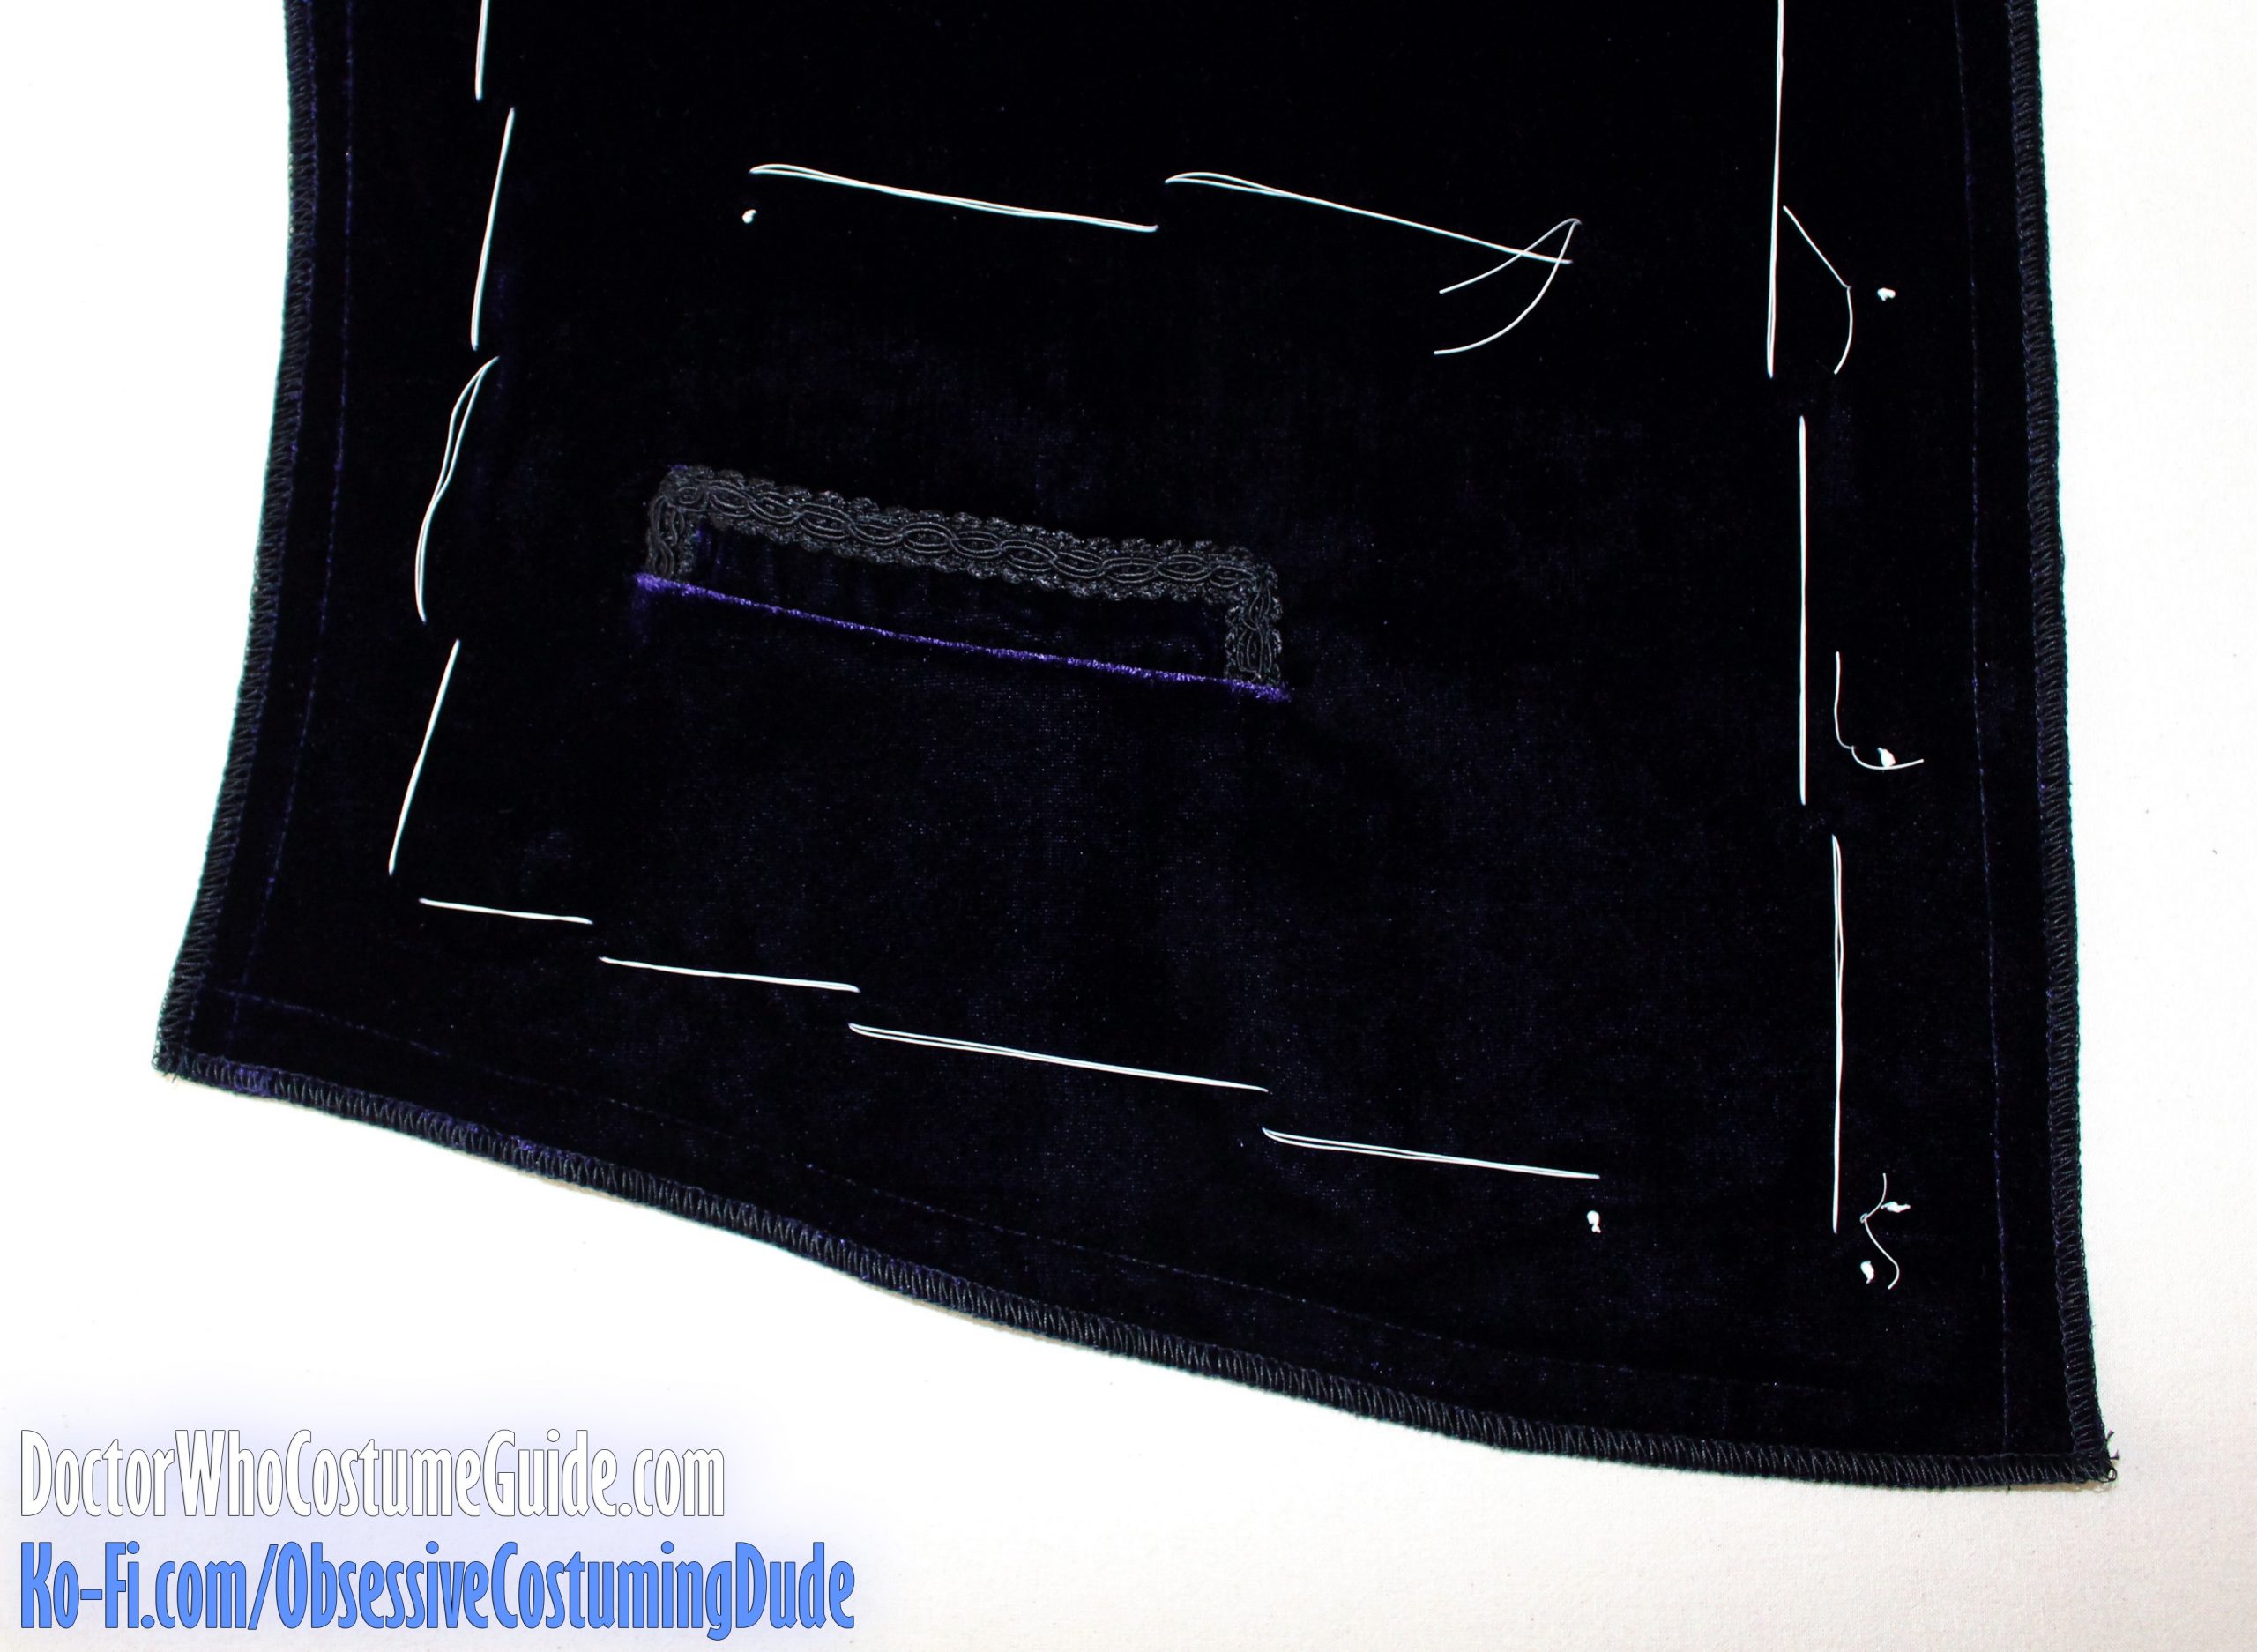
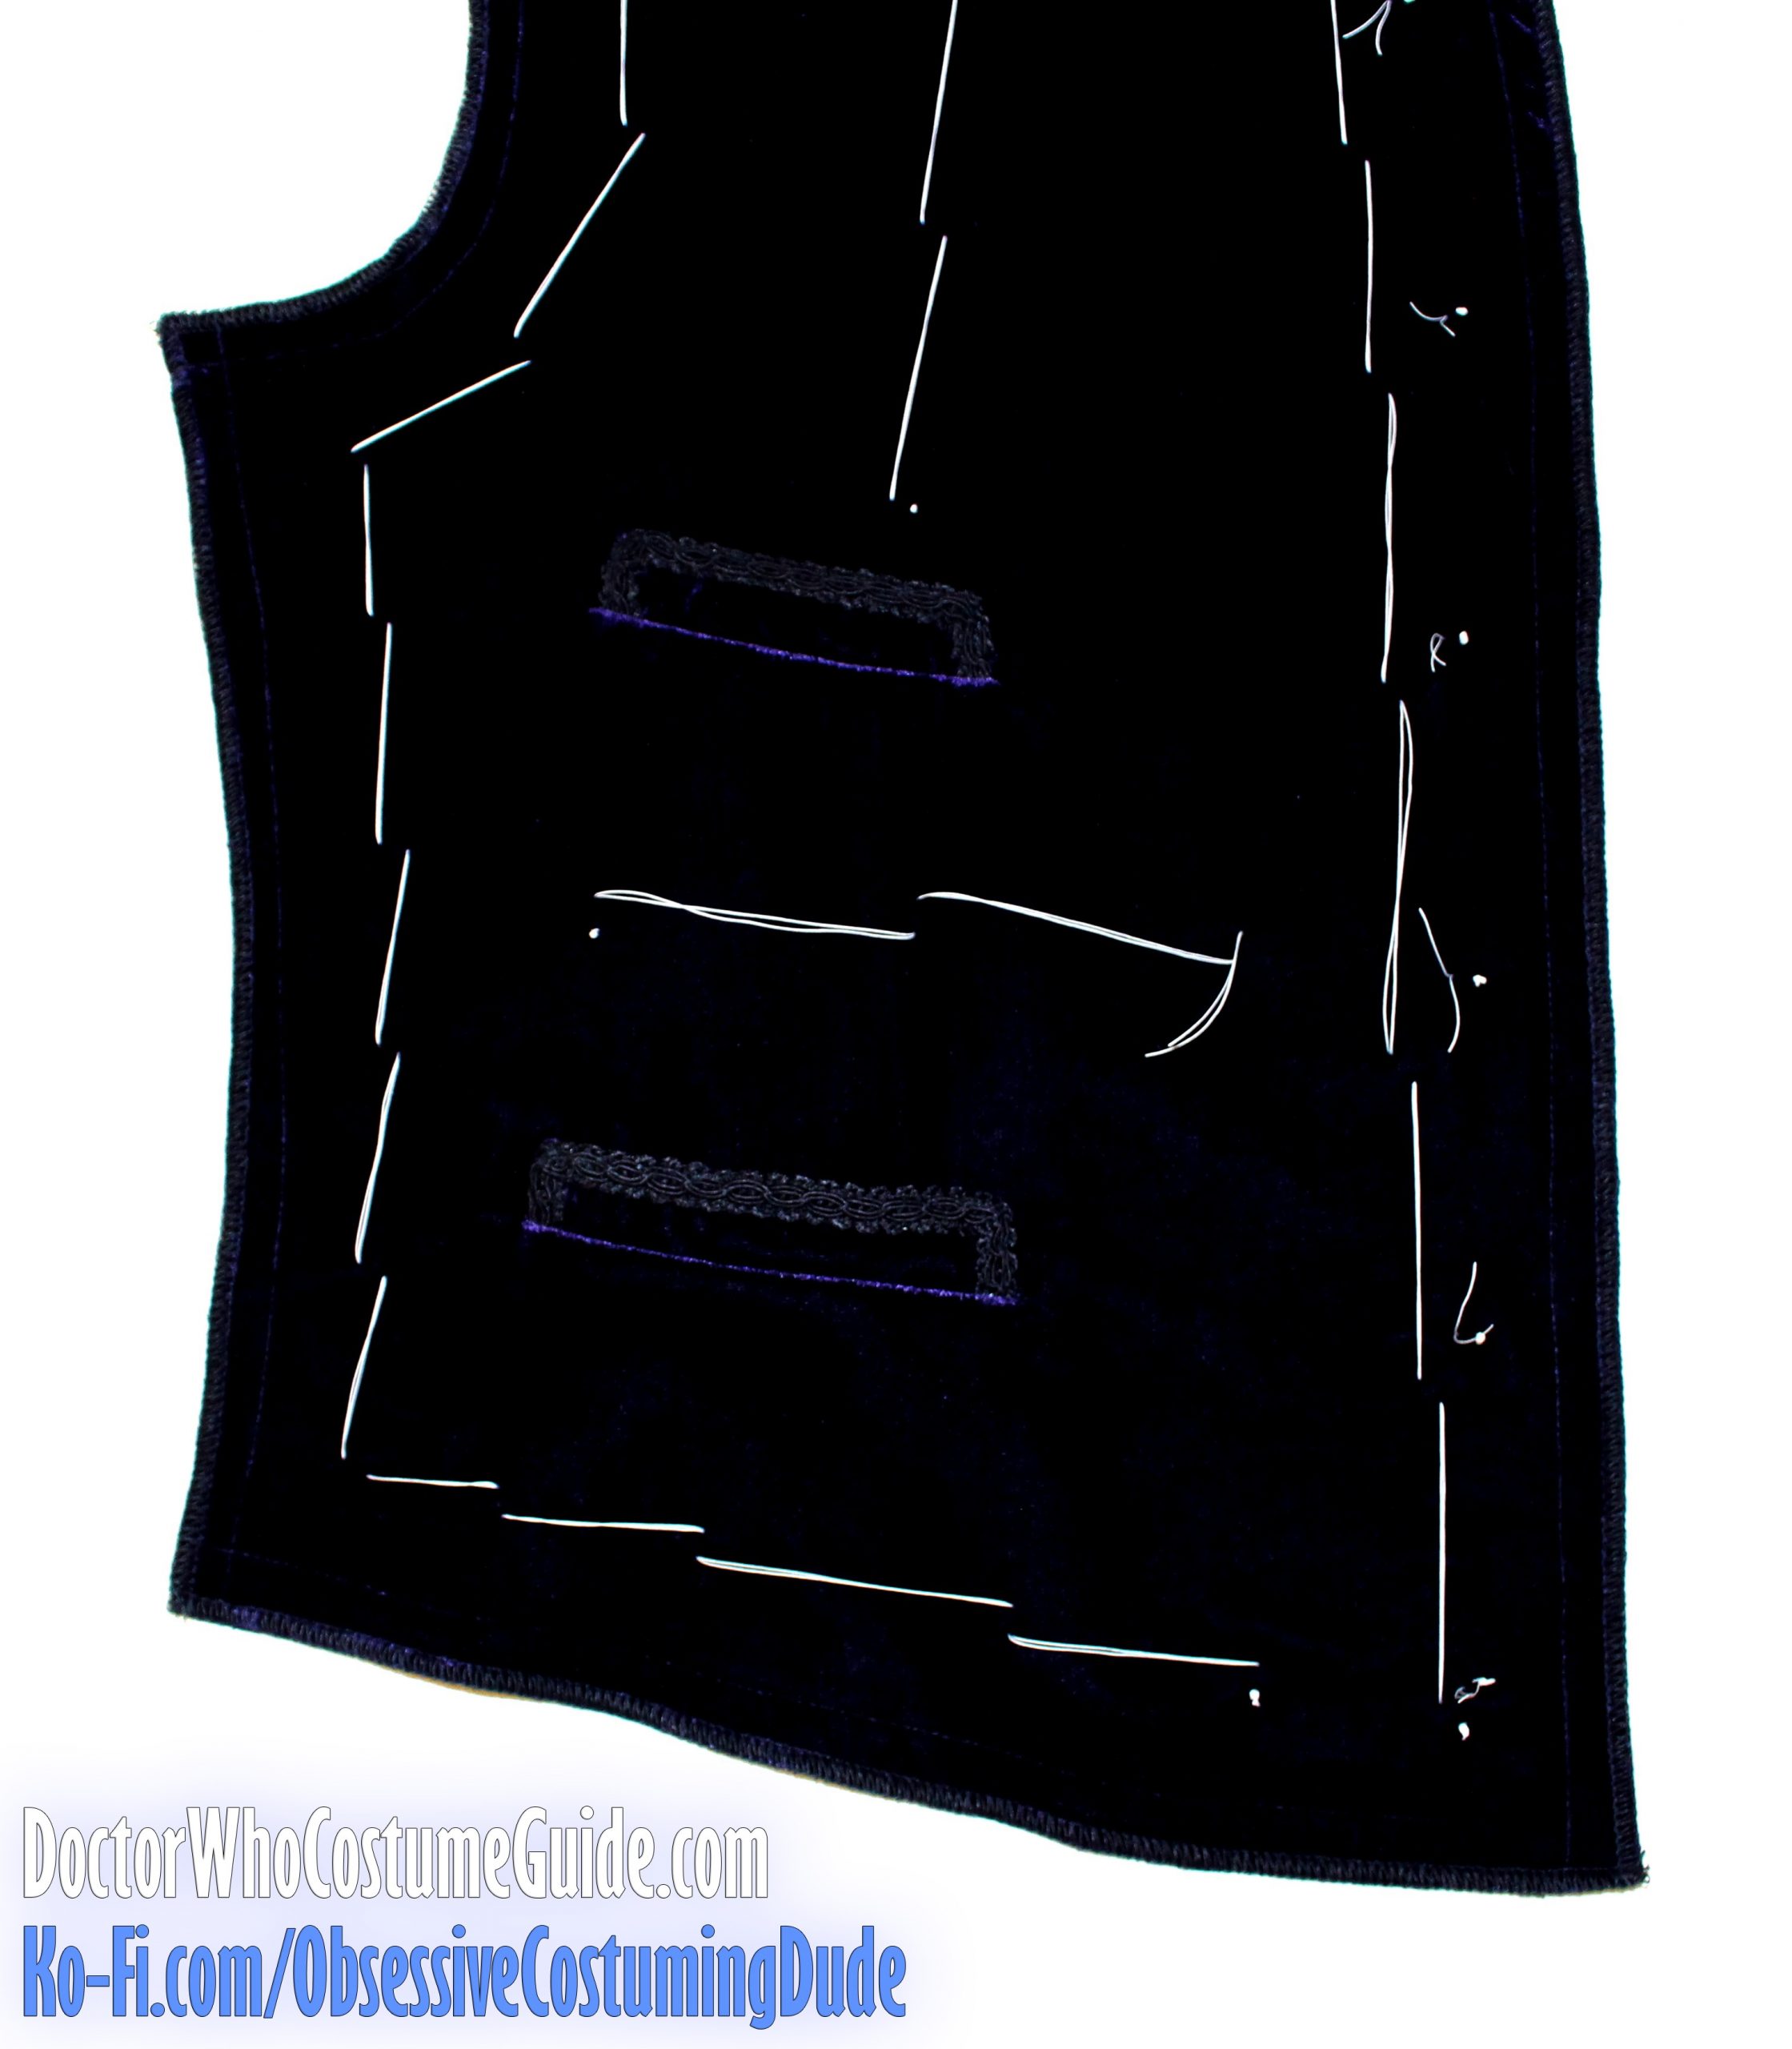
The underside of the pocket should look something like this:
Tack the sides of the pocket welt to the waistcoat front from the underside by hand.
On the front of the waistcoat, the finished pocket should look like this:
Repeat for the other pocket.
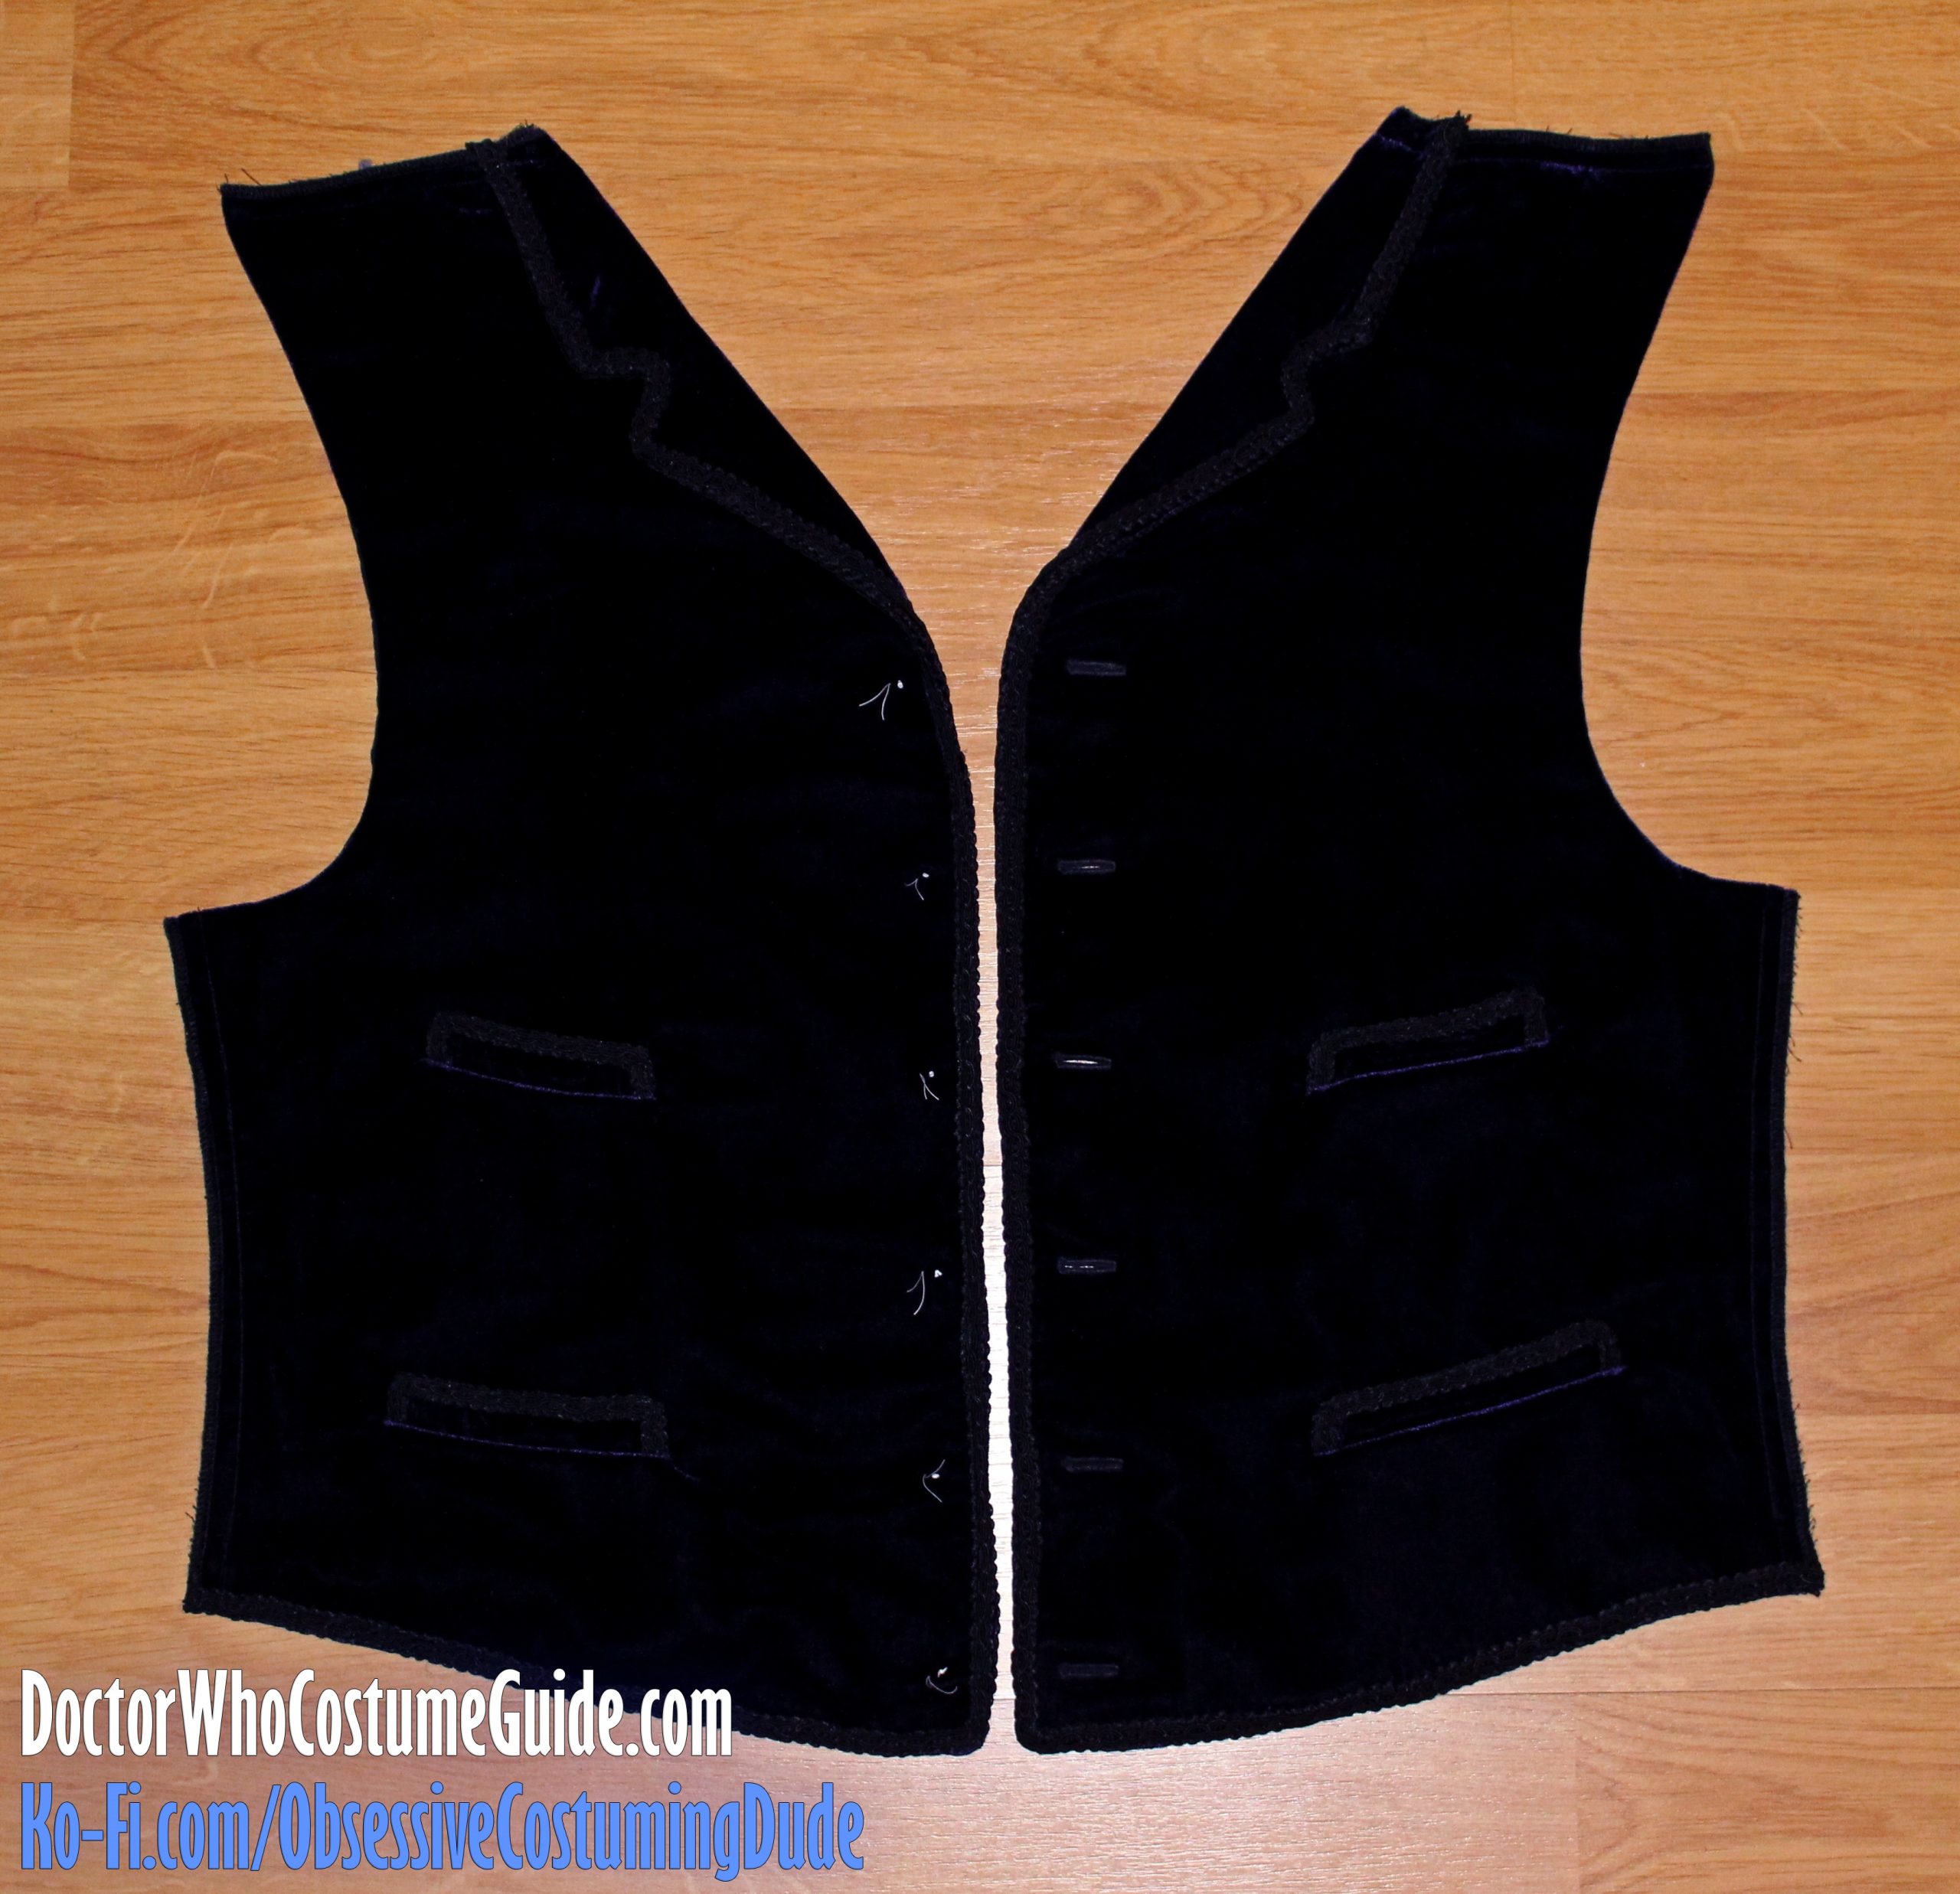
Repeat for the other waistcoat front.
(Remember that, despite the above photo, 11’s velvet waistcoat appears to have had only three pockets – no upper right pocket!)
OPTIONAL: It’s up to you whether or not to padstitch the waistcoat’s lapels.
On the one hand, it does help a bit … but on the other, that’s a lot of time and effort for a lapel that’s basically fixed at its upper end (sewn into the shoulder) and its lower corner (with the top button), so it’s not like the lapel will ever be flapping around wildly.
Proceed however you wish, but I do recommend at least establishing the roll line with a single row of tight padstitching.
On the right side of the waistcoat front, slide a small washcloth or towel underneath the lapel and gently steam the lapel to set the roll line. Don’t press the iron onto the fabric (this will likely crush the velvet’s pile); just let it gently rest or hover on the hair canvas/flannel and either lightly or quickly steam the area.
Repeat for the other waistcoat front.
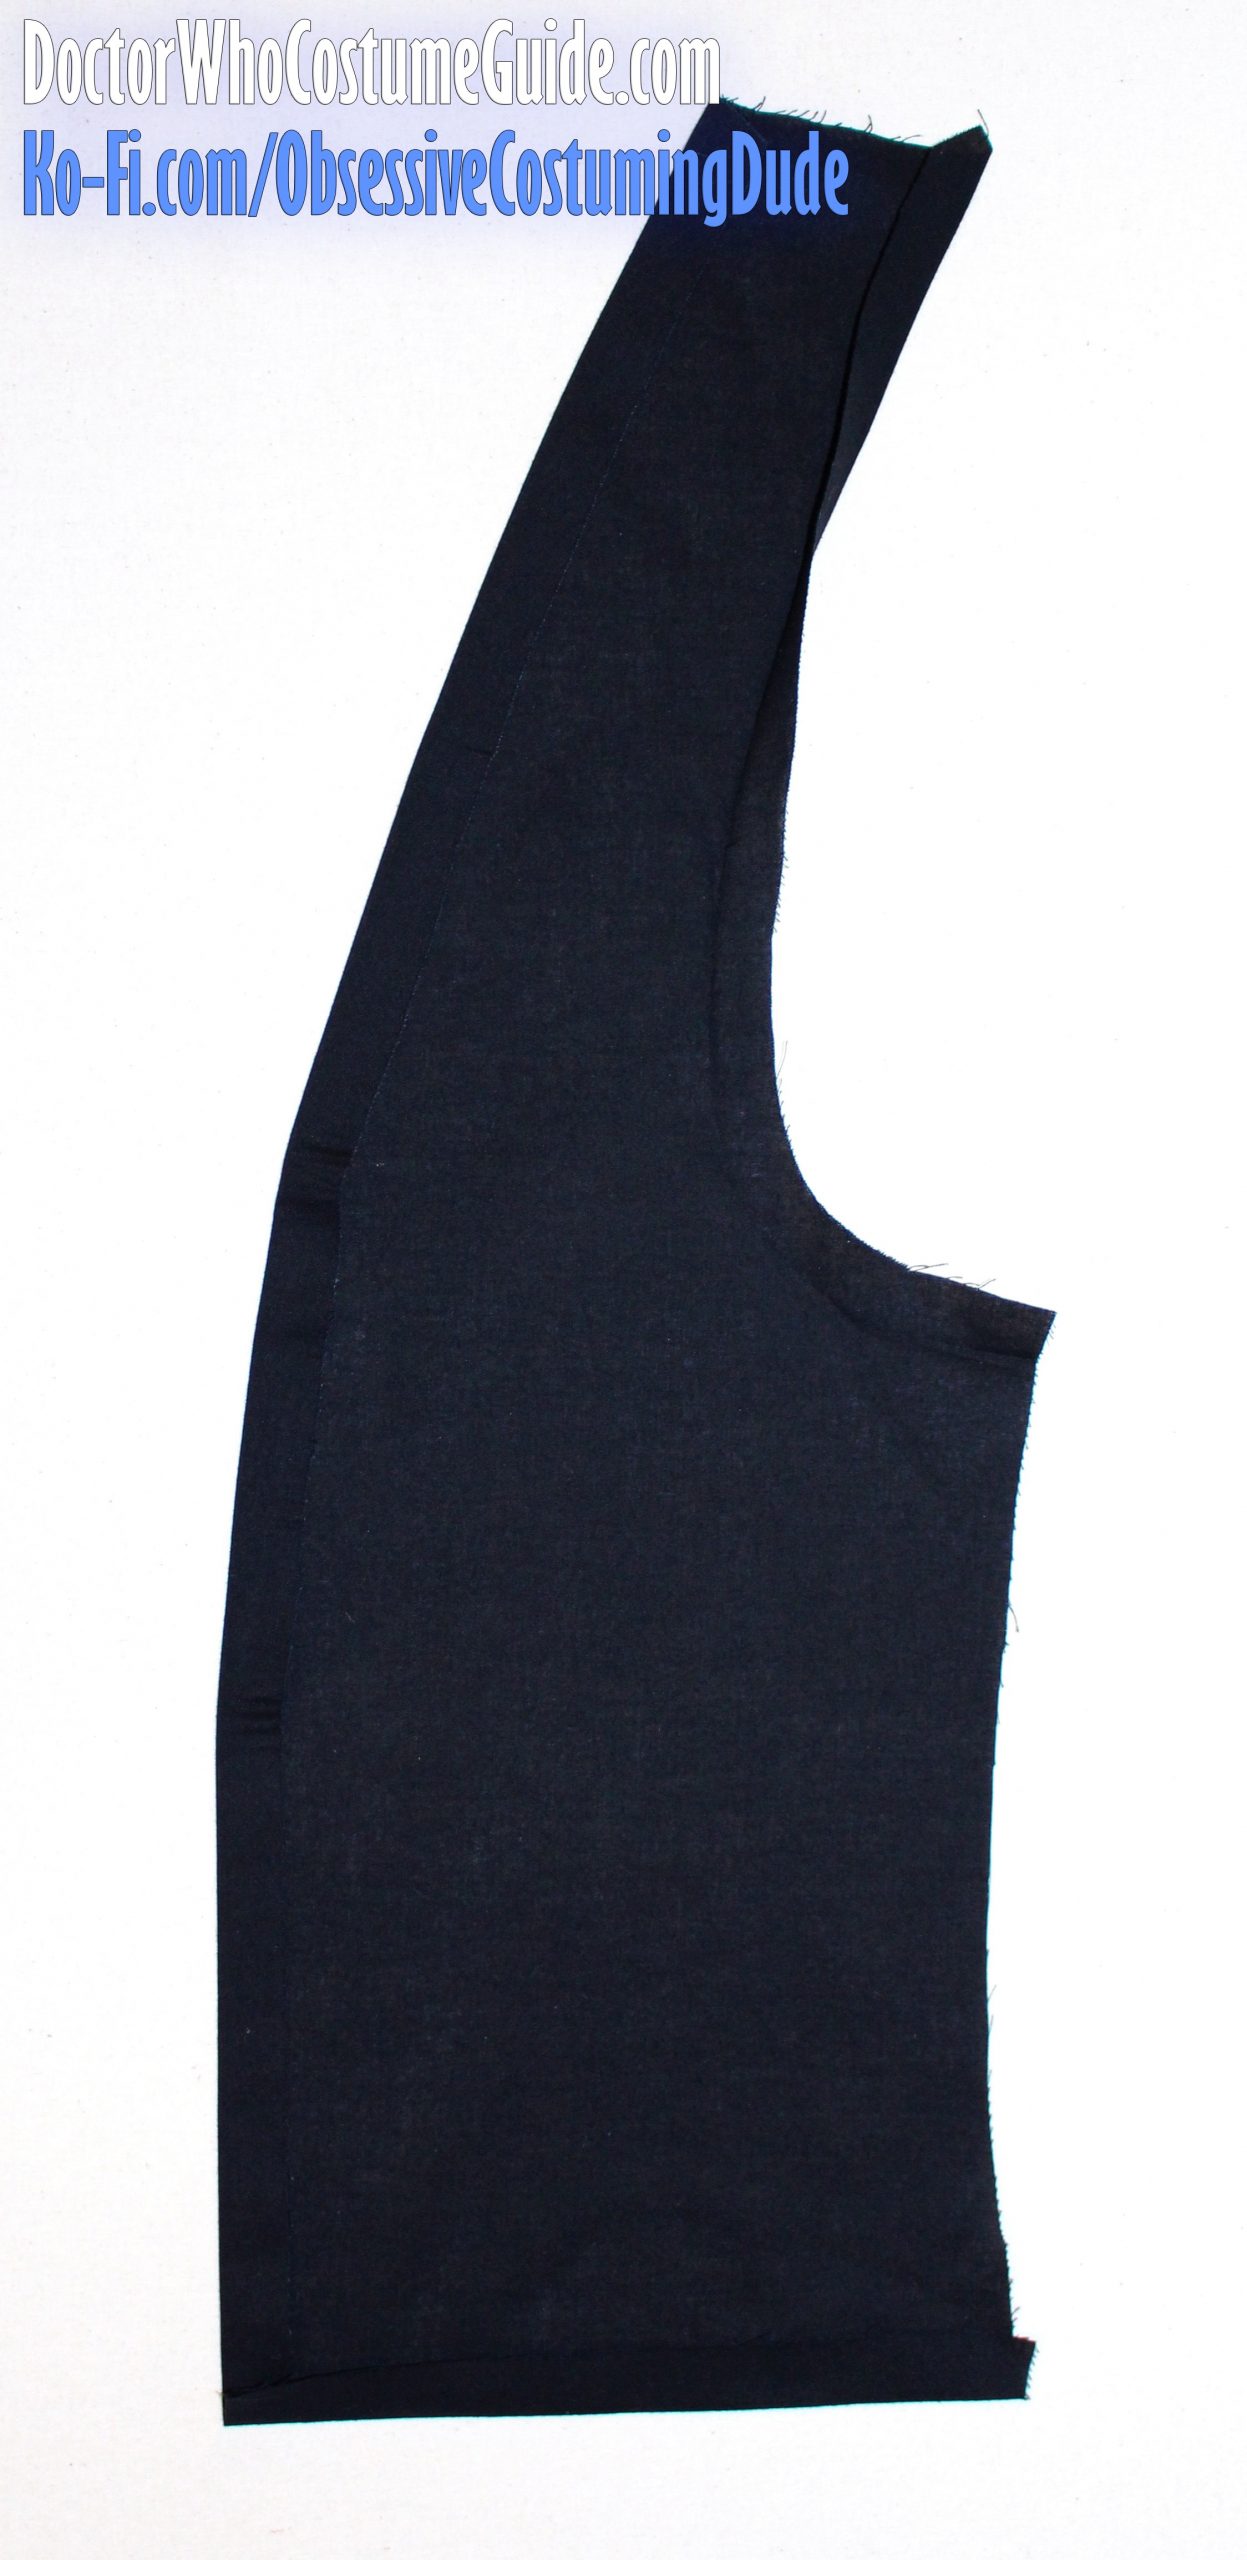
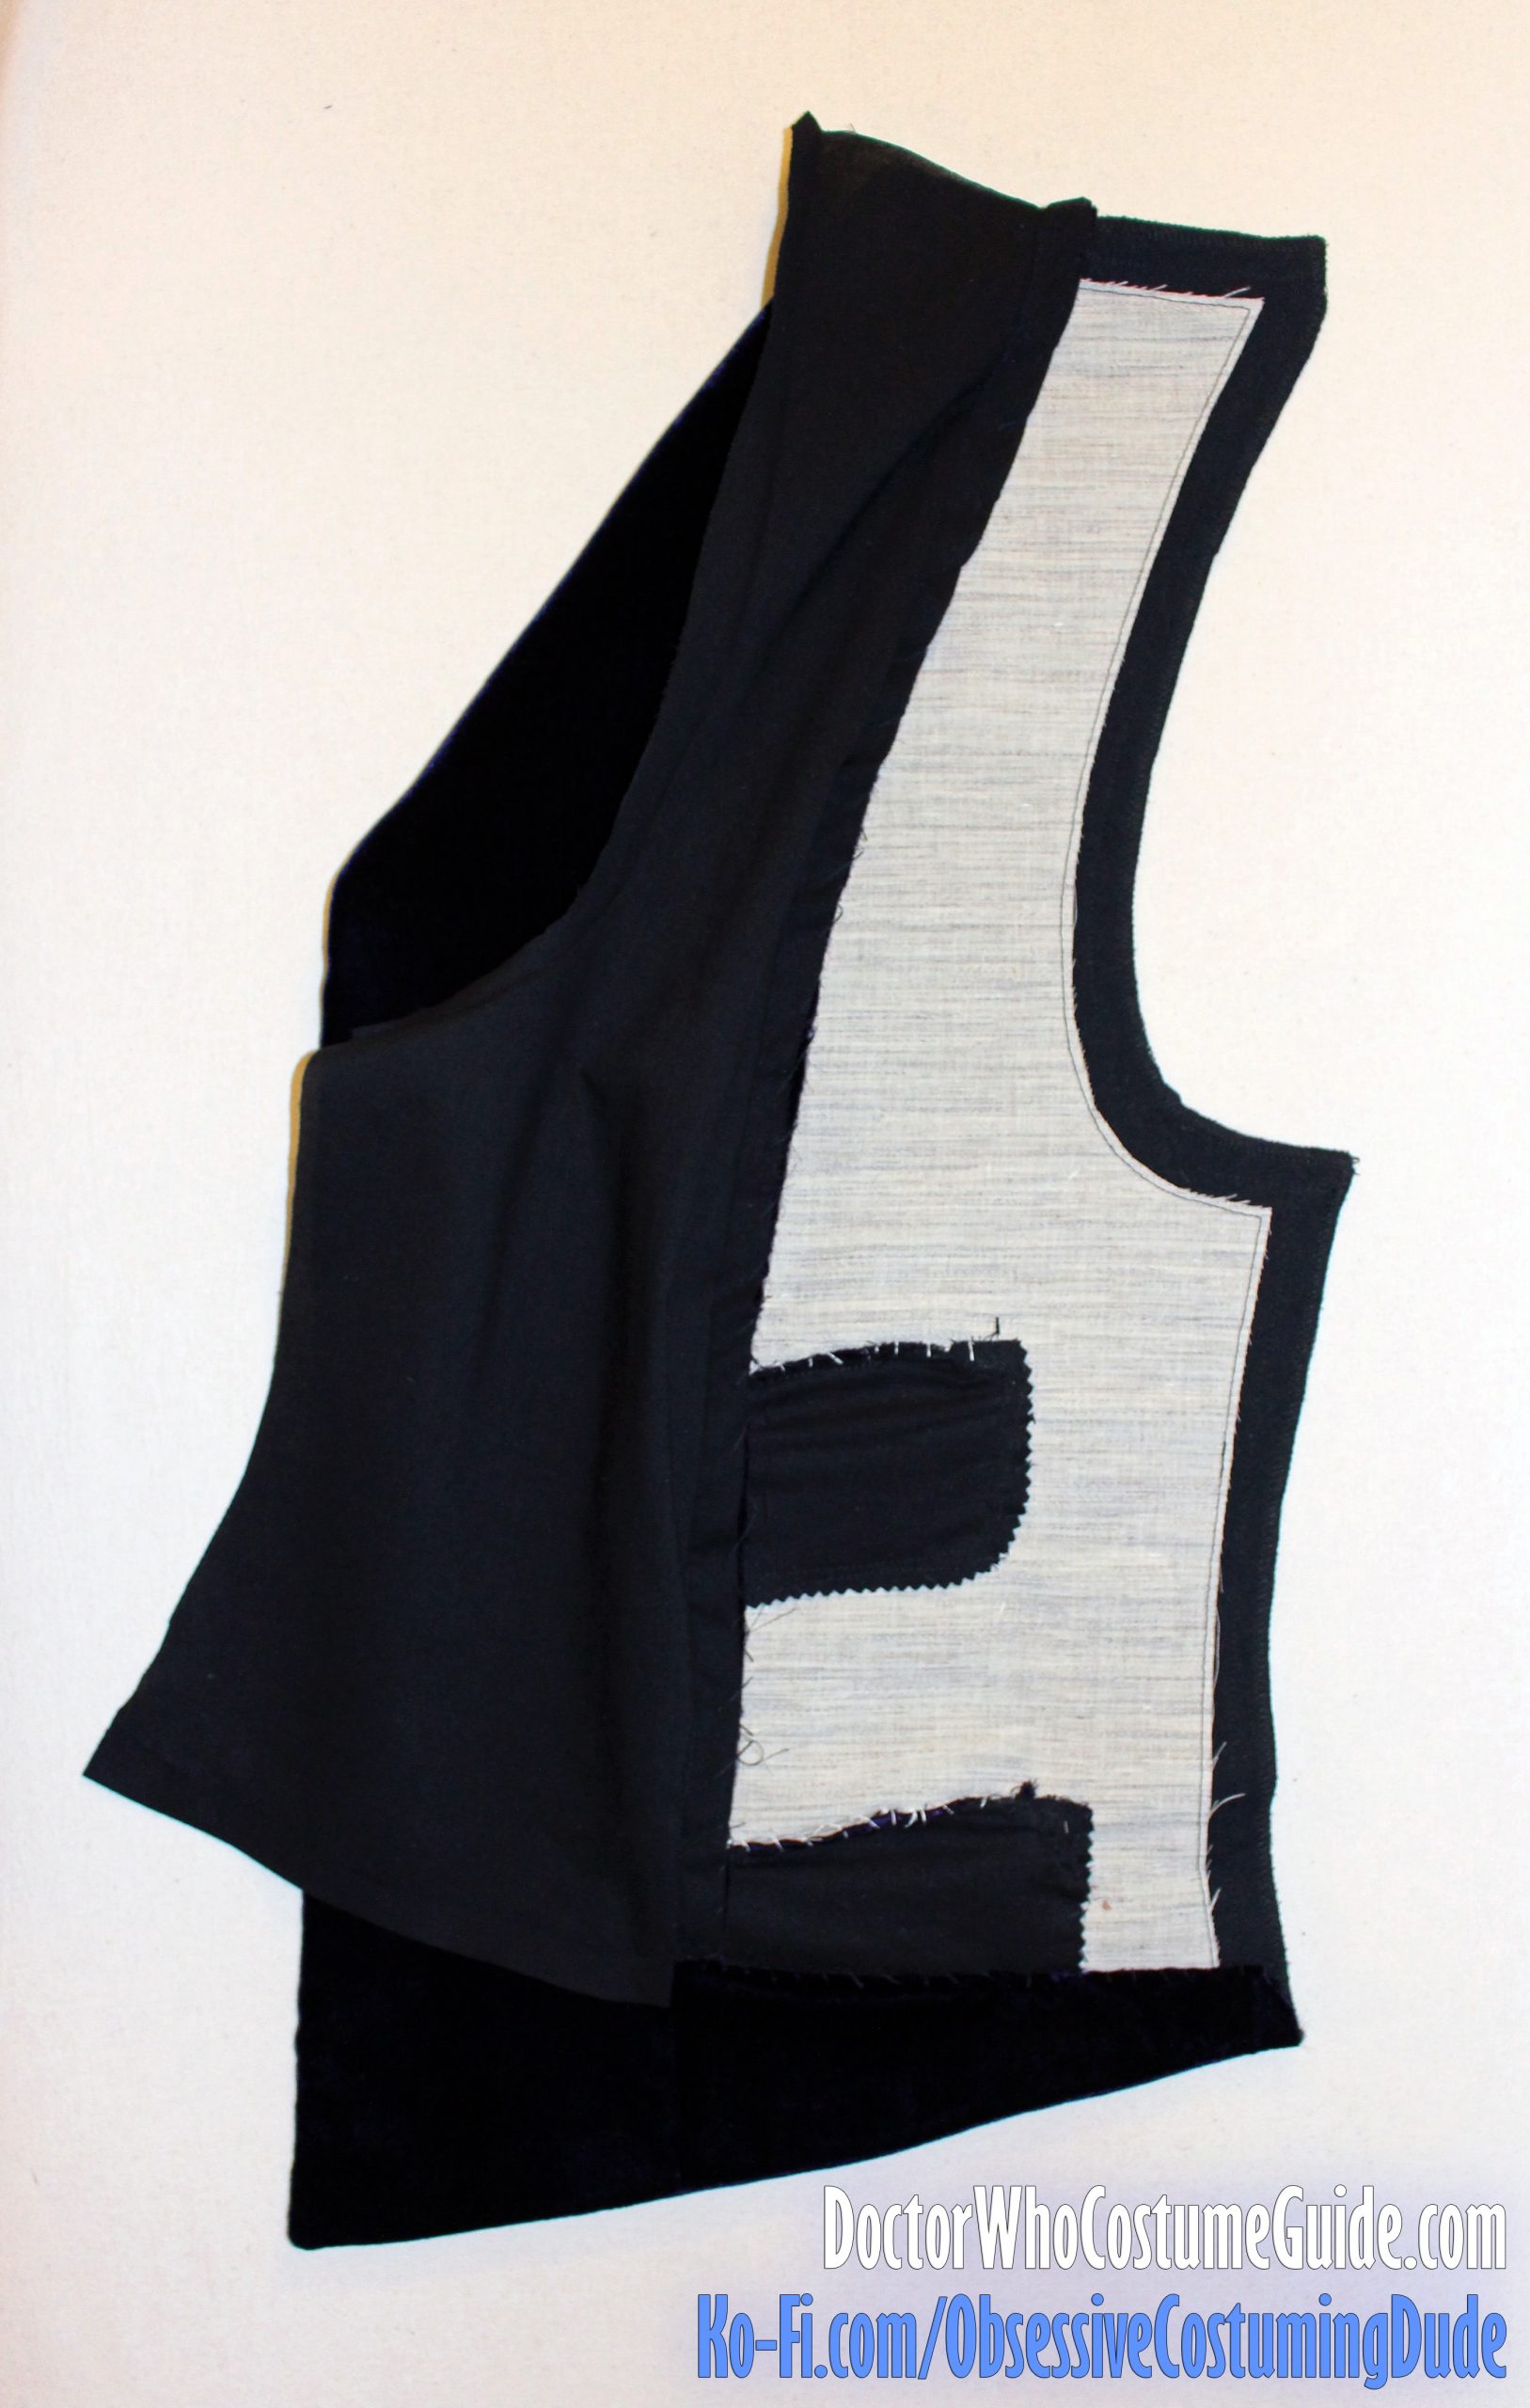
Press the front and armhole seam allowances under on the front lining (piece D).
(Better to press them in advance than risk damaging the velvet by pressing them later.)
Also, press the ⅝” hem allowance upward.
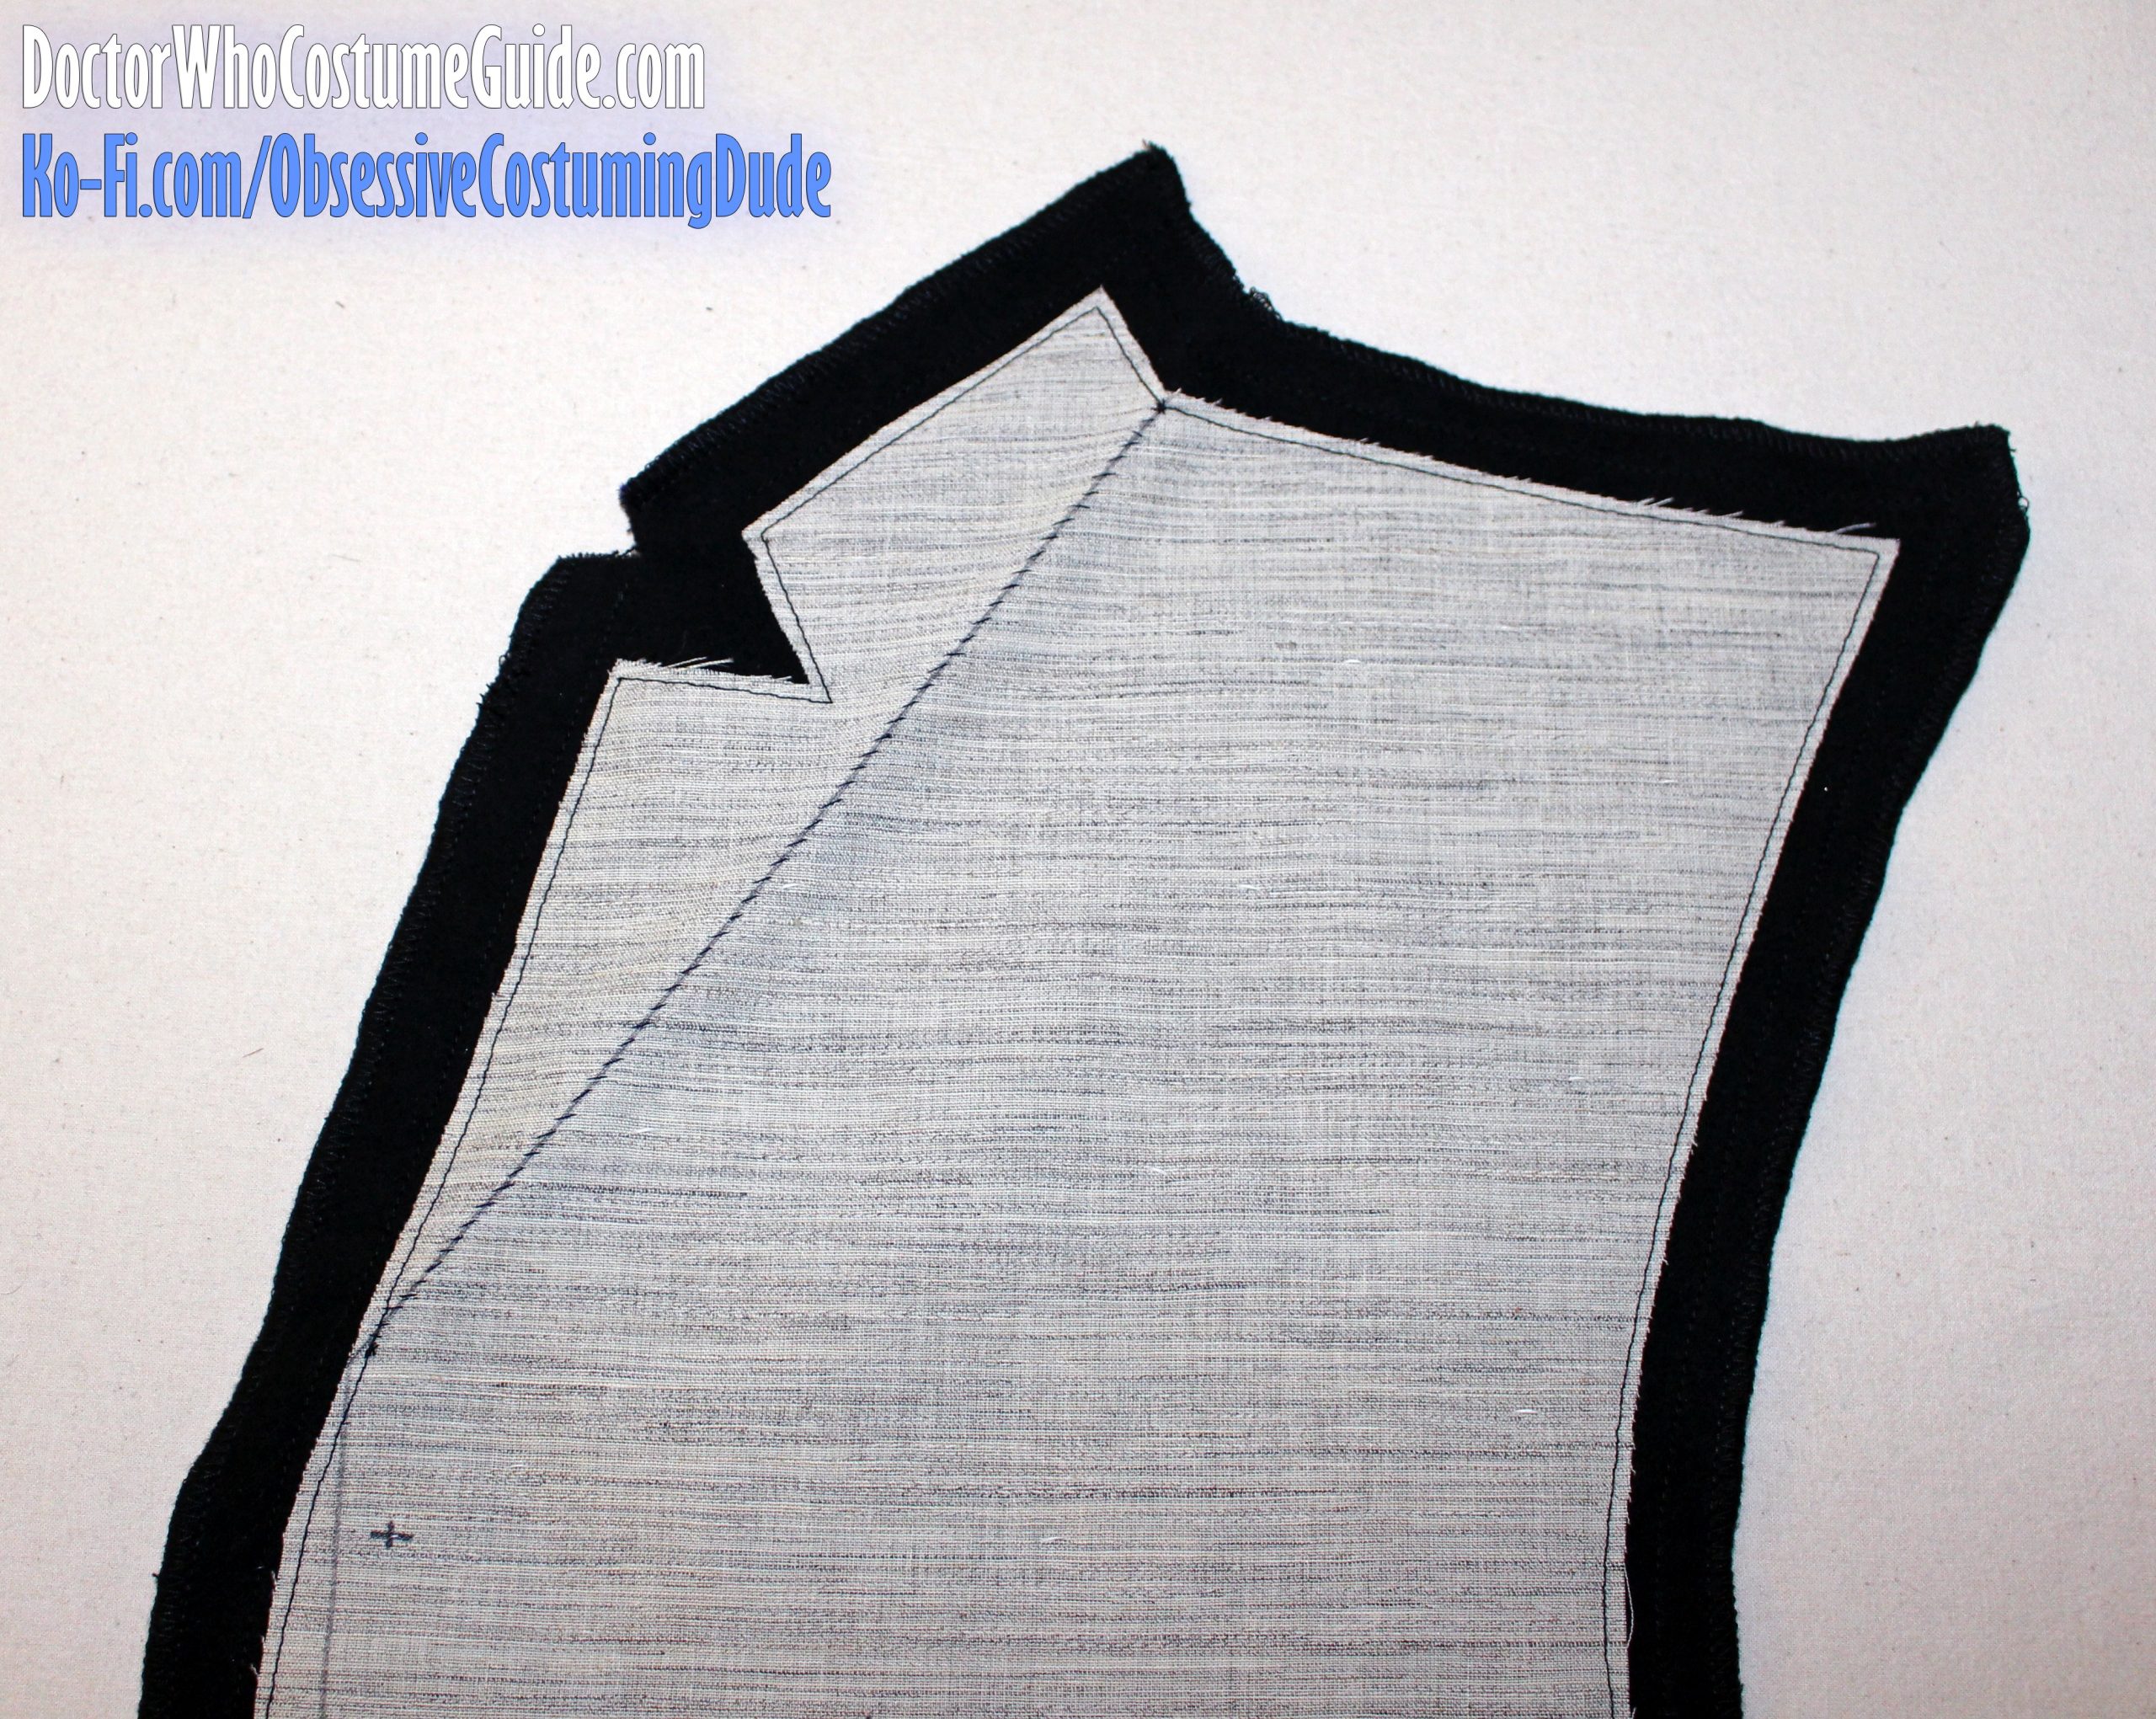
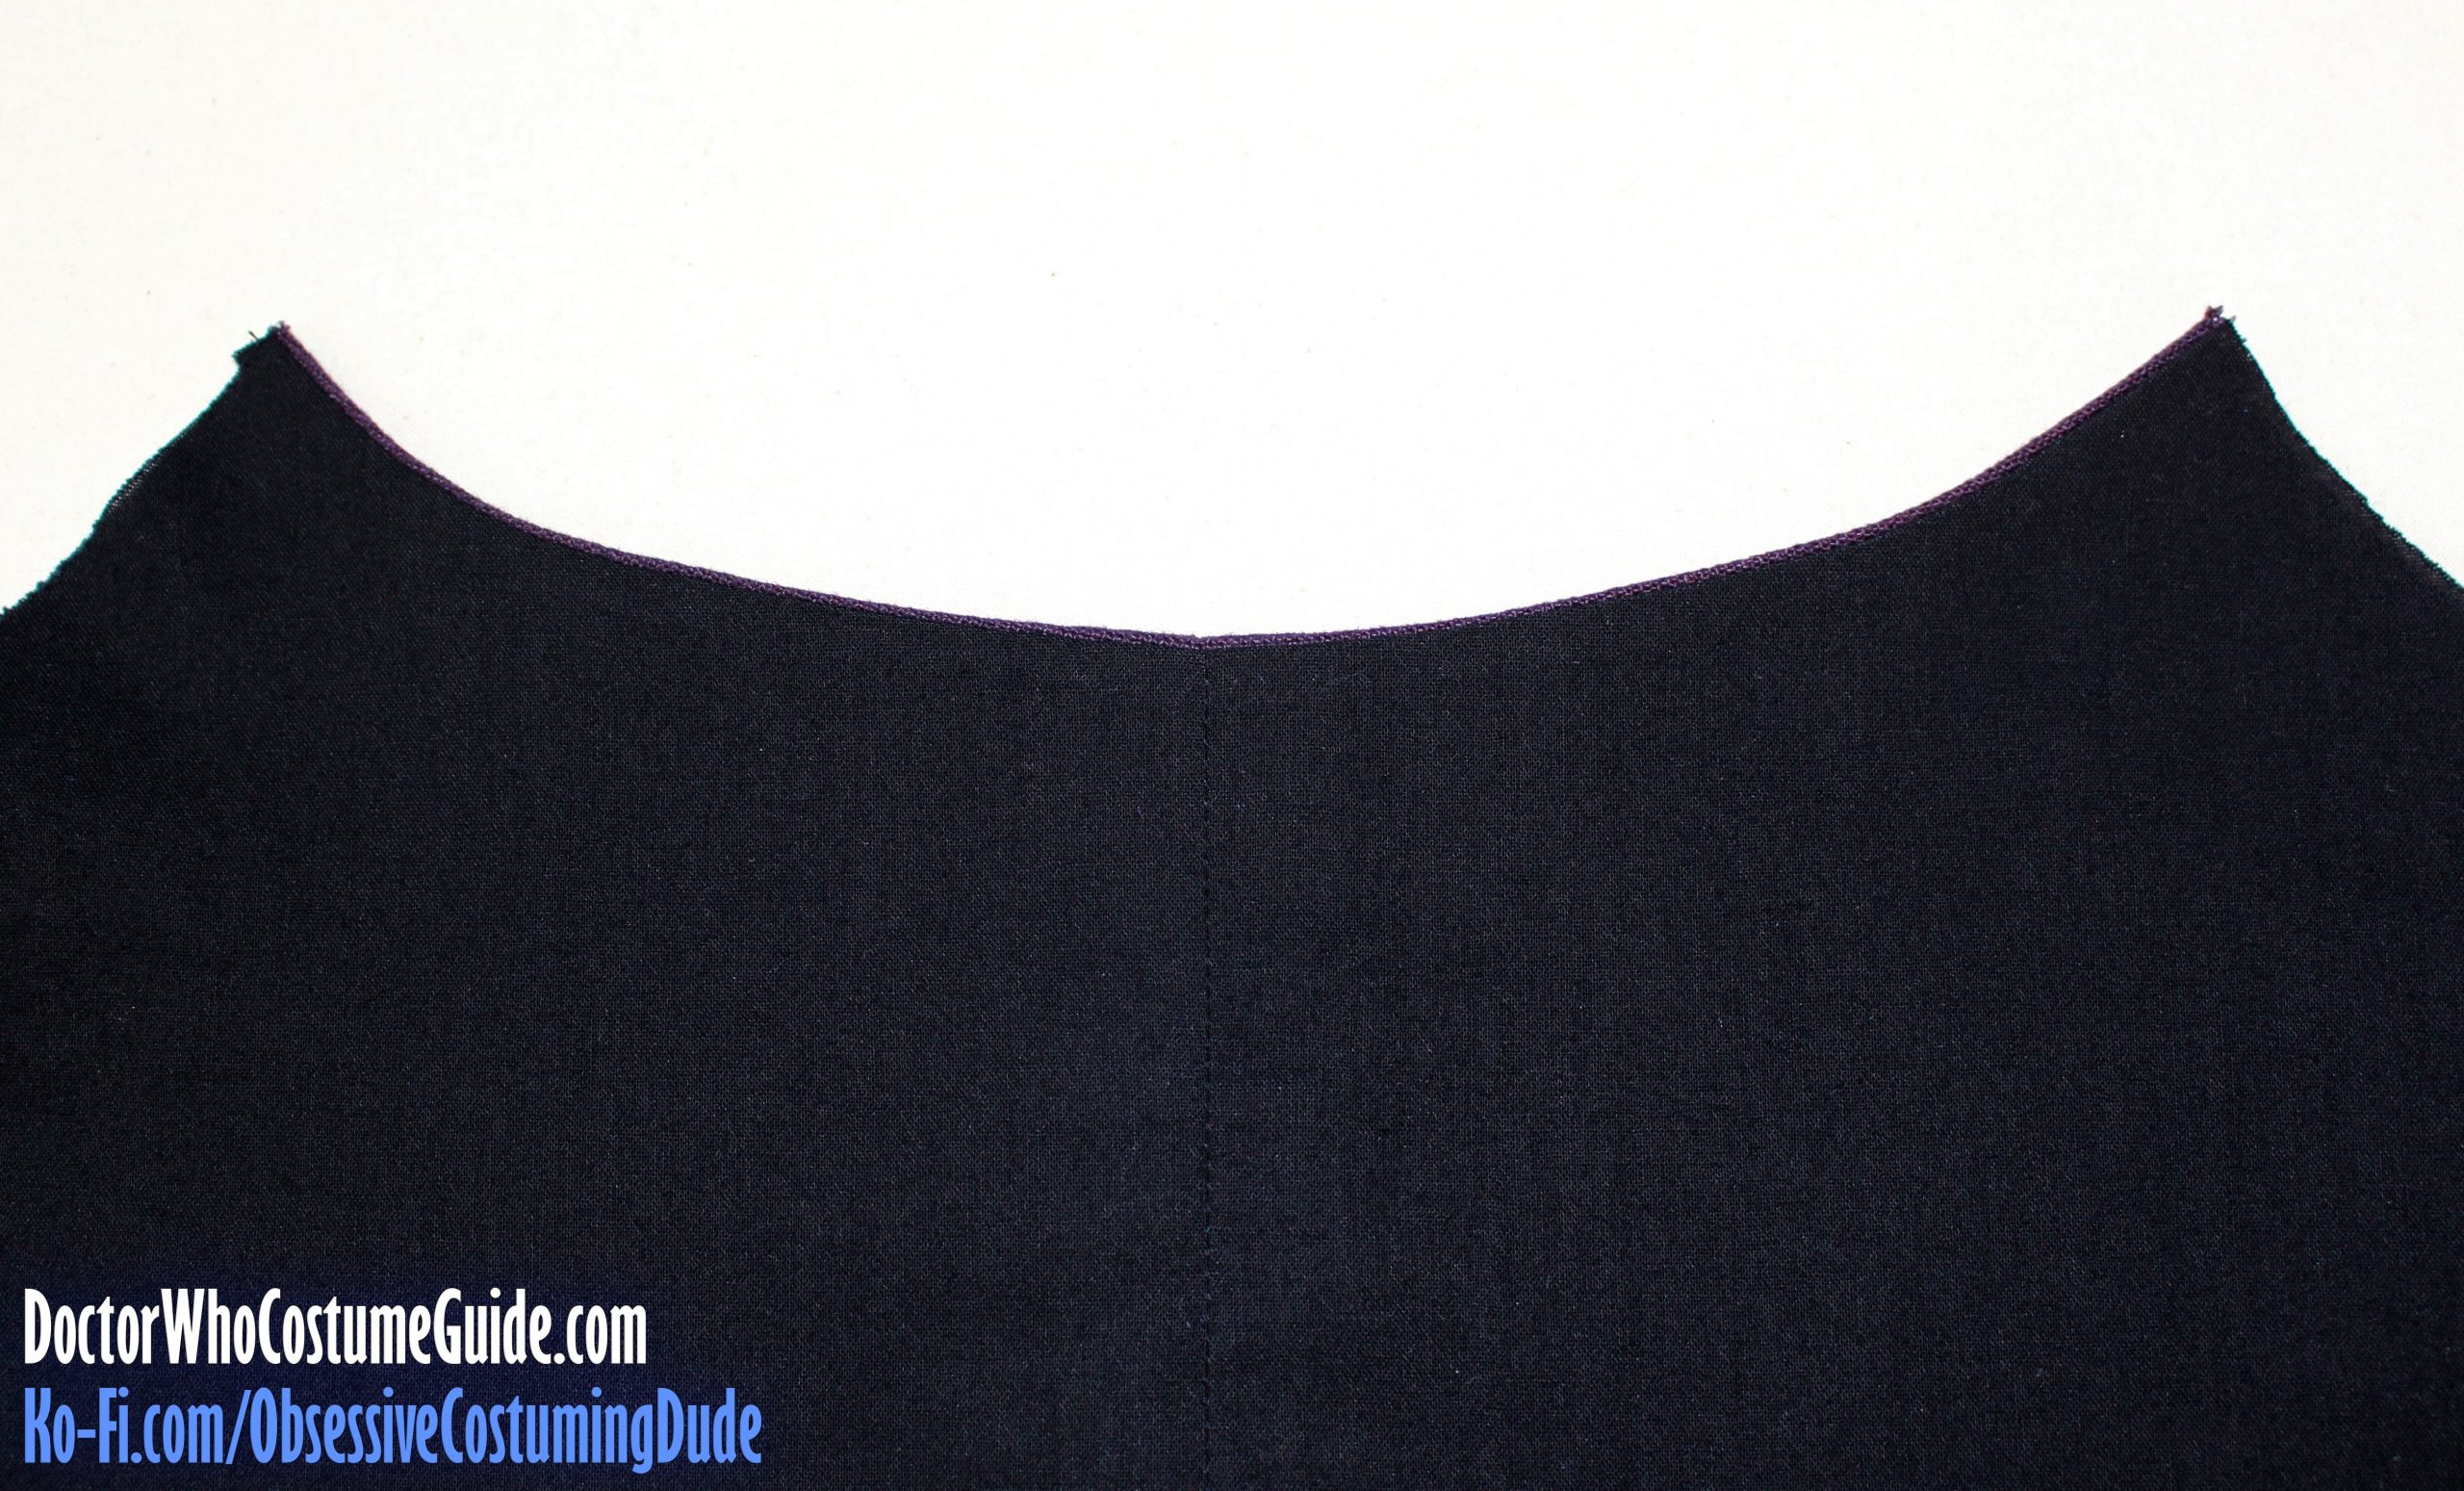
On the printed pattern, there is a small dot on the front facing (piece C), front lining (piece D), and front hem facing (piece E). These are to help you properly align the pieces in the lower front corner.
Pin, then sew the front facing (piece C) to the front lining (piece D), positioning the bottom, folded edge of the lining even with the dot on the front facing.
Fold the seam allowances away from center, toward the lining.
At this point, you may add interior waistcoat pocket(s) if you wish, using the method of your choice.
Trim away ½” off the top of one piece of pocketing (piece L) to use for the lower pocket pouch.
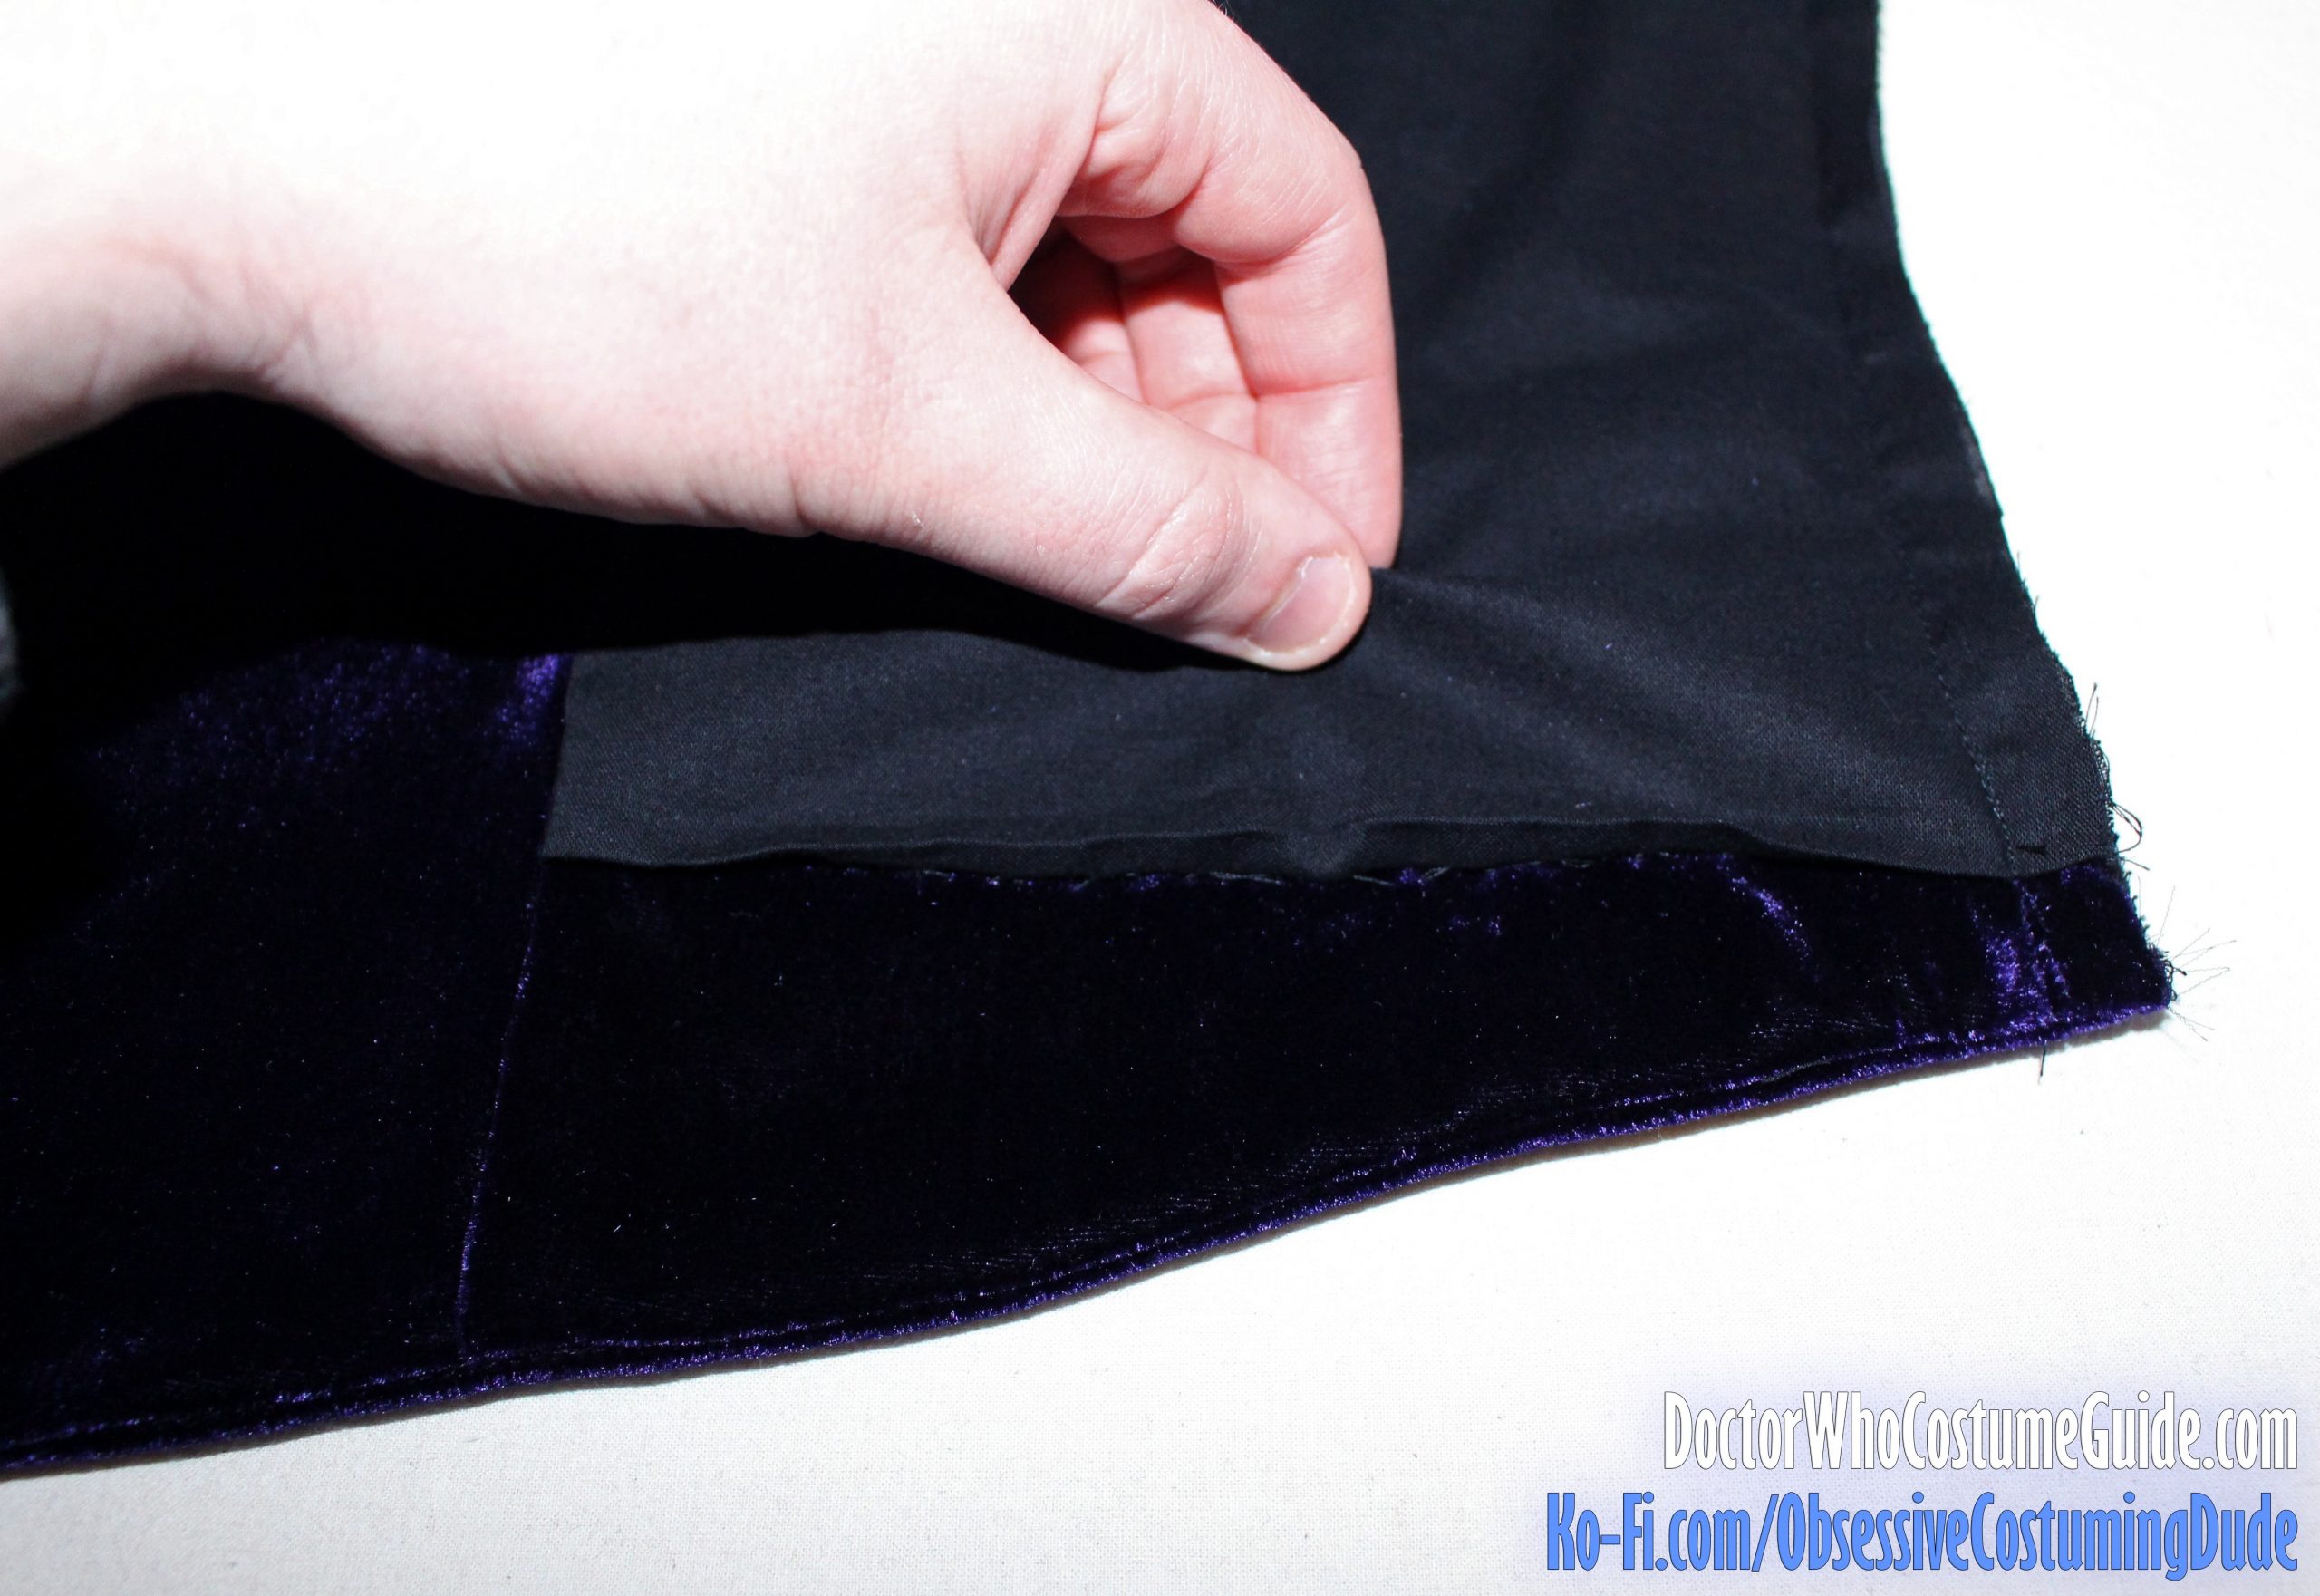
Fold the lining back toward the front facing and position the hem facing (piece E) over the front facing, right sides together and edges flush. (The top edge of the hem facing should be flush with the upper edge of the lining’s lower hem allowance.)
Pin the hem facing into place.
Sew the hem facing to the front facing/lining, continuing the previous stitch line.
Leave the upper edge of the hem facing and the bottom of the front lining hanging free for now.
Pin the waistcoat front to the front interior assembly along the front and lower edges, right sides together.
Using a quilting/walking foot, sew the waistcoat front to the front interior along the front and lower edges, stitching exactly over the previous stitch line.
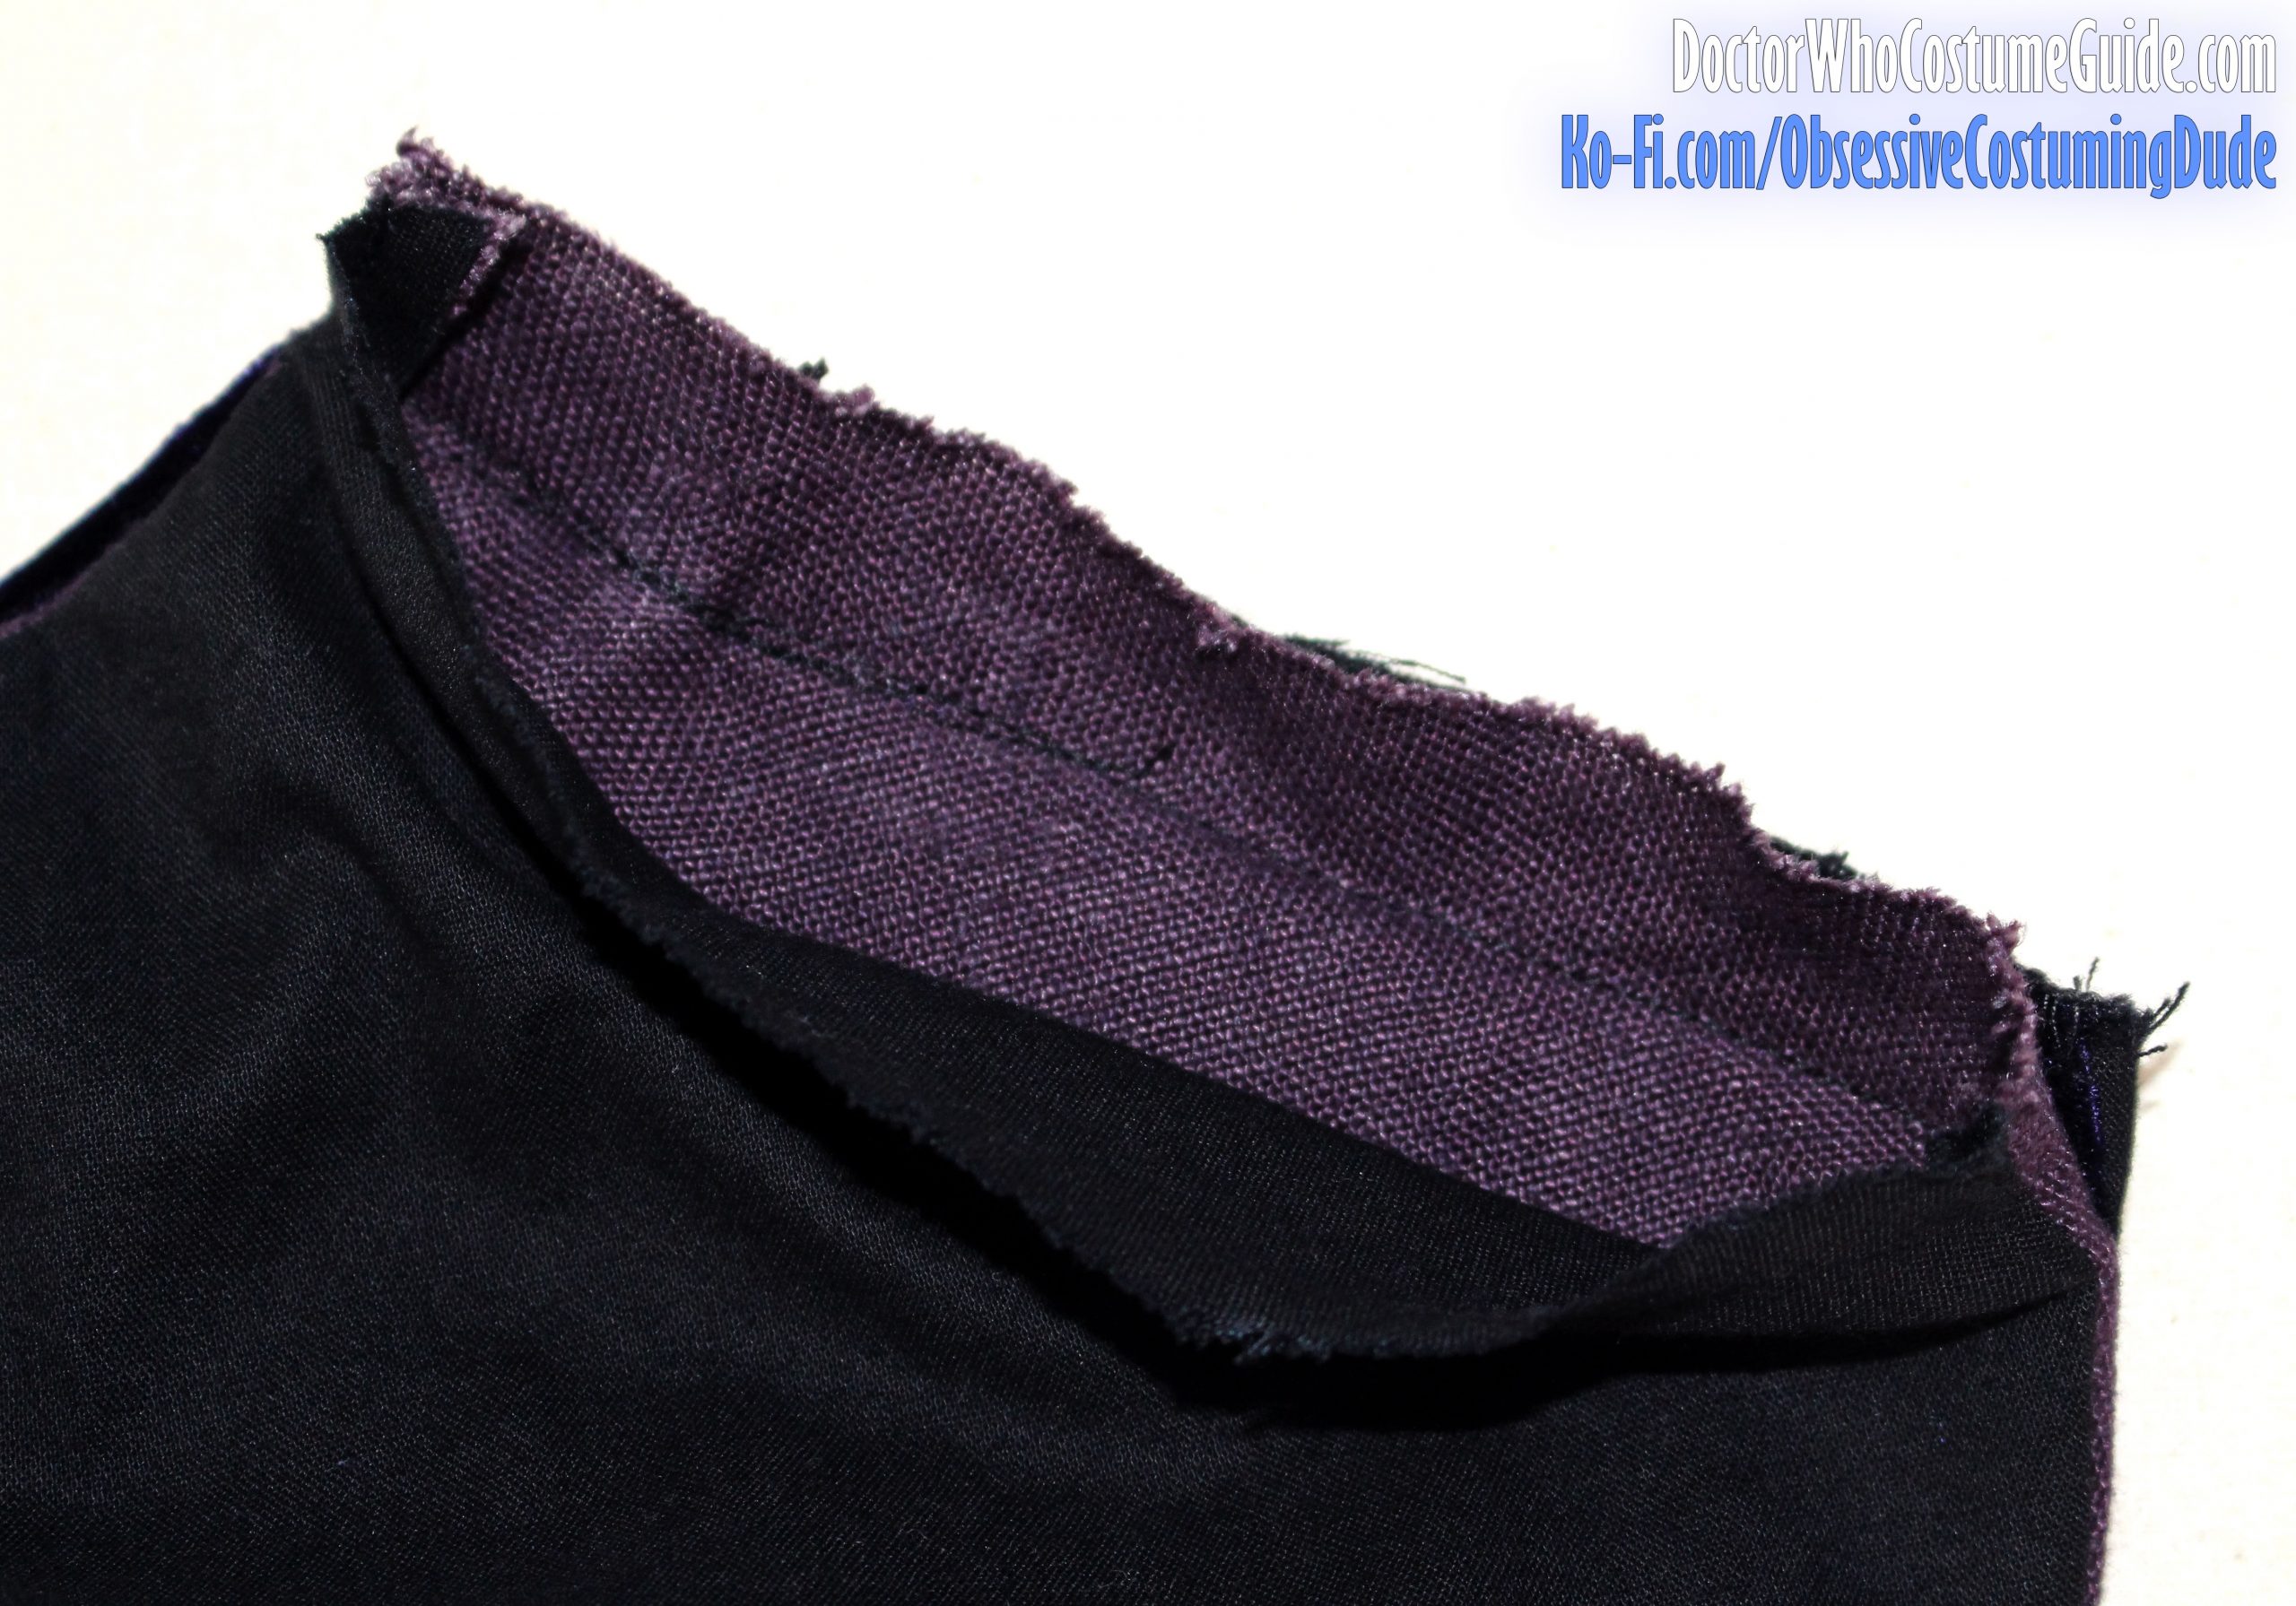
Trim the front and lower seam allowances down to ¼”.
Clip the seam allowances to the stitching at the collar notch.
Turn the front interior assembly to the underside.
Gently finger-press the front and lower seams.
While the front assembly is lying flat, pin or baste the front facing down through all layers along its outer edge.
Carefully pull the lining back and loosely anchor it to the hair canvas by hand, taking care to only stitch through the interfacing (and maybe the flannel too), but not the velvet itself! Also, over the front pocket pouches, be sure to only catch a single layer of pocketing; you don’t want to accidentally sew your pocket closed. (If you included an interior pocket, just work around the pocket pouch as best you can.)
Hand-sew the upper edge of the hem facing to the hair canvas (and one layer of pocketing, where applicable.)
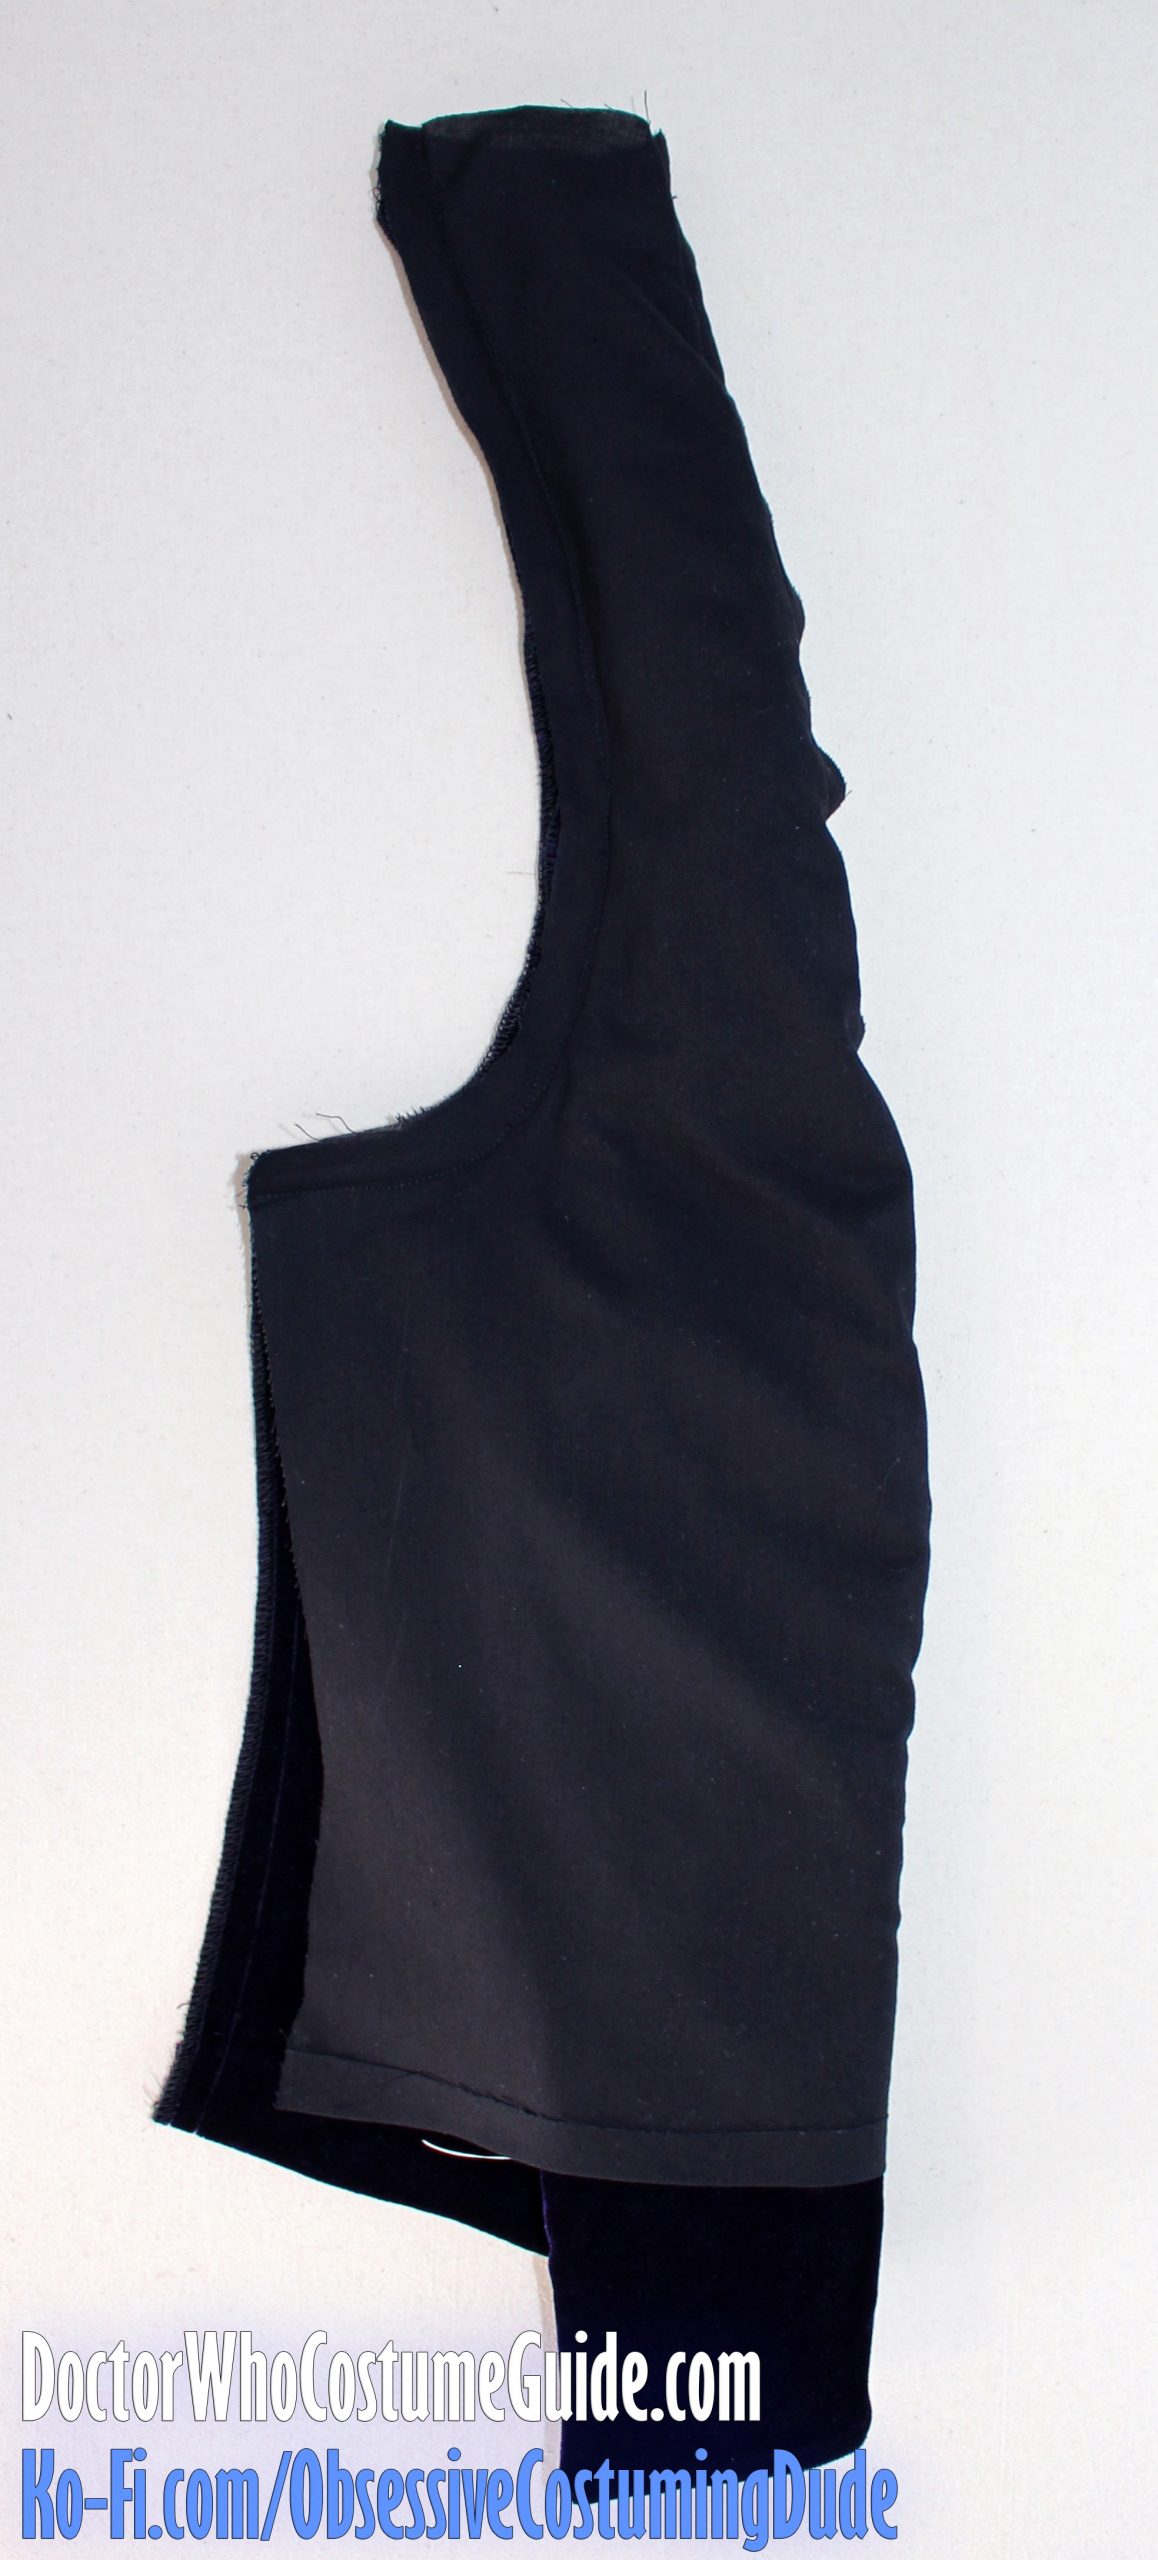
Fold the outside of the lining back around to the front of the waistcoat, then pin it into place around the armhole, matching edges.
Sew the lining to the waistcoat front along the armhole exactly over the previous stitch line, taking care to only stitch through those two layers.
Trim the armhole seam allowances down to ¼” and clip them close to the stitching around the curve.
Turn the lining back to the underside through the sort of “tube” shape and gently finger-press the armhole nice and flat.
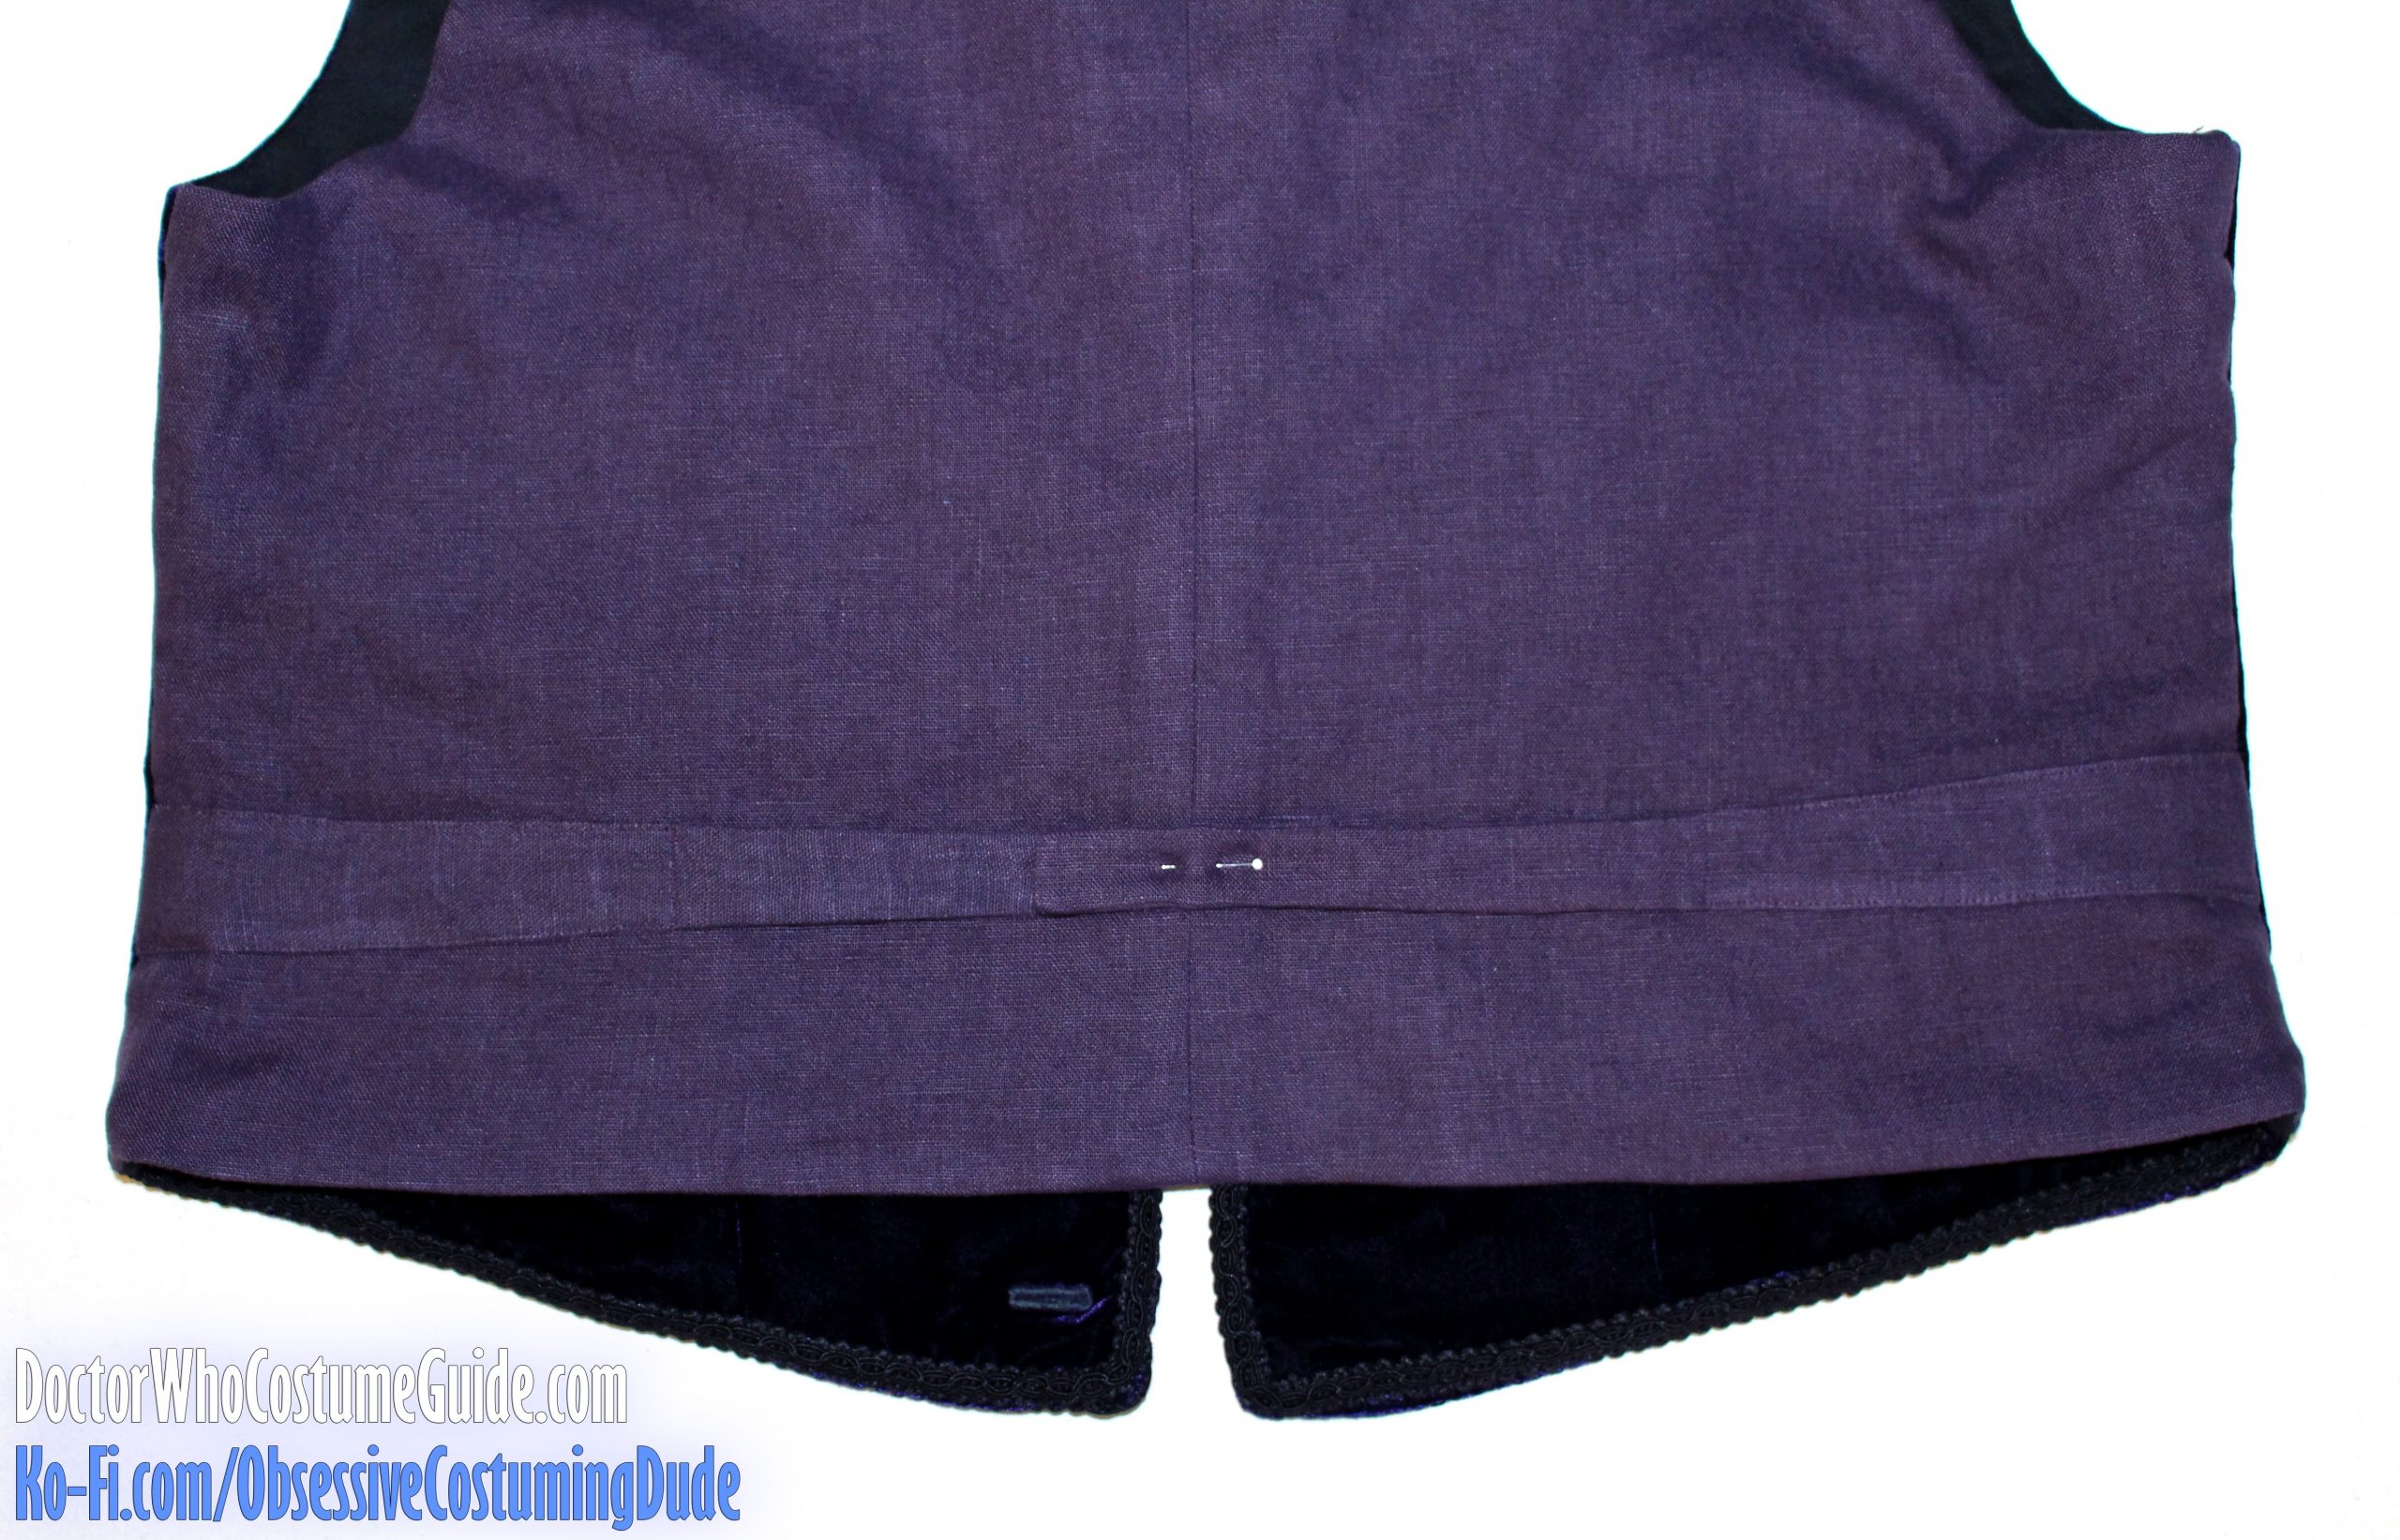
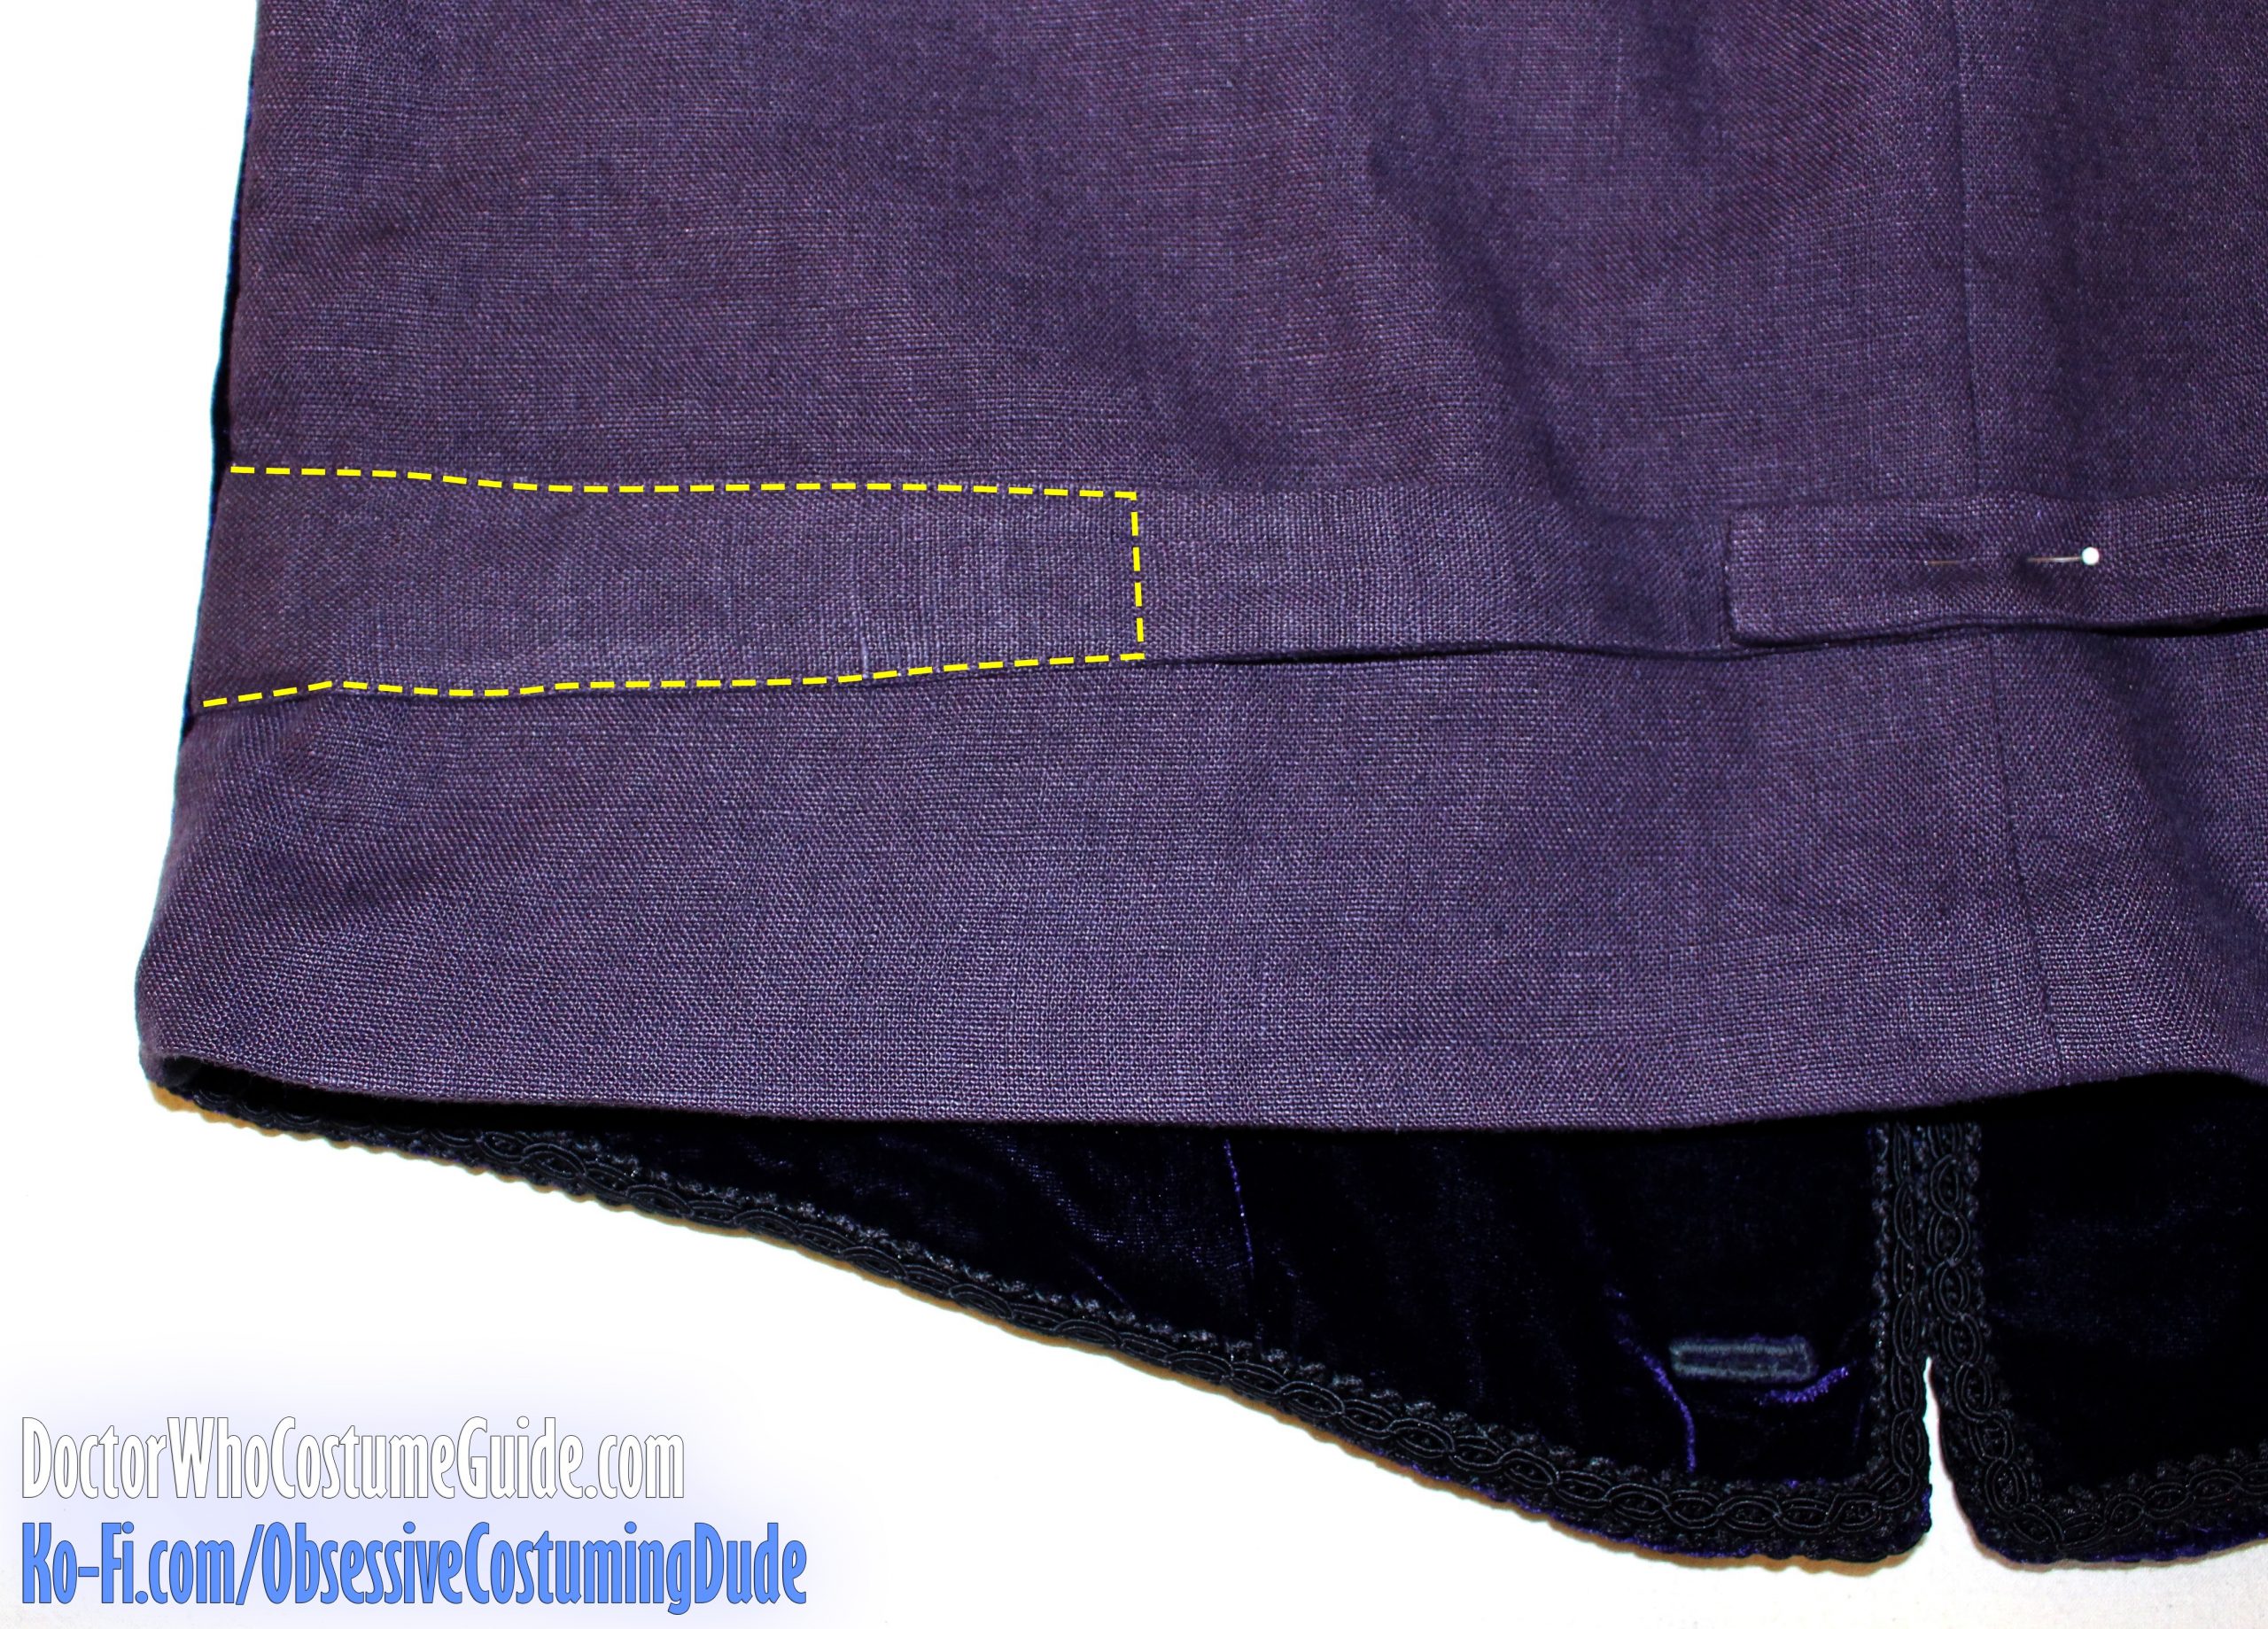
Hand-sew the lining to the hem facing about ⅜” to ¼” above the lower, folded edge, forming a small jump pleat for wearing ease.
Sew or baste the side and shoulder edges of the waistcoat closed.
TIP: If you’re not including an interior pocket on your waistcoat, it’s much easier to sew the hem facing to the front facing, sew that to the front, turn it under, and tack those edges to the hair canvas without the lining in the way.
Then sew the lining to the front around the armhole, turn it under, and hand-sew the front edge of the lining to the front facing, and the lower edge to the hem facing.
That saves you from having to do that weird “tube” thing.
Repeat for the other front assembly.
TIP: At this point, I like to go ahead and make the buttonholes on the left waistcoat front, because I find it easier to do before the back and other front assembly are attached.
Sew the trim to the waistcoat’s front and lower edges, on both the inside and outside of the waistcoat.
TIP: I highly recommend hand-sewing the trim onto the waistcoat front! However, this process will likely take several hours, so it’s a good time to fire up a movie (or a few episodes of Doctor Who) to have on while you work.
Also, whichever side you do second – inside or outside – is the one you’ll have the most control of, so rather than doing each length all in one go, I like to do the inside from the lower side corner up to the lapel roll line, then stop and switch to the outside, beginning on the upper corner underneath the lapel and again stopping at the lapel roll line. Then I finish the inner length of trim along the lapel (facing), and switch back over to the lower front of the waistcoat.
That’s a lot of switching back-and-forth, but it gives you the most control over the trim where it will be seen on the finished waistcoat.
BACK ASSEMBLY
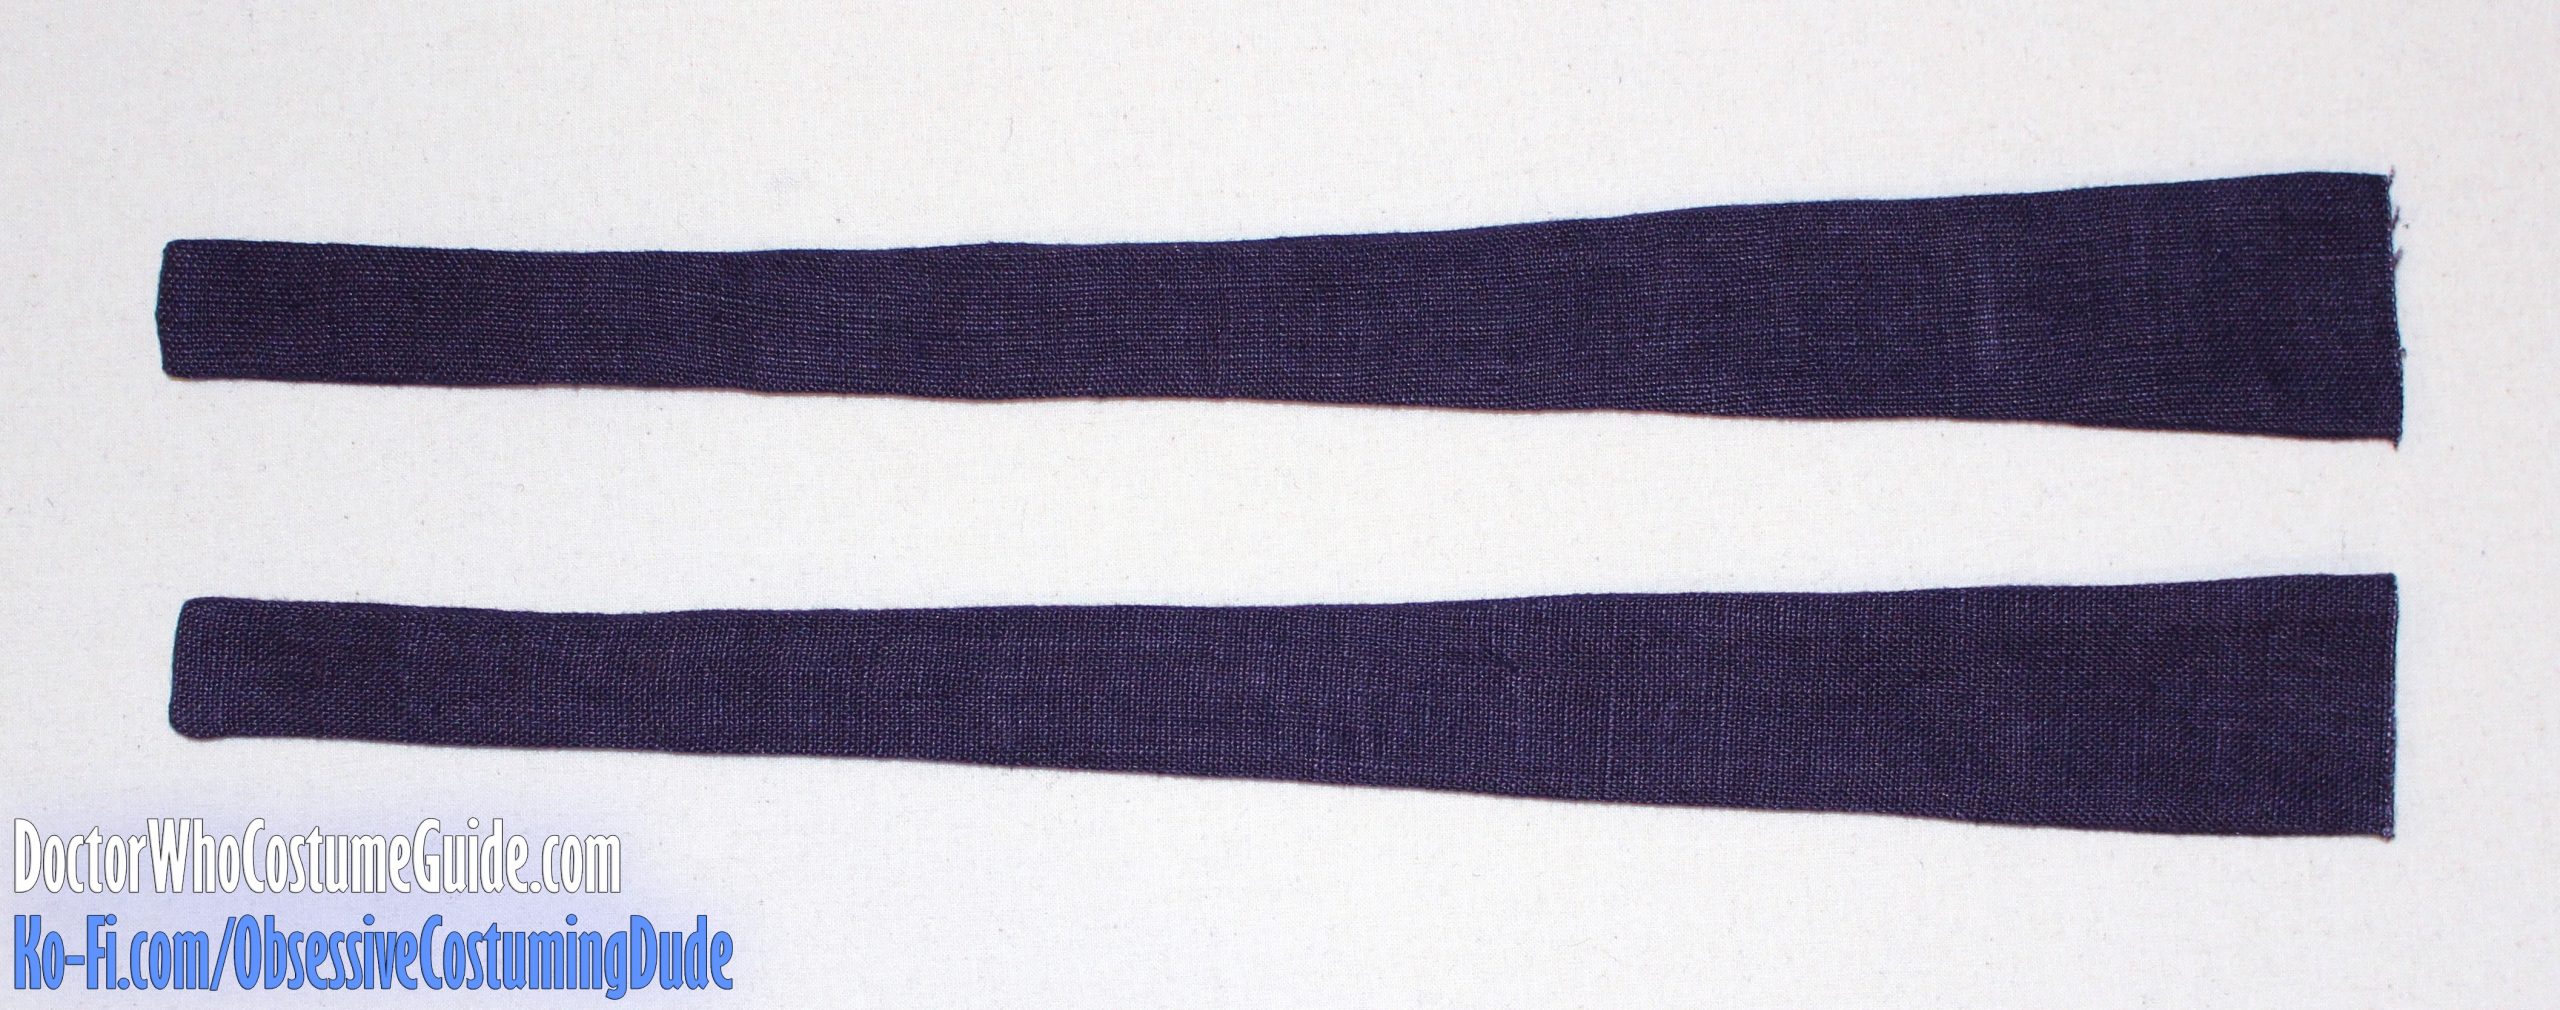
Sew two of the back strap pieces (piece F) together along the upper, lower, and centermost (longest and shortest) edges with ¼” seam allowance.
Turn the strap right-sides-out and press.
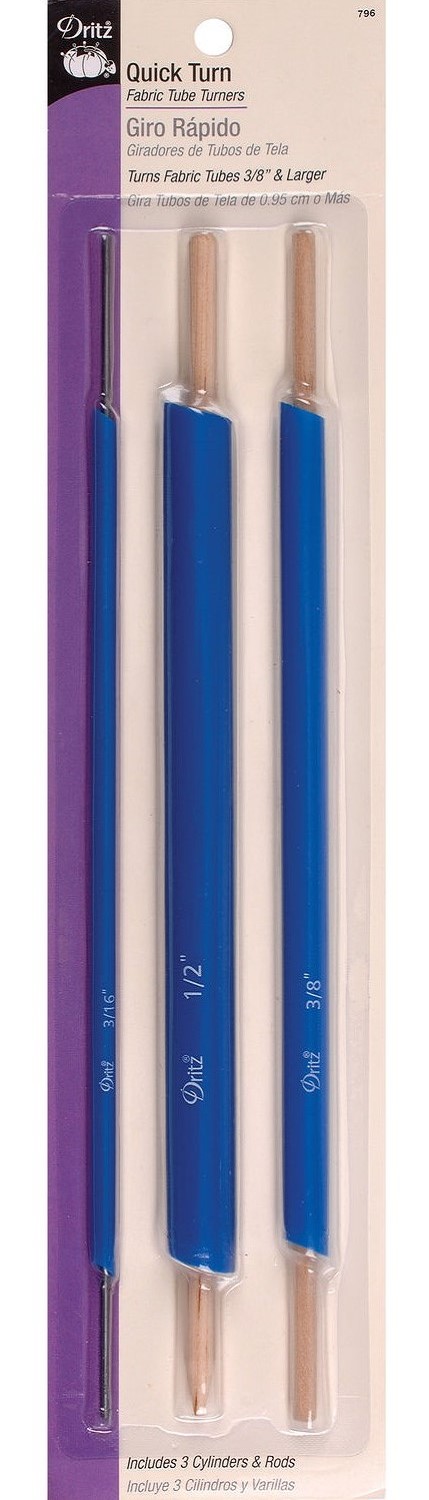
TIP: To help turn the strap right-side-out, I like to use a handy tool called the Dritz Quick Turn (see right).
Repeat for the other strap.
Sew the two waistcoat backs (piece B) together along the center back, matching the plaid patterns across the seam line.
Press the seam allowances open.
Sew or baste the back straps to the back sides, using the marks on the printed pattern as guides.
TIP: Pin the straps down in the middle to keep them out of the way until the back assembly is finished.
Sew the two back lining pieces together along the center back.
Press the seam allowances open.
Position the back and back lining assemblies right sides together and matching edges.
Sew the back lining to the back assembly along the neckline, armholes, and bottom edge. (Leave the shoulders and sides open for now.)
Trim the aforementioned seam allowances down to ¼”, and clip them close to the stitching around the neckline and armholes.
FINISHING
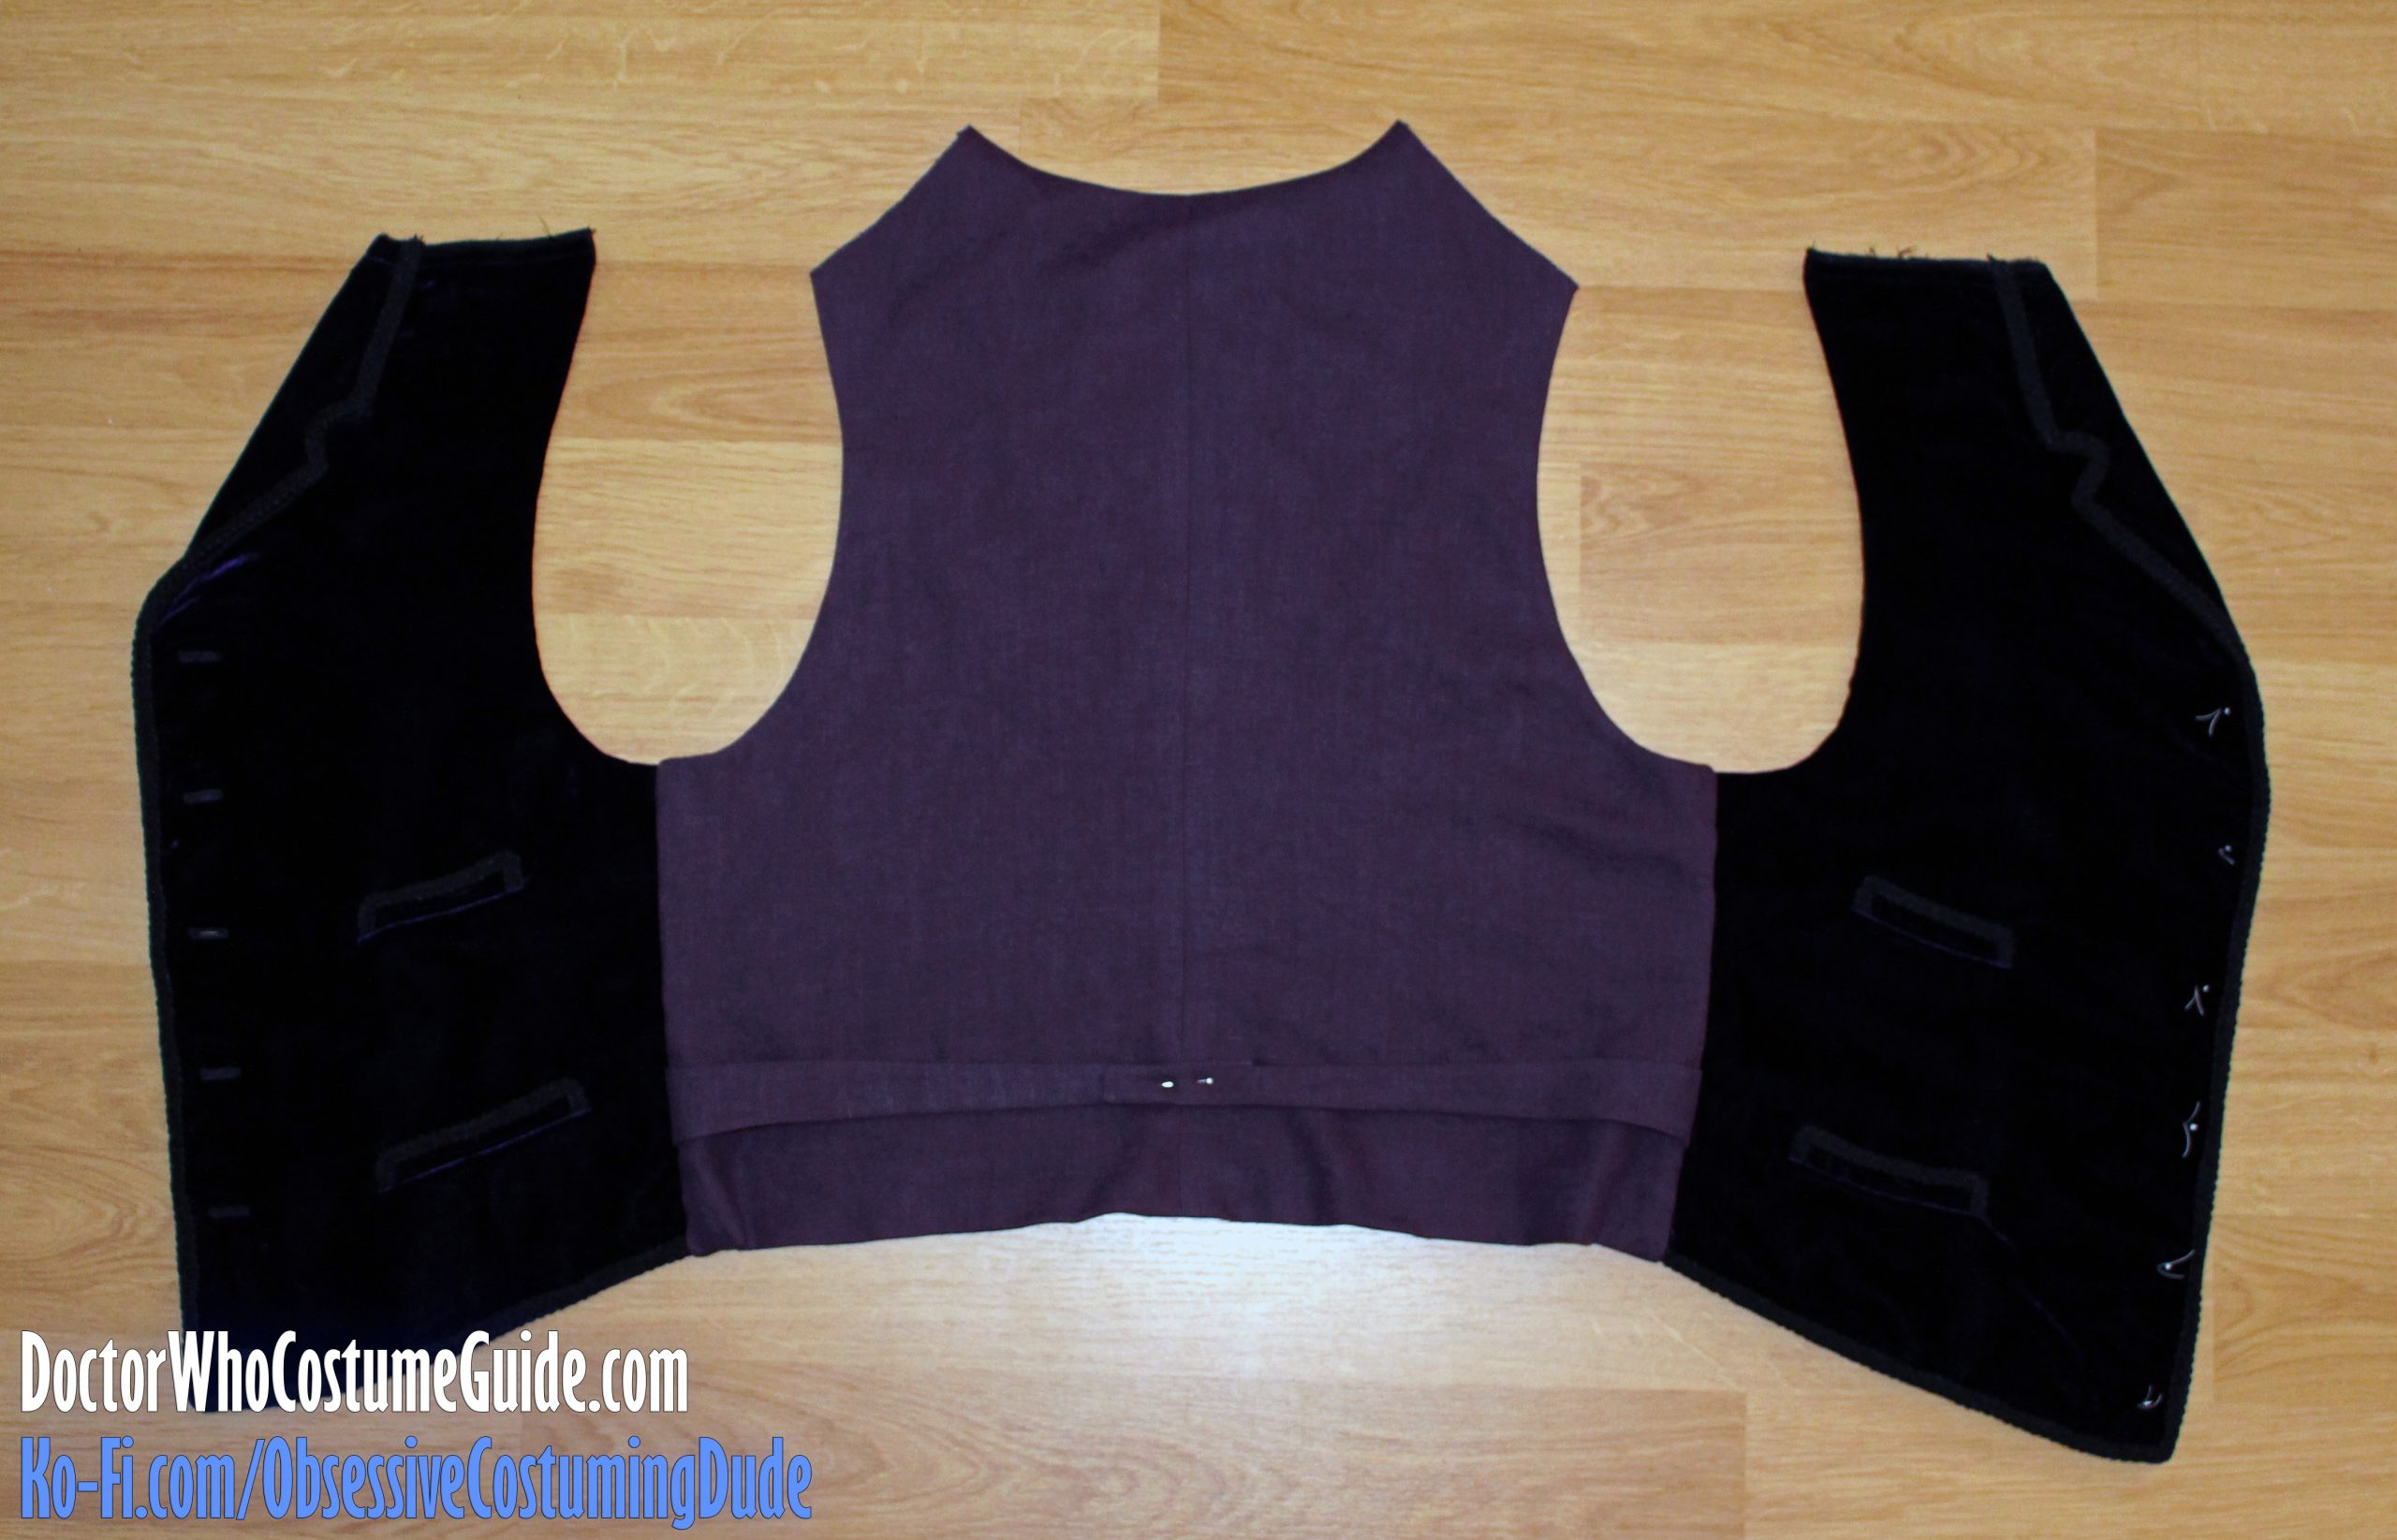
Time to “marry” the front and back assemblies!
To do this, first position the back assembly (still inside-out) so the lining is right-side-up, and the front assembly face down.
Open the back side and insert the front assembly top-first into the opening.
The front side edge should just barely fit inside the back side edges, extending from seam line to seam line.
Pin, then sew the front assembly to the back assembly along the side, matching edges.
TIP: Use a quilting/walking foot to sew the front and back assemblies together along the sides. This will help feed all the layers through the machine more evenly.
Repeat for the other side.
Reach through one of the back’s open shoulders and gently turn the waistcoat right-side-out.
Press the neckline, armhole, side, and lower back.
TIP: When pressing the neckline and armhole seams, roll the seam line slightly to the underside, to minimize any unwelcome “peek-a-boo” from the lining.
Open the back shoulders and pull the back lining out of the way.
Pin the back shoulder to the front shoulder, matching neckline and armhole seam lines.
Sew the back to the front along the shoulder, again pulling the back lining out of the way.
TIP: Use a quilting/walking foot to sew the front and back assemblies together along the shoulder.
Fold the shoulder seam allowances toward the back.
Tuck the back lining seam allowance under and slip-stitch the back lining to the front facing/lining assembly.
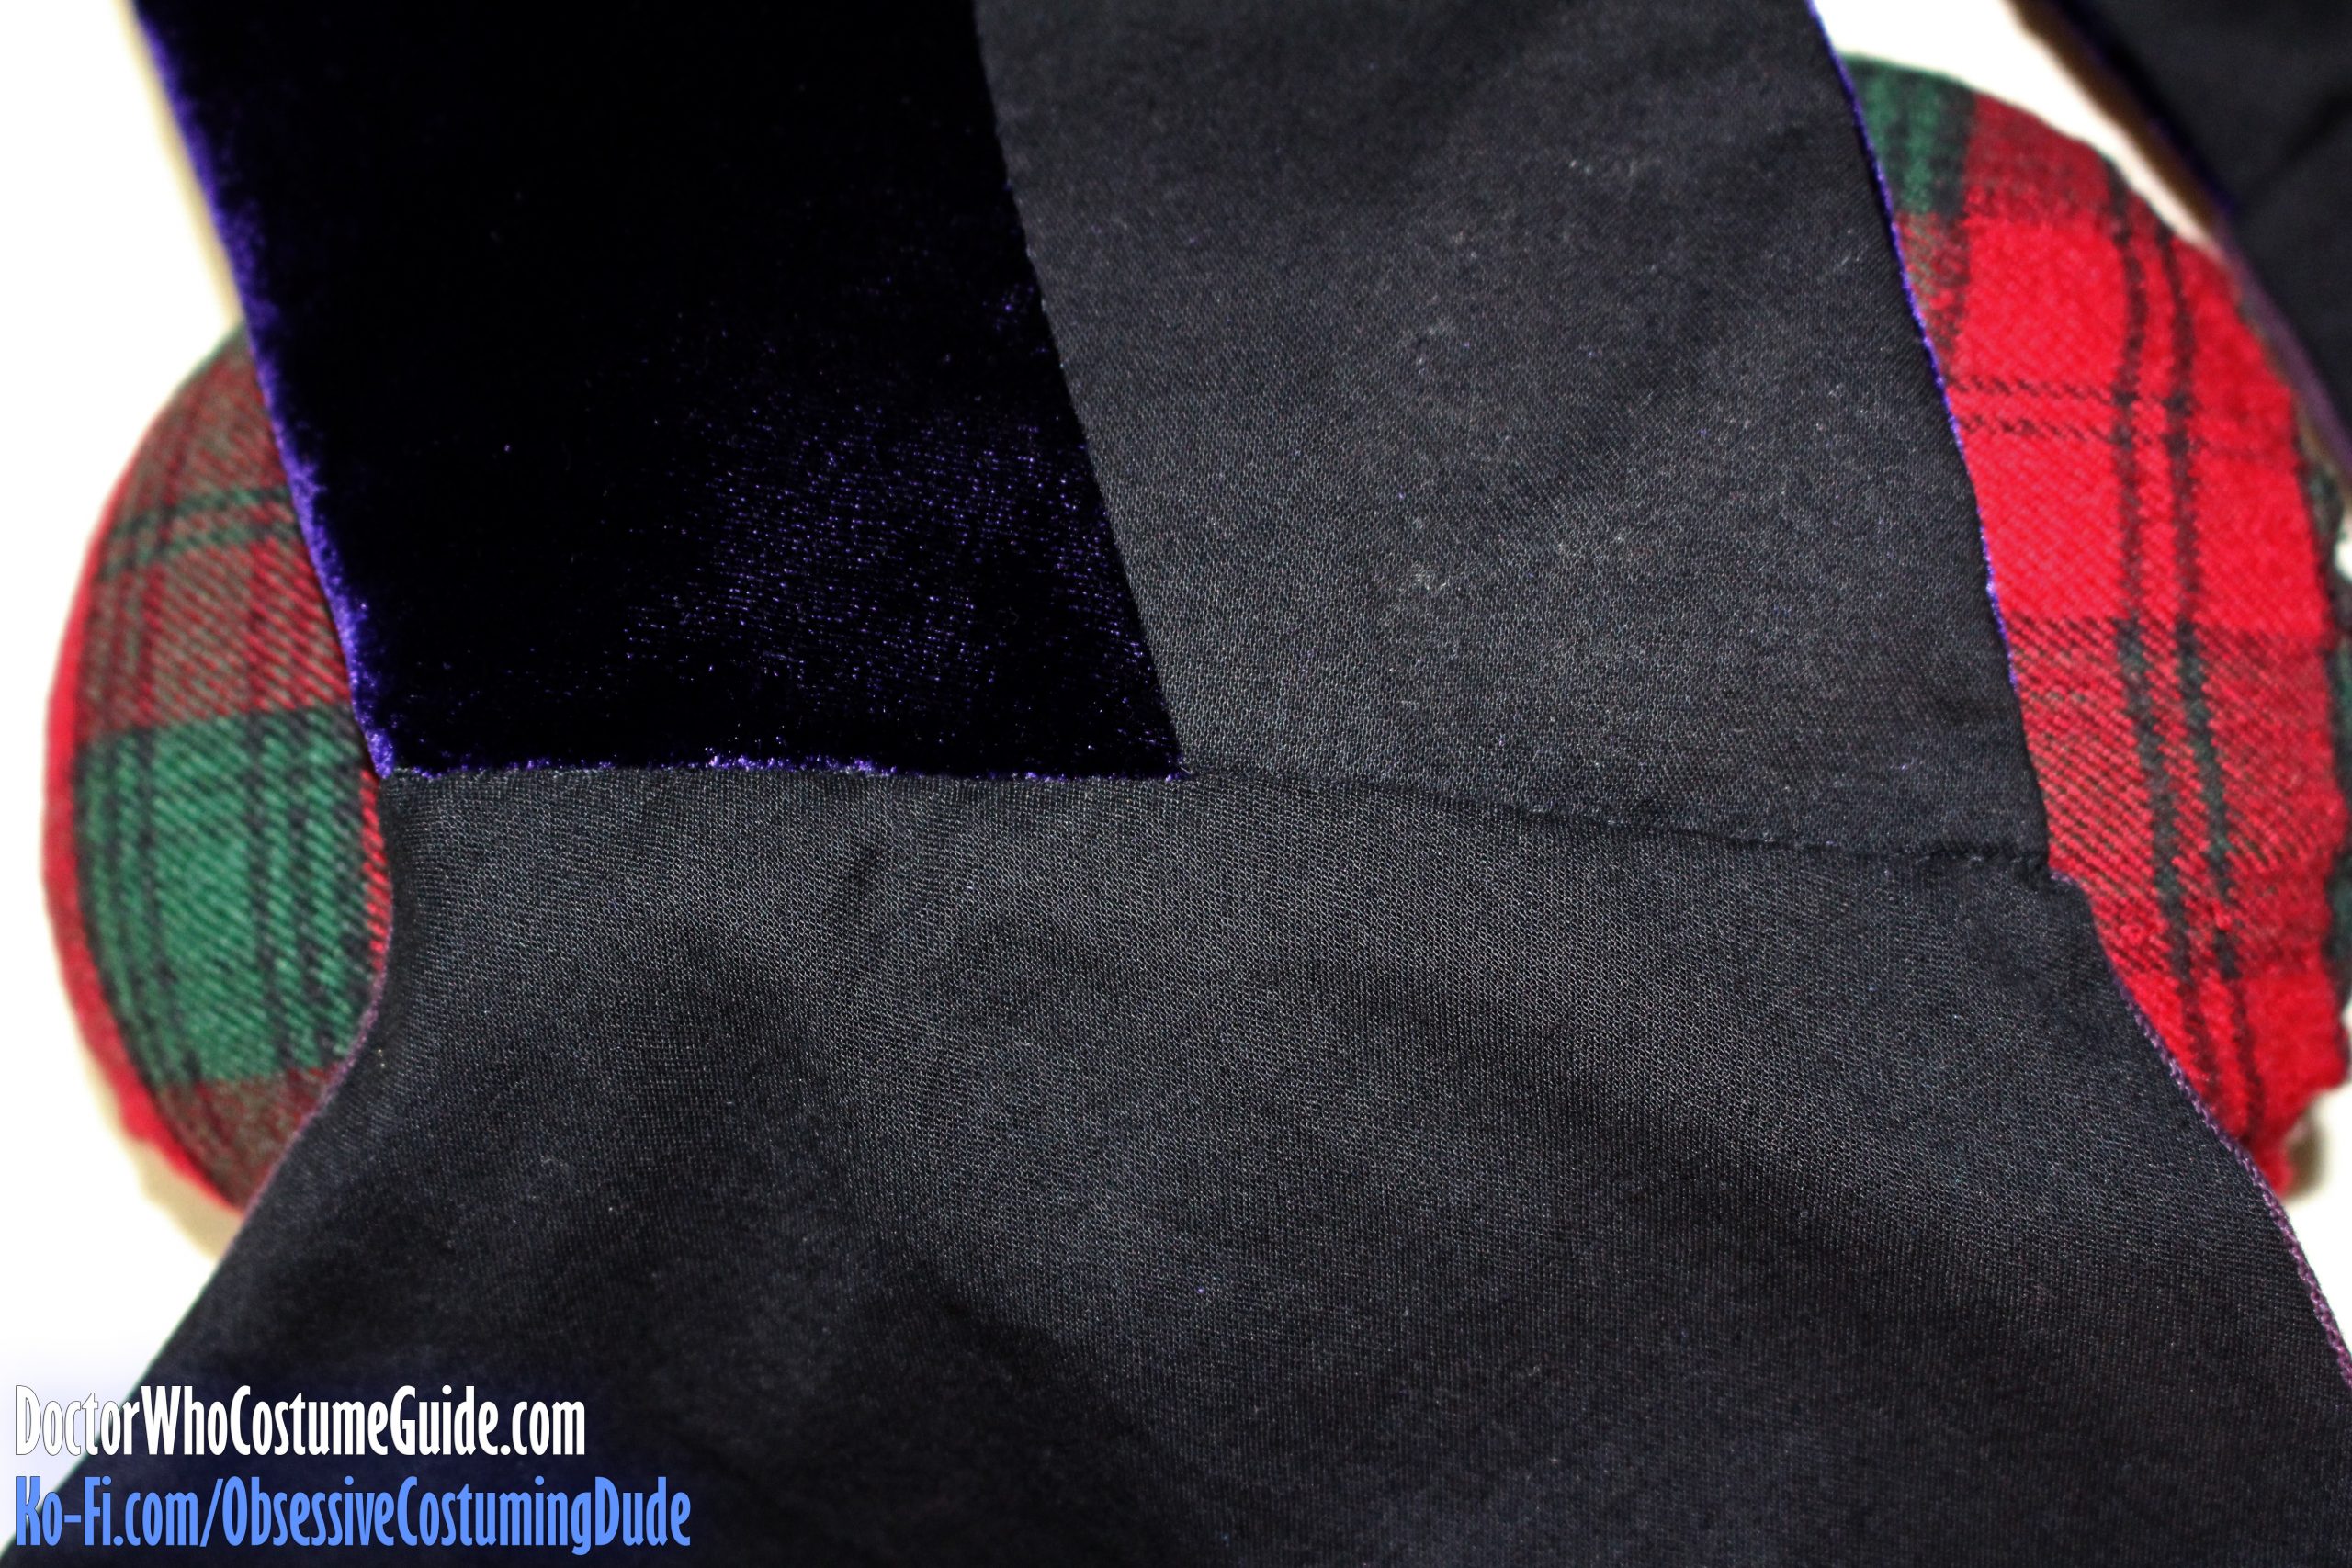
Edge-stitch the back straps down from the side seam to approximately halfway to the center back seam, pivoting and stitching vertically around the halfway point.
TIP: Use a quilting/walking foot to topstitch down the back straps, with purple thread and a black bobbin (to match the back lining).
Attach the back buckle, attach the buttons, and you’re finished!